That is correct. Everything has to be thinned to match whatever the thinnest part is.
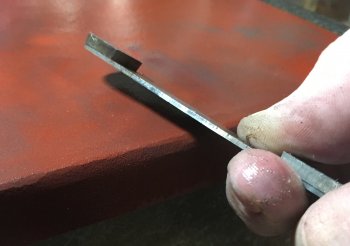
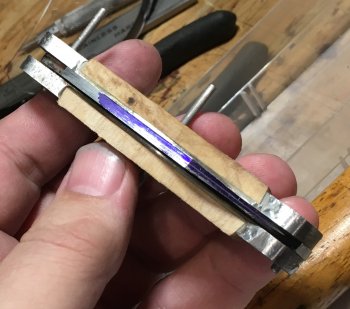
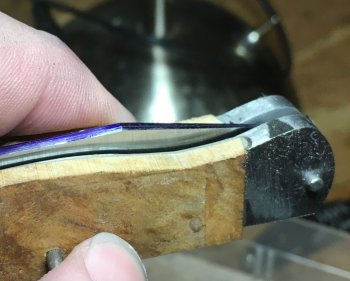
Usually things are rather wedge shaped. I have found that applying direct finger pressure to the high spots when sanding on the plate does well enough to bring things into flatness.
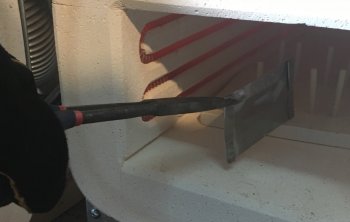
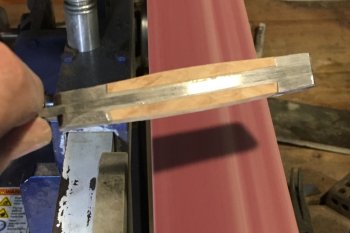
If the difference is more than 2-3 thousandths of an inch, touching it up lightly on a 220grit belt helps knock it down quickly and then final sanding on the surface plate brings it in nicely.
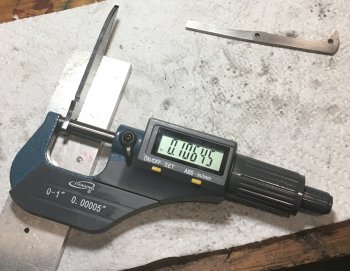
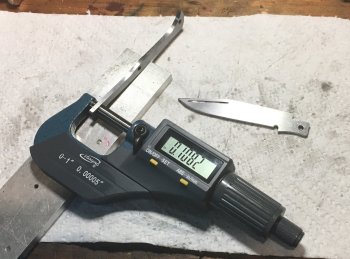
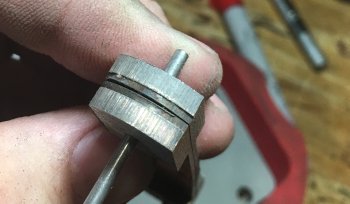
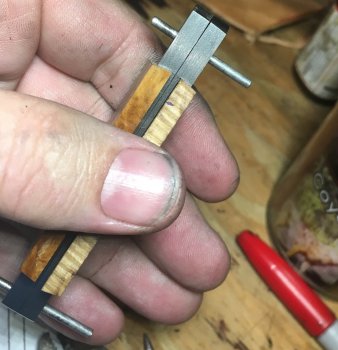
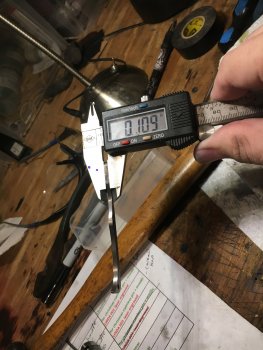
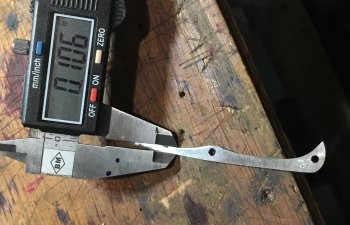
Am I getting “surface grinder” results? No, certainly not. But I am getting them within .001” to .0015” difference without too much fuss. Call me sloppy, but we’re going to beat pins with a hammer to set it all in place. I’m not convinced that fussing over 4 digits after the decimal point is anything that yields a difference in the real world.
I’m open to feedback and correction, of course.