New etcher build

Gliden07

Well-Known Member
I started to put my etcher together figured I would chonicle it as I go. IMG_20171106_6595.jpg IMG_20171106_57890.jpg
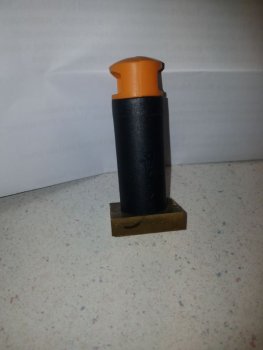
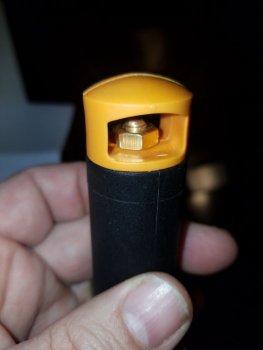
This is the marker for it. I made it from a piece of 3/8" thick Brass, 1/4x20 3" long brass screw cut off the head 3 1/4x20 brass bolts and a cut off handle from a all plastic garden shovel I found in a clearance rack for .99 cents. I also soldered the bolt to the brass plate for a better connection.
 
IMG_20171106_7531.jpg IMG_20171106_38731.jpg

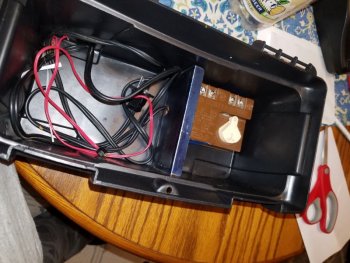
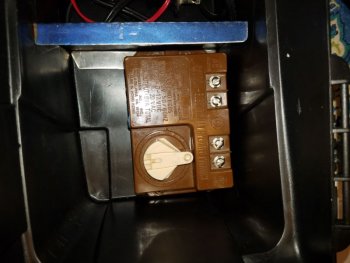
Train transformer mocked up in a small plastic tool box. Figured I could use the rest of the tool box to store all of my etching supplies. The small panel with the layout dye is SS from the exterior of a broken microwave. Need to make front panel for controls. Also designed this so the upper tray would still fit for more storage. More pics to come as build proceeds.
 
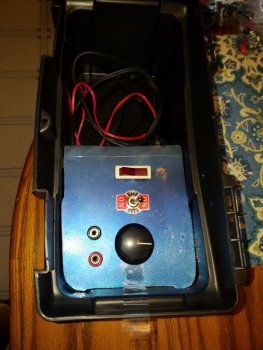
Getting there! Changed a couple things. All the preliminary wiring has been done. Need to pick up some stake on connectors to fit the lighted switch, a few self-tapping screws, a 5A fuse, some felt and rubber bands for the marking wand and stencils! Is there any way to make a simple stencil so I can just test it out?? More pics to come!
 
Last edited:
So I tried to finish off this etcher today. Did you ever have that kind of day? One problem after the other! Decided to just put it all away and take a break.
 
Getting there! Changed a couple things. All the preliminary wiring has been done. Need to pick up some stake on connectors to fit the lighted switch, a few self-tapping screws, a 5A fuse, some felt and rubber bands for the marking wand and stencils! Is there any way to make a simple stencil so I can just test it out?? More pics to come!
Hey man I would've helped you wire it up just sayin :)
 
Back
Top