A
Ariel Salaverria
Guest
I've already posted a tutorial on "A very efficient low tech way to impregnate wood and other porous materials" in the past.
Here's a link of it in my website: http://www.aescustomknives.com.ar/docs/tutorial11.htm (there's a ton more of tutorials there)
This one is based on that one, but with an extra step, to make sure woods and other harder (but not hard enough to use them in natural) materials can be easily impregnated too.
For the particle board piece I've used for the pictures the previous method would have been more than enough, but I also wanted to show that when you put certain techniques in the equation, you can use materials that otherwise are absolutely no good for knifemaking (Can you imagine a particle board handle for instance? How long would that last and feel?) At the end of the pictorial there's a piece of Haya wood that I've also impregnated using this method.
Now with the process!
This is the vacuum chamber I've made for this process. It's a 4" diameter iron tube with the back end closed with a welded flat and the front end threaded to accept the cap you see on the pictures.
It has two different connections, the "V" marked one is the one connected to the vacuum pump. The glass in the middle acts as "trap" in case resin gets sucked in. This way, if you use too much, it gets trapped in the glass instead of messing up the compressor. The connected vacuum gauge will measure the pressure in the vacuum chamber when the compressor is running.
Connection marked with a "P" is for the compressed air I'll use later.


Here's a particle board piece that has already been drilled (5/16" diameter, 3" deep) and threaded to accept the vacuum tube. It weights 1.62 ounces.

Connected to the vacuum tube via the threaded tip.

I then put the block of wood inside a plastic bag with 50 grams or poliester resin (with 10% added styrene monomer to make it liquid enough) and seal the bag with tape.

Note the difference as soon as I start the vacuum compressor.

Once I have that set up, I place it inside the chamber and close it using the threaded cap. The vacuum gauge now meassures 18 linear inches.


After about 1-2 minutes, I close the vacuum connection, remove the tube for easy manipulation of the rest of the stuff.

Now this is the second step that makes a difference. When I open the intake for compressed air and apply 5 ATMs (70 lbs per square inch) for about 4-5 minutes, this forces an even deeper resin penetration before it gets dried up (about 6 minutes for the resin I use)


Once the resin gets hardened, I stop the compressor and open the cap to retrieve the piece.

Particle wood out of the bag, already impregnated.

Difference between the original weight and the after-impregnation weight: 1.13 oz

Comparo between a regular piece of particle board (left) and a impregnated and polished one (right)


Particle board, grainy, super soft wood, after impregnation.


Haya good, semi soft wood, after impregnation.


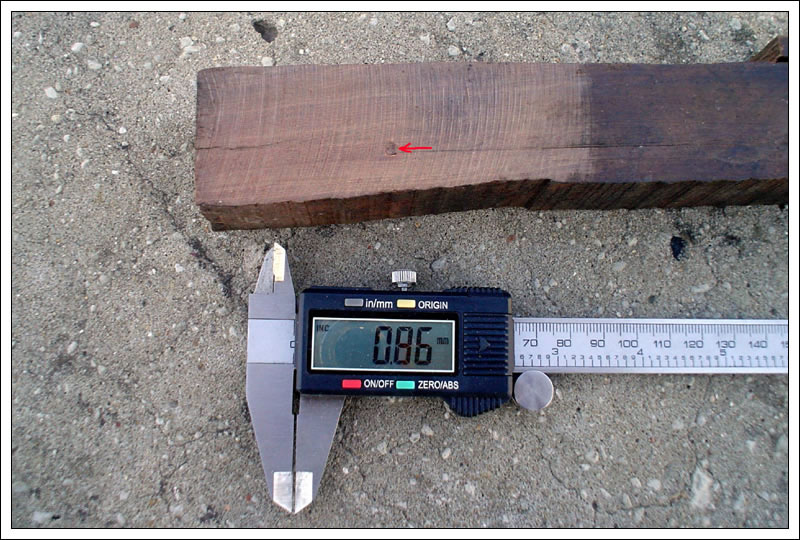
Hardness of the impregnated wood tested in a non conventional way
So I've picked a Gamo CO2 PT-80 (400fps) pistol and shot round .177" copper pellets to several woods at 3 meters (10 ft)
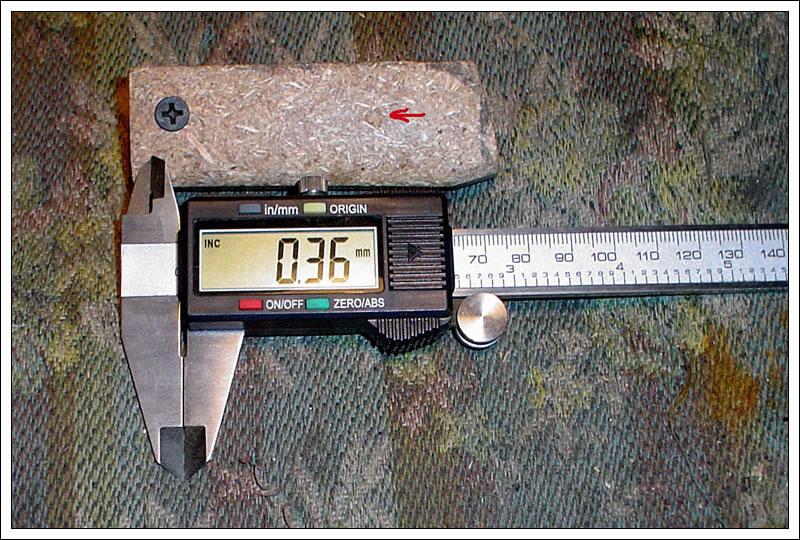
Depth of the mark made in the impregnated particle board: 0.0141"
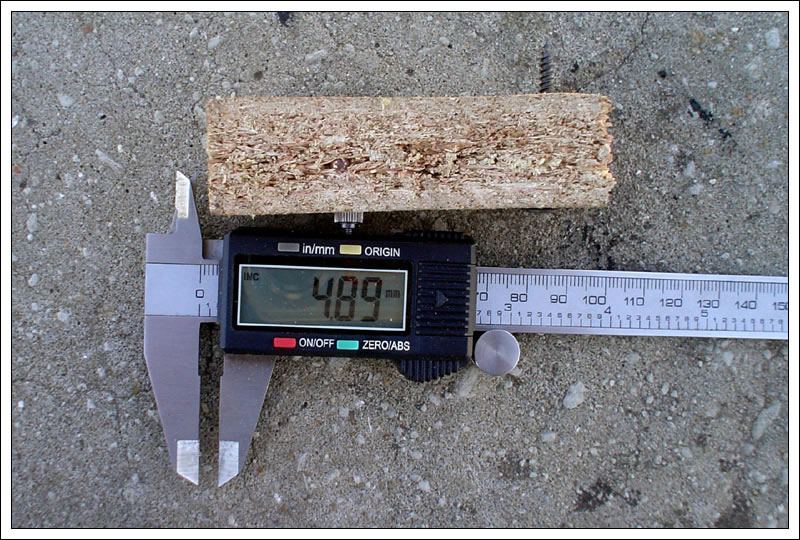
Depth of the mark made in a regular particle board: 0.0633"
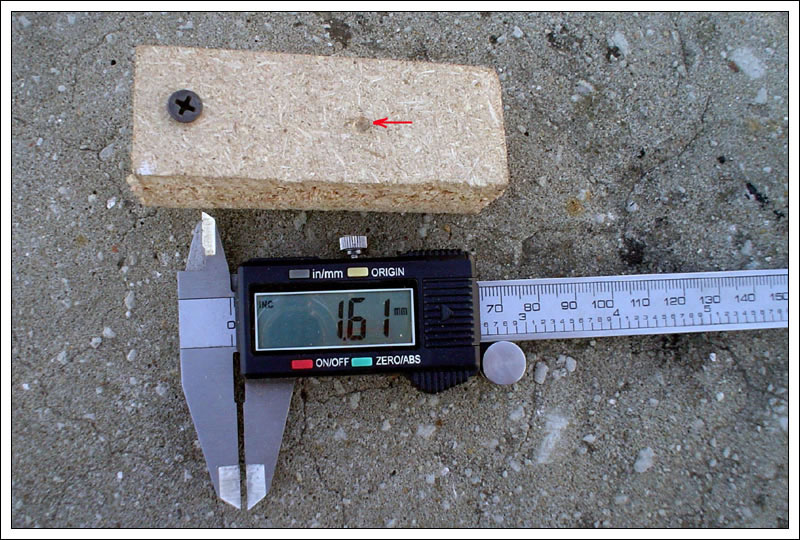
Depth of the mark made in the impregnated particle board (on a lateral): 0.0389"
Depth of the hole made in a regular particle board (on a lateral): 0.1925"
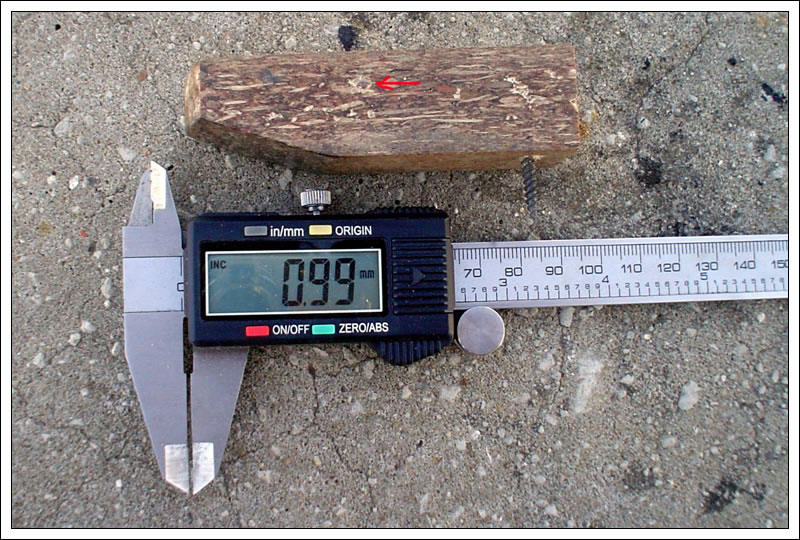
Depth of the mark made in a regular piece of Guayacan (a hard wood): 0.0338"
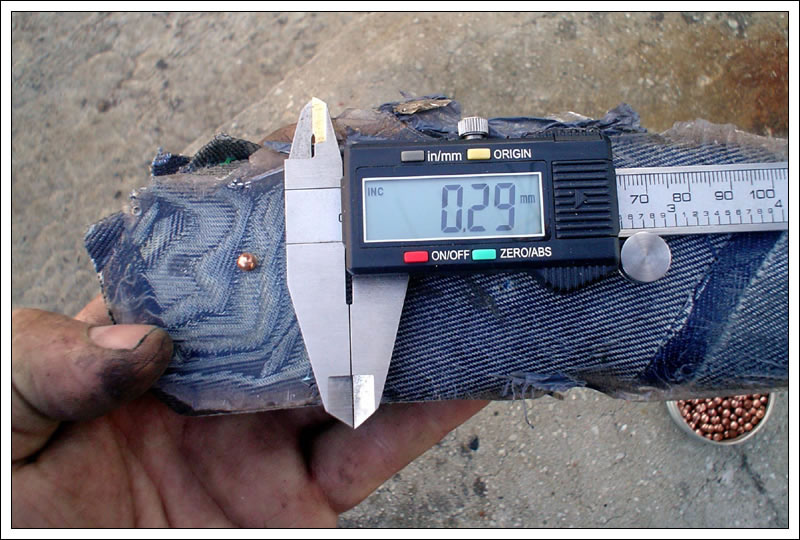
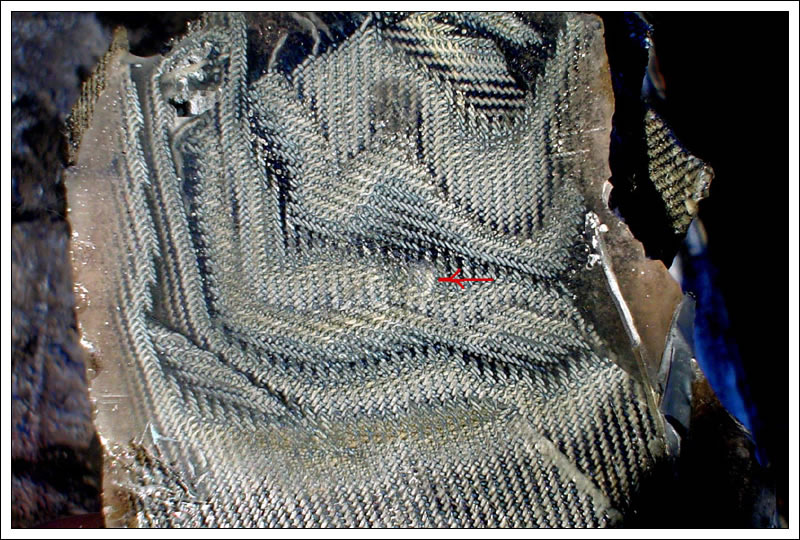
Depth of the hole made in my own made micarta: 0.0114"
Close up of the mark in the micarta.
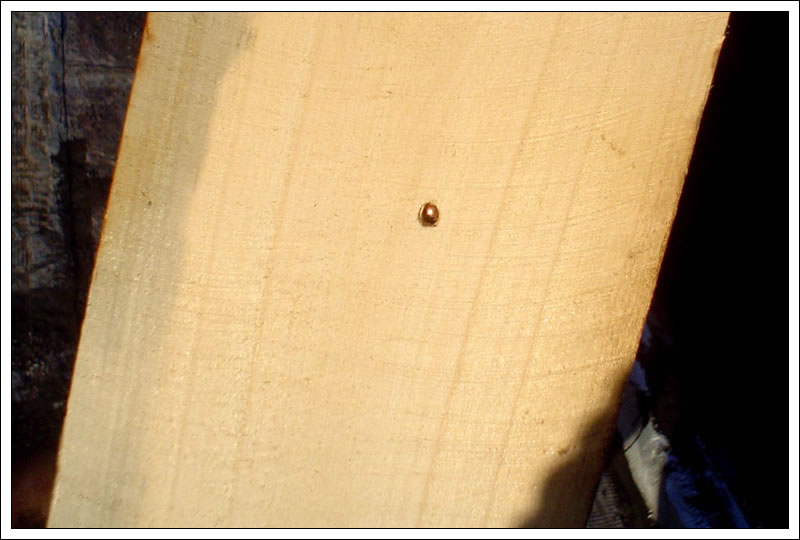
Pellet incrustated on white spruce wood, a soft wood (shot also at 3 meters - 10 ft)
How all the marks/holes were measured.

Sign up for my Newsletter:
http://server.com/WebApps/mail-list-subscribe.cgi?list=79955
Thanks for looking!
Ariel
Here's a link of it in my website: http://www.aescustomknives.com.ar/docs/tutorial11.htm (there's a ton more of tutorials there)
This one is based on that one, but with an extra step, to make sure woods and other harder (but not hard enough to use them in natural) materials can be easily impregnated too.
For the particle board piece I've used for the pictures the previous method would have been more than enough, but I also wanted to show that when you put certain techniques in the equation, you can use materials that otherwise are absolutely no good for knifemaking (Can you imagine a particle board handle for instance? How long would that last and feel?) At the end of the pictorial there's a piece of Haya wood that I've also impregnated using this method.
Now with the process!
This is the vacuum chamber I've made for this process. It's a 4" diameter iron tube with the back end closed with a welded flat and the front end threaded to accept the cap you see on the pictures.
It has two different connections, the "V" marked one is the one connected to the vacuum pump. The glass in the middle acts as "trap" in case resin gets sucked in. This way, if you use too much, it gets trapped in the glass instead of messing up the compressor. The connected vacuum gauge will measure the pressure in the vacuum chamber when the compressor is running.
Connection marked with a "P" is for the compressed air I'll use later.
Here's a particle board piece that has already been drilled (5/16" diameter, 3" deep) and threaded to accept the vacuum tube. It weights 1.62 ounces.
Connected to the vacuum tube via the threaded tip.
I then put the block of wood inside a plastic bag with 50 grams or poliester resin (with 10% added styrene monomer to make it liquid enough) and seal the bag with tape.
Note the difference as soon as I start the vacuum compressor.
Once I have that set up, I place it inside the chamber and close it using the threaded cap. The vacuum gauge now meassures 18 linear inches.
After about 1-2 minutes, I close the vacuum connection, remove the tube for easy manipulation of the rest of the stuff.
Now this is the second step that makes a difference. When I open the intake for compressed air and apply 5 ATMs (70 lbs per square inch) for about 4-5 minutes, this forces an even deeper resin penetration before it gets dried up (about 6 minutes for the resin I use)
Once the resin gets hardened, I stop the compressor and open the cap to retrieve the piece.
Particle wood out of the bag, already impregnated.
Difference between the original weight and the after-impregnation weight: 1.13 oz
Comparo between a regular piece of particle board (left) and a impregnated and polished one (right)
Particle board, grainy, super soft wood, after impregnation.
Haya good, semi soft wood, after impregnation.
Hardness of the impregnated wood tested in a non conventional way
So I've picked a Gamo CO2 PT-80 (400fps) pistol and shot round .177" copper pellets to several woods at 3 meters (10 ft)
Depth of the mark made in the impregnated particle board: 0.0141"
Depth of the mark made in a regular particle board: 0.0633"
Depth of the mark made in the impregnated particle board (on a lateral): 0.0389"
Depth of the hole made in a regular particle board (on a lateral): 0.1925"
Depth of the mark made in a regular piece of Guayacan (a hard wood): 0.0338"
Depth of the hole made in my own made micarta: 0.0114"
Close up of the mark in the micarta.
Pellet incrustated on white spruce wood, a soft wood (shot also at 3 meters - 10 ft)
How all the marks/holes were measured.
Sign up for my Newsletter:
http://server.com/WebApps/mail-list-subscribe.cgi?list=79955
Thanks for looking!
Ariel