Simple sheath build along

Dennis Morland

KNIFE MAKER
I have had several members ask me leather related questions. I am more than willing to help you out if I can. At best, I am an advanced novice. So take my advice with that in mind.

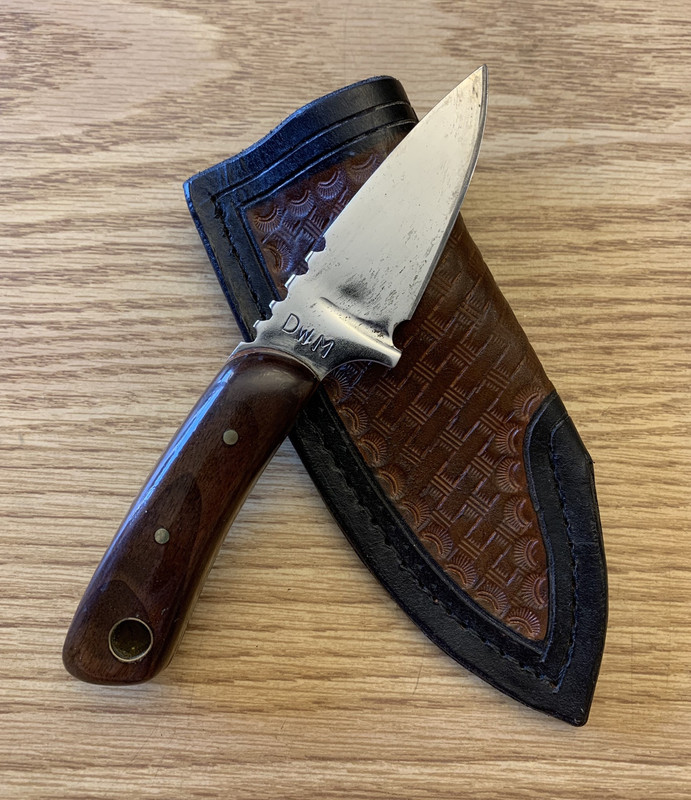
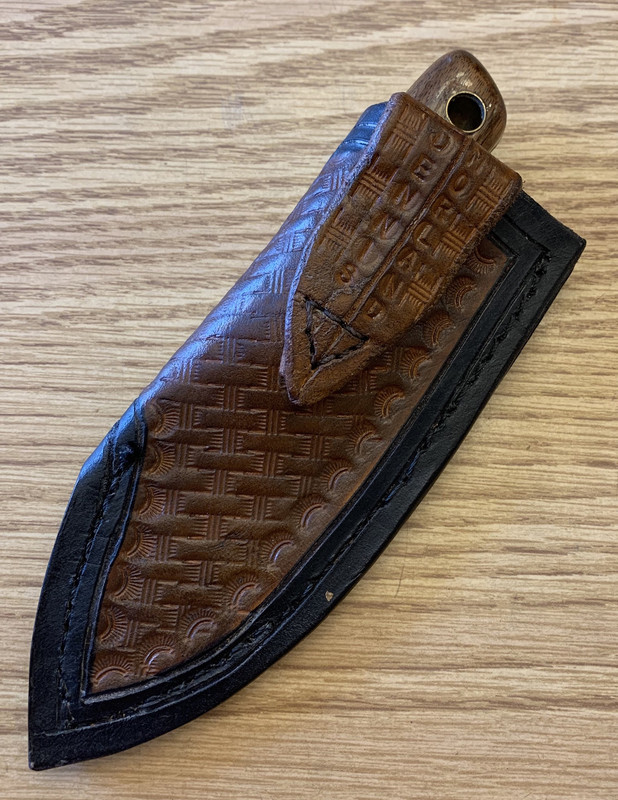
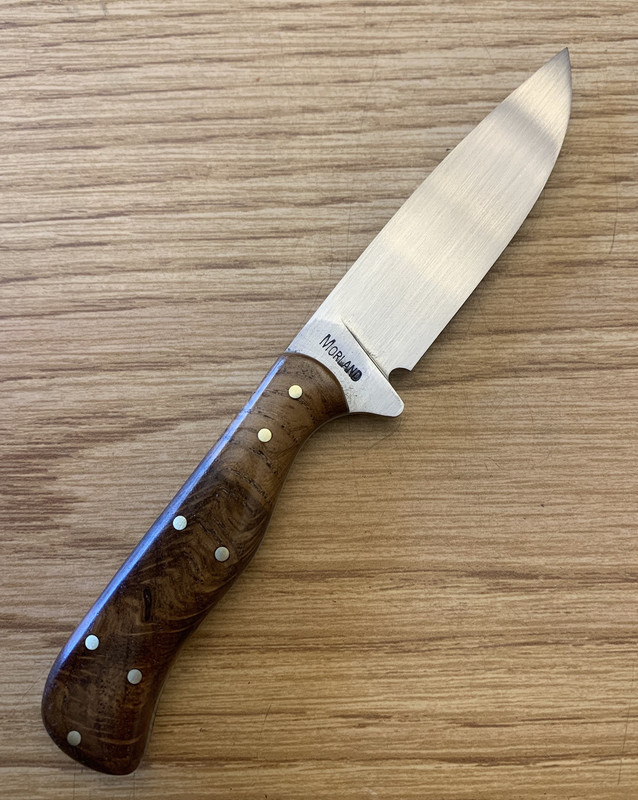
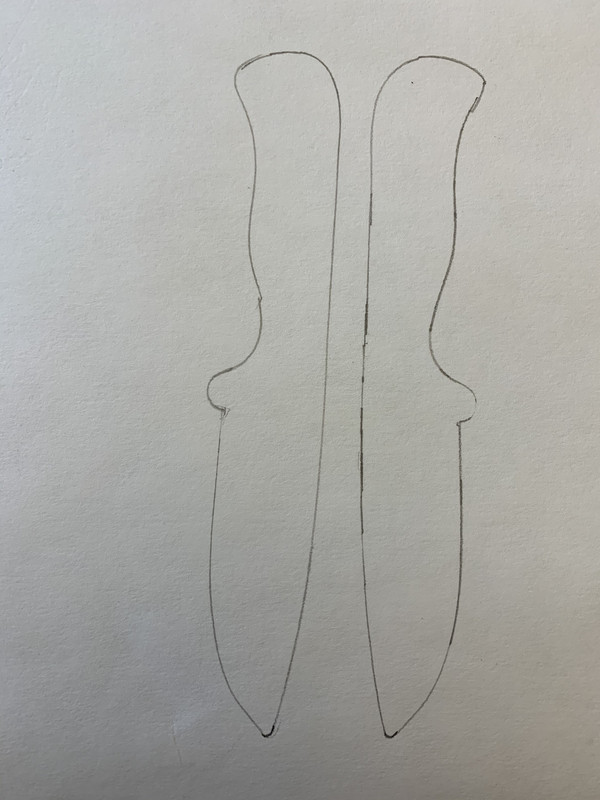
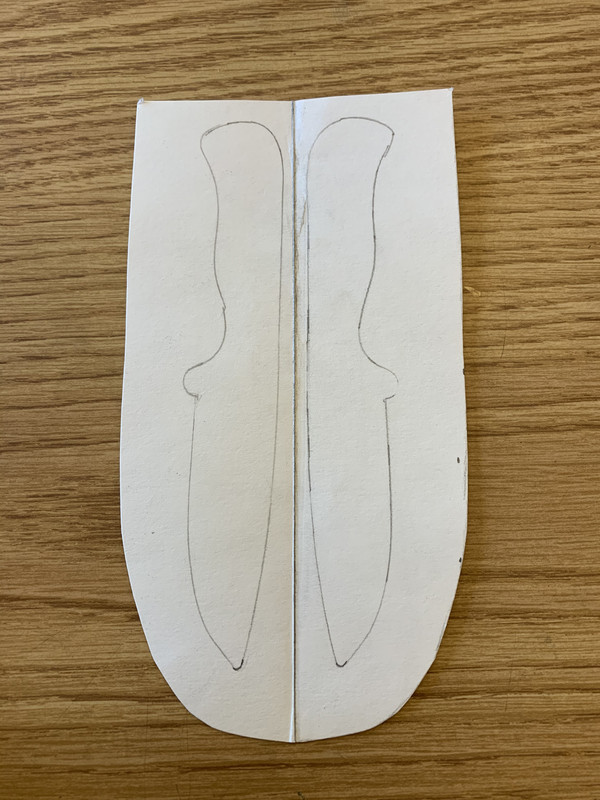
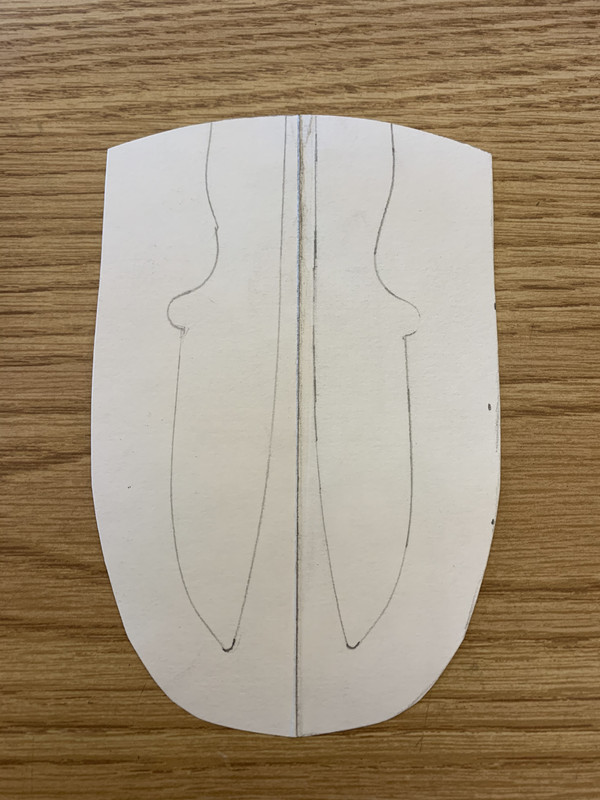
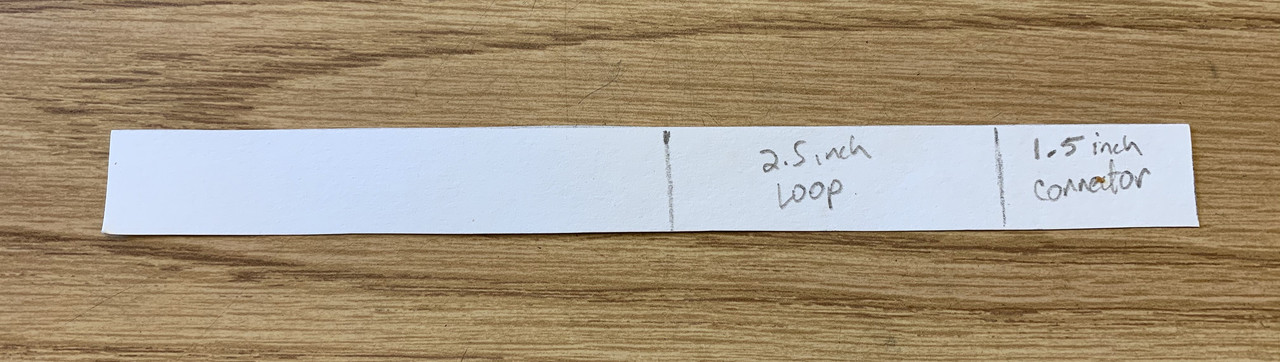
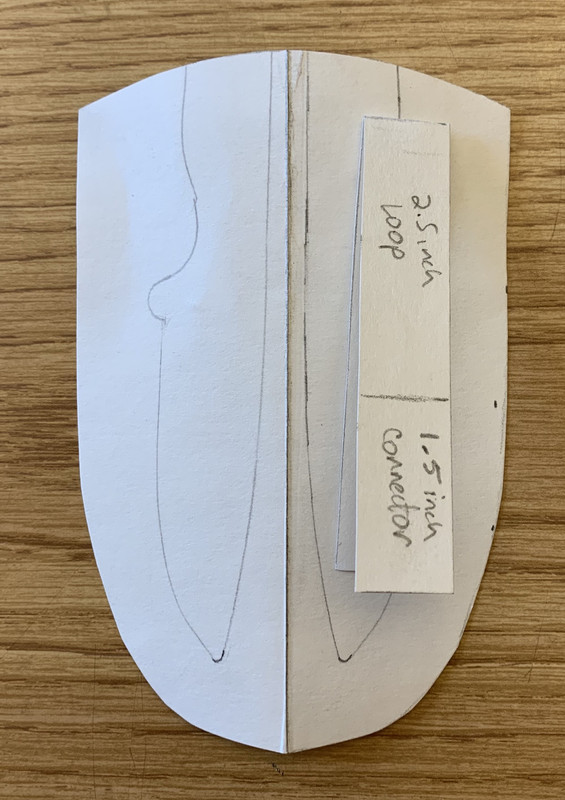
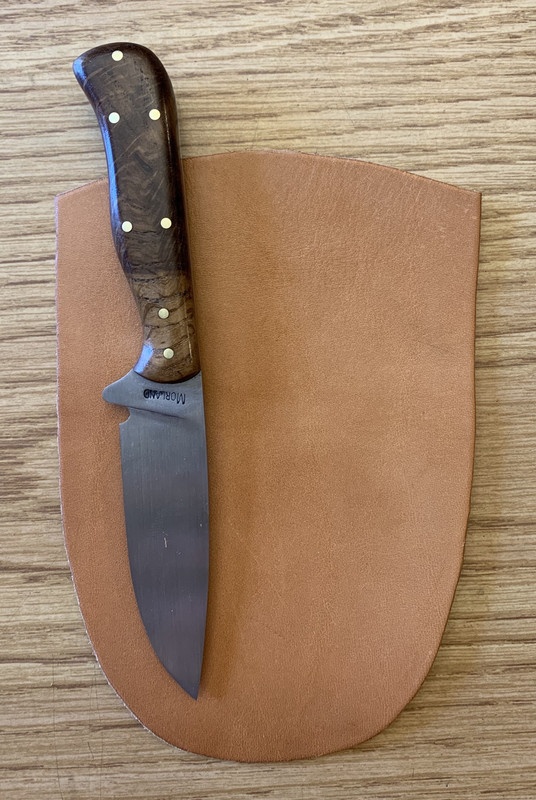
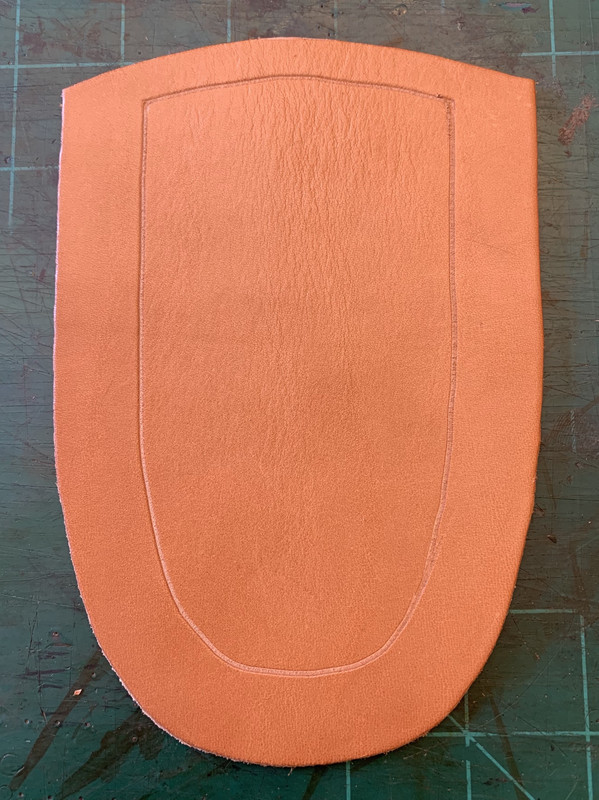
I am going to be making a very simple sheath for a knife that I just completed. I will post pictures and comments on how I build this sheath. Others may differ on their opinions and techniques. Please feel free to post in this thread, ask questions, and share information.
 
A bit of background. This is the first knife and sheath that I completed. It was finished sometime in January, 2012. I will post it to show we all had to start somewhere. I started at the very bottom. No where to go but up. There are so many things that I could have done better. Way too many to point out.

Another reason for posting this sheath, I will be making a similar one in this thread

BB8-BFA29-6-E9-F-409-A-AC20-CAAD4078674-E.jpg


B5751-BA8-04-C1-46-D0-998-F-4-DA65-F1-DECD5.jpg


00777-D87-3689-41-F0-9-C42-01-C5102-FE478.jpg
 
This is the knife that needs a sheath. Not finished yet. It needs to be sharpened and a final clean up. I do not like to have a sharp knife without a sheath. So I make the sheath before sharpening.

64-CE9-BF0-C2-A8-4282-B276-0391-DF0-AC4-BD.jpg
 
I stole this quote from John Doyle. He was talking about simple full tang knives. The same wisdom holds true for the simple sheath that goes with them.


“If you can CONSISTENTLY nail down clean lines, nice curves, good flow/proportions/symmetry and nice fit/finishes, you'll be a MUCH better maker for it on more complex pieces.

And in my opinion, there isn't much point moving on to more complex work if you haven't got a good grasp on the above basics.”

With that inspiration, we shall start with the basics.
 
I draw a line down the middle between the outlines. I fold it on that line. I measure 3/4 inch along one edge and draw a line. Then, I fold and cut on that line. You end up with something like this.

FF0-C2-C07-A4-E5-413-D-BB76-F5-F410-C3-F8-A7.jpg
 
Next, I cut the top of the sheath. I went with rounded. In fact, I used a paper plate and traced it onto the pattern. You can use ice cream bowls, containers, whiskey glasses, beer cans, all kinds of stuff for your patterns.


304303-A4-CCB0-4507-BC53-7746-FBEEAFD5.jpg
 
At this point, I call the pattern (the shield). You will note, I did not leave the flap/flange for the belt loop. If you like a fold down flap for your belt loop you will want to add it.

I prefer a separate piece for the belt loop. The reasoning is it will have the finished outside of the leather showing on the final product. I just think it looks nicer than the inside fleshy side if you use a fold down flap. Personal preference.
 
I normally do not cut out the belt loop. But, so everyone understands and follows along I cut it out. 3/4 inch wide and 8 inches long. I will have a 2.5 inch loop and 1.5 inch connection to the sheath. I will not leave it square. It will get shaped before attachment.

11-B27678-925-E-4478-8340-42-DDB30-FB36-F.jpg
 
Time to pick some leather. There are hundreds of choices. I have not purchased leather in quite a while and I am running low. Some time ago I purchased a deceased makers tools, accessories, and leather scraps. This is one of those pieces. A bit stiff but it should work. My guess is it is around 8 oz. I would prefer around 6 oz. for this sheath. I will make it work.

2-B02-D994-60-F5-4-B9-D-9493-2-F750-E689-B07.jpg


B2-C9-ACE7-6335-4-CA8-9-C0-F-86326002-BF59.jpg
 
Here is an important tip. Wash your hands. Clean hands will not leave stains on the leather. Also, clip your fingernails. Long nails leave nicks and impressions in the leather.
 
Back
Top