Got some more pictures. It's gonna be a couple days before I post some more. I have a birthday dinner with friends and family tomorrow, and I'm working on 3 of these at the same time. 2 are going to Mr. Hurst and the third is the trust ole back up lol. I am going to catch the other two knives up to this point before posting pictures.
I drilled the nail stud holes and sent them off for heat treat to Paul Bos. Now my next step is to start flattening. I pmd Todd Davison for some help on flattening, so I'll pass along what I learned from him.
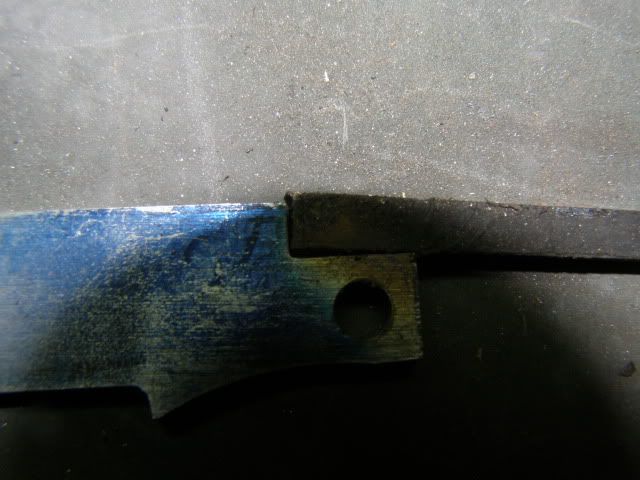
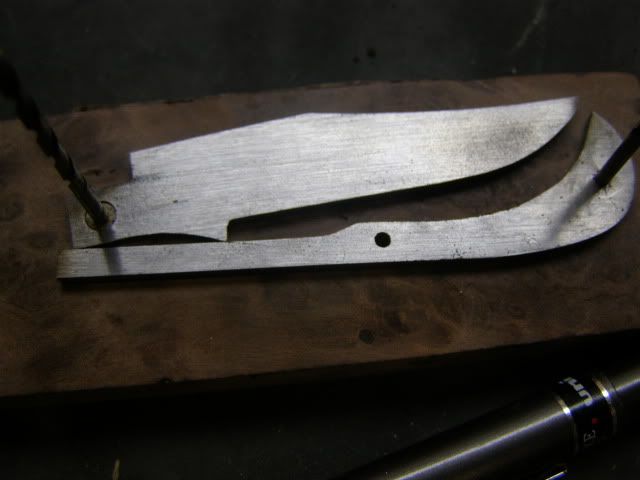
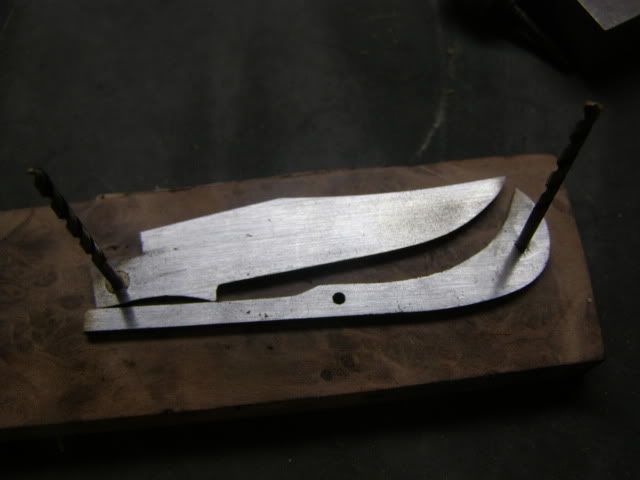
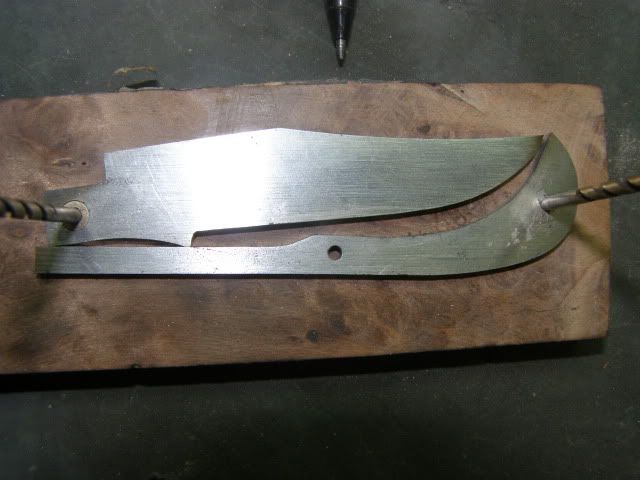
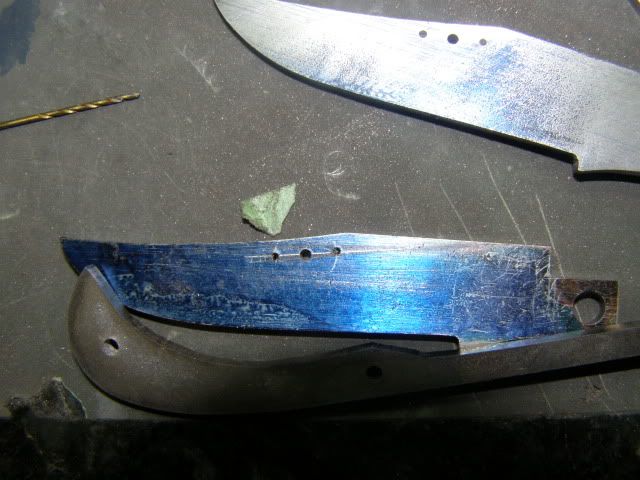
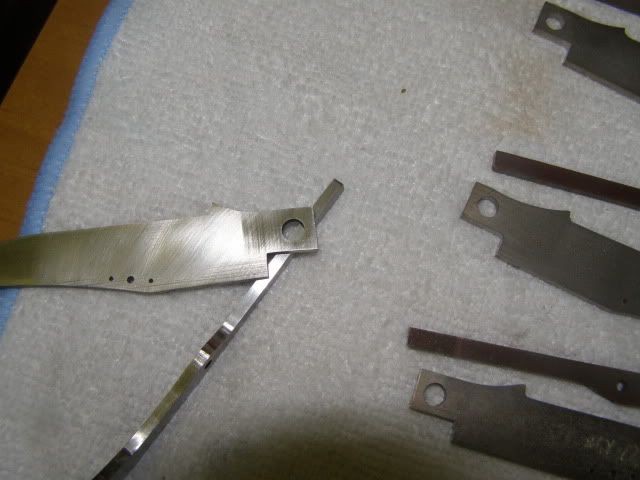
Here they are back from heat treat.
http://s98.photobucket.com/albums/l263/doublearrow/?action=view¤t=knives681.jpg
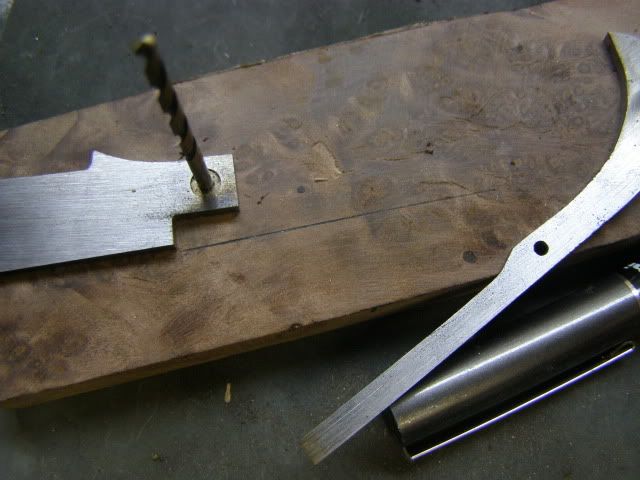
In the top left of this picture you can see 2 of the 3 I am working on
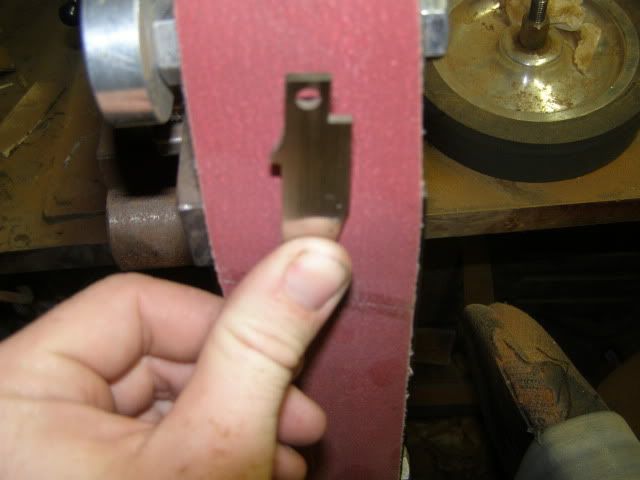
I start with an 80 grit blaze belt, mainly to work through mill scale and the dips and bows from the steel has.
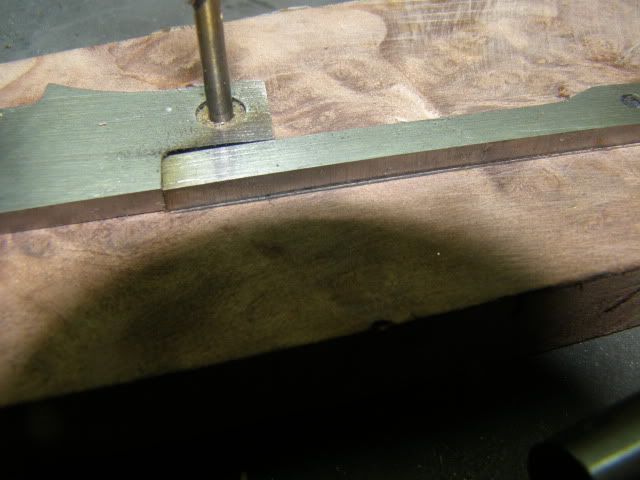
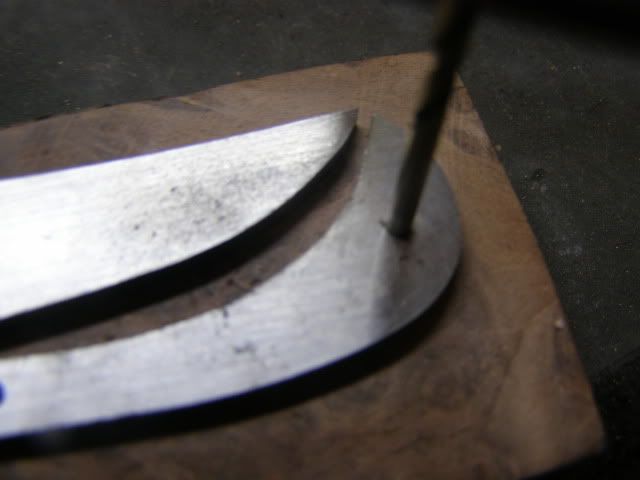
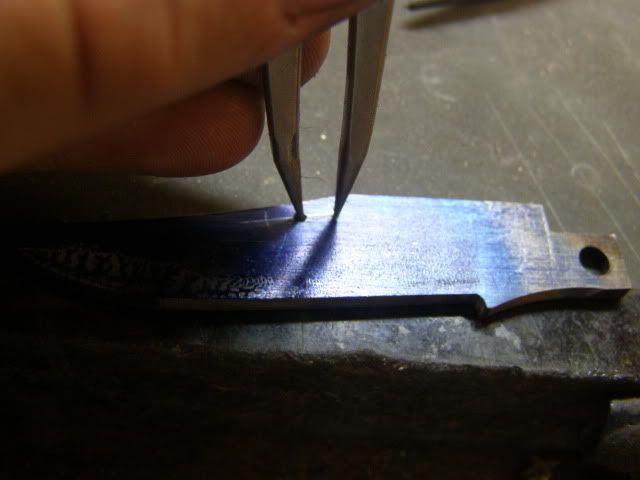
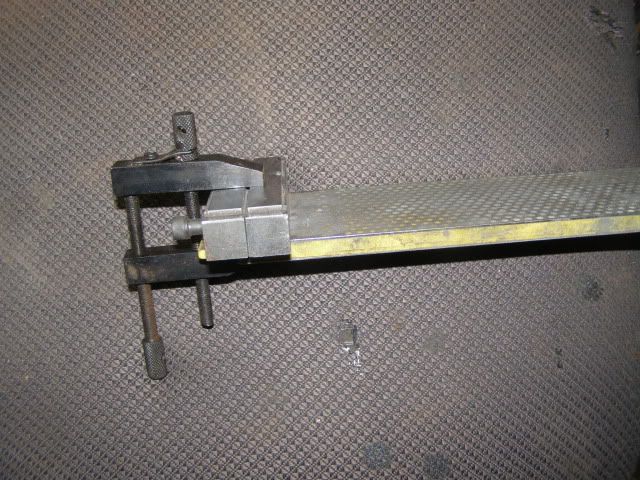
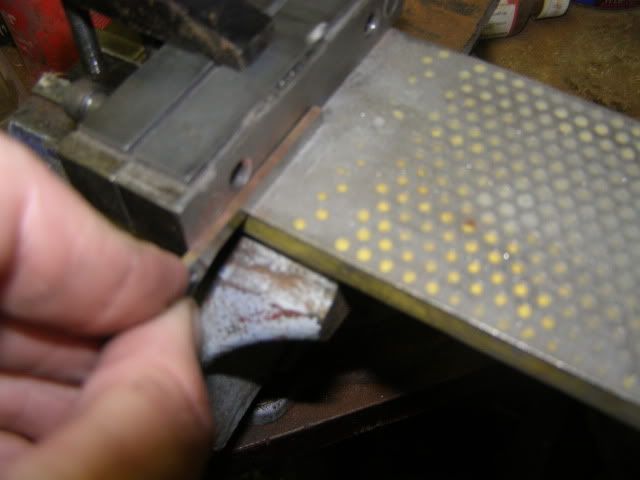
I run the belt at approximately mach 1 to begin with. After that I loosen the drive belt on the motor and drive wheel. What this does for me is, if I put pressure on the platen while flattening grinder belt will stop, or I can put enough pressure that the belt is litterally just creeping. The drive belt is slipping, but I feel this gives me more control over what I am trying to do. I place the part (spring or blade on the platen with about half hanging off the top of the platen like so
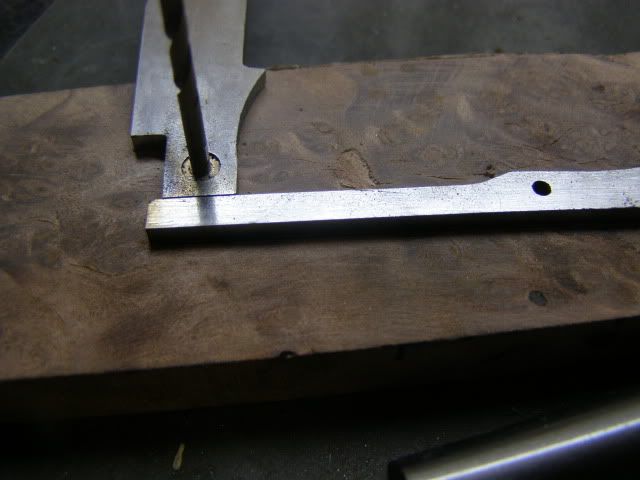
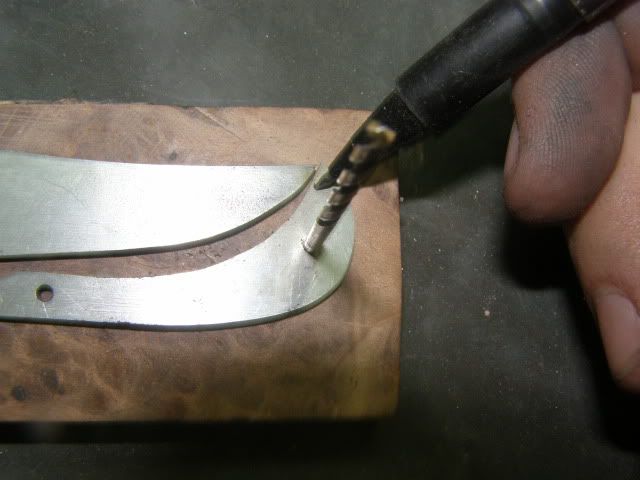
From here I use my other hand and drag the part down onto the platen. For some reason this helps me stop leading in with one side of the part or the other. I can get it laid flat on the platen doing this. I get it down on the platen and move it around it helps not too eat too much off each end.
I take it from 80 grit blaze, 100 grit ceramic, then onto a 220 grit ceramic. When I get to the 220 I really lay into it. Seems to get rid of the irregularities from the previous grits. The whole time I'm going through the grits I'm constantly checking the width on the calipers. Mr. Davidson told me to just worry about the measurement from one end to the other. I was able to keep it within .001. If one end gets to thick or one spot use your fingers and just apply extra pressure.
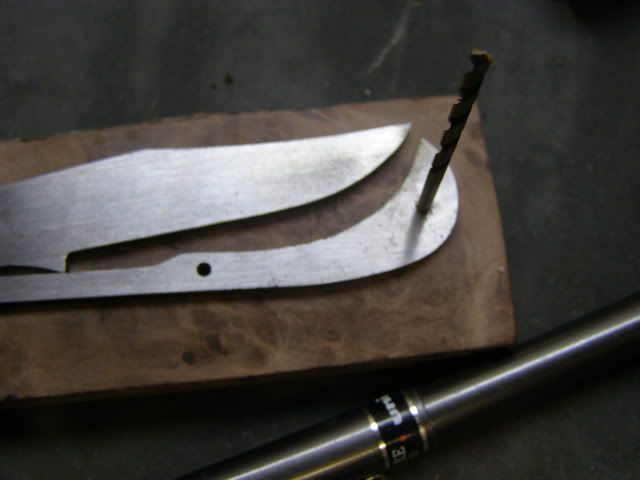
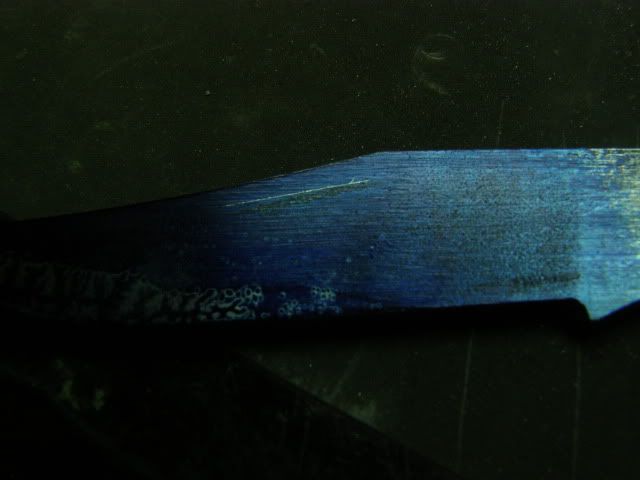
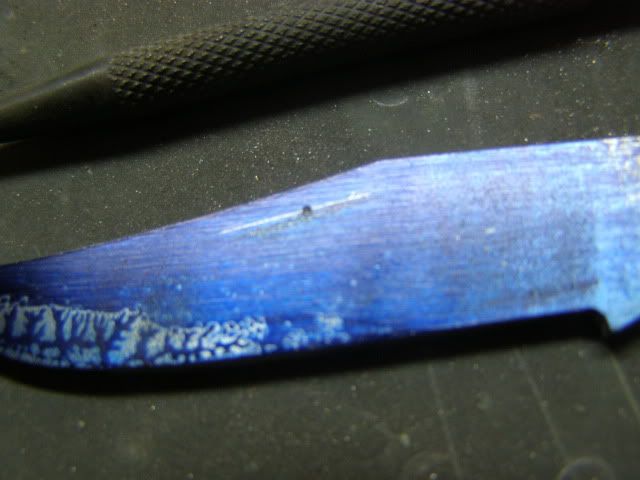
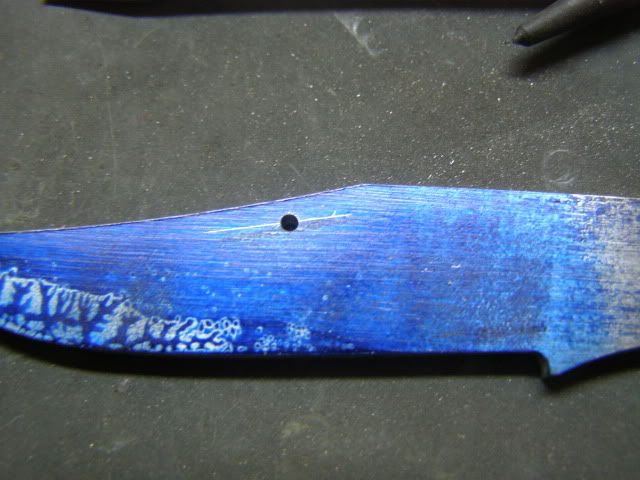
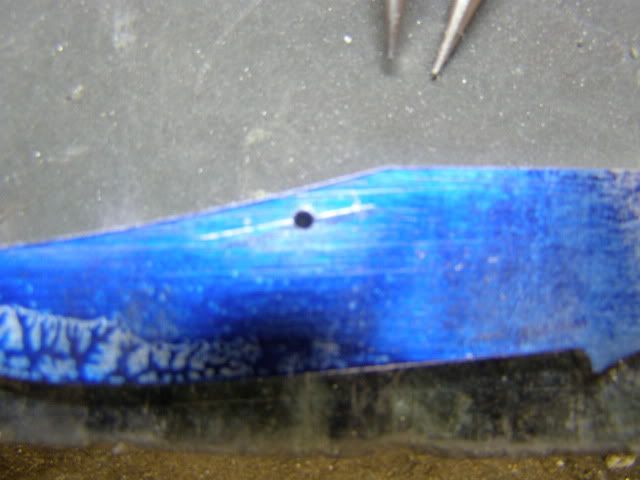
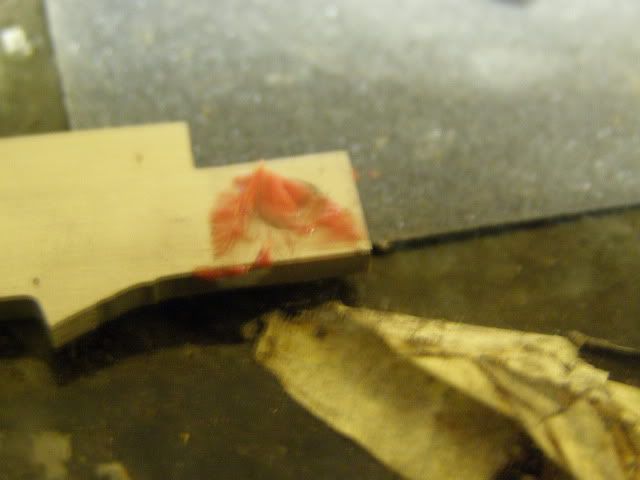
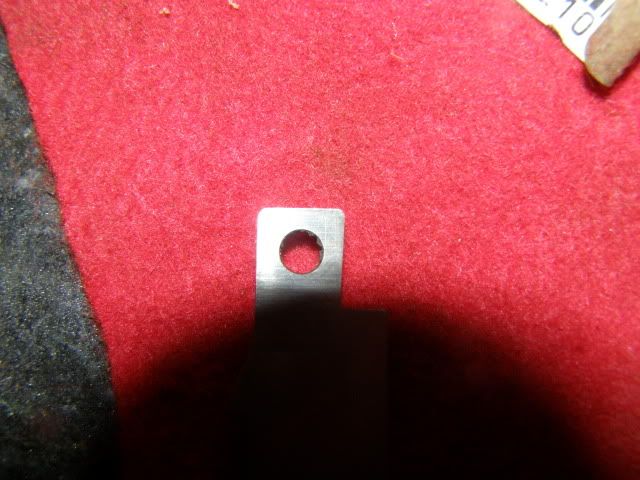
Here is the knife after 100 grit. In this picture you can see where I rubbed it sideways on 220 grit paper and granite plate to check high spots. You can see around the edges where ate off with the belt more, laying into it with 220 grit got rid of most of this. The rest I flatten on the granite later. I got into it and forgot to take a 220 grit belt picture, big difference in flattness.
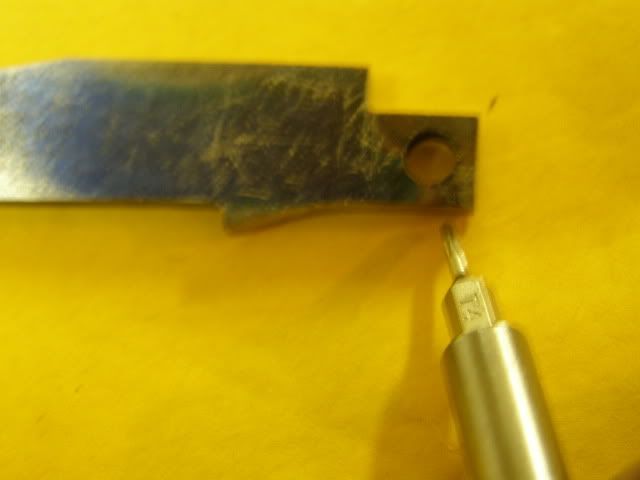
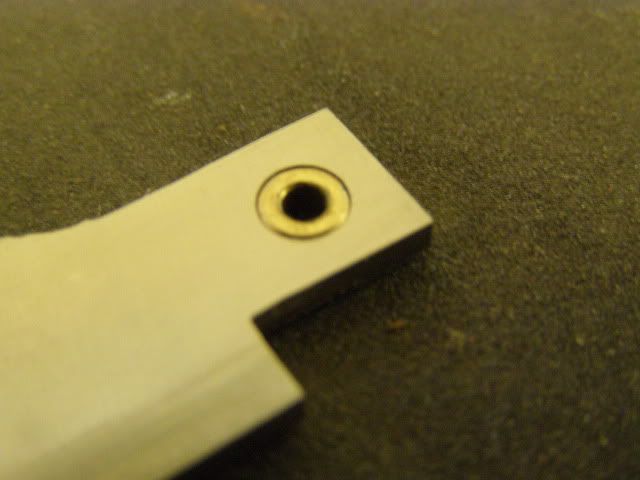
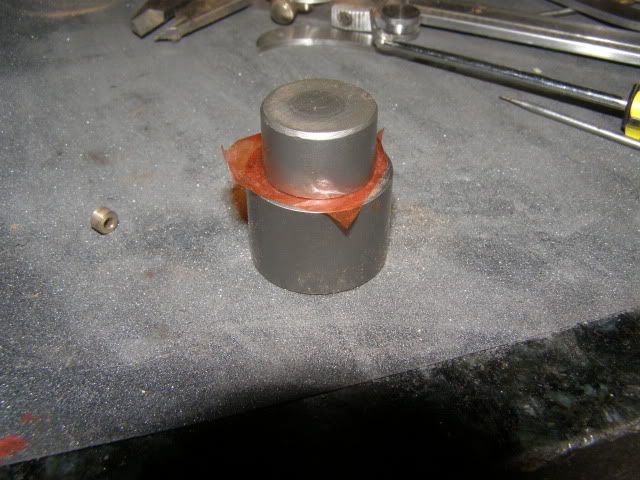
Once it's at 220 grit I start my barrel lap. I do this from the Tony Bose tutorial off of his website. I use phosporus bronze bushings. I'm going to try some later with just a pivot pin and washers I got from Mike Miller.
I start with 600 diamond paste and lap until there is a tight fit with the bushing.
Then I got to a few passes on the barrel lap with 800 grit, from there I do something different than Tony Bose.
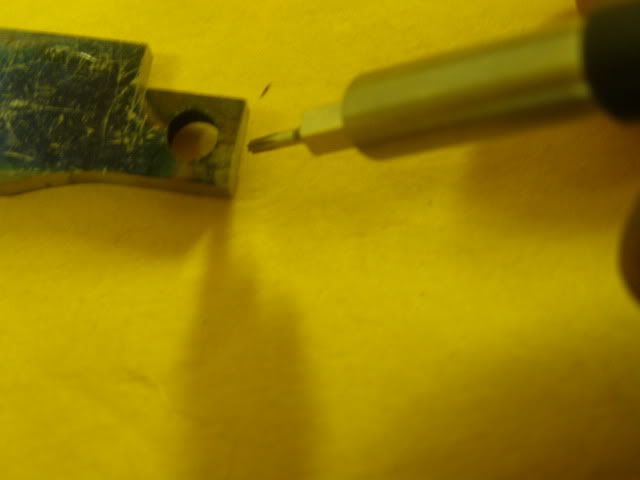
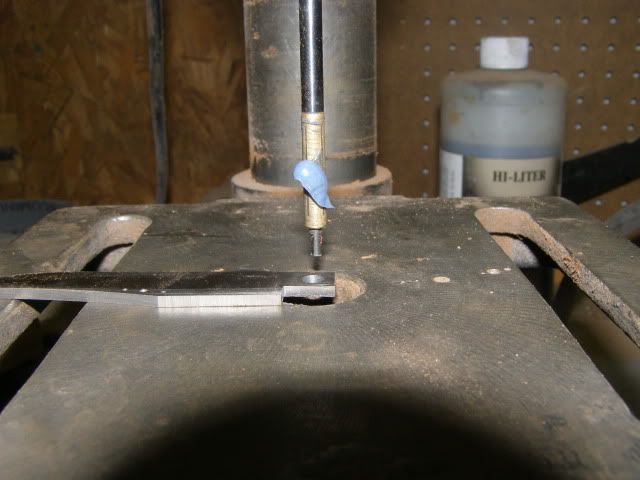
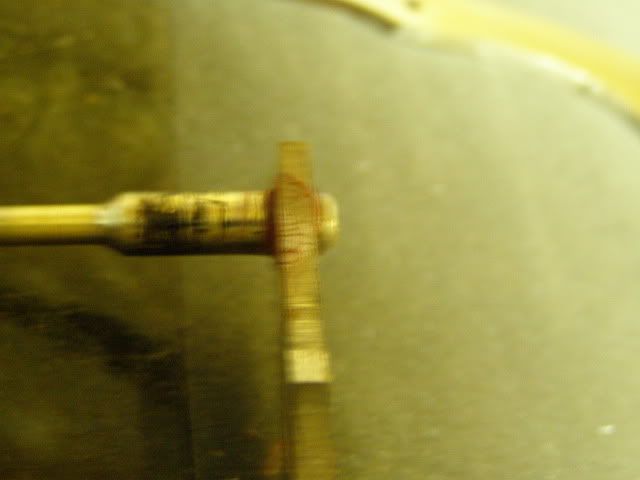
Using the part that holds cutting disc in a dremel I put my bushing on it.
I load up the pivot with 800 diamond paste
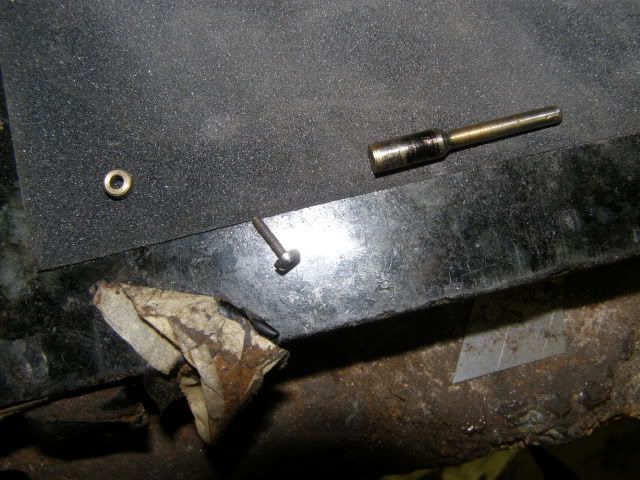
Then I put the screw through the bushing and into the disc mandrel
From here I just lap the bushing by hand. I sometime take them to work and while I'm waiting for guest I'll turn the blade until it's turning smooth on the pivot. Right or wrong it's the way I did it on the two I've done with busings. lol