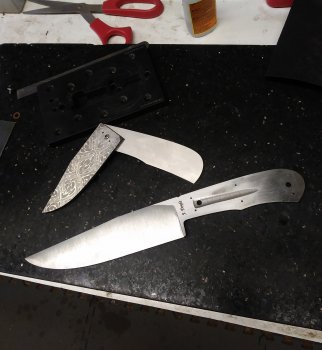
Rusty 1084 WIP-ish?

Thanks for introducing is to Boelube. I found some on Amazon. I’ll be giving it a try because I’m tired of swimming in oil.
 
Ok....back and recovered from the dentist. I always leave that place wanting to punch the first dozen people I see.....just because. :eek:o_O;)

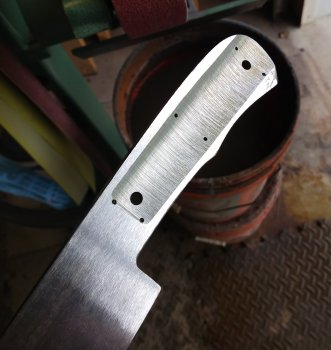
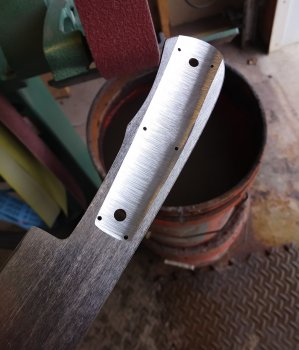
Got the holes all opened up to the proper sizes. I think I'll do removable scales for this so two big holes for the visible screws and 6 hidden dowel alignment pins.

0907181516b~2.jpg
 
Next is prepping to taper the tang. First I clean the all the edges with denatured alcohol. Then I use cold blue to darken all edges so scribed lines show up better. I like cold blue better than layout dye. Its cheaper, locally available and it stays on better during repeating dunkings while grinding.

0907181534~3.jpg
 
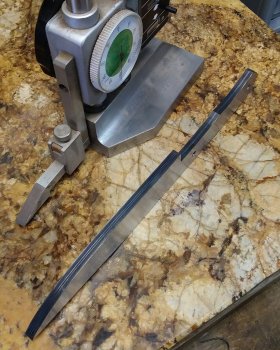
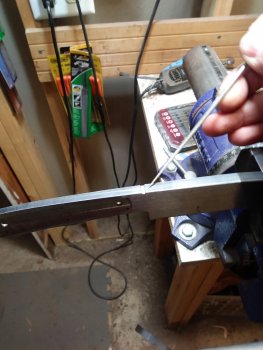
Now I use the height gauge on the granite plate to scribe two reference lines all the way around the profile.

In this case, I'm using lines .030" apart for the handle. So the tang will taper all the way down to .030" at its thinnest.

For the blade, I bumped up to .050" lines so that'll be my edge thickness prior to heat treating. Its thicker than I normally go but I'll detail that decision more in a later step.

0907181700~2.jpg
 
Now that my lines are scribed, I'm ready to taper the tang. I do this before grinding the bevels.

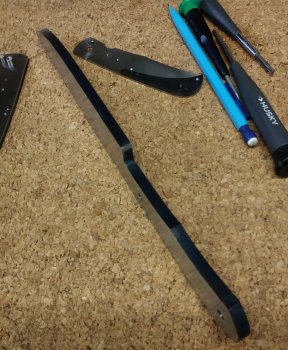
Before grinding the actual visible tapers, I grind a deep trough with a 2" contact wheel to get rid of a lot of the unnecessary mass. I grind this on both sides almost all the way down to my .030" scribe lines on the butt end. Most, if not all of this trough will be ground away during the taper.

When grinding the tapers, It is a lot easier to keep a nice flat even plane if all you have to worry about is the thin little strips on the edges, instead of the whole entire width of a big handle.

0907181724~2.jpg0907181724d~2.jpg0907181726h~2.jpg
 
Found some time finally for making some more progress on this.

There are a couple things to consider before grinding in any tapers.

I'm going to do some sort of filed thumb grip but I'm not sure what yet. This wouldn't have to be done now, but once this blade has heavy tapers on blade and tang, it can be surprisingly tricky to file the thumb grip perpendicular to the center line. So I give myself one true file cut for a sight reference for later, when I decide exactly what I want.1011181452f.jpg
 
Now I can actually grind my tapered tang. I have to consider things like my makers mark. I stamp instead of etching. If I was etching my mark, I could do things a bit different.

Its easier to stamp my mark on the show side if the back side is still flat. I have to stamp after tapering the show side, so I do that side first, all in one shot.

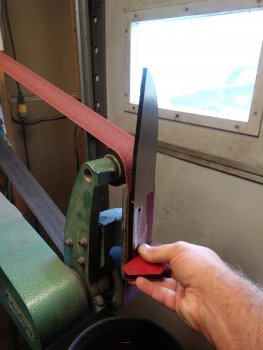
I hold the blade vertically on my flat platen and grind the butt end of the knife down to my .030" scribe line. I use a small welding magnet for extra grip and control.

1011181455h.jpg
 
So with a 60 grit belt I taper the show side and chase the taper out towards the blade tip, a little past the plunge line. Now any inconsistencies and sharp transitions will be ground away when I grind the bevels.

1011181455s.jpg
 
I'm gonna have to try a tapered tang one of these days, but I'm a little skeered.

I always thought you did it after grinding the plunges and whatnot, but your way makes more sense to me. Looking forward to seeing the next steps.
 
How thin do you bring the rear taper to on a full tang?
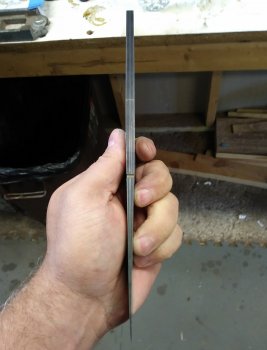
I try to go really thin. I like the REALLY dramatic visual a drastic taper adds. This one is down to .030".

I don't like it when I see a tapered tang advertised but I have to study it hard and wonder if it is or not.

Also, personally, I don't see much point in tapering tangs that are around 1/8" or less.
 
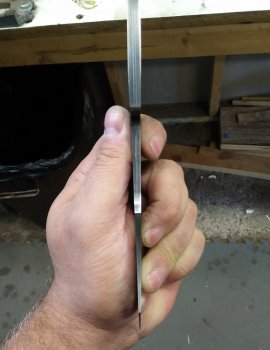
Here's the tang all tapered....nice and thin. It ended up about .025" at the thinnest spot on the butt end.

This was over 1/4" thick stock. Before tapering, it felt EXTREMELY clunky, heavy and awkward. Now its WAY blade-heavy....which is good for now. After the bevels are ground, it will have a lot of mass near the ricasso/plunge area and spine but sharp tapers both ways. This will make a blade that is both strong and nimble. It will handle like a feather but hit like a lead pipe.

1012181417f~2.jpg1012181417a~2.jpg
 
I got the bevels rough ground on both sides and this blade is ready for thermal cycling and heat treating.

The tops of the plunge lines have an odd shape now because of where I terminated my tapered tang. The shape and sharp, steep angle at the plunge tops also tells you that there is drastic sudden distal taper to the tip of the blade. This will all get cleaned up and blended nicely when finish grinding and grinding the clip post heat treat.

This blade is now very balanced and fast feeling due to the tapers but also has a perfect 'heaviness' in the sweet spot of the belly due to the mass still in the ricasso and rear spine area. It will be capable of delivering a lot of power for a relatively short blade.

1012181607d~2.jpg
 
Back
Top