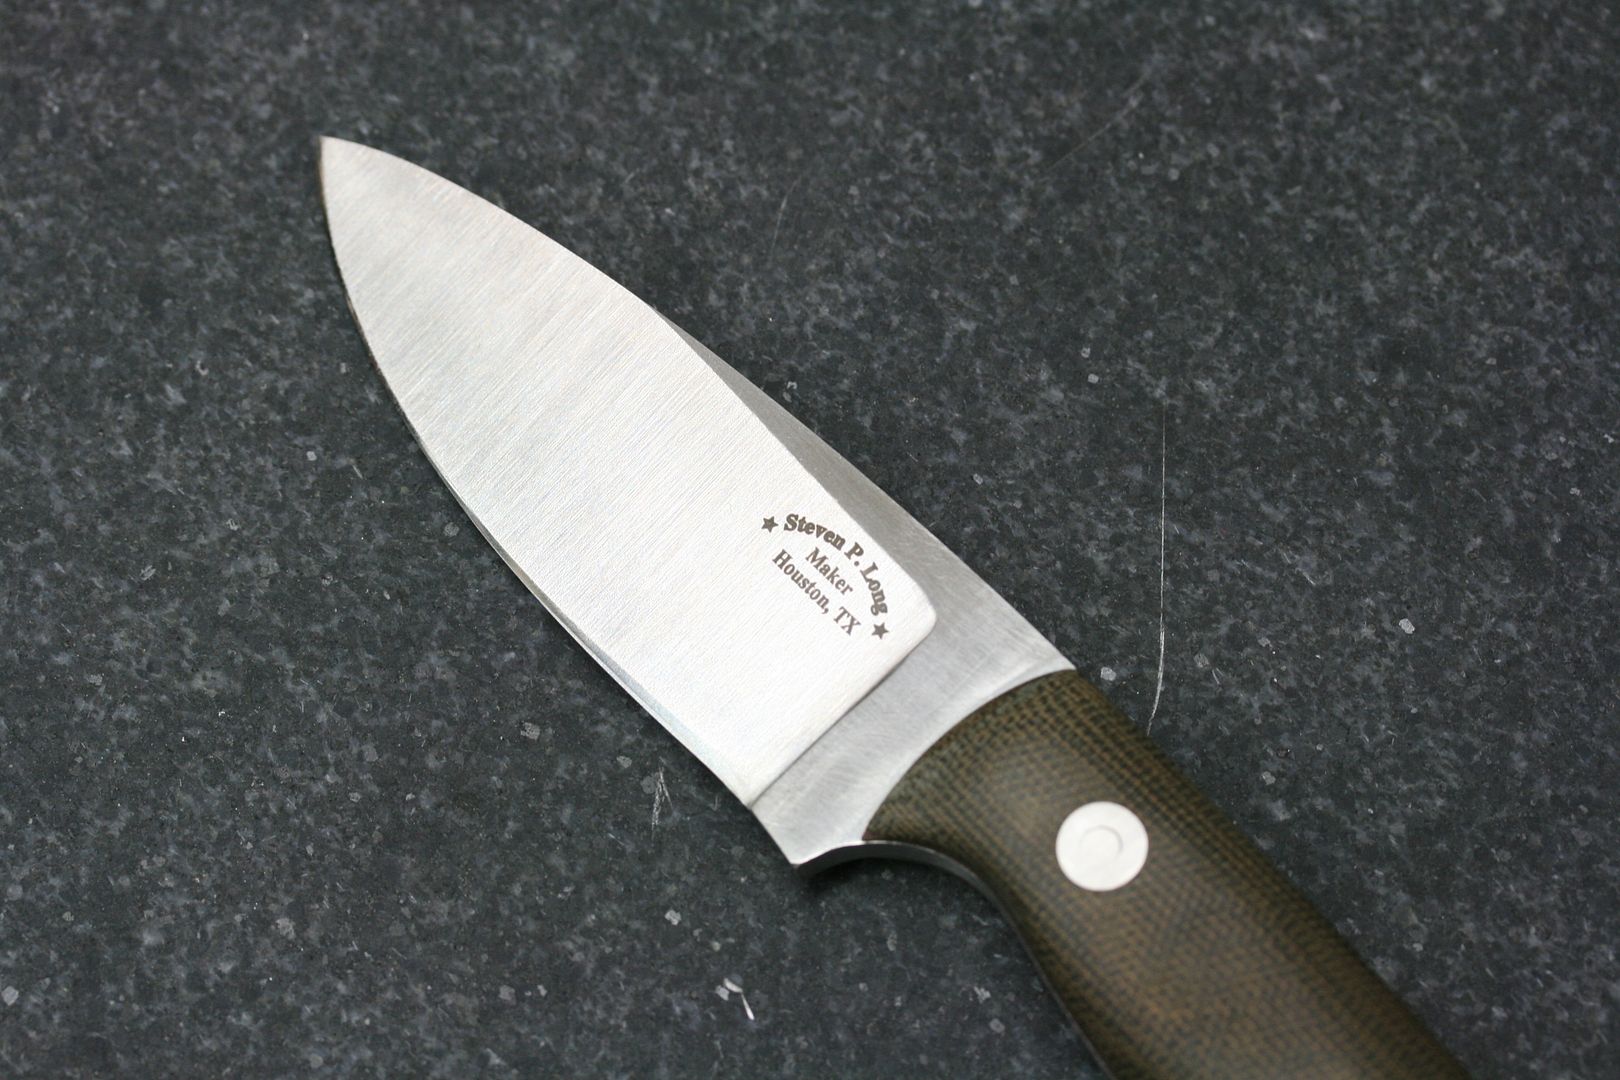
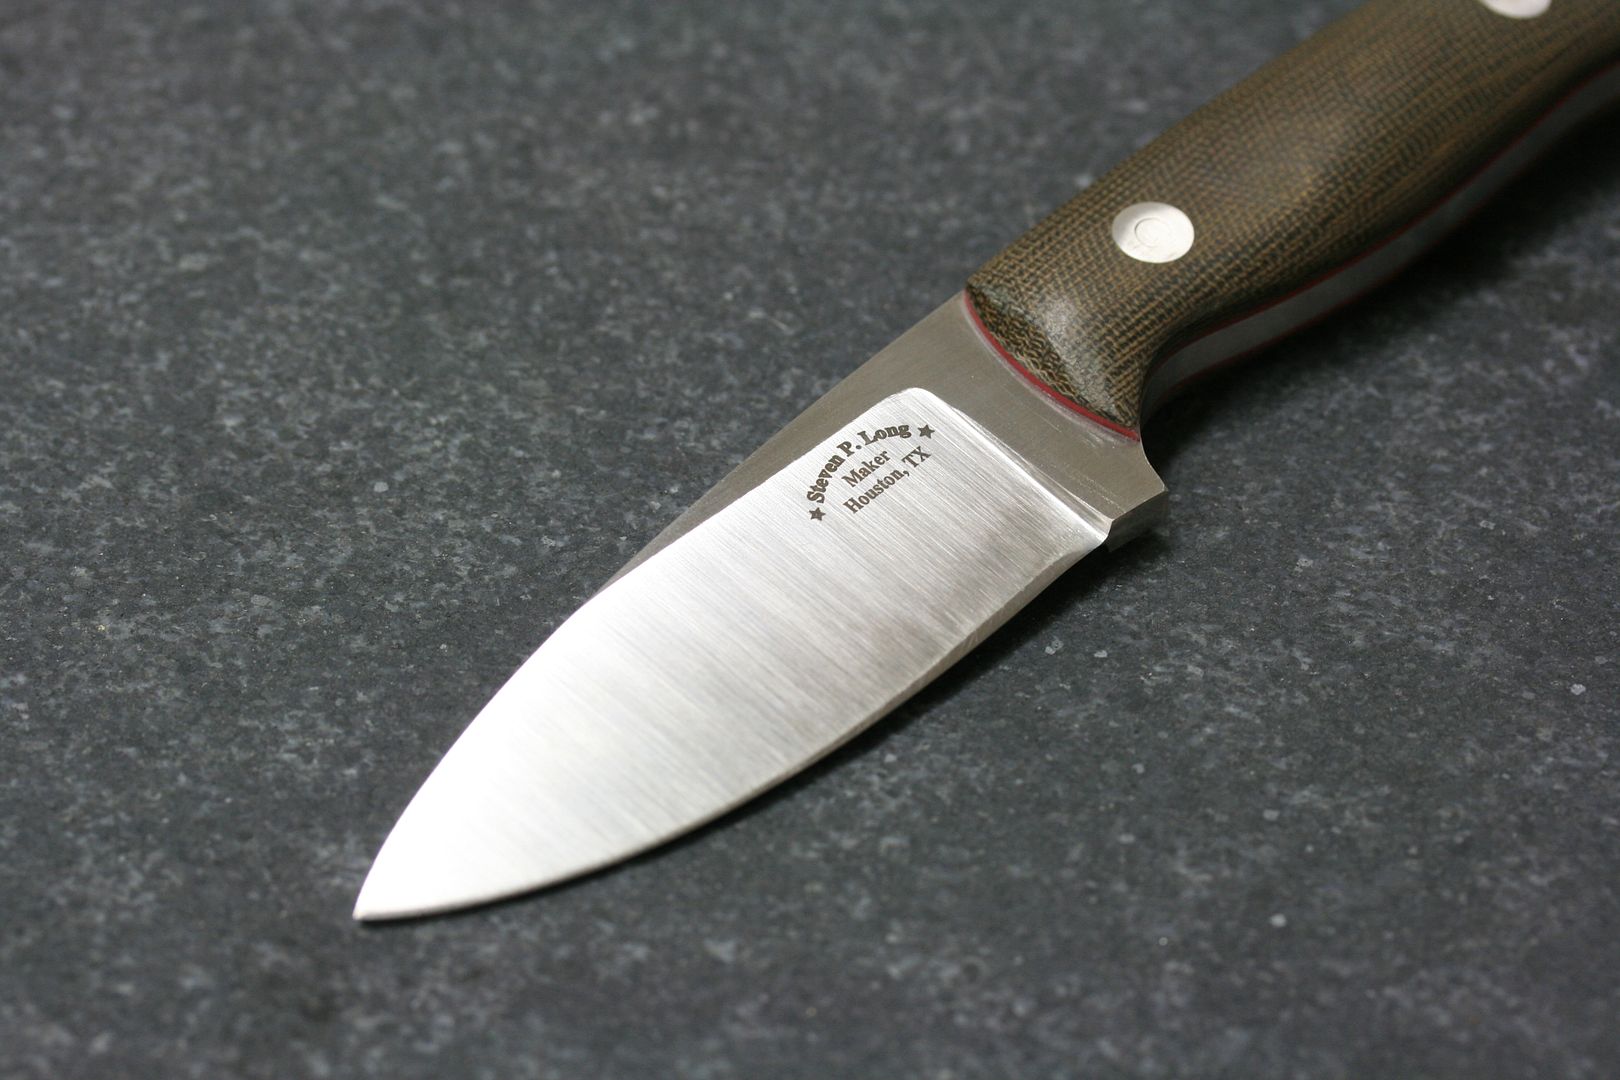
rhinoknives
Well-Known Member
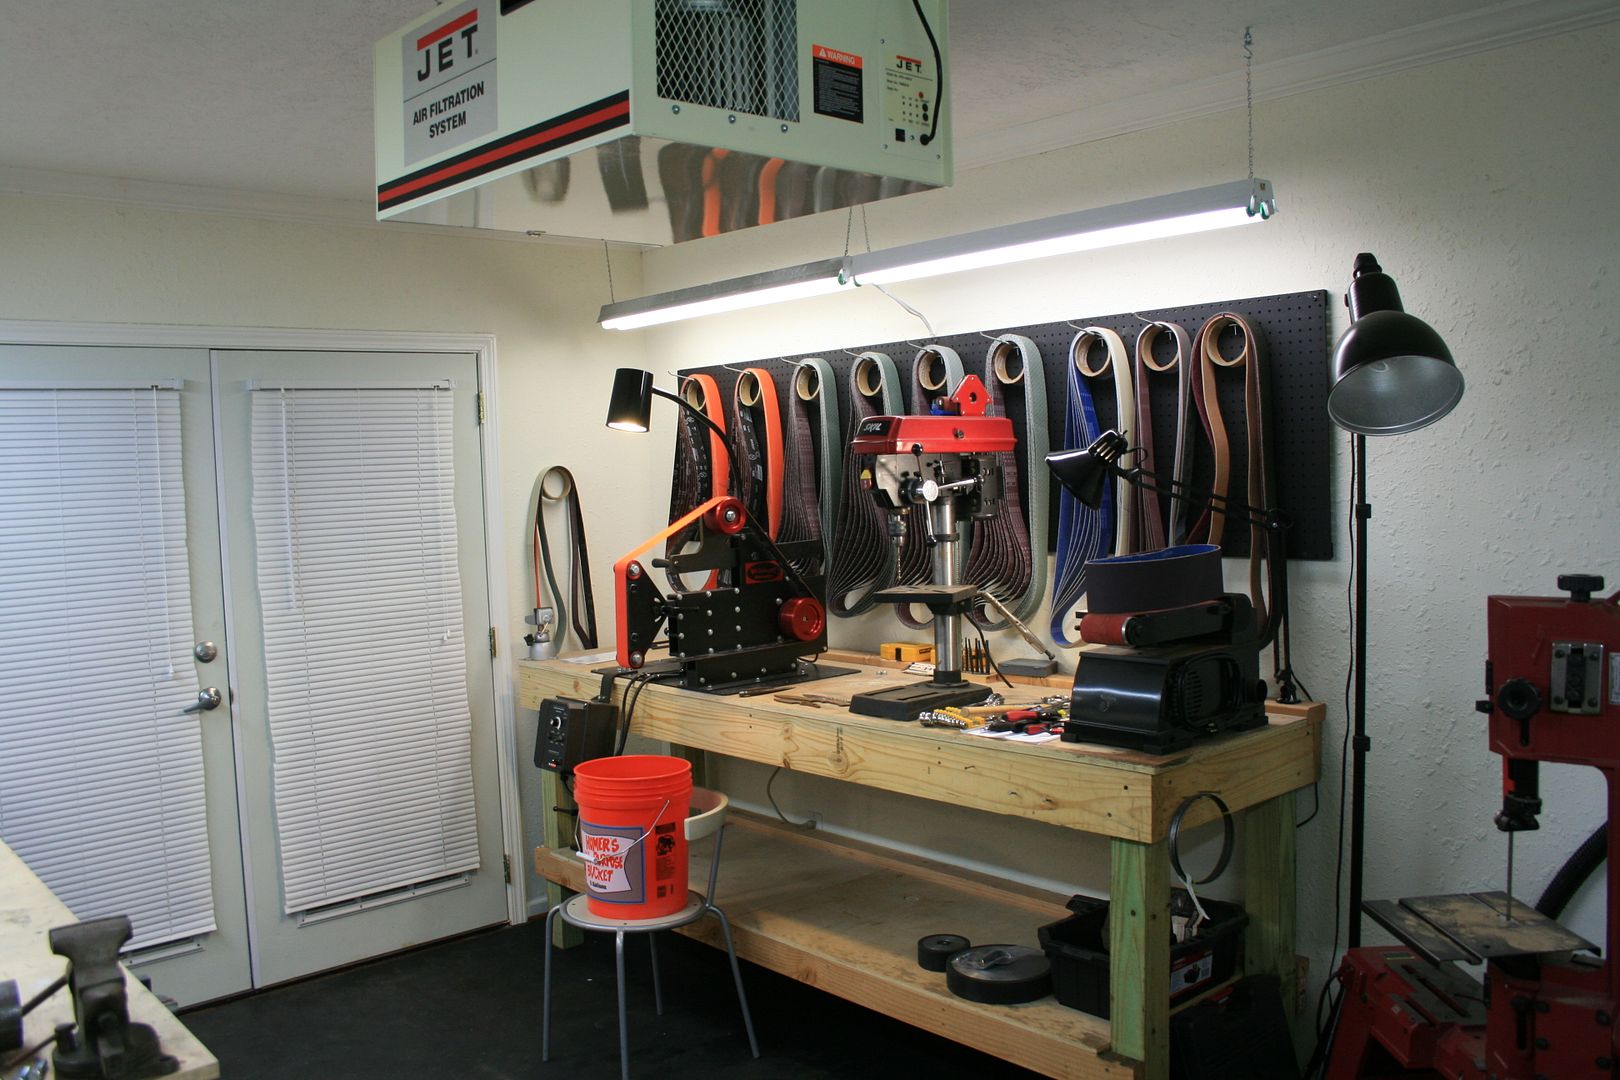
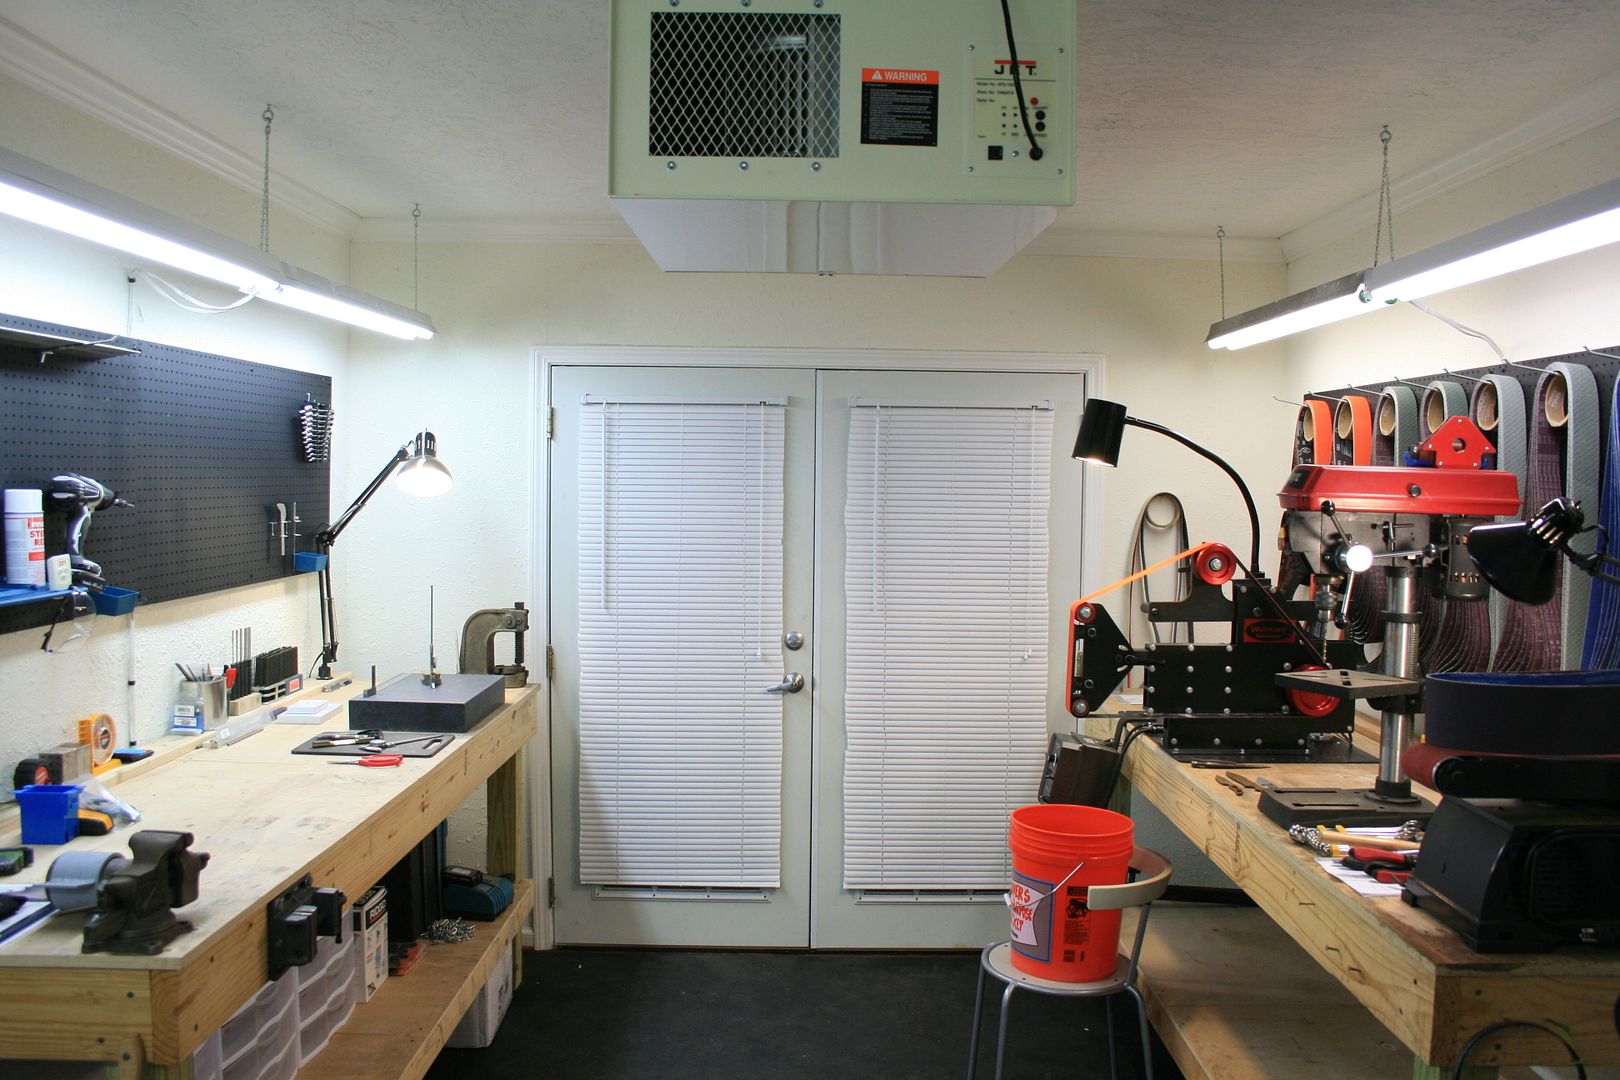
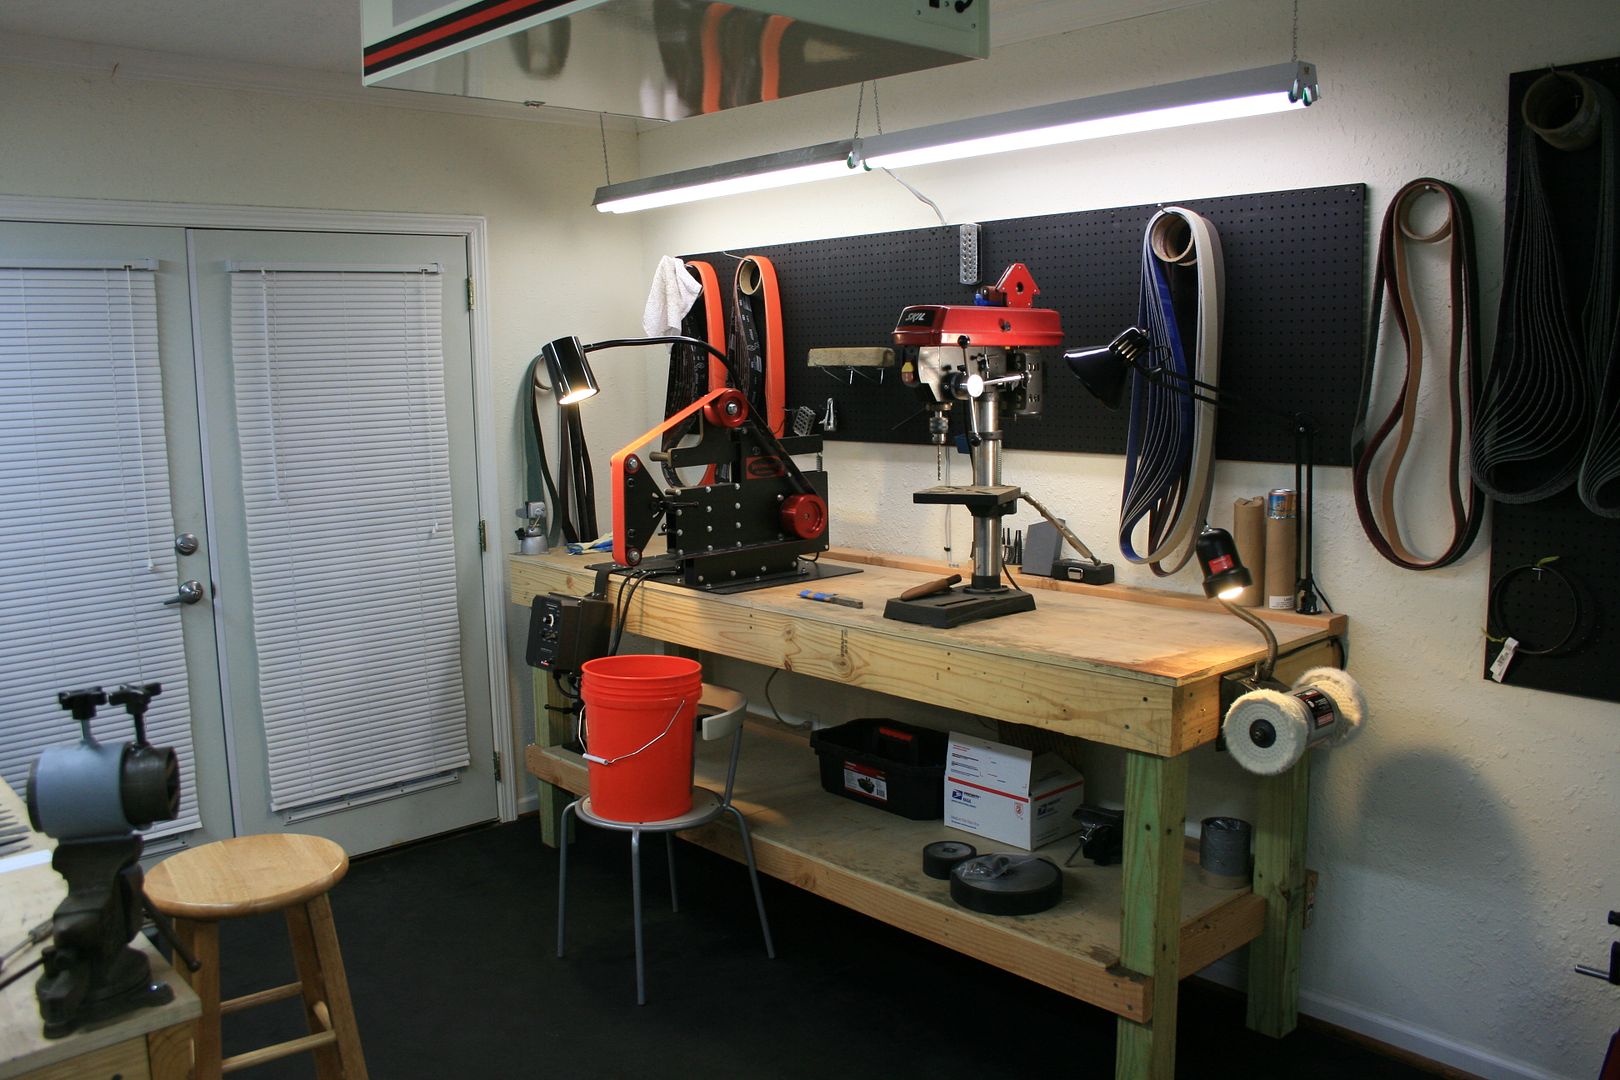
Dirty side? LOL.
Your shop is far to clean! Get out there and grind till there is dust on every ledge and that white paint becomes eggshell brown!
Laurence
www.rhinoknives.com
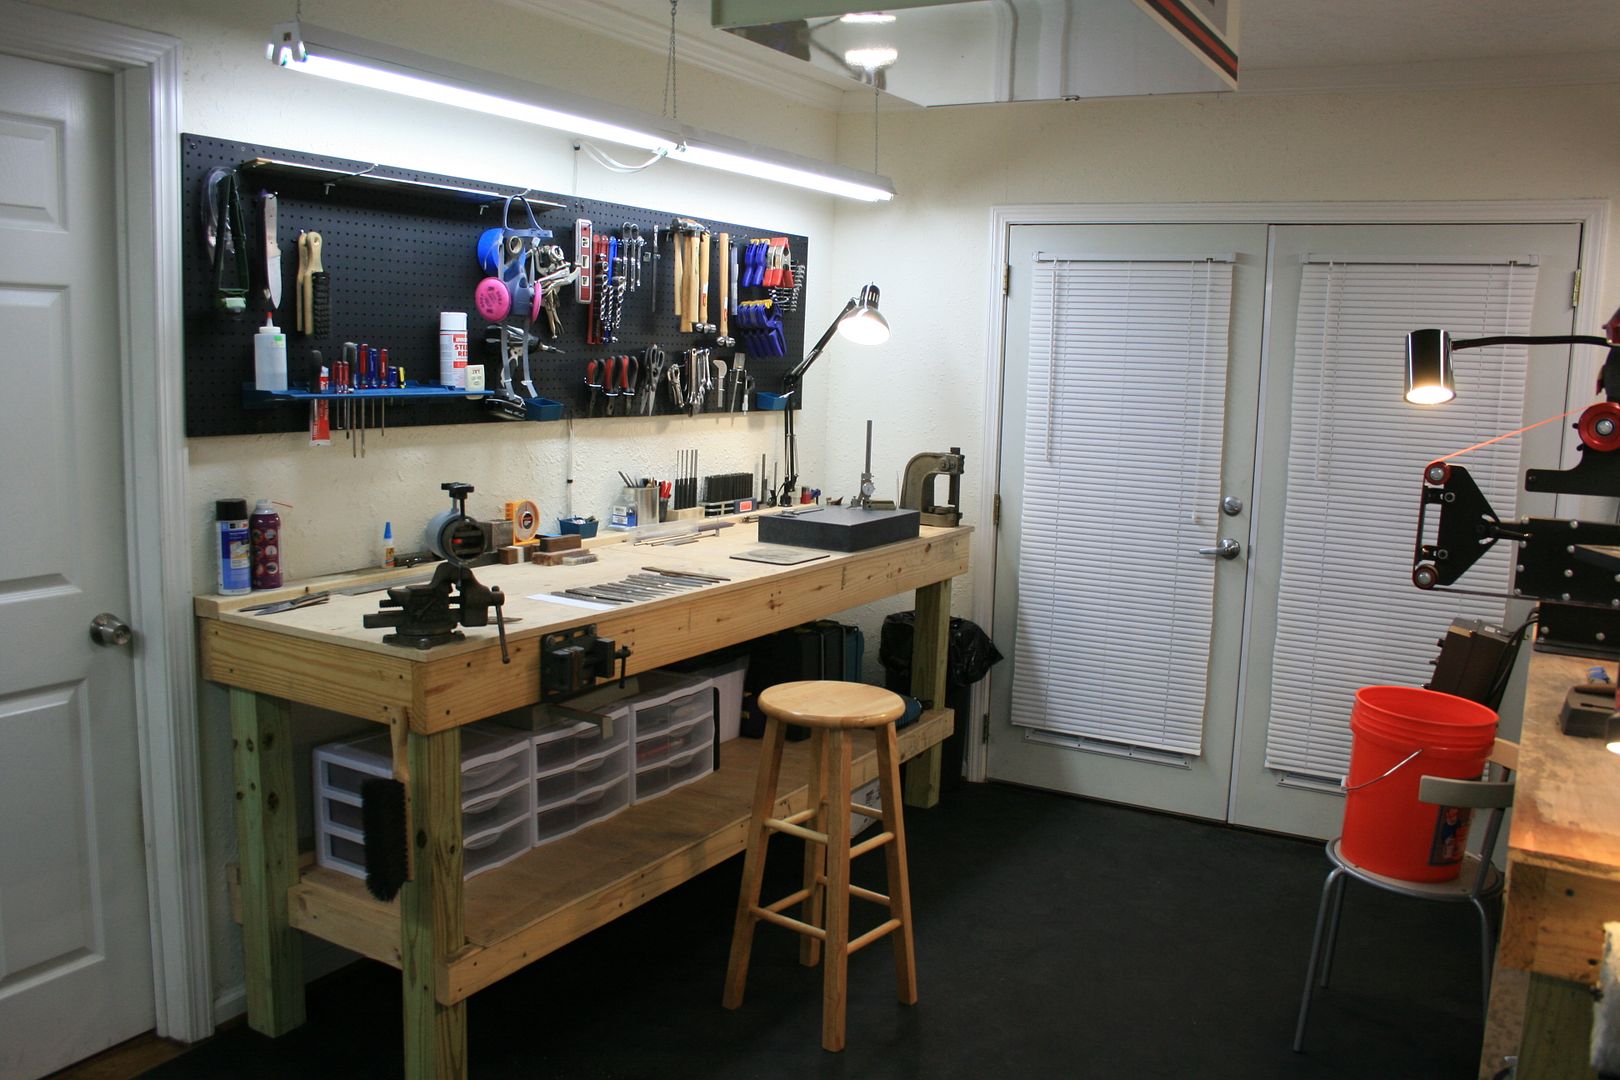
Your shop is far to clean! Get out there and grind till there is dust on every ledge and that white paint becomes eggshell brown!
Laurence
www.rhinoknives.com