BrandantR's KITH WIP

BrandantR

Well-Known Member
Greetings, my fellow Knife In The Hat participants! I'm excited to be taking part in this years KITH knife exchange. I had the pleasure of taking part in the last one held a couple of years ago and had a great time and made some friends along the way. I'm sure that this years exchange will be even more special.

It seems like the growing trend from the other participants is to get some feedback on the type of knife that they would like to receive in the exchange. I figured I'd lead off the same way before I commit to a build. Although I've kind of found my niche in gentleman-style liner locks, I've also made camp knives, hunters, kitchen knives, and other styles of folders in my knife-making adventures. I'd sure hate for someone to be disappointed to get my name on selection day because it's not a knife they would like, so I want to make sure I bring something to the table that another maker would want.

So, the big question is, what kind of knife would you guys most want from me?
 
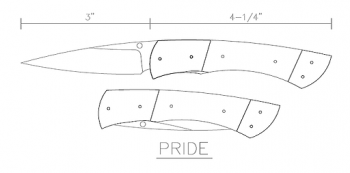
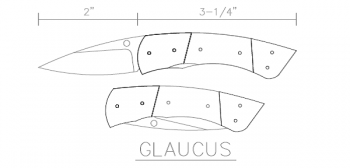
With the exception of the sword vote, thanks Anthony LOL, looks like the folder wins out. So, folder it shall be. That's a good thing since that's what I know best and am most passionate about. I've narrowed it down to two of my designs that have been really popular. I call them "Pride" (as in a pride of lions) and "Glaucus" (a Greek sea-god who rescued fishermen).

Pride.png
Glaucus.png

The first design "Pride" has a nice slim profile with a sharp spear point blade. It does pretty much anything you want it to do from digging out splinters to cleaning geese and feels really good in the hand. The second design "Glaucus" has a 2" drop point blade with a nice belly. I made it small enough to fit in the coin pocket in a pair of jeans and is the only knife that I carry on a day to day basis. It's a little workhorse.

So, which one would be most appreciate by my fellow KITH participants?
 
Both look like great design. I would be happy with either. But, if I had to give an answer I think I would fall off the fence towards the glaucus.
 
Alright, Folks. It's time for me to get started on my KITH knife. I decided to build a Glaucus design knife. It's a great little design and I carry one in my own pocket each and every day. Let's get started with the WIP. I'll try to post pics from every step along the way. Hopefully it will help someone who's starting out making folders.

20180912_235720397_iOS.jpg
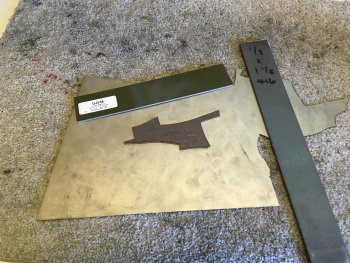
This build starts off like any other, with the selection of raw materials. The blade will be made out of this small cutoff piece of 0.1" thick CPM154. The liners will be made out of 0.050" thick 6AL4V titanium and the bolsters will be made out of 1/8" thick 416 stainless steel. I have a piece of olive drab G-10 set out for the scales, but I haven't decided for sure if that's what I will be using. I have too many choices in my scale box right now.

20180913_000628909_iOS.jpg
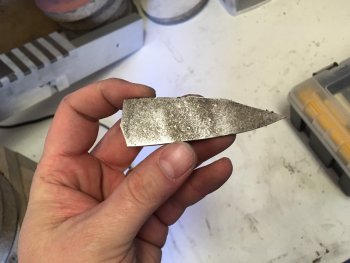
We'll get started on the blade first so I can get it through heat treat. Here's the blade after being rough cut on the band saw.

20180913_000735619_iOS.jpg
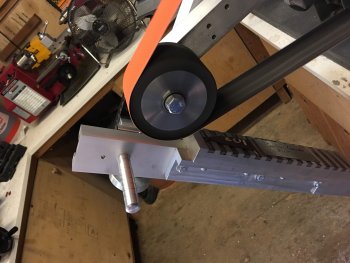
Next it's on to the surface grinder. This thing is sweet!!! The first real use since building it and I couldn't be happier.

20180913_001138462_iOS.jpg
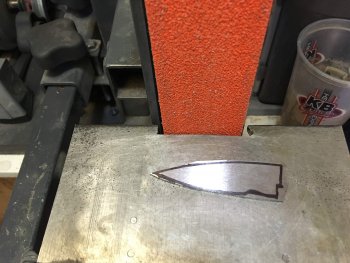
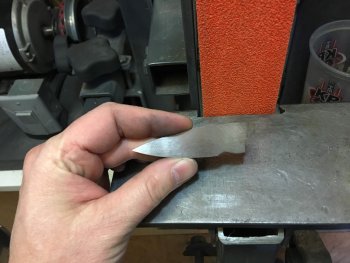
Next, I'll be profiling the blade over on the grinder.

20180913_001349454_iOS.jpg
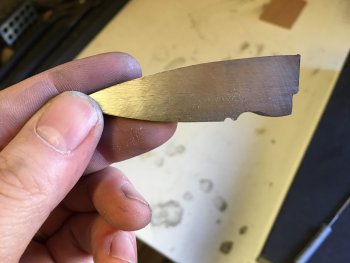
And here's the blade after being ground to profile. I leave a few thousandths of an inch all around for fine tuning later on.

20180913_001602444_iOS.jpg
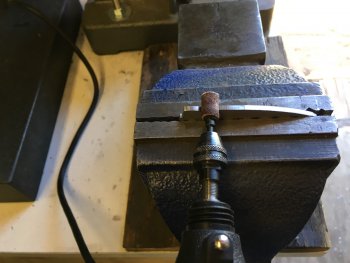
The little concave area at the bottom of the ricasso gets cleaned up with a sanding drum in my dremel.

20180913_001824370_iOS.jpg
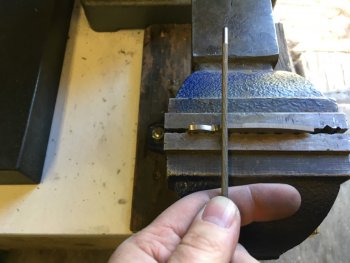
I also cut in a small choil with a chainsaw file.

20180913_001842984_iOS.jpg
Here's the blade with the profile complete.

20180913_002426134_iOS.jpg
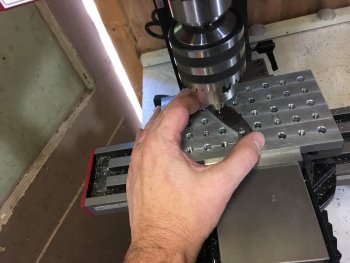
Before going into heat treat I need to drill the pivot and the thumb stud holes. I do this on my mill to make sure that everything is perpendicular. When building folders, the key is to keep things parallel and the pivot perfectly perpendicular.

20180913_002955643_iOS.jpg
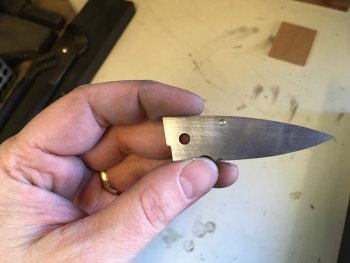
Here's the blade with the pivot hole reamed to 3/16 and the thumb stud hole counter sunk on the back side so that the screw head will be below the surface.
 
20180913_003101502_iOS.jpg
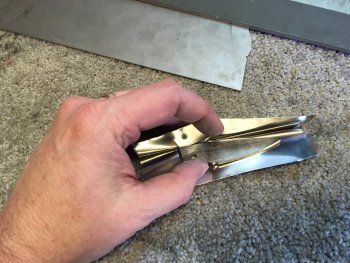
Time to bring this blade to life. I wrap it up in some high-temperature tool wrap and get it ready for heat treating.

20180913_003309400_iOS.jpg
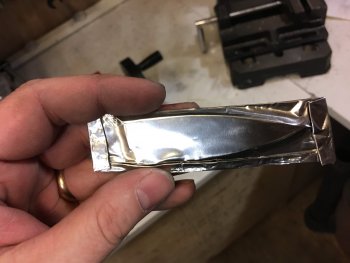
All wrapped up and ready to go. I double crimp all of the edges and rub the foil down tight around the blade to force out any air inside the pouch.

20180913_003404040_iOS.jpg
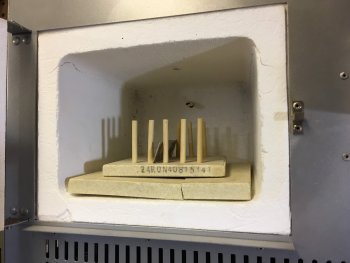
Into the oven it goes. It looks kind of lonely in there all by itself.

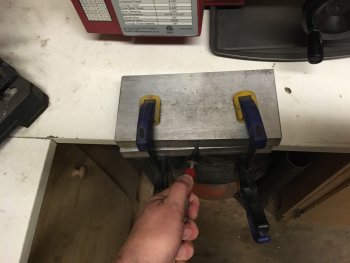
20180913_030638015_iOS.jpgThe blade is quenched between two 1" thick pieces of aluminum with compressed air shot between the plates to cool off the blade quickly.

20180913_030920055_iOS.jpg
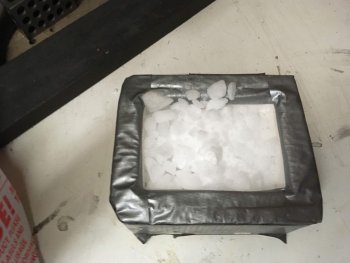
CPM154 does really well with a deep freeze (cryo cycle) right after the quench. Dry ice does a good job at this. I know that most makers will use a slurry of dry ice and acetone or RV antifreeze, but have proven time and time again through testing with my hardness tester that packing the blade in crushed dry ice gets the job done without all of the mess or potential fire hazard that acetone can cause.

20180913_233700538_iOS.jpg
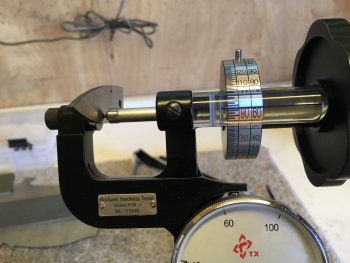
After setting on ice over night, I test the blade hardness. 65RC is pretty darn hard. From here, the blade gets two temper cycles at 450 degrees F in the heat treat oven.

20180914_125006682_iOS.jpg
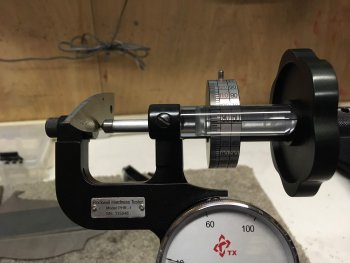
A second test after the double temper shows that the blade is at 61 RC all along the edge. Pefect!

I hope to get started on the handle this afternoon. If anyone has questions or comments along the way, don't hesitate to speak up.
 
Another great WIP/tutorial.
What brand or model hardness tester is that? Just wondering, mainly, if it’s affordable.
 
Another great WIP/tutorial.
What brand or model hardness tester is that? Just wondering, mainly, if it’s affordable.
It's a TX brand tester. It's very similar to the Ames portable tester, probably made by the same overseas manufacturer. I think I paid around $650 new. You could probably watch Fleabay and find something similar. I just don't have the bench space for a benchtop tester, so I opted for the portable version. It's plenty accurate for what we as knife makers do.
 
Back
Top