Let’s start off with the things you did well.
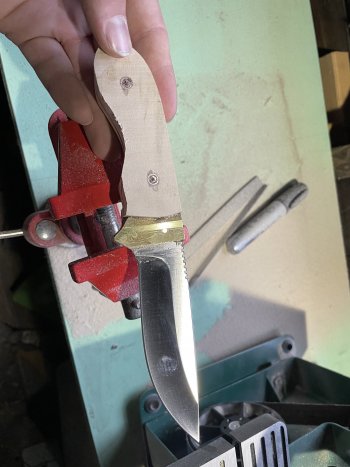
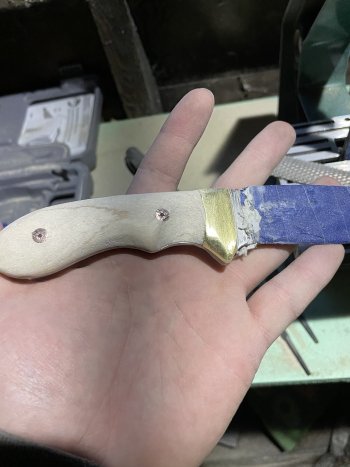
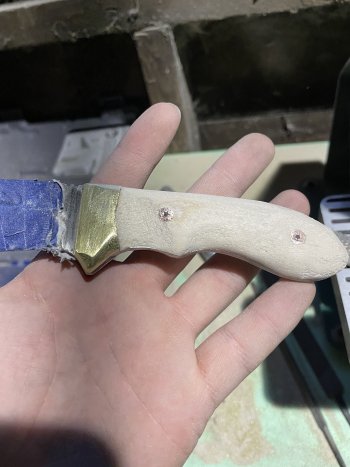
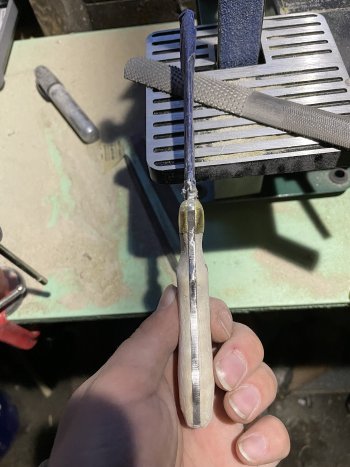
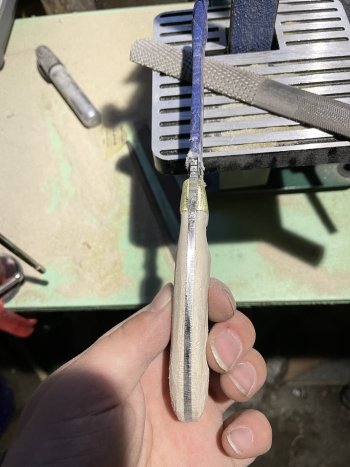
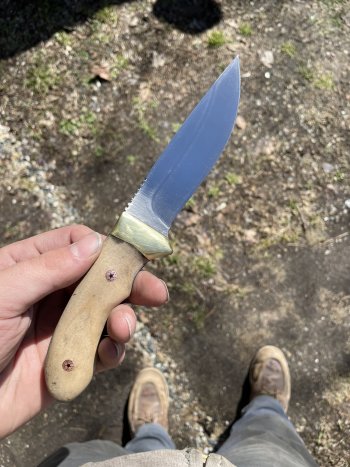
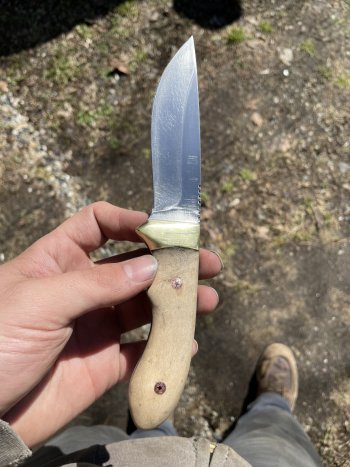
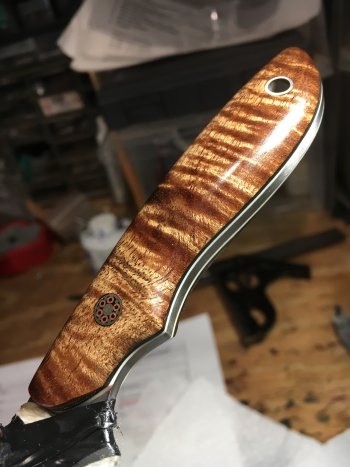
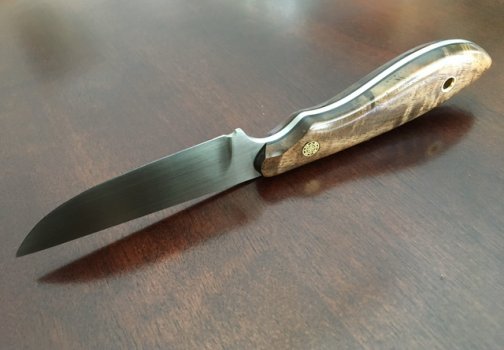
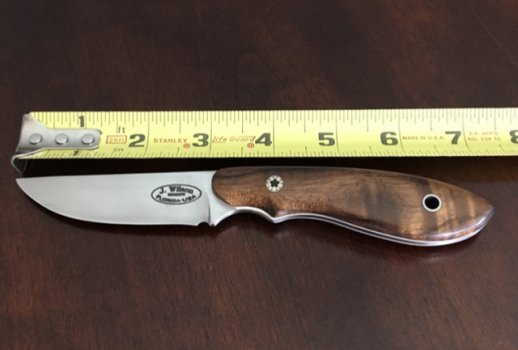
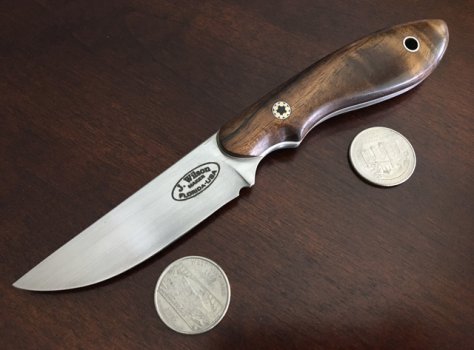
Your proportions look good. You have a good eye for balance between the handle and blade size. Yes, you got carried away with the rasp and the belt sander, but that’s all part of learning. I can see what you were going for, and had you not overshot, the final dimensions would have been great.
Another good aspect is the flow. This knife has good, interesting lines. It’s a very pleasing design and when your fit and finish skills improve this is a design that you need to try again.
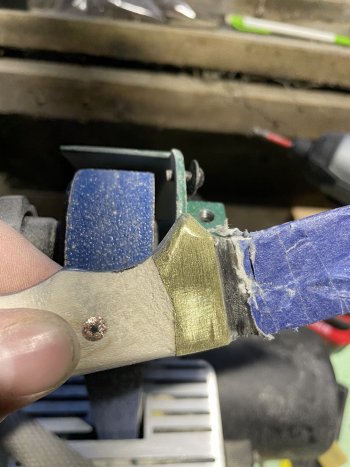
Which leads us to the parts you can improve upon. First, you created a number of headaches for yourself by incorporating elements that are beyond your skill set. This is a really complex design that would be challenging for an experienced maker.
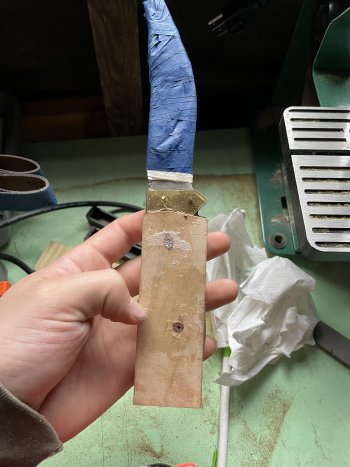
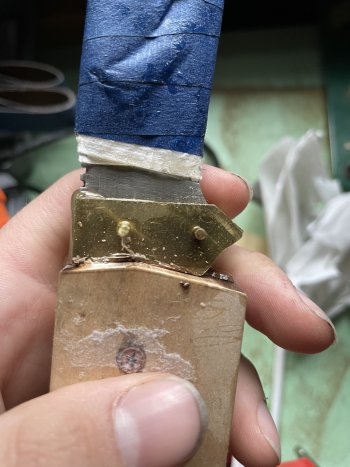
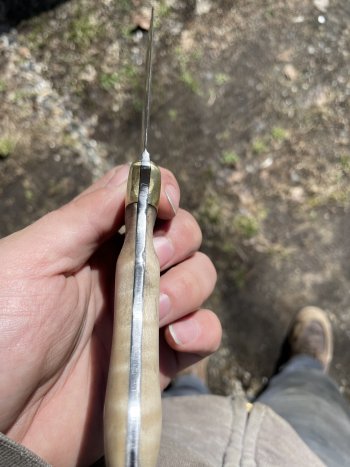
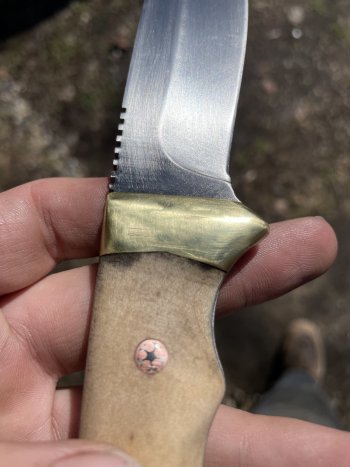
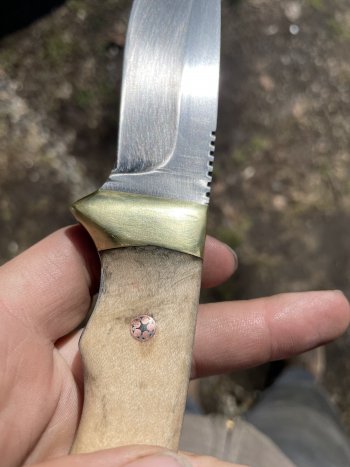
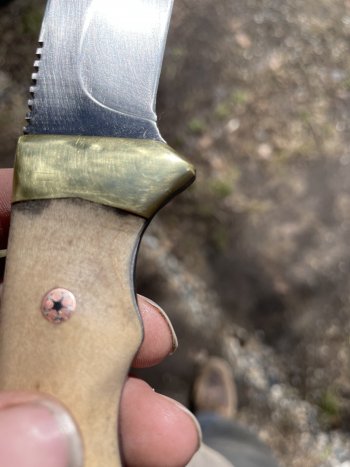
Let’s start with the bolsters / guard. Guys like Dennis Moreland make it look easy. It’s not. I suggest you save guards and bolsters for later after you get comfortable with making good, clean handles that fit tightly with no gaps. As you learned, that’s no small feat. People wouldn’t think that drilling pin holes straight and square is all that hard, and they’d be dead wrong. It is hard, but it is critical. And that starts with flat, square handle scales. It doesn’t matter that no part of the handle will end up flat. If you don’t start with flat material you’ll never get straight holes and you will get gaps.
This also means you need a flat tang. Save the tapered tangs for later. Start by mastering Flat and Square.
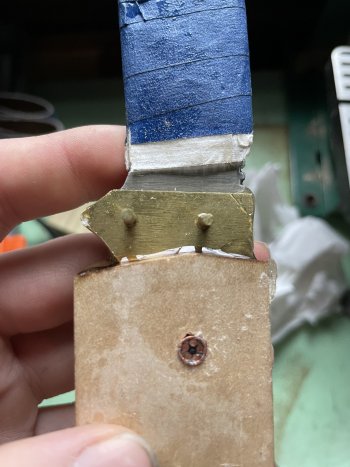
Another unnecessary challenge you
created was the V notch in the bolsters / guard which made fitted the scales with no gaps incredibly difficult. Flat and square, flat and square, flat and square… that’s hard enough in the beginning. The same thing with the top side. You know what i’m going to say… flat and…. you get it.
I know you’re excited to get grinding. But you see now that a grinder will get away from you. It’s a big mistake to believe that a maker can do everything on the grinder. Hand work is your friend. It’s hard to make a mistake with files that can’t be corrected with a couple of strokes.
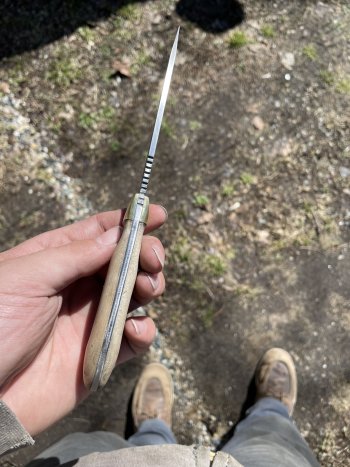
Symmetry is everything. You called out your own mistakes here.
This knife is a VERY GOOD first knife. The problems I see mostly came from an overly ambitious design.
For your next one, try a very basic simple knife and put all of your effort into execution. Prove to yourself that you can make it clean, tight, and symmetrical.
")