mpcoppin
Member
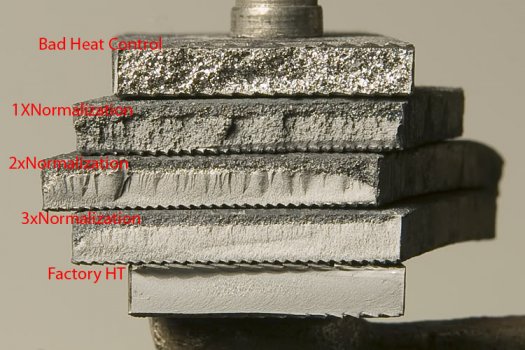
After learning that grain refinement and normalizing are not the same thing, I was left with the question of how do I refine grain?
Unlike some of you who know what you are doing, I am confident that I regularly overheat steel when forging. I don't do it on purpose, I'm just not that good at this (I'm still figuring out how to run my forge, etc...). So... If I have abused, burned, and mutilated a piece of steel that I am attempting to turn into a blade of some sort... How do I fix the many problems I have caused inside that mangled piece of steel? Assuming I have an oven and can achieve something similar to good temperature control, what do I do?
As I understand it, heating up to a good normalizing temp (as described in other threads) will sort of homogenize things so that the steel is consistent throughout the piece. Now what?
As I understand it, you don't actually reduce grain size, you just make new grains. And, one of the ways to make new grains form is to heat something up to the point where new austenite is formed. To keep the grain small, you don't heat it more than necessary and you cool it quickly.
The question I have is this... To what point do I heat it? Do I heat to the point where austenite begins to form or the point where the steel is fully austenite (For example... You start getting austenite with 80CrV2 at about 1395 degrees and you should have full austenite at 1415)?
I would assume that I'm shooting for full austenite since I want things to be uniform. But what about the austenite that started forming at 1395? How big are those grains now? Is this why people do multiple heats at decreasing temperatures?

