opaul
Well-Known Member
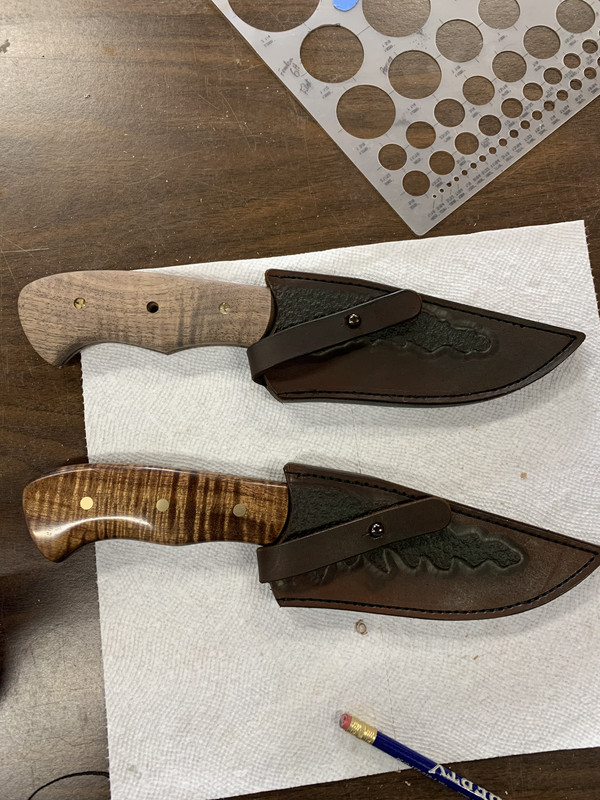
It will be one of my prized possessions!I'm hoping to get it finished this weekend and get it on it's way to you.
It will be one of my prized possessions!I'm hoping to get it finished this weekend and get it on it's way to you.

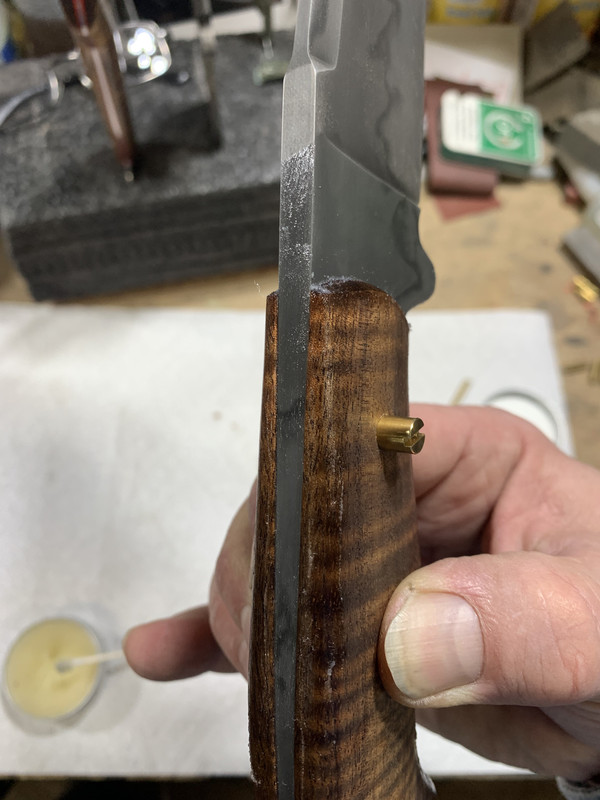
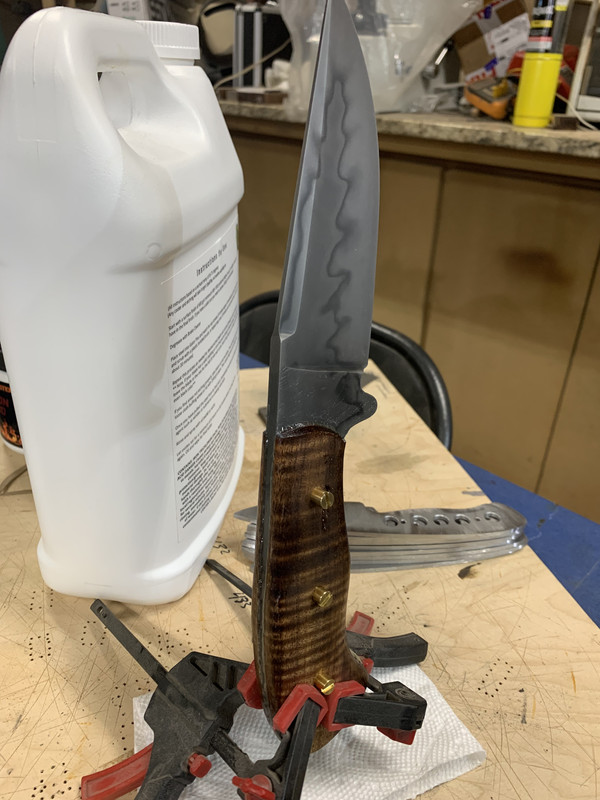
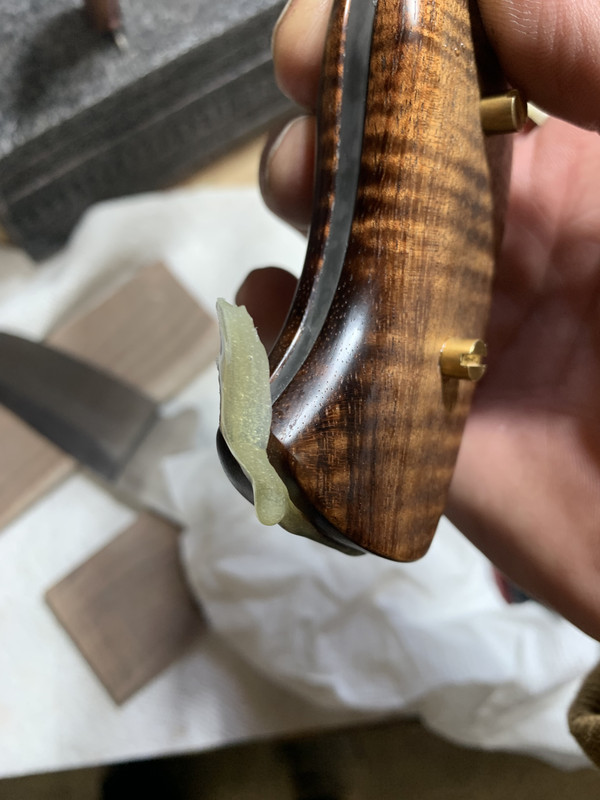
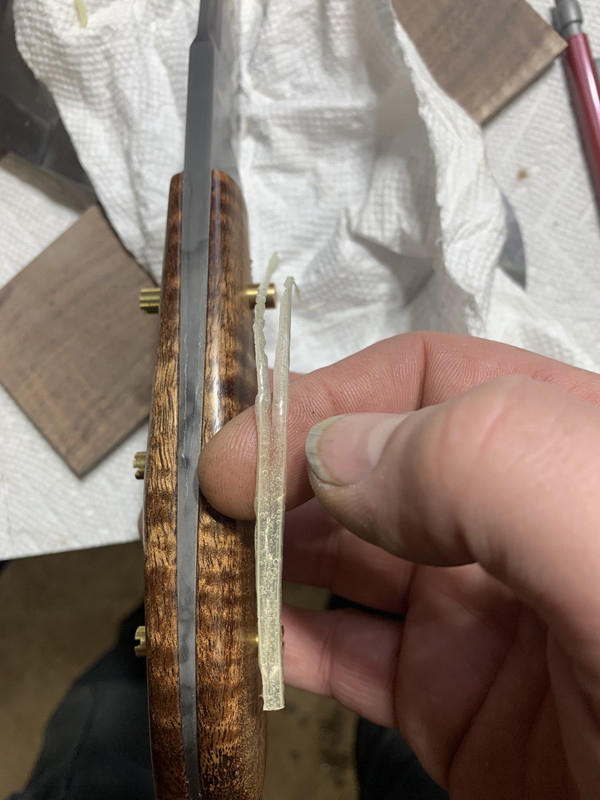
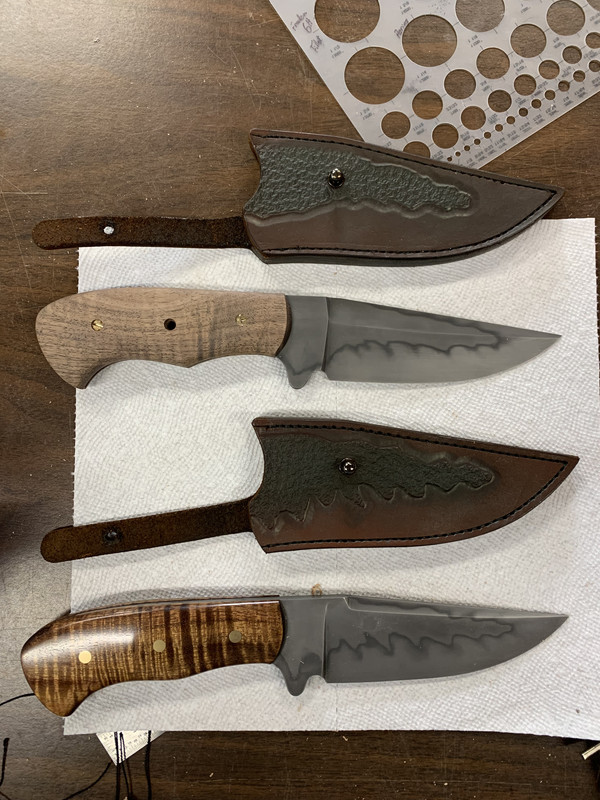
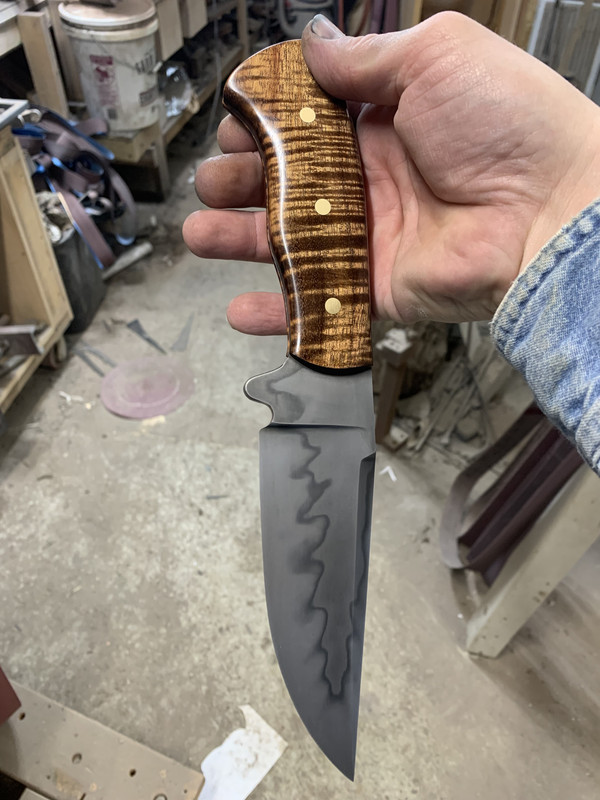
I normally just do the front of the scales, but on a damascus or a knife with a hamon, I do heirloom/museum fit scales, so wax the whole thing. This lets me finish and etch the tang of the blade without worry of sanding into it while finishing the scales. I've never had good luck re-etching the tang after asembly. It seems like those spots always show.Absolutely gorgeous knife. I'm going to remember the wax trick. I do it at the ricasso but never thought about the rest of the knife.
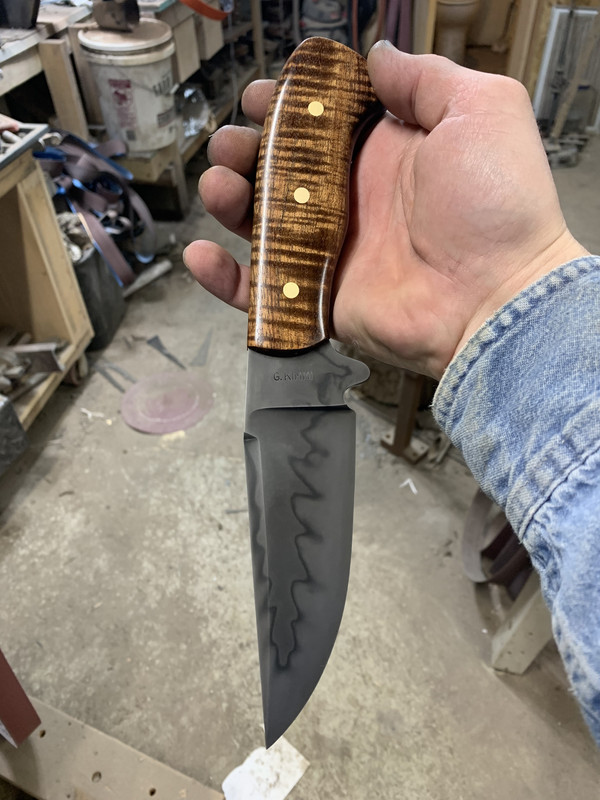
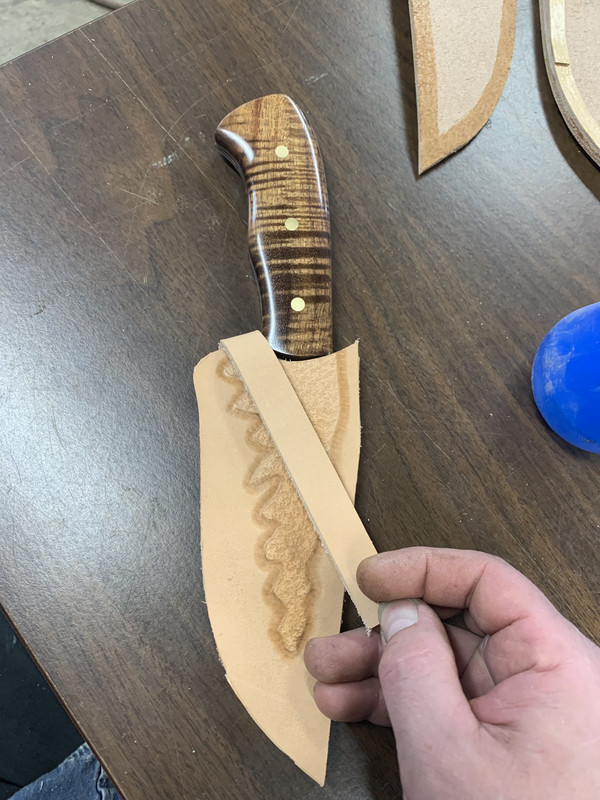
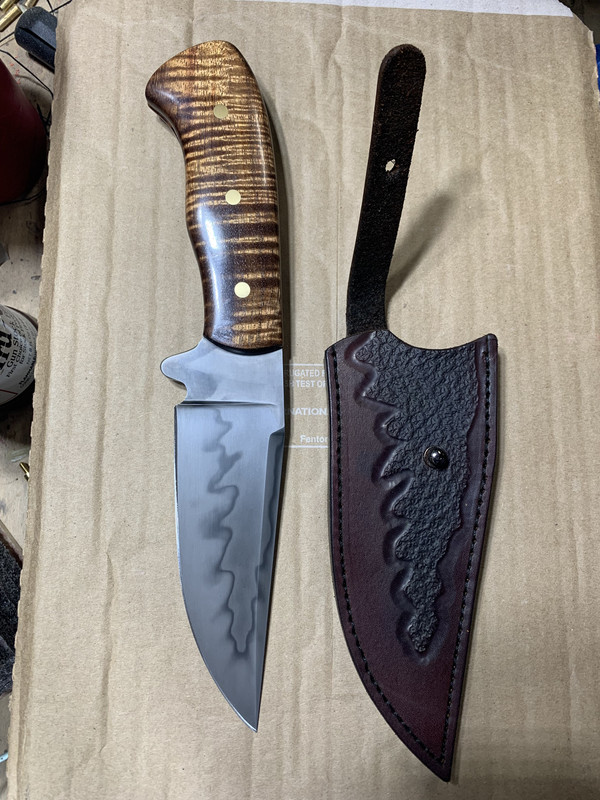
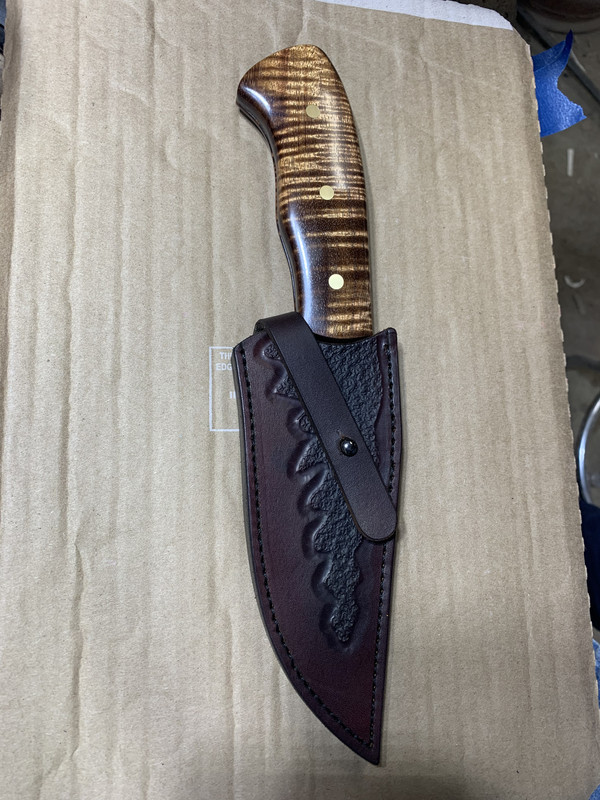
Gene- I hope all is well. Please take whatever time is needed. I pray for your wife’s health.Quick update. I have the sheath finished and hope to get the knife sharpened tonight. Then it will be ready to send out. Once I get it sharp, I'll get final pictures and get them uploaded.
My wife had surgery on Monday, so that has kept me away from the knife shop.