Knife from a beginner

New Joe

New Member
20151228_145112.jpg20151228_151021.jpg

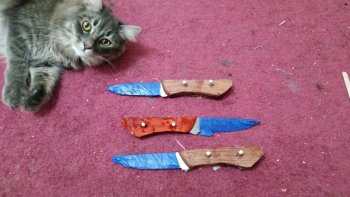
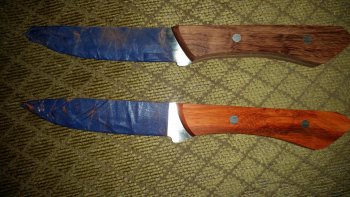
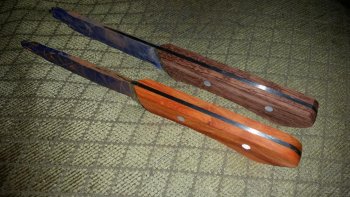
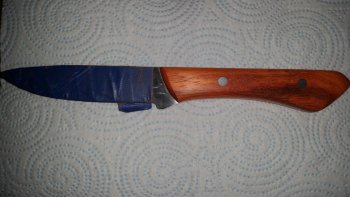
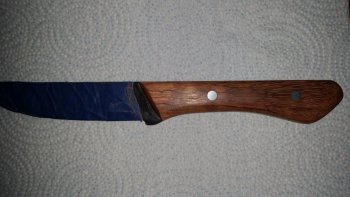
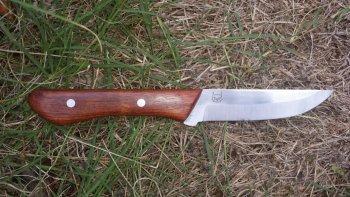
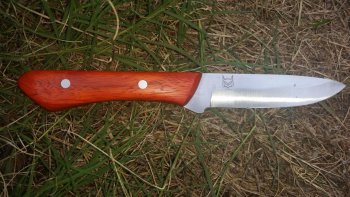
I'm new to the forum and new to knife making. I'm not very good yet, the finish on my blades leaves a lot to be desired. But I enjoy making them.

These two I made from 1084 steel, ground them as best I could, heated them up until a magnet wouldn't stick, then stuck them in canola oil. Seemed to get them really hard. Put them in a kitchen oven at 425 for an hour three times, then put the handles on.

Though these in no way compare to the knives I see on this forum, I hope to get there someday. Hope I'm on the right track.

Joe
 
Joe, I'm digging the mark! Handle lines look good, and the grain on the side you're showing contributes to the flow ... well done. Make more!
 
Those look great! There's nothing wrong with those knives at all. The difference between functional and pretty is more about elbow grease than anything else. Those grinds look seriously pretty dang good to be right off the grinder.
 
This is my process (all cell phone pics)
20151219_114743.jpg
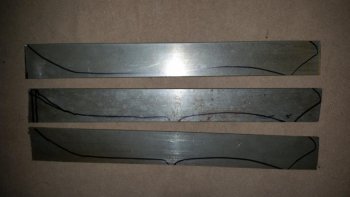
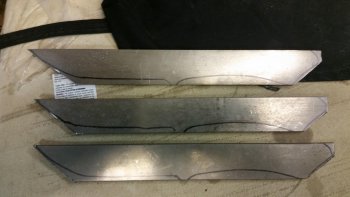
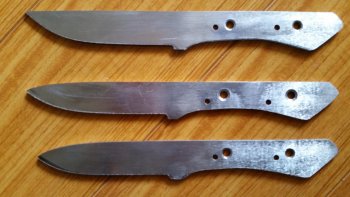
Use the hack saw to cut lengths of steel
20151219_141138.jpg
More hack saw
20151219_150158.jpg
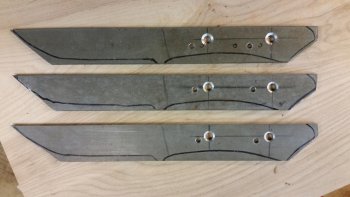
Drill holes
20151219_153500.jpg
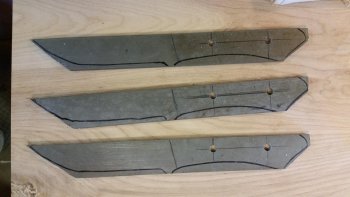
The big holes are for the pins. I use the little holes to attach to a grinding jig
20151220_141219.jpg
Profile the blank. Just a design that I think looks good.
20151220_181251.jpg
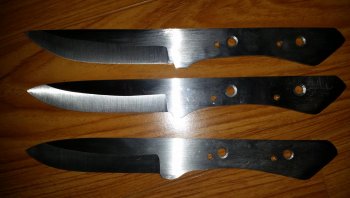
Grind the bevel using a jig. I'm not good enough to free hand.
20151221_132953.jpg
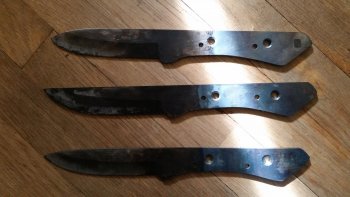
Heat treat (harden and temper)
20151223_185448.jpg
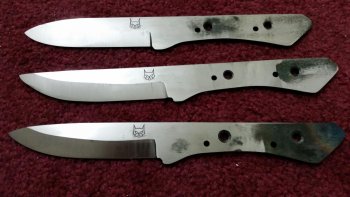
Clean up and etch in a cat mark. This is where my skills break down: blade finishing after heat treat. I'm tempted just to leave it all on as a kind of antique type finish
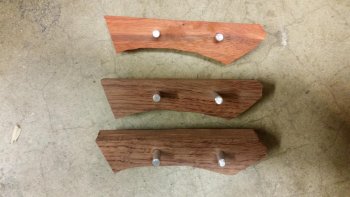
20151221_115759.jpg
Rough cut the handle wood. The pins are aluminum
20151225_111608.jpg
Epoxy everything together
 
20151226_191143.jpg20151226_191113.jpg
Thin down the handle and sand everything back flush with the tang
20151227_180120.jpg20151227_155847.jpg
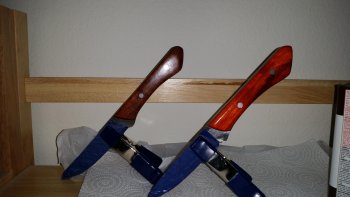
Sanded smooth and ready for the handle finish. I used Watco danish oil following the directions on the can
20151227_180554.jpg
Letting it all dry.

What I didn't realize is that the tape would etch the blade. When I pulled it off, there were some thin lines of rust where the tape overlapped.

For the next knife I will attempt to do a better job on the finish of the blade. But these are sharp and seem to be functional. I'm giving these away as gifts. Hopefully the next ones will be nicer.

Joe
 
You might want to back off the tempering temperature for 1084. I would recommend that you start at 375° for a slicer and maybe go up to 400° for a chopper. You can always increase the tempering temp if the blade seems too hard. If it's too soft all you can do is repeat the whole heat treating cycle. What you need to do is to test the heck out of those knives. Put a good edge on them and see how long they stand up to cutting up cardboard of slicing a nature fiber rope before they go too dull to shave hair. You will also want to check you heat treating by breaking a few of the blades to check the grain structire. If the grain looks the size of table salt it's no good. Looking like 1600 grit sand paper is spot on.

Doug
 
Doug, why bring the temperature down? If he got the proper hardness from his quench, 425 should give him a Rockwell C hardness of ~59. I got this from kevin cashen's website and from heat treating and hardness testing 1084 myself. This seems to work well for me, although, I do use a temperature controlled furnace for the hardening step in the process.

Kevin's website:

http://www.cashenblades.com/steel/1084.html
 
Back
Top