antigoth24
Well-Known Member
Well I thought it was time for another WIP thread unfortunately my last thread was somewhat derailed by a family crisis and I still won't be returning to that knife for sometime, but since this build is somewhat interesting I thought I would share. Each year I exhibit at a trade show called Canoecopia (an event for all things canoe and outdoors) and each year I feel the need to up my game from the previous year. So I was wracking my brain for a suitable center piece that would (hopefully) really stand out. This is what I came up with:
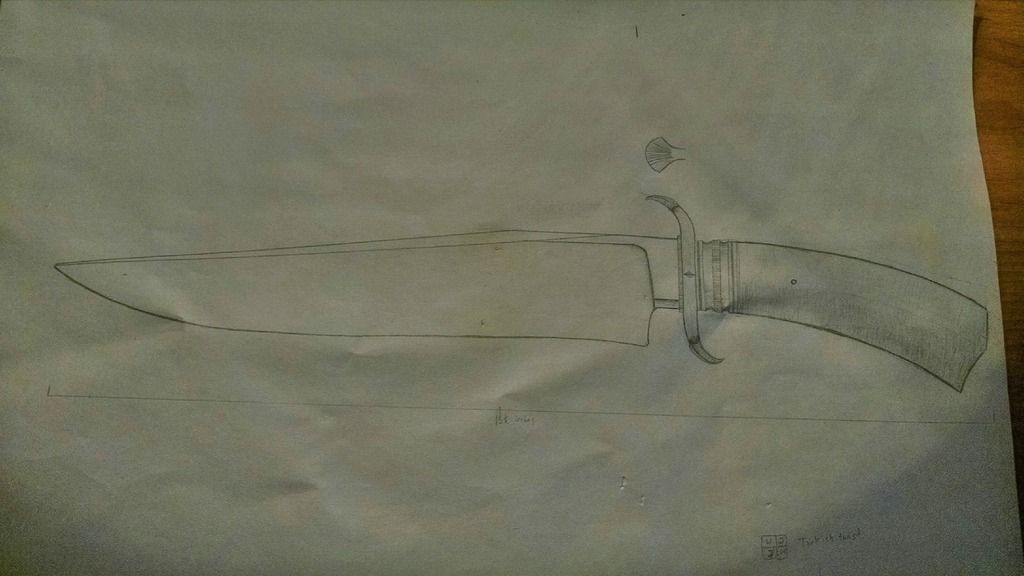
I wanted to go BIG literally and figuratively in size and complexity, I decided on changing a couple of design elements later on in the process that I feel are much more pleasing to the eye, but 90% of the drawing is accurate. The biggest changes I made were the size of the blade (I ended up making it an inch longer) and the coined spacer which I removed from the middle of the spacer. I intended for the blade and fittings to be damascus and planned on making this my first frame handle take down knife. Now in concern to the name "La Brea" refers to the La Brea tar pits outside of LA where several mammoths were found so I will give you two guesses as to what the handle will be made out of.") But onto the build!
But onto the build!
I wanted this knife to be a multi bar turkish twist so I started with a billet of crushed Ws and a billet of jelly roll damascus:
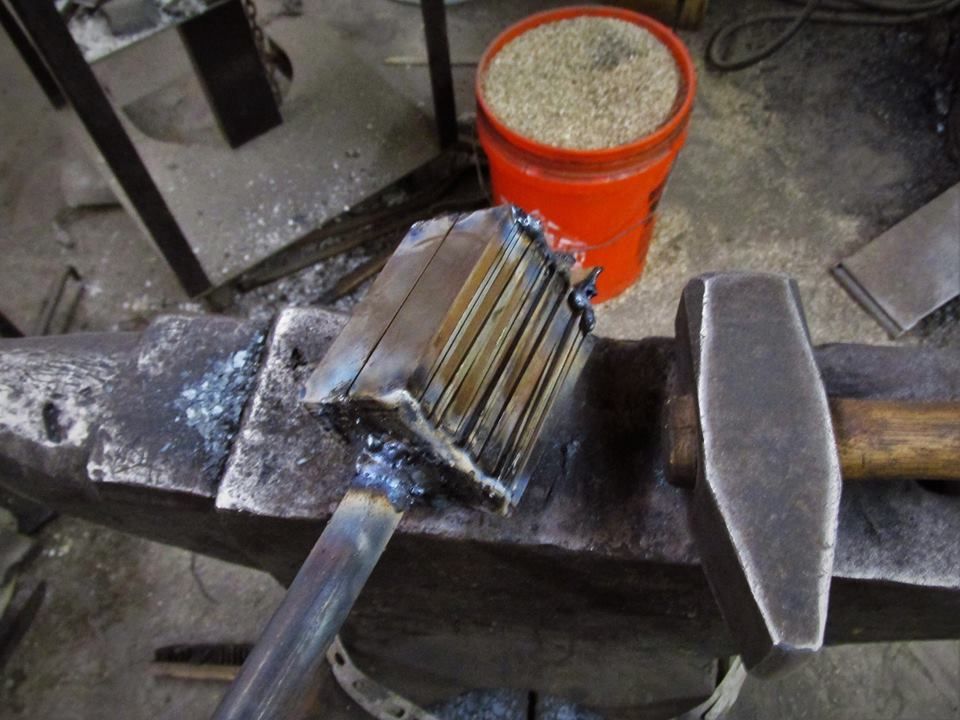
So each billet is 1084 and 15n20 measuring 2 inches x 3 1/2 inches x 4 1/2 inches so pretty beefy billets.
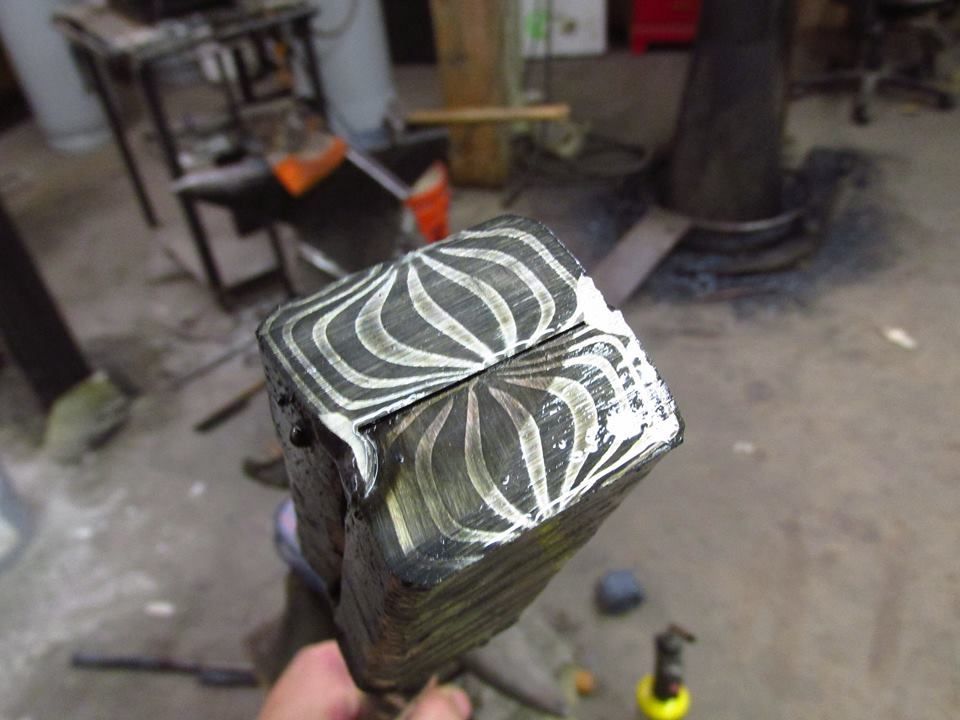
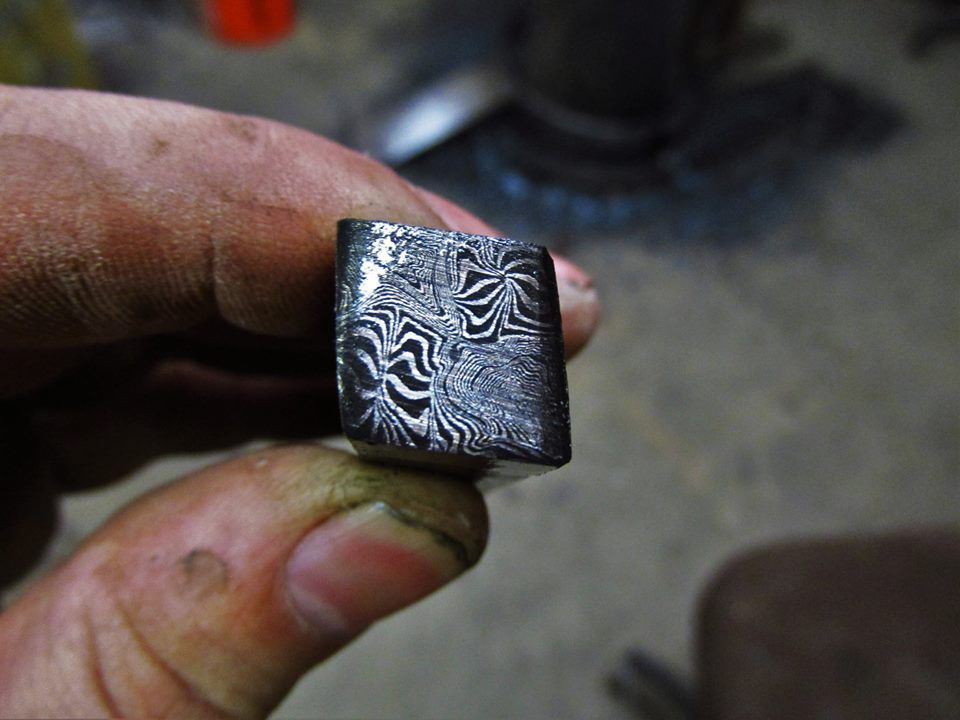
The crushed Ws will only be taken to two layers for a very drastic effect:
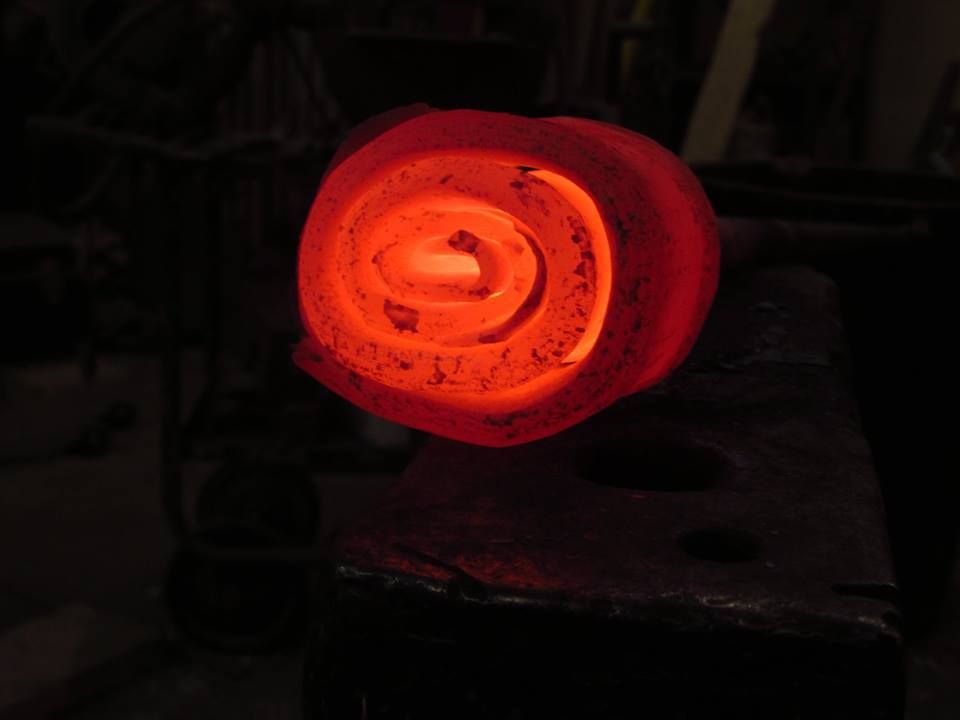
And the billet for the jellyroll:
Each billet was drawn down to 1 inch square by 12 inches long or so
And then cut into four pieces
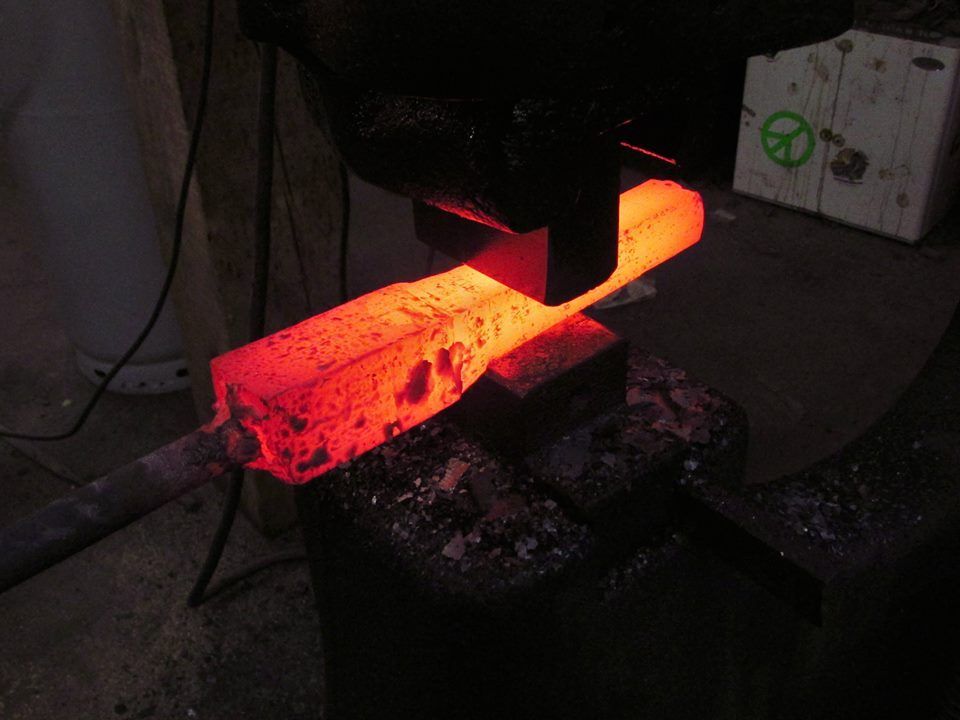
So the billet is starting at 2 inches square x 6 inches and will be drawn down to a 1/2 inch bar. This resulted in 60 inches of bar.
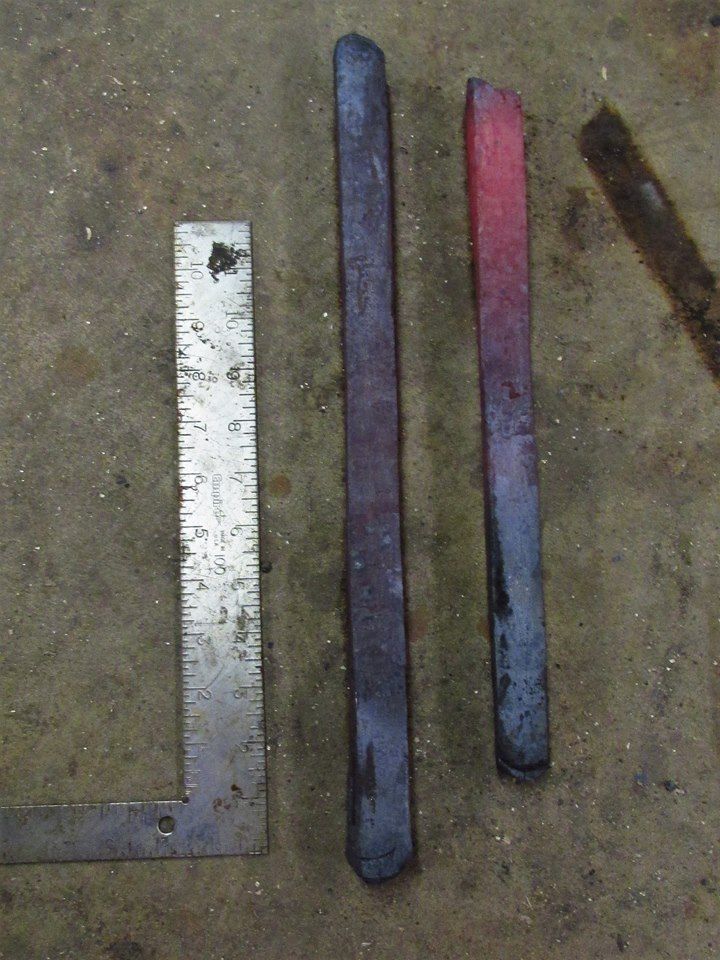
And the resulting bar (this end cut is always a bit wonky but it is better further up.
Unfortunately, due to the length of the 1/2 bar when drawing it out I had to cut it into two separate bars in order to easily forge it so it would stop flopping around. This resulted in two bars that were extra and not long enough to make a six bar. But all of that aside I have now cut the 60 inches of bar into five 10 inch bars and two odd length bars.
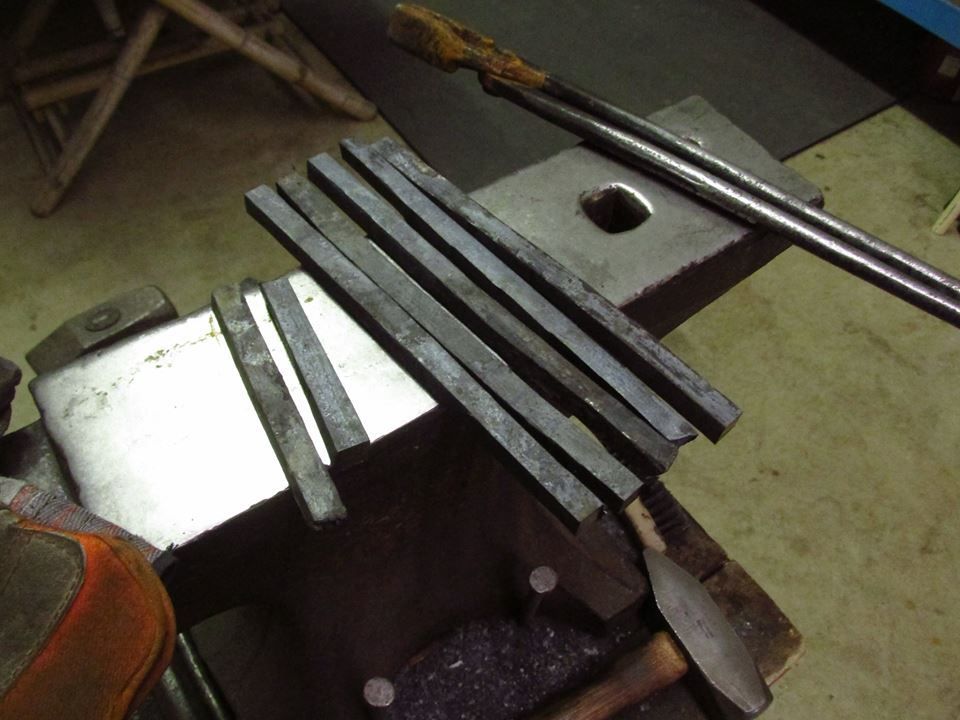
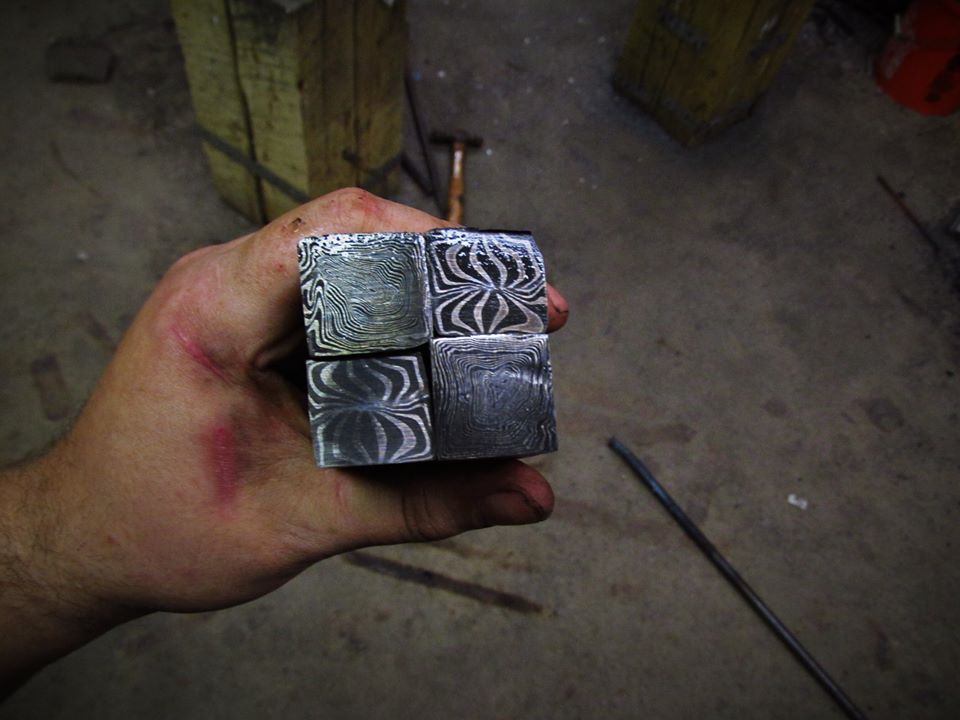
Ready for twisting:
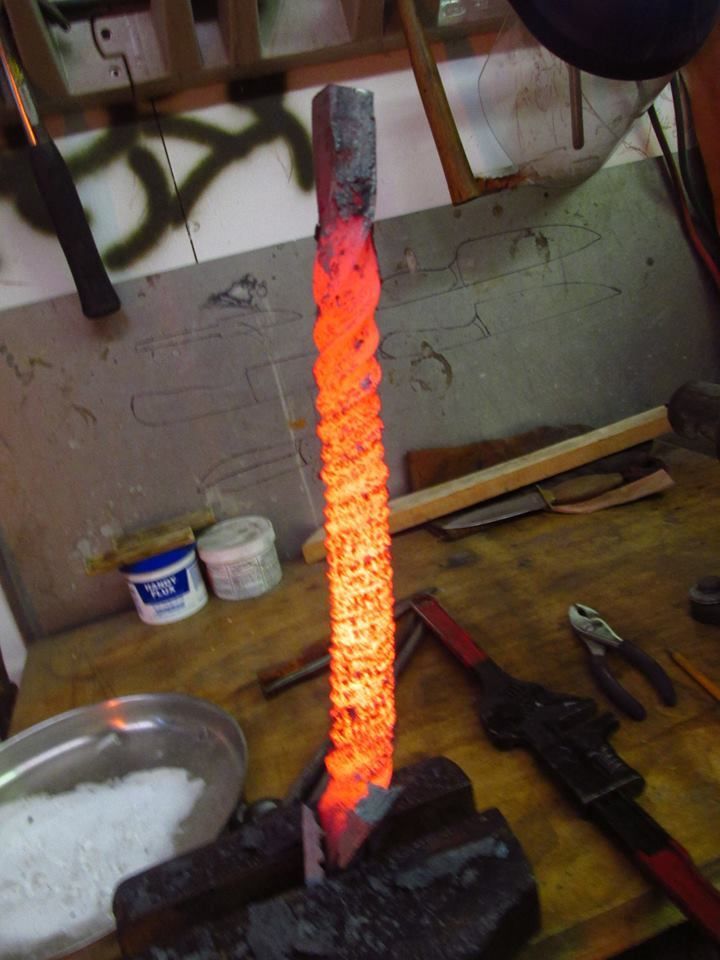
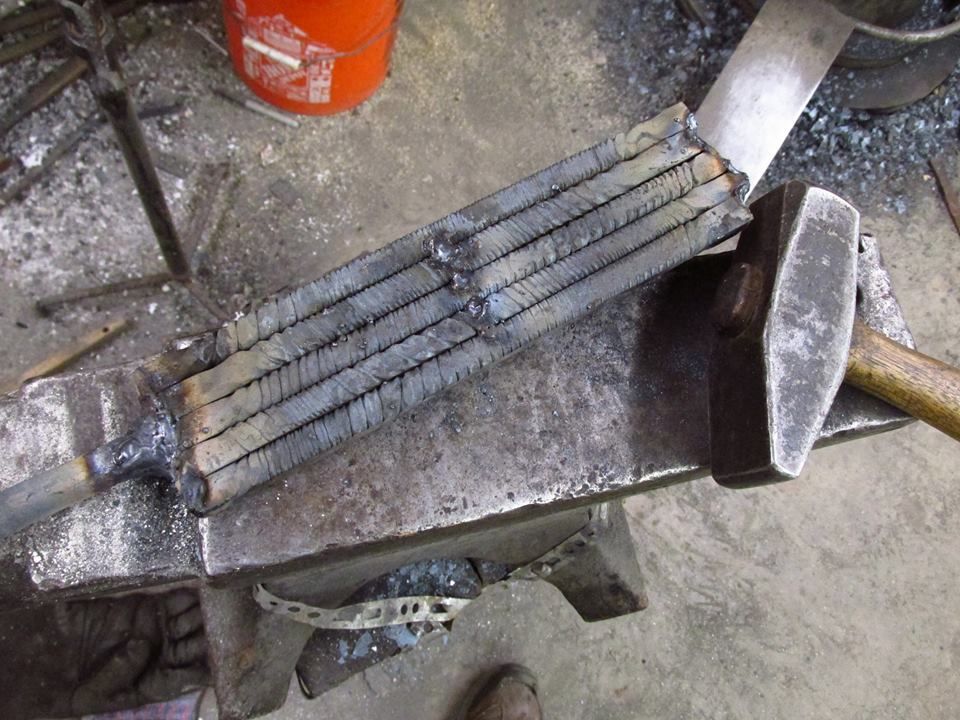
This was the first heating for twisting, I was aim for about 10 twists per inch and I ended up with twelve so not to bad. Then I squared them up and ground the mating surfaces clean.
Unfortunately I forgot to take photos of the forging step on this knife (it was mostly stock removal anyway due to not wanting to disrupt the pattern) But here is the rough knife blank, frame, spacer, and guard components.
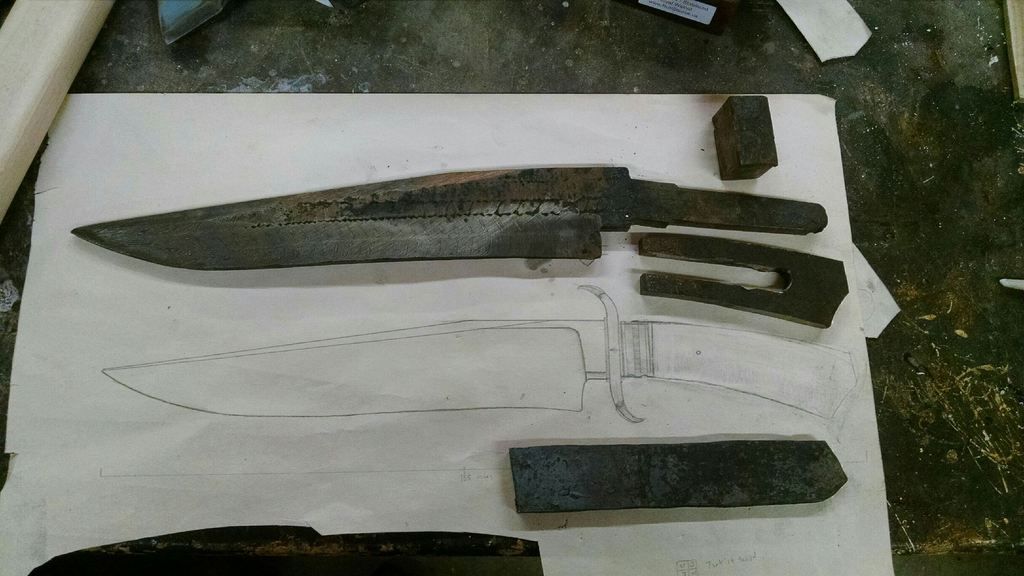
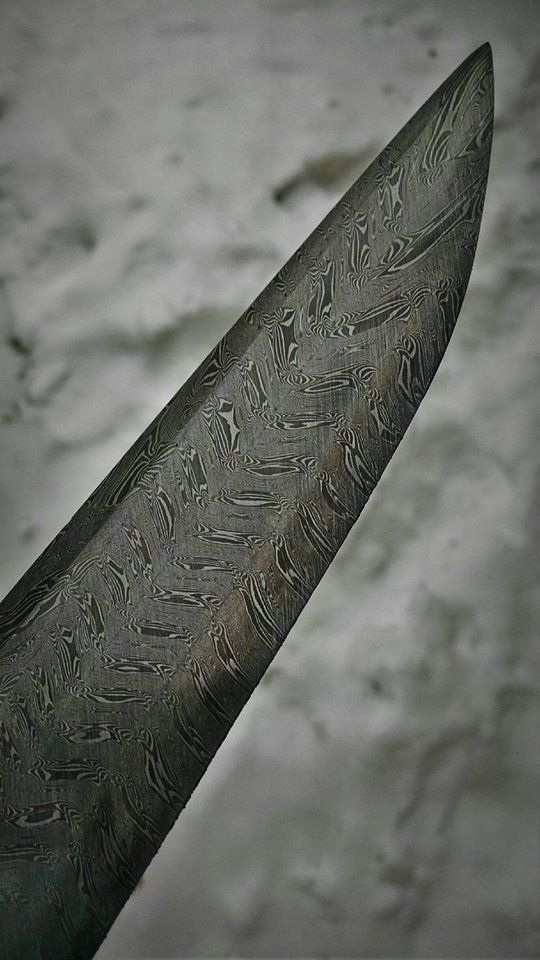
At this point the illustrious Karl Anderson was kind enough to have me over and help me by surface grinding the frame, guard, and blade while walking me through doing a take-down build for which I am infinitely grateful for his generosity in sharing his knowledge. After everything was surface ground the spine of the blade was sitting at just over .25 inch think and the blade measures in at 12 inches long. I did a small test etch of the tip to see what was going on in the steel and so far so good.
There is much more to this build and I will post more updates tomorrow as I finish up the spacer and guard, then on to heat treat!
Thanks for looking and all comments/ questions are welcome.
Robert

I wanted to go BIG literally and figuratively in size and complexity, I decided on changing a couple of design elements later on in the process that I feel are much more pleasing to the eye, but 90% of the drawing is accurate. The biggest changes I made were the size of the blade (I ended up making it an inch longer) and the coined spacer which I removed from the middle of the spacer. I intended for the blade and fittings to be damascus and planned on making this my first frame handle take down knife. Now in concern to the name "La Brea" refers to the La Brea tar pits outside of LA where several mammoths were found so I will give you two guesses as to what the handle will be made out of.
But onto the build!I wanted this knife to be a multi bar turkish twist so I started with a billet of crushed Ws and a billet of jelly roll damascus:


So each billet is 1084 and 15n20 measuring 2 inches x 3 1/2 inches x 4 1/2 inches so pretty beefy billets.
The crushed Ws will only be taken to two layers for a very drastic effect:

And the billet for the jellyroll:

Each billet was drawn down to 1 inch square by 12 inches long or so

And then cut into four pieces

So the billet is starting at 2 inches square x 6 inches and will be drawn down to a 1/2 inch bar. This resulted in 60 inches of bar.

And the resulting bar (this end cut is always a bit wonky but it is better further up.

Unfortunately, due to the length of the 1/2 bar when drawing it out I had to cut it into two separate bars in order to easily forge it so it would stop flopping around. This resulted in two bars that were extra and not long enough to make a six bar. But all of that aside I have now cut the 60 inches of bar into five 10 inch bars and two odd length bars.

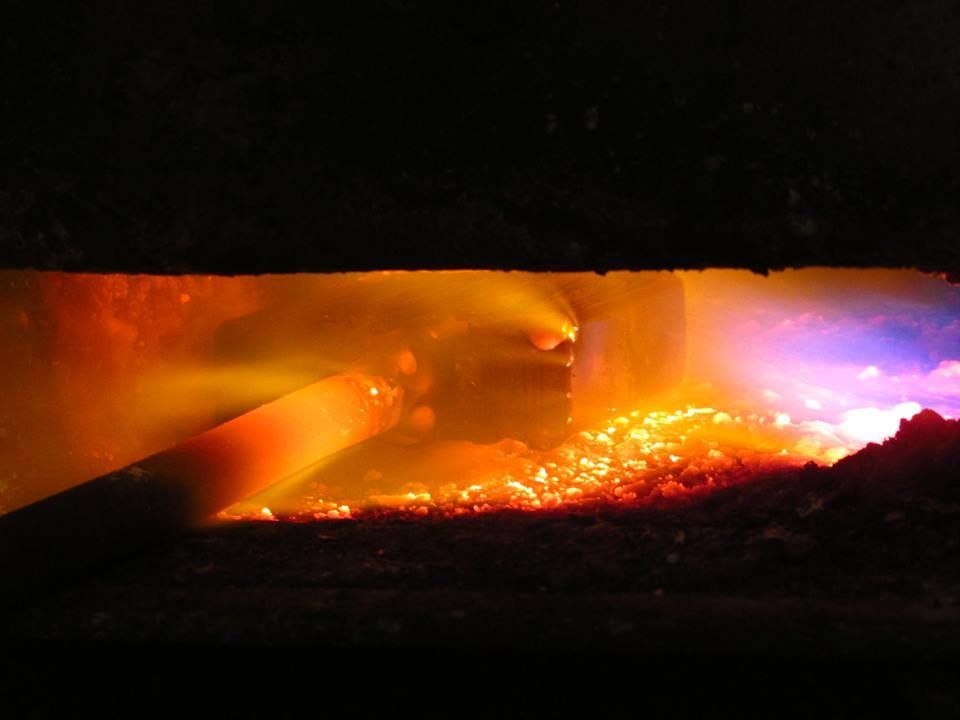
Ready for twisting:

This was the first heating for twisting, I was aim for about 10 twists per inch and I ended up with twelve so not to bad. Then I squared them up and ground the mating surfaces clean.

Unfortunately I forgot to take photos of the forging step on this knife (it was mostly stock removal anyway due to not wanting to disrupt the pattern) But here is the rough knife blank, frame, spacer, and guard components.

At this point the illustrious Karl Anderson was kind enough to have me over and help me by surface grinding the frame, guard, and blade while walking me through doing a take-down build for which I am infinitely grateful for his generosity in sharing his knowledge. After everything was surface ground the spine of the blade was sitting at just over .25 inch think and the blade measures in at 12 inches long. I did a small test etch of the tip to see what was going on in the steel and so far so good.

There is much more to this build and I will post more updates tomorrow as I finish up the spacer and guard, then on to heat treat!
Thanks for looking and all comments/ questions are welcome.
Robert


