Scandinavian knife WIP #finnished# (56k Beware, Pic Heavy)
If it is in the wrong forum then I apologise.
I have been taking some pictures in the workshop tonight. It is the first time in a while since I have had the wiring redone")
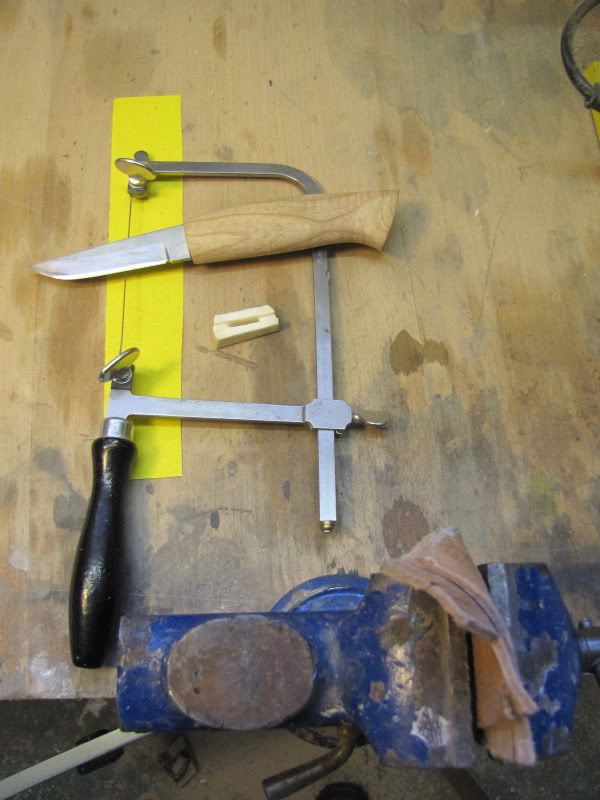
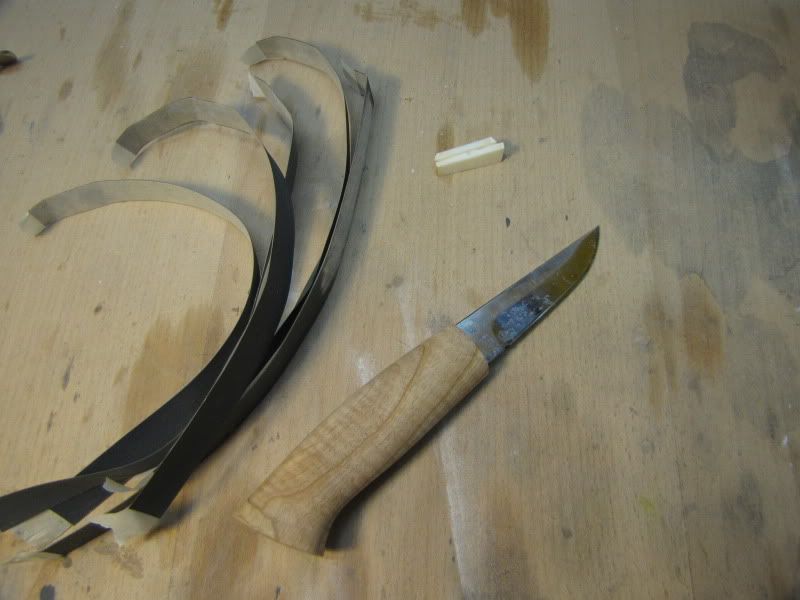
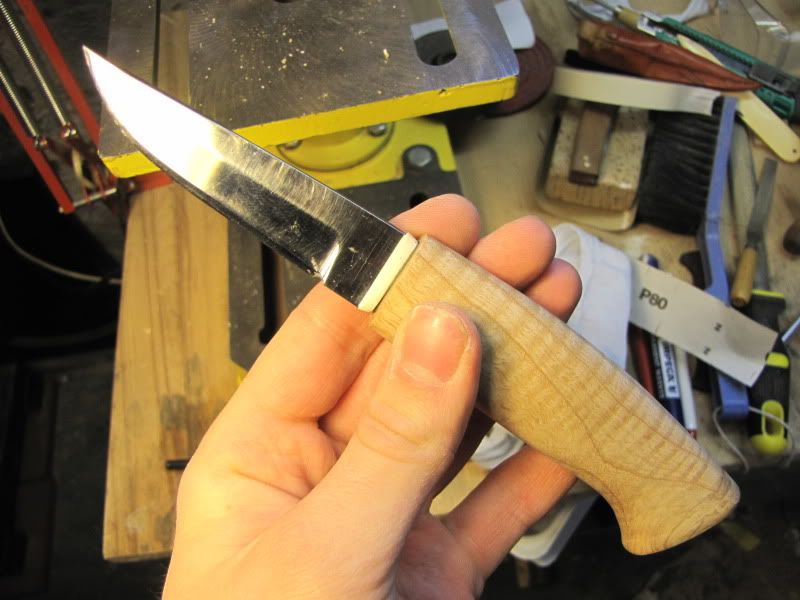
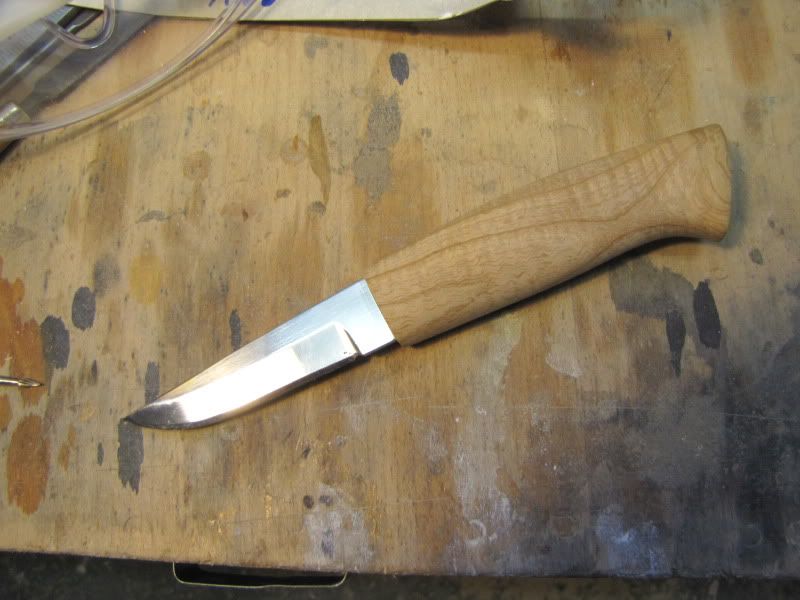
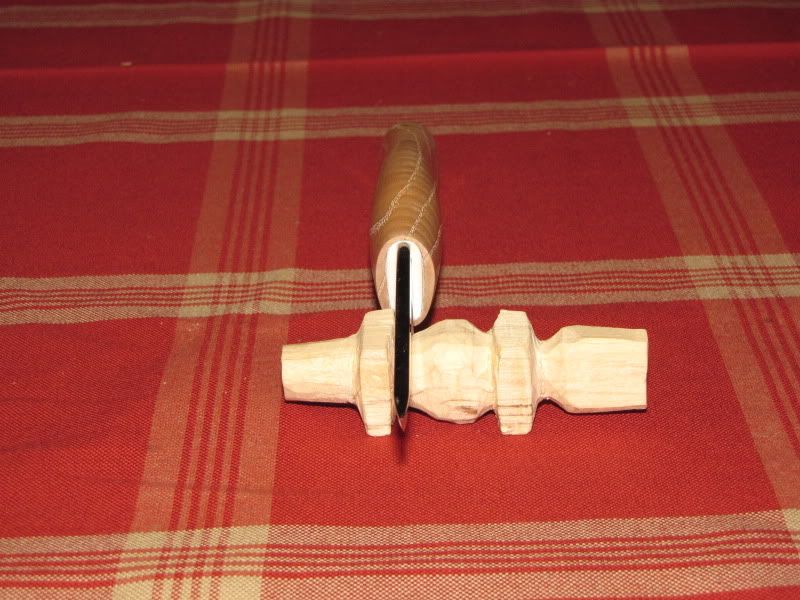
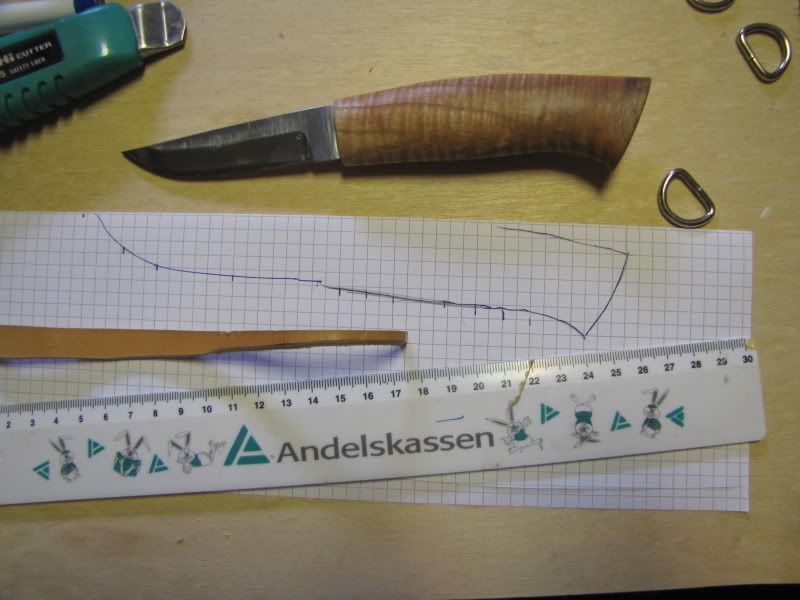
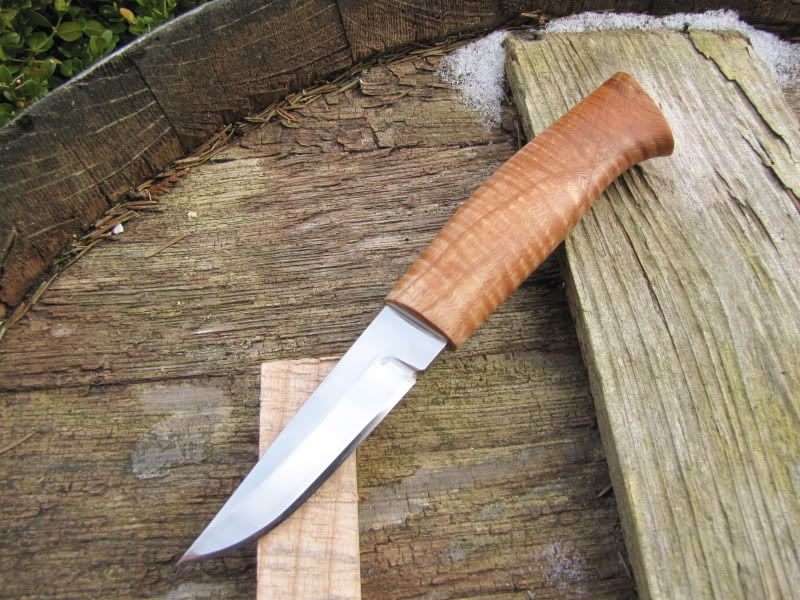
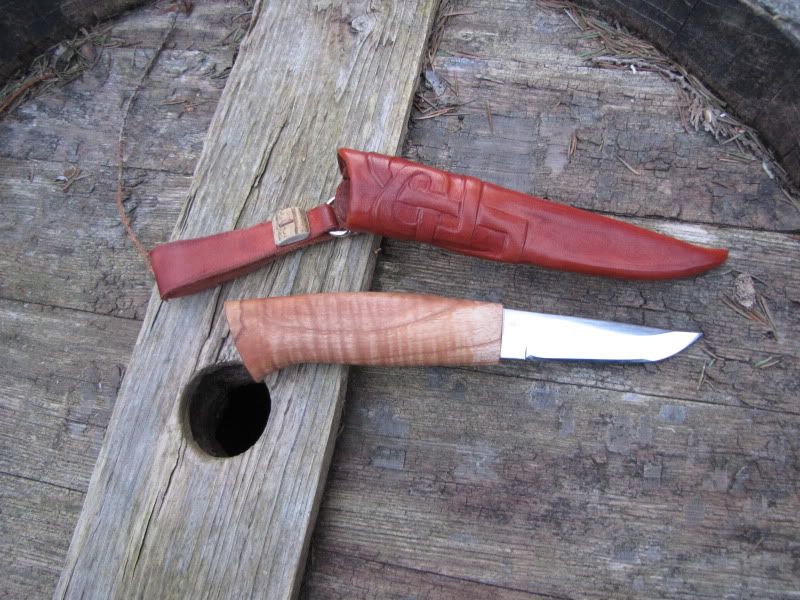
Knifeblade and a piece of wood:
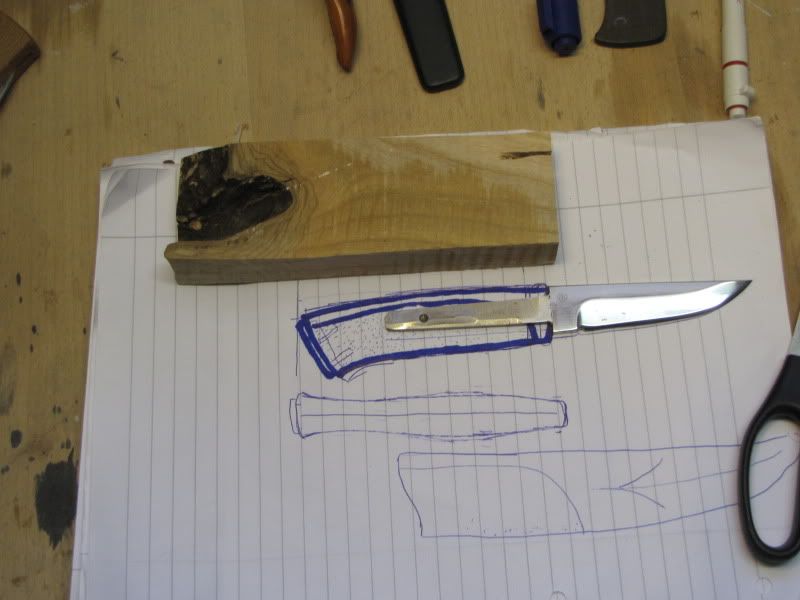
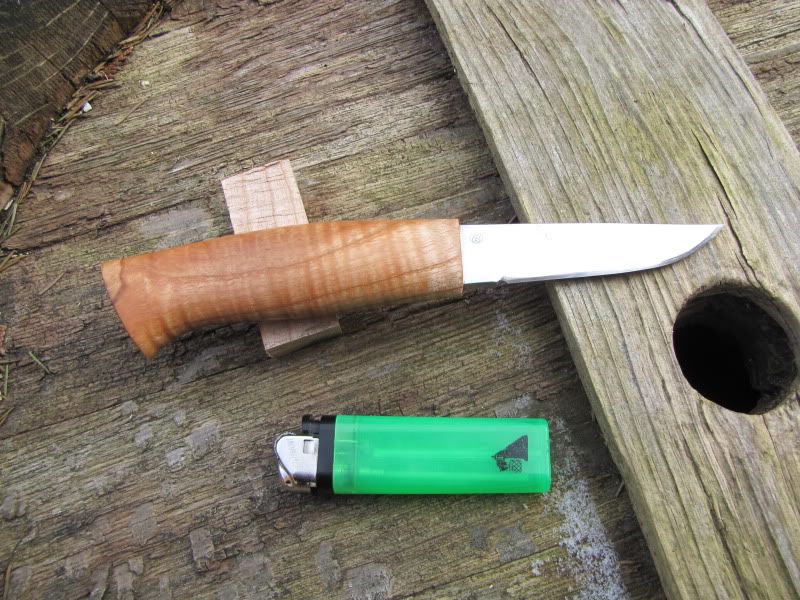
The first plan was a One-piece scandi, but it isn't anymore.
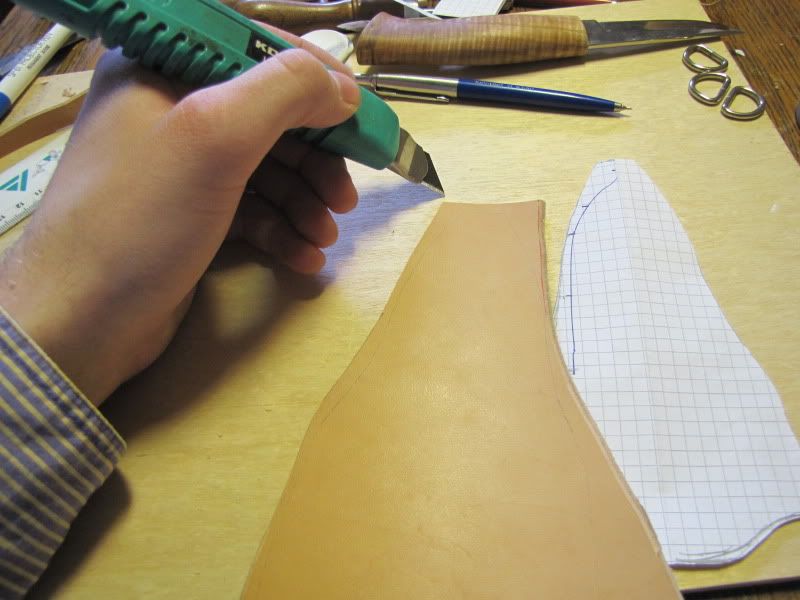
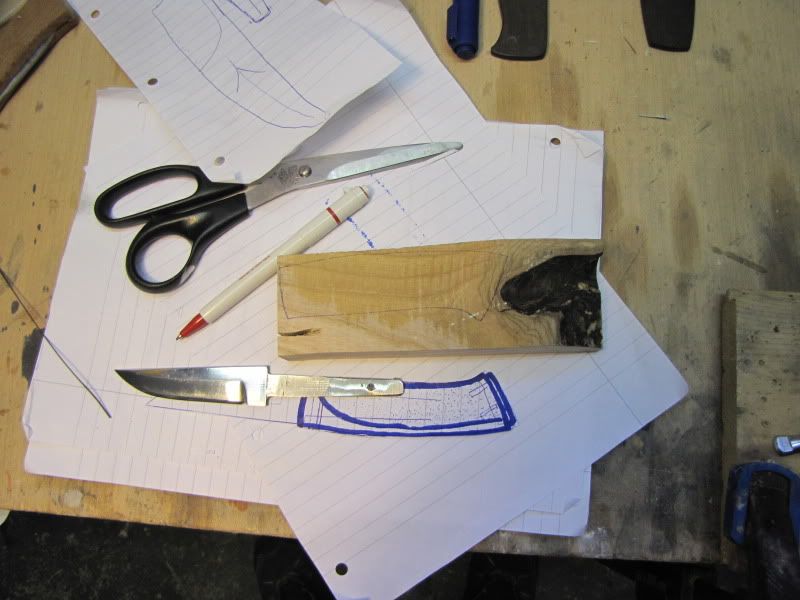
I took the drawing I have made of the handle and cut it out with a pair of scissors, then traced it on to the wood, a nice piece of kiln-dried ash, dry as bone, hard and very tough wood. It is nice to work in, but it requires cleanliness, metaldust hidden in a file, to much graphite from a pencil or dirty sanding paper will smudge the woods pores.
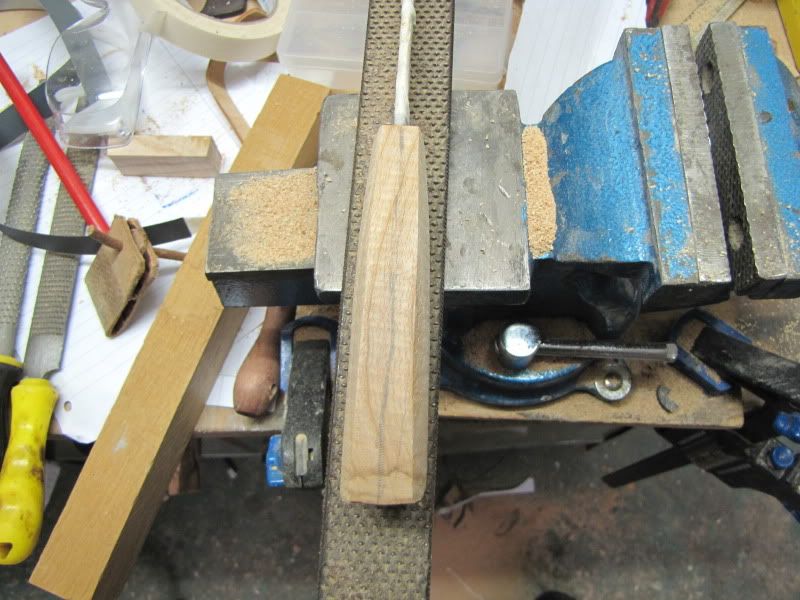
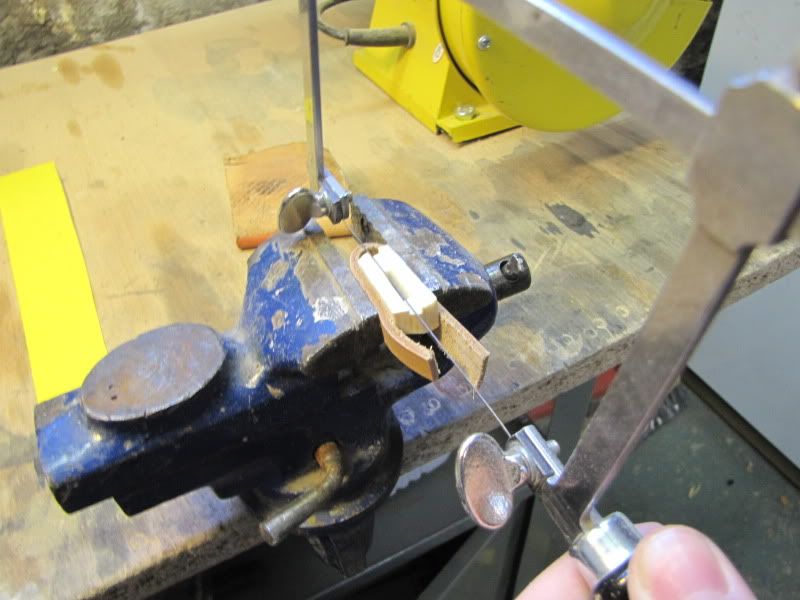
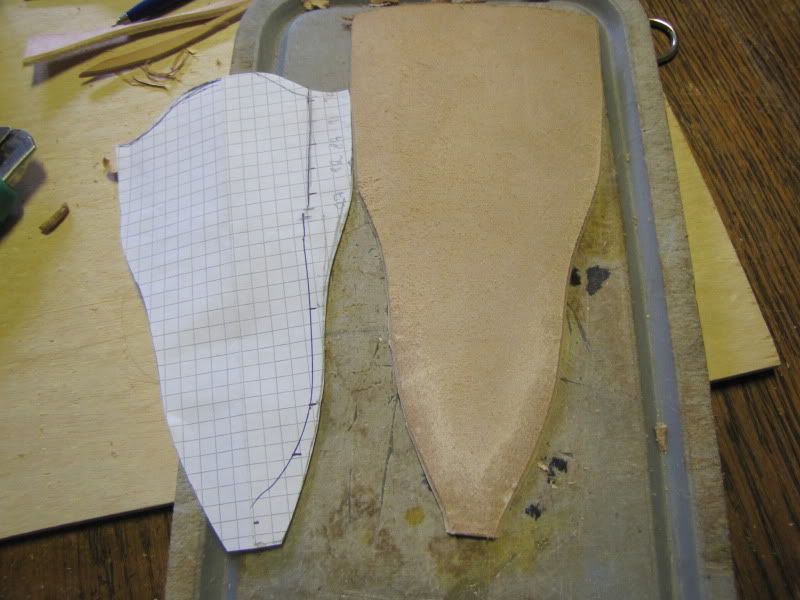
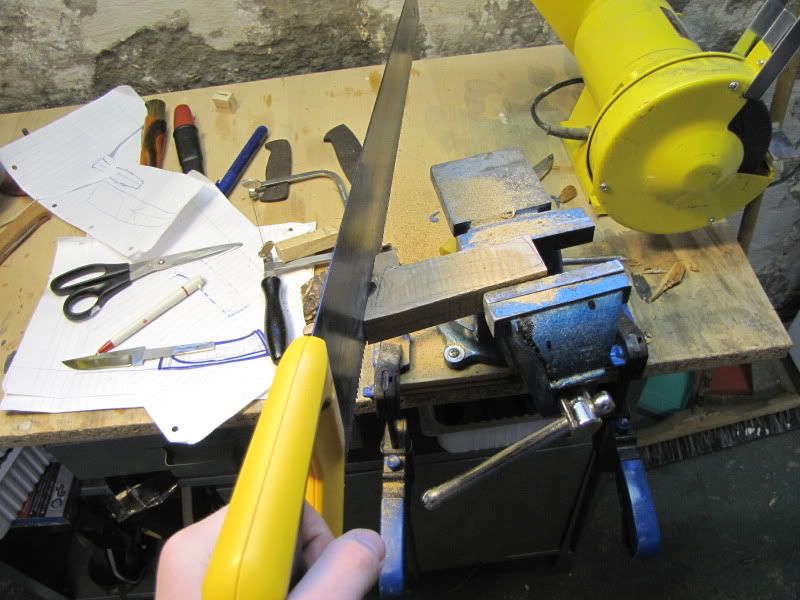
Then a little work with a saw.
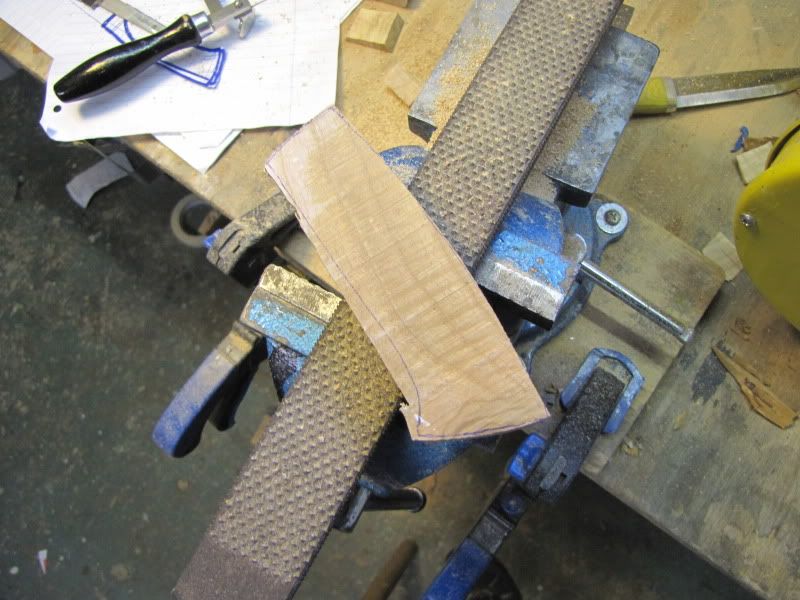
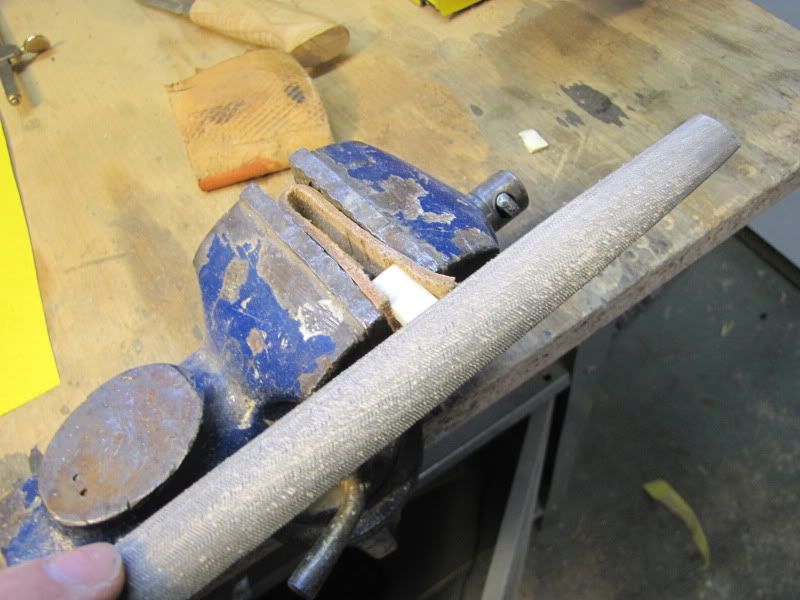
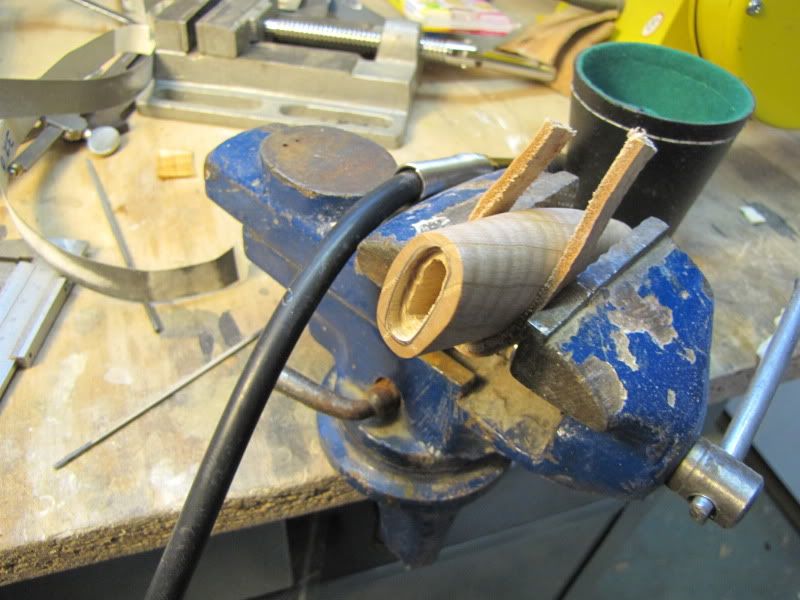
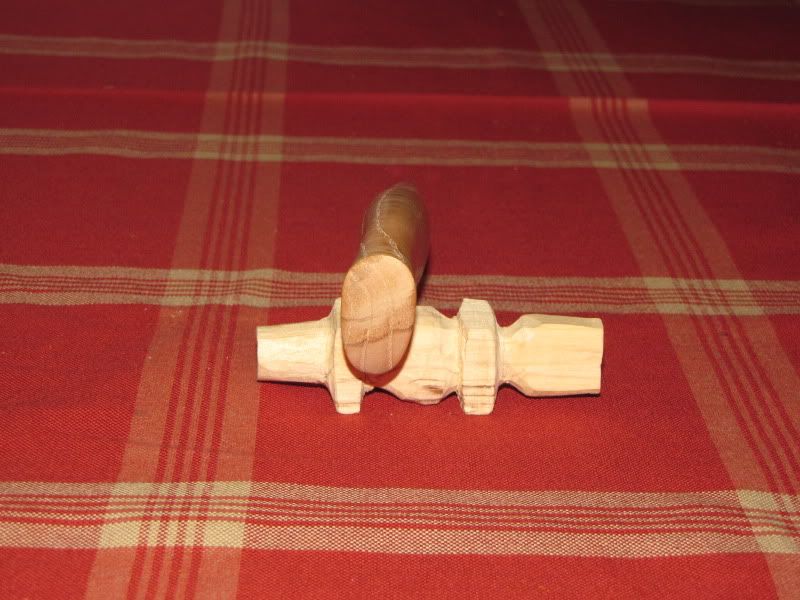
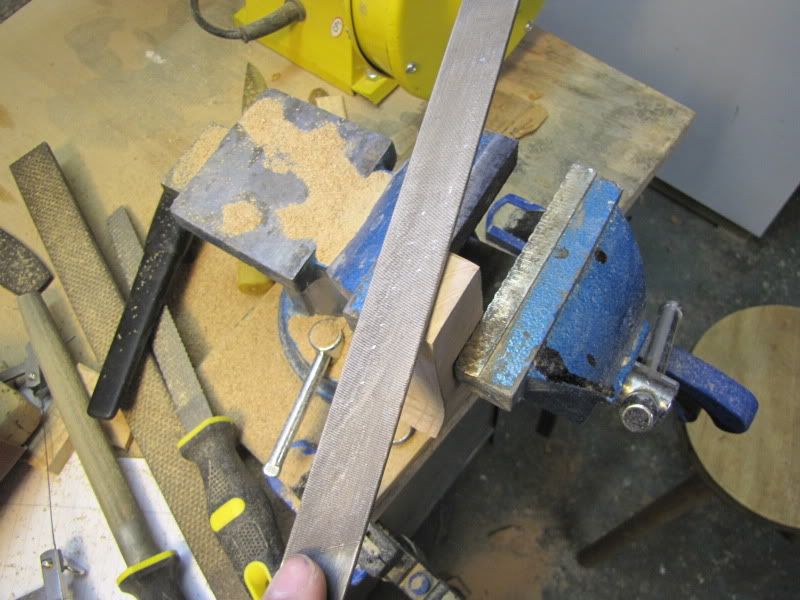
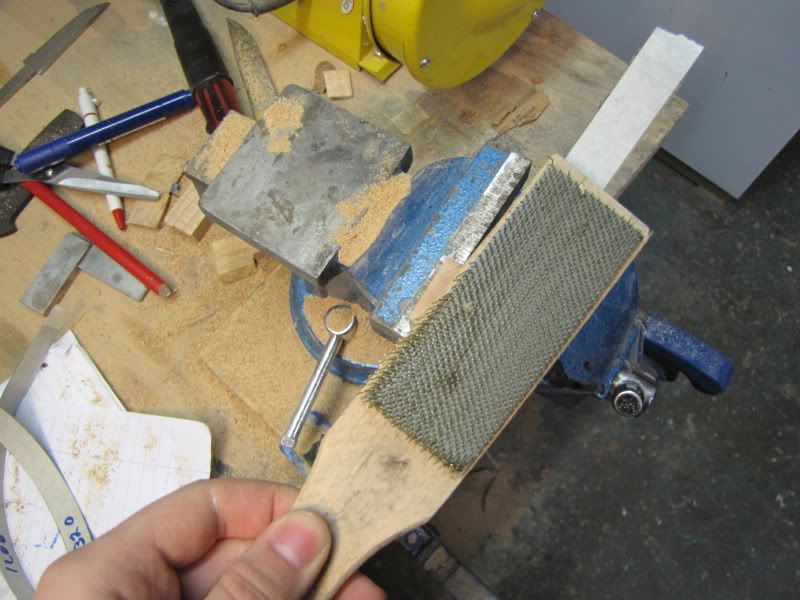
Then I use the farriers rasp you can see under the wood to shape it along with a halfround rasp, and then clean it up with a file.

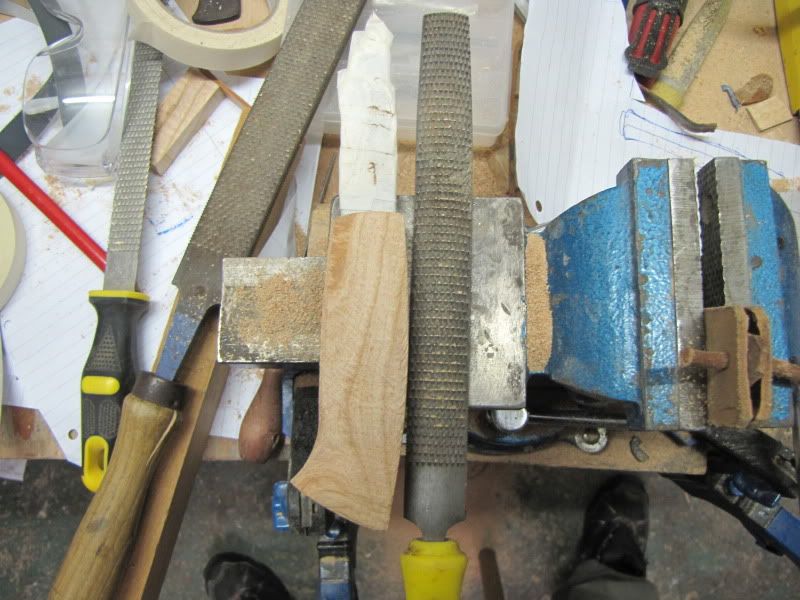
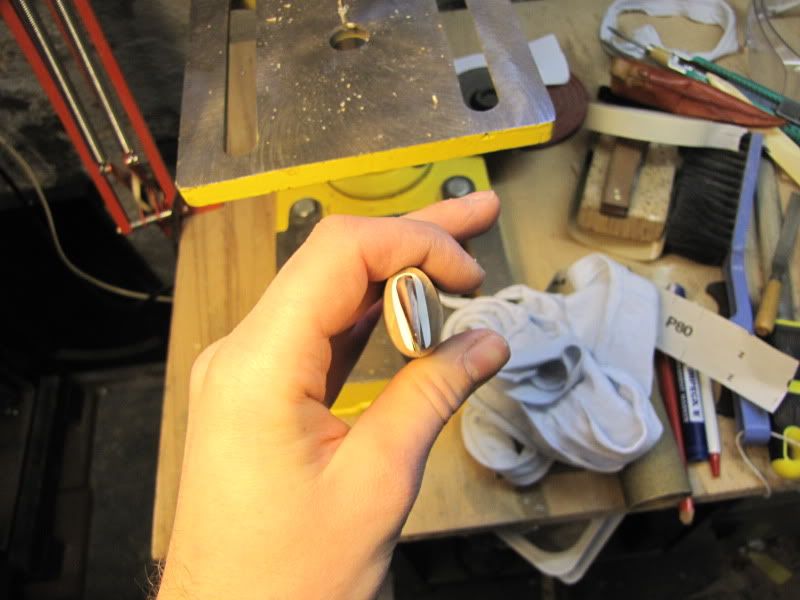
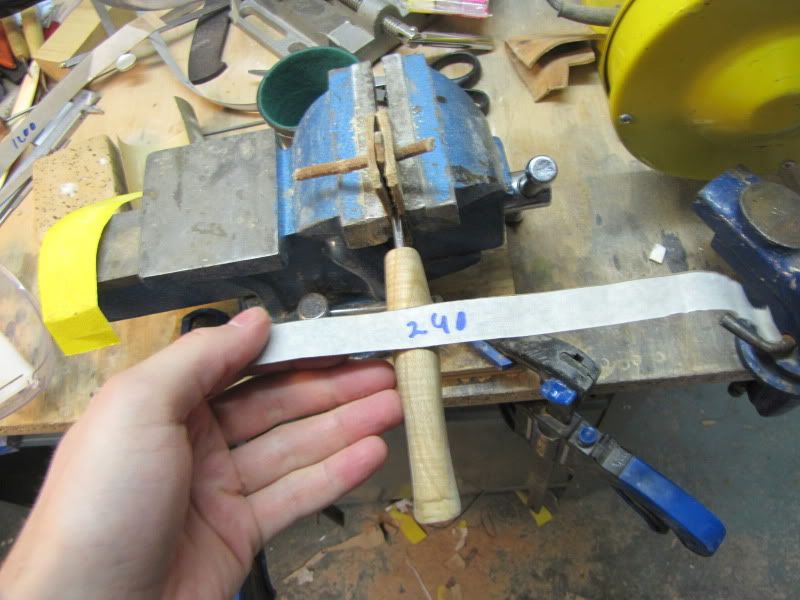
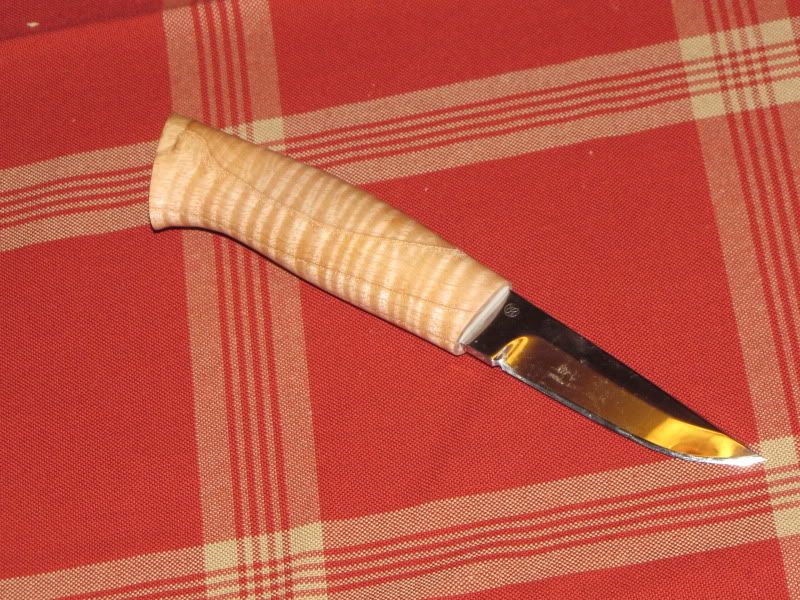
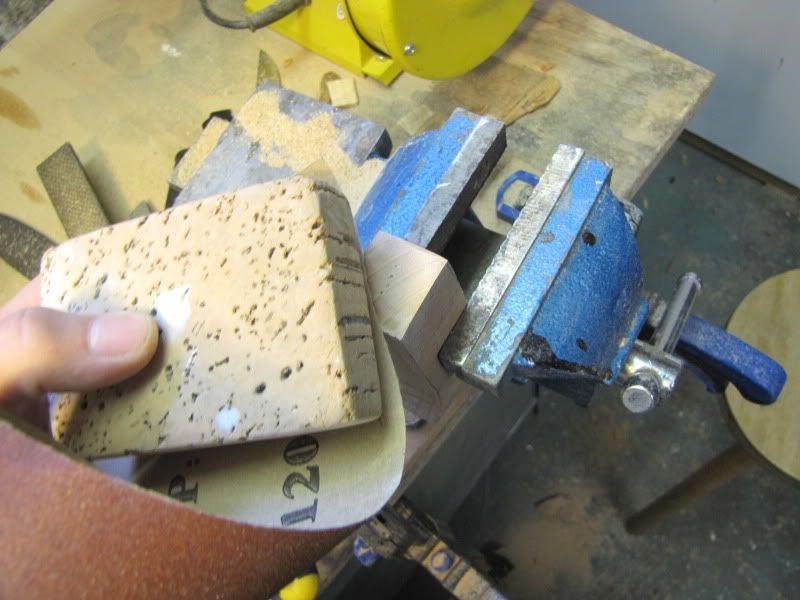
Then I clean up the front end of the handle, first with an even finer file and then various grits of sandpaper up to 1200 grit.
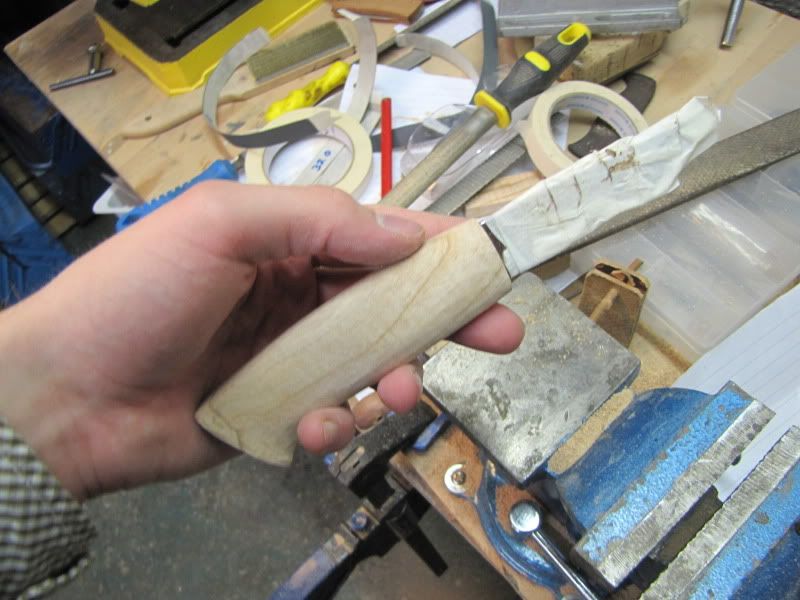
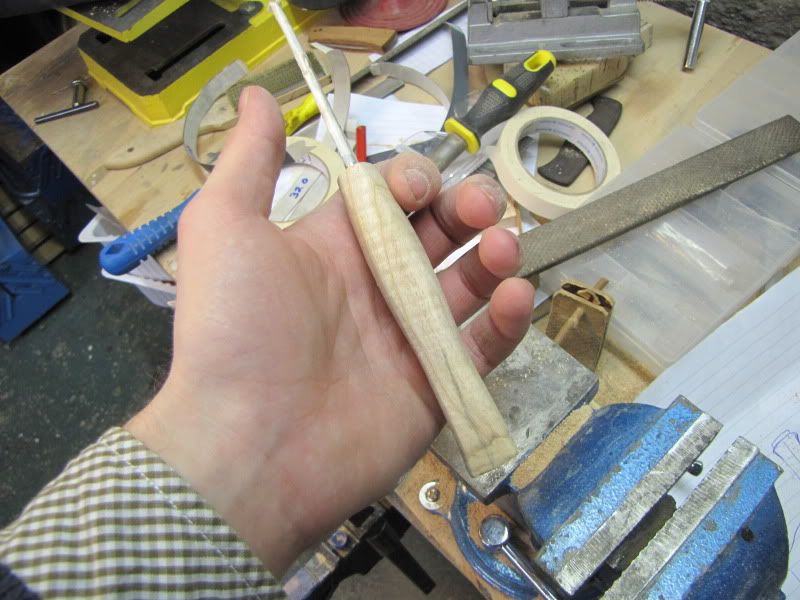
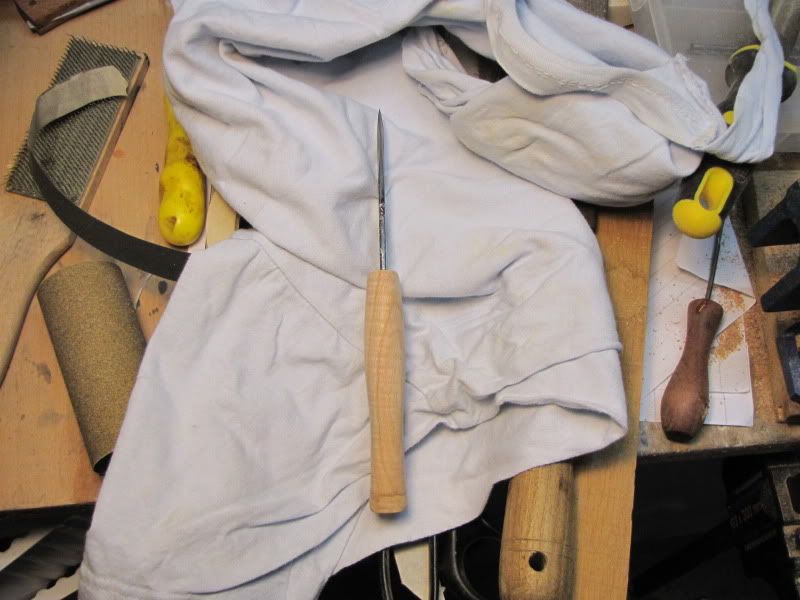
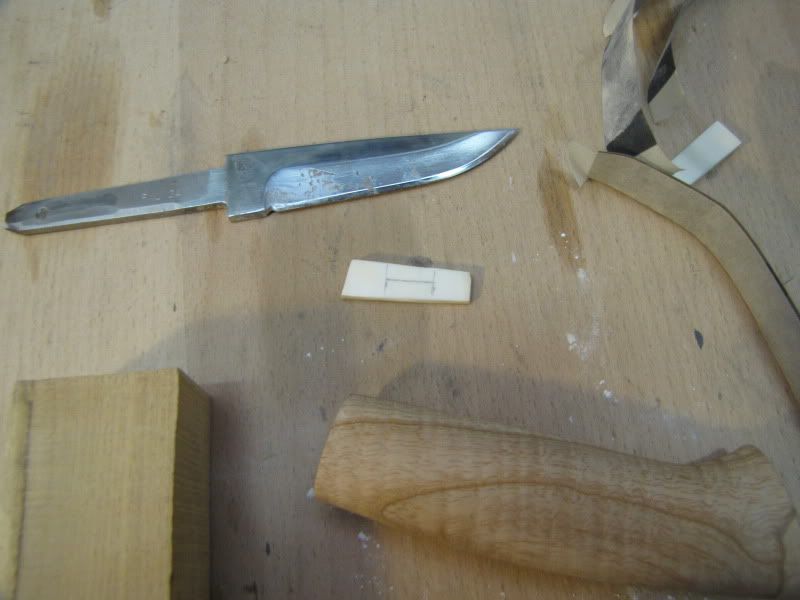
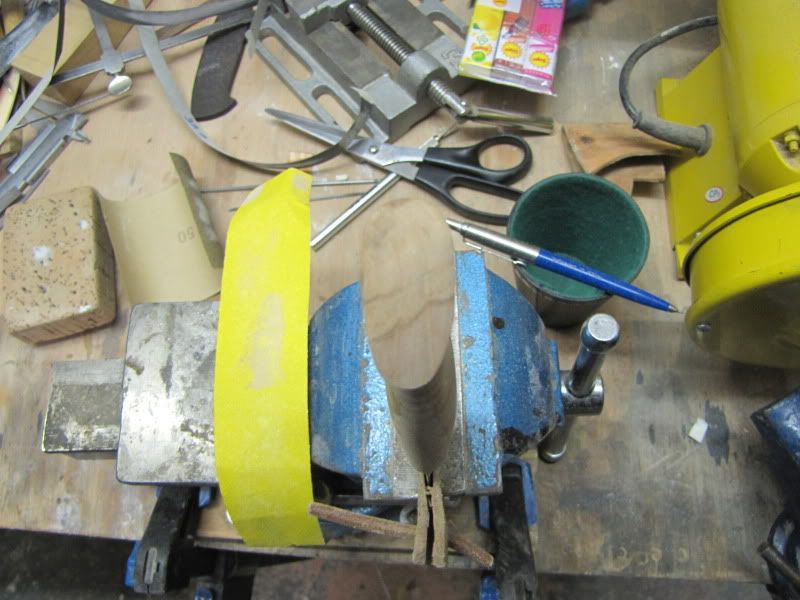
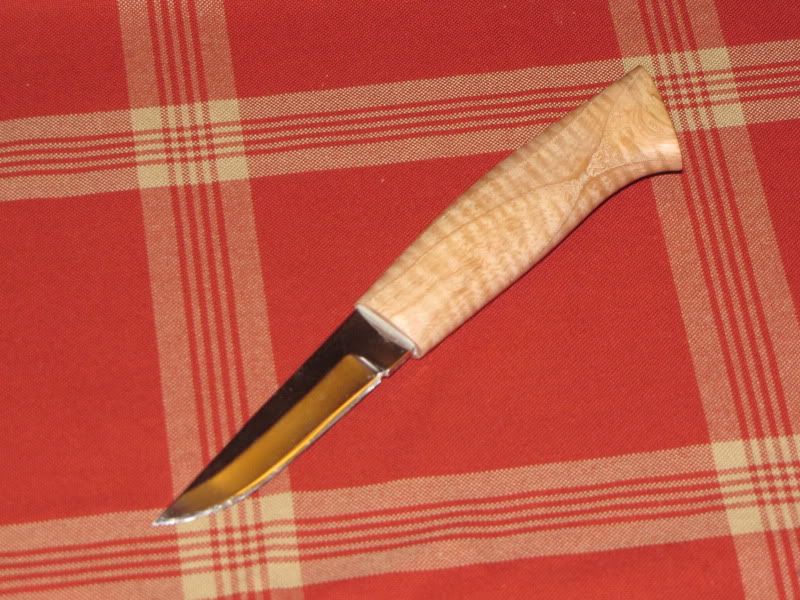
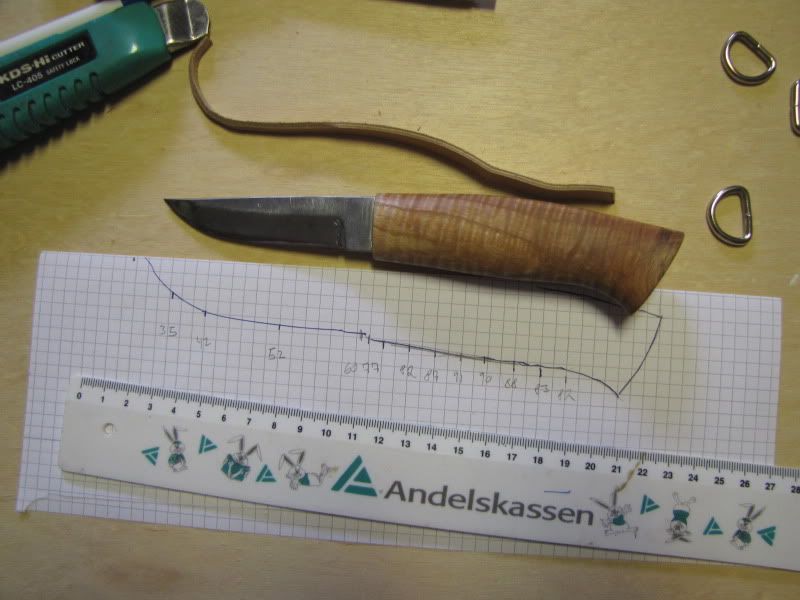
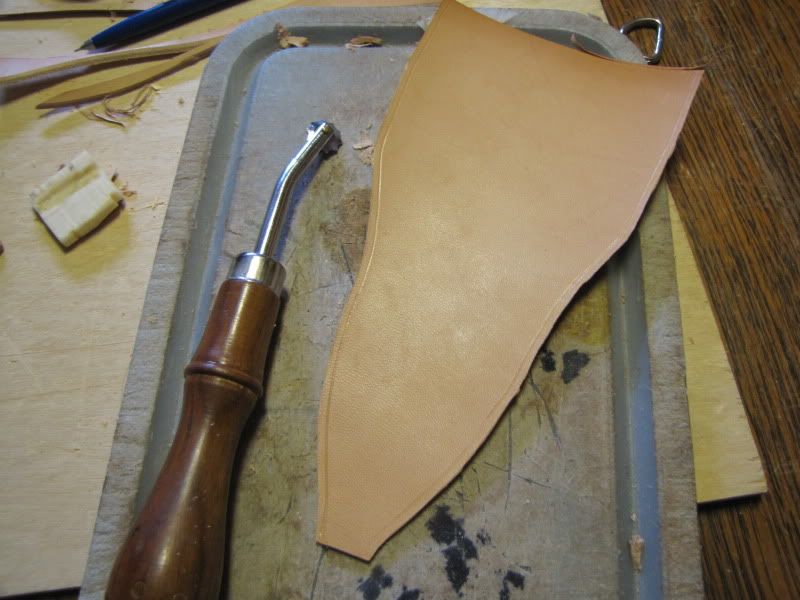
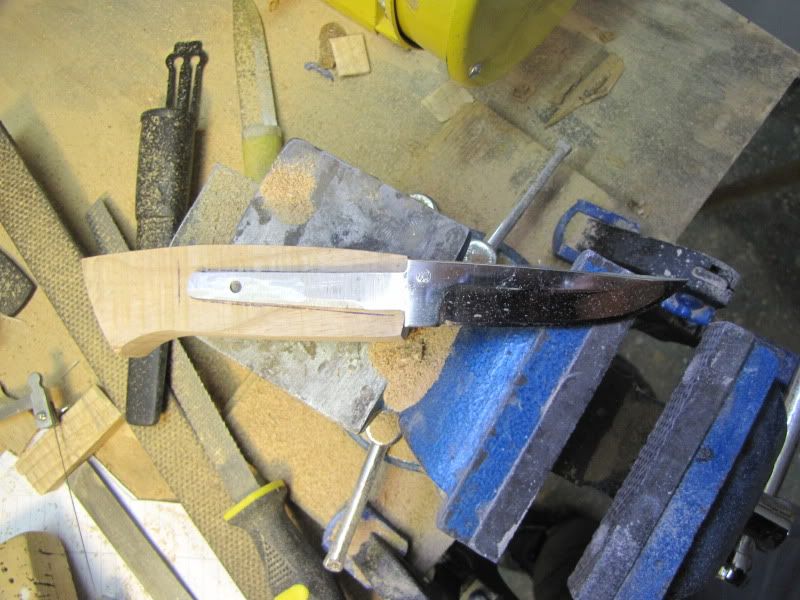
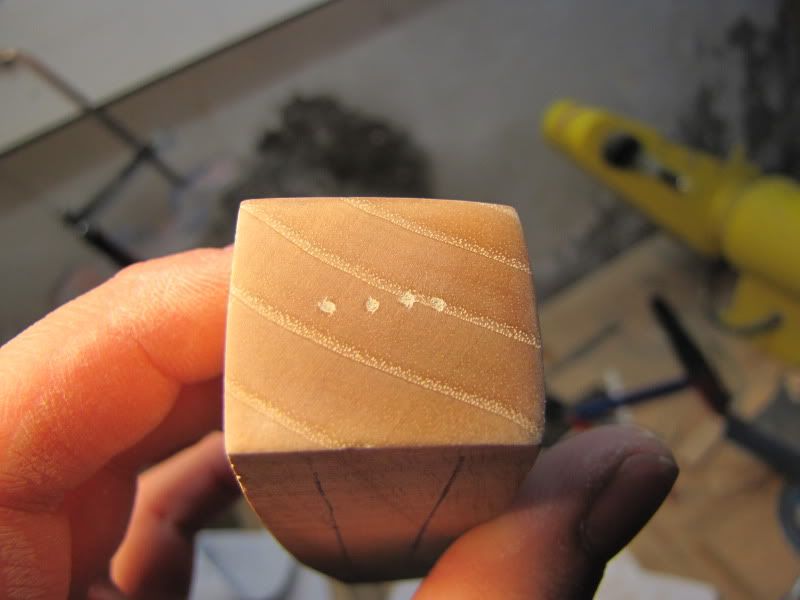
A quick look to see the overall shape.
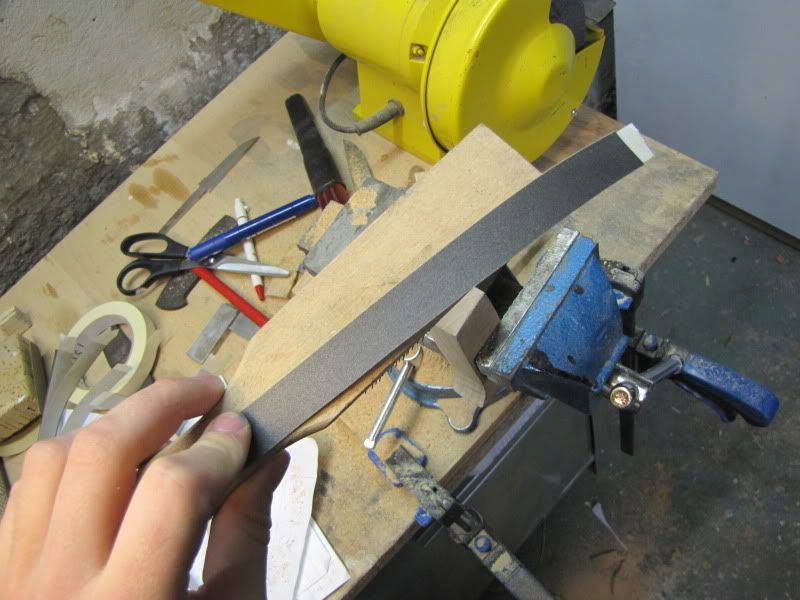
A little tip is to coat the backside of the sandingpaper with maskingtape, this relatively expensive wet'n'dry lasts much longer this way.

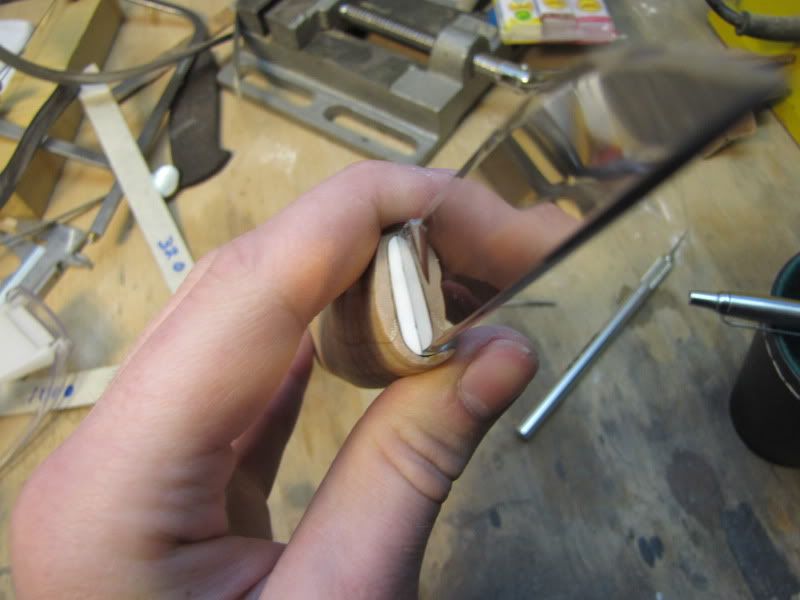
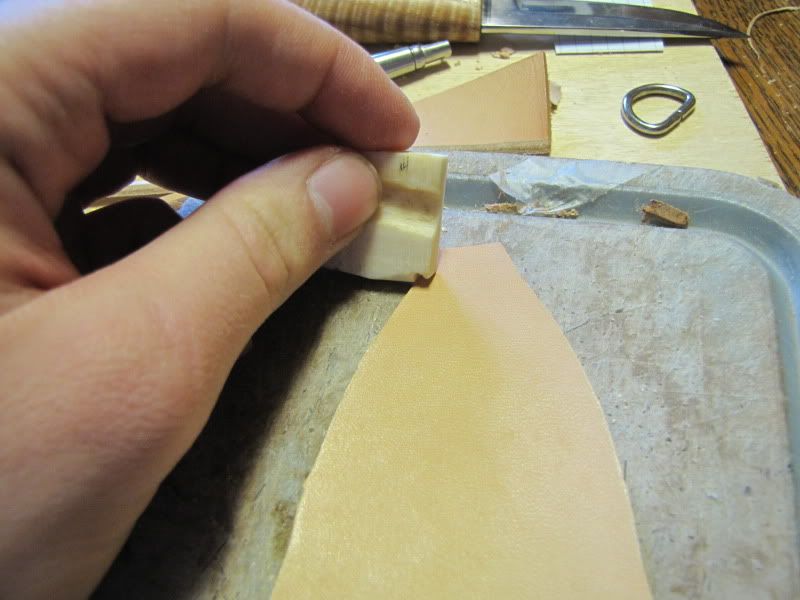
Cleaning up the front end I use a hard backing for grits 240 and 320, the rest I just use my thumbs.
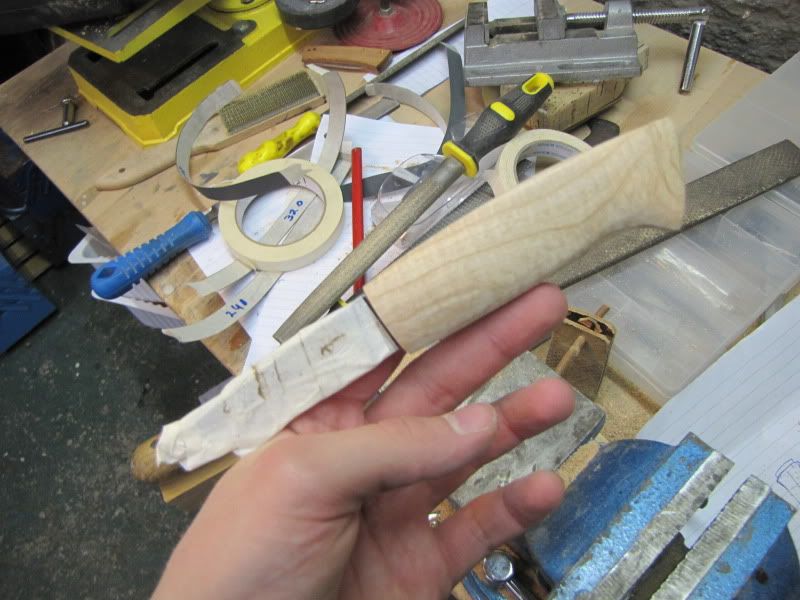
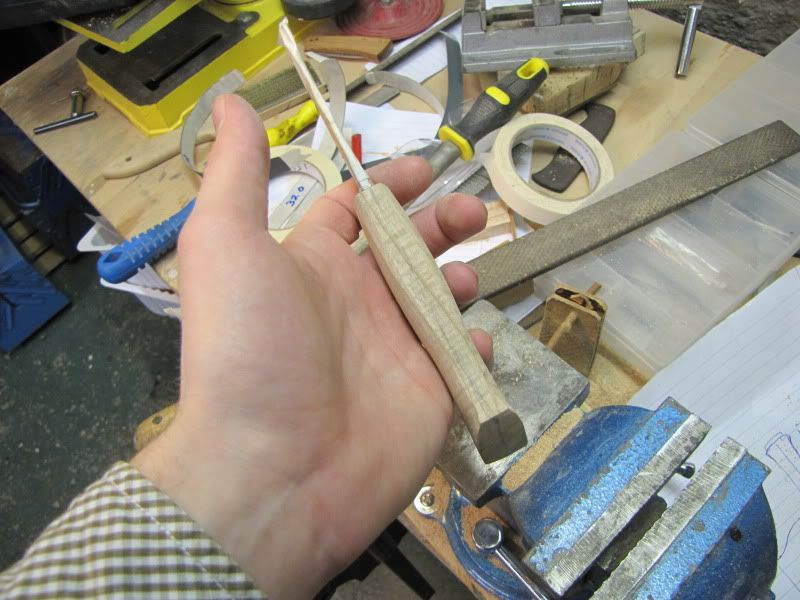
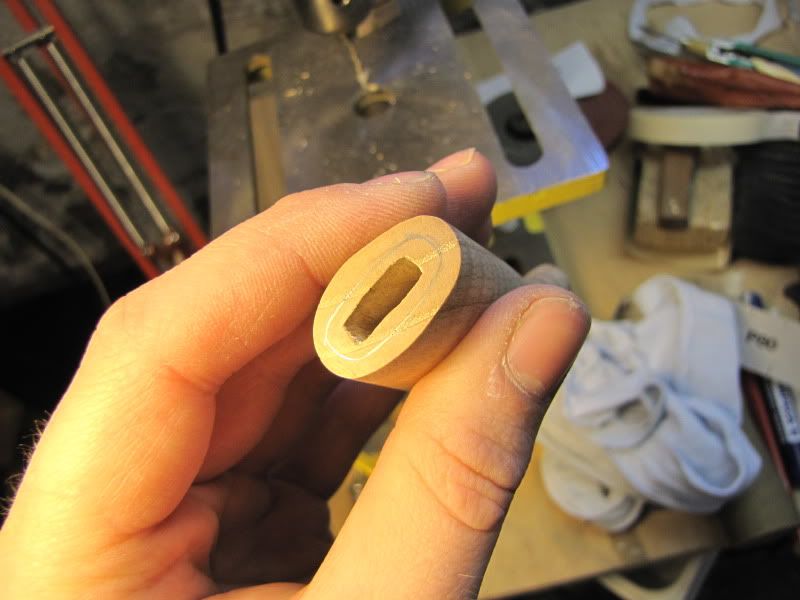
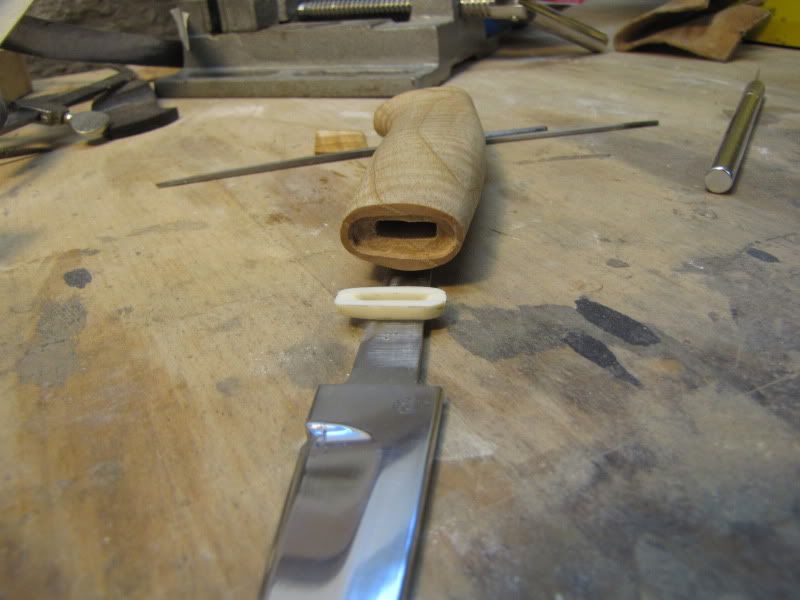
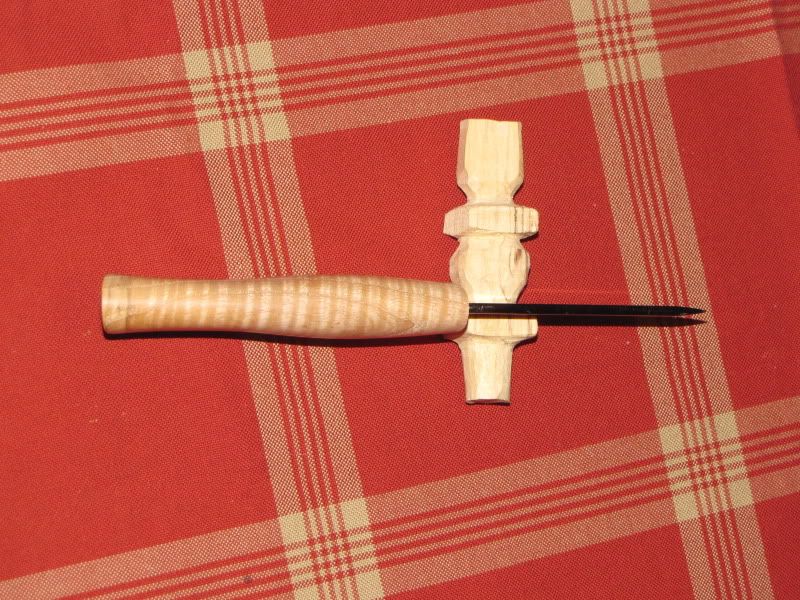
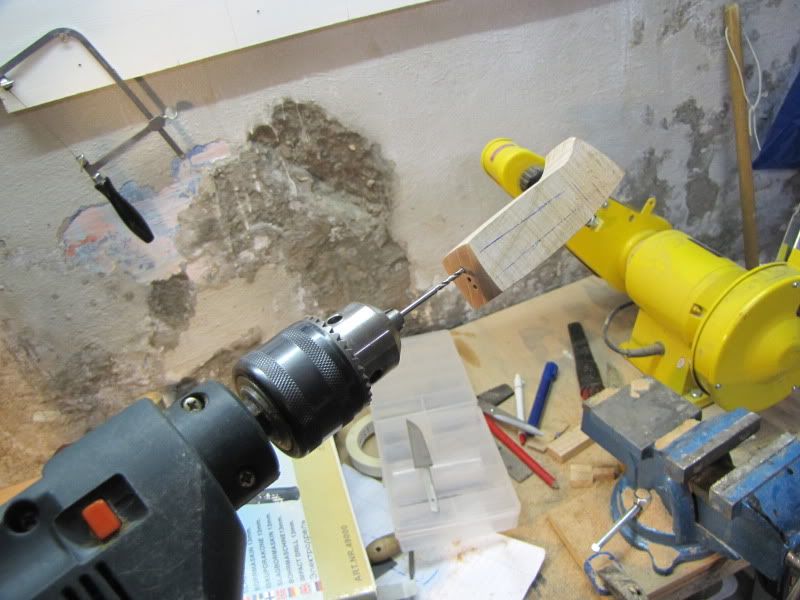
A quick view of the front end marked up for drilling.
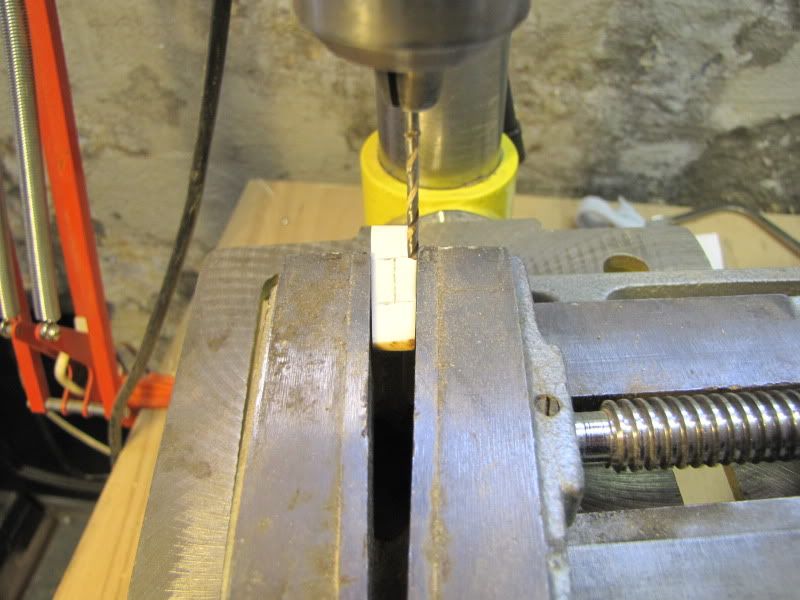
Drilling the holes:

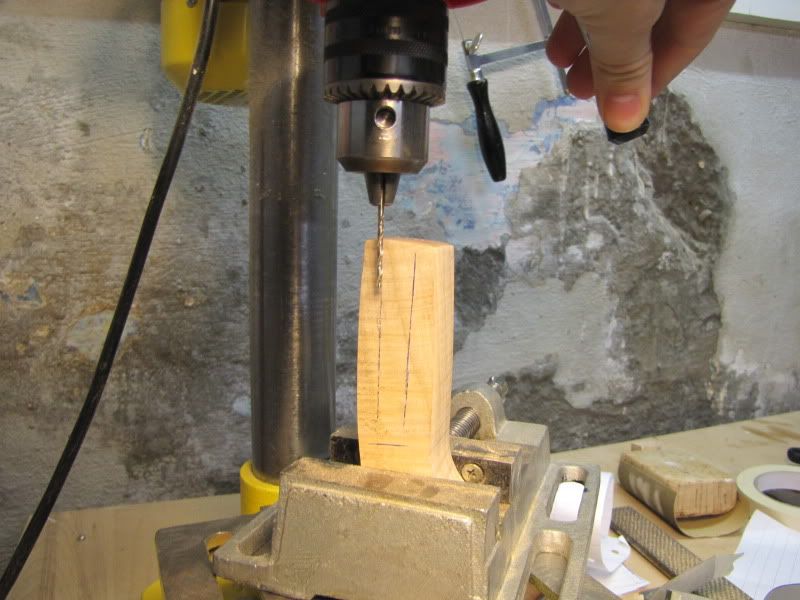
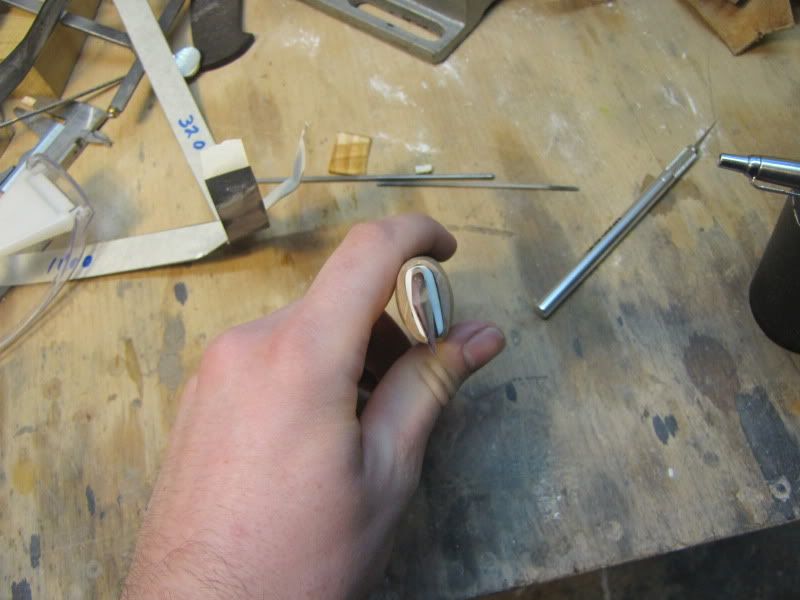
The first holes are just pilot holes, I drill further with a handdril and a 120mm drillbit This is not exactly protocol, and H&S Will not like it.
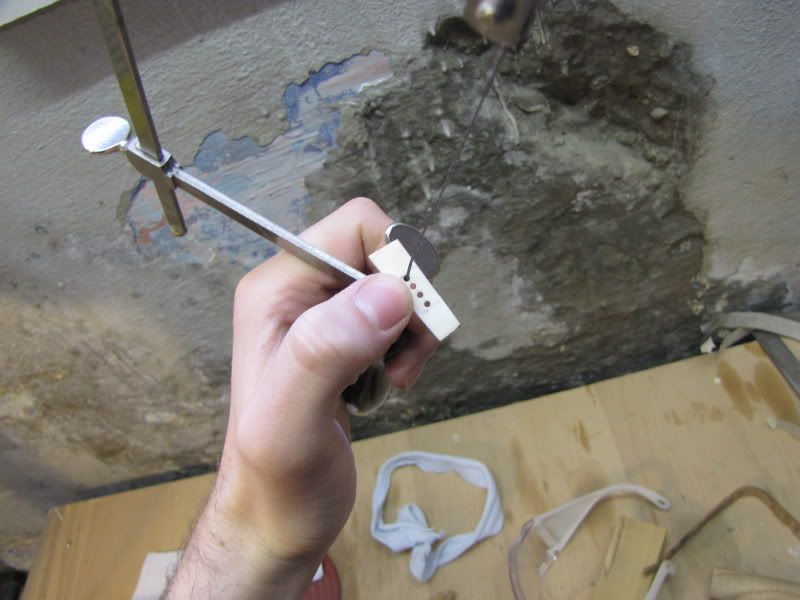
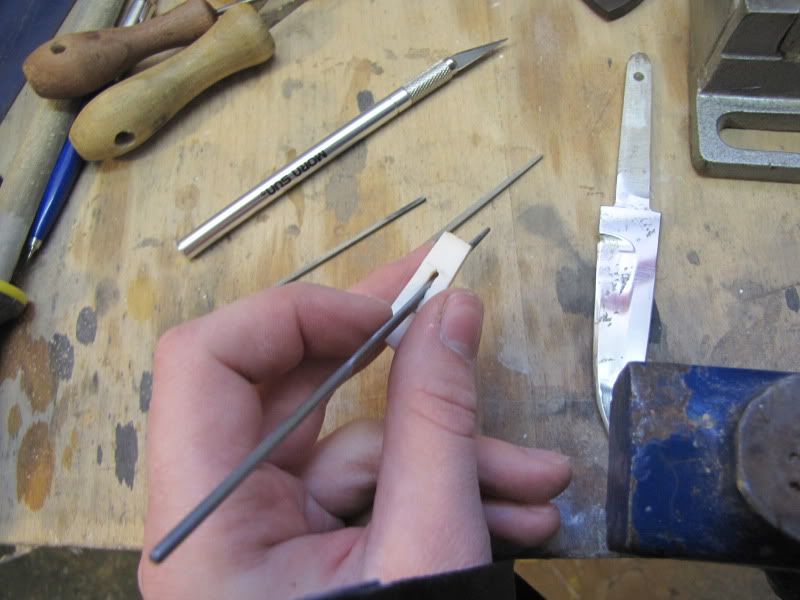
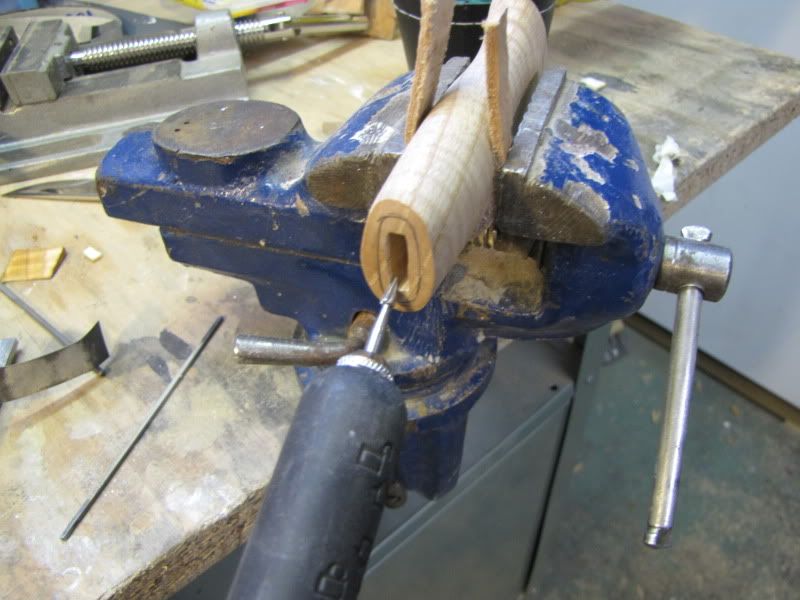
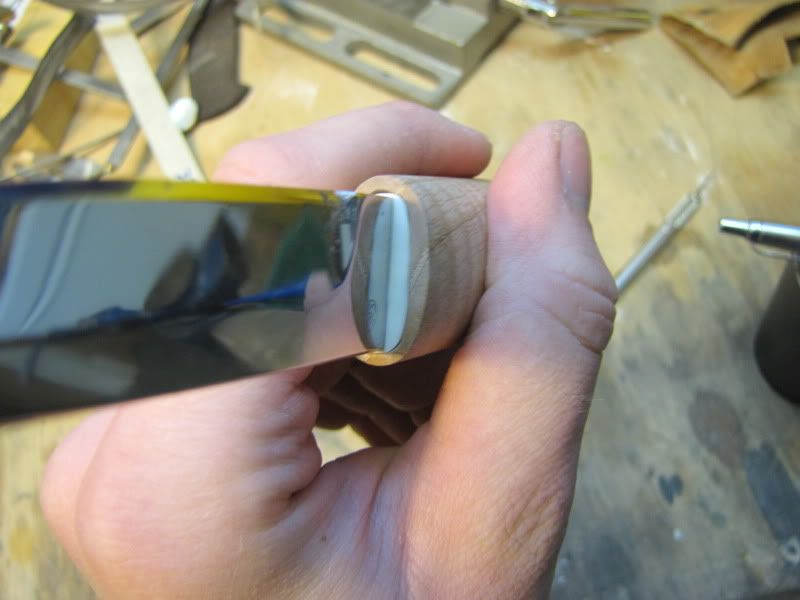
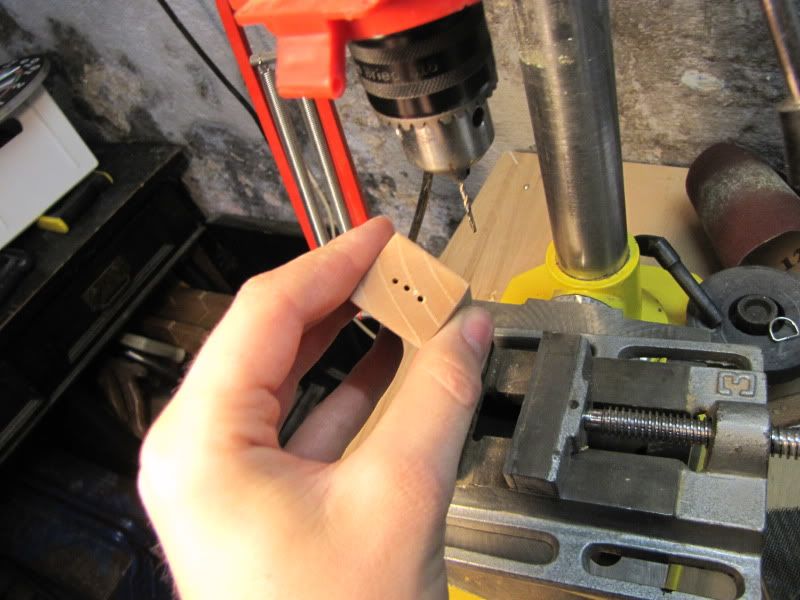
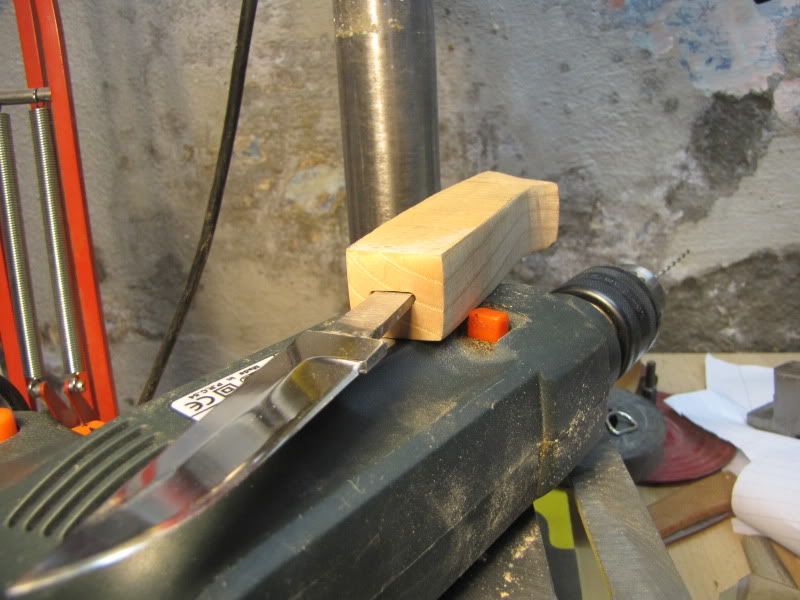
Then I use a very small rasp and a small sawblade to widen the holes.
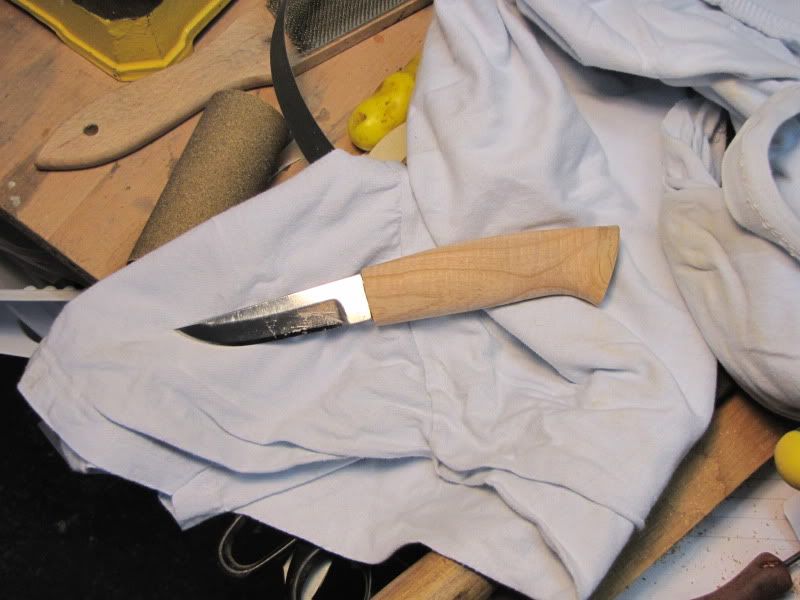
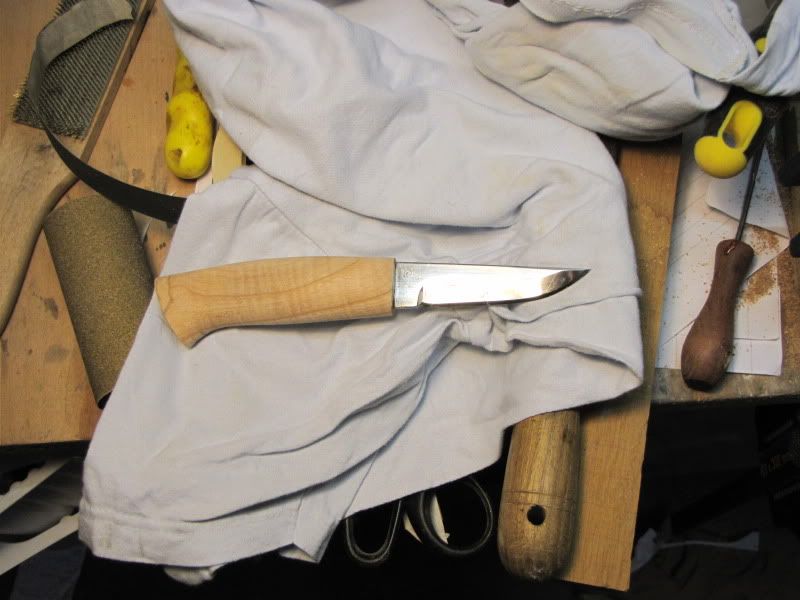
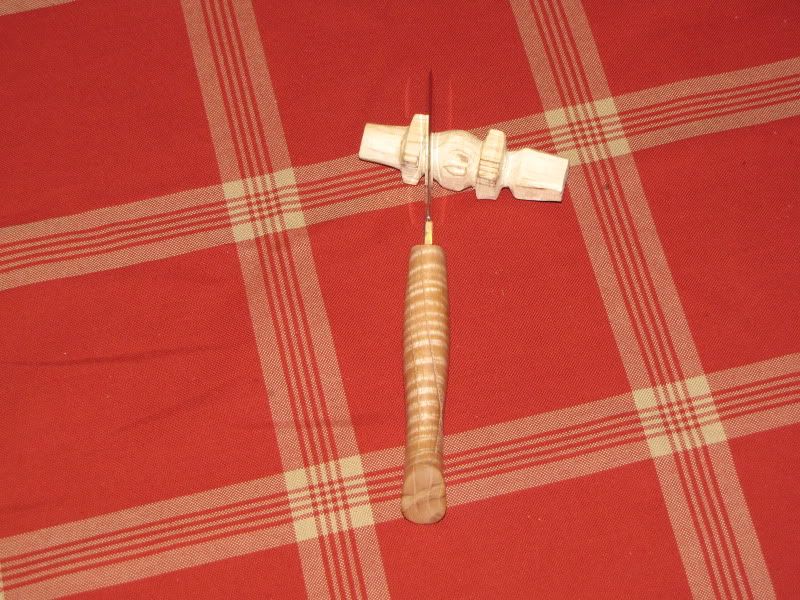
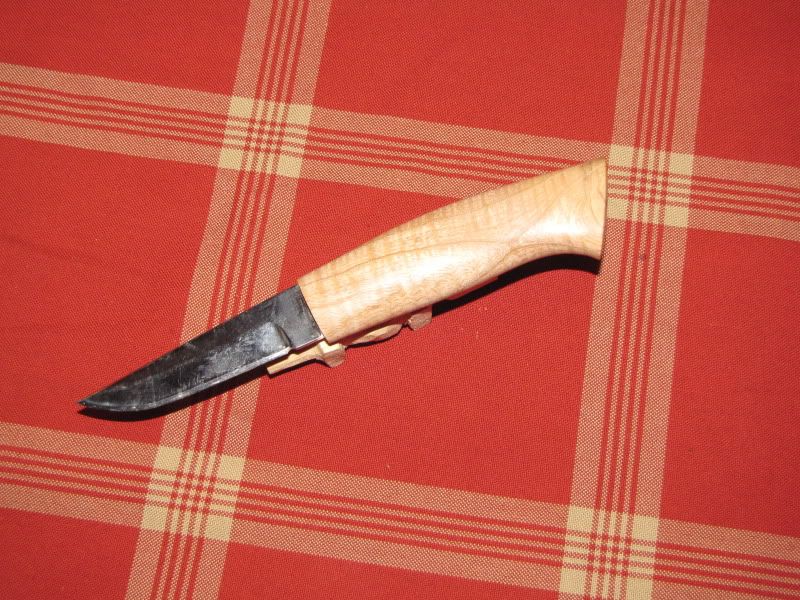
Almost done.

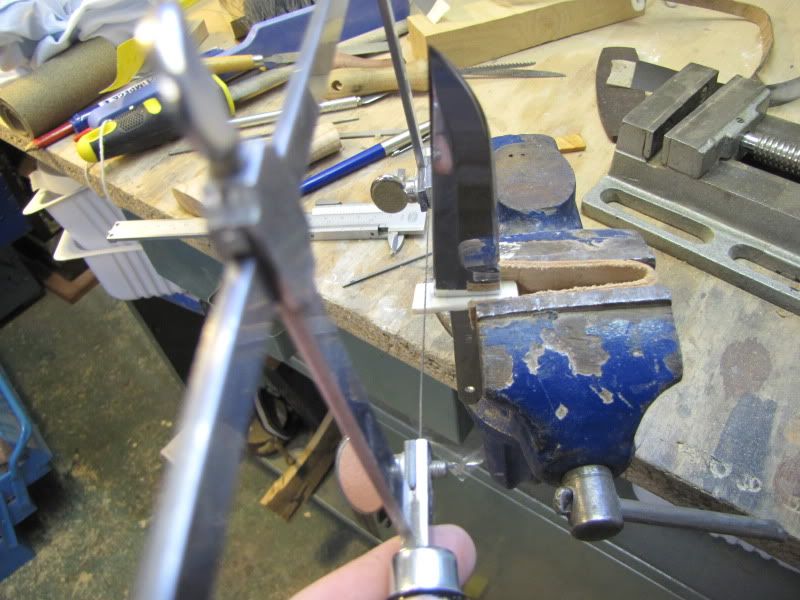
A couple of slips with the rasp and sawblade, and everything was ruined.
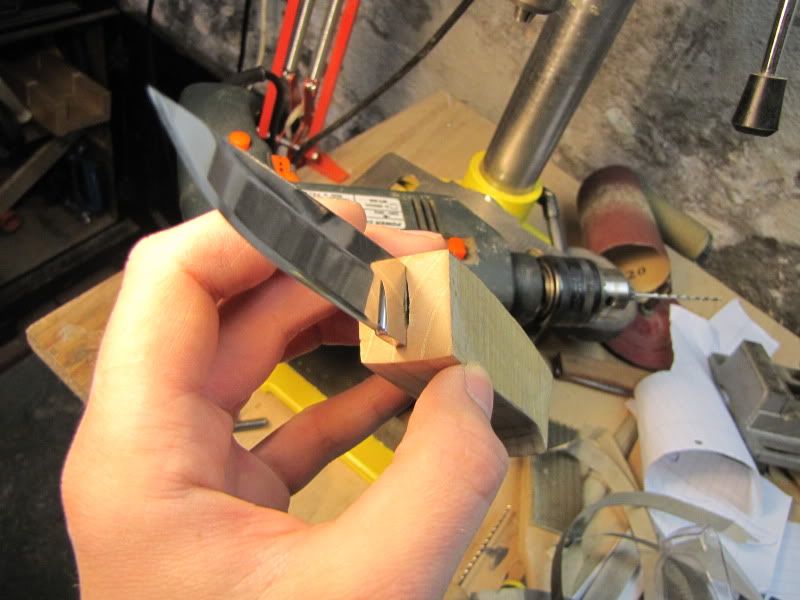
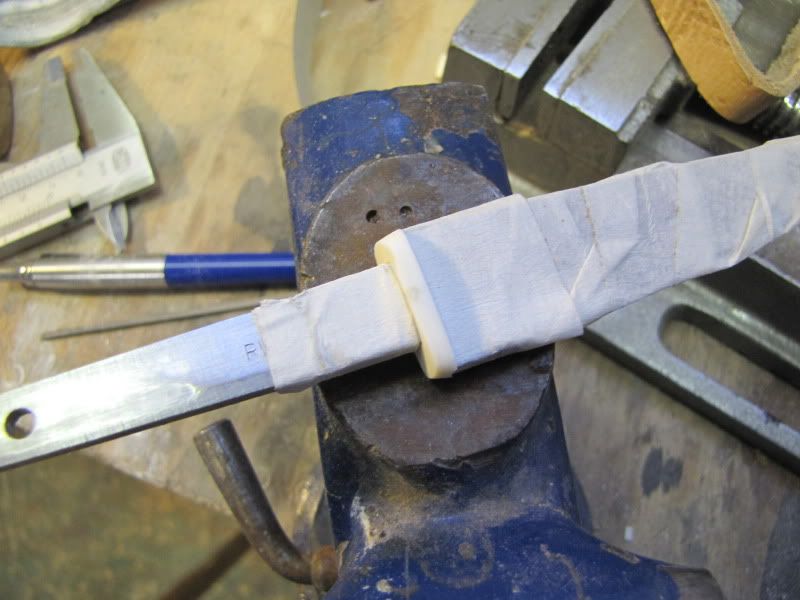
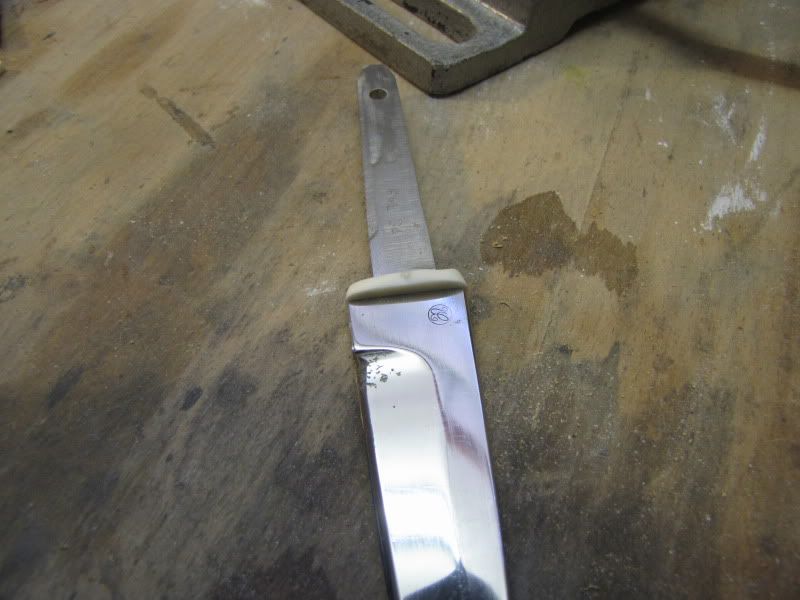
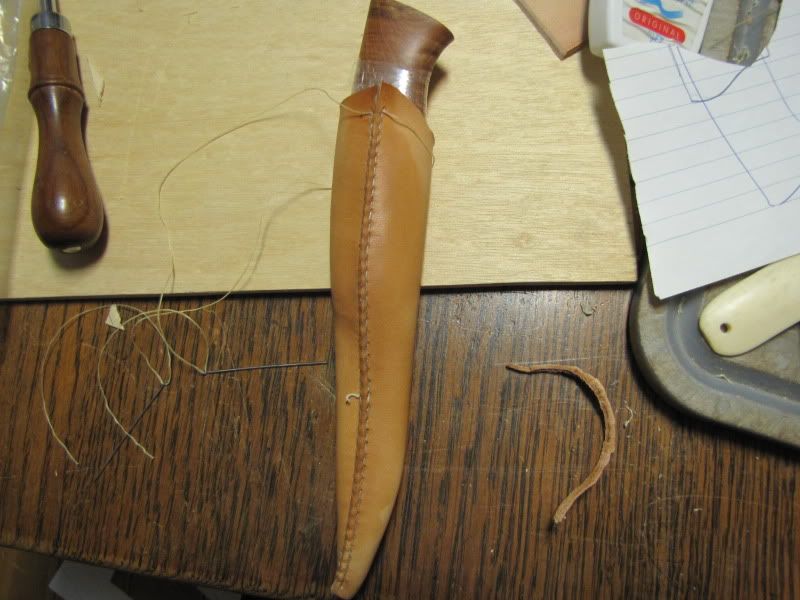
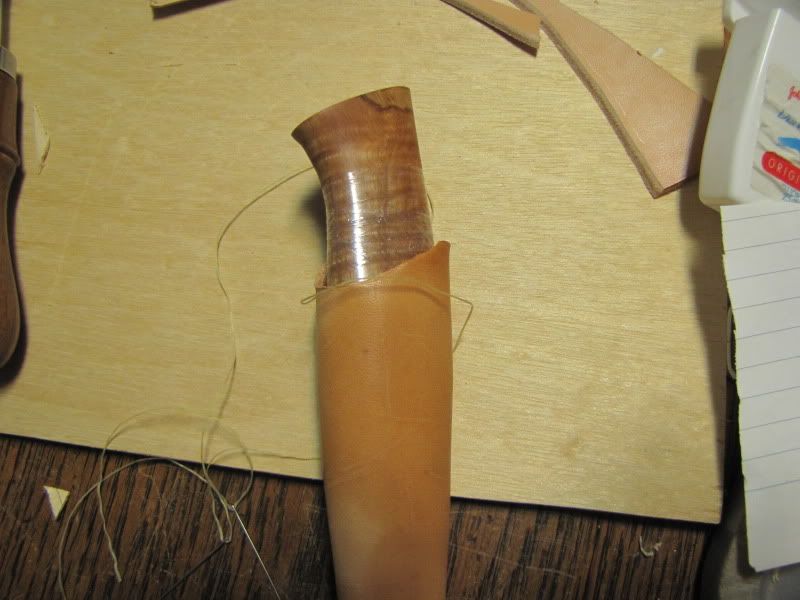
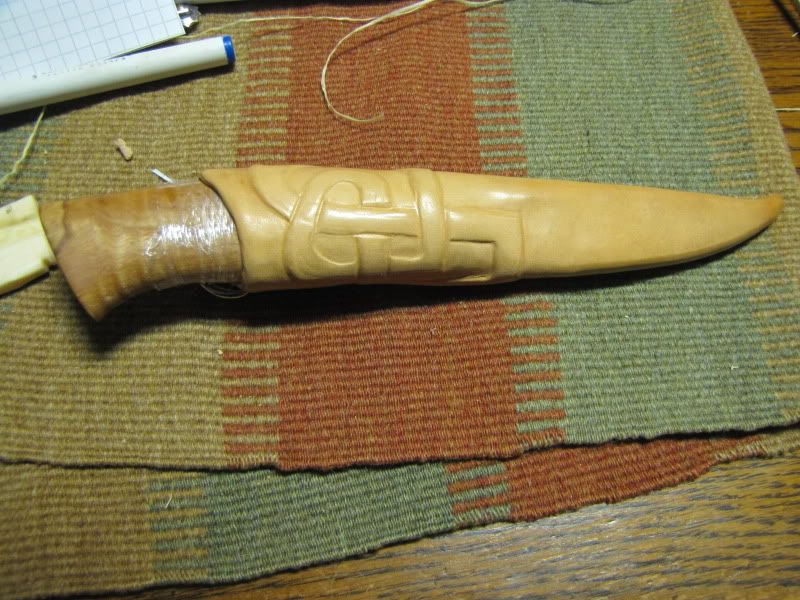
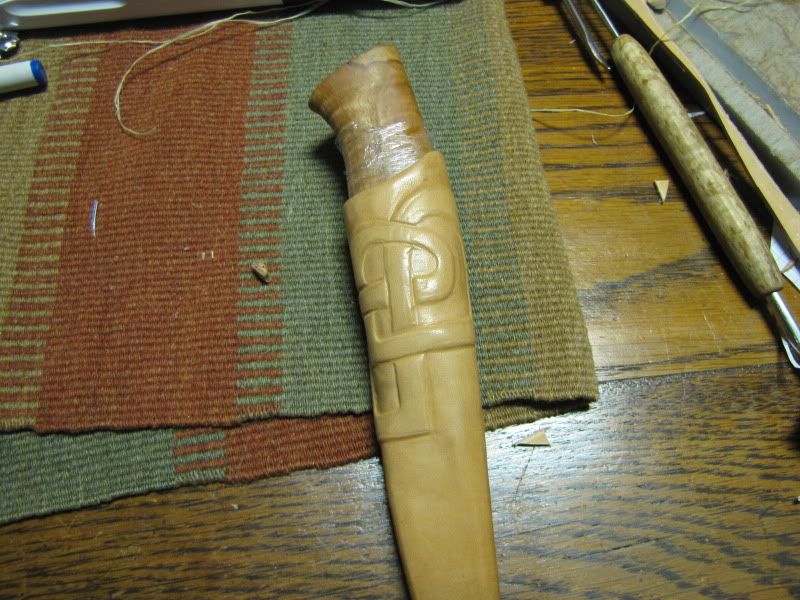
Now I have to cut of the front end and fit a bolster instead
If it is in the wrong forum then I apologise.
I have been taking some pictures in the workshop tonight. It is the first time in a while since I have had the wiring redone
Knifeblade and a piece of wood:
The first plan was a One-piece scandi, but it isn't anymore.
I took the drawing I have made of the handle and cut it out with a pair of scissors, then traced it on to the wood, a nice piece of kiln-dried ash, dry as bone, hard and very tough wood. It is nice to work in, but it requires cleanliness, metaldust hidden in a file, to much graphite from a pencil or dirty sanding paper will smudge the woods pores.
Then a little work with a saw.
Then I use the farriers rasp you can see under the wood to shape it along with a halfround rasp, and then clean it up with a file.
Then I clean up the front end of the handle, first with an even finer file and then various grits of sandpaper up to 1200 grit.
A quick look to see the overall shape.
A little tip is to coat the backside of the sandingpaper with maskingtape, this relatively expensive wet'n'dry lasts much longer this way.
Cleaning up the front end I use a hard backing for grits 240 and 320, the rest I just use my thumbs.
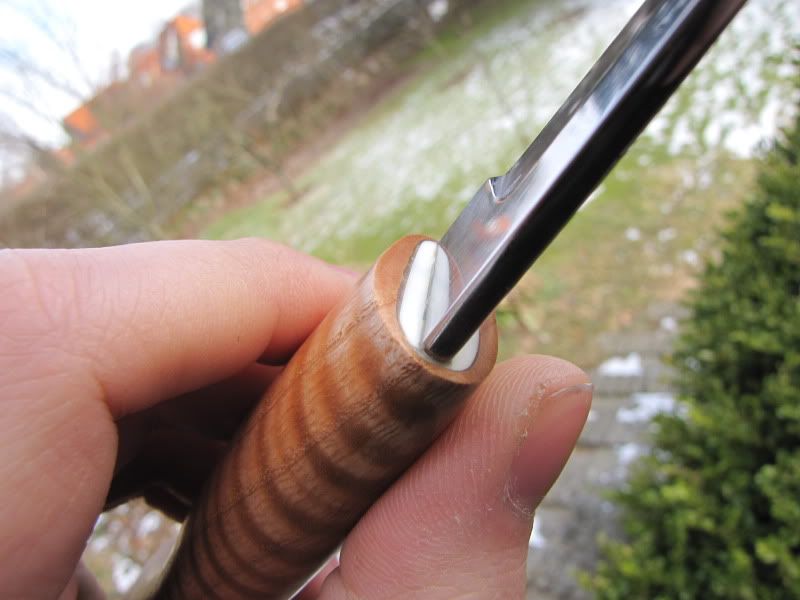
A quick view of the front end marked up for drilling.
Drilling the holes:
The first holes are just pilot holes, I drill further with a handdril and a 120mm drillbit
This is not exactly protocol, and H&S Will not like it.
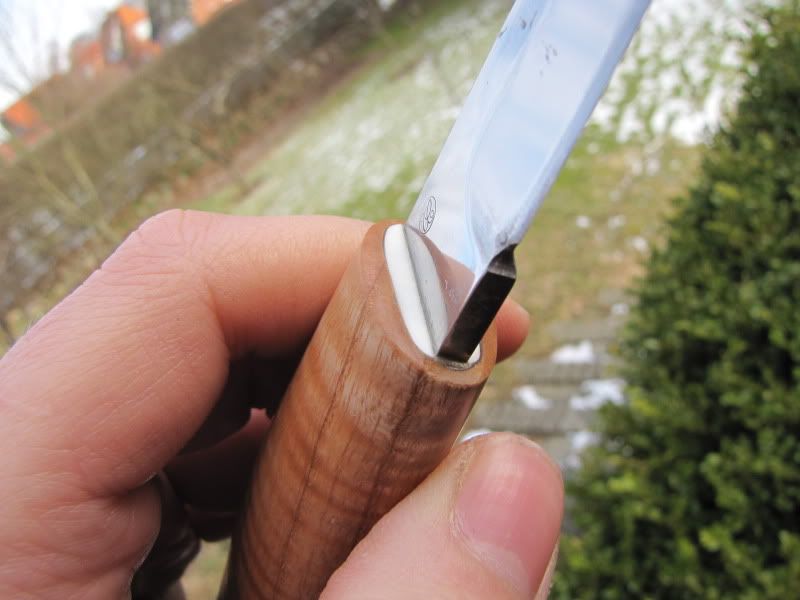
Then I use a very small rasp and a small sawblade to widen the holes.
Almost done.
A couple of slips with the rasp and sawblade, and everything was ruined.
Now I have to cut of the front end and fit a bolster instead
Last edited: