
Brian.Evans
Active Member
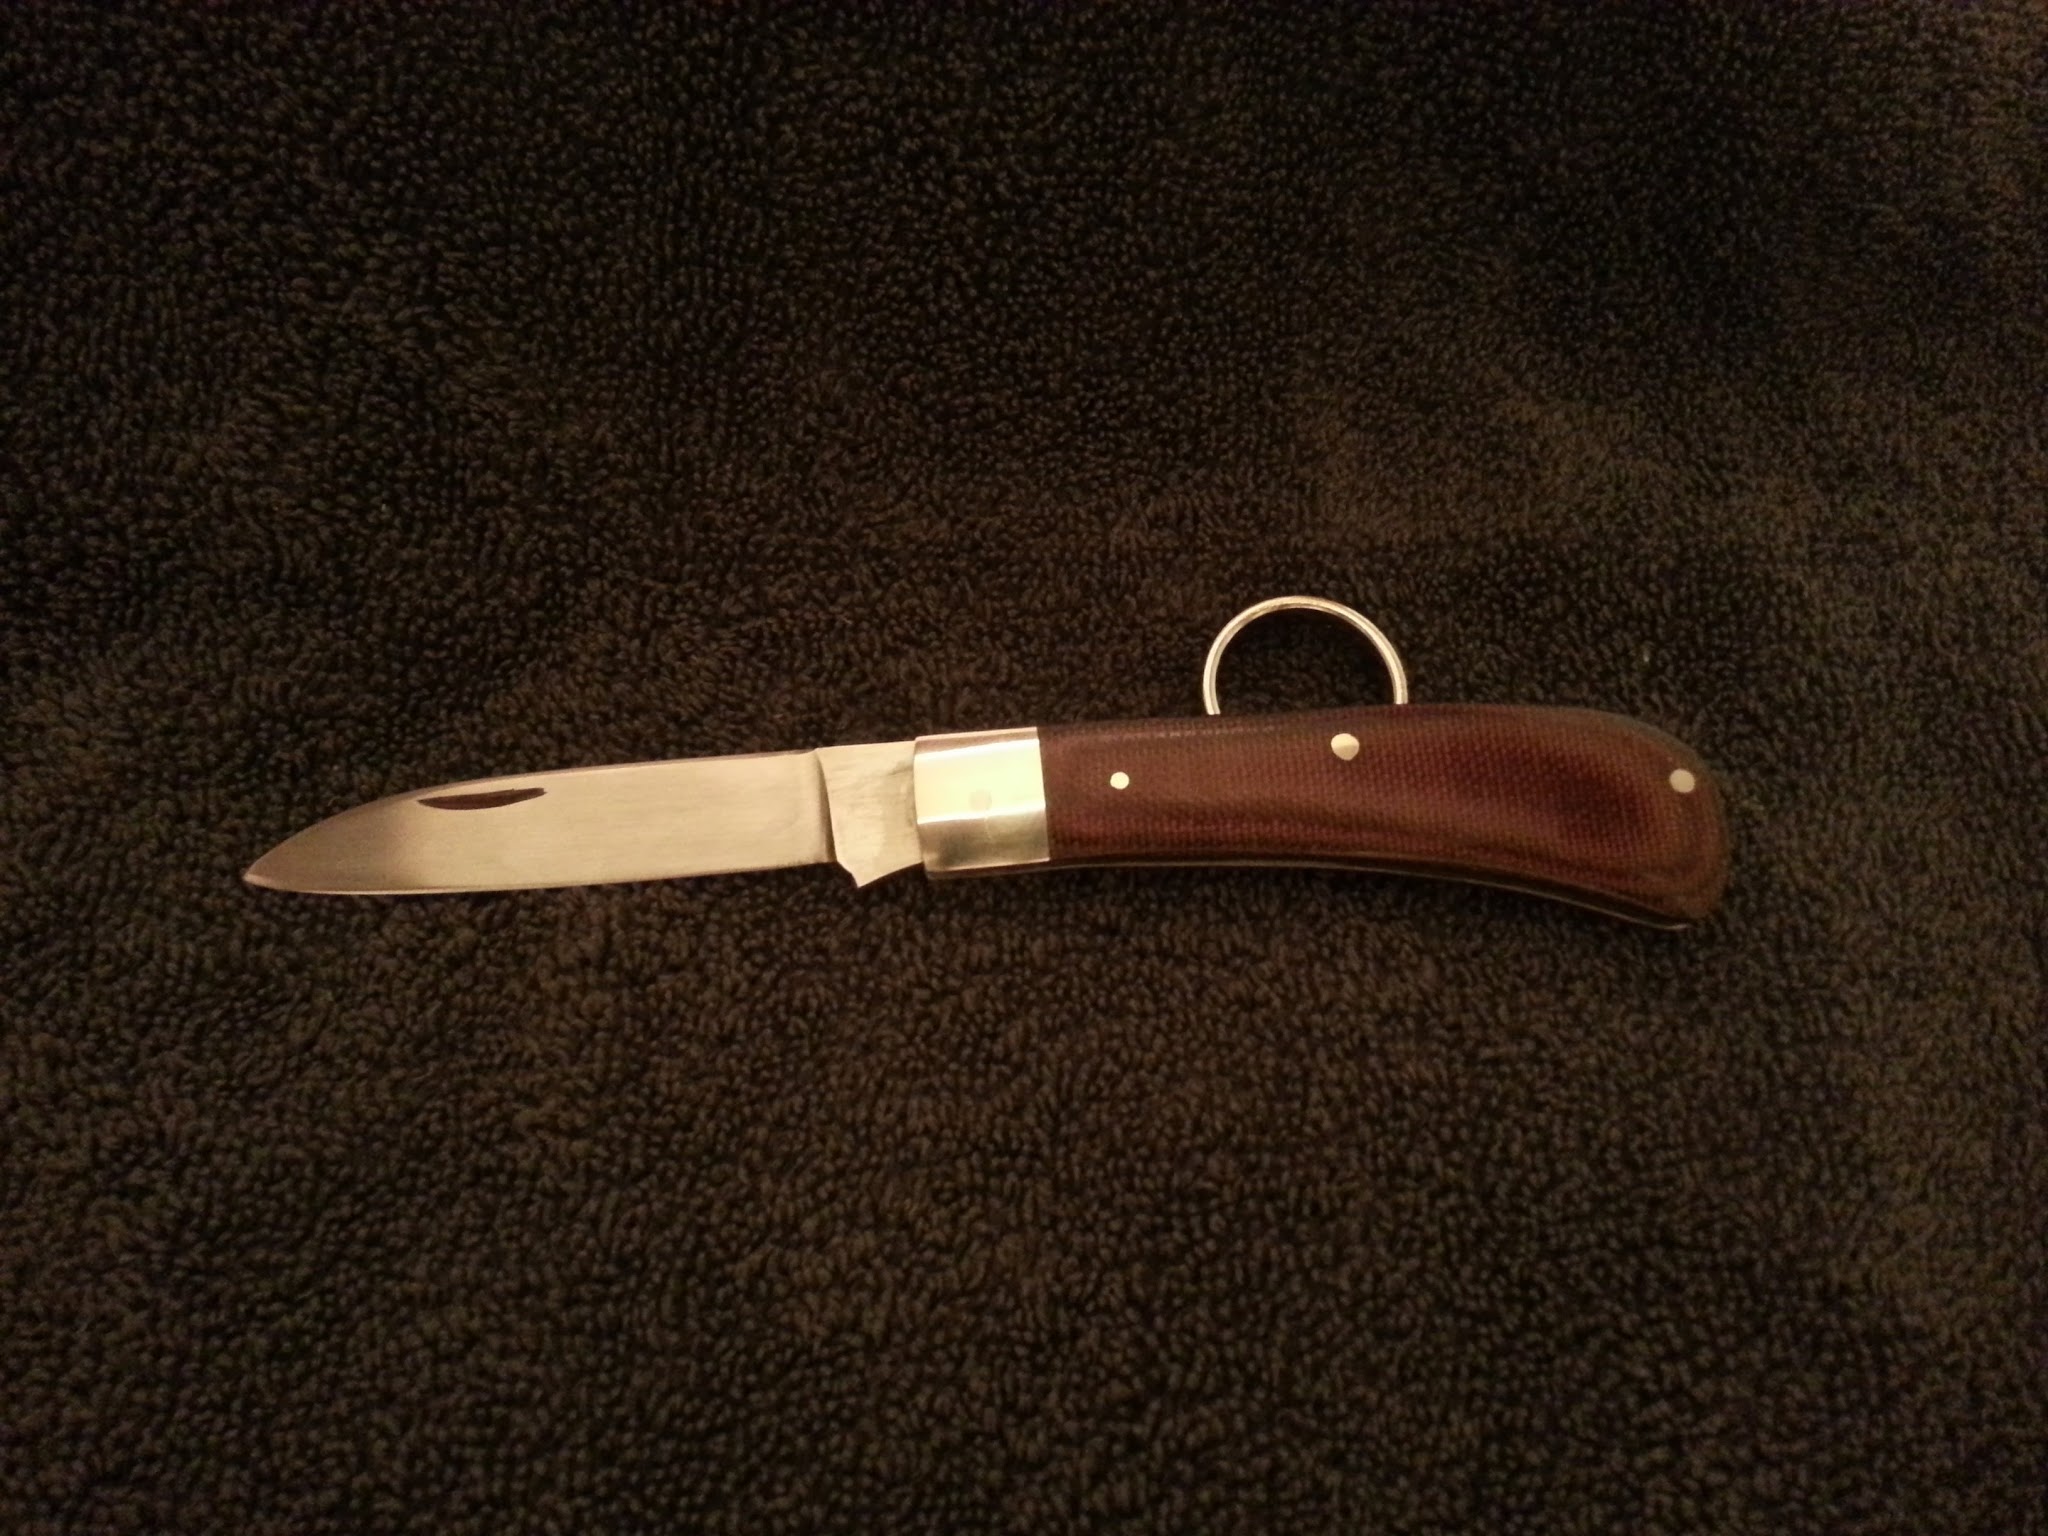
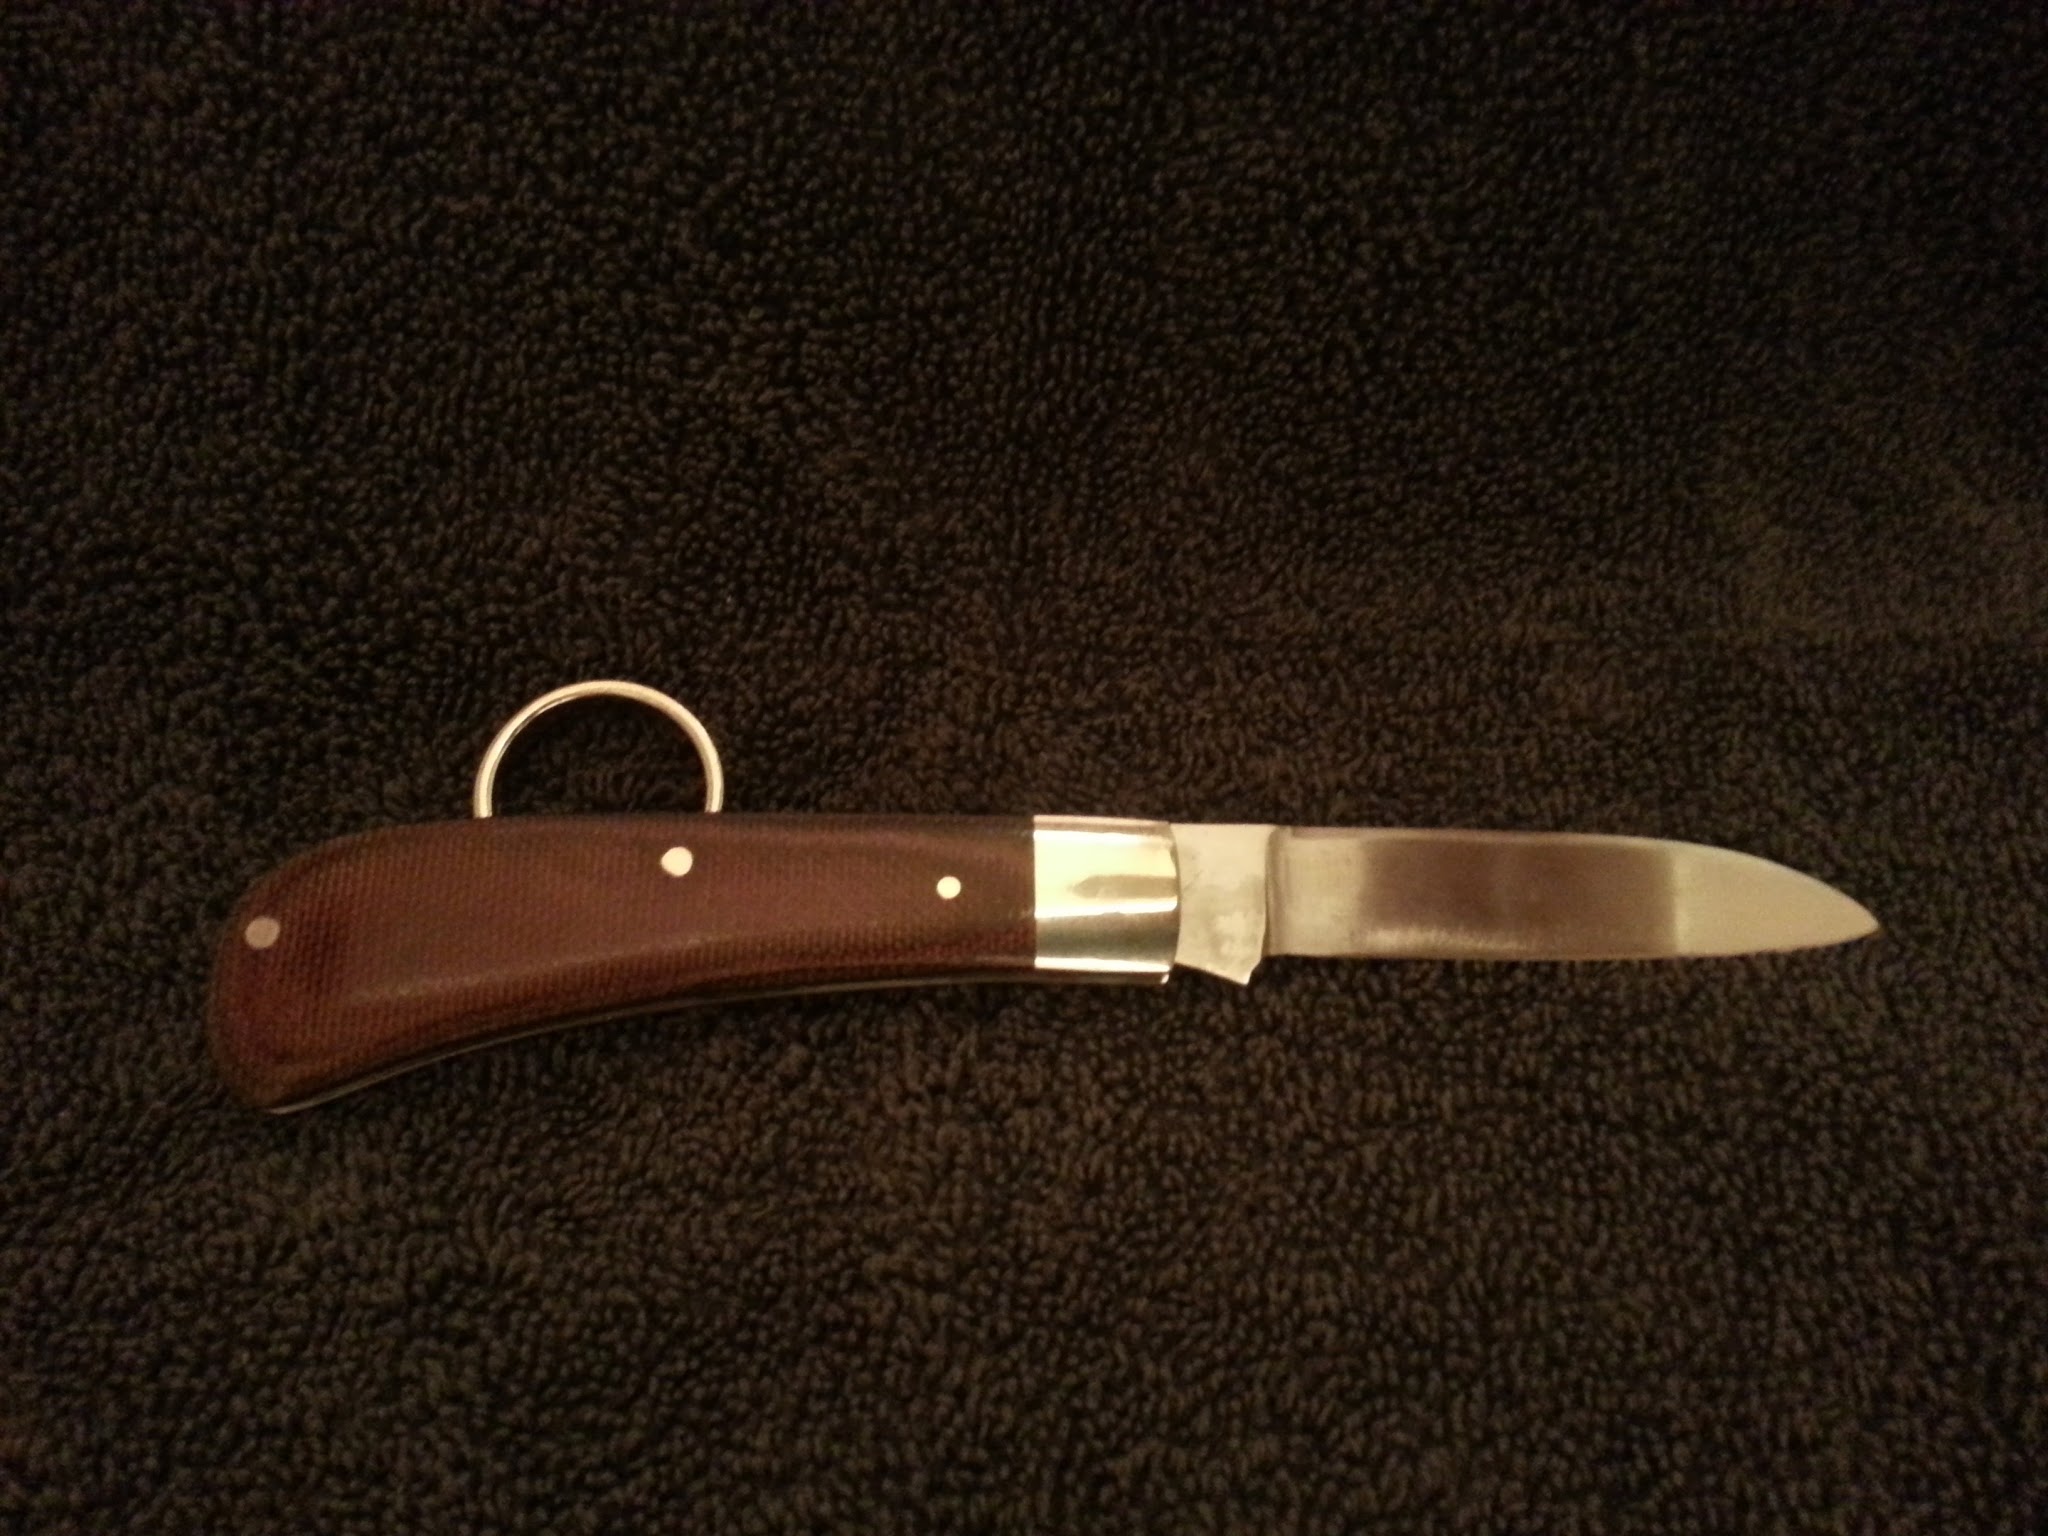
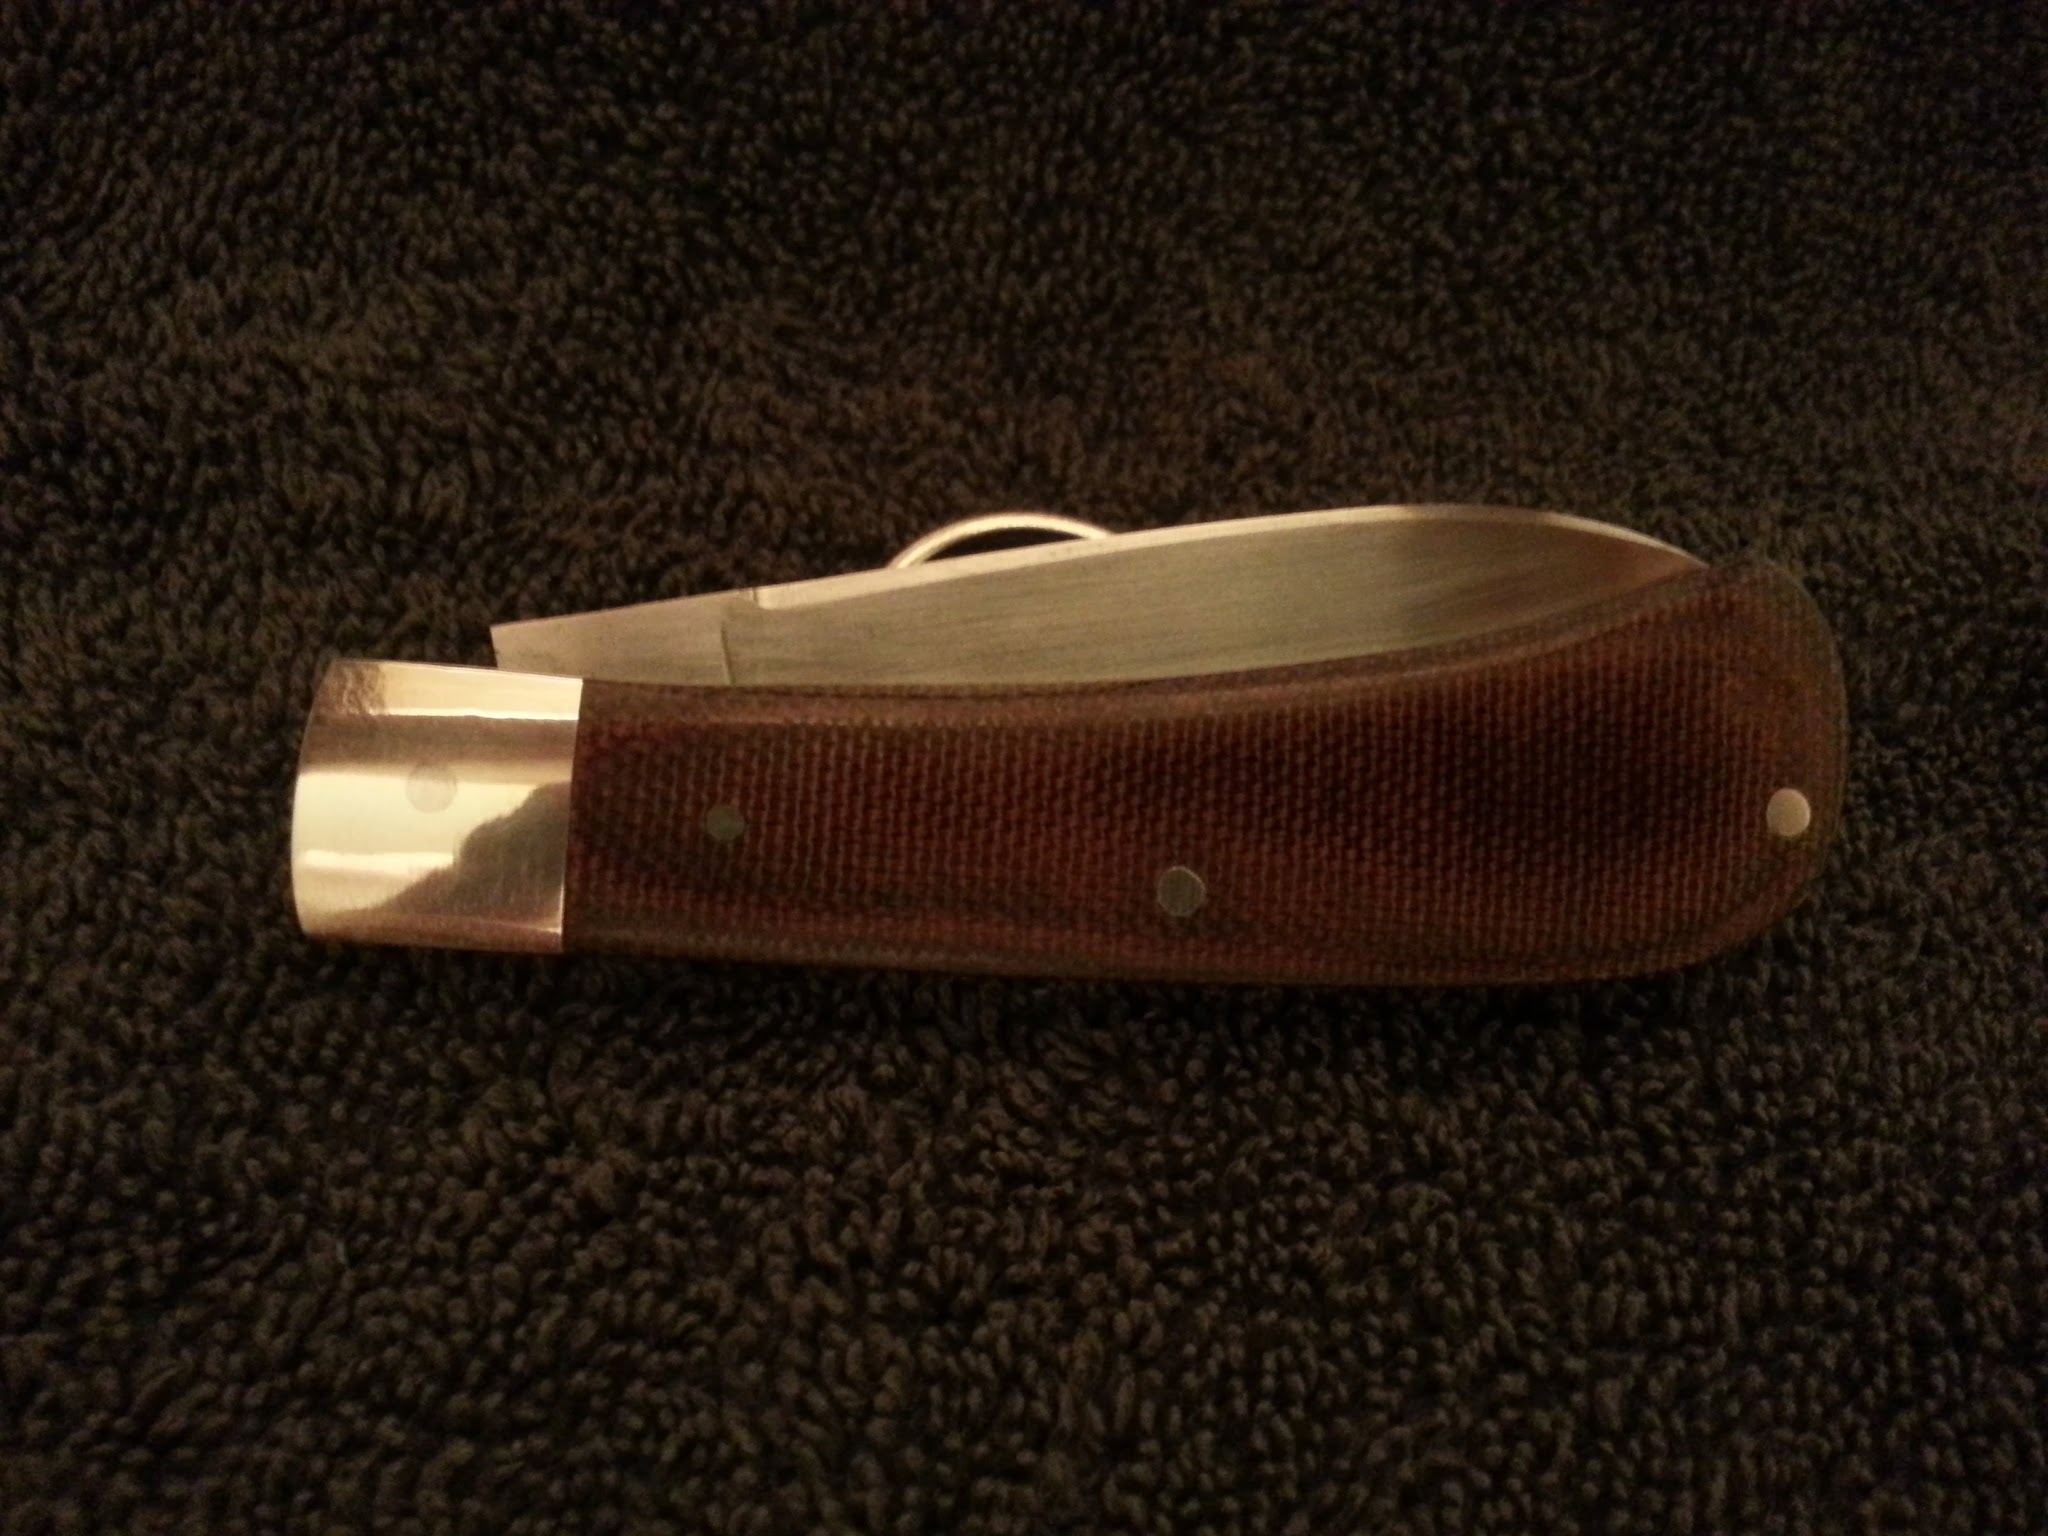
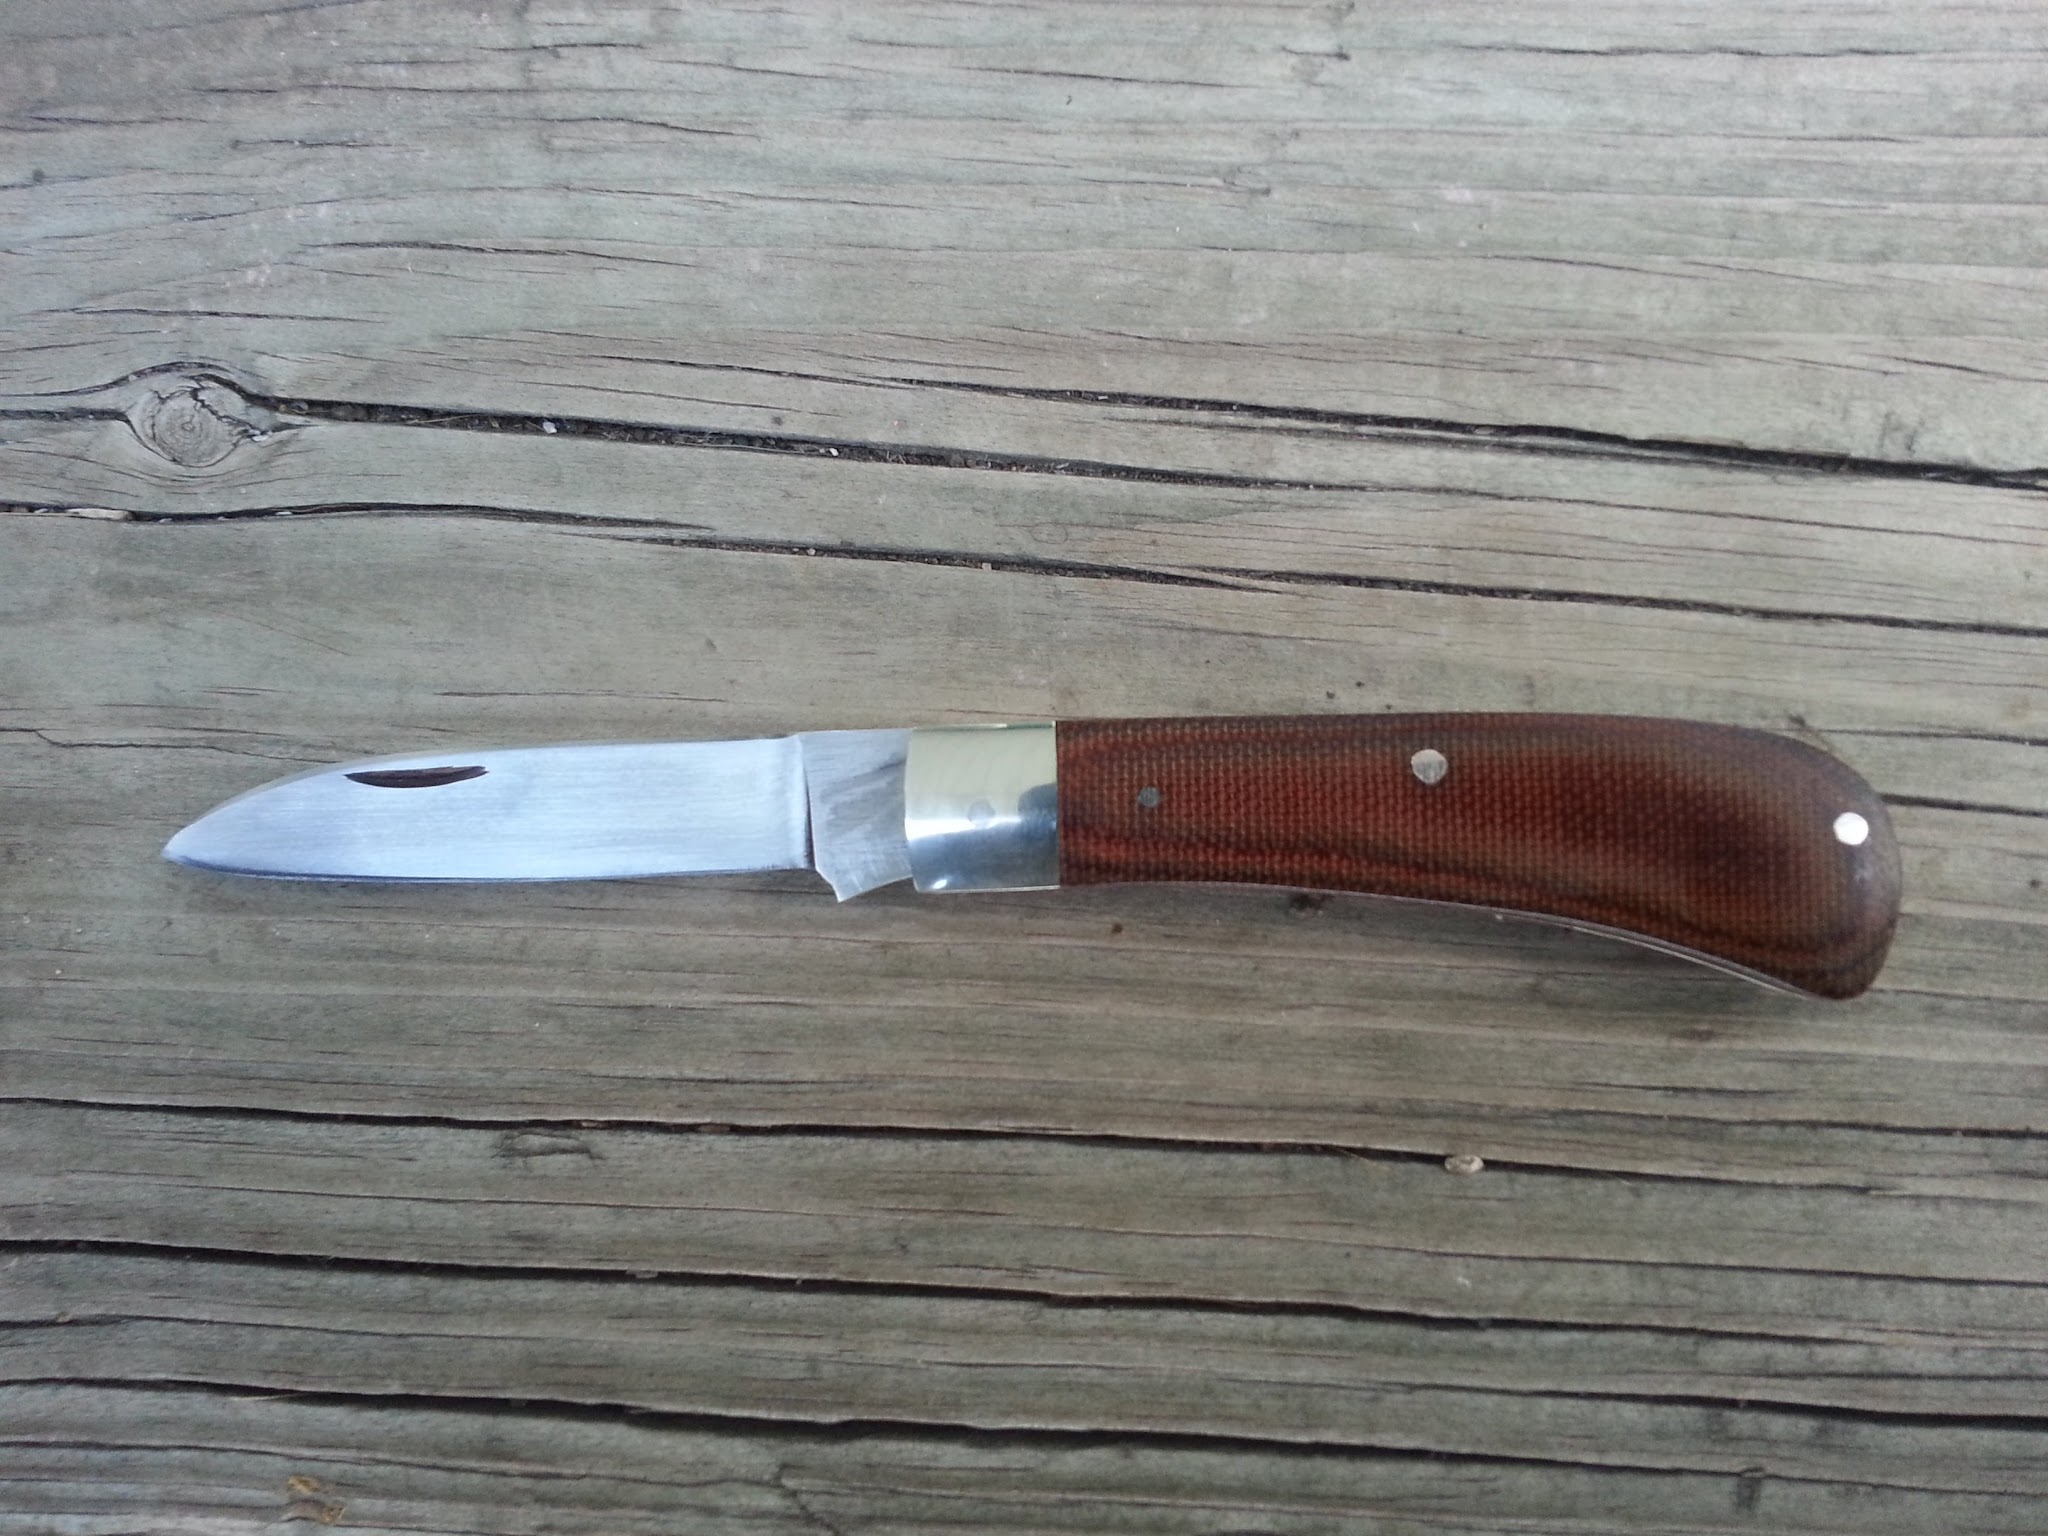
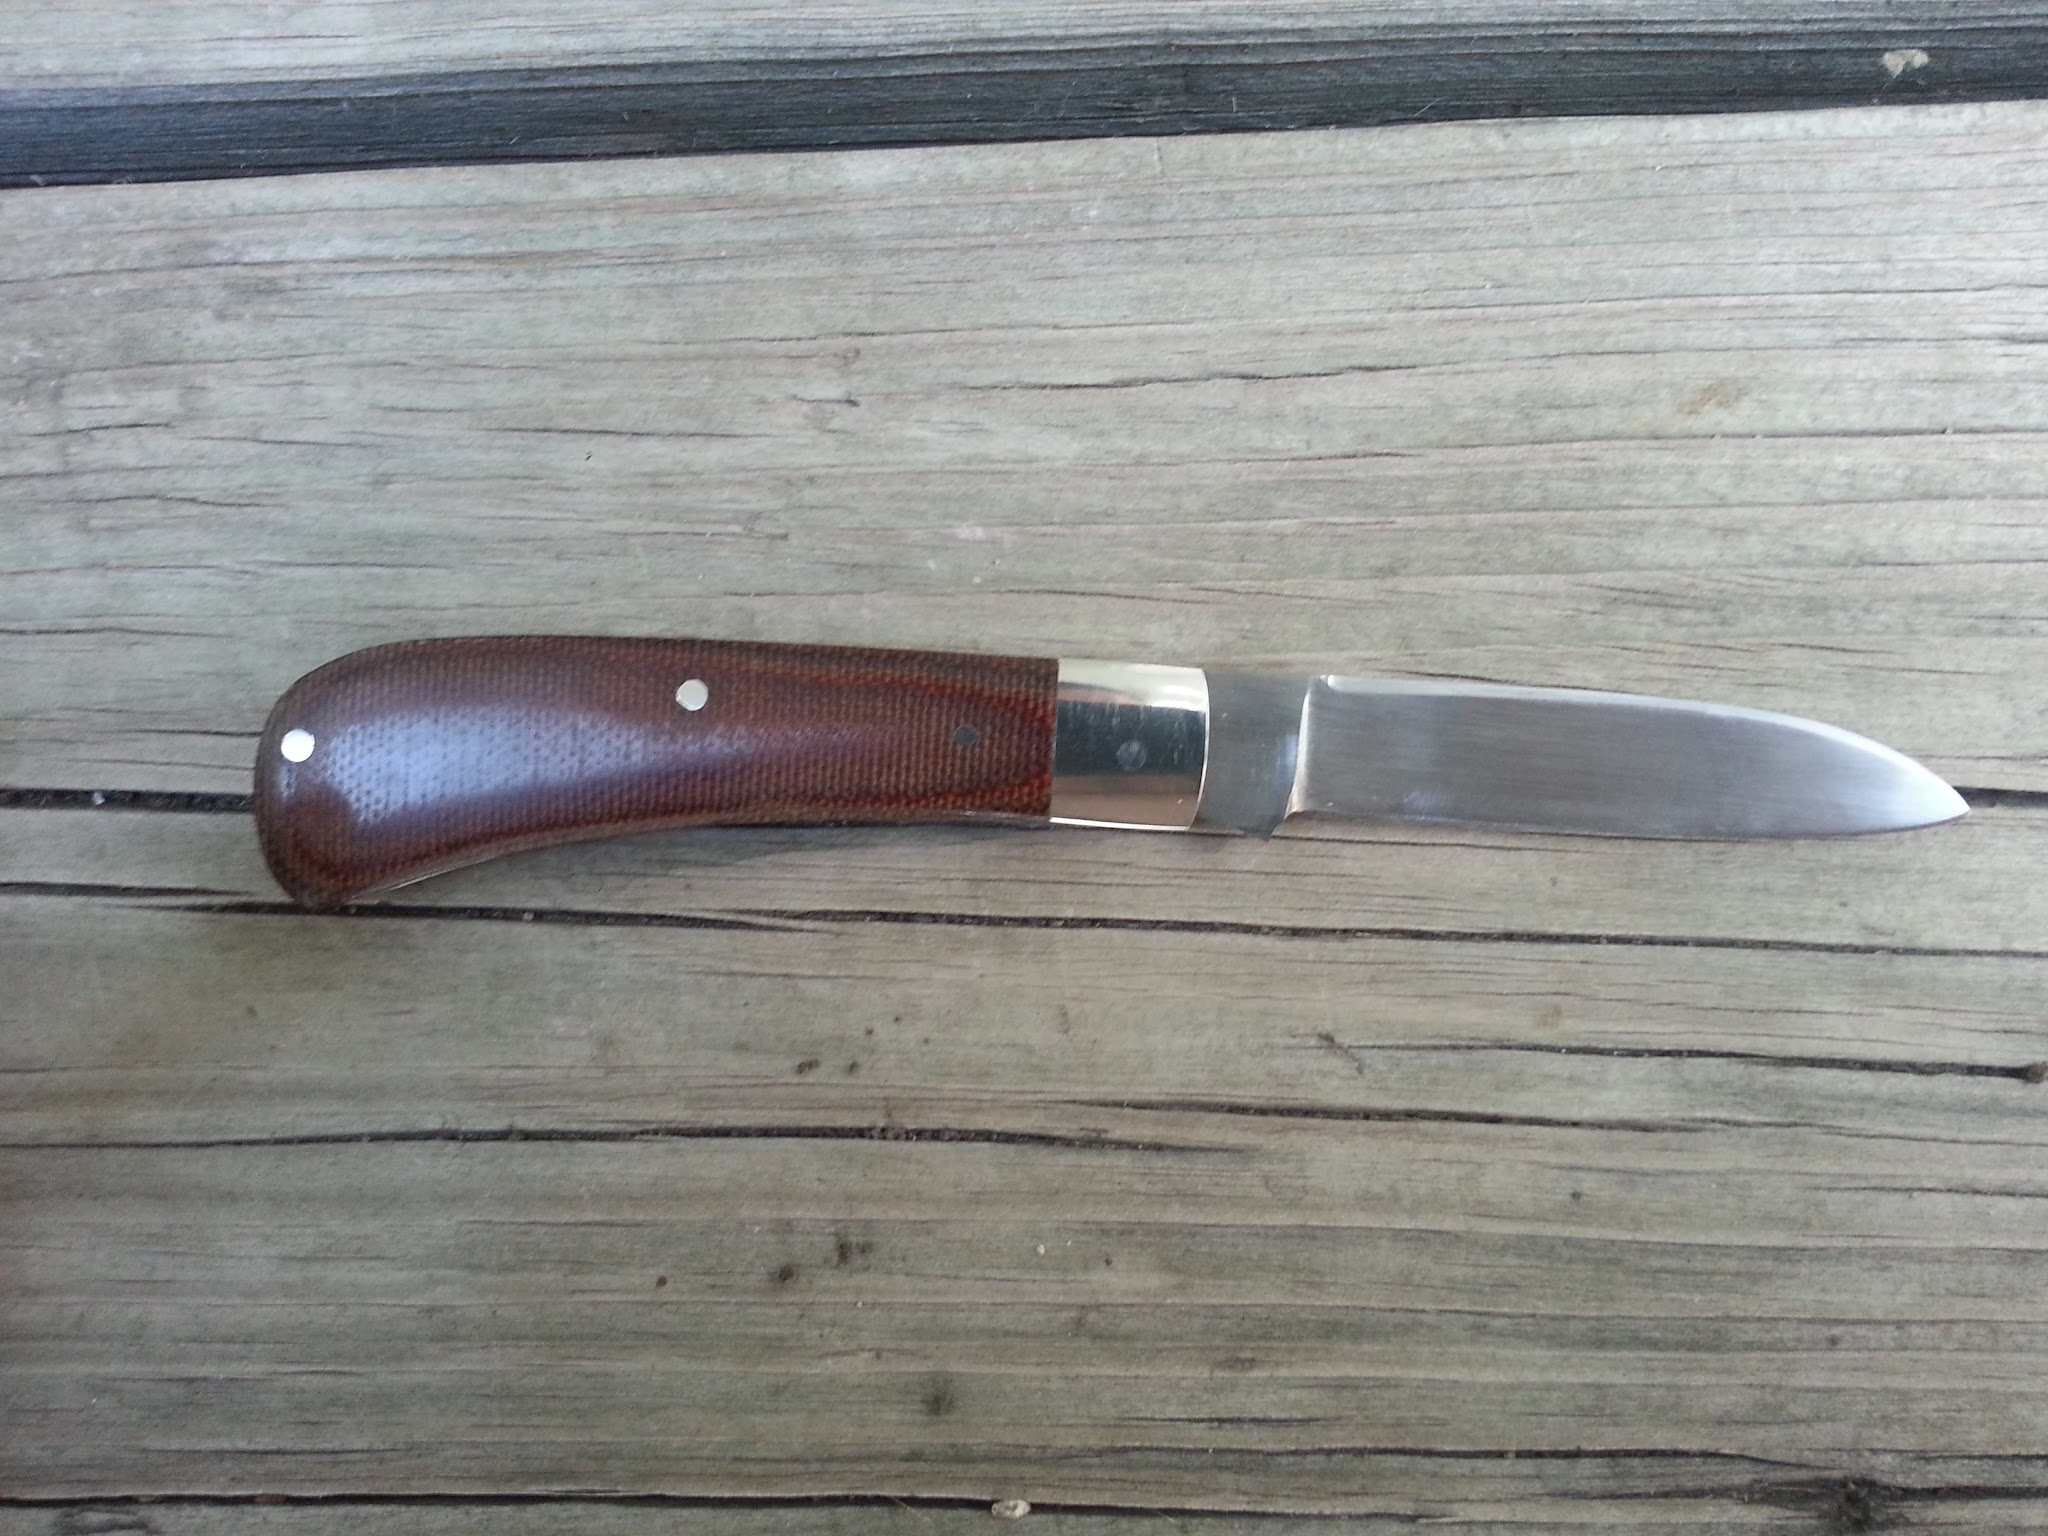
Finished up my second slipjoint last night. I'm excited to have a knife I can be proud to carry, instead of my first attempt, which was an abomination of a knife.
Specs:
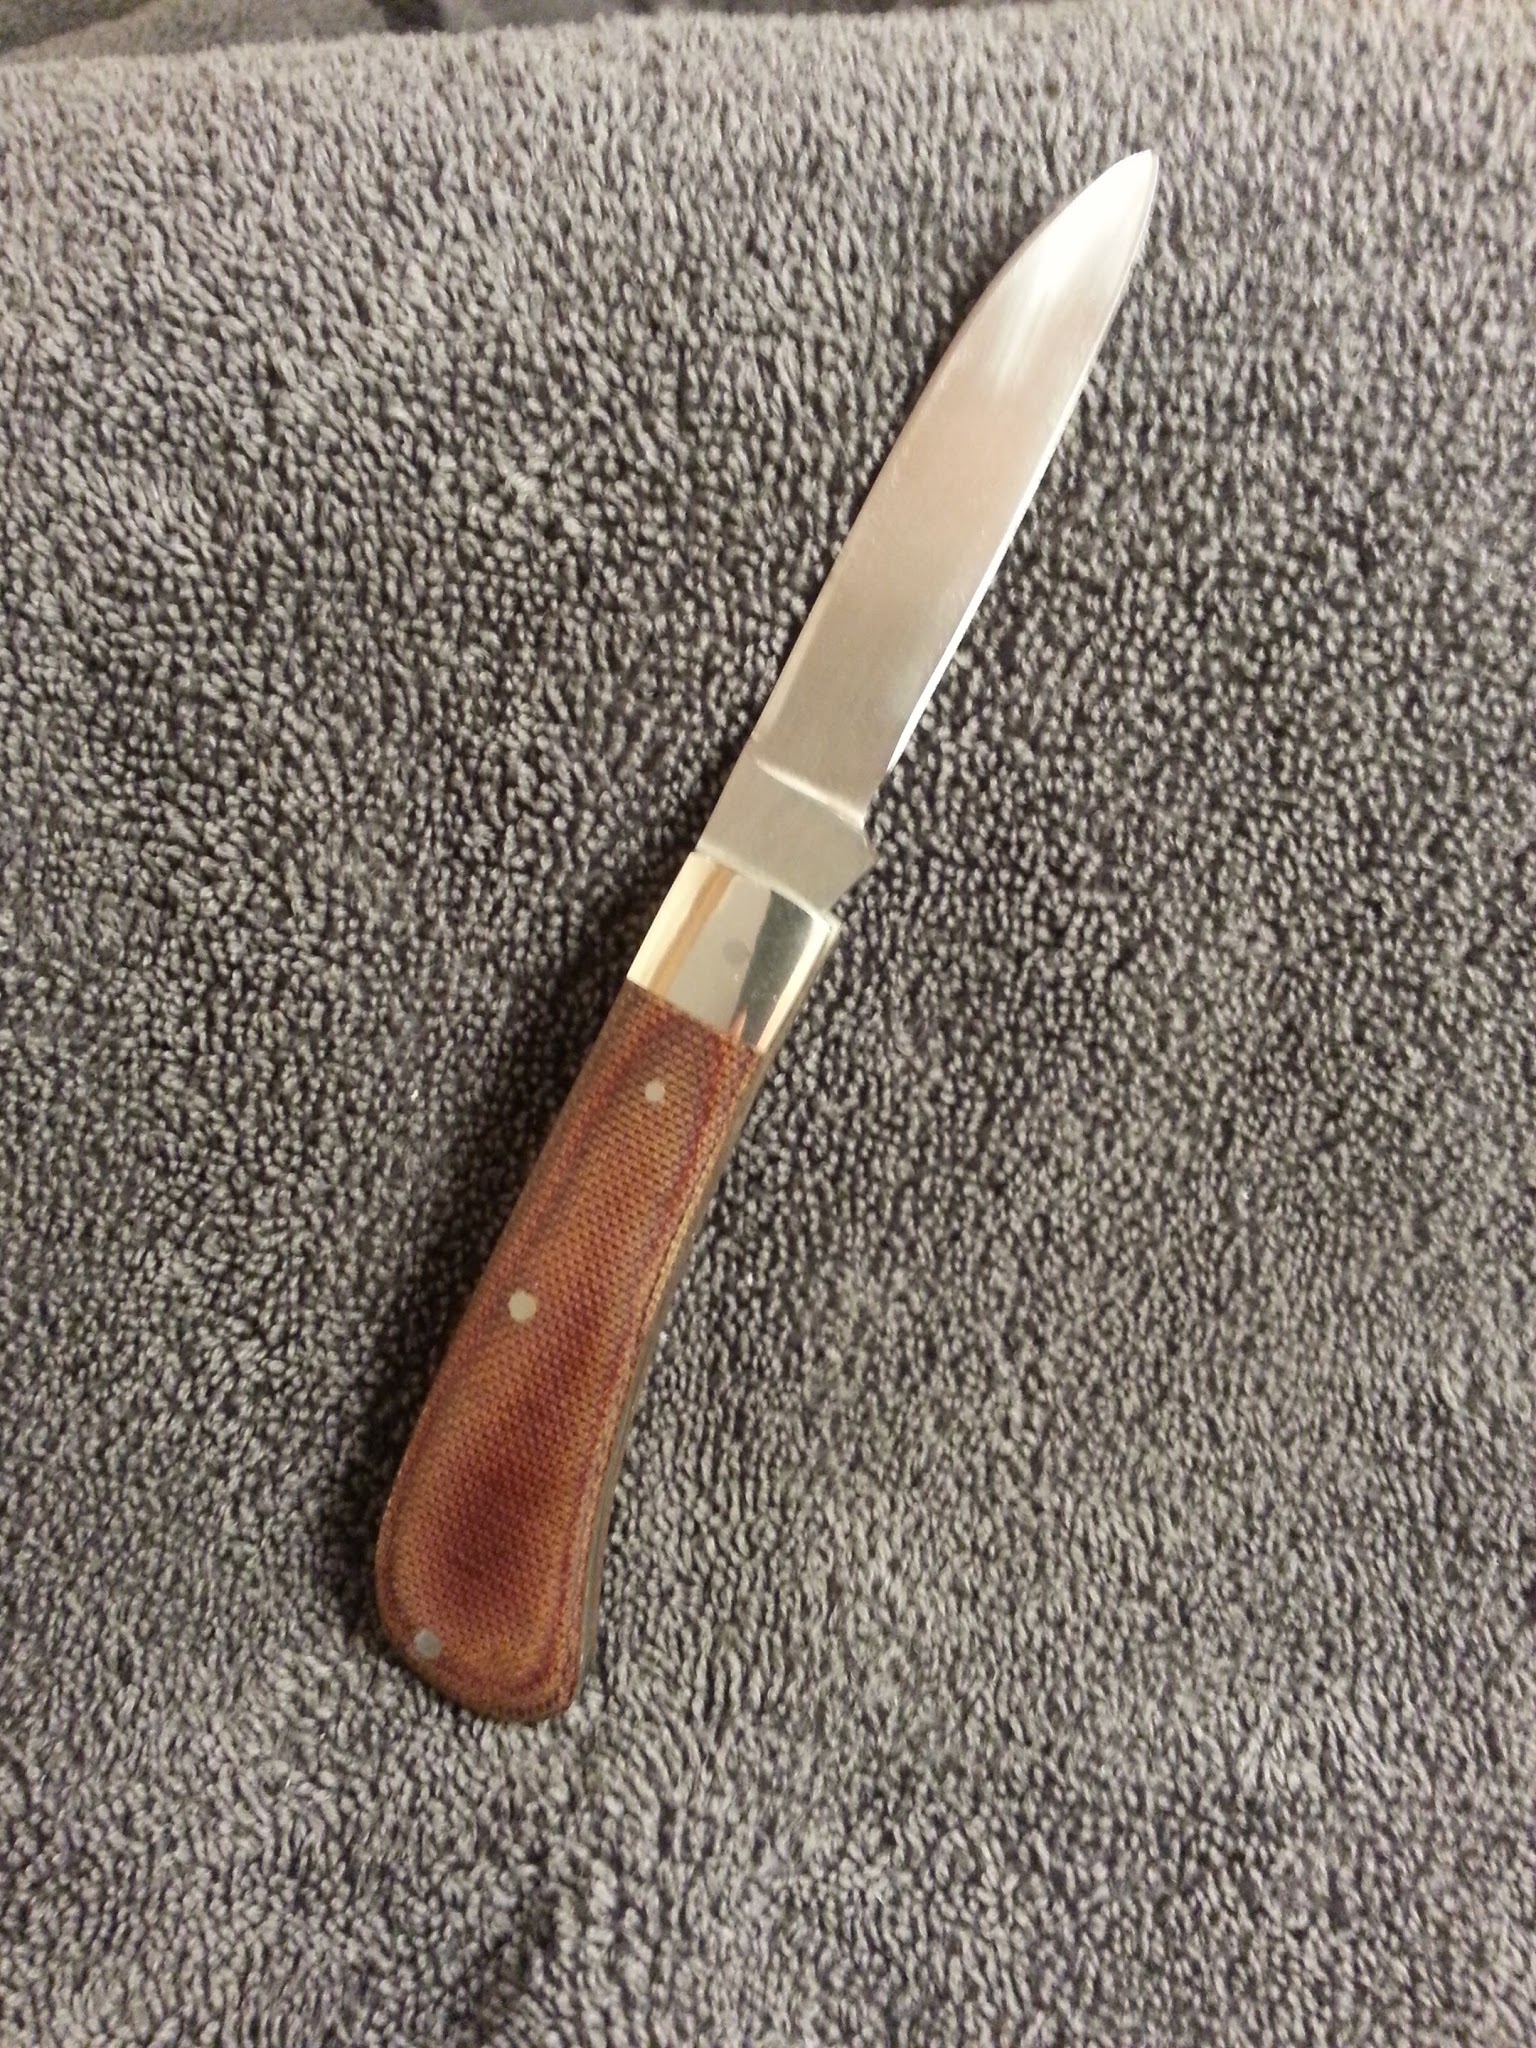
Steel: 3/32" A2 @ 61 Rc
Heat Treat by Peter's
Covers: Brown Canvas Micarta
Pins/Liners/Bolsters: Nickel Silver
OAL Open: 6.4"
OAL Closed: 3.5"
Bolster to Tip: 2.8"
Plunge to Tip: 2.4"
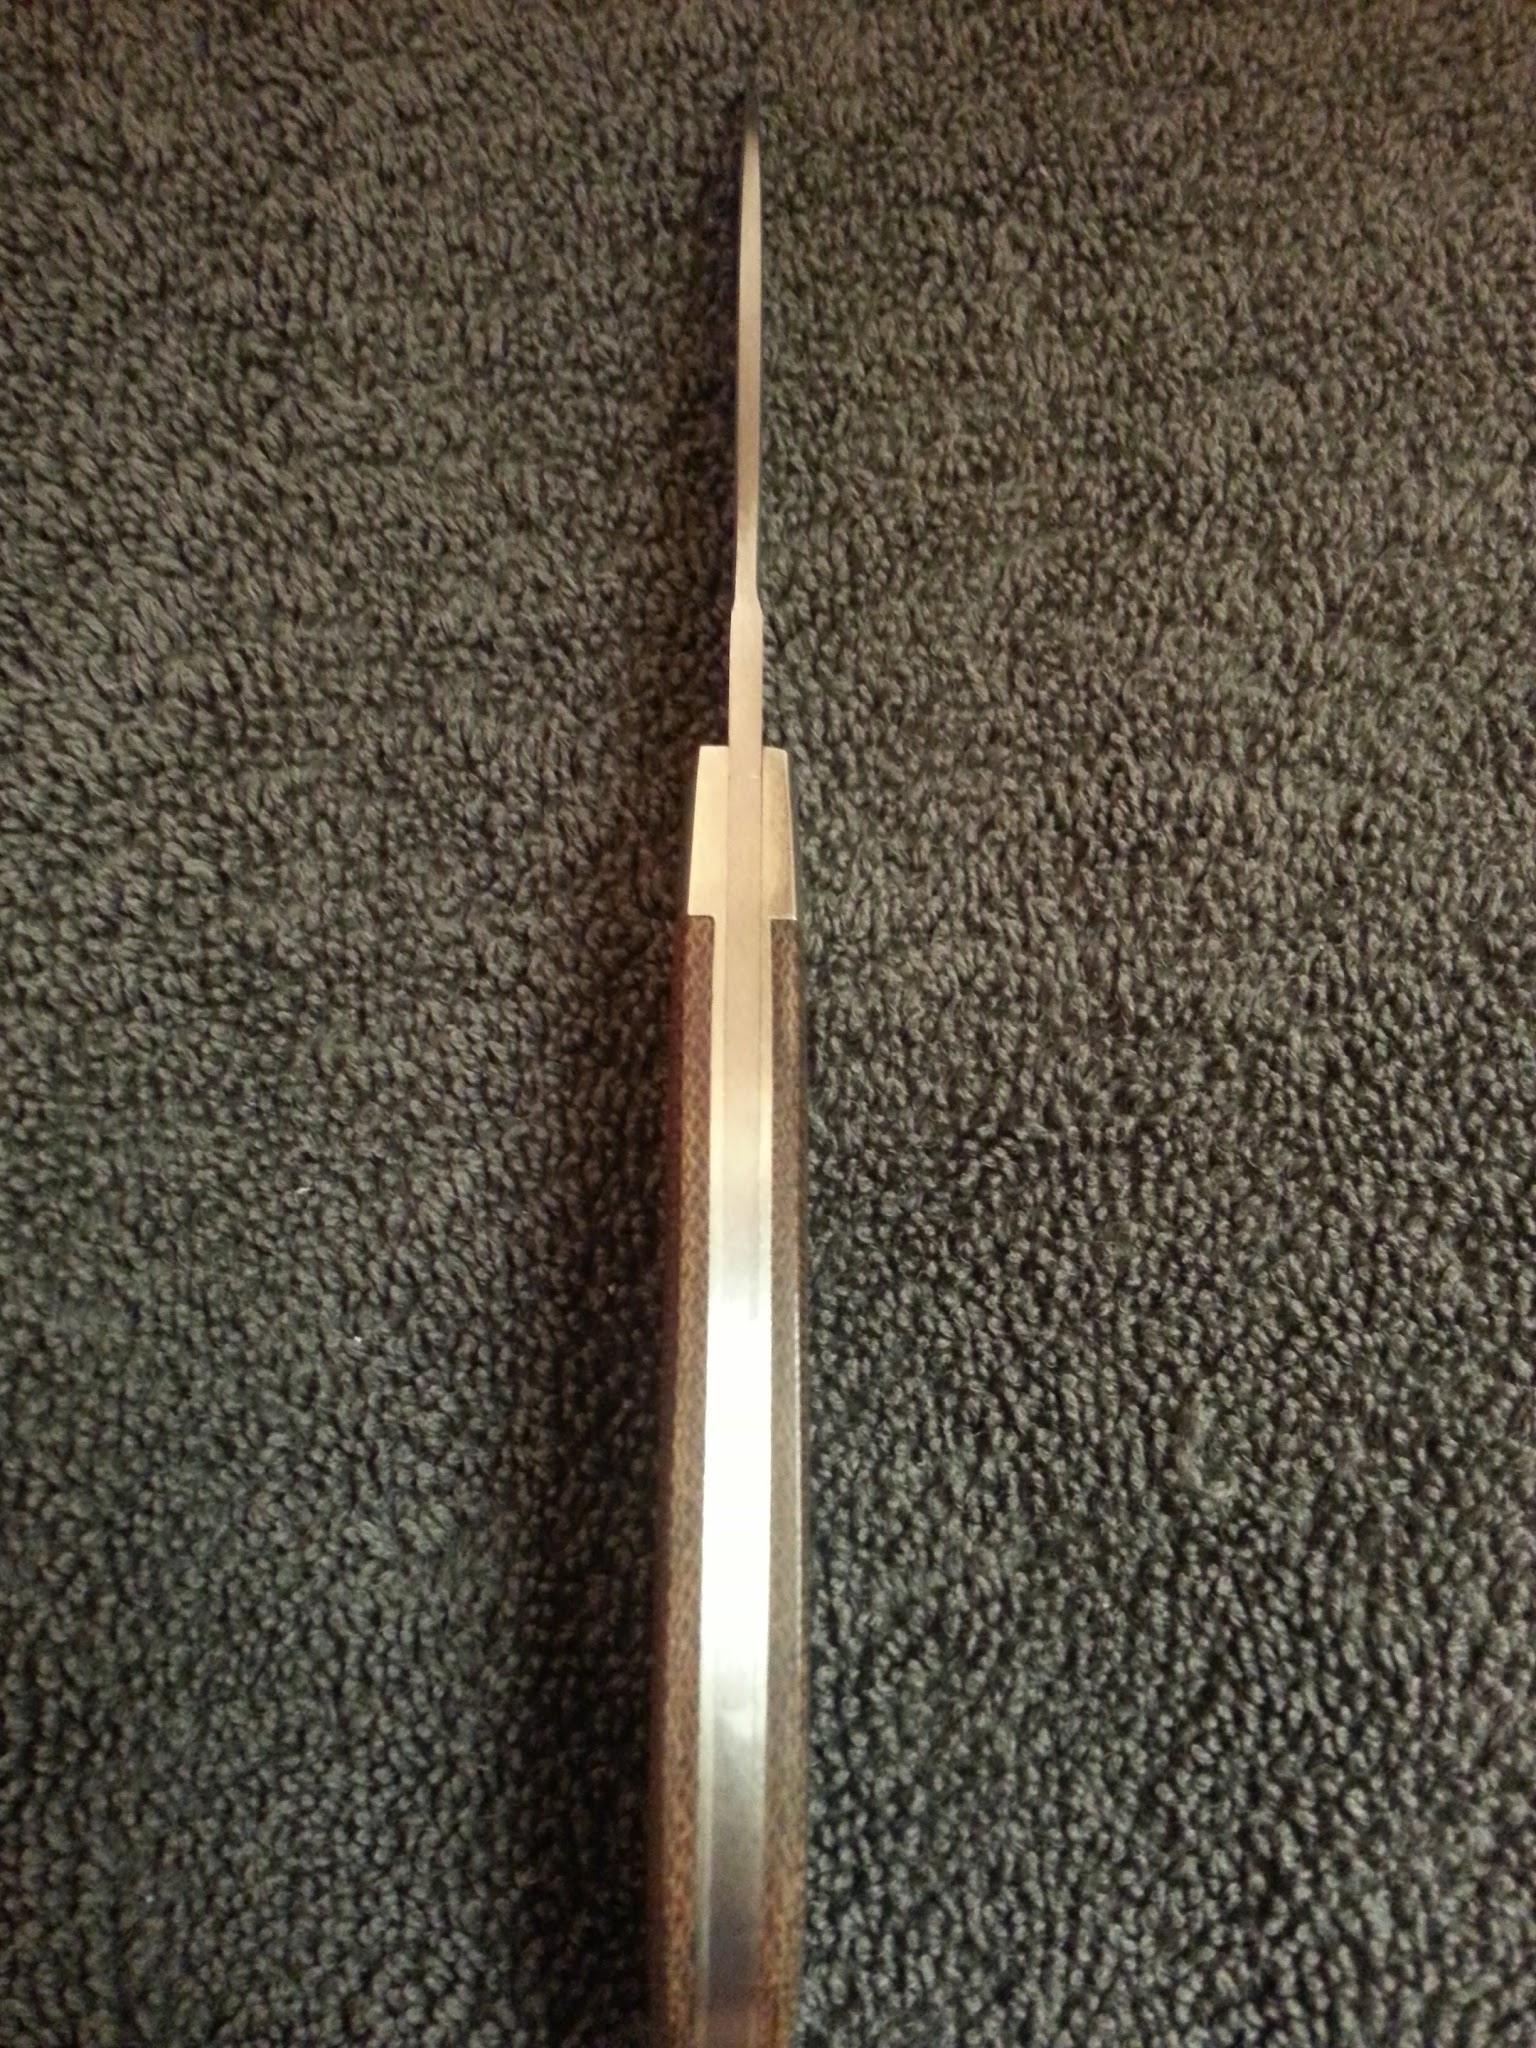
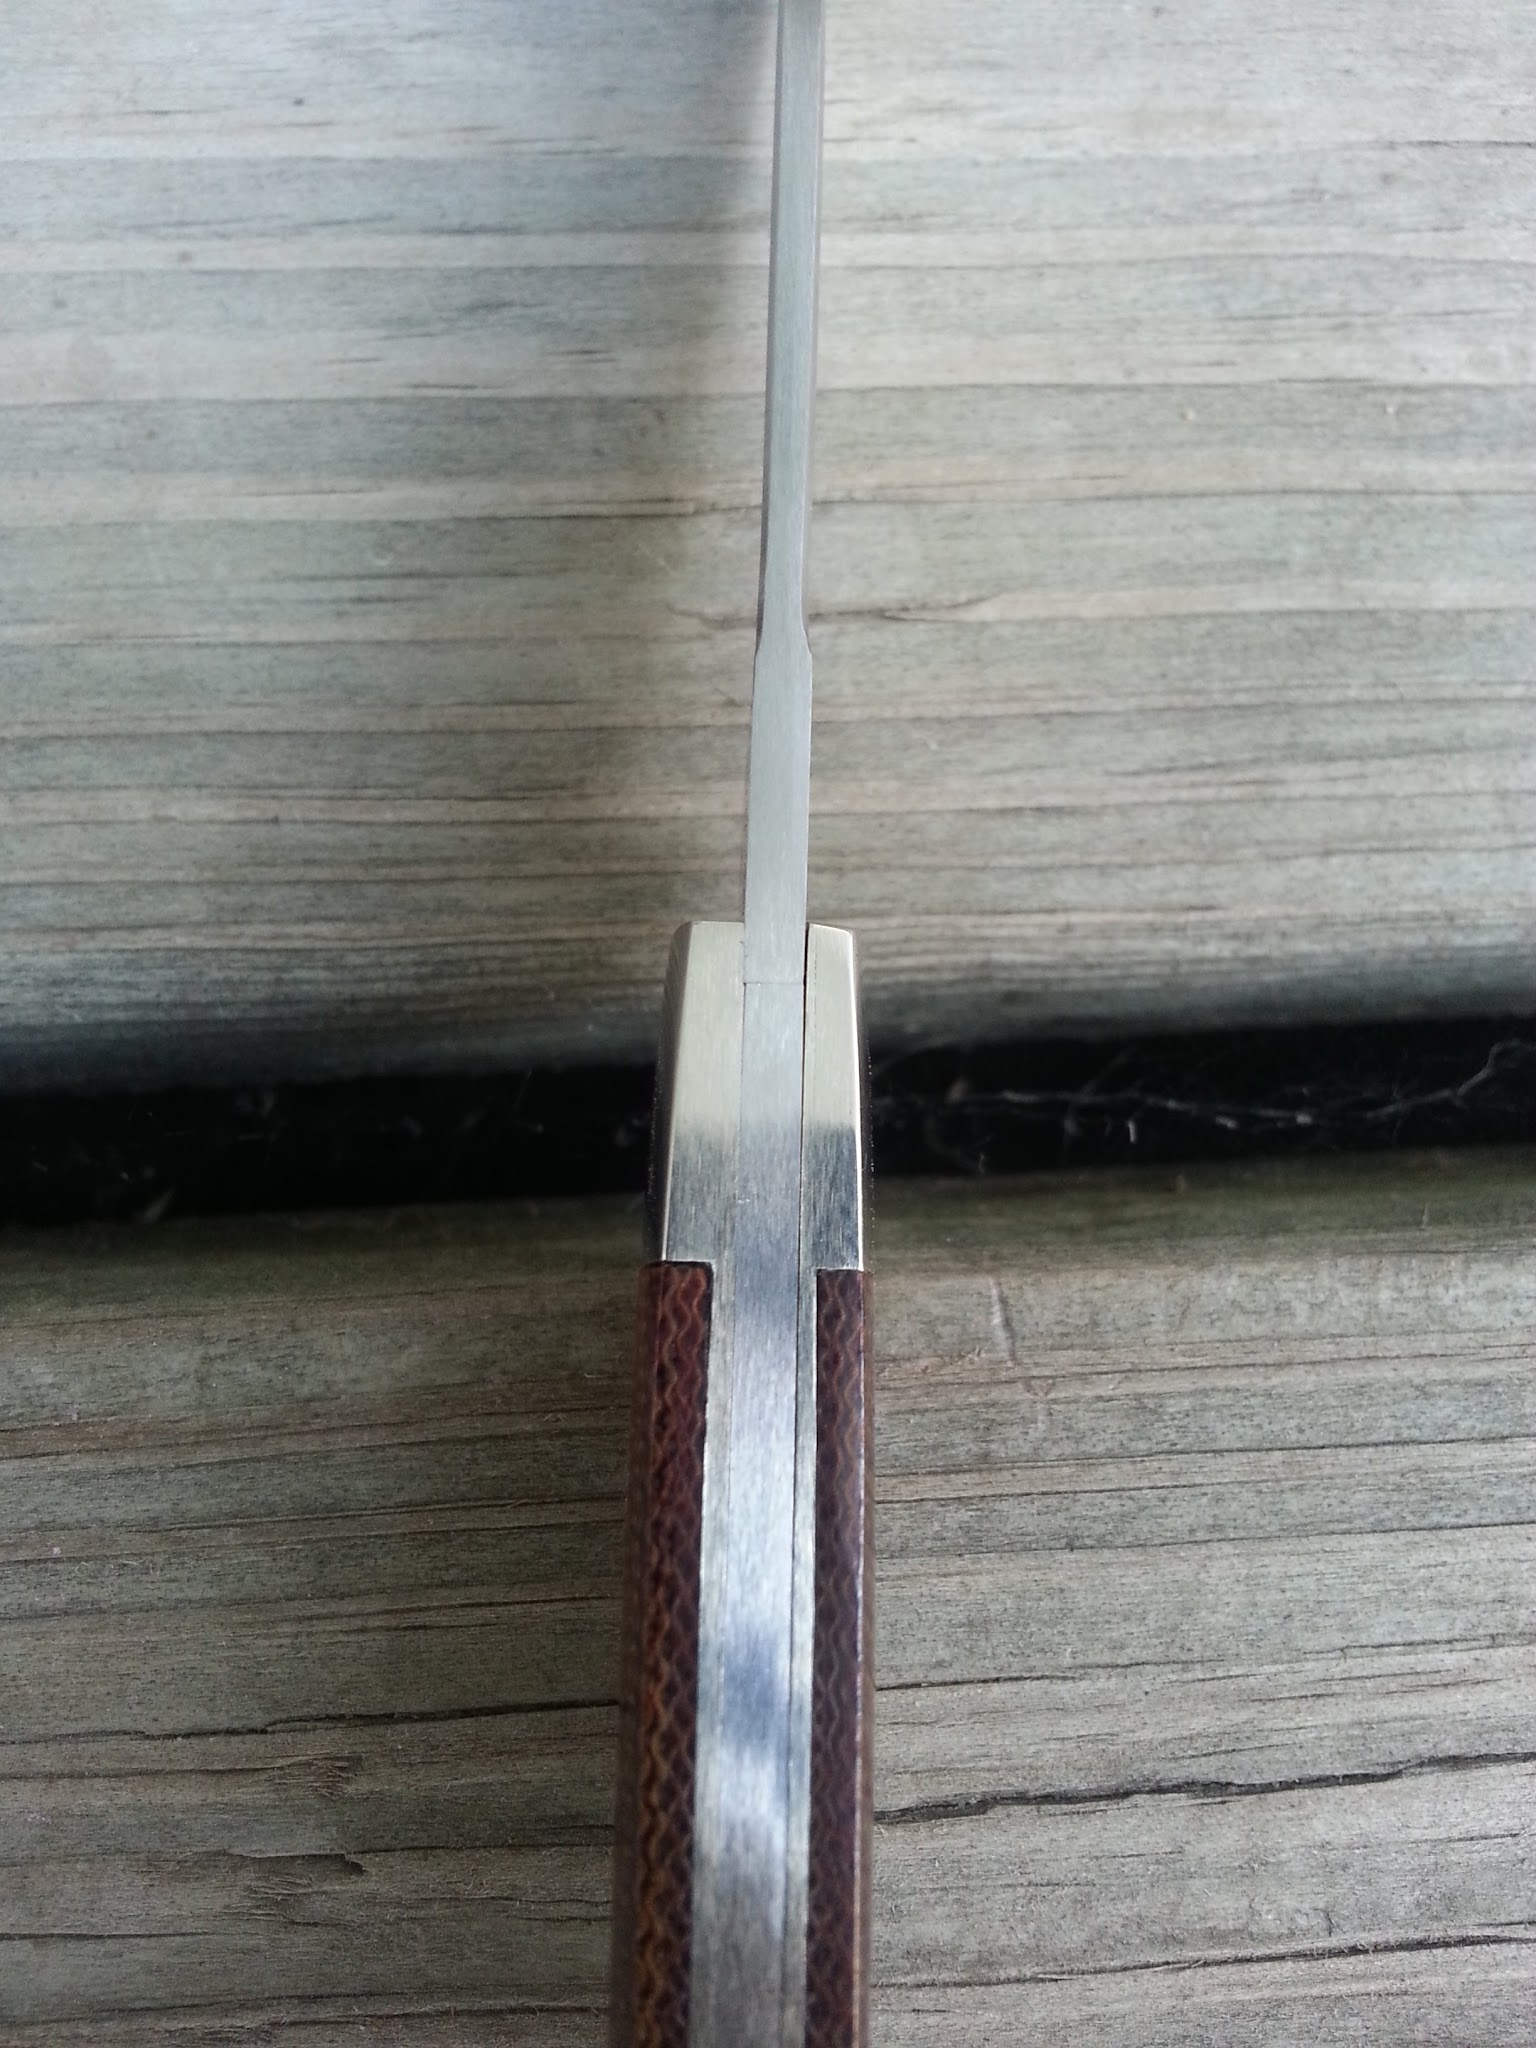
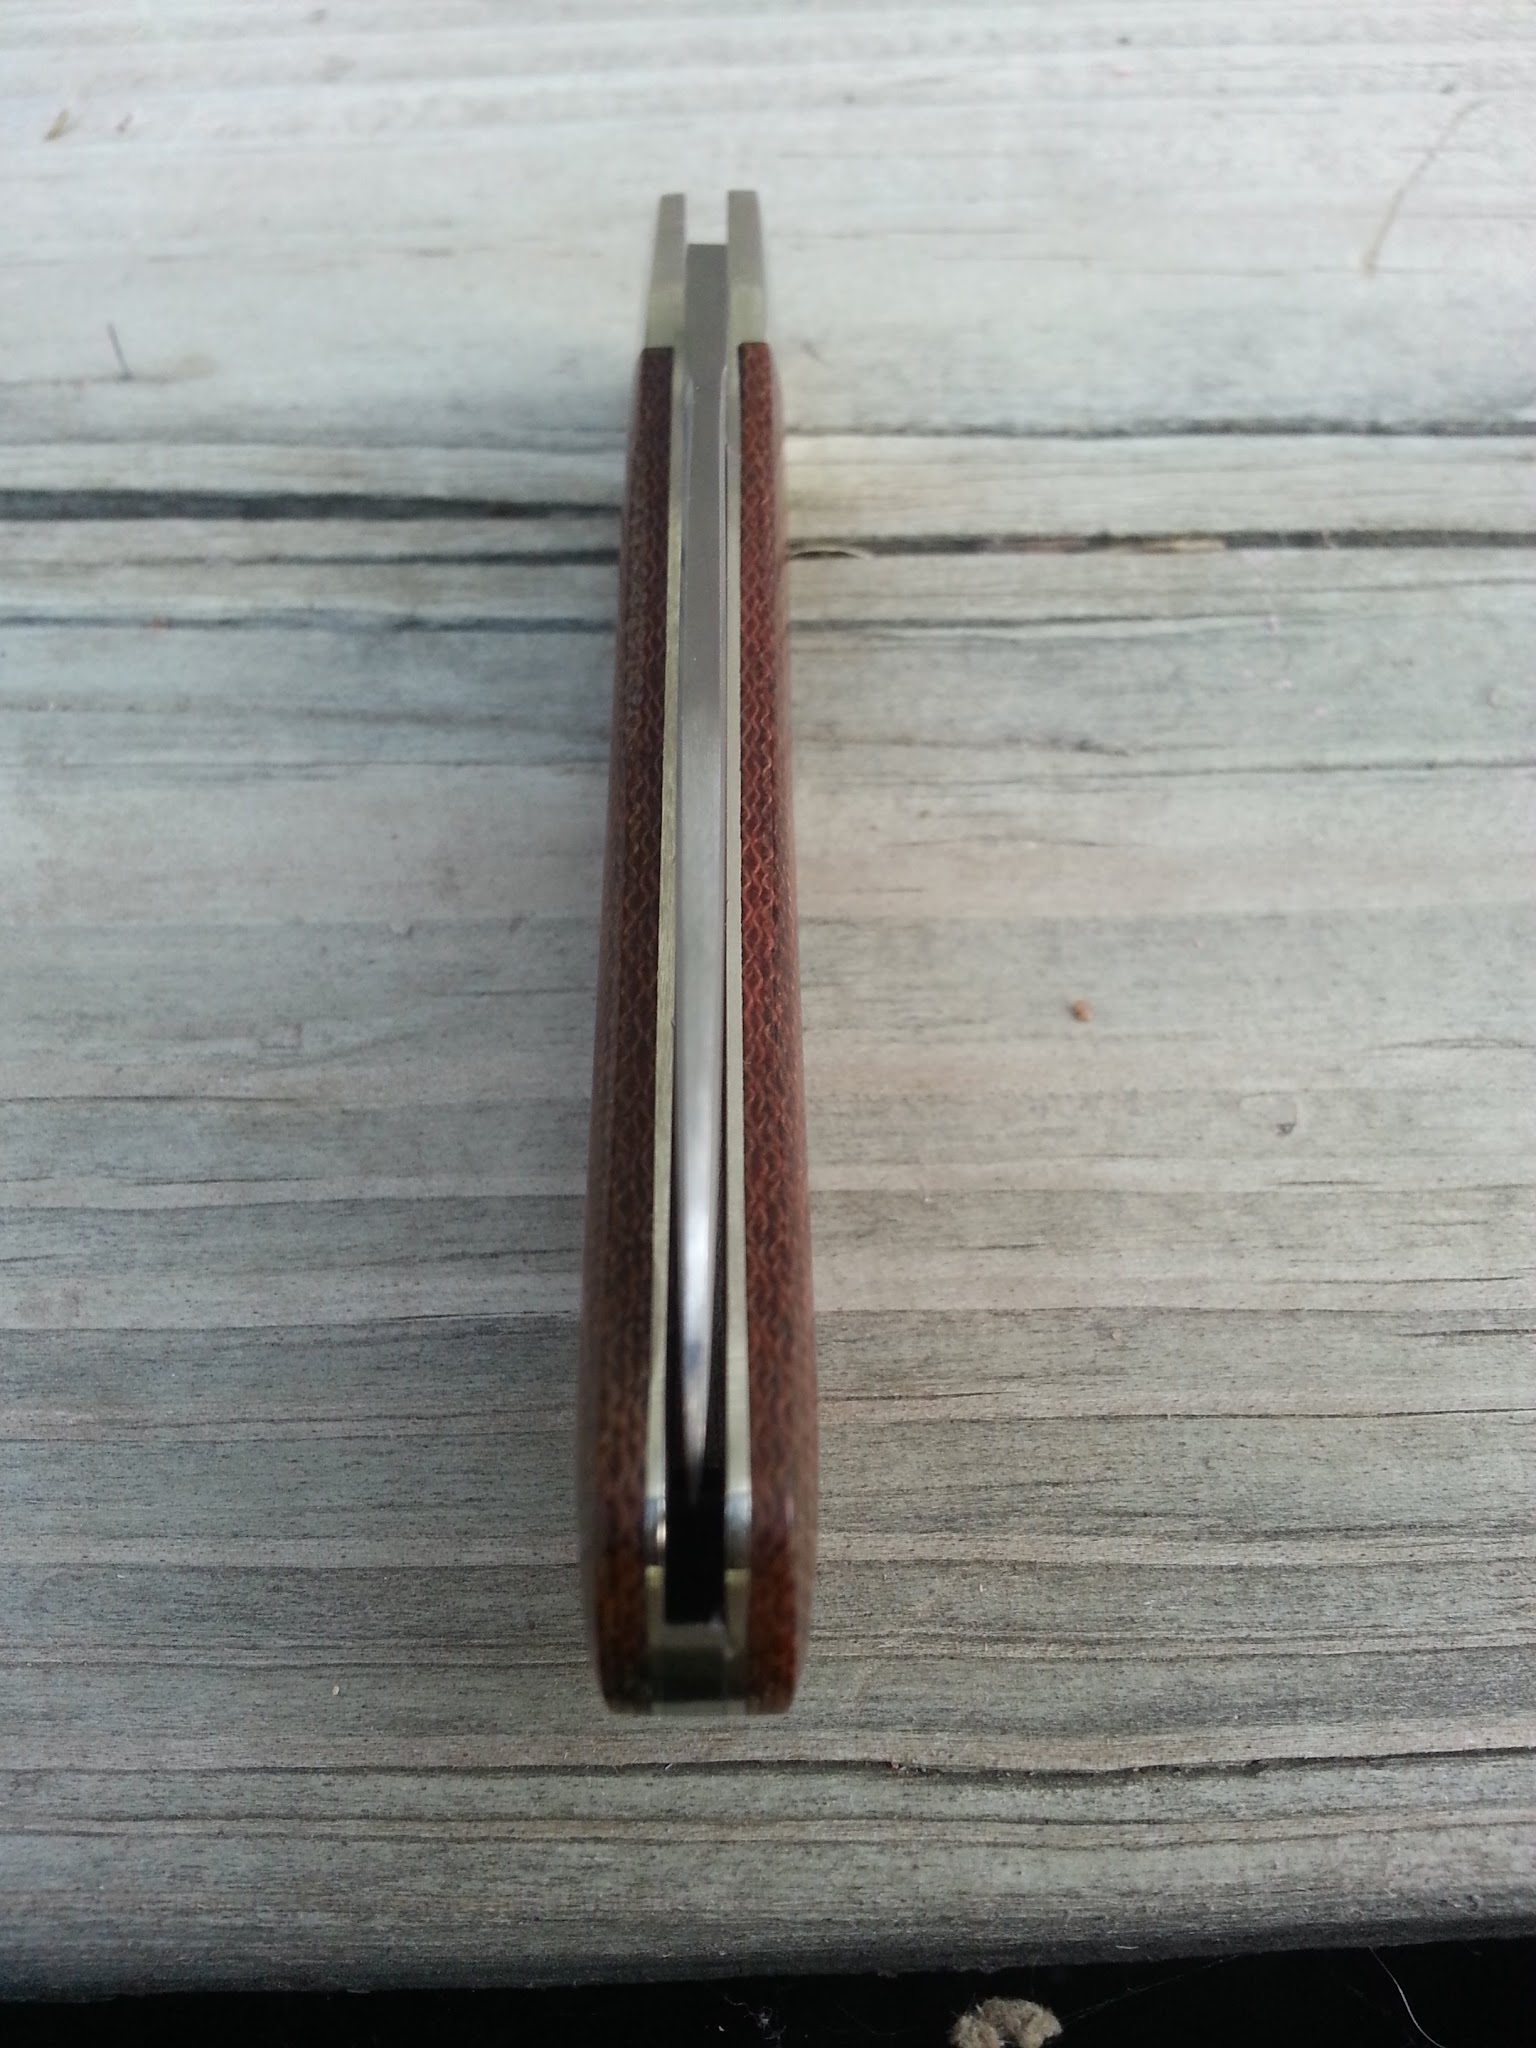
Thickness: .40"
Hand rubbed 320 grit finishing the blade, 800 inside the liners and buffed on the covers. I need to go back over the handle again though, it looks like.
The edge is .0015" right above the sharpened bevel. I ran it about ten strokes on each side on a very old 400-600 grit silicon carbide stone, then stropped. Very easy to sharpen with that thin edge, even though with its high Rc.
All numbers are rounded to the tenth, that's why they don't quite add up exactly.
I am pretty upset, I think I grabbed a piece of stainless rod for the pins instead of nickel silver. You can see the pivot looks like a different metal entirely. Live and learn. I'll make sure I never do that again!
Bear with me, there's going to be a bunch of pictures. I couldn't get my makeshift photo booth to work, so like McDonalds, you get a bunch of mediocre instead of a little great.")
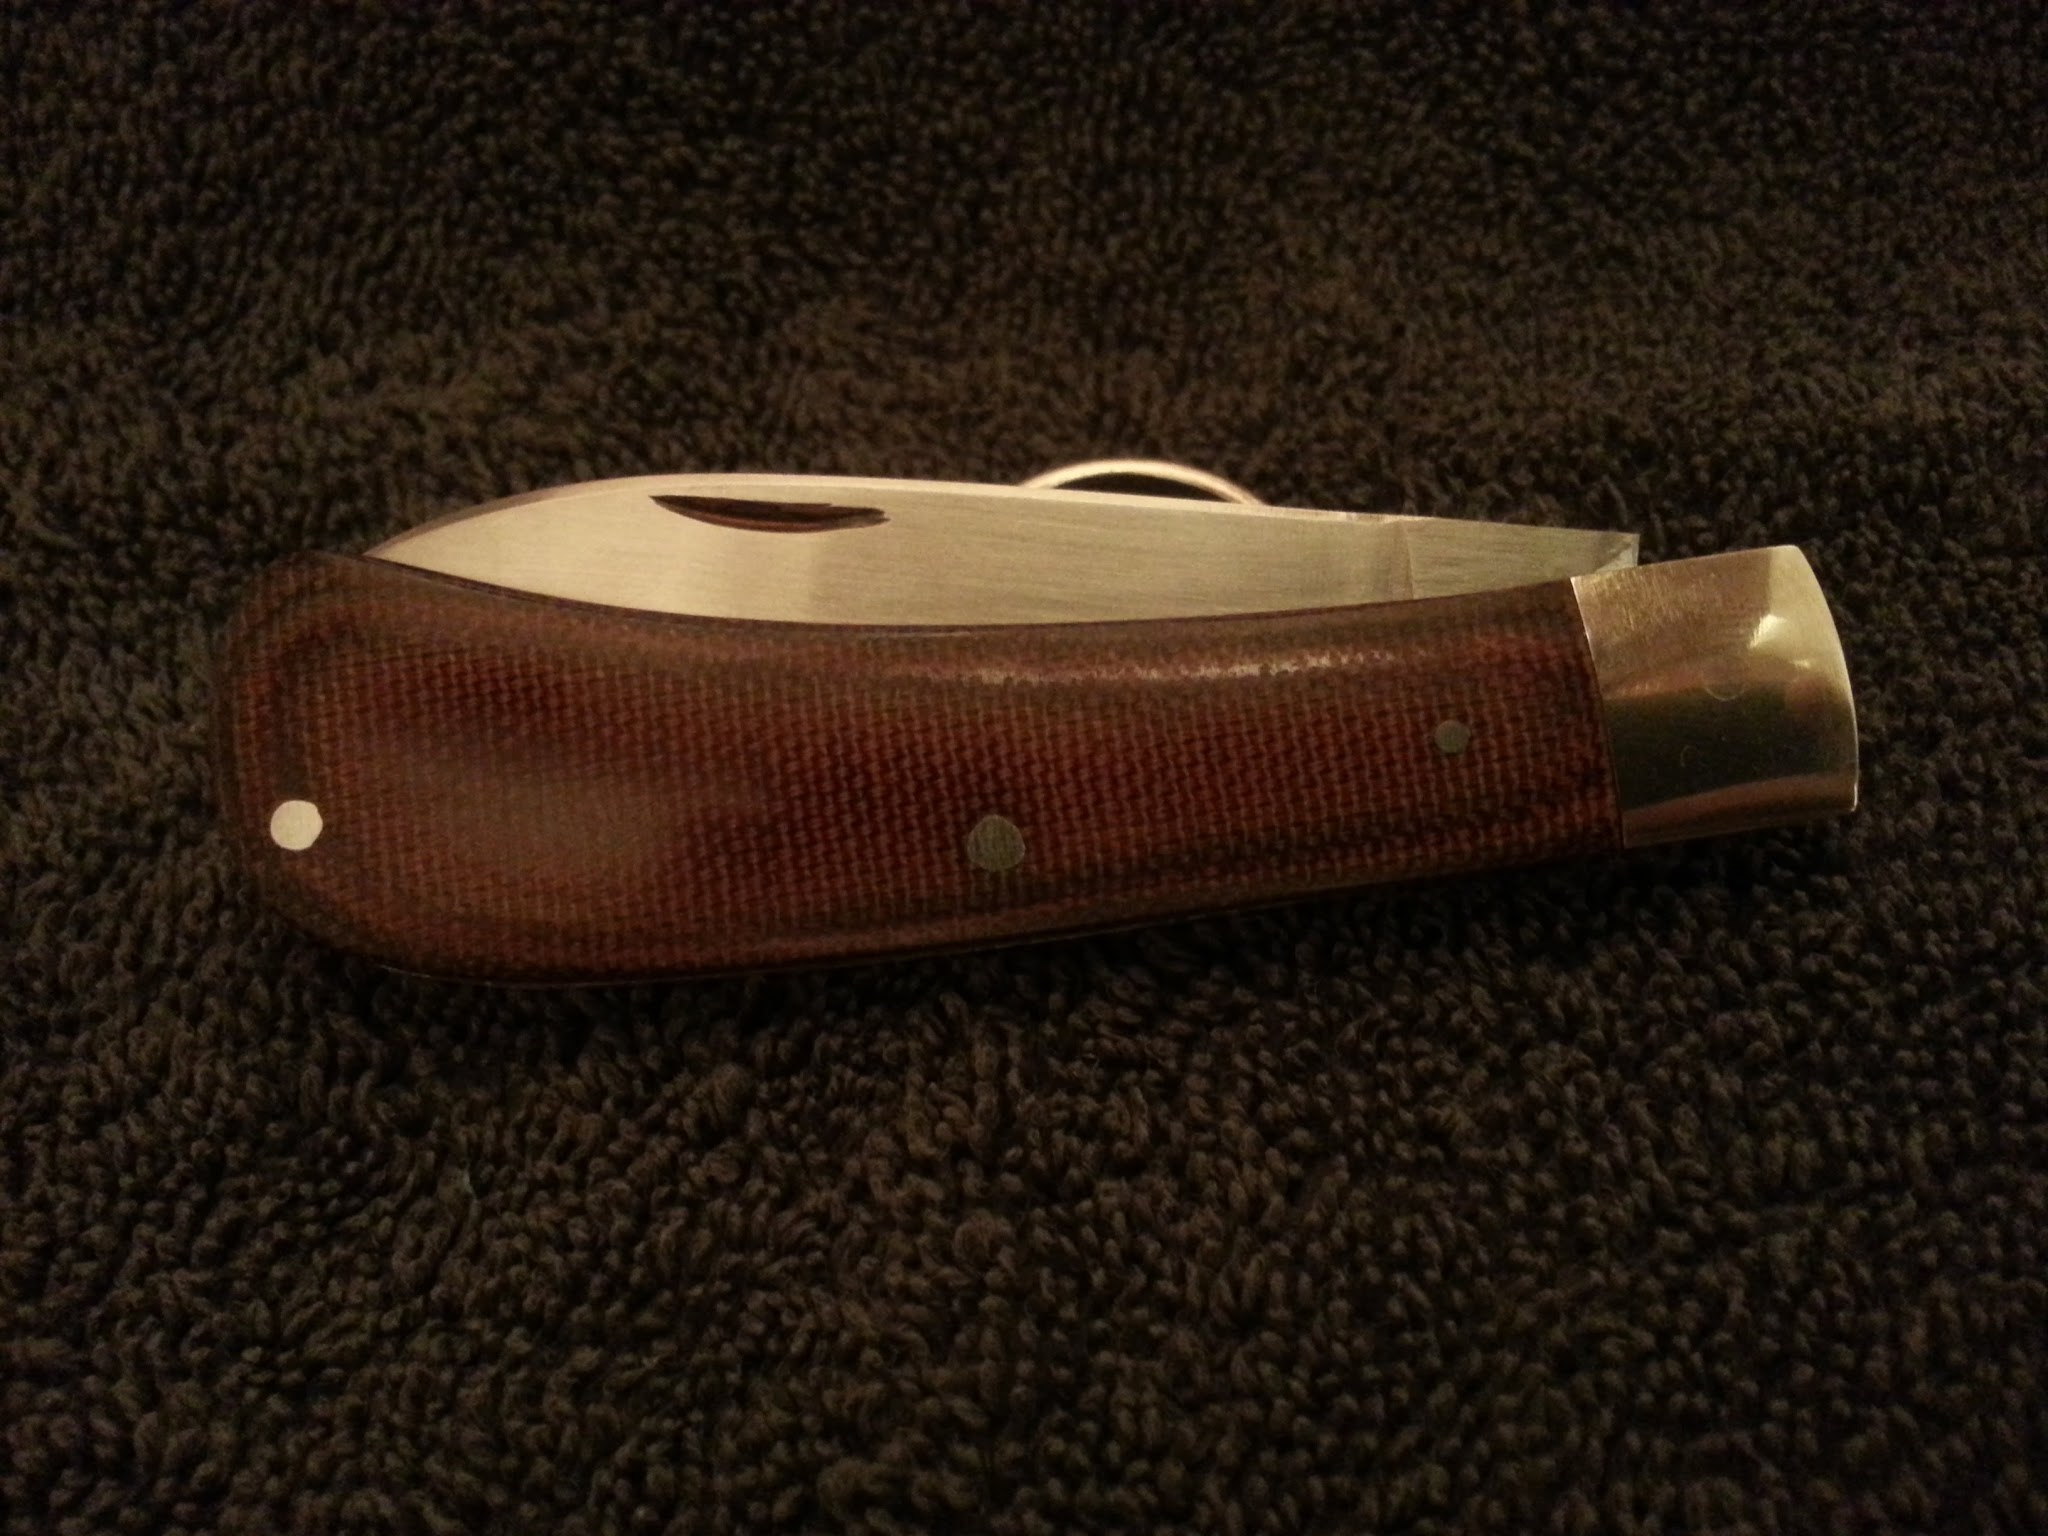
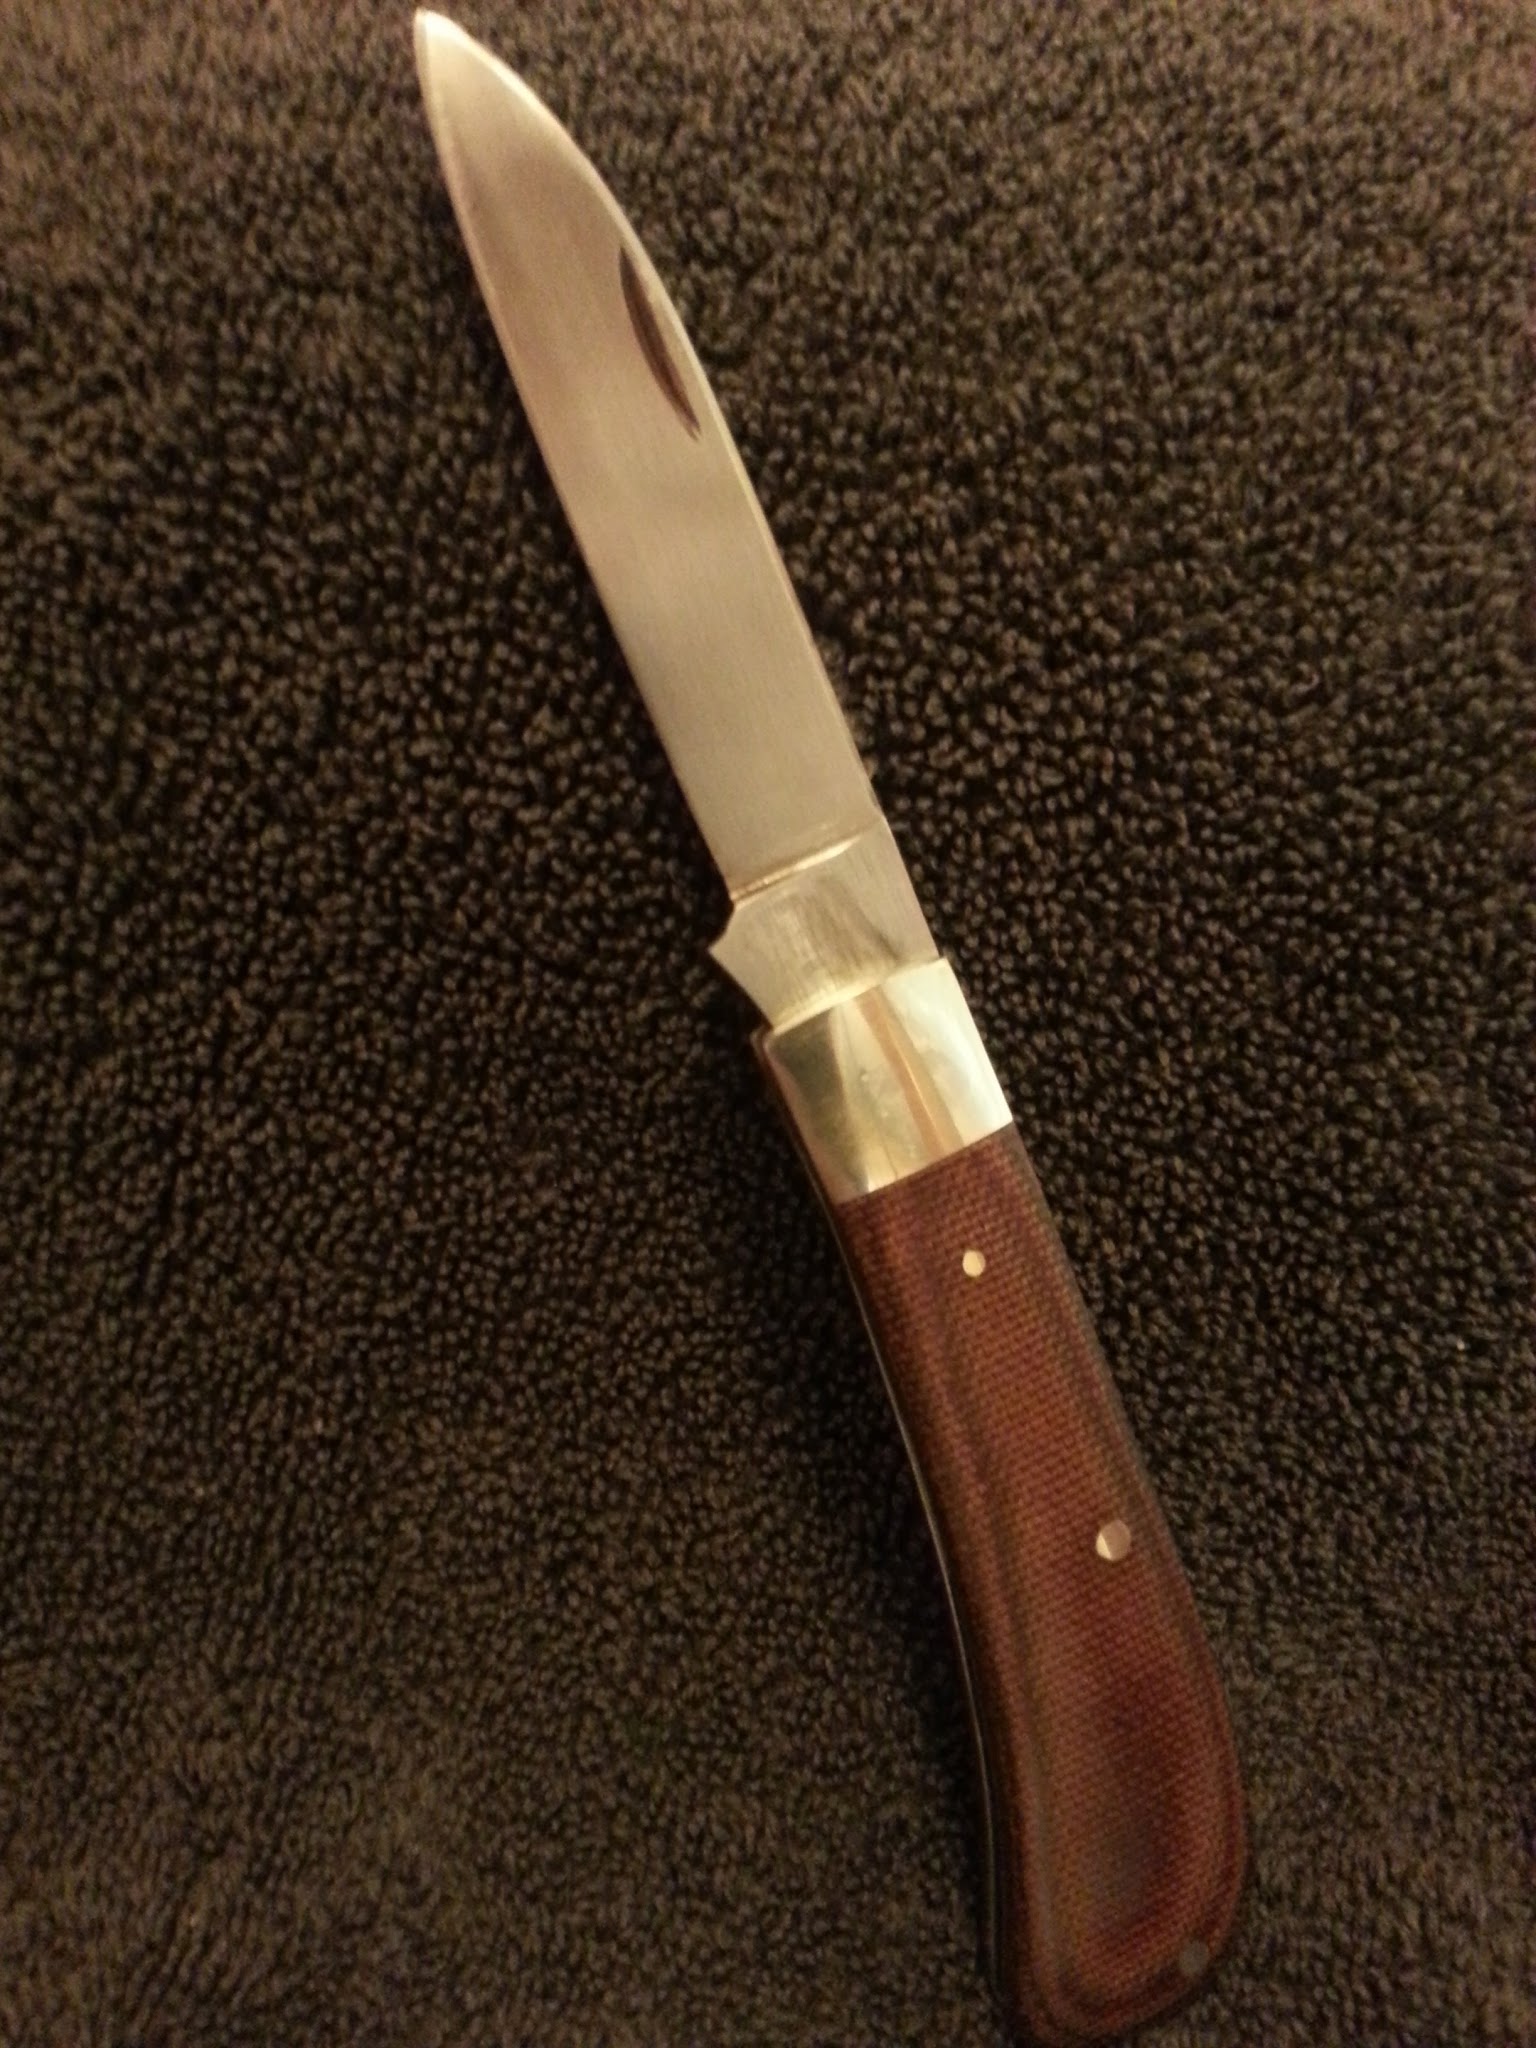
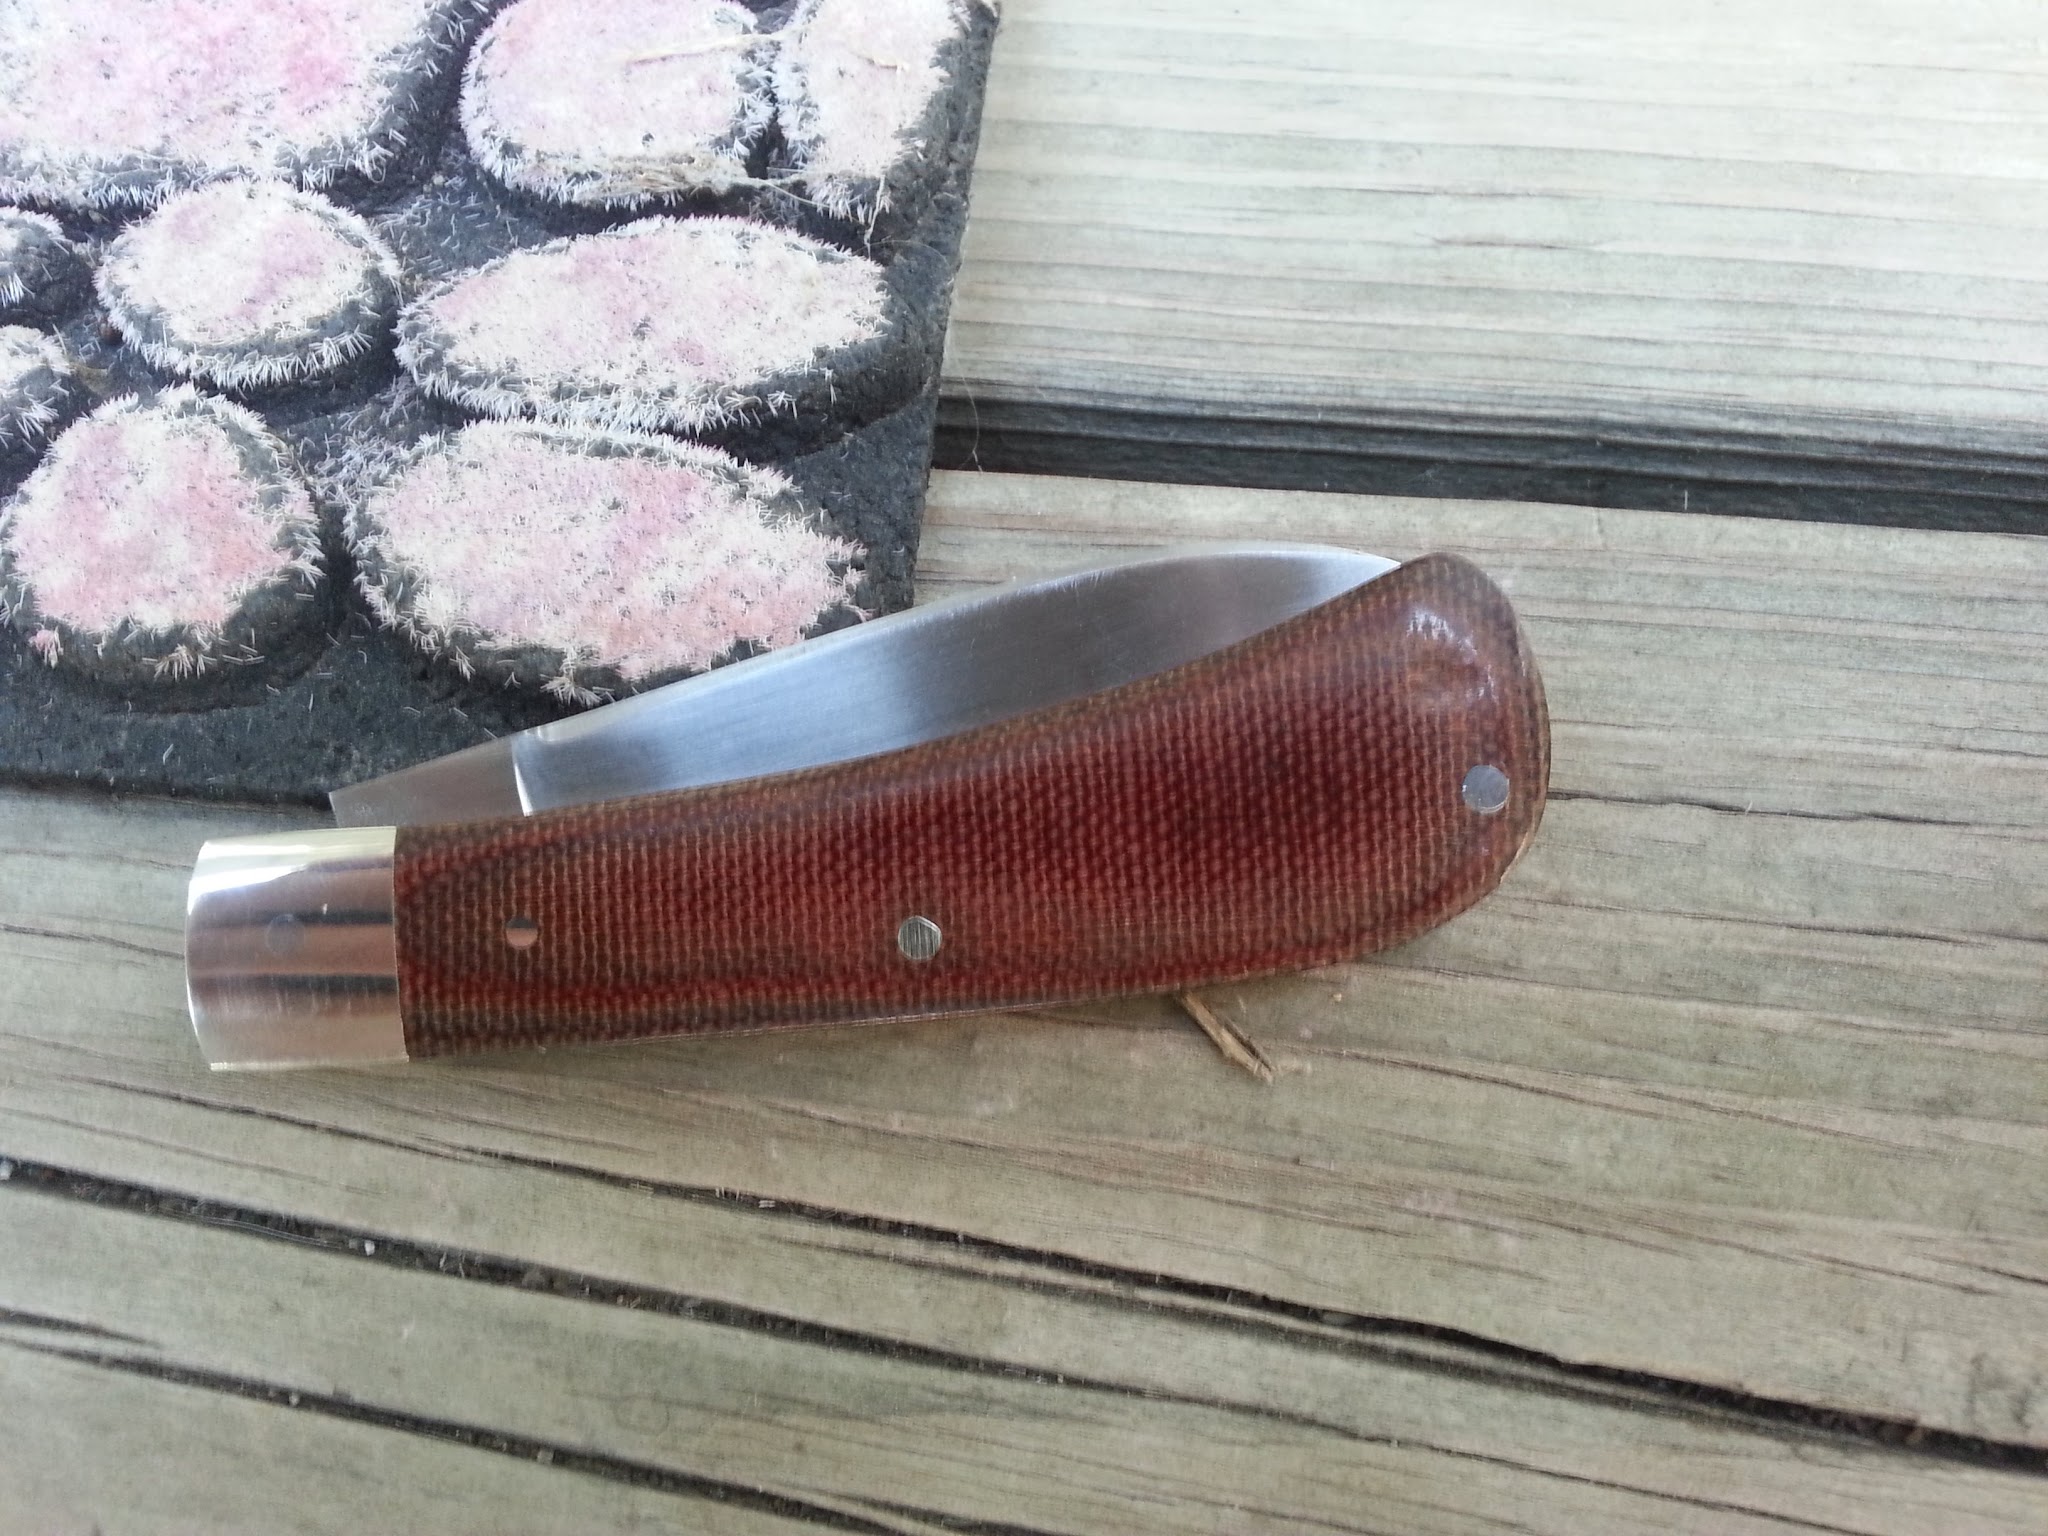
The scuff marks are where I messed up and laid it too flat on the very first stroke sharpening it, not leftover grinding marks. I am not going back and fixing it, because its going to get a lot more dinged up before this is all over. I would never send one out like that though.
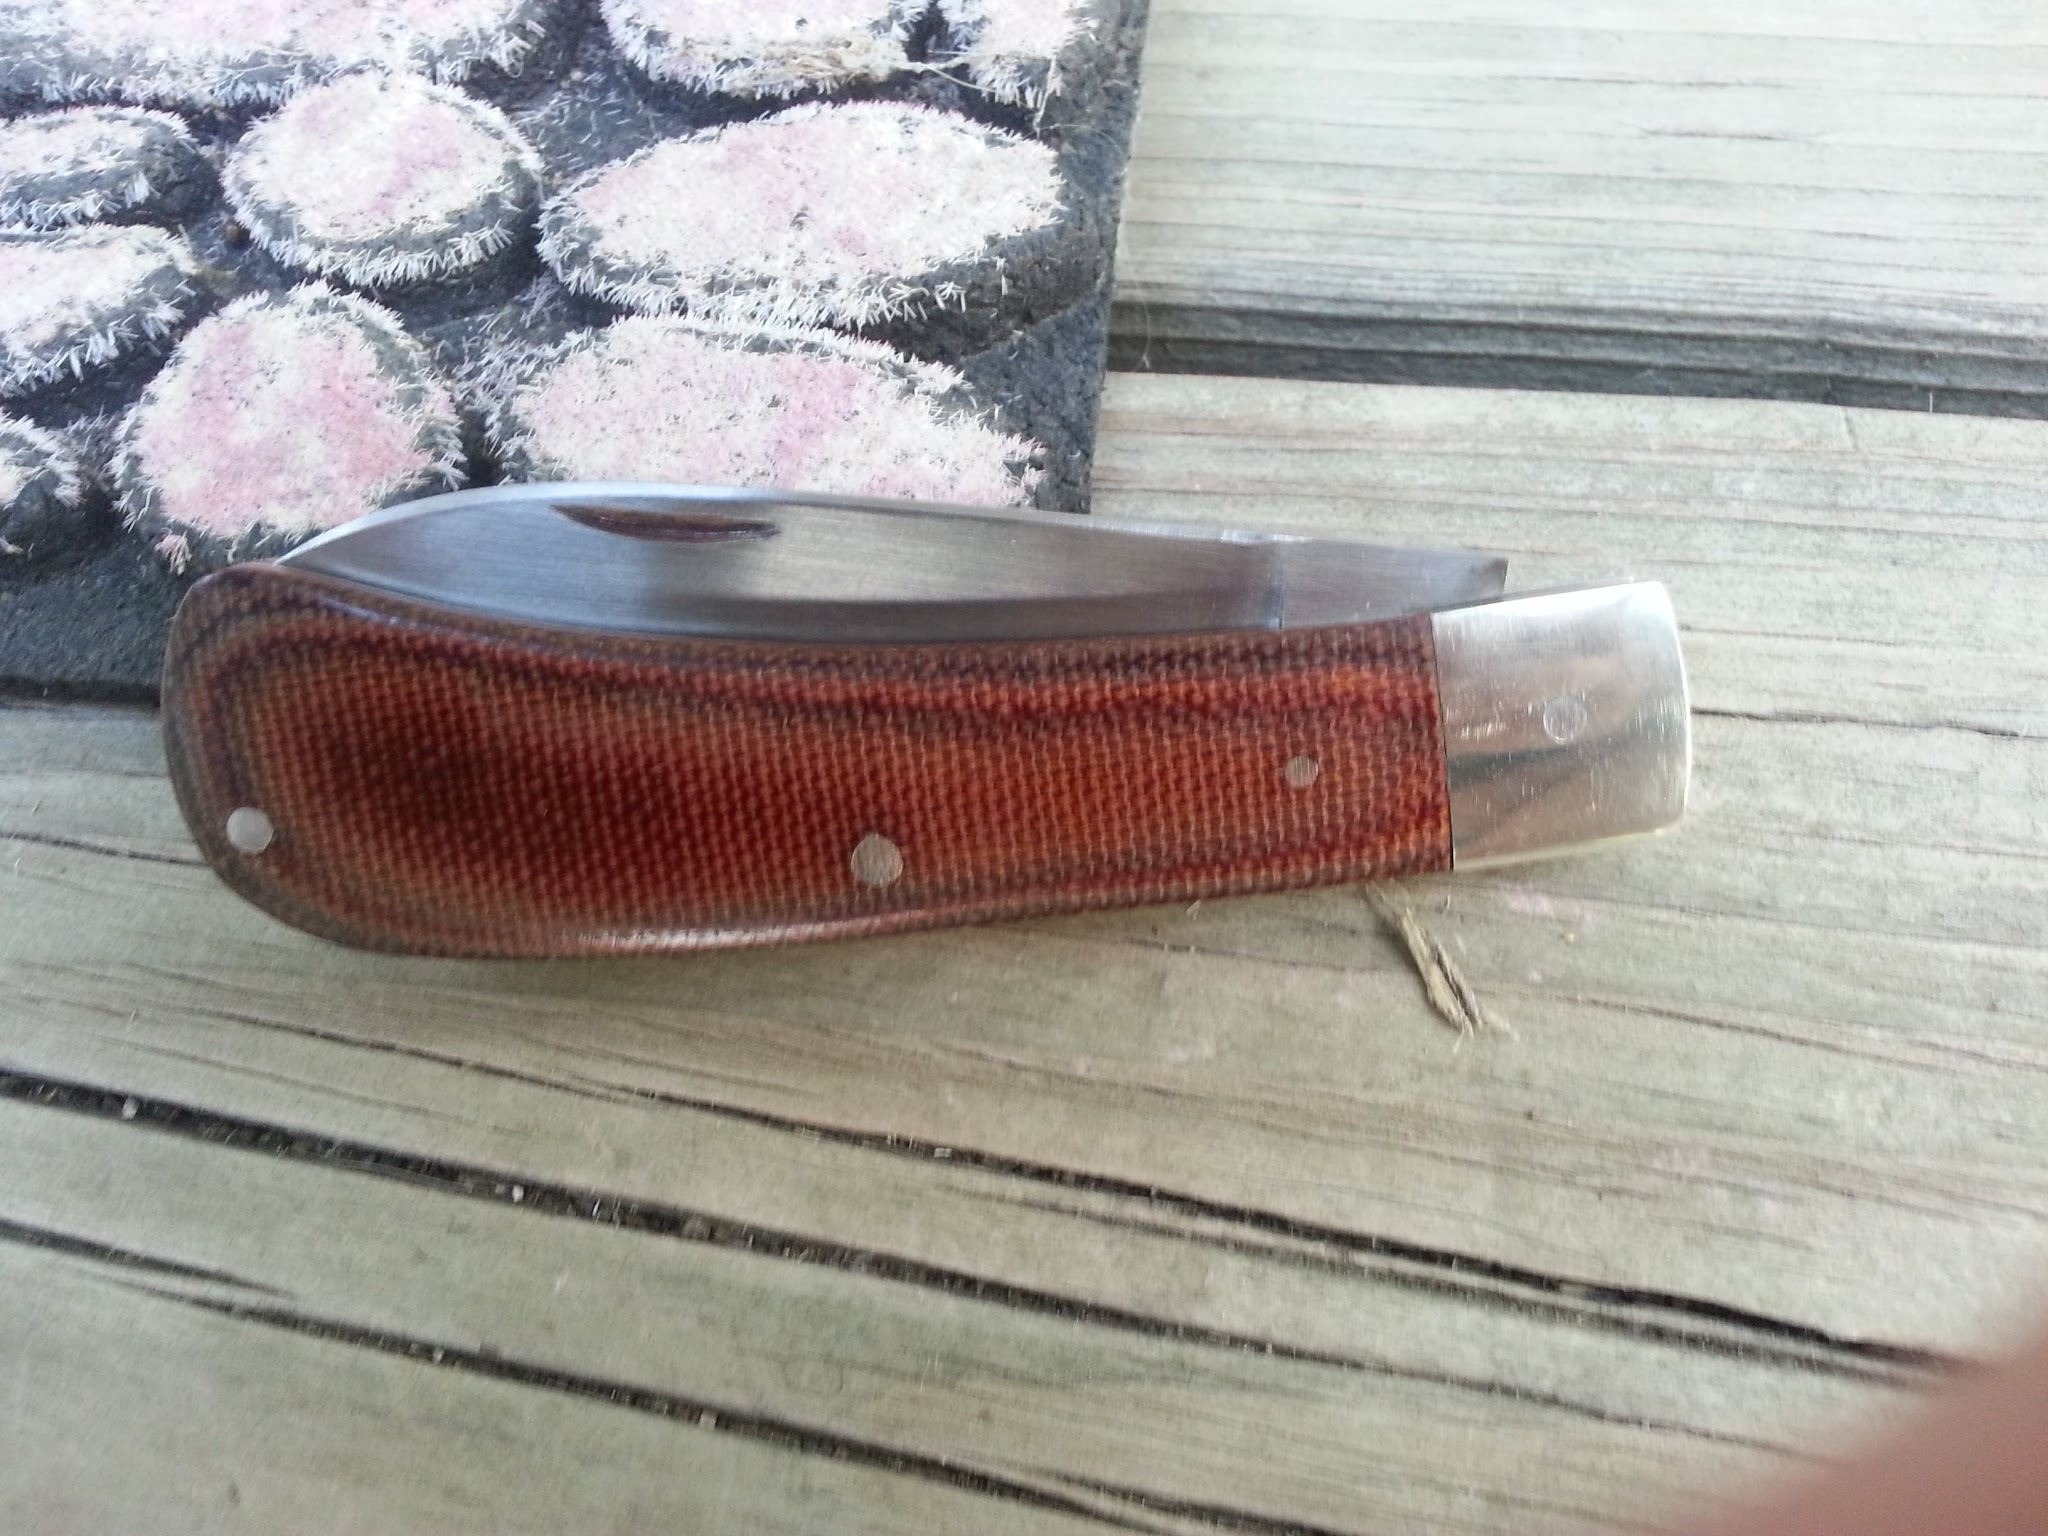
Wow, this look horrible close up. The covers look like poop, and the nick is horrible. I'm buying a dovetail cutter for my next one.

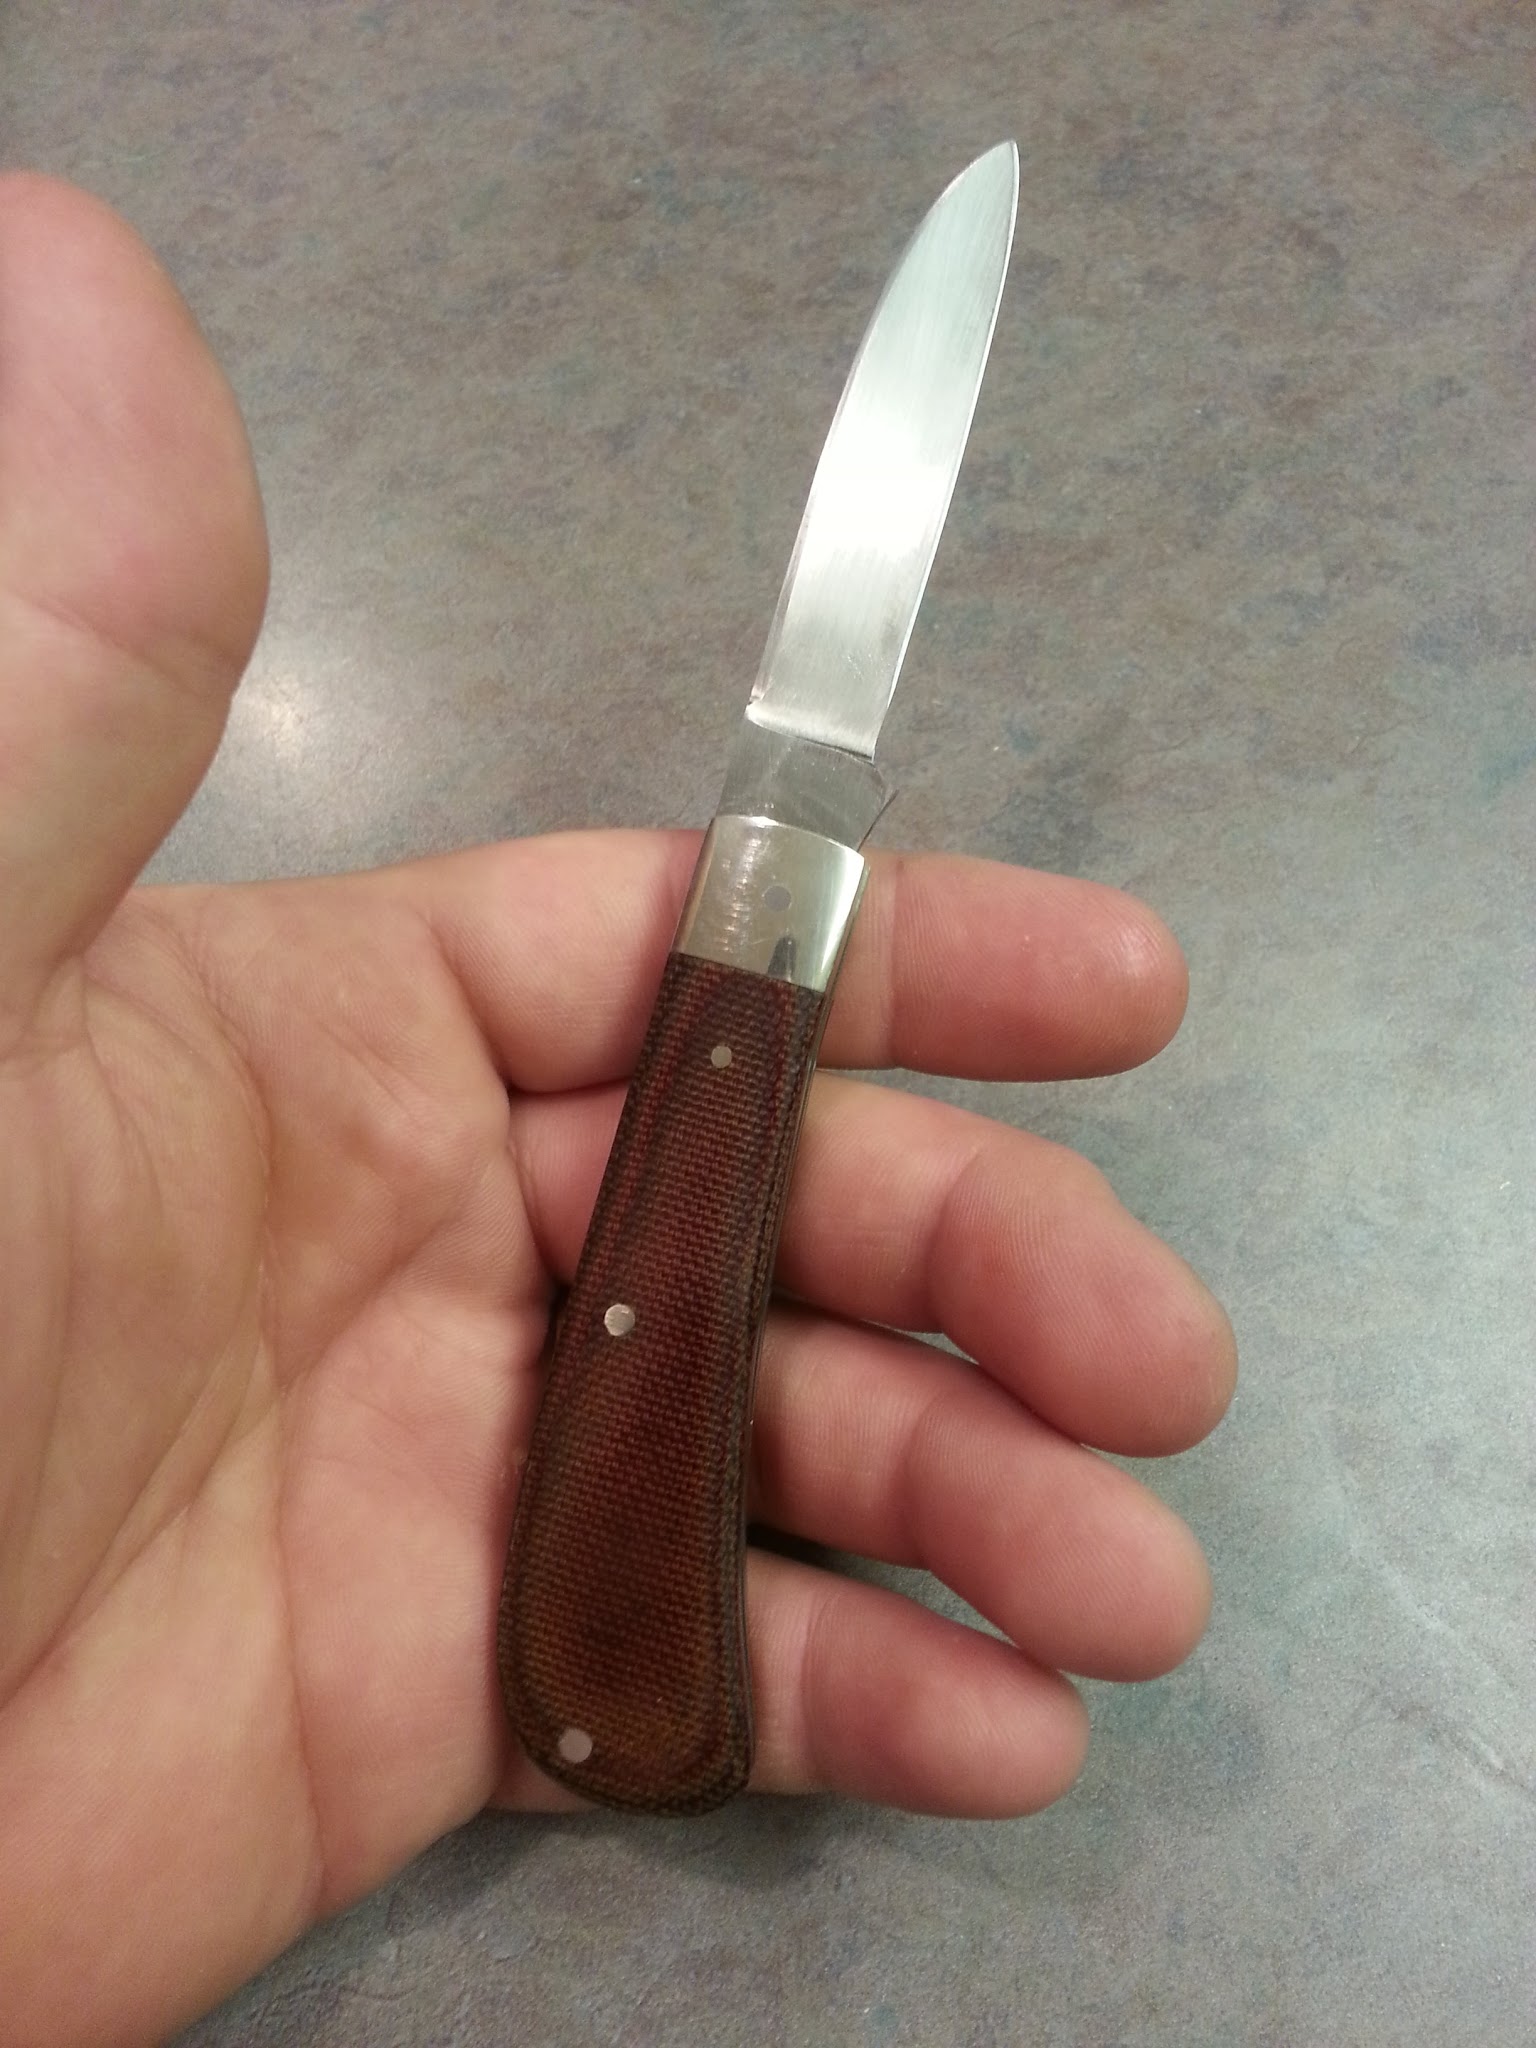
In hand:
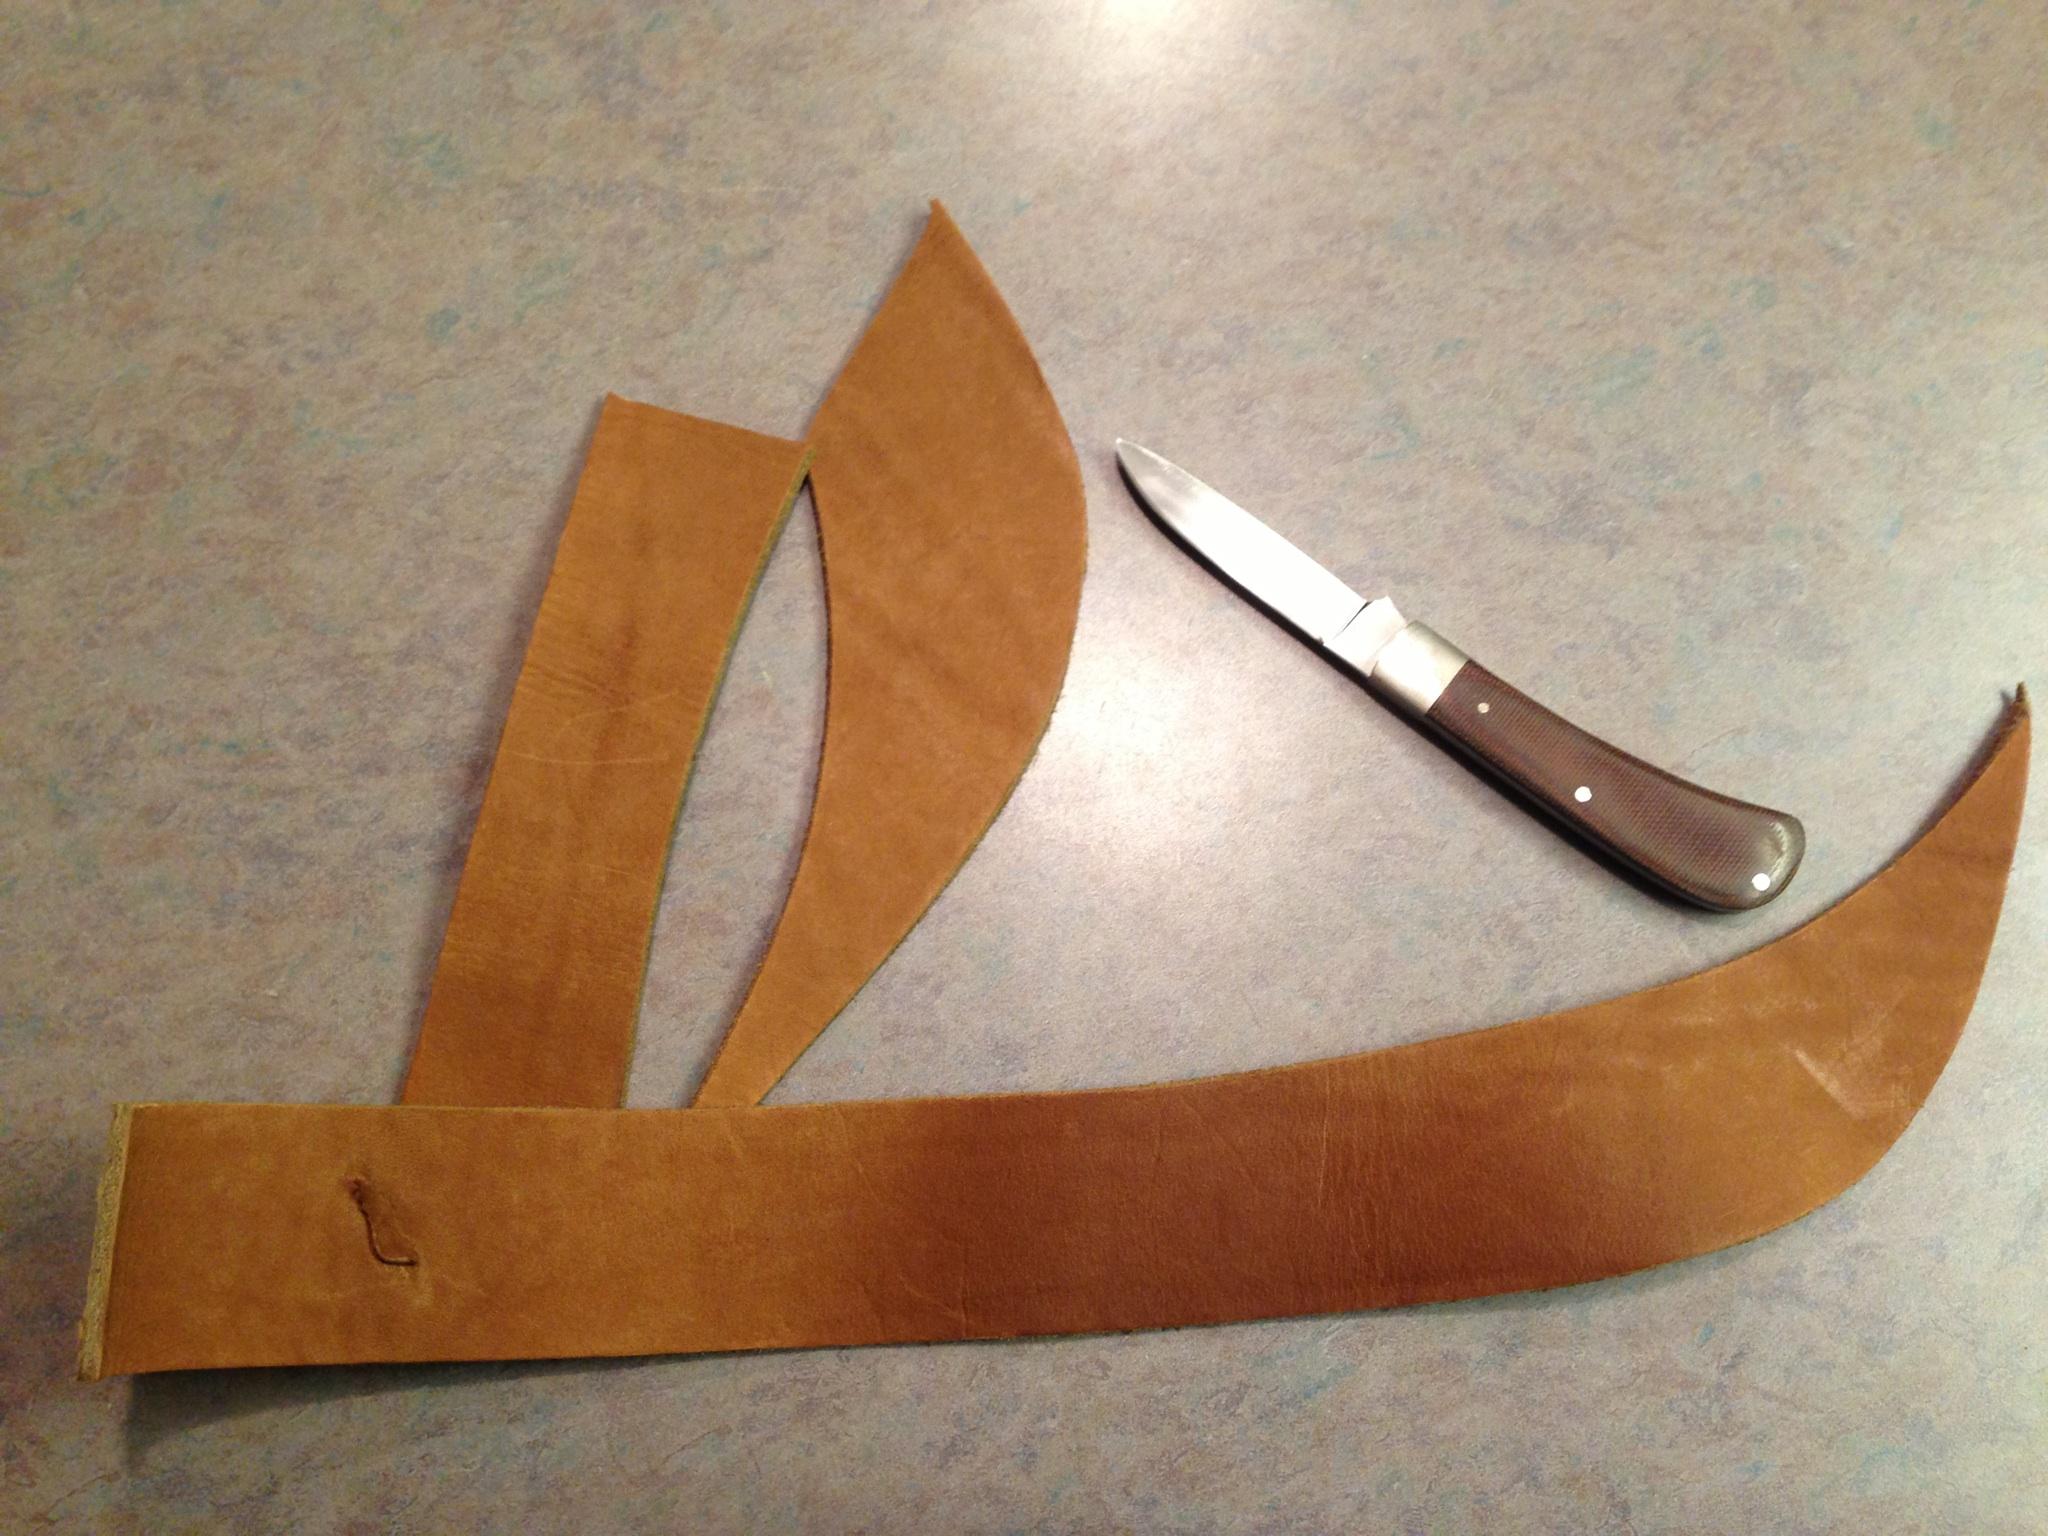
Now, what good is a knife if it can't cut? No good I tell you! So.....lets cut! It was late last night, so I grabbed some leather scraps. This is roughly 8/9 oz. leather, about 1/8" or 3mm for our metric friends. I actually did all the cutting before I took the rest of the pictures.
What I began with:
It shaved hair easily before the test.
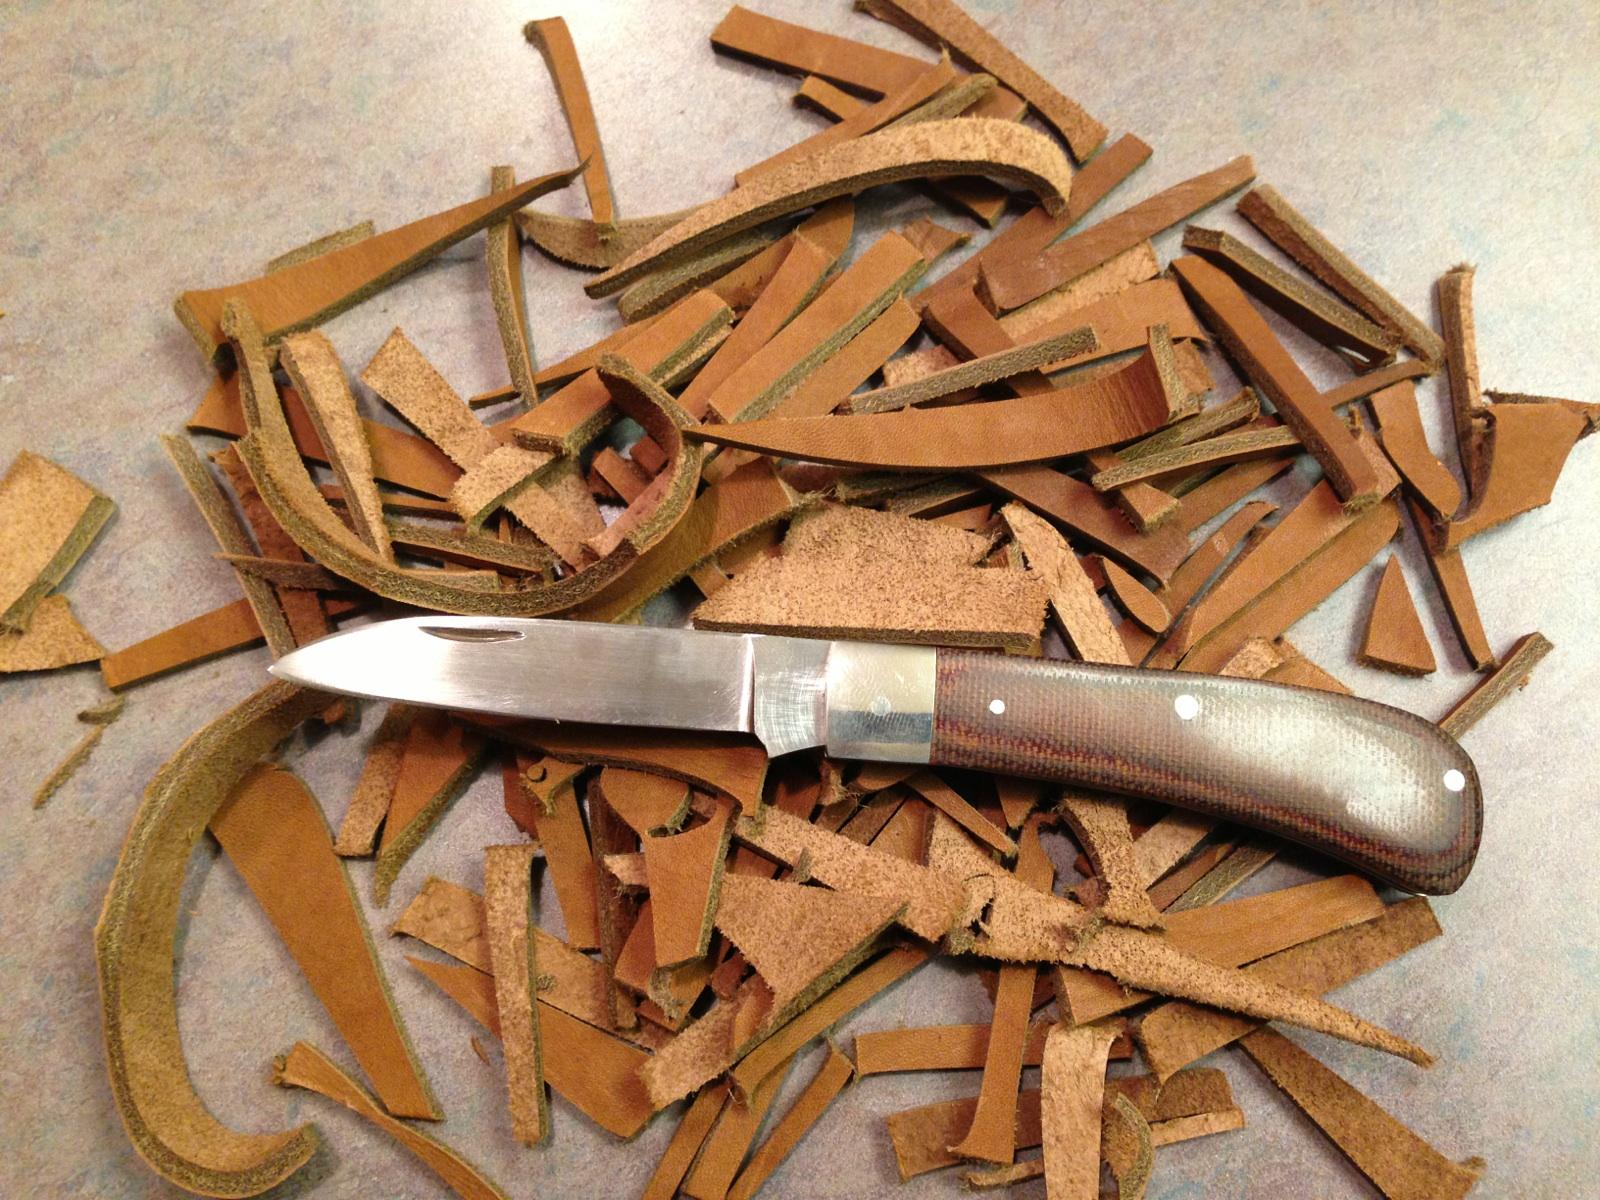
Cut 126 pieces of leather.
Shaved afterwards.

I wanted to get a video, but I didn't have a videographer to take it. The cuts weren't sawing, they were easy, clean slice, slice, slice, slice over and over. I was very happy with the laser like cutting of this blade, especially given the very marginal sharpening I did. I'm going to take the edge up to 1000 or even 4000 today and see how amazing this edge can get. Very happy with Peter's Heat Treating.
Critiques, comments, criticisms welcome and encouraged. Tear it apart, I want the next one to be better. I already have a long list I want to fix on number 3.
I have watched/read the development of several "critique my knife" threads. There are two ways most people go about it.
It starts one of two ways:
1. This knife is so awesome, tell me how cool I am, it is the best knife ever.
2. This is the knife I made.
It continues:
1. Tell me how cool this is and pat me on the head.
2. I know it has problems. Point them out and let's discuss them. I need to know.
Finally:
1.a. Yay! Pats on the head. I'm so great. I'm going to go make more mediocre knives! Yay me!
1.b. What?! Indignant surprise! It's not as good as I thought?! Just don't tell me anymore. I want to pretend everything's ok.
2. Thanks for the feedback. The next knife I'll fix all the problems. I want to be better.
I hope I've come across as number 2. That being said, can you or anyone else help me get better? I'm serious, I want feedback, be cruel if you want, but I can't stand making crap, I want to make good knives.
Specifically, I need help pinning cover material and bolster material. Also, general fit and finish help.
I have watched/read the development of several "critique my knife" threads.
It starts one of two ways:
1. This knife is so awesome, tell me how cool I am, it is the best knife ever.
2. This is the knife I made.
It continues:
1. Tell me how cool this is and pat me on the head.
2. I know it has problems. Point them out and let's discuss them. I need to know.
Finally:
1.a. Yay! Pats on the head. I'm so great. I'm going to go make more mediocre knives! Yay me!
1.b. What?! Indignant surprise! It's not as good as I thought?! Just don't tell me anymore. I want to pretend everything's ok.
2. Thanks for the feedback. The next knife I'll fix all the problems. I want to be better.
I hope I've come across as number 2. That being said, can anyone help me get better? I'm serious, I want feedback, be cruel if you want, but I can't stand making crap, I want to make good knives.
Specifically, I need help pinning cover material and bolster material. Also, general fit and finish help.
Specs:
Steel: 3/32" A2 @ 61 Rc
Heat Treat by Peter's
Covers: Brown Canvas Micarta
Pins/Liners/Bolsters: Nickel Silver
OAL Open: 6.4"
OAL Closed: 3.5"
Bolster to Tip: 2.8"
Plunge to Tip: 2.4"
Thickness: .40"
Hand rubbed 320 grit finishing the blade, 800 inside the liners and buffed on the covers. I need to go back over the handle again though, it looks like.
The edge is .0015" right above the sharpened bevel. I ran it about ten strokes on each side on a very old 400-600 grit silicon carbide stone, then stropped. Very easy to sharpen with that thin edge, even though with its high Rc.
All numbers are rounded to the tenth, that's why they don't quite add up exactly.
I am pretty upset, I think I grabbed a piece of stainless rod for the pins instead of nickel silver. You can see the pivot looks like a different metal entirely. Live and learn. I'll make sure I never do that again!
Bear with me, there's going to be a bunch of pictures. I couldn't get my makeshift photo booth to work, so like McDonalds, you get a bunch of mediocre instead of a little great.
The scuff marks are where I messed up and laid it too flat on the very first stroke sharpening it, not leftover grinding marks. I am not going back and fixing it, because its going to get a lot more dinged up before this is all over. I would never send one out like that though.
Wow, this look horrible close up. The covers look like poop, and the nick is horrible. I'm buying a dovetail cutter for my next one.
In hand:
Now, what good is a knife if it can't cut? No good I tell you! So.....lets cut! It was late last night, so I grabbed some leather scraps. This is roughly 8/9 oz. leather, about 1/8" or 3mm for our metric friends. I actually did all the cutting before I took the rest of the pictures.
What I began with:
It shaved hair easily before the test.
Cut 126 pieces of leather.
Shaved afterwards.
I wanted to get a video, but I didn't have a videographer to take it. The cuts weren't sawing, they were easy, clean slice, slice, slice, slice over and over. I was very happy with the laser like cutting of this blade, especially given the very marginal sharpening I did. I'm going to take the edge up to 1000 or even 4000 today and see how amazing this edge can get. Very happy with Peter's Heat Treating.
Critiques, comments, criticisms welcome and encouraged. Tear it apart, I want the next one to be better. I already have a long list I want to fix on number 3.
I have watched/read the development of several "critique my knife" threads. There are two ways most people go about it.
It starts one of two ways:
1. This knife is so awesome, tell me how cool I am, it is the best knife ever.
2. This is the knife I made.
It continues:
1. Tell me how cool this is and pat me on the head.
2. I know it has problems. Point them out and let's discuss them. I need to know.
Finally:
1.a. Yay! Pats on the head. I'm so great. I'm going to go make more mediocre knives! Yay me!
1.b. What?! Indignant surprise! It's not as good as I thought?! Just don't tell me anymore. I want to pretend everything's ok.
2. Thanks for the feedback. The next knife I'll fix all the problems. I want to be better.
I hope I've come across as number 2. That being said, can you or anyone else help me get better? I'm serious, I want feedback, be cruel if you want, but I can't stand making crap, I want to make good knives.
Specifically, I need help pinning cover material and bolster material. Also, general fit and finish help.
I have watched/read the development of several "critique my knife" threads.
It starts one of two ways:
1. This knife is so awesome, tell me how cool I am, it is the best knife ever.
2. This is the knife I made.
It continues:
1. Tell me how cool this is and pat me on the head.
2. I know it has problems. Point them out and let's discuss them. I need to know.
Finally:
1.a. Yay! Pats on the head. I'm so great. I'm going to go make more mediocre knives! Yay me!
1.b. What?! Indignant surprise! It's not as good as I thought?! Just don't tell me anymore. I want to pretend everything's ok.
2. Thanks for the feedback. The next knife I'll fix all the problems. I want to be better.
I hope I've come across as number 2. That being said, can anyone help me get better? I'm serious, I want feedback, be cruel if you want, but I can't stand making crap, I want to make good knives.
Specifically, I need help pinning cover material and bolster material. Also, general fit and finish help.