SHOKR
Well-Known Member
hey guys
its amazing how simple things get once you actually start working on them!
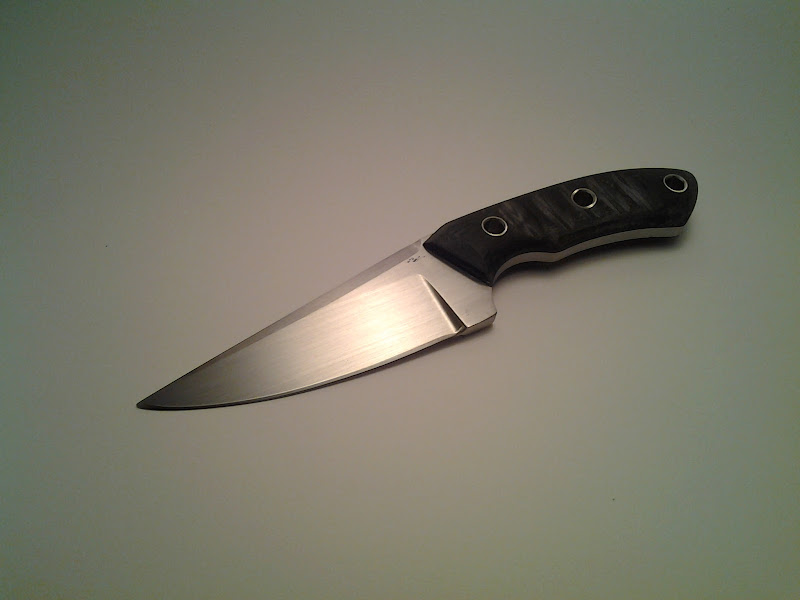
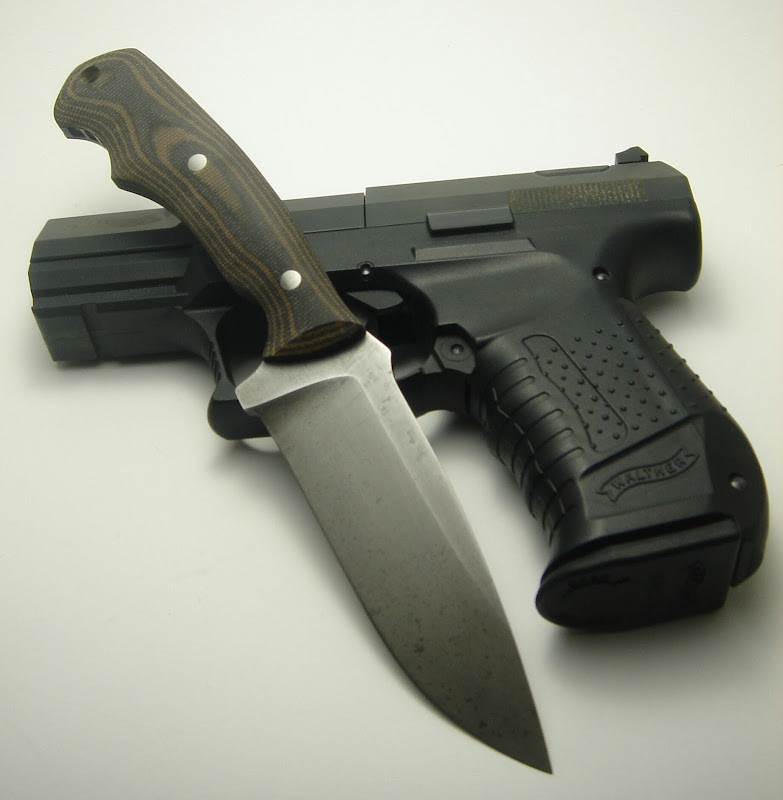
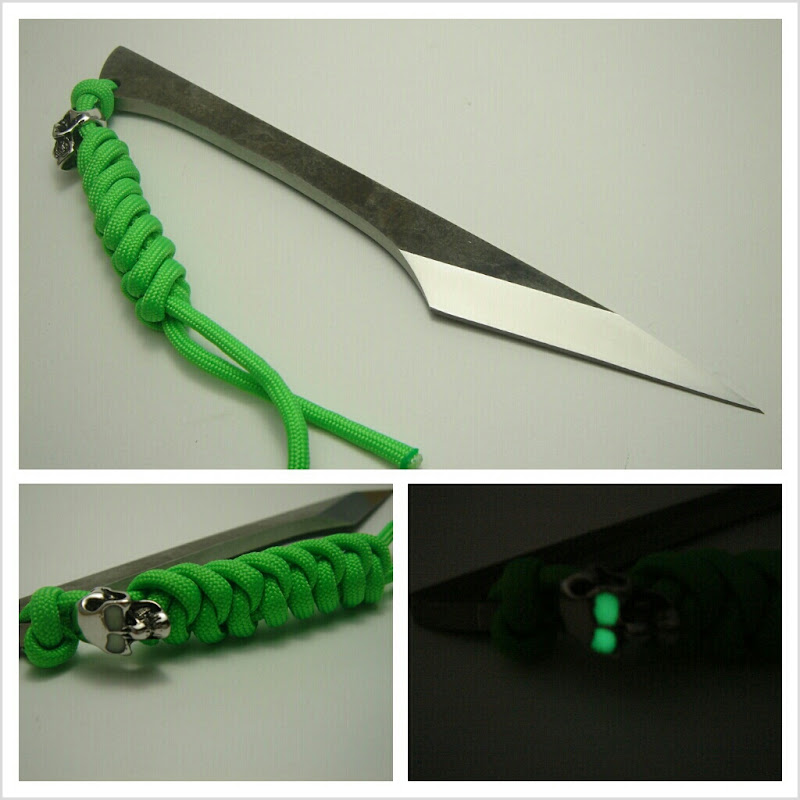
ive been wanting to take good photos of my knives for selling and today i checked out couple of tutorials and here i am
main tools

cardboard box
ruler or square
marker
cutter (razor knife)

mark where i will cut for the screens on 3 sides (top and sides)
leave about 3cm (aprox 1 1/4") from the corners so the box would still have good support
now i used a box that was folded over on the sides instead of top and bottom so you can skip the coming step

i glued some parts up and used those clamps to hold them till glue is dry (while i keep working)

three sides cut and everything clamped (but as i mentioned if you use regular box you can skip that step
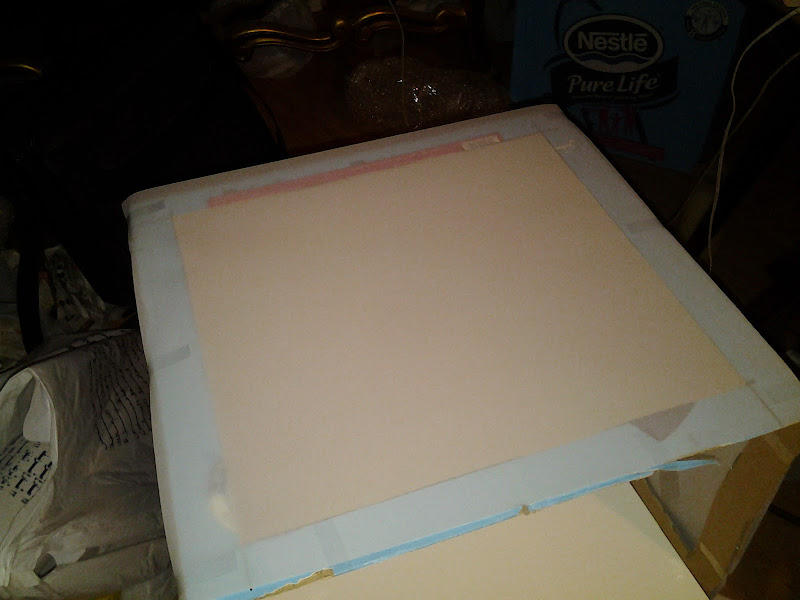
covered sides with kalk paper (i think thats a french name), thats what they had at the stationery
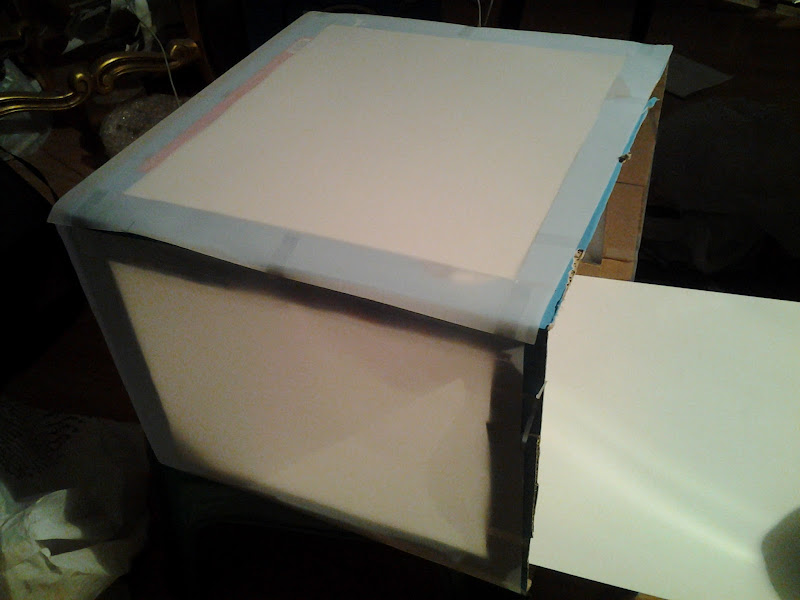
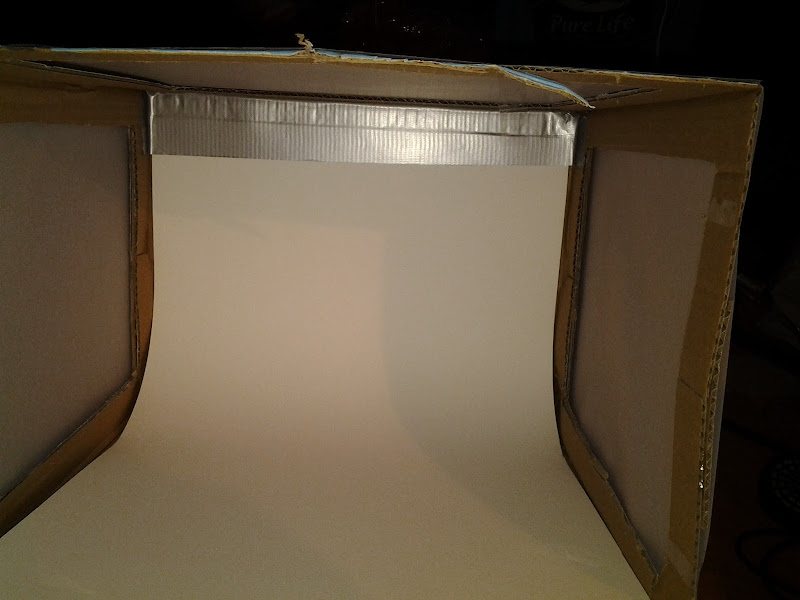
installed paper that will be the base for the box
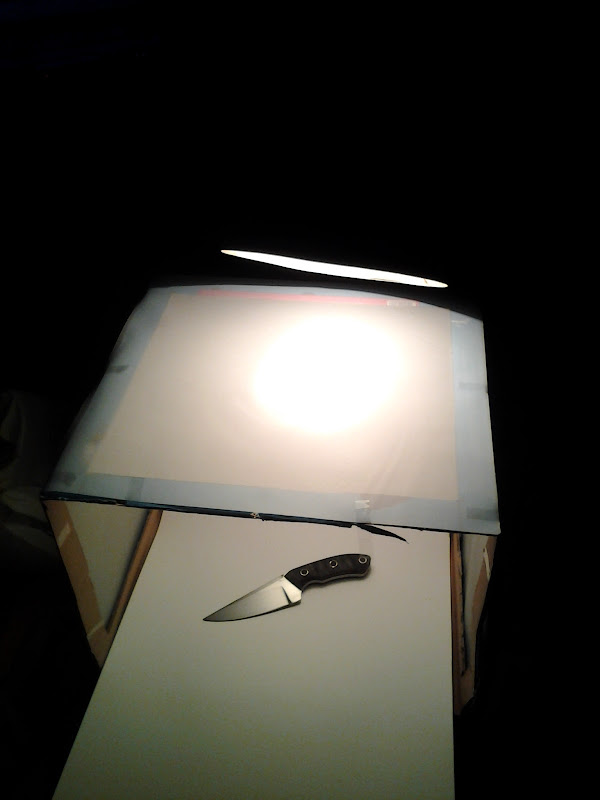
box done! tested with two kinds of bulbs

few notes
you can experiment with different kinds of lighting (power and color), top and or sides.
the material for top and sides can be anything thats basicly white and kind of transparent. enough to pass and difuse light, light white fabric, tissue paper, etc.
you can add transparent colored paper like cellophane for effects
also you may need different boxes for different sized things
the material for the background and base should be white, nonreflective and with no wrinkles, dents, dirty spots, etc.
emmm i think thats it")
its amazing how simple things get once you actually start working on them!
ive been wanting to take good photos of my knives for selling and today i checked out couple of tutorials and here i am
main tools
cardboard box
ruler or square
marker
cutter (razor knife)
mark where i will cut for the screens on 3 sides (top and sides)
leave about 3cm (aprox 1 1/4") from the corners so the box would still have good support
now i used a box that was folded over on the sides instead of top and bottom so you can skip the coming step
i glued some parts up and used those clamps to hold them till glue is dry (while i keep working)
three sides cut and everything clamped (but as i mentioned if you use regular box you can skip that step
covered sides with kalk paper (i think thats a french name), thats what they had at the stationery
installed paper that will be the base for the box
box done! tested with two kinds of bulbs
few notes
you can experiment with different kinds of lighting (power and color), top and or sides.
the material for top and sides can be anything thats basicly white and kind of transparent. enough to pass and difuse light, light white fabric, tissue paper, etc.
you can add transparent colored paper like cellophane for effects
also you may need different boxes for different sized things
the material for the background and base should be white, nonreflective and with no wrinkles, dents, dirty spots, etc.
emmm i think thats it