Mister Coffee
Well-Known Member
Thank you, I appreciate the comment. I have always enjoyed a good build thread and have learned so much from them. Figured if this helps one maker with one aspect of making a framelock, then I'm happy!
I can only pretend to understand everything that you're doing here, but even as a dummy first-year student, I really appreciate your posts. Totally cool.
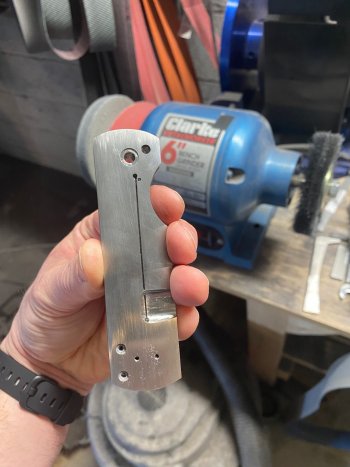
So, how do you get a frame lock to work? Do you bend the lock part?