BrandantR
Well-Known Member
For the last couple of years that I have been following along on this forum, I have greatly appreciated those who have taken the time to share their talents, insights, and techniques with the rest of us. As a new knife maker, I have tried to absorb as much info from other people's posts as humanly possible, as well as apply that knowledge to my own skills and procedures. After all I have taken from this site, it's about time for me to start giving back to the community. So, I decided to share this build with my Knife Dog friends. I hope you enjoy following along with me on this build. I just hope it doesn't end in catastrophic failure. That would be embarrassing  .
.
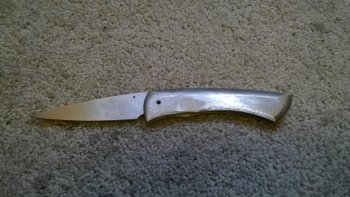
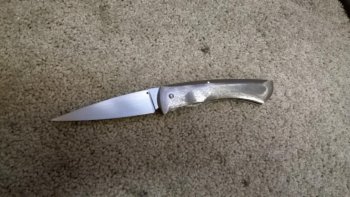
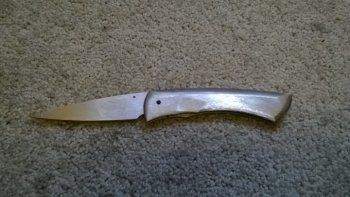
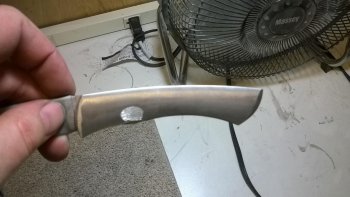
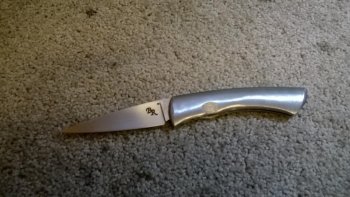
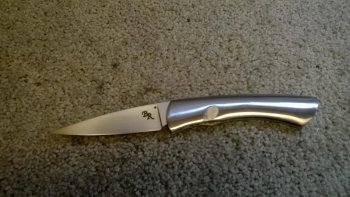
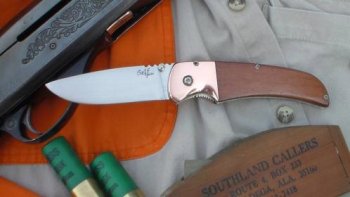
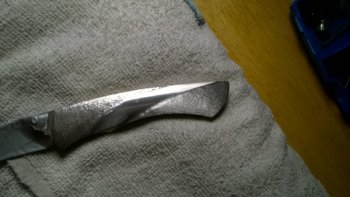
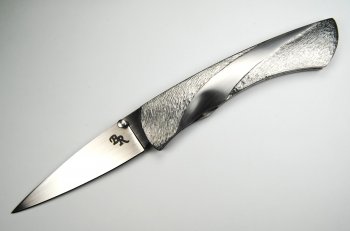
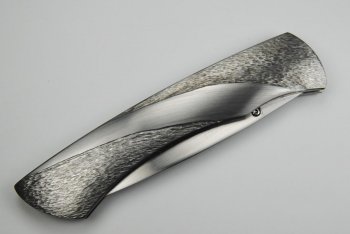
This is a new design that I'm really excited about. I settled on the name of "Pride" for this knife design. I hope I can look back when this is all said and done and experience the pride that is this knife's namesake. I'm going to try something a little new for me on this build too which should be interesting. I'm going to make this knife with no visible hardware (except maybe a thumb stud screw); just pins and a lot of peening. I will use screws inside for the "guts" of the knife to make it easier to get the lock and workings fit properly, but, in the end, no screws will be visible. Let's get started.
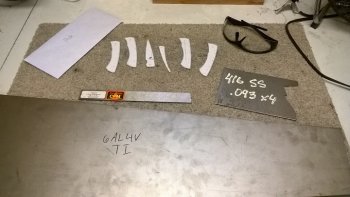
Here is the birthplace of all my knives; the raw materials that will be ground and shaped until everything that is not the knife is removed. That's what we call the "stock removal" process. I have the paper pattern cut out, a bar of CPM 154 for the blade, a chunk of 416 stainless that will become the scales and a sheet of 6al4v titanium for the liners.
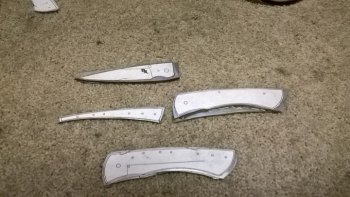
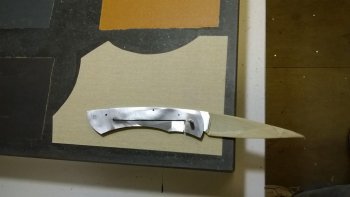
After gluing the patterns onto the metal (I just use Elmer's Rubber Cement), I cut the parts out to rough shape on the band saw. The two scales get glued together temporarily with a couple drops of superglue. This way, when the are profile ground, they will be exactly the same shape. The liners get the same treatment. Since this is a prototype with a new pattern, a piece of titanium gets glued to the blade and an additional liner is added to the stack for use as patterns for the next time I make a knife of this same design, if everything works out that is.
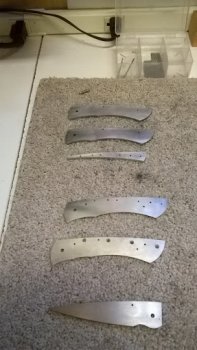
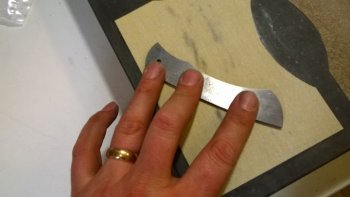
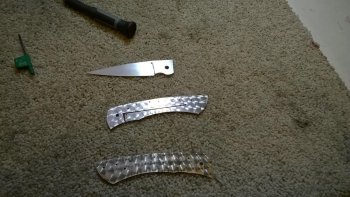
All the parts shown above have been profile ground. With the paper patterns still attached and the parts still superglued together, I drilled all the holes through the various parts. After giving the stacked parts a couple of sharp taps on a solid surface, the glue just pops off. The leftover glue gets dissolved by a little acetone and each part gets a few strokes on the surface plate to flatten everything up nicely and to remove any burs. The holes that will receive screws get threaded and countersunk as well.
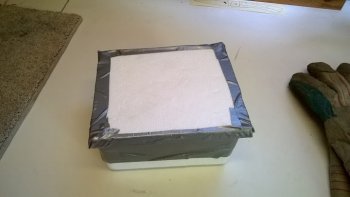
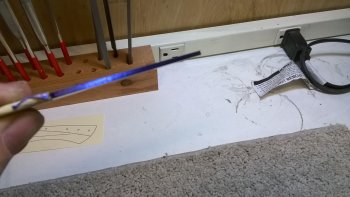
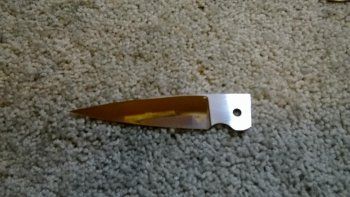
After popping the blade into the heat treat oven for hardening, I made a quick trip to the store and picked up some dry ice and a small Styrofoam cooler. The dry ice is used in a sub-zero treatment on the CPM 154 steel to convert as much leftover Austenite to Martensite as possible, producing the best possible conditions for the blade. While the blade was still in the oven, I made this little box out of the Styrofoam cooler using the handyman's secret weapon, Duct Tape! Some folks use a liquid such as acetone or glycol and add the dry ice to the liquid. I've found that simply crushing up the dry ice and embedding the blade in the "snow" works just as well without all the hassle of dealing with a liquid. This little box worked like a charm.
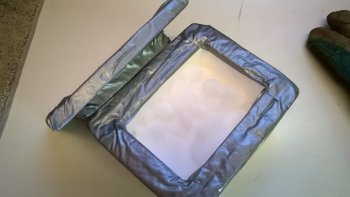
Here's a look inside the little "sub-zero" box. Pretty simple construction. Just two layers of Styrofoam taped together.
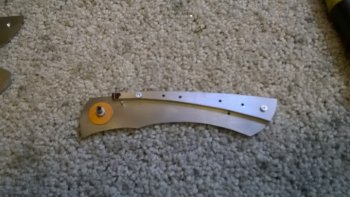
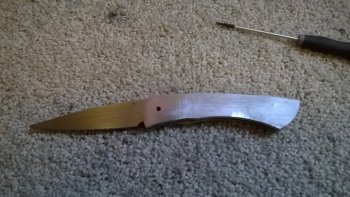
Once the blade was done with the sub-zero treatment, it went through two temper cycles to draw back the hardness to about a 59 HRC. The above photo shows the spacer screwed to the right liner, the stop pin pushed through the liner, and the pivot pin, bushing, and washer in place. The pivot pin is only temporary as it will be replaced with a 1/8" piece of 416 stainless that will be peened in place later on. If you look closely, you will see the tip of the spacer has been colored black with a marker and a fine line scratched into it. This scratched line shows where the spacer needs to be trimmed back to so that the blade swings to the proper "open" position.
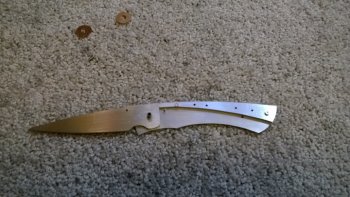
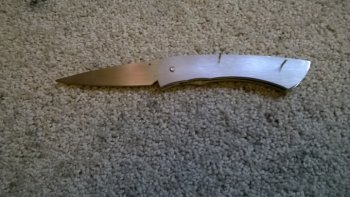
The spacer has been ground back and the blade stops in the perfect open position.
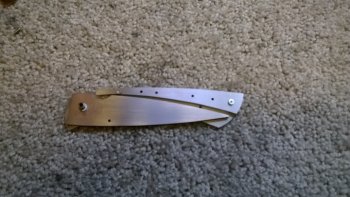
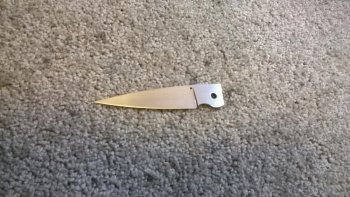
With the open position dialed in, the closed position gets adjusted. This is done by grinding away the blade tang with a 1/2" wheel until the point of the blade drops down far enough that it will not be protruding beyond the liner. As seen in the photo above, the closed position is just right.
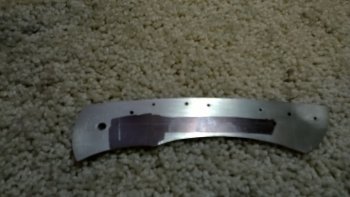
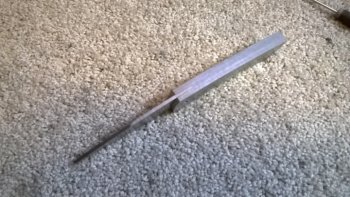
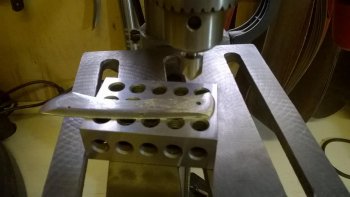
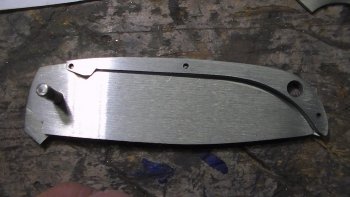
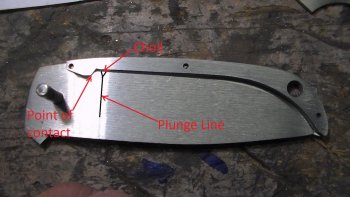
Next, the lock bar gets cut into the right liner. In the photo above, the vertical scratch in the black ink is where the blade tang ends and where the lock face will begin. This gets cut into the liner using a small, thin cutoff wheel mounted in my drill press. I've shown this process before on my blog, so you can scan back through previous posts here http://robinsonedge.blogspot.com/ if you are curious. I do want to mention that I leave the lock bar face a little long so that I can dial in the lock a little further on in the build.
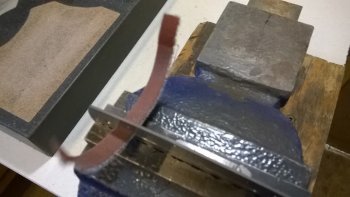
After the lock gets cut into the liner, I use some cloth-backed sandpaper to remove any burrs and to polish up the inside of the cut. I use a shoe-shine action on the paper to accomplish this task with the liner fastened into my vise.
This is a new design that I'm really excited about. I settled on the name of "Pride" for this knife design. I hope I can look back when this is all said and done and experience the pride that is this knife's namesake. I'm going to try something a little new for me on this build too which should be interesting. I'm going to make this knife with no visible hardware (except maybe a thumb stud screw); just pins and a lot of peening. I will use screws inside for the "guts" of the knife to make it easier to get the lock and workings fit properly, but, in the end, no screws will be visible. Let's get started.

Here is the birthplace of all my knives; the raw materials that will be ground and shaped until everything that is not the knife is removed. That's what we call the "stock removal" process. I have the paper pattern cut out, a bar of CPM 154 for the blade, a chunk of 416 stainless that will become the scales and a sheet of 6al4v titanium for the liners.

After gluing the patterns onto the metal (I just use Elmer's Rubber Cement), I cut the parts out to rough shape on the band saw. The two scales get glued together temporarily with a couple drops of superglue. This way, when the are profile ground, they will be exactly the same shape. The liners get the same treatment. Since this is a prototype with a new pattern, a piece of titanium gets glued to the blade and an additional liner is added to the stack for use as patterns for the next time I make a knife of this same design, if everything works out that is.

All the parts shown above have been profile ground. With the paper patterns still attached and the parts still superglued together, I drilled all the holes through the various parts. After giving the stacked parts a couple of sharp taps on a solid surface, the glue just pops off. The leftover glue gets dissolved by a little acetone and each part gets a few strokes on the surface plate to flatten everything up nicely and to remove any burs. The holes that will receive screws get threaded and countersunk as well.

After popping the blade into the heat treat oven for hardening, I made a quick trip to the store and picked up some dry ice and a small Styrofoam cooler. The dry ice is used in a sub-zero treatment on the CPM 154 steel to convert as much leftover Austenite to Martensite as possible, producing the best possible conditions for the blade. While the blade was still in the oven, I made this little box out of the Styrofoam cooler using the handyman's secret weapon, Duct Tape! Some folks use a liquid such as acetone or glycol and add the dry ice to the liquid. I've found that simply crushing up the dry ice and embedding the blade in the "snow" works just as well without all the hassle of dealing with a liquid. This little box worked like a charm.

Here's a look inside the little "sub-zero" box. Pretty simple construction. Just two layers of Styrofoam taped together.

Once the blade was done with the sub-zero treatment, it went through two temper cycles to draw back the hardness to about a 59 HRC. The above photo shows the spacer screwed to the right liner, the stop pin pushed through the liner, and the pivot pin, bushing, and washer in place. The pivot pin is only temporary as it will be replaced with a 1/8" piece of 416 stainless that will be peened in place later on. If you look closely, you will see the tip of the spacer has been colored black with a marker and a fine line scratched into it. This scratched line shows where the spacer needs to be trimmed back to so that the blade swings to the proper "open" position.

The spacer has been ground back and the blade stops in the perfect open position.

With the open position dialed in, the closed position gets adjusted. This is done by grinding away the blade tang with a 1/2" wheel until the point of the blade drops down far enough that it will not be protruding beyond the liner. As seen in the photo above, the closed position is just right.

Next, the lock bar gets cut into the right liner. In the photo above, the vertical scratch in the black ink is where the blade tang ends and where the lock face will begin. This gets cut into the liner using a small, thin cutoff wheel mounted in my drill press. I've shown this process before on my blog, so you can scan back through previous posts here http://robinsonedge.blogspot.com/ if you are curious. I do want to mention that I leave the lock bar face a little long so that I can dial in the lock a little further on in the build.

After the lock gets cut into the liner, I use some cloth-backed sandpaper to remove any burrs and to polish up the inside of the cut. I use a shoe-shine action on the paper to accomplish this task with the liner fastened into my vise.

