dienekis
Well-Known Member
This is my first WIP and my first dagger so hope its informative 
The steel i am using is O1 .
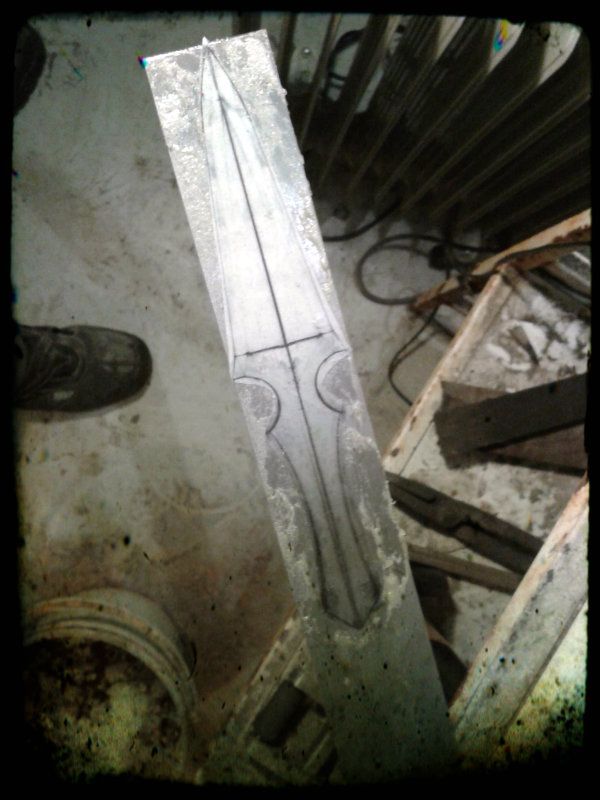
I start first with transfering the image to the steel.I used the spray glew to attach the print.
After using my angle grinder to cut as much steel as i could.
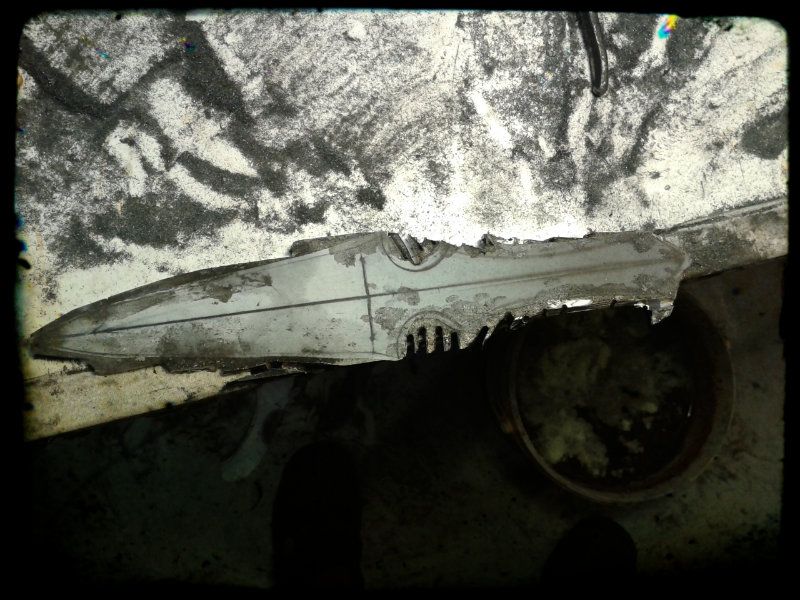
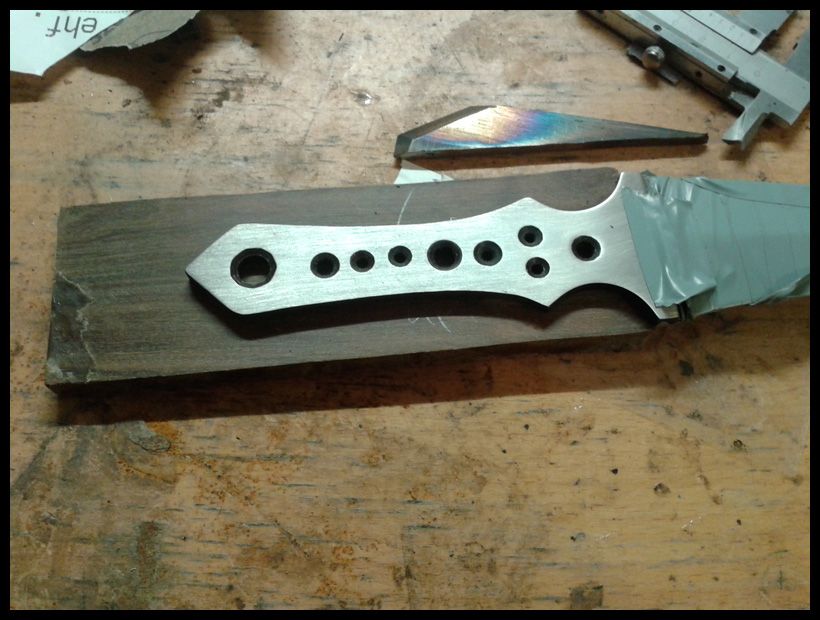
Then took it to the grinder and profiled it with a 40 grit belt and got this result
Before i drille the holes i attached the logo with the press but i forgot to take a picture of it.I did the main holes only so i can have an idea of the weight of it after the grinding
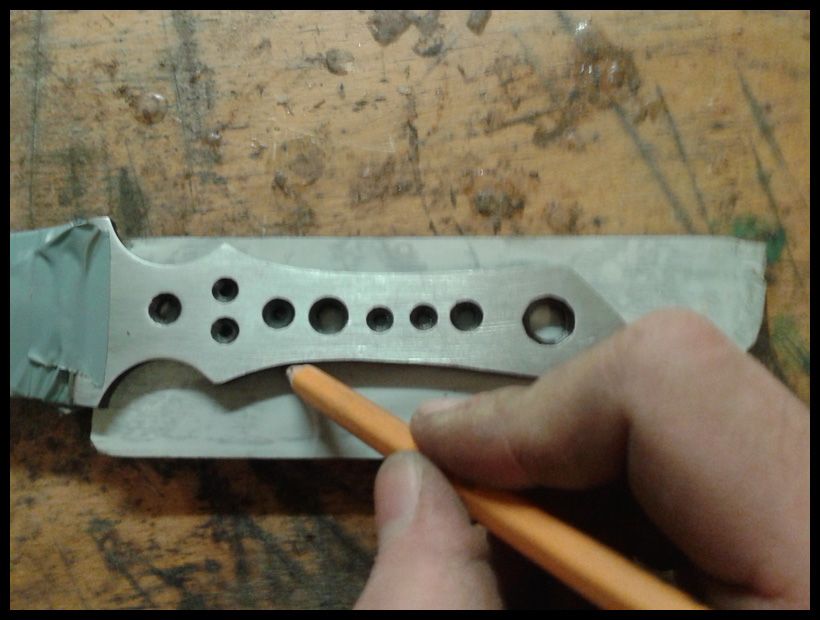
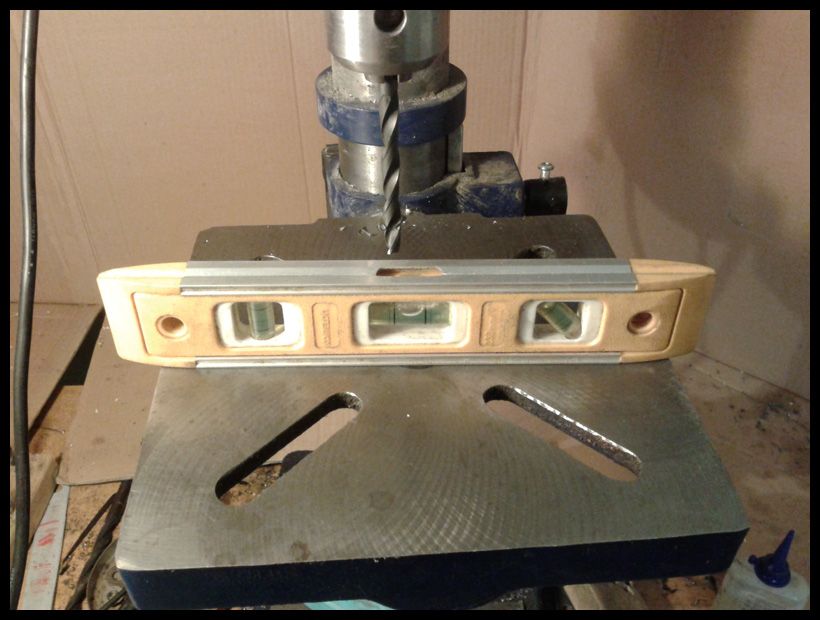
Now i was marking for the grind i used the tape to get the midle from the tip to the top .Did it for both sides.Hope that you understand what am i doing
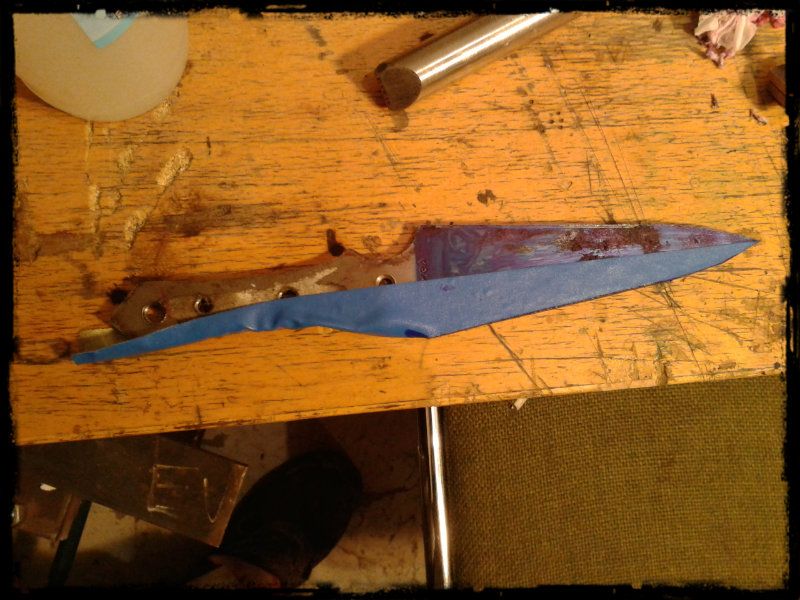
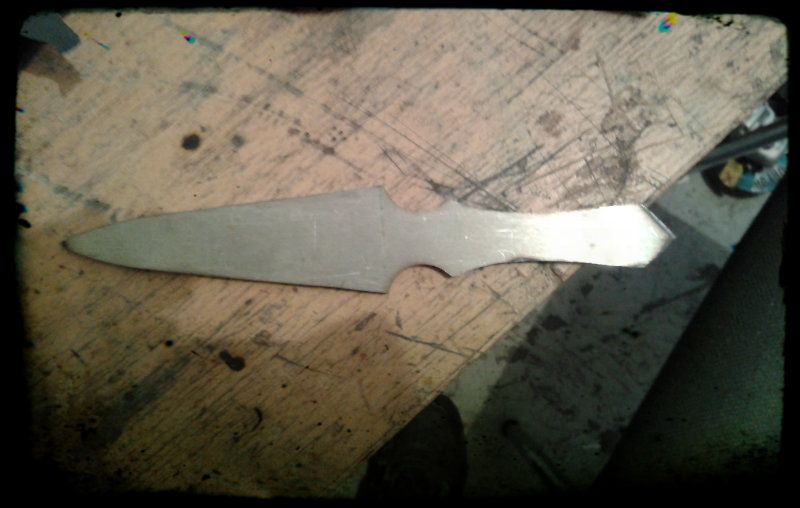
After i did free grinding i got this result . I used 40 grit belt
Now its time for traditional hand rubbing before HT and also to make the lines straight when i get some time
Ok handrubbing before HT .I finished till 120 grit.And the reason was i was out of sand paper and i was bored waiting .Better to finish it to 320 grit.
Much easier after + ready for HT

[video=youtube;vXfIkI9aRa0]http://www.youtube.com/watch?v=vXfIkI9aRa0[/video]
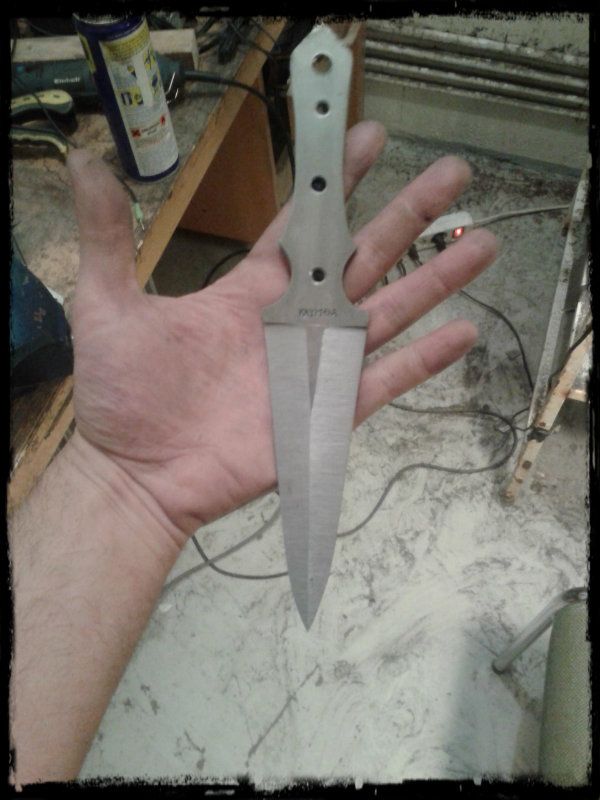
HT is done and here it is
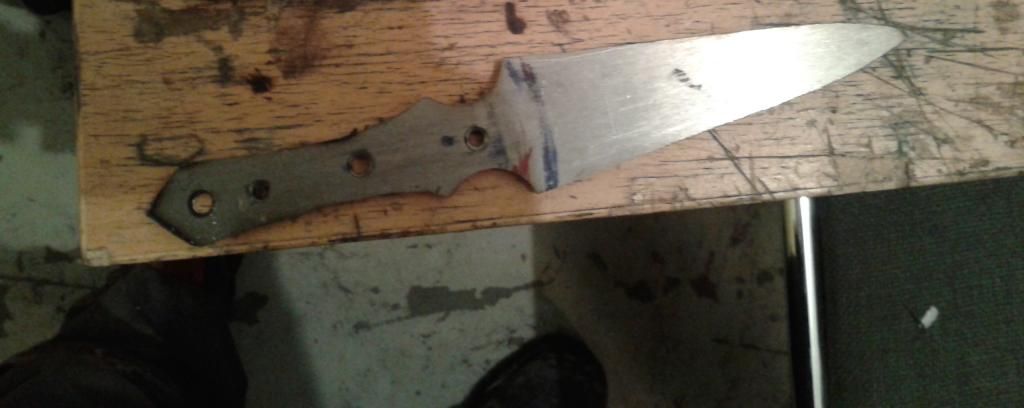
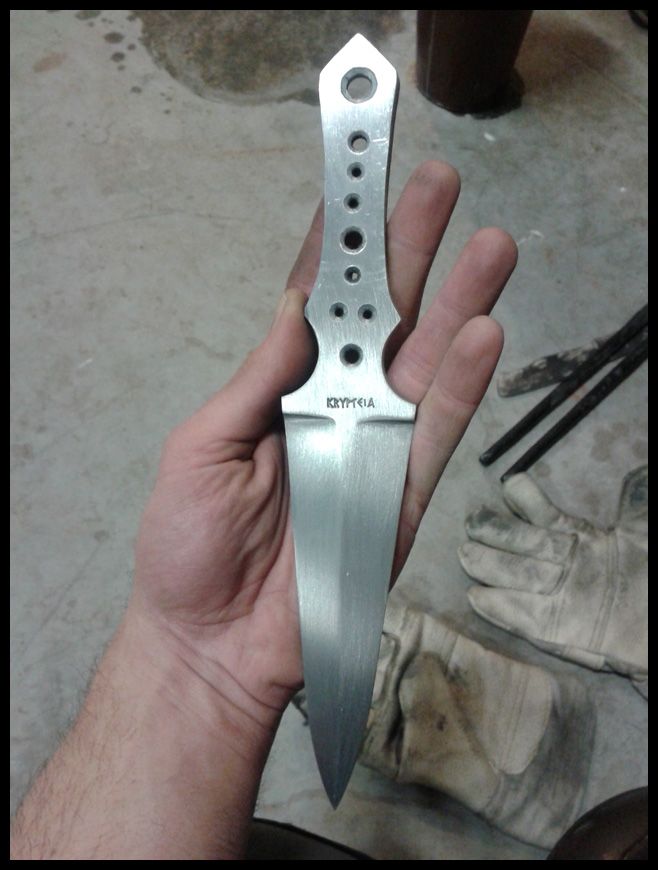
Now hand rub again i start with 80 grit i find it easier for me and the lovely wd-40 and i finish to the point i want this is done 800 satin
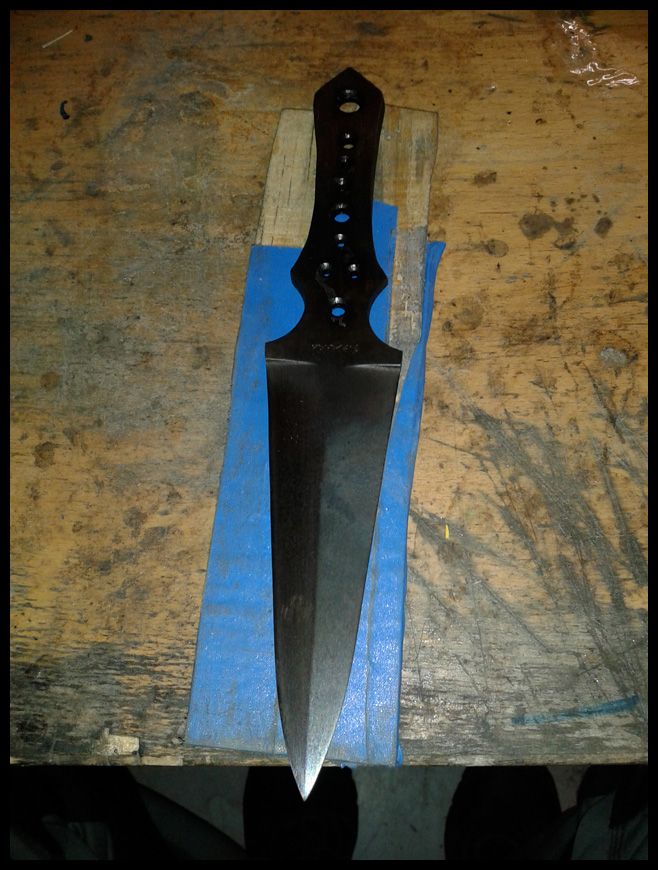
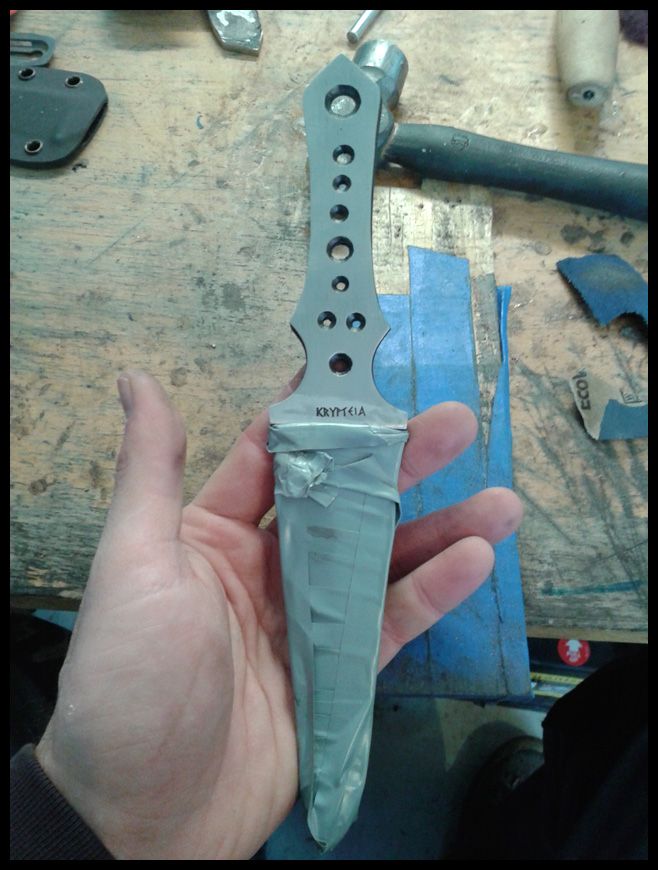
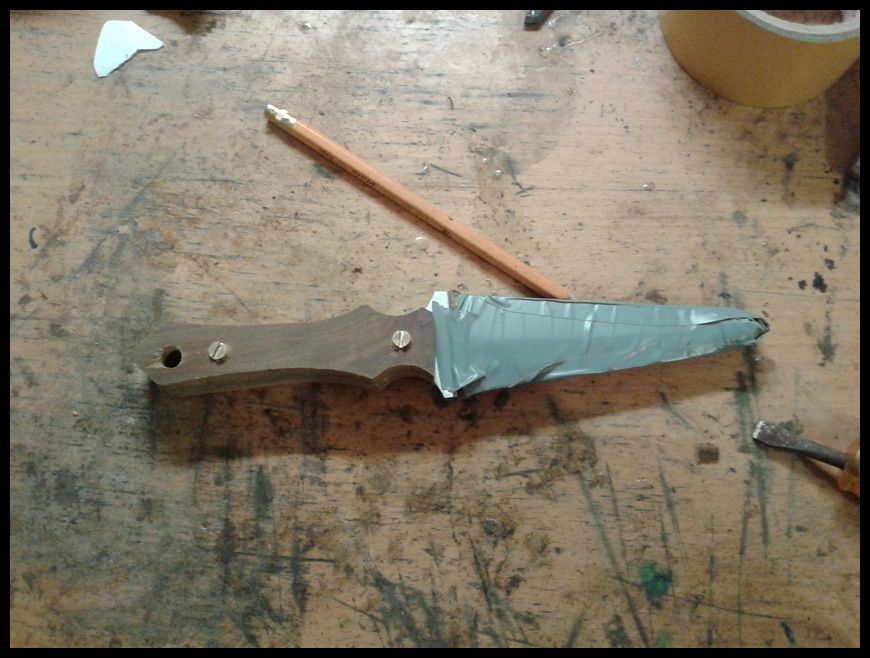
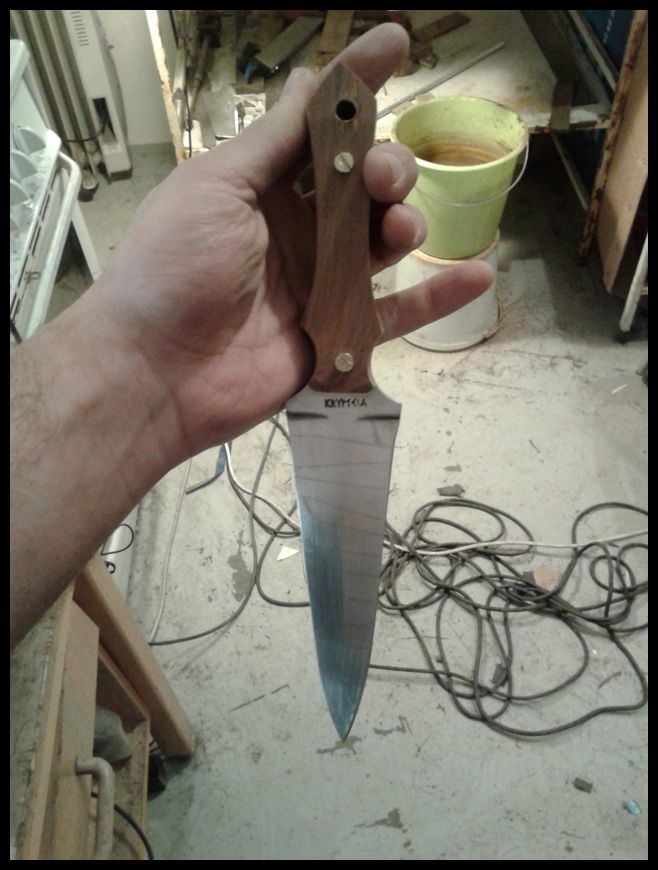
After this we go to scale preparation I also sharpened the one side to test the hardening of it
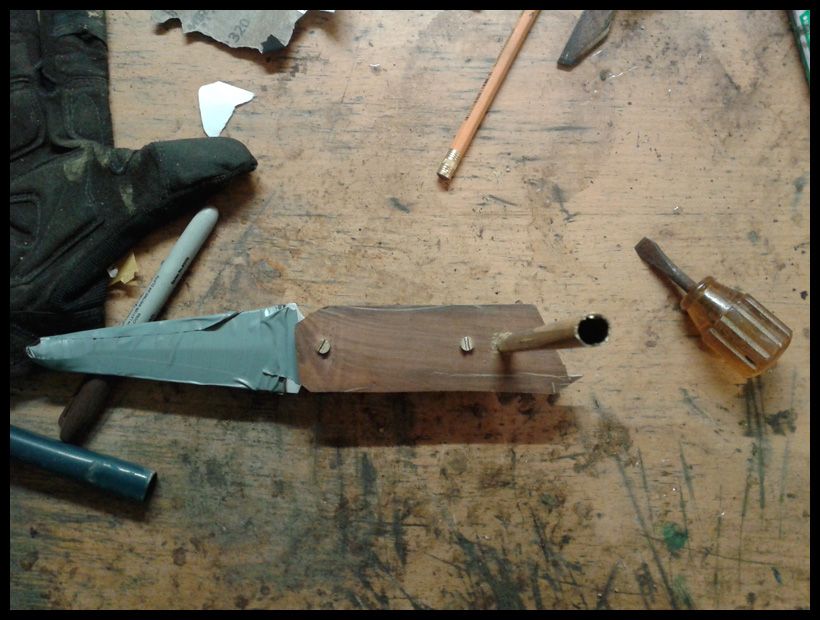
Rapping with duck tape all the blade to avoid unpleasant scratches also before i tape it i usually clean it with cotton and aseton
Now i check if the scales are flat with the handle
After i am pleased i puting double side tape so i can stick the handle on mark the holes etc and profile draw the handle
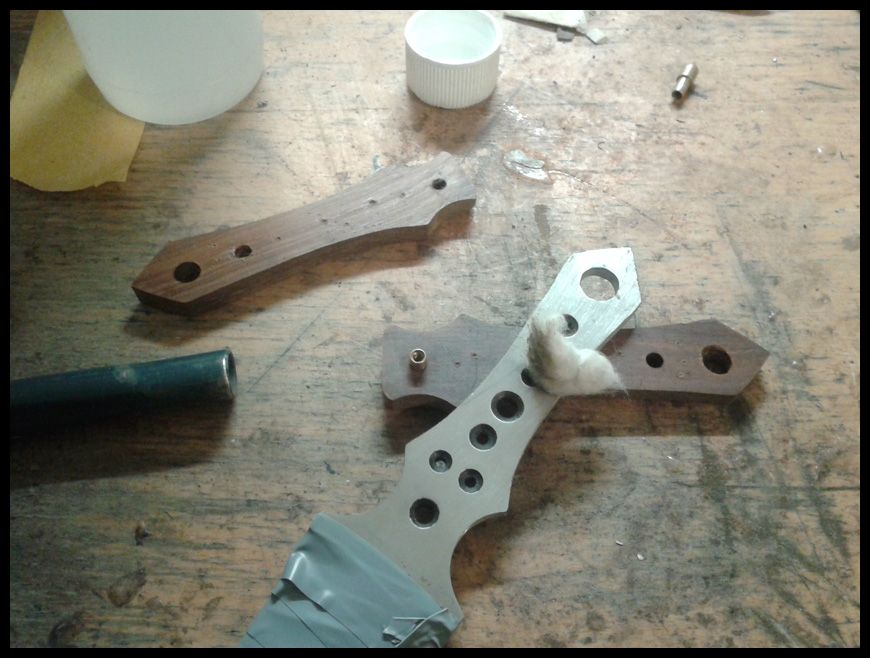
AFter im done with this i take it to drill the holes,keeping the blade on the handle.
Of course i drill the corect sizw just a little bit , just to make the hole for the drill bit. Otherwise if i go all the way through ACCIDENTS might happen
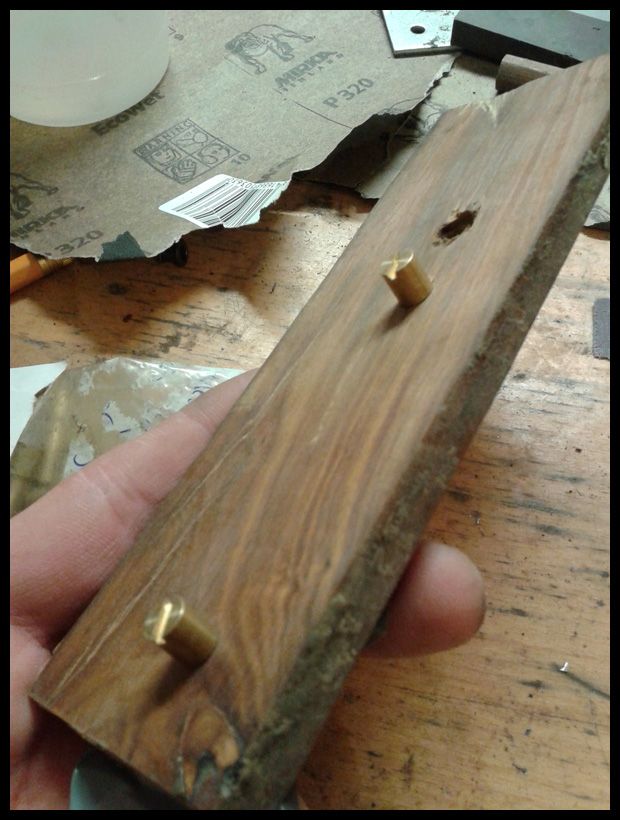
As you i am using corby bolts
Also alwasy check the drill before
After drilling i go slowly and always checking the deep for the corby bolts
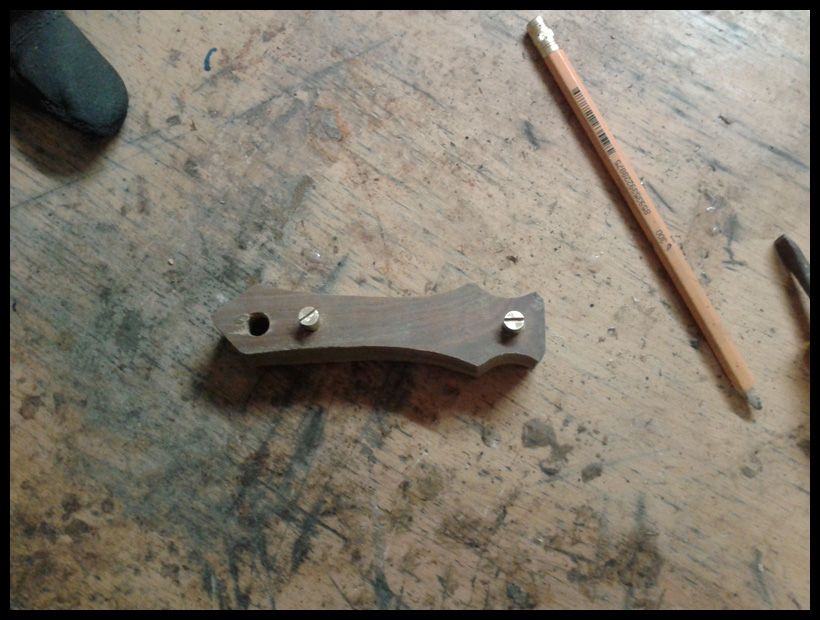
After i am happy i start cutting the scale close to the profile
And we get this
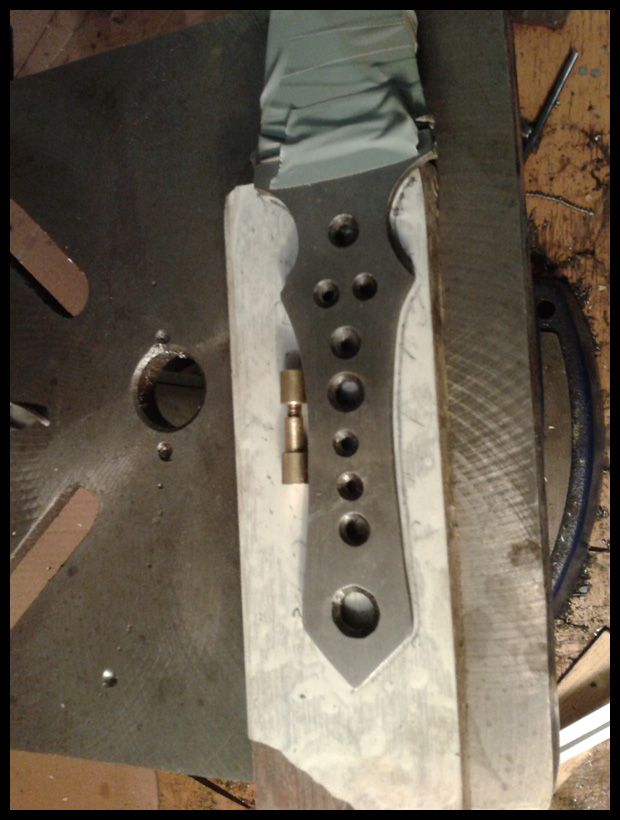
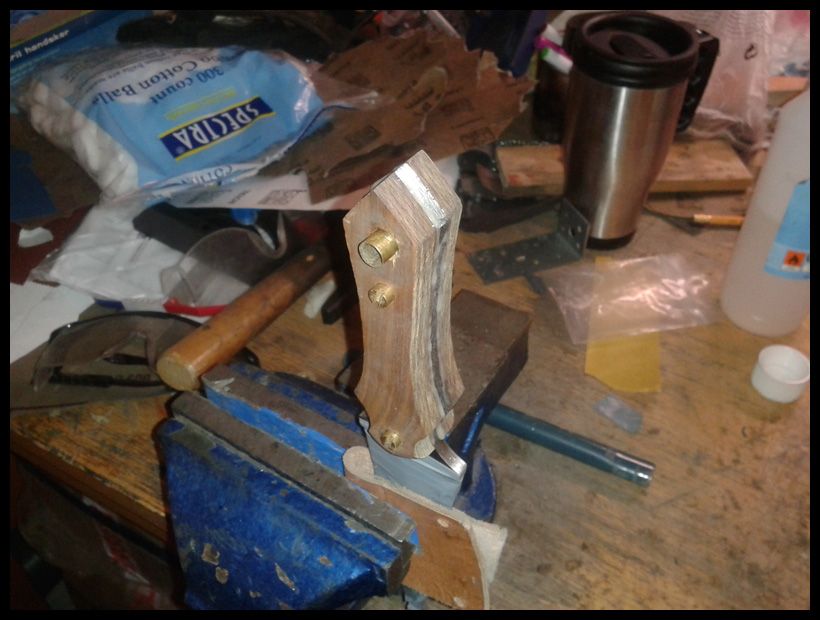
Then i clamp the scales together to fix the "bolster" area
After i am done i'm sanding to 1400 grit so it can be ready to glue.Otherwise if i glue it no sanding after
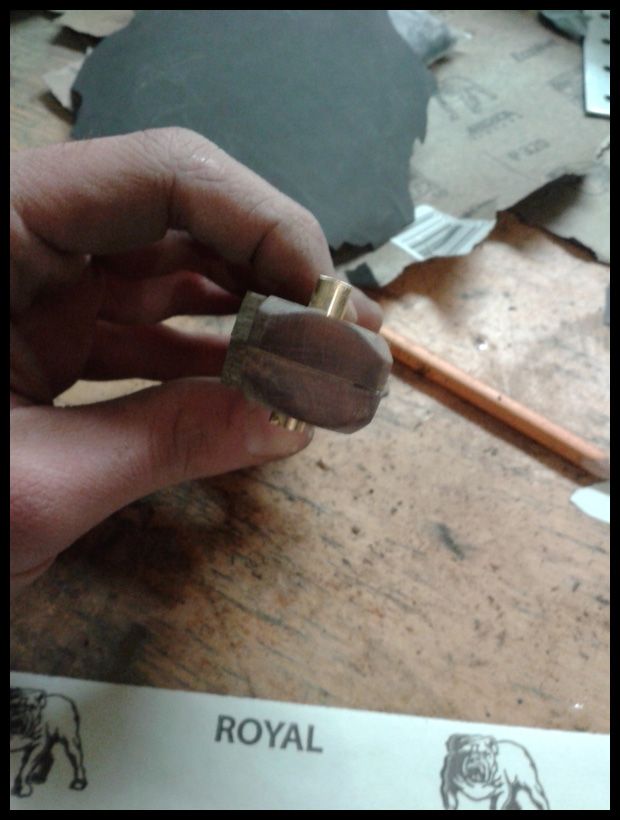
An idea of it
Now its time to glue it . First of all i have the handle in 80 grit and the scale.So it can be rough and the epoxy to stick much better.
Before adding the glue i clean them with acetone
And here we are I let it dry for 24 hours before start sanding it
And after is glued i start sanding it slowly with rough belt and cold water next to me so i wont over heat the epoxy.
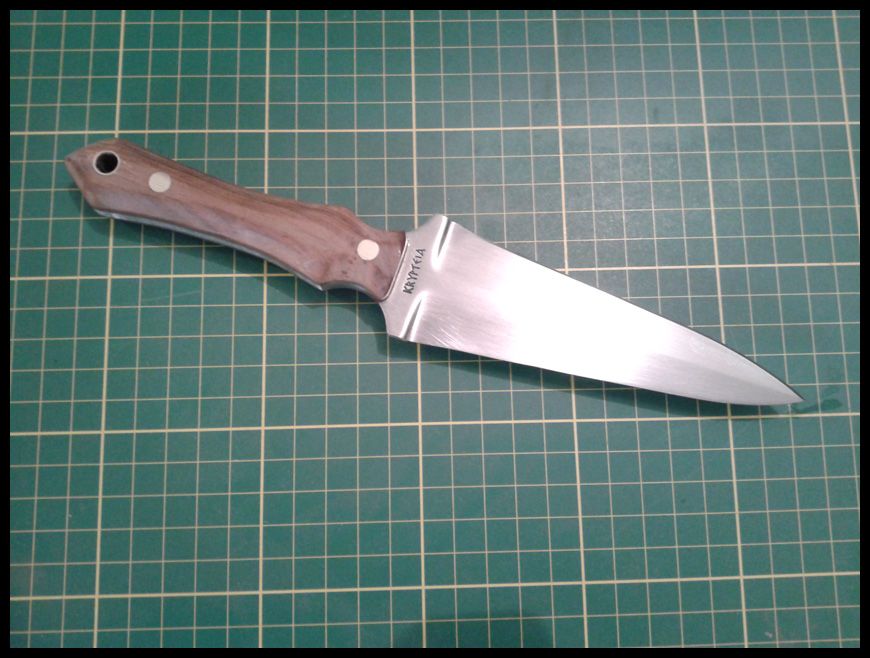
And we get those results
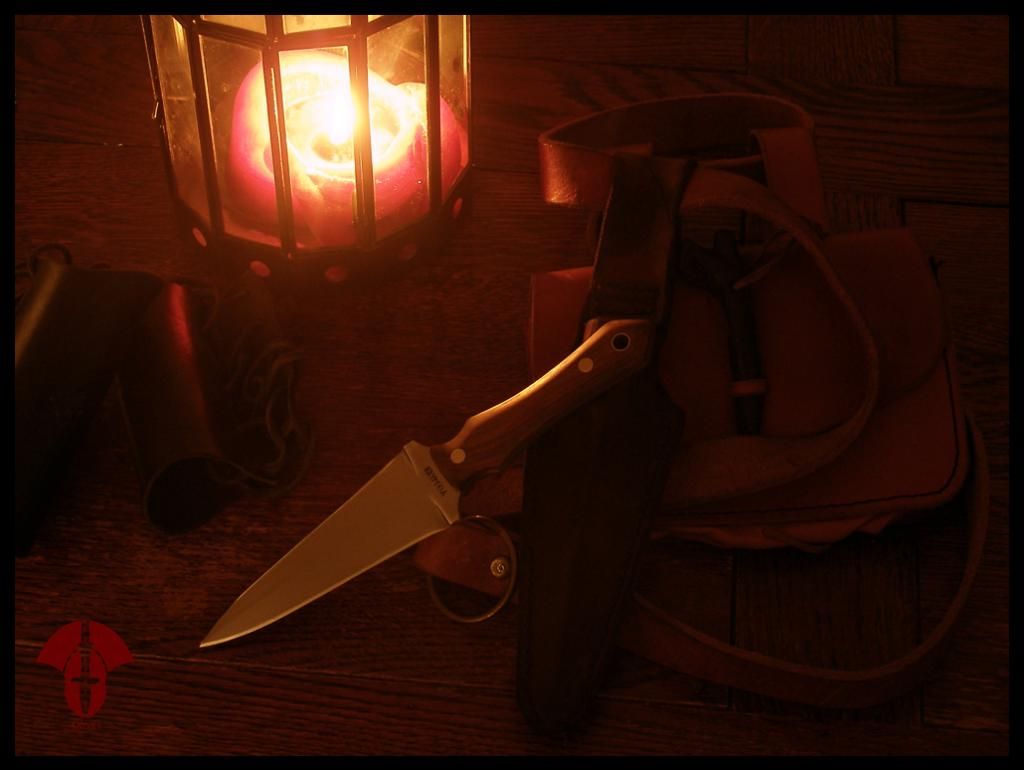
Every comment and critism ideas are welcome!
Thank you for looking and if i am missing something plz free to ask
Vagelis
The steel i am using is O1 .
I start first with transfering the image to the steel.I used the spray glew to attach the print.
After using my angle grinder to cut as much steel as i could.
Then took it to the grinder and profiled it with a 40 grit belt and got this result
Before i drille the holes i attached the logo with the press but i forgot to take a picture of it.I did the main holes only so i can have an idea of the weight of it after the grinding
Now i was marking for the grind i used the tape to get the midle from the tip to the top .Did it for both sides.Hope that you understand what am i doing
After i did free grinding i got this result . I used 40 grit belt
Now its time for traditional hand rubbing before HT and also to make the lines straight when i get some time
Ok handrubbing before HT .I finished till 120 grit.And the reason was i was out of sand paper and i was bored waiting .Better to finish it to 320 grit.
Much easier after + ready for HT
[video=youtube;vXfIkI9aRa0]http://www.youtube.com/watch?v=vXfIkI9aRa0[/video]
HT is done and here it is
Now hand rub again i start with 80 grit i find it easier for me and the lovely wd-40 and i finish to the point i want this is done 800 satin
After this we go to scale preparation I also sharpened the one side to test the hardening of it
Rapping with duck tape all the blade to avoid unpleasant scratches also before i tape it i usually clean it with cotton and aseton
Now i check if the scales are flat with the handle
After i am pleased i puting double side tape so i can stick the handle on mark the holes etc and profile draw the handle
AFter im done with this i take it to drill the holes,keeping the blade on the handle.
Of course i drill the corect sizw just a little bit , just to make the hole for the drill bit. Otherwise if i go all the way through ACCIDENTS might happen
As you i am using corby bolts
Also alwasy check the drill before
After drilling i go slowly and always checking the deep for the corby bolts
After i am happy i start cutting the scale close to the profile
And we get this
Then i clamp the scales together to fix the "bolster" area
After i am done i'm sanding to 1400 grit so it can be ready to glue.Otherwise if i glue it no sanding after
An idea of it
Now its time to glue it . First of all i have the handle in 80 grit and the scale.So it can be rough and the epoxy to stick much better.
Before adding the glue i clean them with acetone
And here we are
I let it dry for 24 hours before start sanding it
And after is glued i start sanding it slowly with rough belt and cold water next to me so i wont over heat the epoxy.
And we get those results
Every comment and critism ideas are welcome!
Thank you for looking and if i am missing something plz free to ask
Vagelis
Last edited: