Gents liner lock WIP

BossDog

KnifeDogs.com & USAknifemaker.com Owner
Staff member
This WIP will be slow. It's going to start out as an entirely hand made liner lock. Once I make a few and like the design, I'll move it over to CNC.

I am looking to make a slim, small gents liner lock with bolsters. I have not even looked at what the pocket clip will be. That can wait.
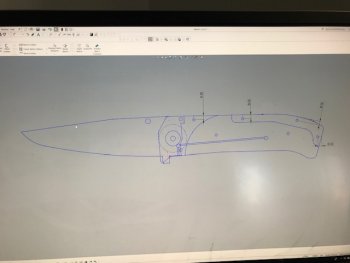
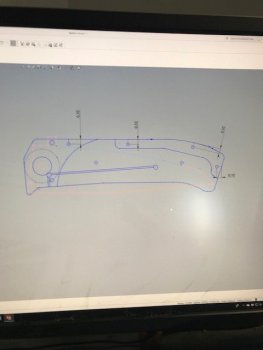
I start off with Solidworks and draw up the knife.
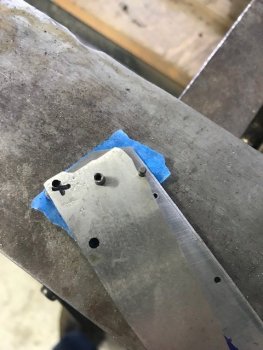
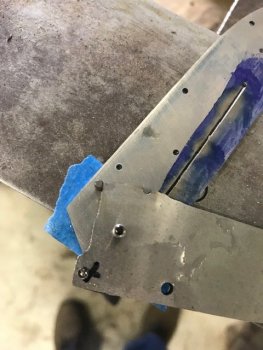
I've already planned on a 1/8" pivot and 1-72 screws so those are drawn to scale for the through holes. You should be able to see two square tabs on the blade. One by the stop pin, the other on the cutting edge. These will be used to drill through for setting the stop positions in both open and closed. After the positions are drilled, most of these tabs are ground away.
IMG_4032.jpg

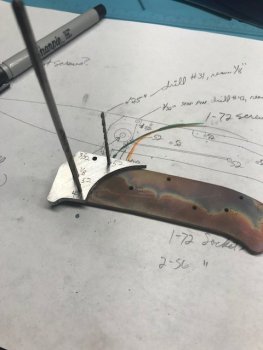
You can barely see the blade since it turned pink on the screen when I rotated the blade to see how it will fit in the closed position.
IMG_4034.jpg

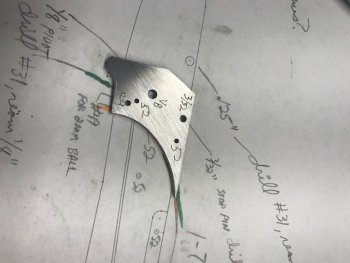
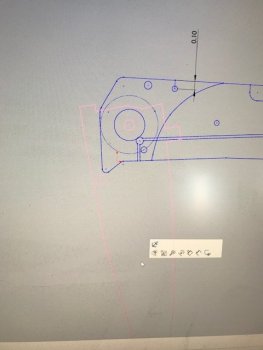
Here I check the clearance for the thumb stud in half closed position.
IMG_4033.jpg

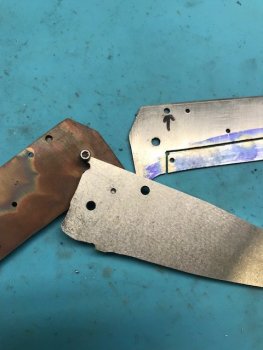
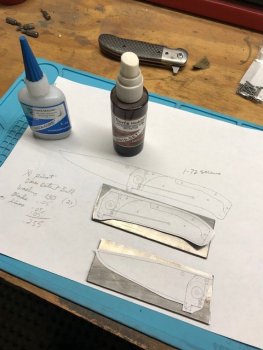
I printed out the drawings actual size. They are glued to some clean AEBL (.125" thick) and I will used these as drill templates/patterns. It's much better to make a drill template for the time you you need to make another part. I'll show how it's used later. These templates will be fully hardened when I have them done. I don't make a template for the back spacer bar. I just use the liner pattern for that.
IMG_4029.jpg

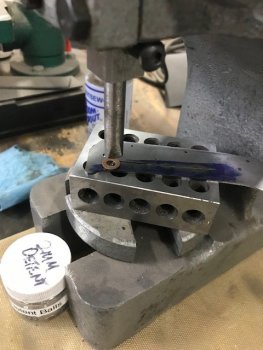
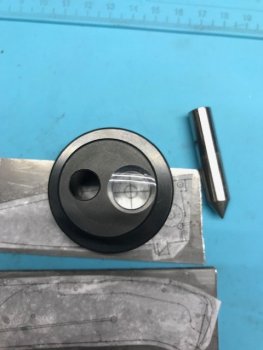
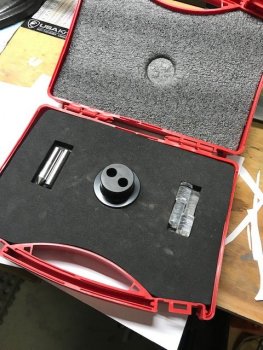
Here I am using an optical punch to center punch the drill holes more accurately.
IMG_4030.jpg

These are available at Grizzly tools for around $50 and are awesome to use when you want your holes located as closely as possible to the drawing.
IMG_4031.jpg

And here is a picture of my one day old grand daughter Adaline, which now makes me a grandpa.
IMG_4023.JPG
 

Attachments

  • IMG_4023.JPG
    IMG_4023.JPG
    63.9 KB · Views: 4
Nice start I will be following along as I have a some liner locks planned.
Congratulations on the little grand baby.
 
Congratulations Tracy on your Granddaughter...she'll have you wrapped around her finger in no time.

And nice start on the folder.
 
Congrats on your granddaughter!

That optical center punch looks super handy. I'm assuming you spot your hole with the crosshair then pull that piece out and put your punch tip in its place (same precision fit as the optical tube) and give it a tap?

Thanks for showing that.
 
I definitely need one of those optical center punches. My mark never ends up exactly where I want it. Congratulations on the Granddaughter!
 
Congratulations on the new addition to the family!

My optical punch was delivered yesterday. Great for us blind guys.
 
Congrats on your granddaughter!

That optical center punch looks super handy. I'm assuming you spot your hole with the crosshair then pull that piece out and put your punch tip in its place (same precision fit as the optical tube) and give it a tap?

Thanks for showing that.

exactly correct.
 
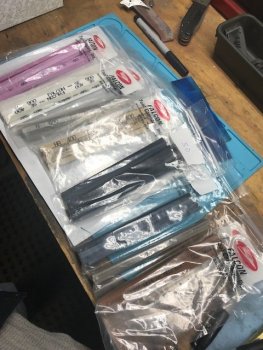
The sampler assortment of polishing stones came in from Falcon Tool. They were around $60 shipped. I think it's a good deal and I'd recommend giving them a try.
IMG_4050.jpg

I had to make another drill template this morning. This one will help shape the bolster and scale profile. Here it is pinned to the liner template to make sure I didn't bugger it up. I used the wrong size drill bit on the first one and had to remake it. This 1/8" pivot and 1-72 screw business is hard to track when I've used 3/16" pivots and 2-56 screws for so long. I remember now why I do. 1-72 screws kinda suck.
IMG_4049.jpgIMG_4048.jpgIMG_4047.jpg

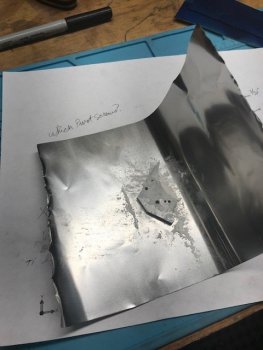
into heat treat for this little bolster drill template. I sprinkled plenty of talcum powder on it. I've had too many parts stick to foil in the past with out it.
IMG_4051.jpg
 
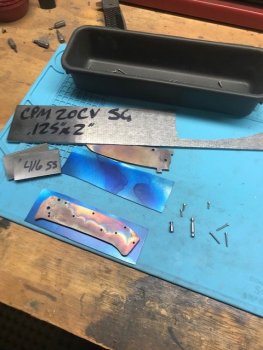
Some of the materials and parts I pulled together.
416ss for the bolster. I'm going to try and do some engraving on them. I've got a full setup and have practiced but I'm pretty rusty. Good excuse to get back into it.
The blade is thicker than I want. I'd like to be in the .100" thick range but lets see if I can hit this lock up first.
The liner drill template is out of heat treat and laying on some .050" Ti

IMG_4044.jpg

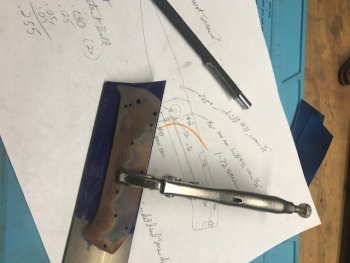
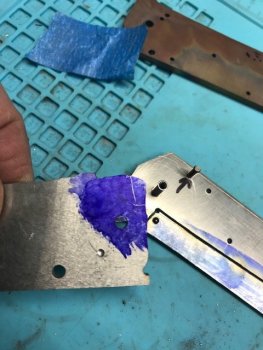
In use the template is clamped onto the material. I use blue dykem but a black sharpie works also. I scribe around the edge - deep. I know the Ti will turn brown as I grind the profile and the deep scribe marks will still be visible. With out removing the vice grip, I dill the holes.
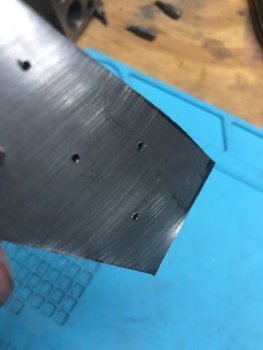
The pivot and stop pin are full size (1/8" and 3/32), so I have to chuck a 1/8, lightly drill it enough to leave a small divot. Then I drill the hole .005" to .008" undersized and ream to size. You don't gain much by drilling and then reaming with the same size tool. Reamers are made to finish an undersized hole to size.
IMG_4045.jpg

If you are getting into folders, pay special attention to burrs. These need to be removed often and should not be left in place to drill a neighboring hole or your hole will be crooked as the burr "props up" your work material. I keep a surface plate on my bench with 240 grit paper. A few slides back and forth and the burrs go away.
IMG_4052.jpg
 
The sampler assortment of polishing stones came in from Falcon Tool. They were around $60 shipped. I think it's a good deal and I'd recommend giving them a try.
Boss, I dug around on Falcon's site and I was wondering what do you use these stones for? Sharpening or do you use them like sandpaper in "finishing" a knife?
 
Boss, I dug around on Falcon's site and I was wondering what do you use these stones for? Sharpening or do you use them like sandpaper in "finishing" a knife?

more like sandpaper replacement that can be shaped to fit contours if you need. I think they will also work on flats well as that is how I used them last.
 
Cutting the lock bar. I scribed a line between the two relief holes I drilled earlier at the ends of the cut.
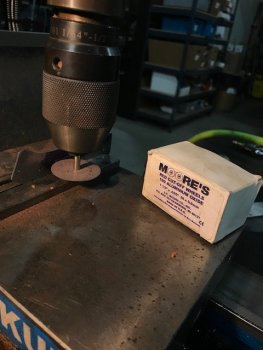
Using these Moores cut off wheels (found on ebay), I cut the lock. If you are careful with these, you will get easily one full cut and maybe two. Hand held dremel discs broke on me all the time. Using this set up helps with that. This can be done with a drill press (fastest speed) and a drill press vise. Go sloooooow.
IMG_4063.jpg

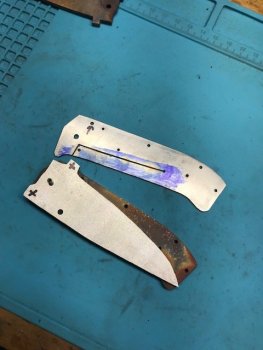
Now it's time to drill the stop pin locations. The tabs (X's) on the blade will mostly be ground away.
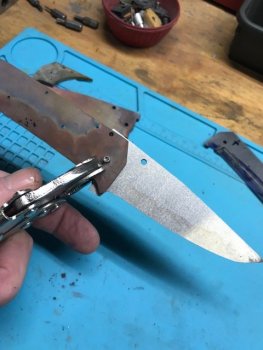
Here the blade is in the closed position. The tip is long and I'll have to take it back a bit. I had Peter Martin suggest the blade tip needs to be as long as possible so I leave them long and grind them back once fitted.
IMG_4067.jpg

Using the drill template, I vice lock the blade into the open position I want and drill through the template. Same process in the closed position. This is by far the easiest and most accurate way I have found to locate the stop positions.
IMG_4071.jpg

I had made an allowance for the thumb stud to open/closed past the front bolster but didn't give it enough clearance in the closed position. I'll have to add a little notch here. No big deal and it might look nice.
IMG_4068.jpg

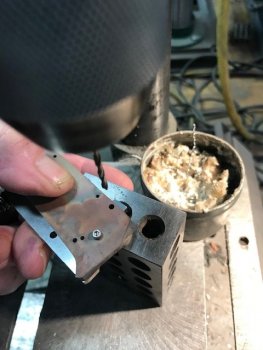
Drilling through the template in closed position. The little tin in the back ground is Tapamatic wax. It's awesome to use as a drilling lube. Just plunge your drill bit into the wax and drill. I also use it to cool off a hot drill bit during or after drilling to help hold the temper.
IMG_4069.jpg
 
I scratched in where the lock face needs to be on the blade. Not pictured but I use my vice grips and clamp the blade on the liner with pivot and stop pin in place in the open position and scratch it in using a utility blade.
IMG_4089.jpg

I have been trying different lock face grinding setups. This one seems to be the most repeatable for me so far.
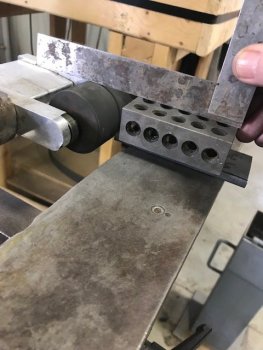
Using a 2" wheel I set the work table .25" of an inch below the apex of the wheel. The wheel is 2", the 123 block is 1" and the extra piece below that is .25". Using a square, I set the table height across the top of the wheel.
IMG_4091.jpg


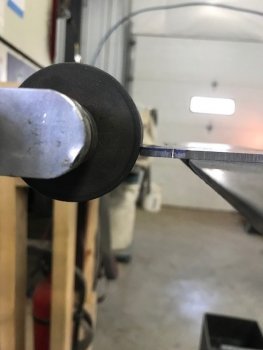
Looking close, you can see the blade is below horizontal center by .125" since the blade is about .125" thick and we lowered the table to be below by .25". Your set up may be different but it's a place to start. The advantage of using a wheel instead of a flat platen is you get a very slight convex surface on the blade lock up face. It's tiny but you will see a difference in how it locks up and wears.
IMG_4095.jpg
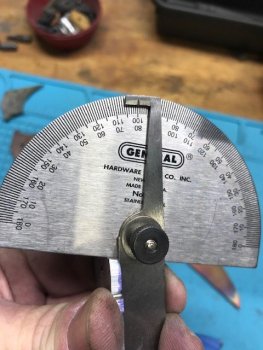
Here I check the angle of the grind and it's about 9.5 degrees.
IMG_4096.jpg

I stopped just short, by like a thou or two. I want to be able to assemble it and test it before I go further. I do this as a practice now. Assembling both liners with washers and a space bar will move the lock up, sometimes the wrong way and you need to make a new blade. Been there about a million too many times.
IMG_4098.jpg

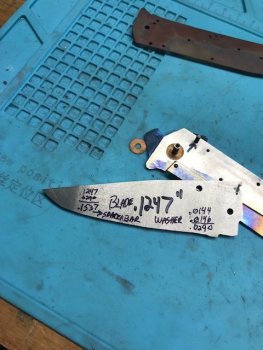
Here is my spacer bar math.
IMG_4099.jpg

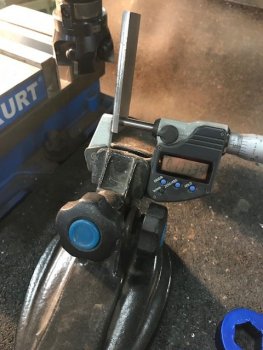
measuring some 416 stock for the space bar. A micrometer that goes down to at least .0005" helps. The thing holding it is called an anvil.
IMG_4102.jpg

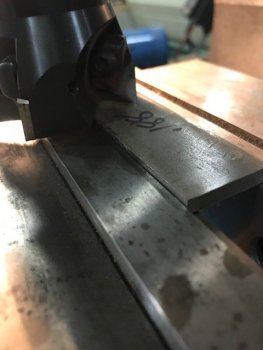
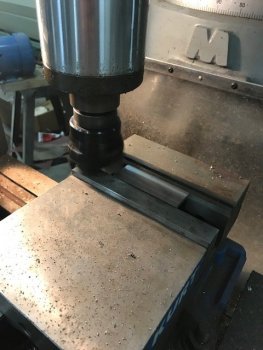
I am using the mill to take off some extra before I go to the surface grinder to walk it in. I went too far on the first piece and had to make another one.
IMG_4101.jpgIMG_4103.jpg

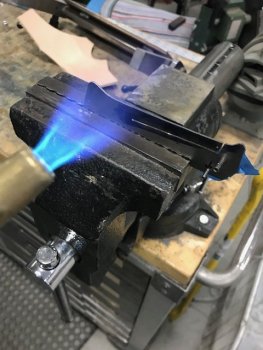
I normally don't heat the lock bar to move it but the liner is only .045" and I didn't want to bend a warp in it. A little heat and very slight pressure with pliers is all that is needed. Holding the pressure with pliers in the bend direction, heat until it is cherry red. The Ti will suddenly soften up and move very easily into place.
IMG_4090.jpg
 
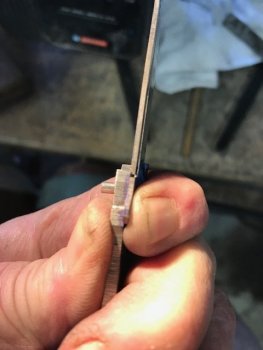
I am using 2mm ceramic detent balls. The liner is only .045" and the 2mm balls are around .077" so I had to press it in with a hole underneath or the ball would stick out .035" - too much. Using a .020" washer as a "kiss block", it sinks in to around .023" proud.
IMG_4087.jpg

Jumping around but this "middle part" is all little jobs and order isn't always important on each step.
Here I've drilled the stop pin holes in the blade using the drill template. Also I ground off the excess around the closed position so you can see the closed position is now set. Easy peasy.
IMG_4078.jpg

Here the stop pin interferes with the very bottom of the lock face on the blade. The blade is slightly oversized in the profile so no worries. I just grind it back enough to clear with opening and closing. This is the lock face we are shortening so just grind it back enough.
IMG_4077.jpg

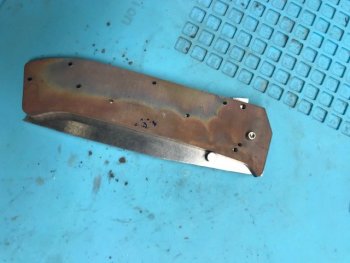
Here is the blade tang with the stop pin tabs all ground back.
IMG_4082.jpg
 
Back
Top