You are using an out of date browser. It may not display this or other websites correctly.
You should upgrade or use an alternative browser.
You should upgrade or use an alternative browser.
Checked stabilized burl repairrr
- Thread starter JawJacker
- Start date
Kevin Zito
KNIFE MAKER
I tried super glue before, and it worked quite well!
EdCaffreyMS
"The Montana Bladesmith"
I choose to use the super thin variety of super glue...... I learned the hard way NOT to use accelerator on the glue when filling any voids.....it causes the cured glue to have a "milky" appearance. With that in mind, it often takes 2-3 days of filling a void, allowing it to cure naturally, then refilling again, and sometimes again after that.
C Craft
Well-Known Member
Late to the party again but I always fill voids with epoxy, mixed with color or dust from the offending wood! Mixed right I will guarantee you ain't gonna know the void is there! There are voids in almost any wood. When I made cabinets and custom furniture I have filled large voids and made then look like the grain or a knot!!
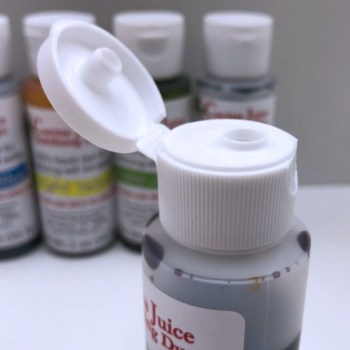
For mixing the color to match I have used oil based paint, model paint, stain, but remember you only need a drop or two. I have never had a problem with any of those sources for color match. However I switched to this colorants from Cactus Juice site!
https://www.turntex.com/product/cactus-juice-resin-and-dyes/2-oz-dye-detail
The reason I switched is you can also mix colors to get that hard to get color!! You can also buy these at craft stores, Hobby lobby, JoAnns, Wallyworld, etc. !!


bodam
Well-Known Member
The one thing I've noticed when mixing dyes or colors to your epoxy or glue, is to use a very small amount. it doesn't take much. If you use too much color, you essentially "dilute" the effectiveness of the epoxy or glue.
I take a toothpick and just dip it in my color and use the toothpick to stir the epoxy. That usually gives enough tint and doesn't seem to effect the integrity of the epoxy, etc.
I take a toothpick and just dip it in my color and use the toothpick to stir the epoxy. That usually gives enough tint and doesn't seem to effect the integrity of the epoxy, etc.
Smallshop
KNIFE MAKER
Umm...I gonna have to say that the BEST method is the one that Ed shared.(not trying to put him on the spot...lol) Not the first time he shared it btw. A couple years ago he was explaining it to someone so I tried it on some of the wood that had checks in it. THIN cyanoacrylate squeeze a bit into the crack...will go much deeper than epoxy....sand a bit to put dust into the crack...more glue...lather rinse repeat. I even tried it on wood with deep pores and it works. you know...when you want the reflective car paint job style finish you gotta fill them pores. Thick super glue or epoxy will "bridge" the gap too soon. So cosmetically it will look nice but you haven't really repaired the weak spot...the thin super glues and dust build slower and cements it all together. You have perfect color and perfect bond because you are using the EXACT SAME MATERIAL for both.
I know there are a lot of ways to skin the proverbial cat...try what Ed suggested just once. If done right you will not notice the crack at all....if you can see it ...it will look like grain.
I haven't tried it on holes...like in burl wood but I'd bet it will work fine.
I know there are a lot of ways to skin the proverbial cat...try what Ed suggested just once. If done right you will not notice the crack at all....if you can see it ...it will look like grain.
I haven't tried it on holes...like in burl wood but I'd bet it will work fine.