Etching Vs.Stamping??? what do you do??

Battle Creek Knives

Well-Known Member
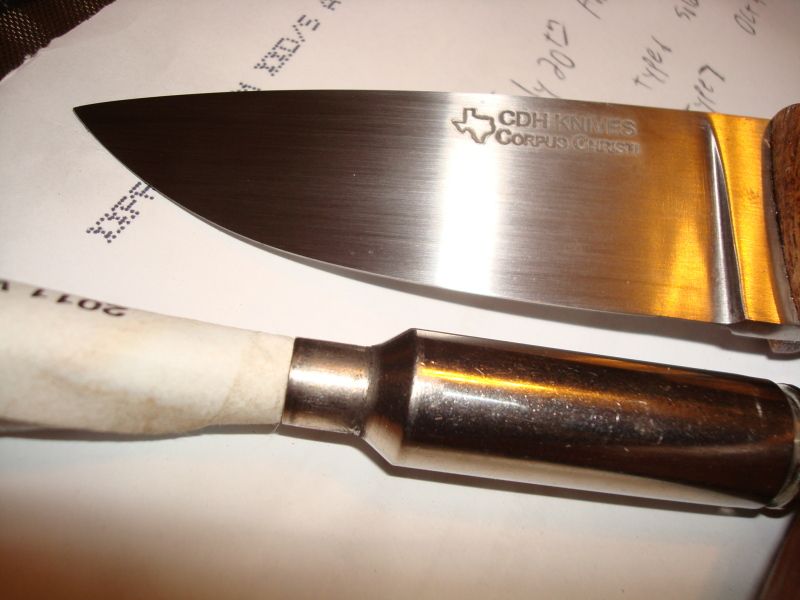
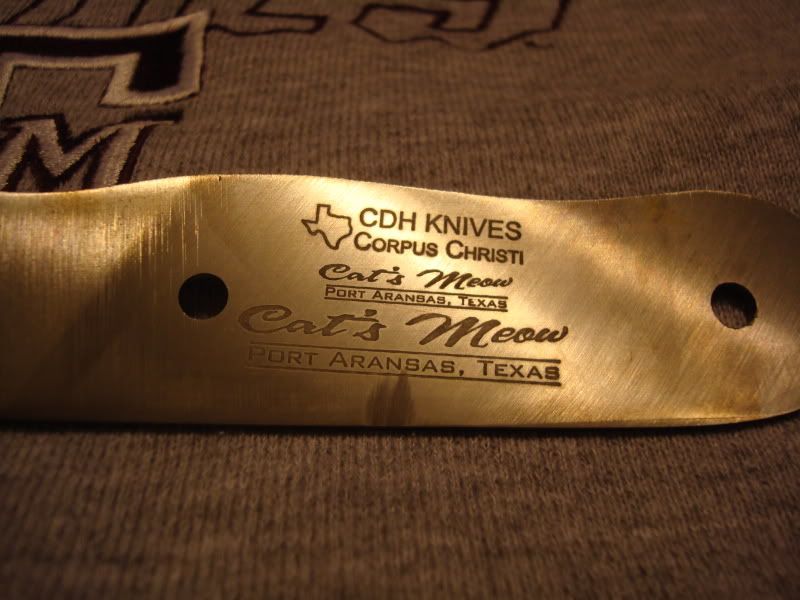
I was curious why some etch and some stamp.. personally all I've done is etch, but I've seen others stamp theirs and it only took a WHACK !! while I sit and line up my stencil and go through the whole etching process...

stamping just seems faster.. and I'm curious why have you chosen one over the other???
 
Hmmm? As far as I can tell, Stock removal Makers Etch, And Forgers stamp for the most part. I know there is lots of cross over.

I met and listened to the departed Bob Loveless one Saturday afternoon about 10 years ago where several of us were sitting with him in his Riverside Shop behind his home.

The gospel he spoke on this issue was that when using Modern Stainless Steel like ATS-34 that it was best to etch your logo because there might be stress risers put into the steel using a Stamp after Heat Treat!

It made some sense to me and being a Stock removal maker that uses mostly Stainless Steel I have continued to Mark/Etch
my logo ever since.
Besides, The other reason is you can have a much more elaborate Etch/Stencil than you can have a Stamp.

Laurence
www.rhinoknives.com/
 
Last edited:
Basically it was cheaper for me to stamp than get everything together to stamp. However, being that you can etch cold, it might be easier in the long run to etch. You don't have to worry about two parallel sides or being to hold the stamp at an angle if forced to stamp on the bevel. Also, If you miss etching before assembly you can always etch afterward. I pretty much have to stamp the blade on the last normalization heat just before hardening. What was a big catch for me with etching is getting a stencil made.

Doug
 
Etching is on the blade and stamping is in the blade - a stamp becomes part of the blade forever.
 
My etching is in the blade. ;)

My design has too much thick / thin going on so stamping it would have been tricky.
 
Either is totally acceptable. I do both. There are considerations that come into play for each method...... I like etching blades that are too thin, or otherwise not well suited to stamping, for example my EBKs and some folders.....on most of my higher end folders I actually engrave "CAFFREY MS" on the inside of the back spacer.

Generally most of my forged blades, and my damascus blades are stamped.....at least the "straight knife" variety.

Either method requires some practice, but I think both have their place(s).
 
Either is totally acceptable. I do both. There are considerations that come into play for each method...... I like etching blades that are too thin, or otherwise not well suited to stamping

Generally most of my forged blades, and my damascus blades are stamped.....at least the "straight knife" variety.

Either method requires some practice, but I think both have their place(s).

I agree with Ed.
Generally speaking with an etch the logo tends to be more detailed or complex often containing a pictogram of some sort. Stamps seem to be more suited to less complex marks, such as name and city.
 
I use to stamp all my knives . Made a little press to press the stamp in . I forge and taper the tang and blade so when I used the press more times than not I would bend the knife and it would drive me crazy so I started etching instead it seems much more consistent. also never seemed to get an even stamp.
 
Stamping is >1/32" deep and most definitely in the blade. I have not seen any etching process that etches that deep. I don't think most etching would withstand a scotchbrite belt for long.

IMG_1574a.jpg
 
Last edited by a moderator:
Just lik Ed it depends on the knife..Id rather stamp if I could but some thinner sections dont lend well to it..Then we etch..
 
My etching is most definitely IN the blade...about fingernail thickness in depth more or less. I do it before the last 1 or 2 hand rubs on the matte finish, as this removes any hint of ghosting and sharpens the edges. It most assuredly will not come off with a scotchbrite belt! Trust me...I have tried to remove a messed up mark and the blade was quite ruined due to the depth required to get it out.

There is etching, and there is marking. Using an electro-etcher+stencil on AC mode marks the blade with a black image of the logo, and this comes off right quick with any abrasive. No significant depth is achieved with this, but it is quick. Using the same setup on DC removes metal in a controlled and semi-predictable fashion. How deep you go is up to the user, but getting it as deep or deeper than a stamp is no problem. It just takes time...and minutes, not hours.
 
Interesting. Do you lose detail the deeper you go or does detail and resolution remain constant? Any pics?

Jeff

I use the same method, the deeper you go the better the detail...to a point. I mark deep enough that it cant be ground off, several thousandths deep and like CDH I do it just before final hand rubbing. This makes the edges of the mark very crisp. The biggest reason I etch is because it is what was available to me when I first started and I have gotten used to it.
Here are a couple of examples both of these marks are several .000s deep. I could take them deeper but run the risk of burning up stencils too fast.
kith.jpg

104_1132.jpg
 
Thank you. Classic designs - nice work.

I use the same method, the deeper you go the better the detail...to a point. I mark deep enough that it cant be ground off, several thousandths deep and like CDH I do it just before final hand rubbing. This makes the edges of the mark very crisp. The biggest reason I etch is because it is what was available to me when I first started and I have gotten used to it.
Here are a couple of examples both of these marks are several .000s deep. I could take them deeper but run the risk of burning up stencils too fast.
 
I find etching very crisp - like Sean I give it another rub over after after etching to take off any rounding.
 
I went a little deep on this one, and yes that can tend to round off the edges or leave ghosting around the edges.

DSC03291.jpg


Here's some testing...

DSC02580.jpg


All are done with my $20 homemade etcher using a 10% solution of radio shack PCB etch (ferric sulfate) solution. Most of my problem with etching is caused by not keeping the stencil firmly against the blade, letting the etch solution run out and undercut which both rounds off the edge and frosts outside the edge margins (ghosting). Firm pressure helps but doesn't totally fix this problem.
 
Last edited:
I'd like to see your etcher.. typically I just use salt water..
First off, I asked a PhD chemist with electrochemistry experience and he repeated the advise I already had...make the primary ion in your etchant the same as the primary metal in your steel...iron in our case. when I used table salt in water I got erratic etching, mostly outlining the pattern and leaving the center parts of the pattern high. All I switched was the solution and that problem disappeared forever.

Now my cheap etcher:
etcher.jpg


You are looking at a 3 voltage doorbell transformer (giving me the option of 6, 12, or 18 volts, I usually use 12) and a bridge rectifier (free to me as an EE...I had access to a dozen+ at the time but no more) plus some wiring, alligator clip, standard appliance cord, and an etching pad holder made from a block of scrap and a brass plate.

I soldered a big (12 Ga IIRC from household Romex...again scrap) solid copper wire to the brass to give me some corrosion resistance, and the rest of the wire was pair cable. You could use anything from speaker wire to instrument wire (again, scrap I had laying around) from the output of the transformer to your workpiece. If i had a sheet of stainless steel I'd have used that instead of the brass, but the brass sure does solder easily.

Some day I'll put it in a fancy case with a power switch and all, but since I use it maybe once a month that is a low priority project!
 
cdh thanks for the pic.. that's almost as cool as mine.... :D

which btw, is a transformer like that from a cell phone charger with alligator clips on the end.....

It works and etches deep but I need to come up with something else eventually, but I like free... whenever I can get it.. :)
 
Back
Top