First japanese tanto WIP

I think if we thermal cycle it 3 times and then bring it up to quench temp. and requench it it will be ok. It will have to be finish ground again though, so be sure you still have enough thickness to do it. Let me know what you decide.
 
I think if we thermal cycle it 3 times and then bring it up to quench temp. and requench it it will be ok. It will have to be finish ground again though, so be sure you still have enough thickness to do it. Let me know what you decide.
Have yuou done a hammon on 1095 or w2? I think i might do this one as a practice blade seeing how I need to practice the other pieces like habaki but would love to make the trip out there one day and play with some knives. I have family in buckeye and pineville not too far away.
 
Well decided to work on the habaki and see what I can mess up I MEAN LEARN lol.

IMG_0332.jpg


IMG_0337.jpg


IMG_0339.jpg


IMG_0340.jpg


IMG_0342.jpg


Not sure about the whole copper wedge. Seems like my gap is so small it will never fit. Maybe Im doing somethign wrong. This is way harder then I thought lol. Almost like making another knife!

IMG_0344.jpg
 
The small copper wedges are very difficult to do , it takes a while to learn . you are on the right track . Be patient you are doing fine . Bubba
 
Definitely re-heat treat it. You're putting too much work into something to not have it how you like it. No extra thermal cycles needed. Just slap on some clay and have at it again.
 
Definitely re-heat treat it. You're putting too much work into something to not have it how you like it. No extra thermal cycles needed. Just slap on some clay and have at it again.

BOOM! +1... Re-HT is no big deal. Definitely worth it. I'm no expert, but I do work with 1095 and W2 frequently for creating hamons. If a hamon doesn't work, then re-apply clay and go at it again.
 
Im going to try again on the hamon and ordered some thinner copper since the copper I was working with was almost 1/4". Also ordered some copper phosphorus rods to braze the joint with. Will see how this works out! Im actually wondering if I can get a clight bit of curve (i think its called sori) with the heat treat.
 
The sori is created when quenching in water. If you are quenching in oil, you will need to create the sori prior to heat treat.
 
The smaller end of wedge ( Machigani) butts up against Hamachi or the back of bottom notch , then is soldered in place once the habaki is straight and level on blade , its what keeps the habaki tight but, still easy to remove for cleaning and sharpening of blade . I always have trouble with them , One way to eliminate them is to caste the habaki . Occasionally I will get one to fit nice and tight without one , although not too often....... hope this helps
 
Last edited:
The smaller end of wedge ( Machigani) butts up against Hamachi or the back of bottom notch , then is soldered in place once the habaki is straight and level on blade , its what keeps the habaki tight but, still easy to remove for cleaning and sharpening of blade . I always have trouble with them , One way to eliminate them is to caste the habaki . Occasionally I will get one to fit nice and tight without one , although not too often....... hope this helps
I never casted anything but did think about working with a solid piece. No matter what I do tho will be a learning experience!
 
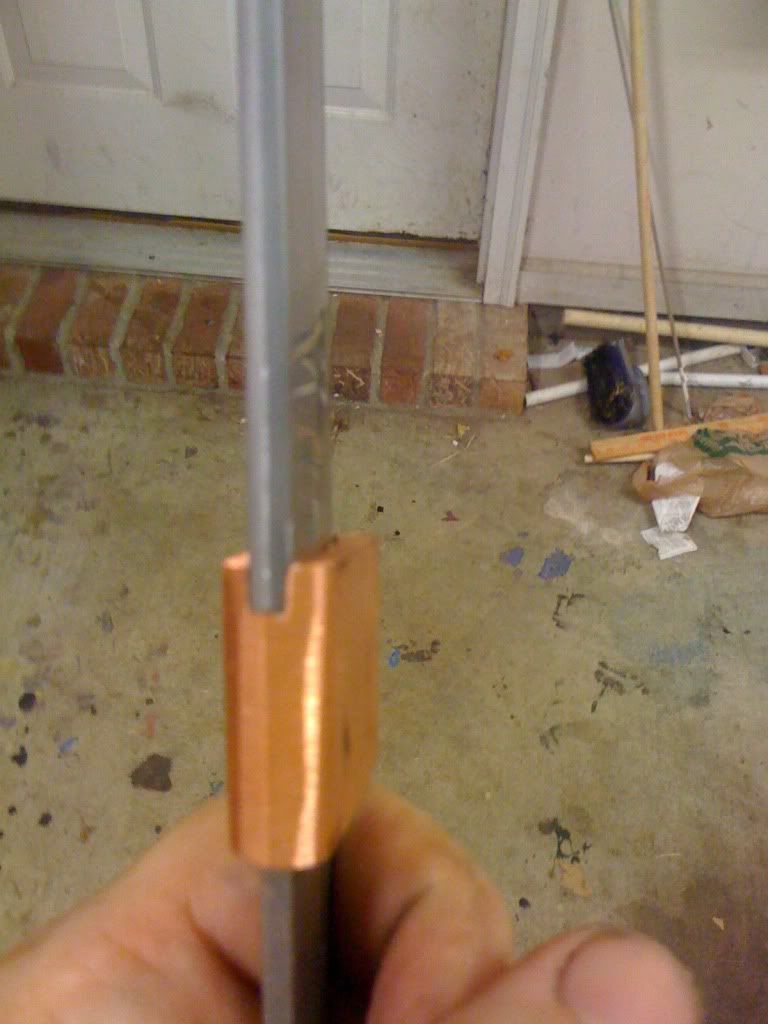
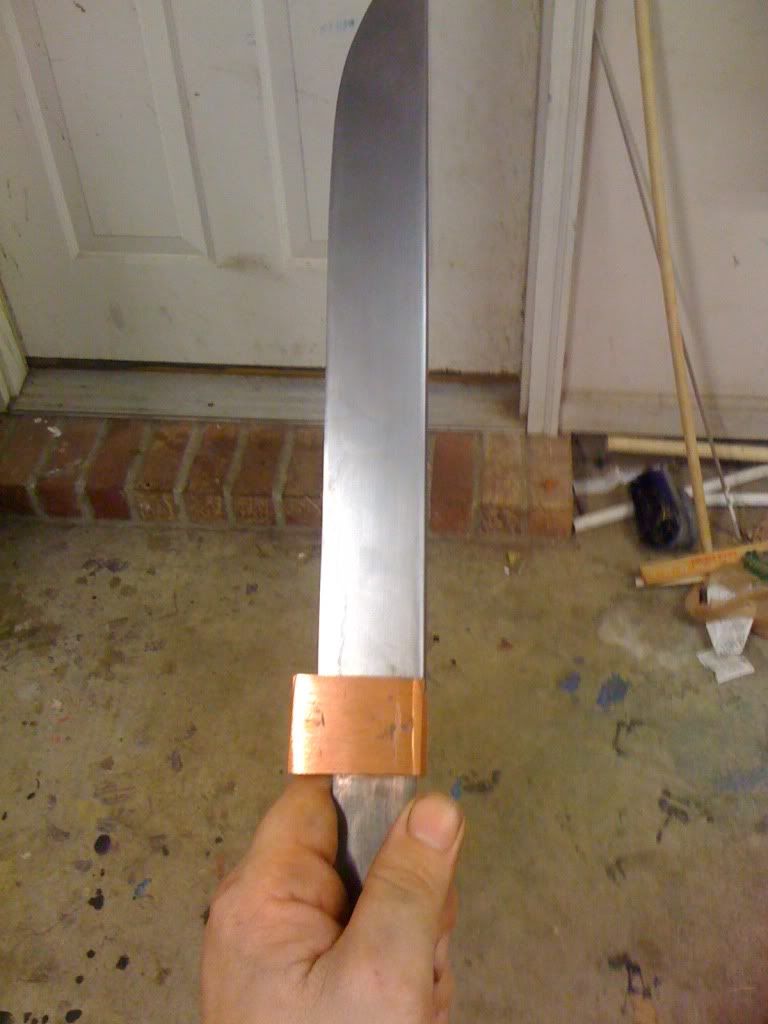
Jesus Hernandez has a tutorial about making habaki on his website.
Pavel Bolf has a good video on youtube about making habaki (he makes one, doesn't talk, just makes one). I have a youtube channel colwellk2 where you can find the habaki making as a playlist.

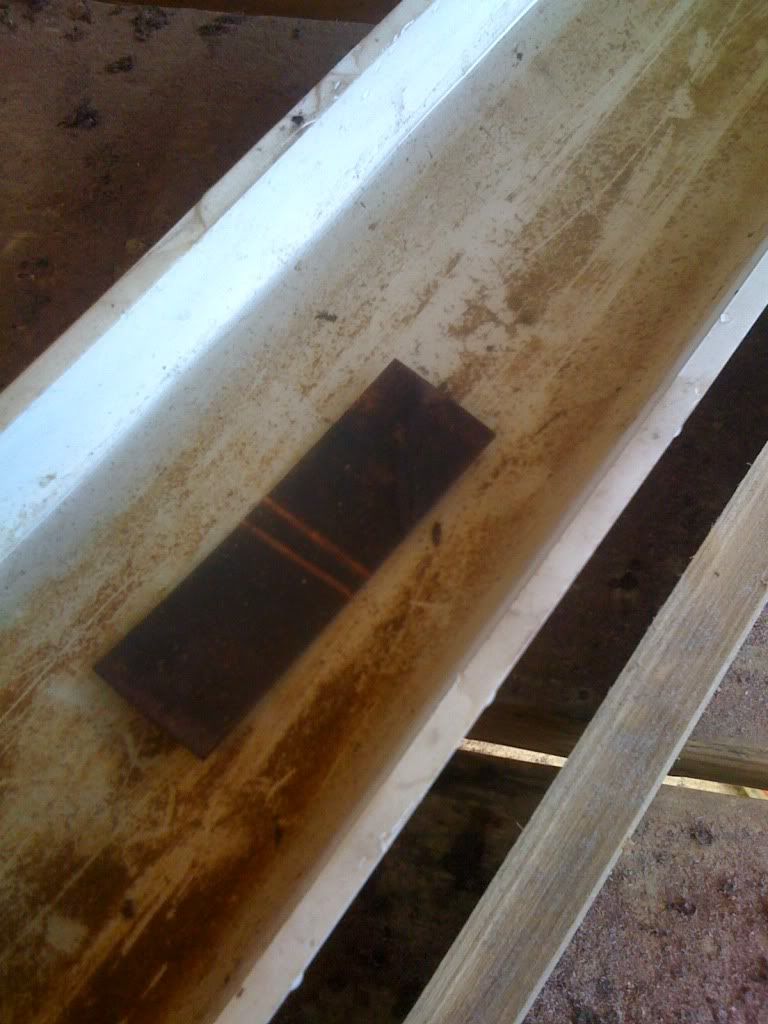
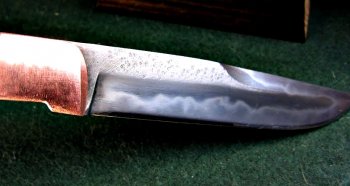
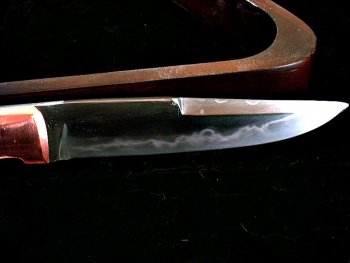
You can reclay, reheat, requench. Just put a light wash of clay (about 1 grain of clay thick) over the whole thing. Then, but a line about a tenth of an inch thick about a third of the way down the blade from the spine. Make it wavy. Then, fill in to the spine with clay the same thickness. Now, put lines of clay in little upside-down v's with the notch of the "v" against the line of clay and the two legs of the v running down to the edge. Put about one of these per inch of blade. Make each of these about a 16th of an inch thick and a 16th to an 8th wide. Put a series of very shallow, very short, very thin lines from the edge up about a half an inch. Put one of these lines about every third of an inch. These will help add activity and help keep the edge from cracking.

heat to non-magnetic, slowly, taking the whole thing out of the forge a couple of times after it turns dull red (in the dark). Go about 75F past nonmag. Quench the blade in hot water from your tap for 3 sec. Take it out and immediately put it into some form of oil (parks, canola, mineral, olive...). I reccommmend those, in that order. Remove from forge, line up so the quench will be straight, quench for 3 in water, quench for 15 or so in oil. Remove and look for bends, you have about 30-50 seconds where you can bend the steel with your hand and a glove. Especially try to get rid of any twists. Since this will have a soft back, you can hammer any bends out later (cold). Twists are the biggest problem, and you can remove them with good gloves if you act before the martensite fully sets. EDITED TO ADD: when you feel the steel setting, put it back in the oil or the hot water. If you are going to let it sit any time at all put it in the hot water. Take it asap and test edge for hardness with file and go straight to tempering oven. If you are brave, you can do the Japanese trick of just running it back through the forge a couple of times to stress relieve/temper. I like more control and use my kitchen oven on about 400-425F depending on length. Longer = hotter. If w2, temper about 10F to 15F hotter.

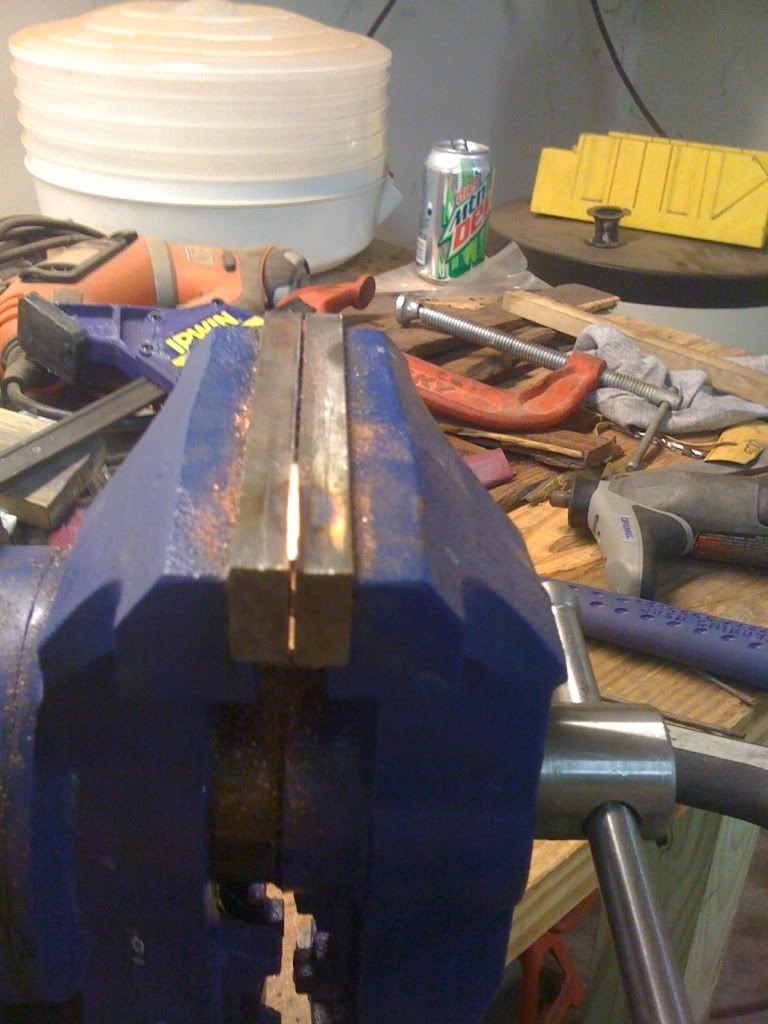
Polishing is even a bigger process. But, this will set you with a good hamon. I suggest the lowest manganese 1095, but even better is w2, and even even better is Aldo's low manganese 1075. W1 and old nicholson files are also quite good. Another of the really good steels is Extra-Improved Plow Steel wire rope. This stuff looks like tamahagane but performs like modern steel. You have to weld it and fold/draw out 4 or 5 times, but it is beautiful with both grain and hamon.

If you want some wire rope I can send it to you. If you need it welded first, I can forge you a billet and draw it out, cut, weld... a couple of times. I will trade for billets or just send you some cable to use yourself in raw form. You have to get the right stuff EIPS and not any of the other kinds.

Hope you don't mind the long answer.
I have been enjoying the process. Thanks for sharing.
Kevin
 
Last edited:
Great info Kevin, thanks for posting. So of all of Aldo's steels you feel his 1075 gives the best hamon activity? I was gonna order some W2 but now I'm wondering if I should get 1075.
 
the difference between w2 and 1075 is small, they are both very, very much better than almost anything else, in my shop with my tools. 1075 is simpler to heat treat, and a little more "shallow hardening" due to lower carbon.

I actually mix the two in billets often to get a subtle pattern. I am trying to make a jian now with Charles Wu and I am mixing the two for a random pattern.

the blade with the triangle visible behind it is a mix of 1075 and w2, the blade without is monosteel w2. (these were not finished fully, I was playing with making hamons and grains in steel so I know there are tool marks still visible. this is before the knives were fully finished. Just wanted to see the steel).

Enough of thread hijacking - lets see some progress on the tanto, man!


kc
 

Attachments

  • IMG_0367.JPG
    IMG_0367.JPG
    66.2 KB · Views: 21
  • DSC01717.JPG
    DSC01717.JPG
    74.4 KB · Views: 19
Last edited:
Kevin is right Aldo's w-2 and 1075 are about the best I have seen . The manganese level is around .20 or so . You can't get any better than that . Thats about the same as japanese folded steel ( tamahagane)
 
Back
Top