First Knife WIP-Round Two

K

KB1SYV

Guest
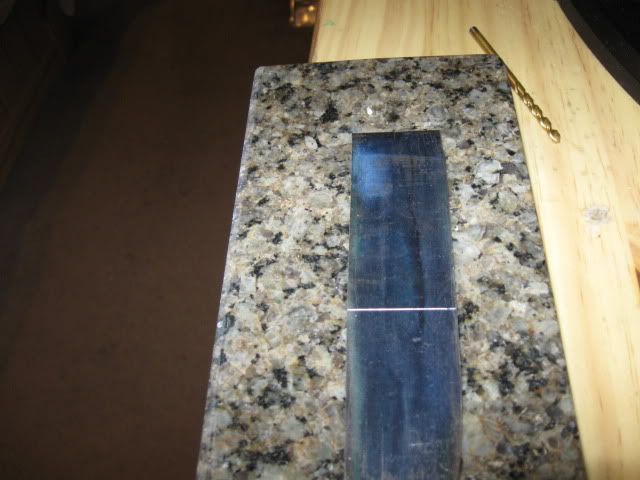
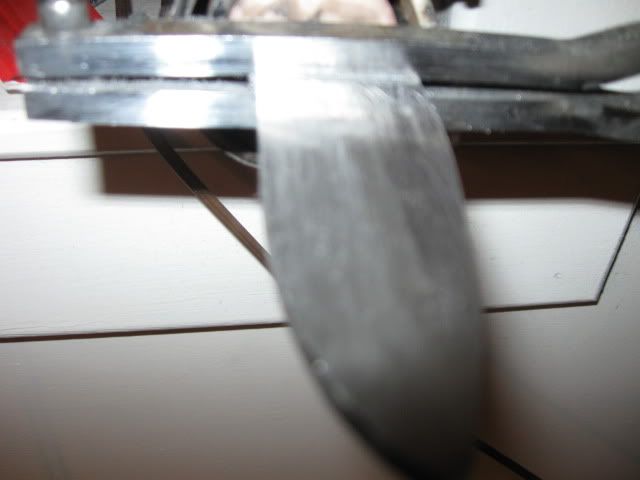
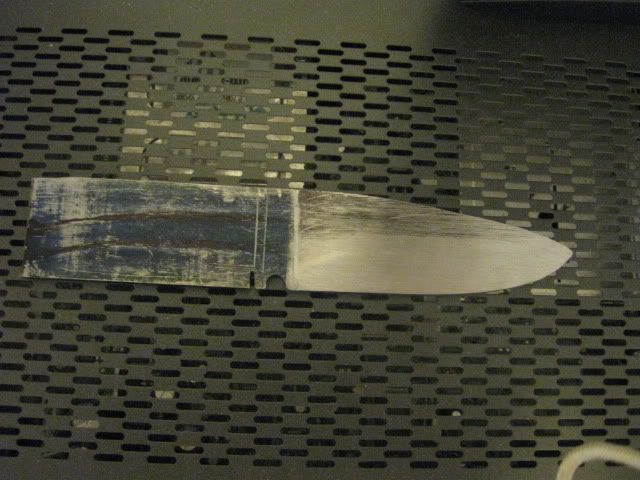
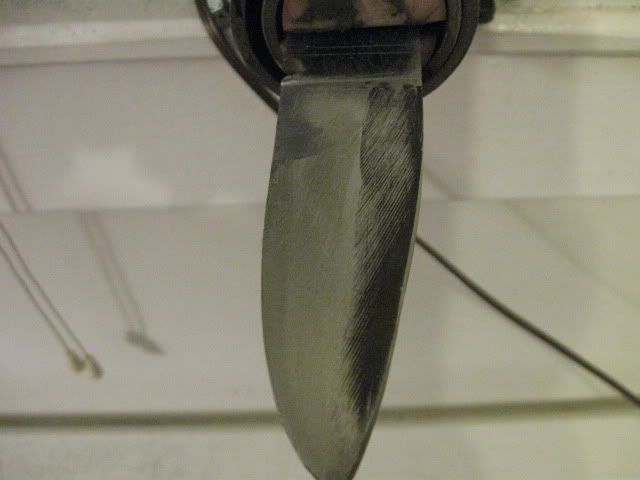
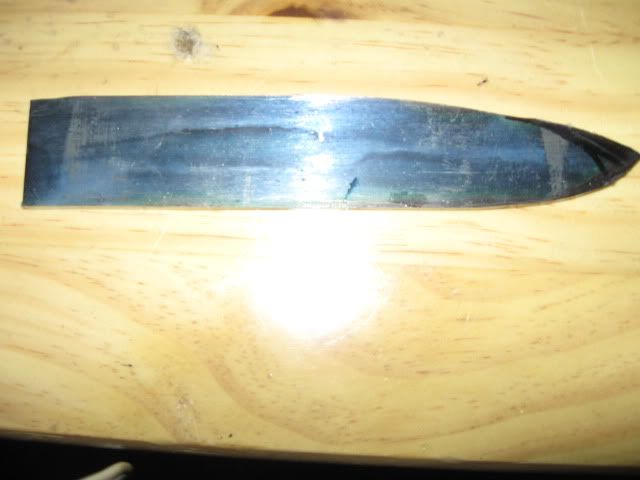
I got my second wind now. This is a pic of where the profile is at now. I have a piece of stag for a handle so I will be making a stick tang and then welding an additional length of threaded rod. My blade is going to be 1/32" under 4" so it's Connecticut legal because this is my Official EDC Bowie!!!

006-3.jpg


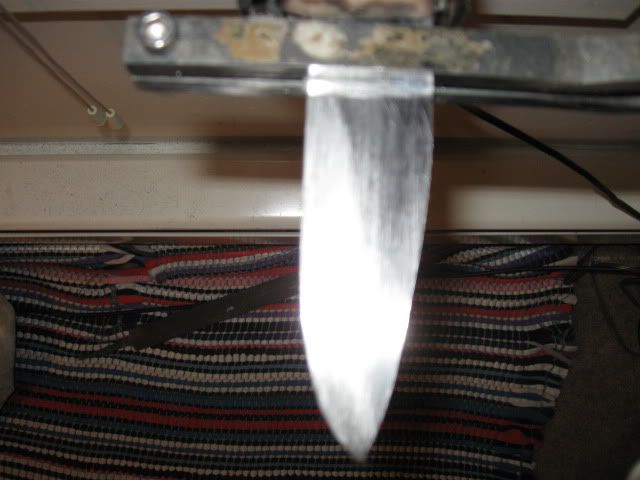
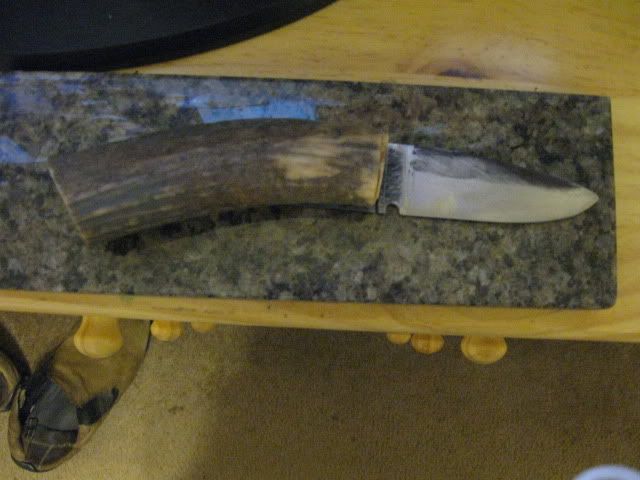
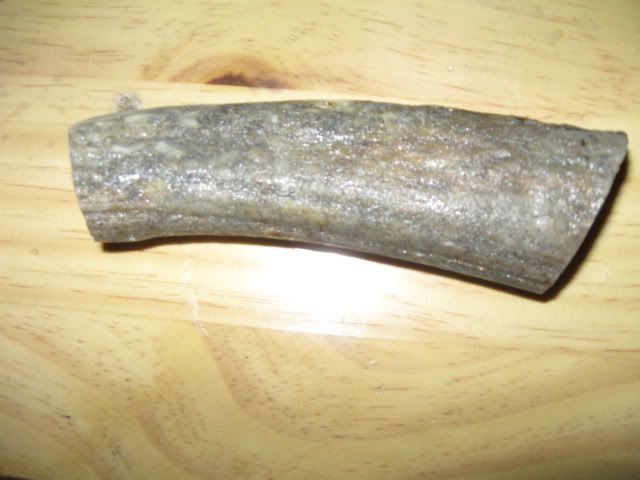
This is a picture of the stag handle.

007-3.jpg


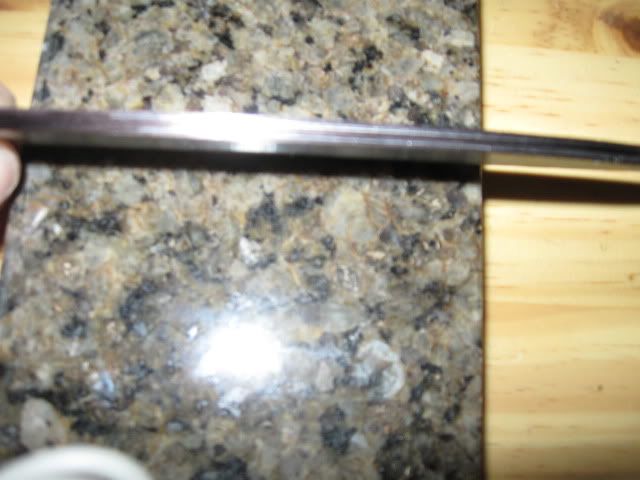
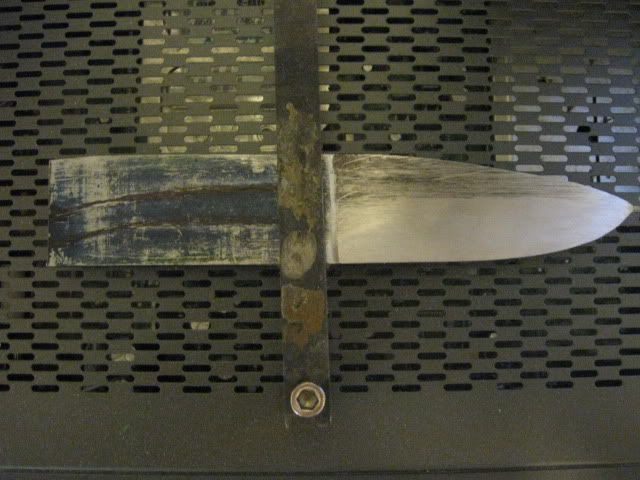
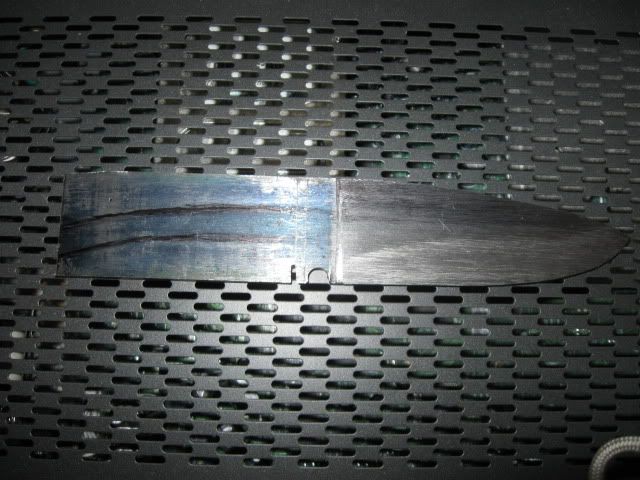
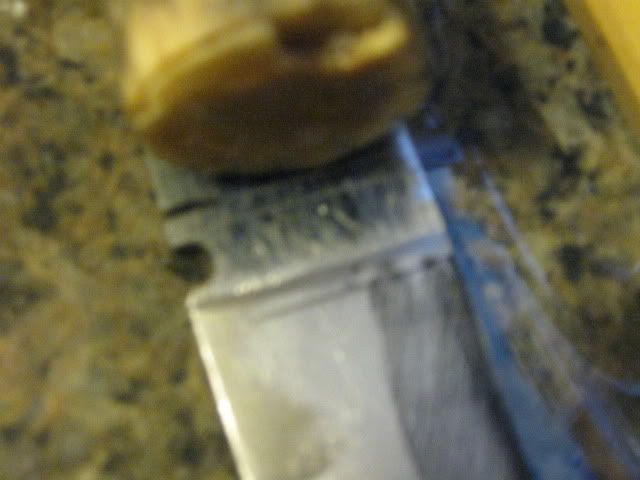
My next idiot question is this, the width of the metal is 5/32". I have forgotten how to do the drill bit method. I have a 5/32" Drill bit, I marked the blade and flipped and marked again. It just marked in the same place, in my brilliance I realized, hey your doing this wrong. So, how do I do it? Please anyone, I could use the help:(:D
 
If you use a 5/32 drill bit on a 5/32 piece of steel it will mark dead center. Go a size smaller and it will mark just below that line and when you flip it, it will give you the 2 lines you are after
 
^^^ What he said!!!

It also helps to color the edge you are scribing with a sharpie or with dykem blue.
 
Thanks Guy's, if I had a Christmas card list, you would be on it:D
I made the two plunge cut marks and measured each side from the end of the knife which still holds a factory edge, to ensure they are square. I put on the file guide, leaving about 2/32" from the plunge marks to allow the file to travel to the mark. I also marked the 5/32" blade thickness with a 3/32" drill bit and now have something to guide me on my long journey along the file highway;) Pictures are below of my progress:

Plunge Cut Line:

005-5.jpg


A very bad picture of the center marks on the blade:


008-2.jpg

A balancing act with Knife and Filing Guide:

009-1.jpg


Please everyone, feel free to provide positive or negative feedback, it's the only way I'm going to learn a thing.

Thank You for your time.

Jeff
 
^^^ What he said!!!

It also helps to color the edge you are scribing with a sharpie or with dykem blue.

Ernie, I went to your website and I wanted to say that you have made a couple of beautiful knives. I hope to attain a fraction of the result you have!

I noticed how you did the plunge cut, how did you do the bevel without getting higher up and the spine?

Thanks Ernie Again for your time.

Jeff
 
Thanks!

I make my plunge cuts with a 1/4 round file. I cut how ever far up I want my bevels then just grind to there.
 
I have cut in along the bottom and moved the plunge line back a little. I marked in a curved tang line to follow the curve of the stag handle. Here is an updated pic:

010.jpg
 
Thanks!

I make my plunge cuts with a 1/4 round file. I cut how ever far up I want my bevels then just grind to there.

Ernie,

That's what I mean, when I draw the file from the plunge to the blade tip, how do I avoid filing near the spine? Do I tilt the file?
 
After about 3,000 strokes, this is the knife at this point. I will take a break for about 12 hours and get crackin' tomorrow.

012.jpg


011.jpg


I wish to thank everyone who gave me advice and or support up to this point. Still a long way to go, so I hope I attract more interest as we go along. I'm not the only one who could benefit from a seasoned knifemakers advice.

Thanks Again,

Jeff
 
Jeff,

See if you can get some better pictures. The light is washing out the lines and I can't really see things well enough to give advice.
 
Not bad!!! You are on your way.

About the best advice I can give you is this..................

Do not, and I repeat DO NOT get in a hurry.
All that will do is cause you to mess up.
Take it slow and pay attention to what you are doing and you will have
a nice knife in no time.
 
Jeff,

See if you can get some better pictures. The light is washing out the lines and I can't really see things well enough to give advice.

Try getting in good light and turn the flash on your camera off.
That should help.Good luck.

God bless,Keith
 
Thanks Uncle George,

Sorry guy's, I think I have some better pics. Look at these:

This is a pic with the file guide on. The plunge line might look like it goes all the way to the top, but in fact it is only filed out half way up.

004-6.jpg


This one shows the outline of the curve of the stick tang as well as the beginnings of the plunge line and bevel.

005-6.jpg


Another pic:

006-5.jpg


More to come today as I make progress!!!

Thanks Everyone.

Jeff
 
Those pictures are better and it looks like you are coming along fine. Make sure you don't file your plunge line any higher up the blade than you plan on filing your bevel.

I'm also not sure what purpose the choil area is going to serve since it looks like you are going to cut it off when you cut out your tang?

If you decide to leave the choil in and cut back a little further for the tang I would move the plunge line back to the half way point in the choil.

My .02 hope it helps.

Here is a link describing the anatomy of a knife to help you with the terms.

http://www.jayfisher.com/knife_anatomy,_parts,_names.htm#Knife_Anatomy_1
 
Jeffrey,

That's looking real good so far. I don't envy the file work :D. As you get closer to your desired bevel height, you can draw file if you like. It take a bit of practice to get it right, but it will blend and flaten things out nicely. Make sure to keep your file clean. I'm talking like every pass as you get close to finished so as not to gall your work. Some chalk on the file can help it not to load up with metal filings as much.

I'm interested to see how you progress from here once you get the blade done. Keep up the good work!

--nathan
 
Alright Guy's,

I haven't done any filing yet today, but here are a couple of pictures of the knife with the stag handle. It seems that the stag thickness seems to be the same as that of the blade.

001-6.jpg


002-7.jpg
 
Back
Top