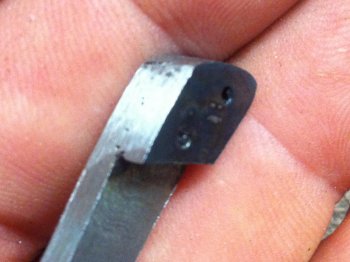
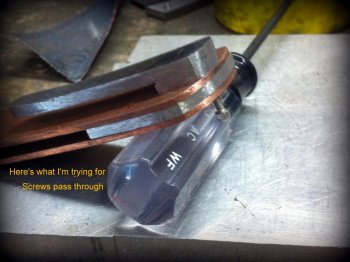
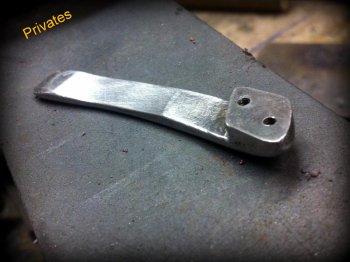
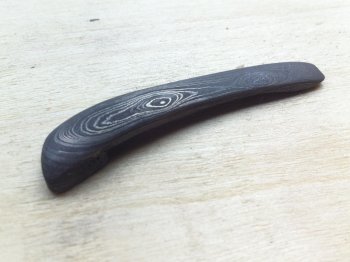
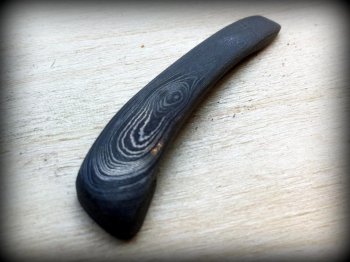
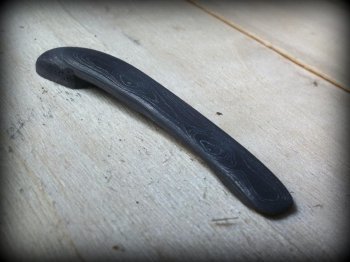
Friction folder, code name DAG.

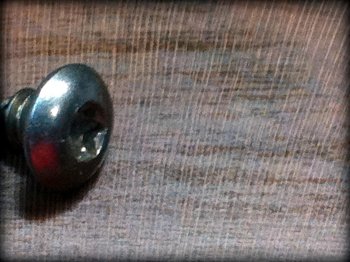
Walt, I would, but I couldn't find a bottoming tap for 2-56. A regular taper tap doesn't get into the threads quick enough for 1/8" stock. I was thinking last night about taking a taper tap and grinding it flat to make my own bottom tap. Maybe I could get the threads started, then switch to the ground off tap and go deeper. Might work, might not, just thinking.
 
Walt, I would, but I couldn't find a bottoming tap for 2-56. A regular taper tap doesn't get into the threads quick enough for 1/8" stock. I was thinking last night about taking a taper tap and grinding it flat to make my own bottom tap. Maybe I could get the threads started, then switch to the ground off tap and go deeper. Might work, might not, just thinking.

I did just that with a 0-80 tap for tapping thumb studs. I use a taper tap until it bottoms out and then switch off to the homemade bottoming tap to finish off the last few threads. Works pretty well.
 
In the future, if you want to silver solder or braze something, and prevent the solder or braze from sticking to anything adjacent (like screws), you cover the area you want to keep unsoldered with dark/heavy pencil lead. Just rub the hell out of it with a pencil. The graphite will stop the solder.
 
I've fallen behind on pics and progress updates.

photo 63.jpg photo 64.jpg photo 66.jpg photo 67.jpg

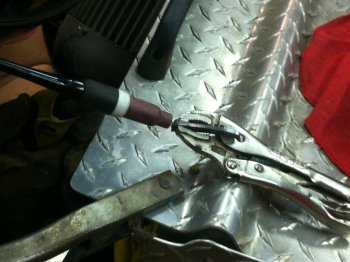
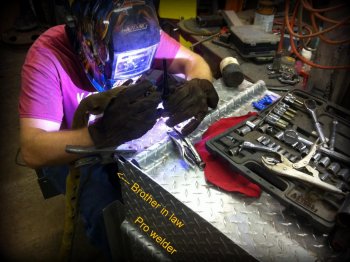
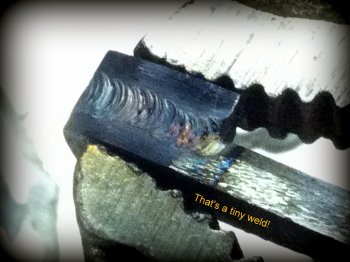
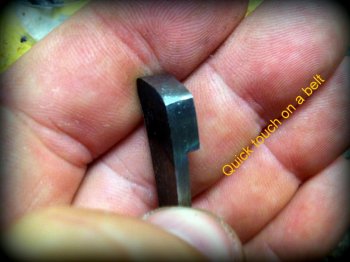
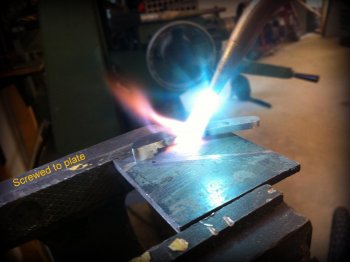
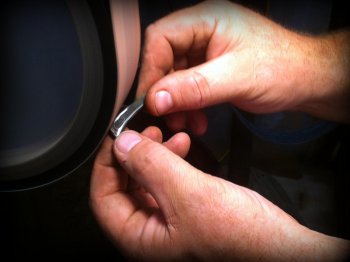
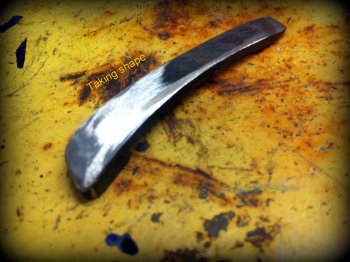
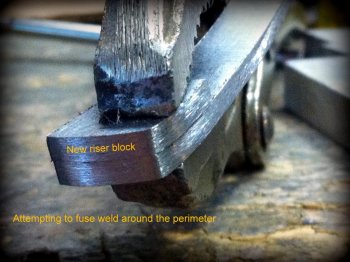
Glutton for punishment, still stuck on this no screw pocket clip idea. Made another one, this time tried just fuse welding it around the outside. This thing it tiny!

photo 68.jpg photo 69.jpg photo 70.jpg photo 71.jpg photo 72.jpg

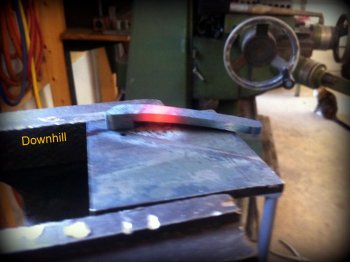
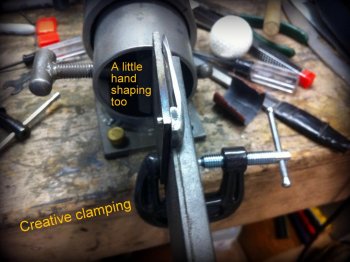
Rough sanded it down, had a tiny bit of porosity, must have had a little tapping oil in the threads still? Clamped it down and put some angle on it. Very promising this time!
 
I'm scared to think how much time I spent making this silly pocket clip!

photo 73.jpg photo 74.jpg photo 75.jpg

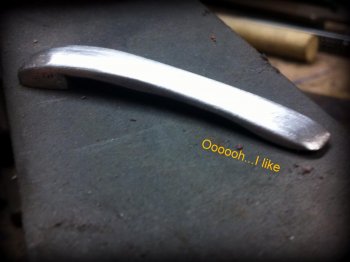
I'm starting to like it....

photo 77.jpg photo 78.jpg

A quick etch to see if weld line is going to be ugly.

photo 81.jpg photo 82.jpg photo 84.jpg

I think this is going to work just fine. The weld line is small anyway, but since its really on the edge grain of the damascus, you can't even tell.
 
photo 79.jpg photo 85.jpg photo 86.jpg
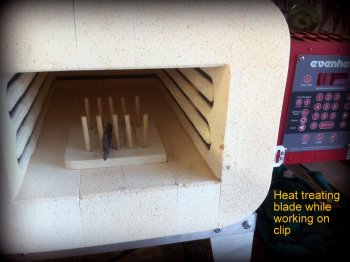
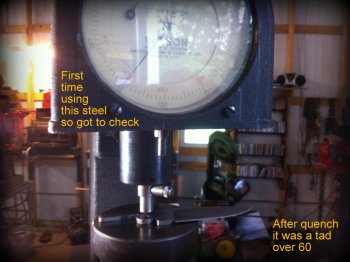
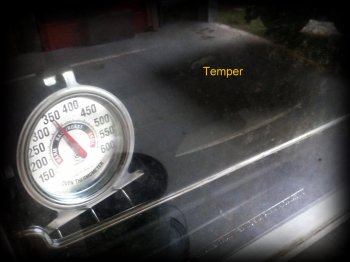
Heat treated the blade. I've never used this steel before, but the instructions with it said to treat it pretty much like 1095. So, I did, but checked hardness just to be sure. Came out of quench at a tad over 60. Good enough. Tempered at 350 degrees for 2 hours.

photo 87.jpg photo 88.jpg photo 89.jpg

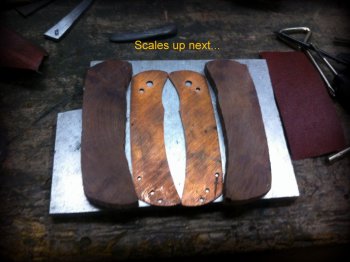
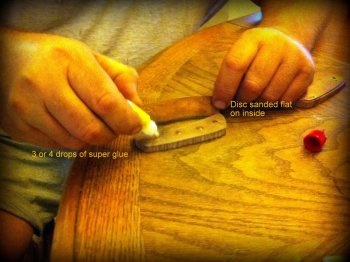
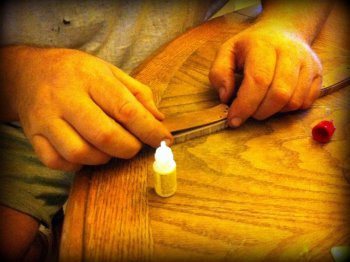
Three of four drops of super glue hold scaled on while I shape and drill.

photo 89 a1.jpg photo 89a.jpg

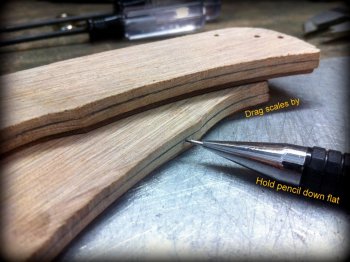
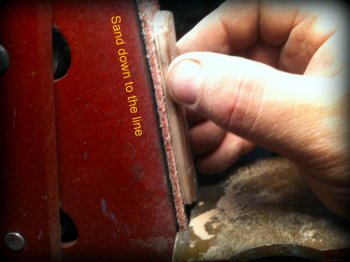
Scribed a line, I want the scales to be pretty thin. Put a fresh 36 grit belt on and send the sawdust flying.
 
Now thats a sweet lil pia you have made there. Looking good so far is going to be a unique knife for sure.
 
photo 94.jpg

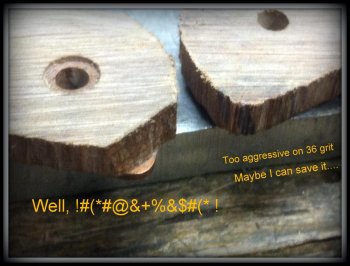
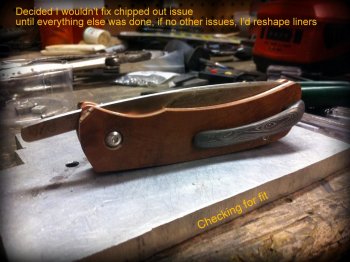
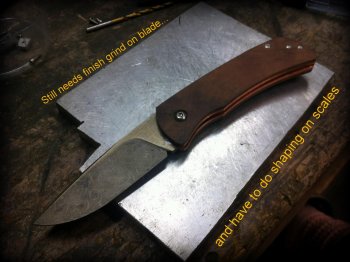
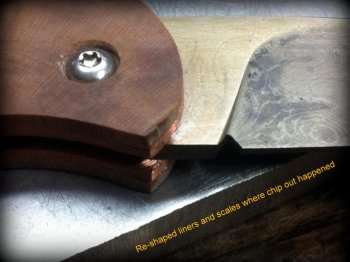
Well, that fresh 36 grit belt sure takes the wood off fast! At little too fast maybe, lost a chip on the front corner. Not a major setback, I don't really want to, but if everything goes well, I can change the profile of the scales and liners slightly.

photo 90.jpg photo 91.jpg photo 92.jpg photo 93.jpg

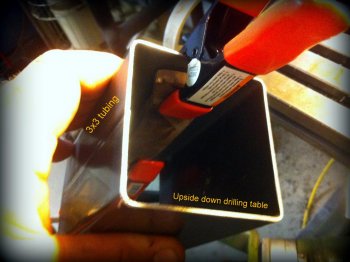
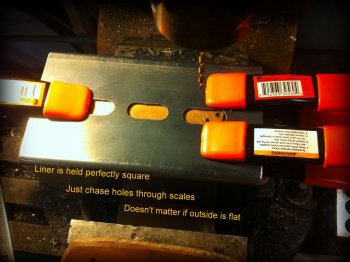
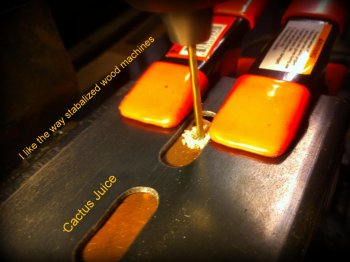
Moving onto drilling. Got the inside surface of the wood dead nuts flat on the disk sander. I do highly recommend using an upside down drilling table. I'm sure its got a better name? This lets you reference the flat side and drill through squarely even if the wood is wonky.

photo 89b.jpg photo 95.jpg photo 89c.jpg photo 98.jpg

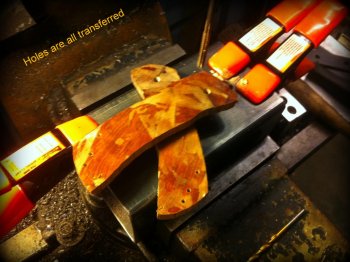
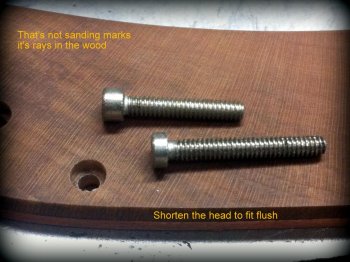
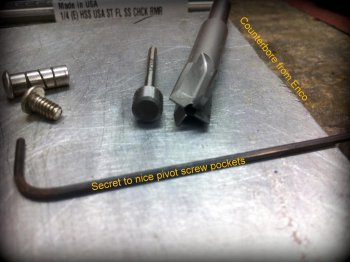
I'm going for some fairly thin scales, so the socket head cap screws have to have a little haircut. Used a counterbore setup for the pivot, with the exception of the chip out, everything's going to plan.
 
Last edited:
Very nice developement, thank you for your efforts to make it into a very solid WIP!!!

I'm using the same kind of square tube jig for drilling slipjoint's scales upside down!! I just need to be sure my clamps don't "give" too much, so usually i "help" them and feel with my fingers while drilling.
 
Aww man thats chunky. It would have to be right where it is easily seen. despite the chunked corner its looking good.
 
photo 99.jpg photo 100.jpg

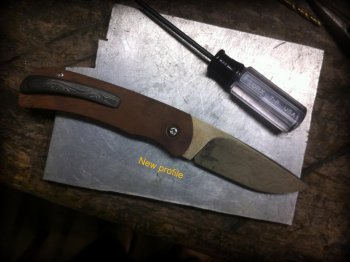
Everything else has went to plan, so I finally decided I'd reshape my profile to account for the chipped out wood. Probably no one else can even see the difference but me. It did expose more of the ricasso area though, now I wish my plunge lines were a little farther back.

photo 101.jpg photo 102.jpg photo 104.jpg

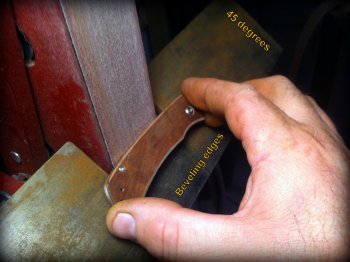
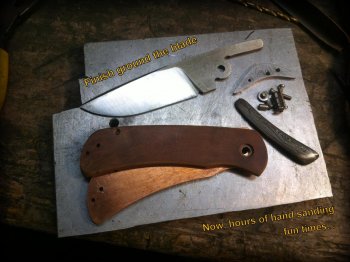
Beveled the scales, pretty uneventful there. Broke it all down again to start on hand finishing all the parts. Finish ground the bevels to 220 grit, which is about as high as I go on the grinder. Seems if I go to higher grits I end up backing up so much on grits while hand sanding, it feels like a waste of time. I've tried going up to 600 or 800 grit on the grinder, but I usually end up finding a scratch or something when I start hand work. Right after the last pic, I popped off the scales from the liners, super glue remember? After sitting for a day, a whole new issue has shown its ugly head, not sure how to proceed. More later...
 
Looking good. Fixing that missing chunk of wood looked like an easy fix. A pisser for sure though when it happened.
 
Following with interest. I for one really like all the pictures, it shows detail that is often lacking in tutorials! Also posting the Oh-0h's show where potential pitfalls may lay!

Looking forward to see the finished product!
 
I've had issues with the wood expanding/contracting too much. I took it in the house, while it was superglued to the liners, it contracted overnight enough to bow the copper liners and show a gap on the edge. I warmed up the liners with a heat gun until the super glue let go and the wood had shrank about 1/16" in length. These were stabilized with Cactus Juice, so I wasn't expecting the wood to move much. The wood was dry when juiced, but it is about a 45 degree end grain cut, so I guess that's why its moving. Looked at it today, back in the shop, and the wood is back where it started. I'm curious if the heat generated from the copper scales while profiling might have caused some of this too. Just not sure.

Three options I see, first, is to ditch the wood and go with G10. I don't want to that, so second idea I had was to make the pivot hole in the scales a little larger. Large enough allow a little movement, but still be covered by the pivot screw head. Third idea, just epoxy the wood to the liners. Not sure if that keep it put or cause the wood to crack later one. Experienced advice welcome, any wood scaled folder experts have any tips to deal with wood movement?
Very nice thread man, i have enjoyed the progress and pics, cant wait to see the end result

Sent from my LG-LS980 using Tapatalk
 
...Also posting the Oh-0h's show where potential pitfalls may lay!

Ask and ye shall receive...

photo 107.jpg

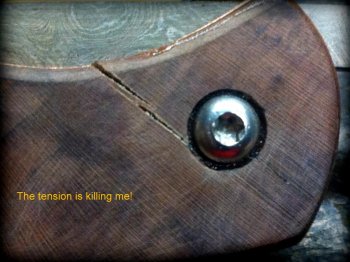
We were going to cookout today and have some family come over, so ran over to the shop and put the knife back together so I could show my brother. That was a little before lunch, then I laid it down and forgot about until this evening. Around 6 or 7pm, I went back to the shop to break it down and do a little hand sanding on the blade. This is how I found it.

photo 105.jpg photo 106.jpg photo 106a.jpg
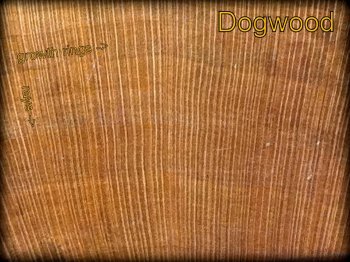
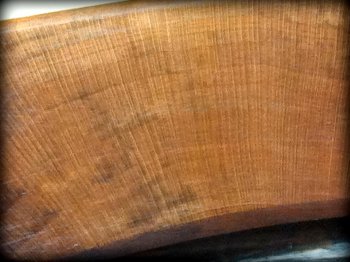
Here you go, one last look at the wood. Not sure if said what it was yet, but it is Dogwood. It has little tiny rays perpendicular to the growth rings. It's really neat looking the way I cut this one. The chip out one side and the crack on other side. They were book-match cut from the same block, doomed from the start. Oh well, I ordered some black G10 from Boss, so guess I'll make new scales next week.

photo 108.jpg photo 109.jpg

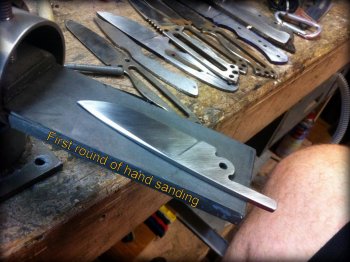
Figured I would drown my sorrows in sandpaper. On an up note, my hand grinds weren't too bad, no big scratches lurking in there, just went up to 320 grit tonight, more later.
 
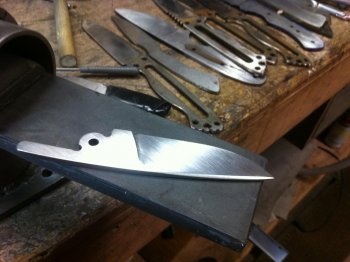
I like a choil or sharpening notch on my knives. Until today, they've always been round. But I keep thinking a friction folder is kind of an old timey knife mechanism, and when I think old timey and choil, I think triangle. Don't know if that's right wrong, but I thought it, so I did it.


View attachment 56105View attachment 56106

So I have been thinking about this since the moment that I saw this. As much trouble as this one has given you, I thought I would bring this up.

I have always heard that square in cuts, such as you might do for a guard or for a thru tang handle are bad JU-JU. The squared in cut leaves and are for stress. I was told that early in the knife making. If that holds true the V cut for the coil at the end of the plunge cut would be an ideal area for a future stress crack!

Though I would mention, would hate too see you fight this one to the end only to have it break at that point!:les:
 
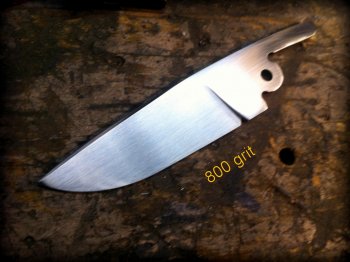
Good point, I hadn't thought of that. I heat treated it without issue and hand sanded it through 800 grit tonight, I haven't seen any issues at all so I think I'm ok. A lot of guys use checkering files for jimping and a lot of slipjoint guys have a triangular choil, I wonder how many have issues? I'm still new, this will be knife 23, but I haven't had a single heat treat warp or crack yet, but I'm always thinking about it.
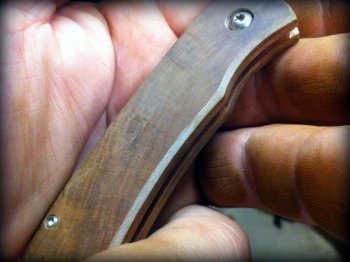
 
Not much progress since the wood failure. Waiting on new scale material from Boss, should be here tomorrow I hope. I was really wanting to go to the KC show with one of my own in my pocket, might not be enough time now. Anyway, here's a pic of last nights hand sanding party. Might etch my logo in tonight, but can't etch the blade until done shaping new scales.

photo 110.jpg
 
Tony,
I don't DO Facebook, maybe once or twice a year or 2, but my guess is Thuya Burl...am I close?
It's one of my favorite woods, I DO NOT KNOW WHY!!! I just like it! Well....


EDIT!!!
I prolly should have done this reply, as "Reply with Quote"! As this was referring to the first post!
Now I know it's Dogwood, and not Thuya..., oh well it's pretty wood either way, although I think
it's a moot point now! So sorry, it would have be a BEAUTY!!!!
Rex
 
Last edited:
Back
Top