Justin Presson
Well-Known Member
Looking good and learning thanks for posting this!
Great WIP Tracy!
How do you like working with 416SS? Does it work the same as 410?
Great WIP Tracy!
How do you like working with 416SS? Does it work the same as 410?


yep, those would. The pilot is right size for the through hole. I may have to get one...and get some made.I would like to see these with the bore diameter a bit smaller but would these work?
https://www.knifekits.com/vcom/step-drill-075-145-for-bht-p-1095.html
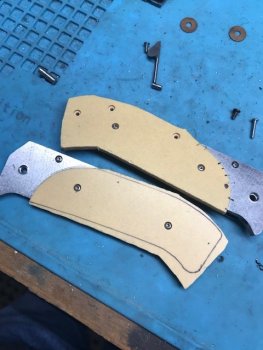
I need to countersink the screw heads.
It turns out there are no counterbores available for 1-72 screws. I ordered a 9/64 end mill which is a .003" larger than the screw heads I am using. I didn't want to just plunge it in as that seems to never work.
In the mill (a drill press with a secured vise will work also) I use a fixture plate (I made this on the CNC but you can make one drilling and tapping a few holes in a plate also) and bring the drill bit down into the hole that is already there. Once the part is indexed, I tighten the micro toe clamps to hold the bolster in place. With out moving anything, I change the drill bit to the 9/64" center cutting end mill. I plunge the end mill .040" deep and I get a pretty decent countersink hole. I will repeat this process for the other bolster and both scales.
View attachment 67412View attachment 67411View attachment 67410
That's it for a week. The lovely missus and I are going to take in some heat, beaches and beer this coming week. Stay warm.
Boss, I looked on RB Johnson's site, and he as the counter bore bits for 1-72. I think I got mine from him years ago.