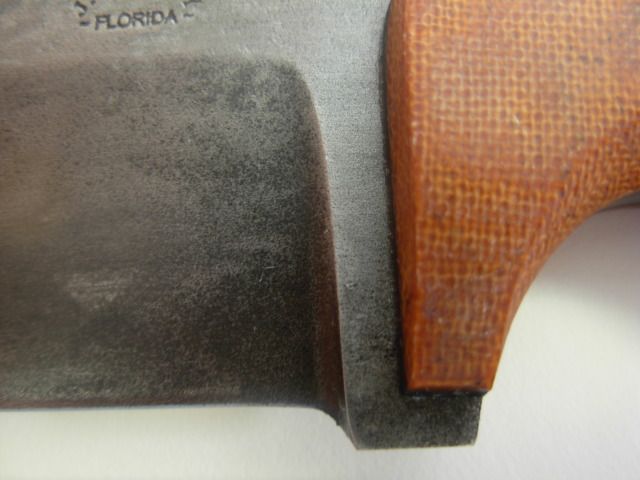
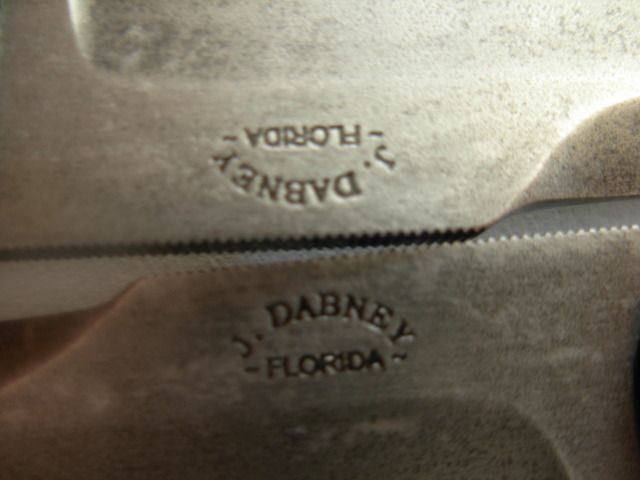
Josh Dabney
Moderator
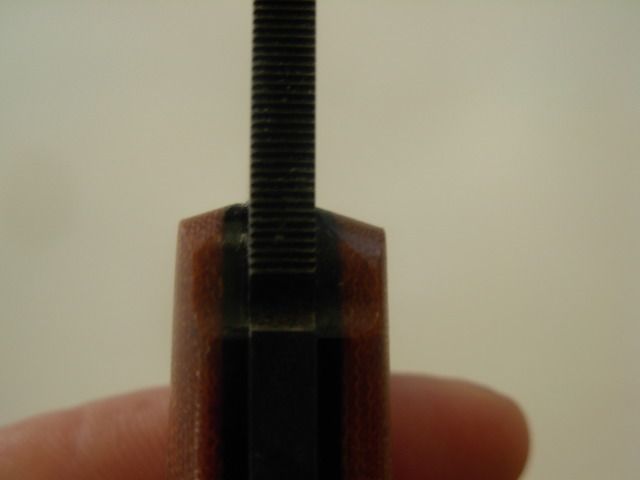
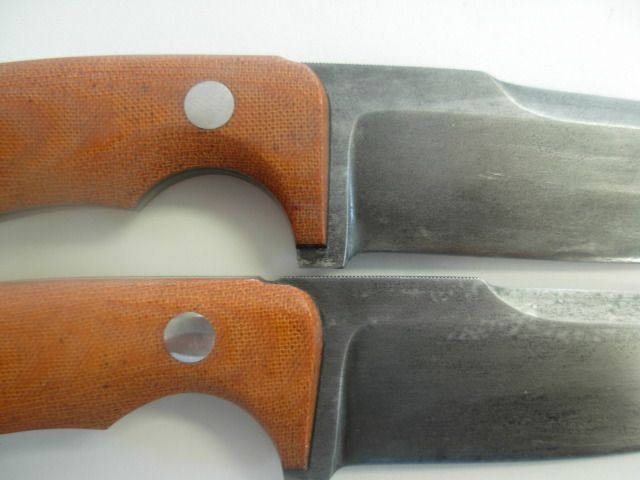
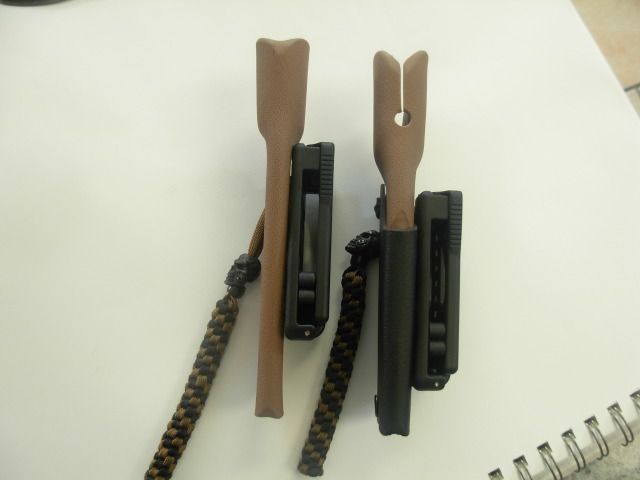
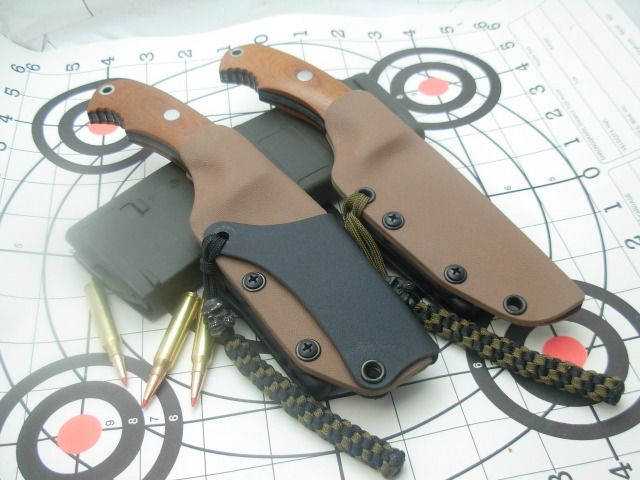
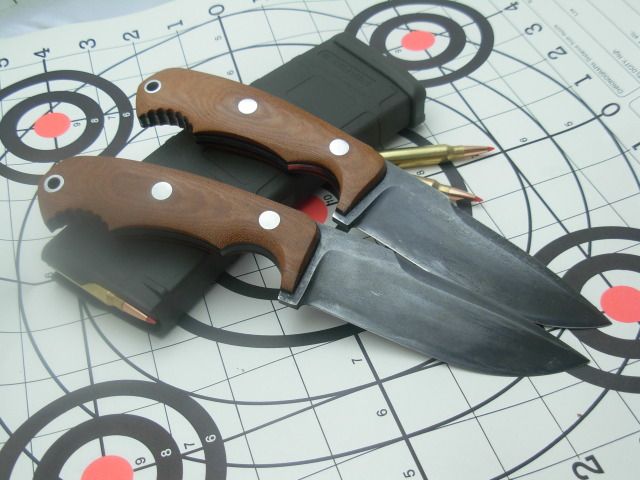
Finished up #2's sheath last night. Again I'm still figuring kydex out but the moon and stars musta been alligned right or something because it came out sweet with almost no fiddling with it.
A few things that I think helped me get a better result this time-
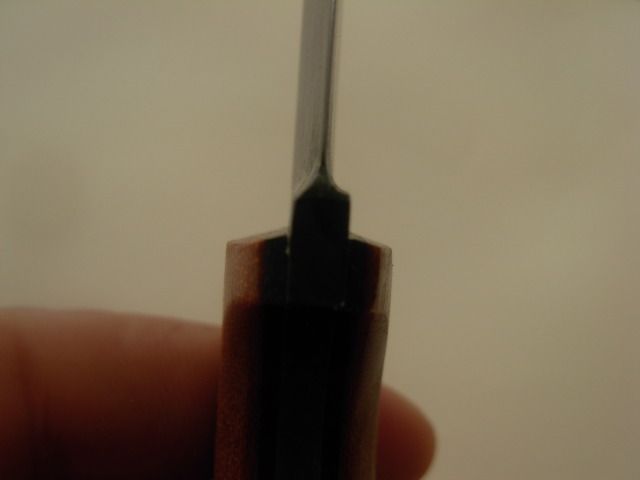
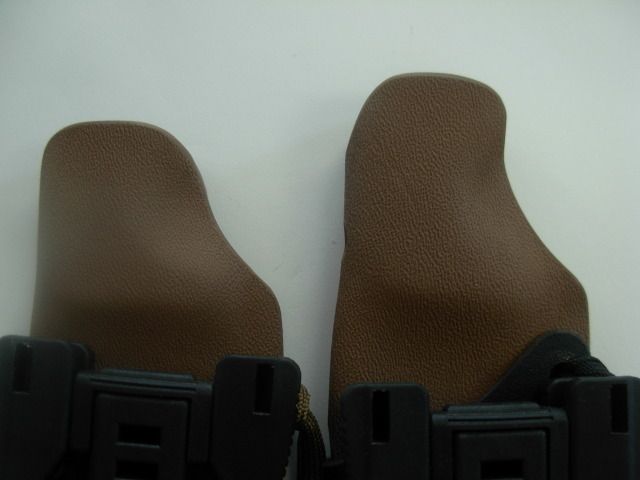
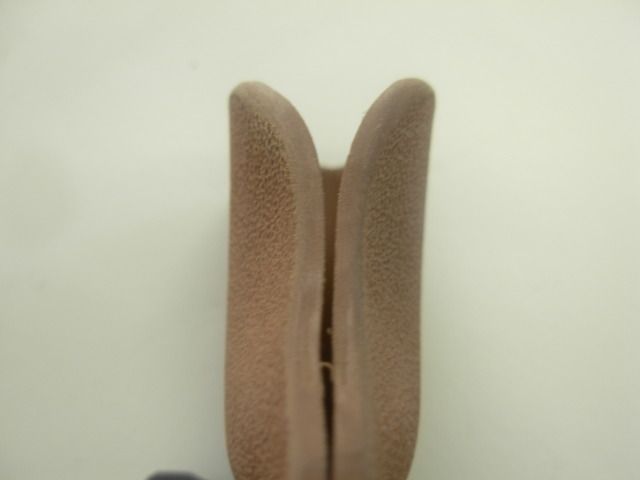
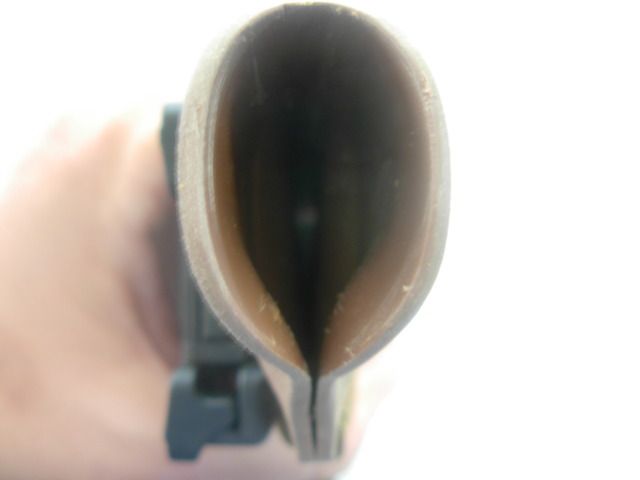
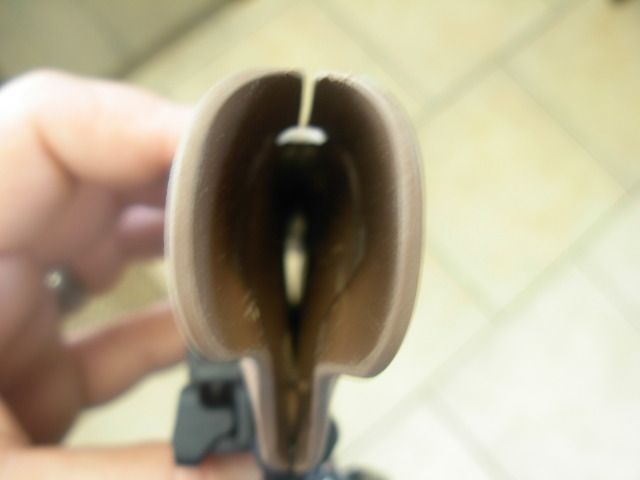
1. When I folded the kydex around the blade I took more care to pull it tight but to also keep the fold alligned more with the blades spine keeping the tip much closer to the fold while leaving a little gap between the top of the handle and the fold. I'm speculating that this cured the issue of the blade having room to move around while sheathed.
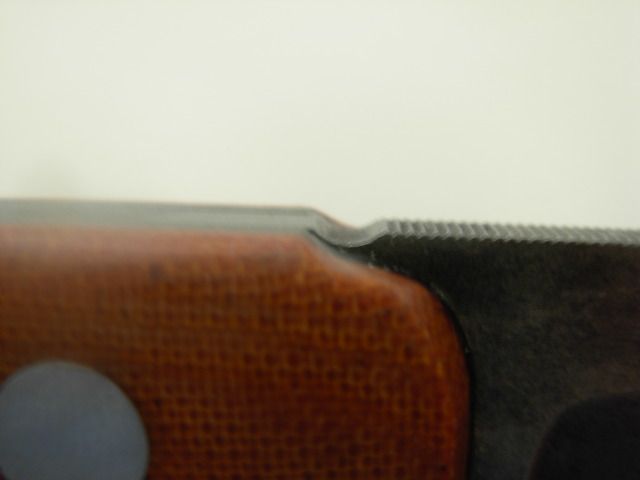
2. I still reheated and pinched in the the finger groove area to get a tighter fit. I just didn't sqeeze it nearly as "deep" I'm thinking that when adjusting like this a little goes a long way and a little practice and I'll develop a good feel for this and be able to nail the fit consistantly.
3. I kept the top rivet down just a tad lower. This allows the front and back to flex over a longer distance allowing the mouth to open up easier while insering or extracting the knife.
I also tried out another style of lanyard braid that I like a little better. It's very similar and very easy to make. Here's the tutorial-
http://www.lighthound.com/Cross-Weave-Paracord-Lanyard_ep_41-1.html
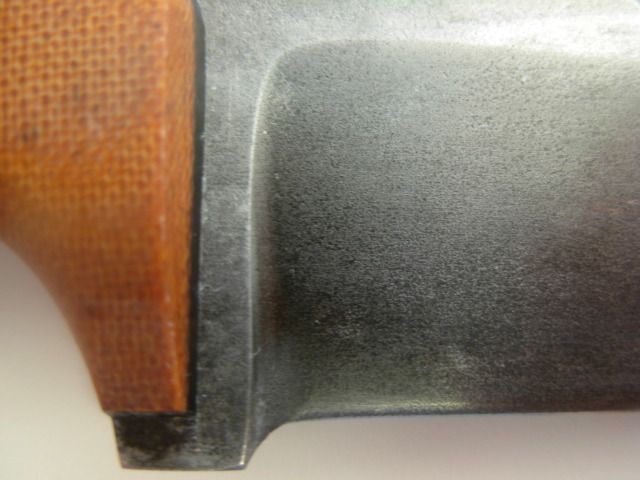
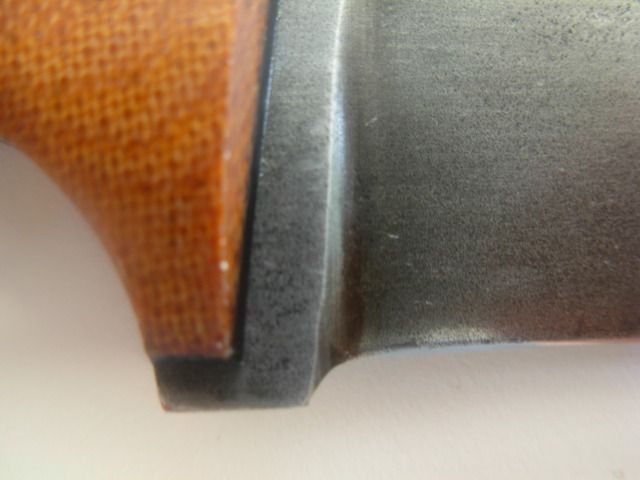
Tommorow I'll get working on critiquing these knives but for now they're esentailly completed with one caveat. I dont mind the overlay at all on sheath #1. However I'm not at all liking the chicago screws for attatching it to the main sheath body. Thats the type of thing that WOULD come apart only at the most inconvenient time and could cause a serious safety issue. To correct this I'll be ditching the chicago screws entirely, drilling out the rivets that are in the main body currently, and ordering a pack of the s-66 rivets that are long enough to join all 4 layers permanently. Then I'll be totally confident this sheath will be ready to take on the world.
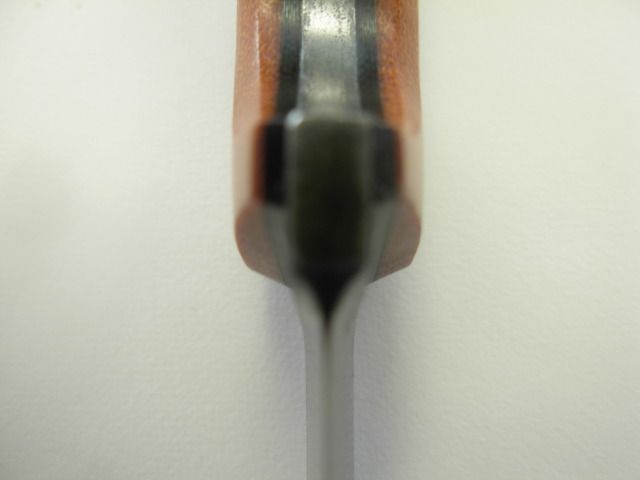
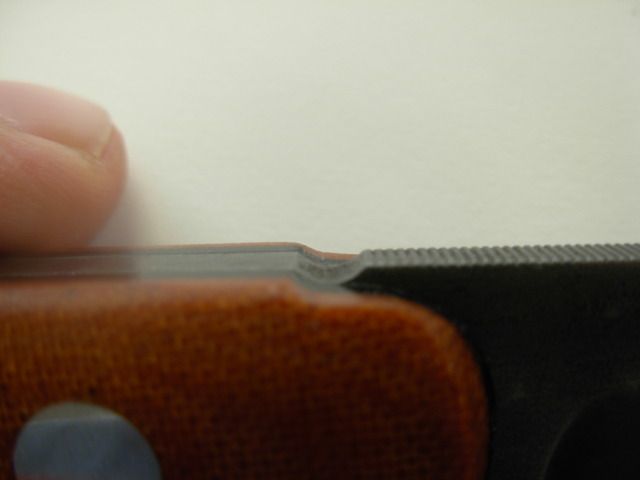
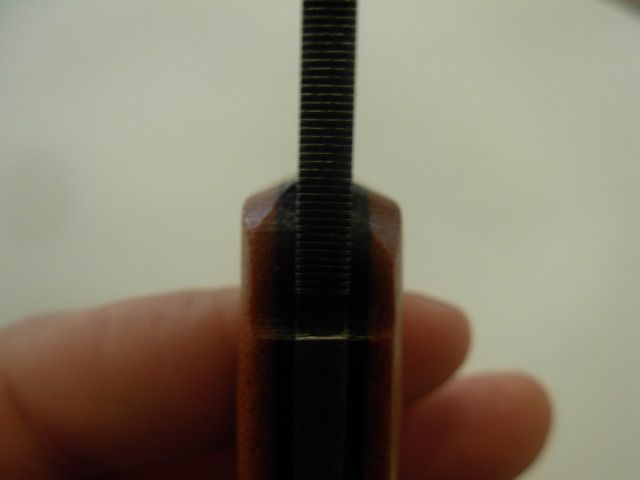
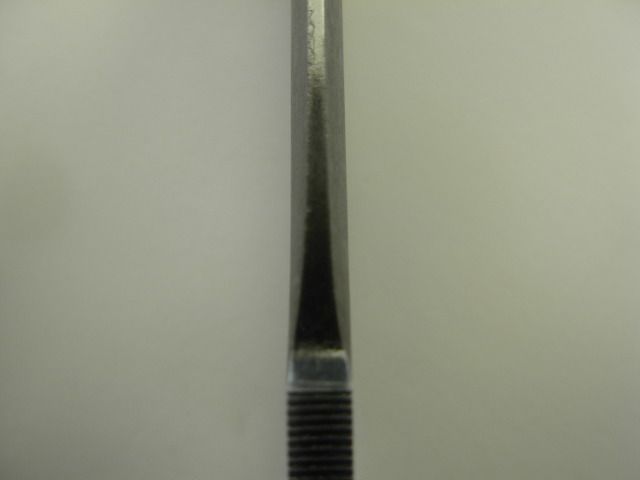
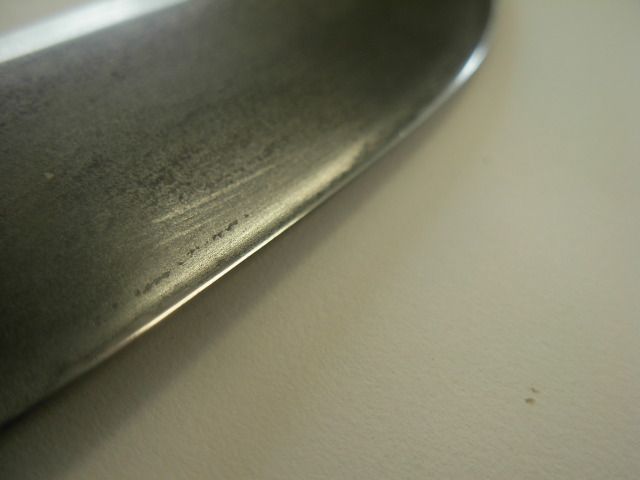
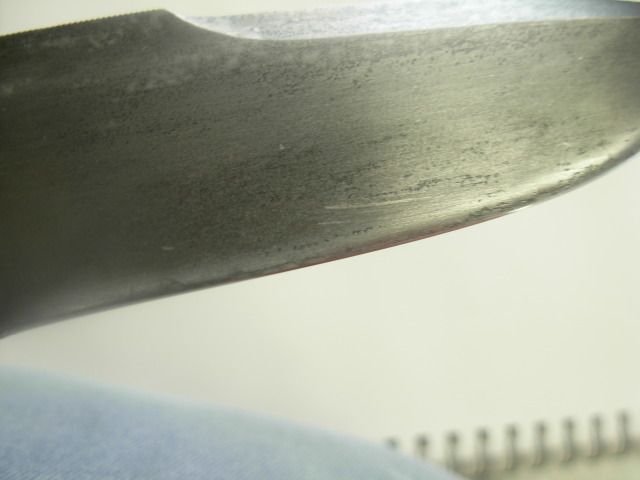
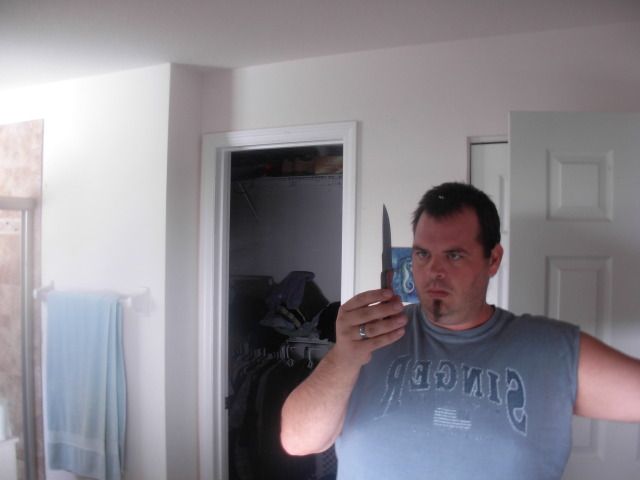
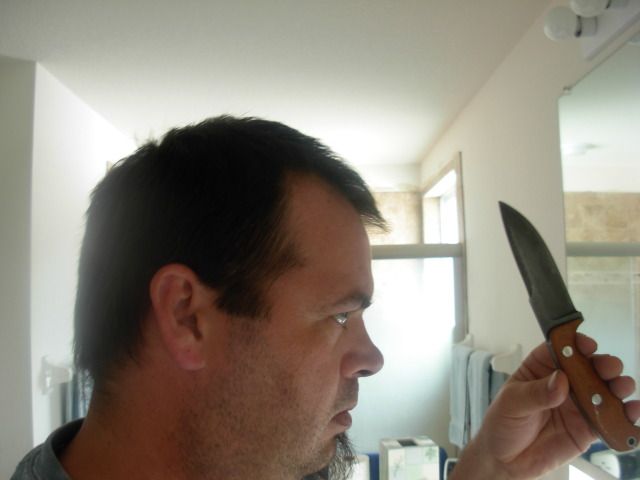
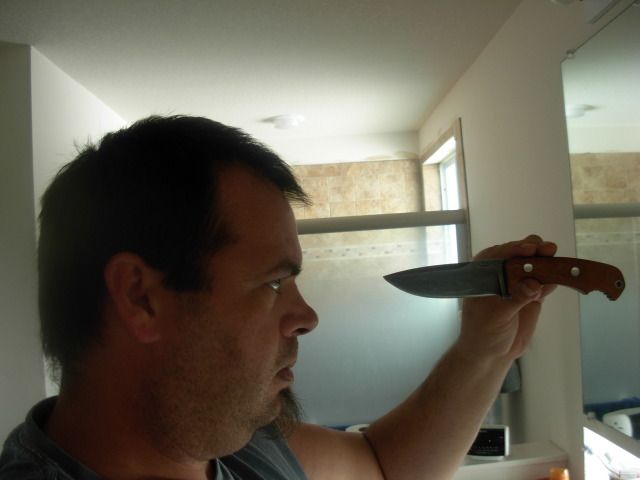
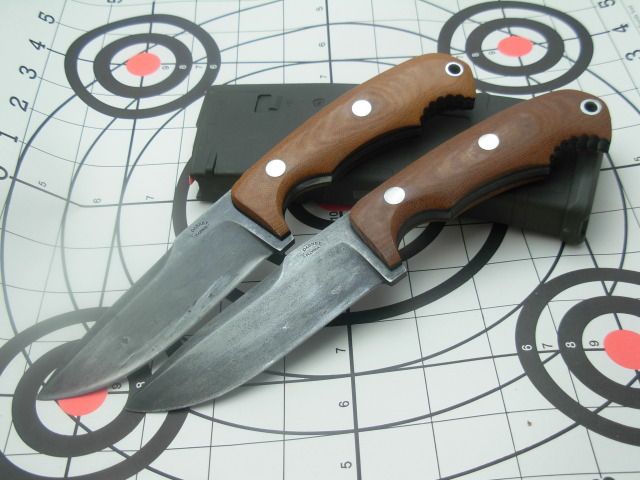
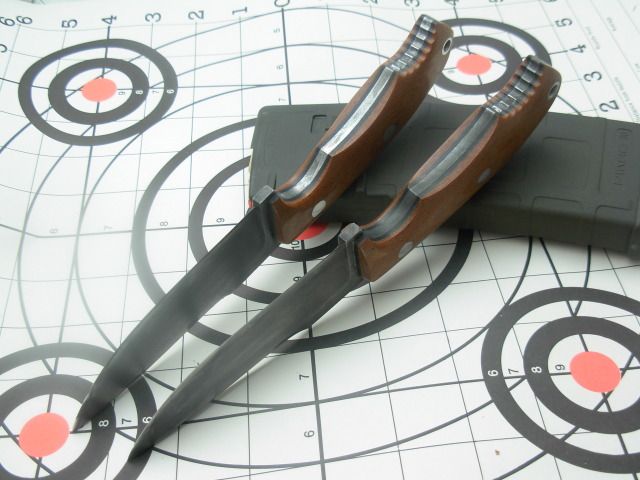
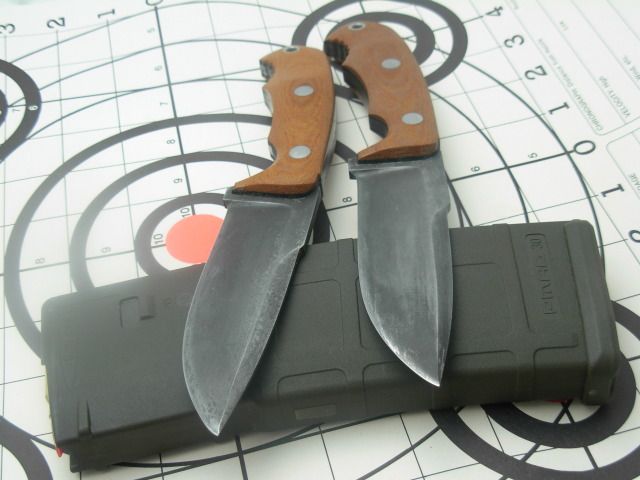
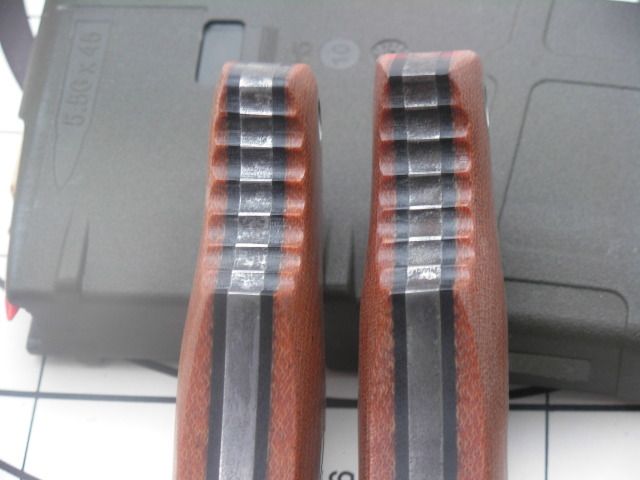
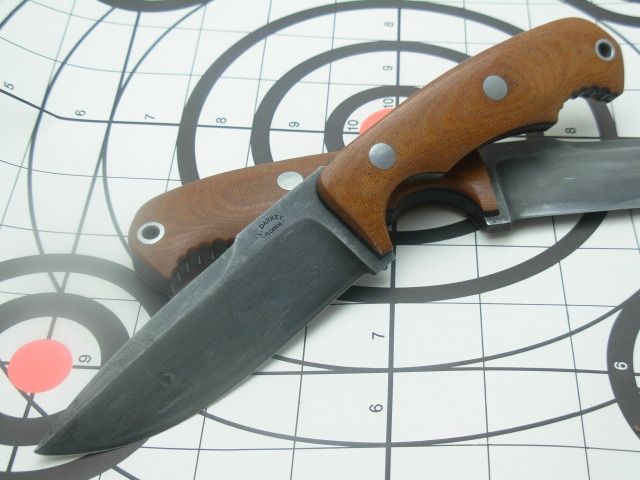
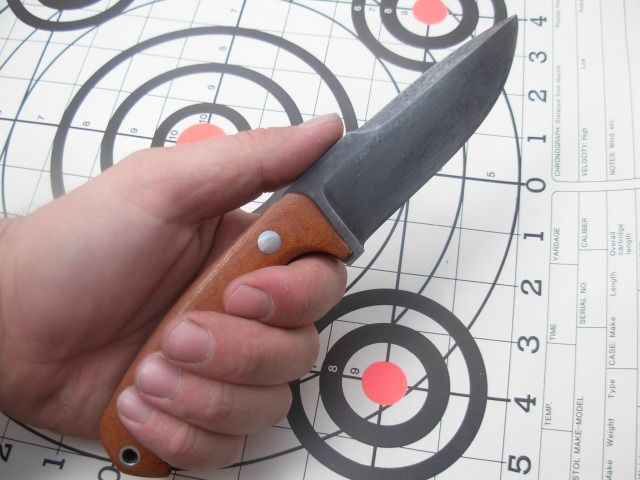
Although my photography skill are severly lacking I did set up the light box and snap some final pics for the WIP.
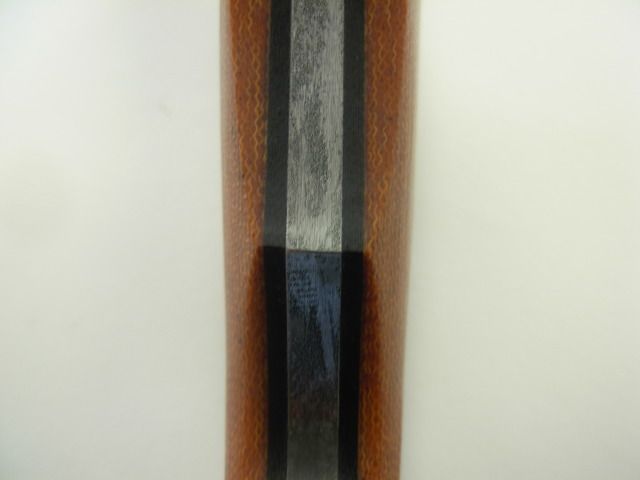
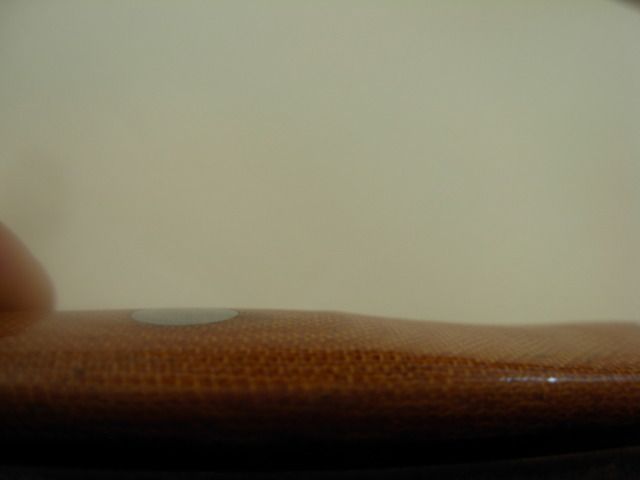
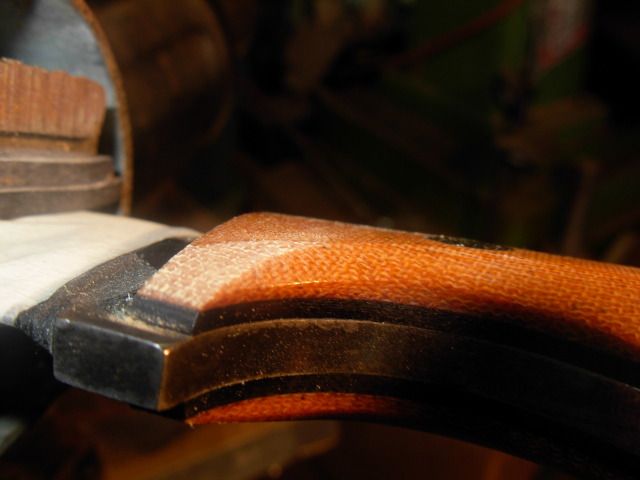
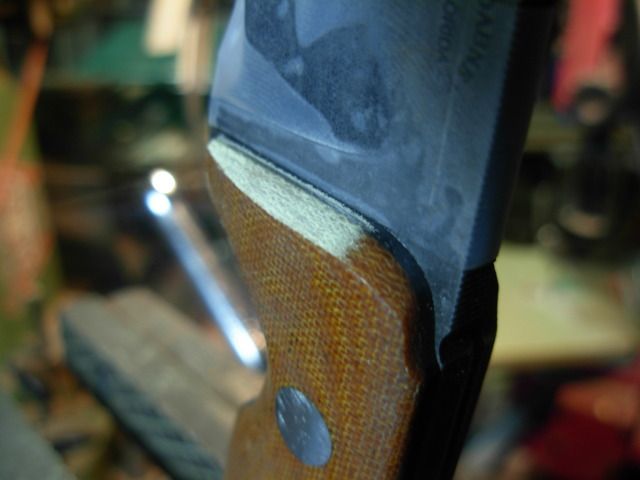
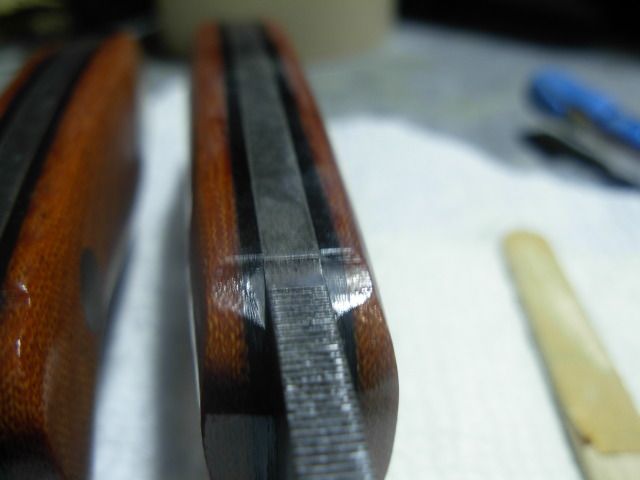
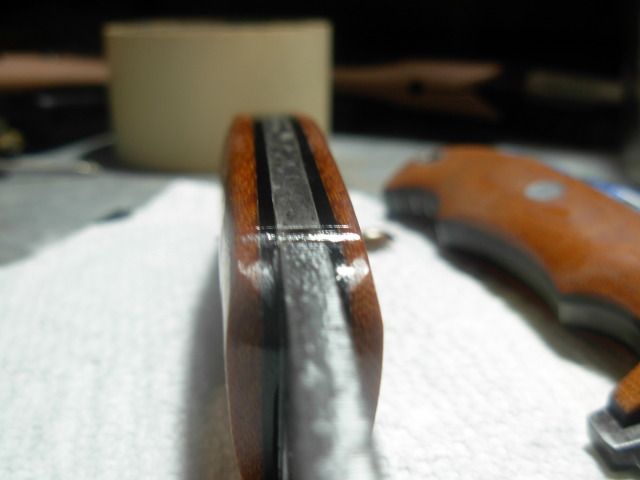
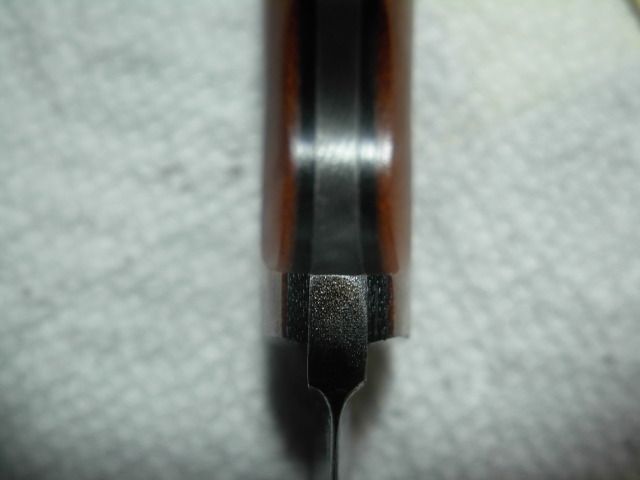
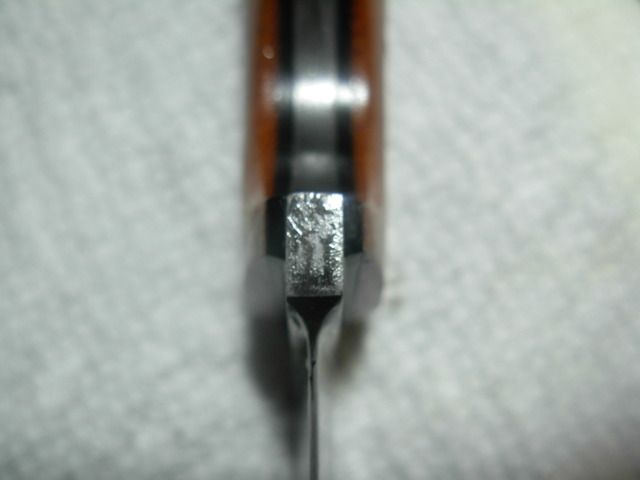
Oooops. Ren wax on the front of the liner -
A few things that I think helped me get a better result this time-
1. When I folded the kydex around the blade I took more care to pull it tight but to also keep the fold alligned more with the blades spine keeping the tip much closer to the fold while leaving a little gap between the top of the handle and the fold. I'm speculating that this cured the issue of the blade having room to move around while sheathed.
2. I still reheated and pinched in the the finger groove area to get a tighter fit. I just didn't sqeeze it nearly as "deep" I'm thinking that when adjusting like this a little goes a long way and a little practice and I'll develop a good feel for this and be able to nail the fit consistantly.
3. I kept the top rivet down just a tad lower. This allows the front and back to flex over a longer distance allowing the mouth to open up easier while insering or extracting the knife.
I also tried out another style of lanyard braid that I like a little better. It's very similar and very easy to make. Here's the tutorial-
http://www.lighthound.com/Cross-Weave-Paracord-Lanyard_ep_41-1.html
Tommorow I'll get working on critiquing these knives but for now they're esentailly completed with one caveat. I dont mind the overlay at all on sheath #1. However I'm not at all liking the chicago screws for attatching it to the main sheath body. Thats the type of thing that WOULD come apart only at the most inconvenient time and could cause a serious safety issue. To correct this I'll be ditching the chicago screws entirely, drilling out the rivets that are in the main body currently, and ordering a pack of the s-66 rivets that are long enough to join all 4 layers permanently. Then I'll be totally confident this sheath will be ready to take on the world.
Although my photography skill are severly lacking I did set up the light box and snap some final pics for the WIP.
Oooops. Ren wax on the front of the liner -
") just part of my own nature as a knifemaker I suppose.
just part of my own nature as a knifemaker I suppose.