Liner Lock. Take 2.

Entropy762

Well-Known Member
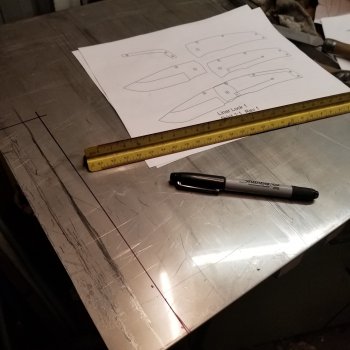
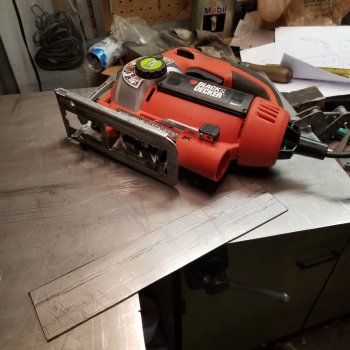
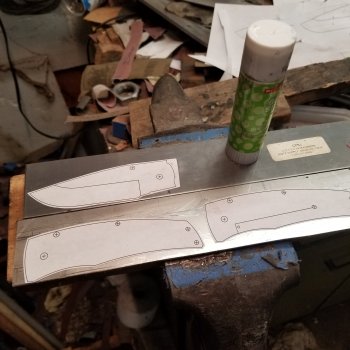
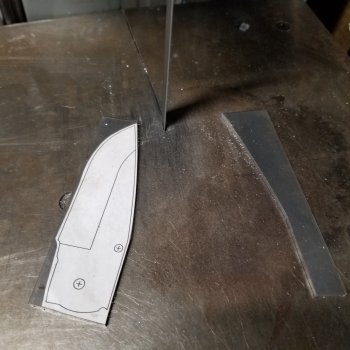
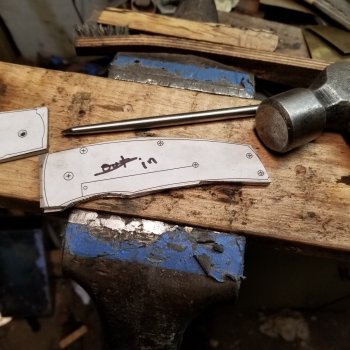
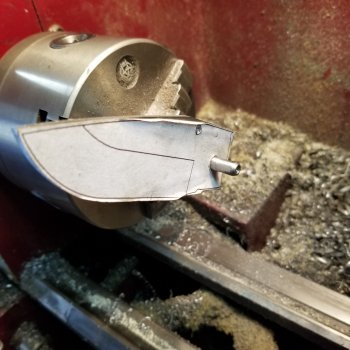
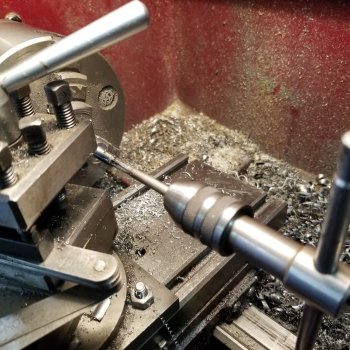
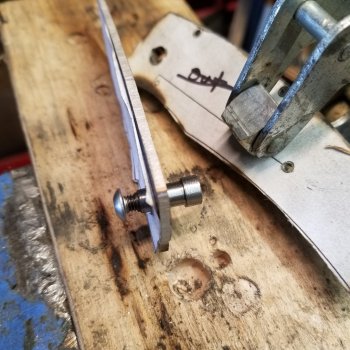
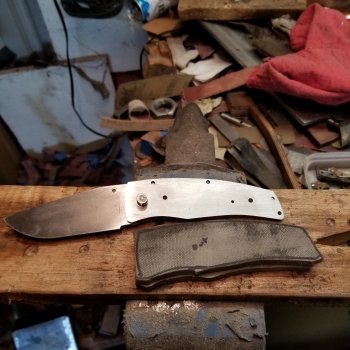
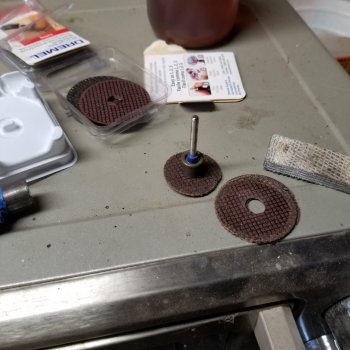
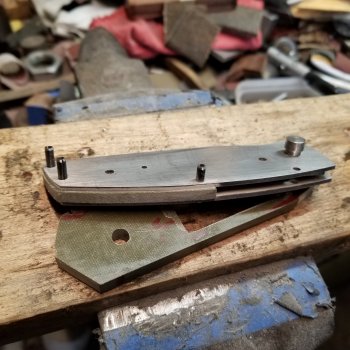
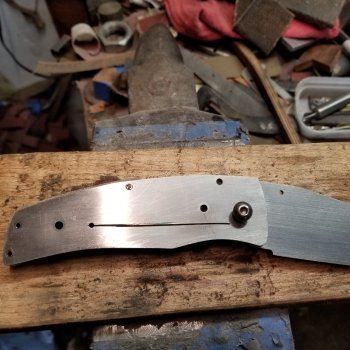
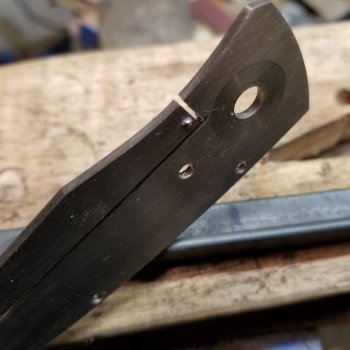
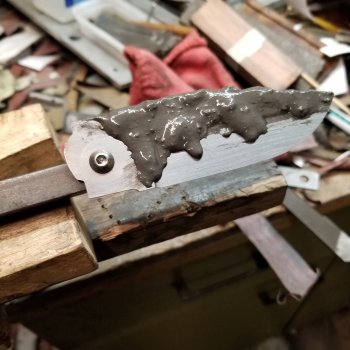
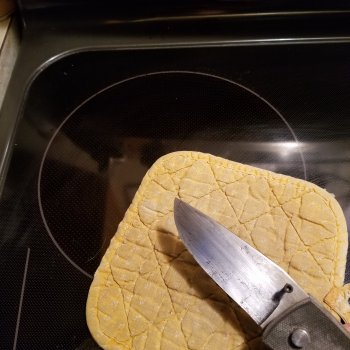
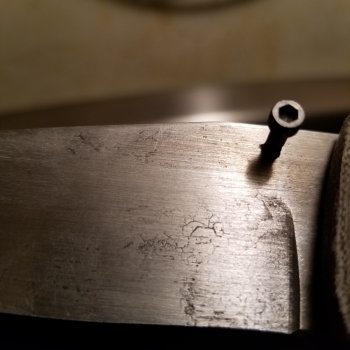
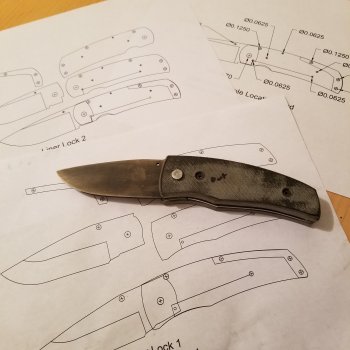
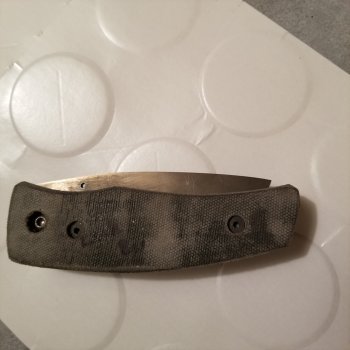
I've started on my second liner lock. This time I will concentrate on my process. The liners are going to be stainless steel and the blade will be 1095. I also procured some 1/16" ball bearings to use for the detent. Dang those things are small.


Jake
 

Attachments

  • 20181106_154101.jpg
    20181106_154101.jpg
    436.2 KB · Views: 13
  • 20181106_154608.jpg
    20181106_154608.jpg
    544 KB · Views: 15
  • 20181106_155745.jpg
    20181106_155745.jpg
    478.5 KB · Views: 14
Spent some time this afternoon and cut out the blade and liners. I think I'm going to revise my template. I super glue both of the liners together cor drilling and shaping. Since both liners have the same template one gets taken off when glued together. I had to order a 4-40 tap since the one I had seemed to disappear.

Jacob
 

Attachments

  • 20181107_153511.jpg
    20181107_153511.jpg
    532 KB · Views: 15
  • 20181107_161245.jpg
    20181107_161245.jpg
    656.6 KB · Views: 15
Last edited:
More shop time today. I drilled and reamed the blade and the liners for the pivot pin. Since I don't have a pivot I made one out of drill rod. My first whoops was I drilled the lock bar relief hole through both liners. No big deal as it will be covered by scales. Just shows a lack of attention to detail.

Jacob
 

Attachments

  • 20181112_141317.jpg
    20181112_141317.jpg
    462.7 KB · Views: 14
  • 20181112_142949.jpg
    20181112_142949.jpg
    733.8 KB · Views: 14
  • 20181112_143157.jpg
    20181112_143157.jpg
    412.9 KB · Views: 14
  • 20181112_144506.jpg
    20181112_144506.jpg
    649.7 KB · Views: 14
Man it's getting cold. Had a couple of hours out in the shop today. Lapped the pivot pin and made some brass washers. I also rough cut the scales. My shop help was ready to go in.

Jacob
 

Attachments

  • 20181113_144623.jpg
    20181113_144623.jpg
    636 KB · Views: 15
  • 20181112_143220.jpg
    20181112_143220.jpg
    656.1 KB · Views: 13
Nice to see a handmade and tapped pivot. I haven’t seen one in a while. Looking forward to watching your build.
 
Well another whoops. One my first liner lock I used about four or five of the small Dremel cut off discs. While in town the other day I picked up the larger Dremel cut off discs that use the locking arbor. Big mistake. Once the disc cut through it caught and spun the center off the disc. I managed to ruin three of them.
I did manage to get the rear space done.

Jacob
 

Attachments

  • 20181114_145209.jpg
    20181114_145209.jpg
    534.1 KB · Views: 11
  • 20181114_141824.jpg
    20181114_141824.jpg
    572.1 KB · Views: 12
  • 20181114_145308.jpg
    20181114_145308.jpg
    637.3 KB · Views: 12
  • 20181114_145243.jpg
    20181114_145243.jpg
    686.2 KB · Views: 10
How are you holding the cutoff disc when you're cutting your lock bar?

I use the dremel EZ lock wheels in my mill. I can cut 4 locks with one wheel before it wears down too much.
 
I'm using the EZ lock cut off disc in my drill press. I clamp the liner in a vice and slide it back and forth. So there is really no control or stability. I think I might make a fixture for my lathe milling attachment for cutting the lock bar next time.

Jacob
 
A little more progress today. Drilled and installed the detent. I'm surprised that I only lost one of the 1/16 ball bearings. The bevels are done and the clay is drying. The blade is 1095 so I hope I can get a little hamon action.

Jacob
 

Attachments

  • 20181120_162504.jpg
    20181120_162504.jpg
    364.9 KB · Views: 7
  • 20181120_162452.jpg
    20181120_162452.jpg
    501.4 KB · Views: 6
Well dang it I need to make a new blade. Got it a little too hot before the quench. The edge has the old fried bacon look.
I did manage to get the liners tapped for the scales. Since I didn't have a counter bore for the scale screws I made one. I also turned down the OD of several of the fasteners for scales.

Jacob
 

Attachments

  • 15428441925031269058838.jpg
    15428441925031269058838.jpg
    888.3 KB · Views: 19
  • 20181121_122601.jpg
    20181121_122601.jpg
    1.2 MB · Views: 19
  • 20181121_130511.jpg
    20181121_130511.jpg
    517.9 KB · Views: 16
The good news is the blade is centered when closed and the detent pulls the blade closed.

Jacob
 
Last edited:
The edge is about .005 to .007. The wrinkle extends over 1/4" up the bevel. So by the time it's fixed the with of the blade will be narrower than I would like.
As far as getting it too hot, well it just looks like it to me.
I kind of wished it worked but making a new blade won't be bad. It seems I actually spent more time on the liners and scales.
I see this as refining my process.

Jacob
 

Attachments

  • 15428599361681705309799.jpg
    15428599361681705309799.jpg
    452.5 KB · Views: 7
This is precisely why I bevel my blades POST heat treat! The very thickest steel stock I use (approx. .180"), I may grind 25-50%.

Great work though Jacob! I am wondering though, why the choice of 1095 for a folder blade?

Thanks. I will bevel the next blade after HT. The stock I'm using is around 3/32". The reason for using 1095 is that it's what I have on hand. The only money I have spent on supplies or materials were for the 1/16 detent bearings, the corresponding drills, and the 4-40 tap. Oh and and the cut off wheels.

Jacob

You don't have to defend your steel choice to anyone.

There have been tens of thousands of carbon steel pocket knives in the past. And there are plenty of valid reasons to still make carbon steel folders.

And 1095 is a perfectly good blade steel....period.
 
Well got the second blade HTed. Next I'll grind the bevels.

Jacob
 

Attachments

  • 1543459748492249573500.jpg
    1543459748492249573500.jpg
    437.6 KB · Views: 13
Second blade has some issues. I drilled the detent hole on the blade before it was completely closed. Aaguh. Fortunately this blade is wide enough that the point can be dropped.

Jacob
 

Attachments

  • 15440628789321093466909.jpg
    15440628789321093466909.jpg
    421.9 KB · Views: 5
Looking good and nice job on all the fabricating of your parts. Making pivots and fasteners yourself is pretty cool in my book. Looking forward to the end result.

Jeremy
 
Back
Top