You are using an out of date browser. It may not display this or other websites correctly.
You should upgrade or use an alternative browser.
You should upgrade or use an alternative browser.
Morland's KITH WIP
- Thread starter Dennis Morland
- Start date
Dennis Morland
KNIFE MAKER
What thickness is your brass stock?
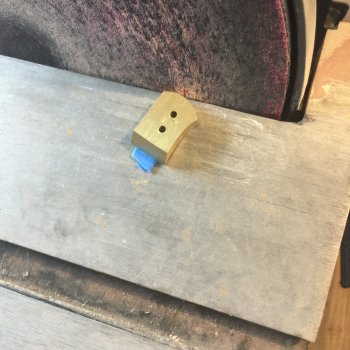
.250. I was gifted two pieces of brass when I first started making knives. .250x2x48. Yep, 8 feet of brass. Pretty awesome. That was about 5 years ago. I cut an inch off of the second piece today for these bolsters. I should be good for about 5 years if I keep the same pace.
Chris Railey
Well-Known Member
Nice
Dennis Morland
KNIFE MAKER
Daniel Macina
Well-Known Member
This is great! Thanks for sharing!
Dennis Morland
KNIFE MAKER
Dennis Morland
KNIFE MAKER
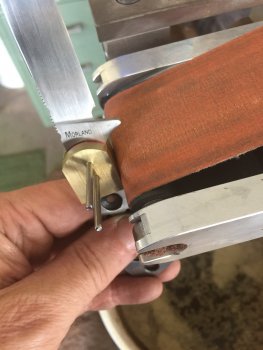
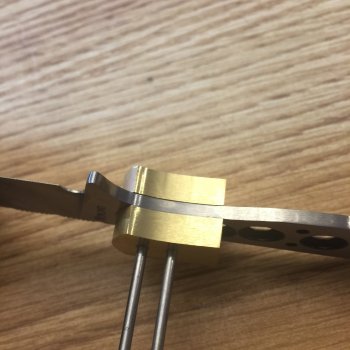
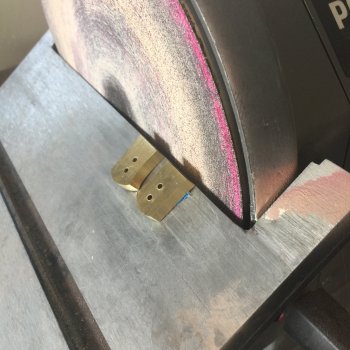
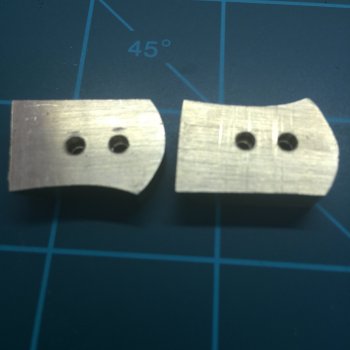
The good part about building bolsters this way is that the back remains square to each other. If you want square backs then stop here. I prefer dove tailed bolsters so I’m headed to the disc grinder set at 30 degrees.
Attachments
Dennis Morland
KNIFE MAKER
I will grind the dove tail at 30 degrees. You can use whatever angle you wish. This machine hardly ever moves from 30 degrees. If you use your disc grinder and change the settings then grind your scales also. You will not have to guess on the setting later.
Attachments
Dennis Morland
KNIFE MAKER
Dennis Morland
KNIFE MAKER
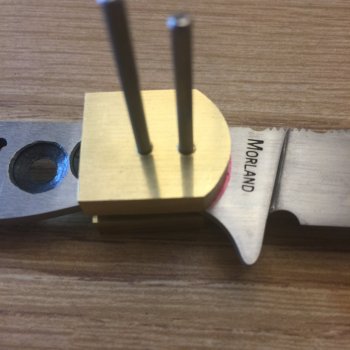
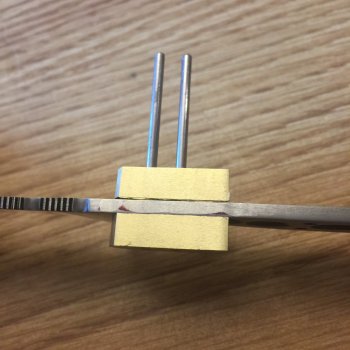
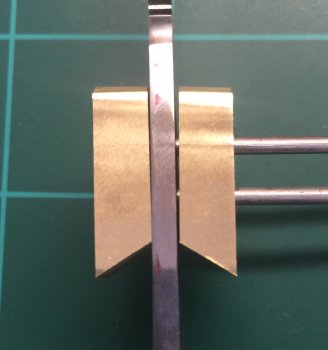
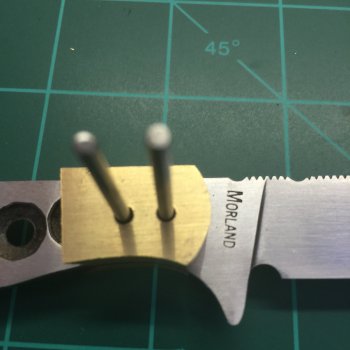
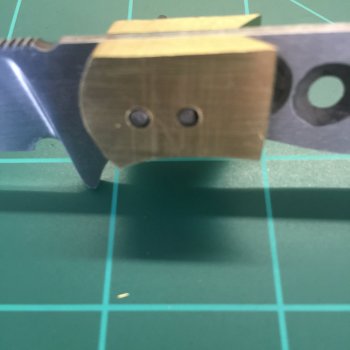
I forgot the mention but the inside of the bolster goes down on the disc grinder. For me that is the R and the L. I have screwed this up before and it forces you to start over. Another reason I use the R and L.
Dennis Morland
KNIFE MAKER
Dennis Morland
KNIFE MAKER
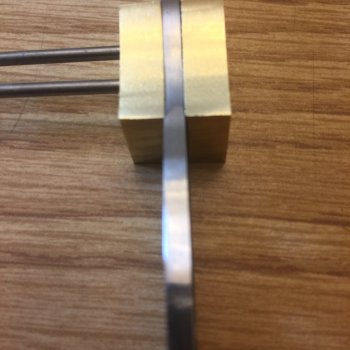
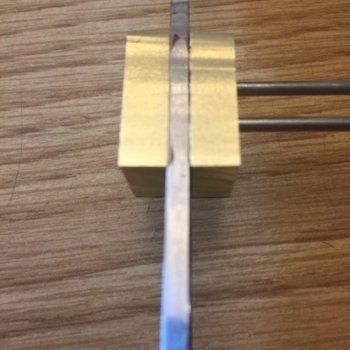
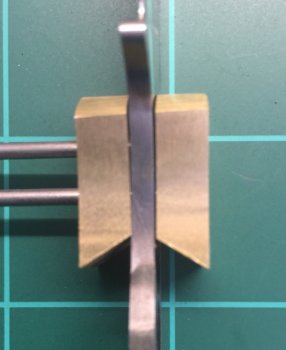
Now R and L go down. Taper the outside of the bolster. I screwed this up before also.
Dennis Morland
KNIFE MAKER
Dennis Morland
KNIFE MAKER
Dennis Morland
KNIFE MAKER
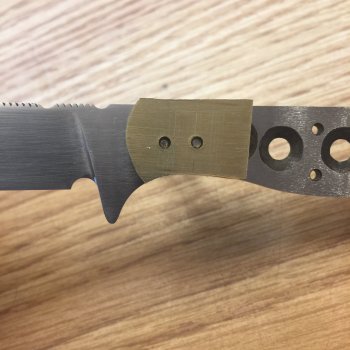
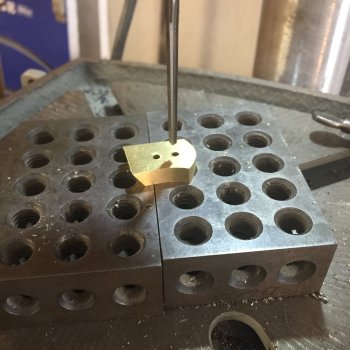
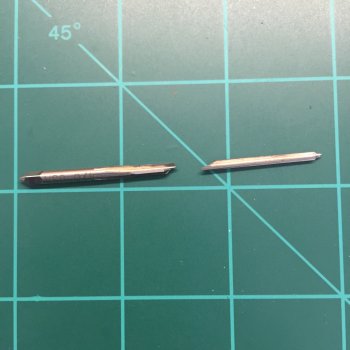
You can see the space that the reamer made outside the dummy pin. This space will be filled with the brass pin that is used to attach the bolsters. This is why they will not ever fall off or move. It is a good thing.
Attachments
Dennis Morland
KNIFE MAKER
Up next is shaping and finishing the front of the bolsters. I am getting tired and losing focus so I will stop here. It takes about 4-5 times more time to stop and take pictures. Then post them. I usually can get bolsters finished and on the knife in a couple of hours. I am about half done and it feels like I have been working on them all day. Whew!!
Dennis Morland
KNIFE MAKER
John Wilson
Well-Known Member
GREAT WIP!!
Johan Nel
Well-Known Member
I concur. Will watch this one closely.GREAT WIP!!
Dennis Morland
KNIFE MAKER
I did not stay at a Holiday Inn but I did sleep like a baby. Well rested and ready to go. I headed to the disc grinder to work on the front of the bolster. I also do the top of the bolster. Again still at 30 degrees. Never moves.