Dennis Morland
KNIFE MAKER
I was inspired by Bossdog and his attempt to give advice to getting better knife pictures. I will attempt to build a light box to aid in that goal. My budget will be $5.00.
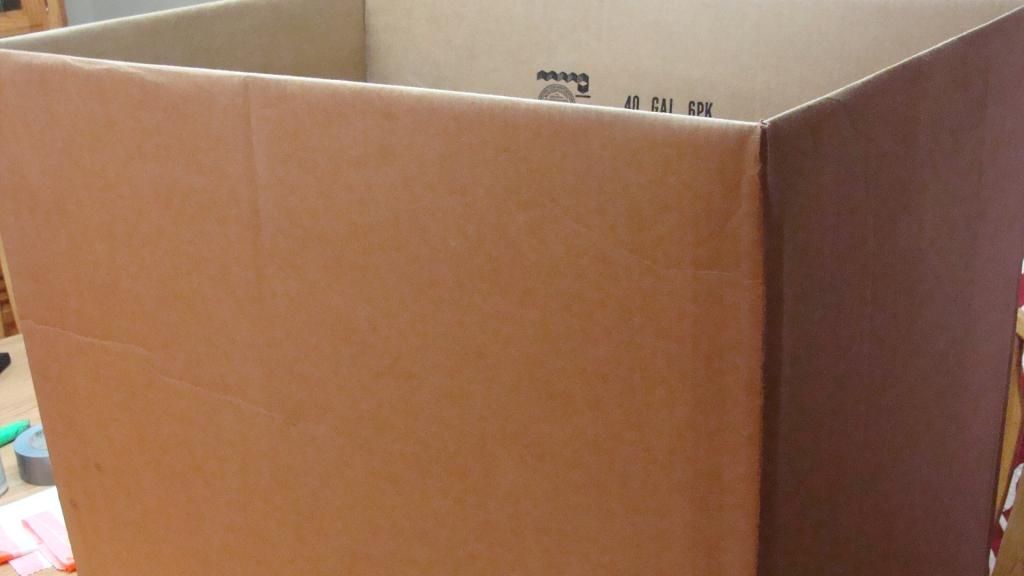
First, I needed to obtain an appropriate box. I found one that was approximately 20x25x30. A fairly heavy box. Best deal in town - free. A good start to the build.
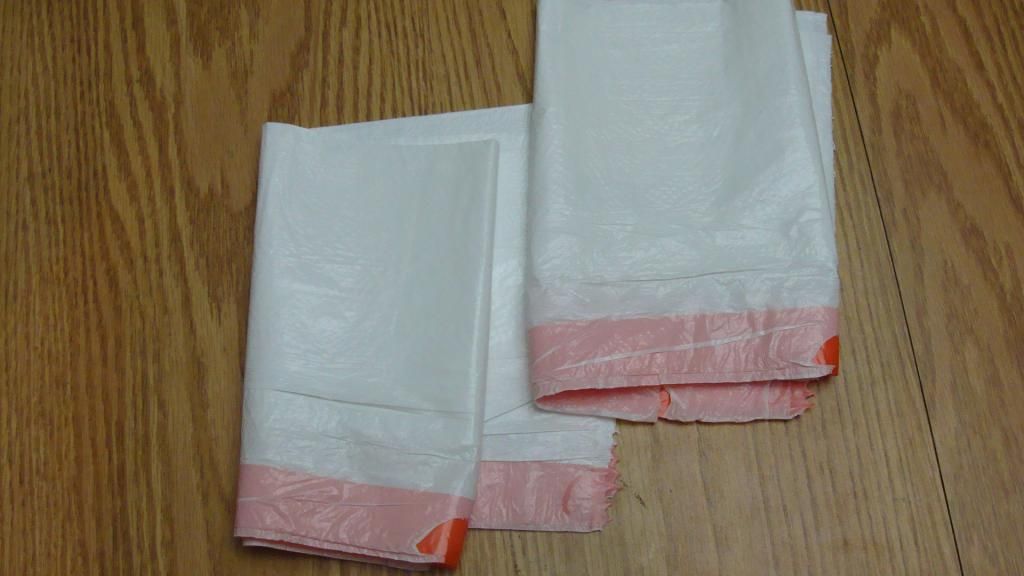
You will need to obtain a few white trash bags from the kitchen.
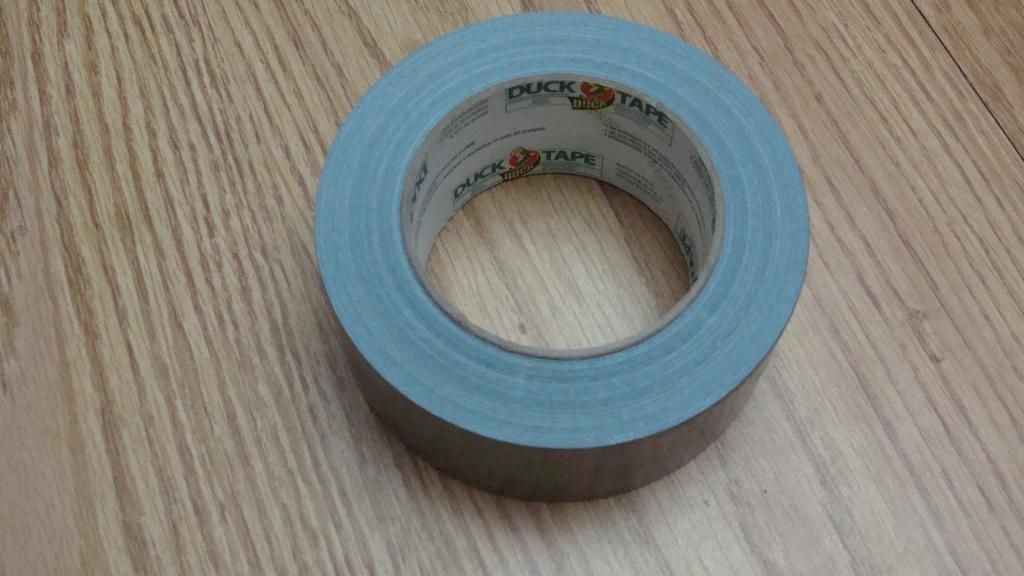
You will need a roll of duct tape. Around $2.50. BTW: The inventor of duct tape is my HERO!!!! Epic stuff.
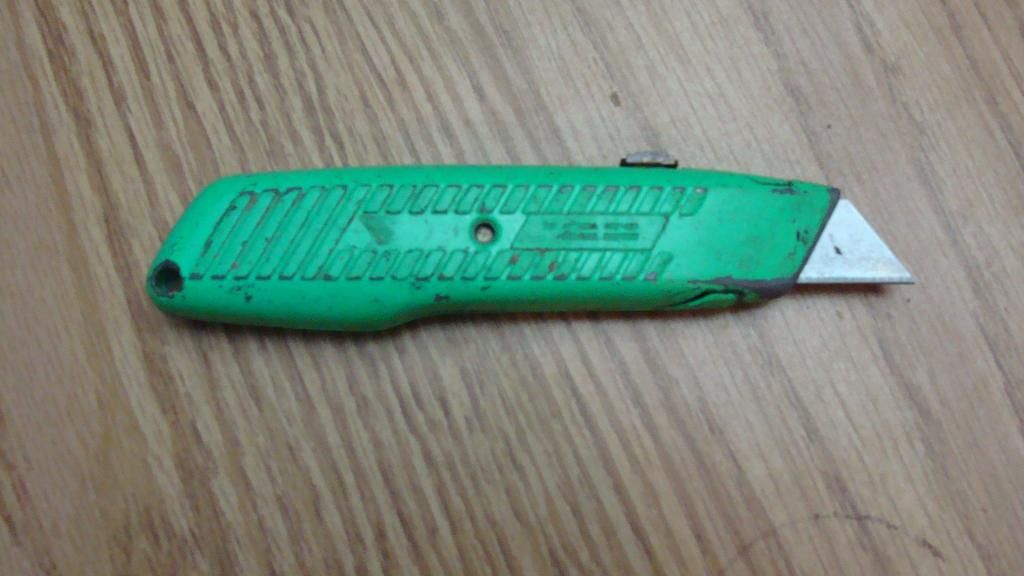
You will need a sharp utility knife.
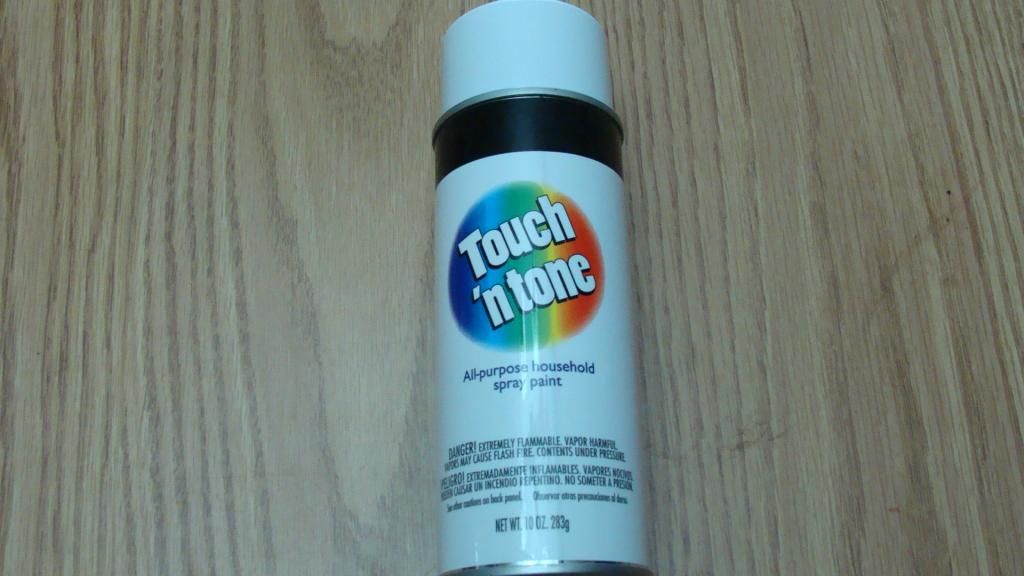
You will need two cans of cheap white spray paint. Bargain bin - 96 cents.
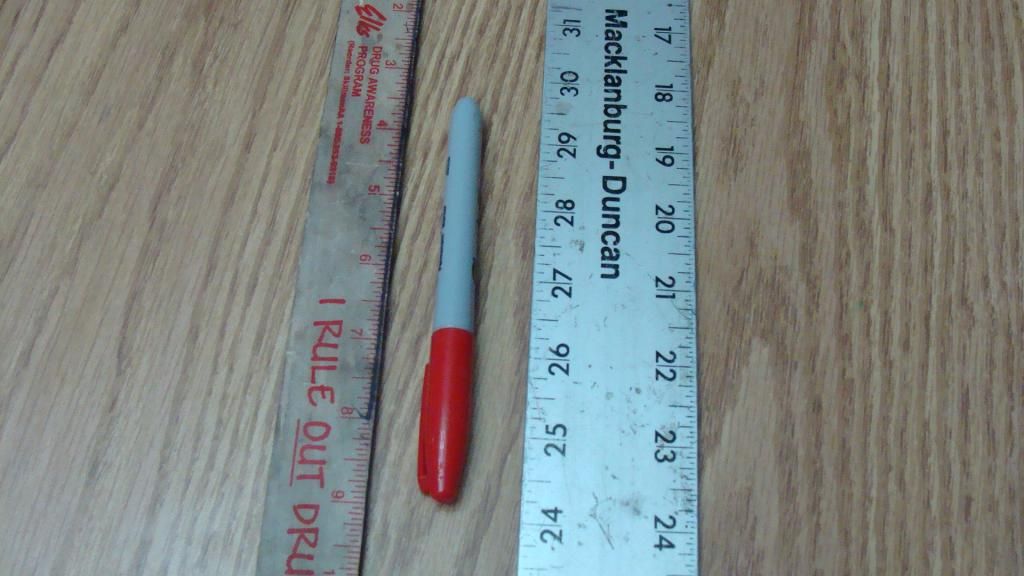
You will need a marking device and a ruler.
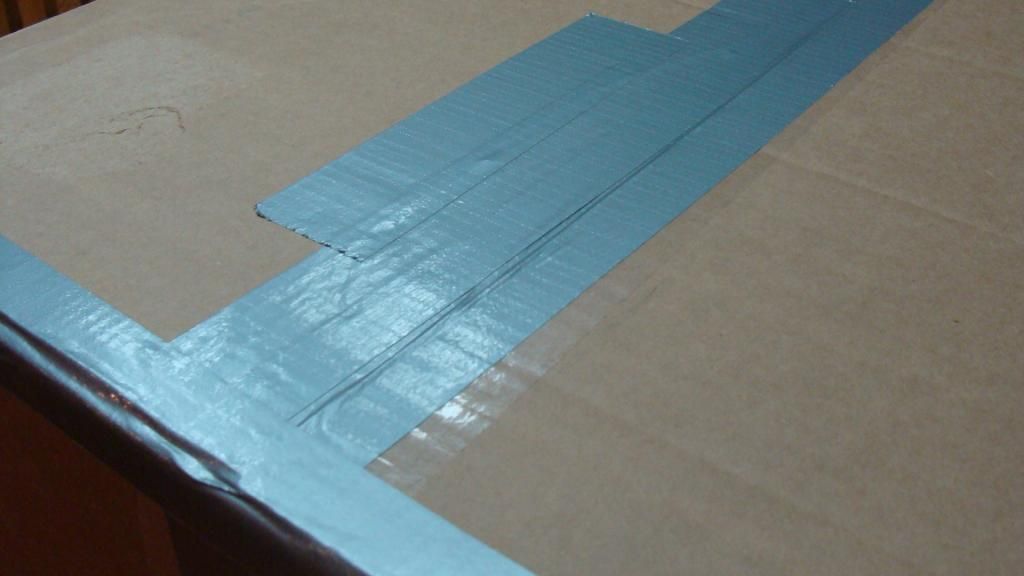
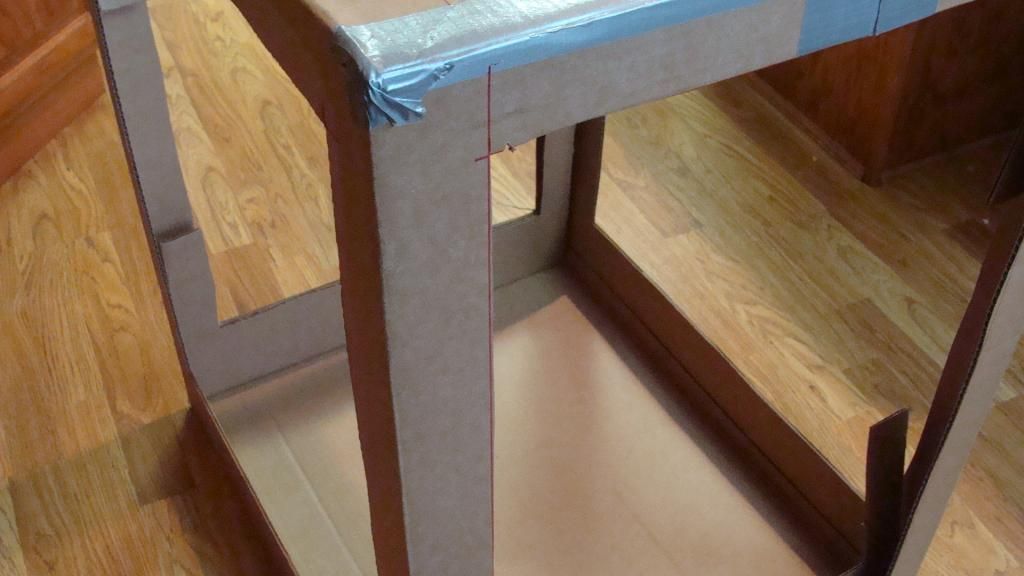
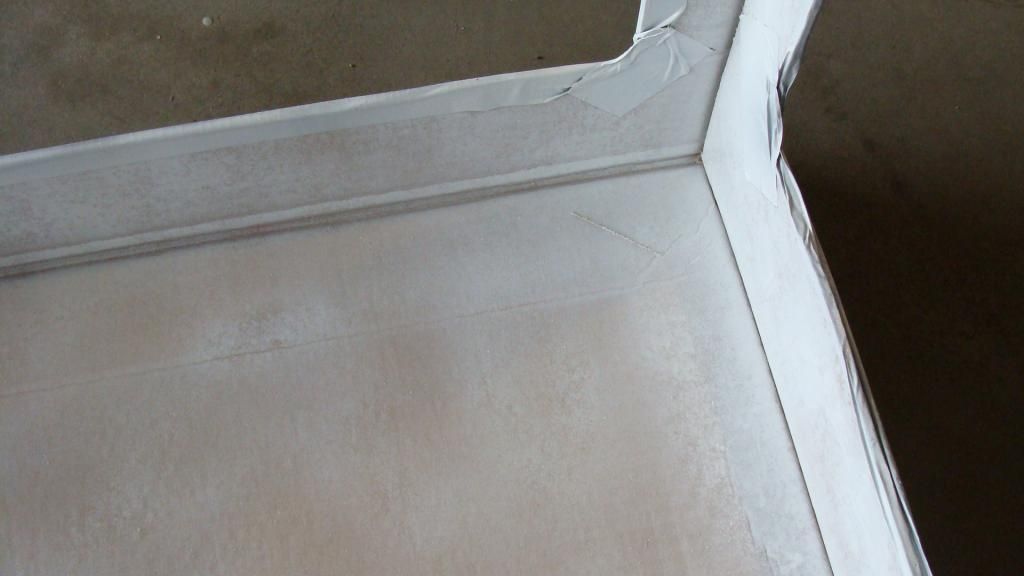
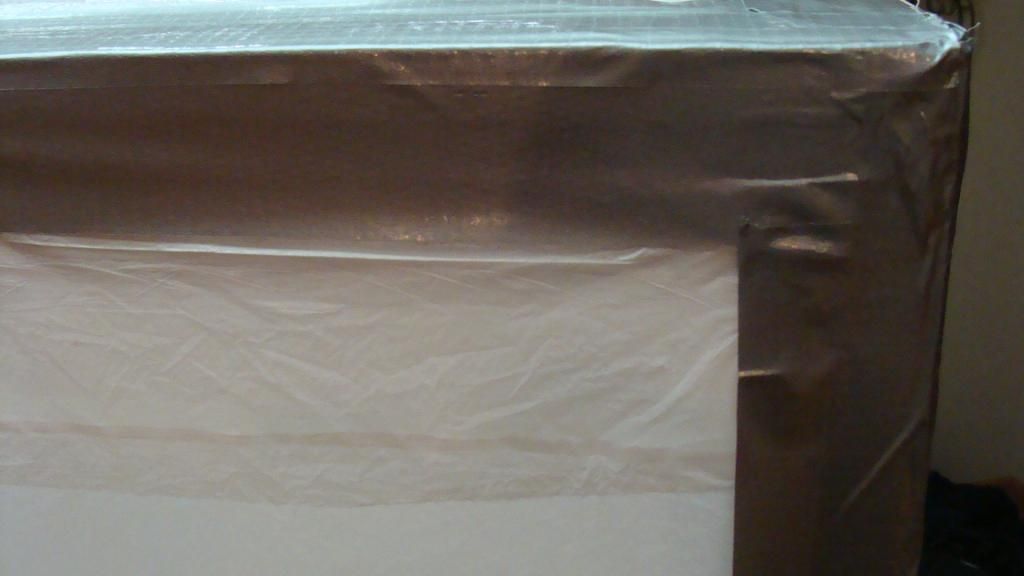
The first thing that I did was duct tape all the open edges for reinforcement purposes. Because I plan to remove most of the box - it needs this step.
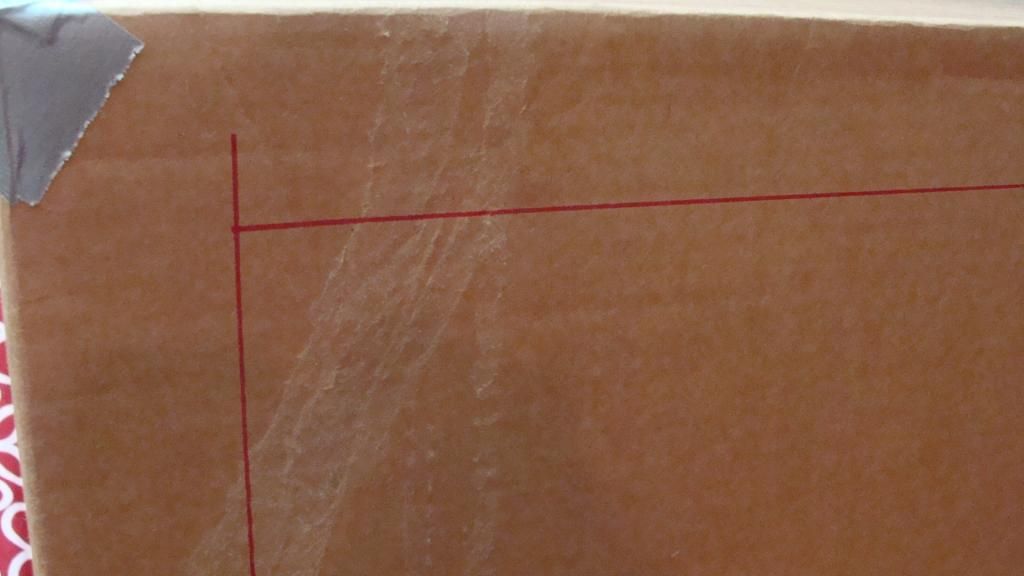
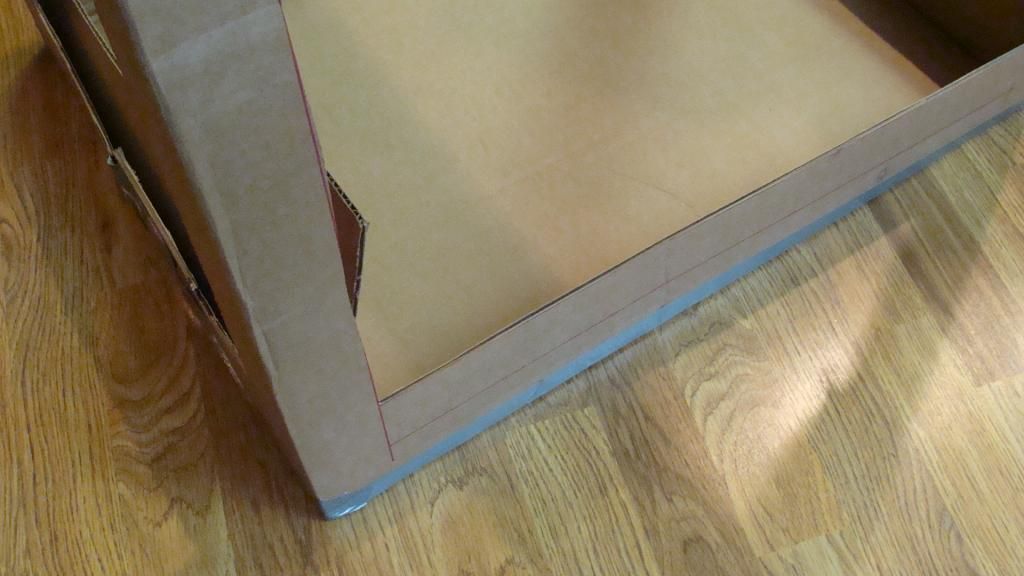
The next step was marking the box where I will cut away the openings. I used 2 inches for the sides/top and 4 inches for the bottom edge.
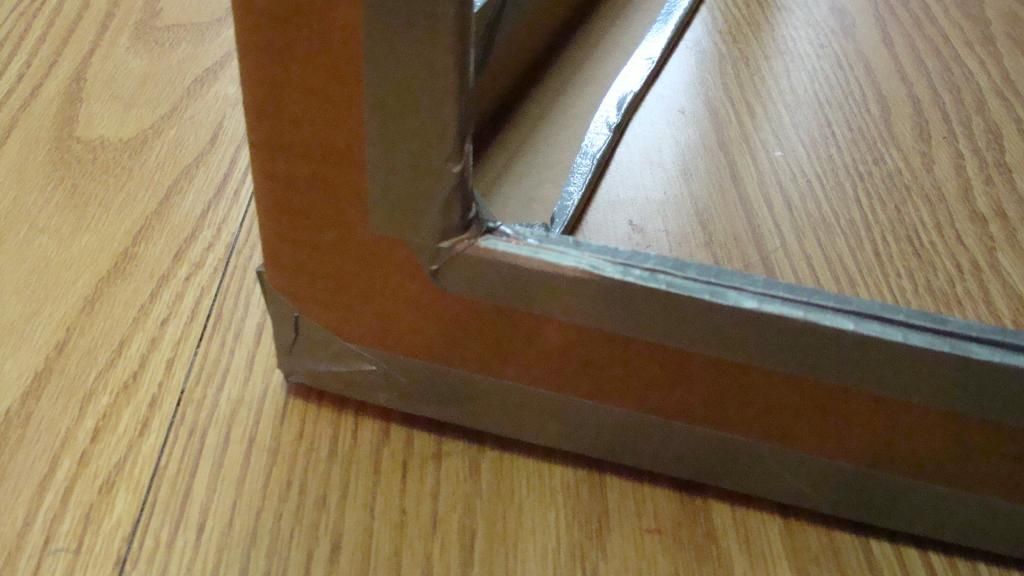
Next step is to use the utility knife to carefully cut on the laid out lines to remove the centers of the top and sides.
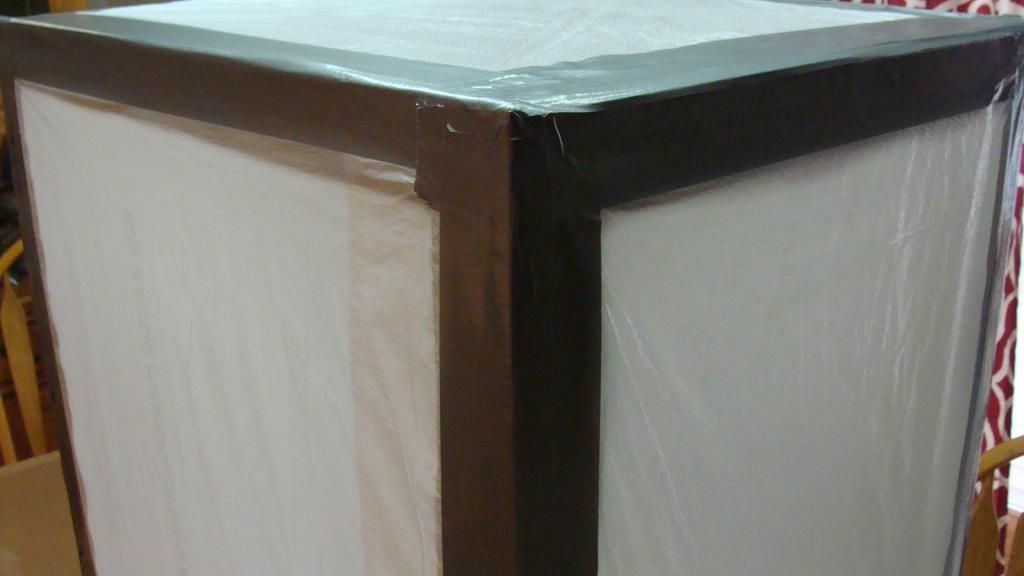
I then duct taped all the cut edges.
Time to paint inside and outside.
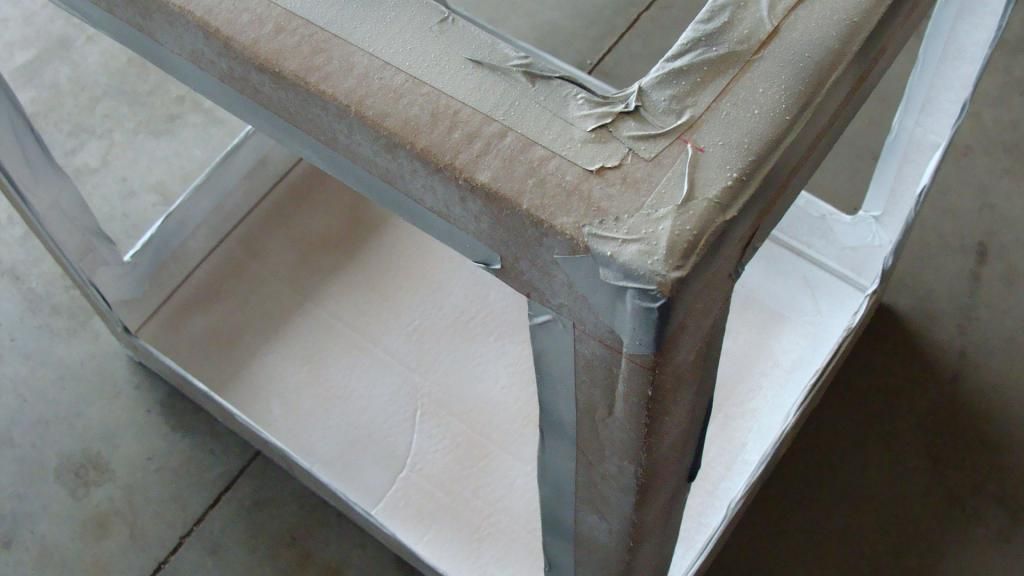
Next, cut and attach the trash bags to each opening.
Done!
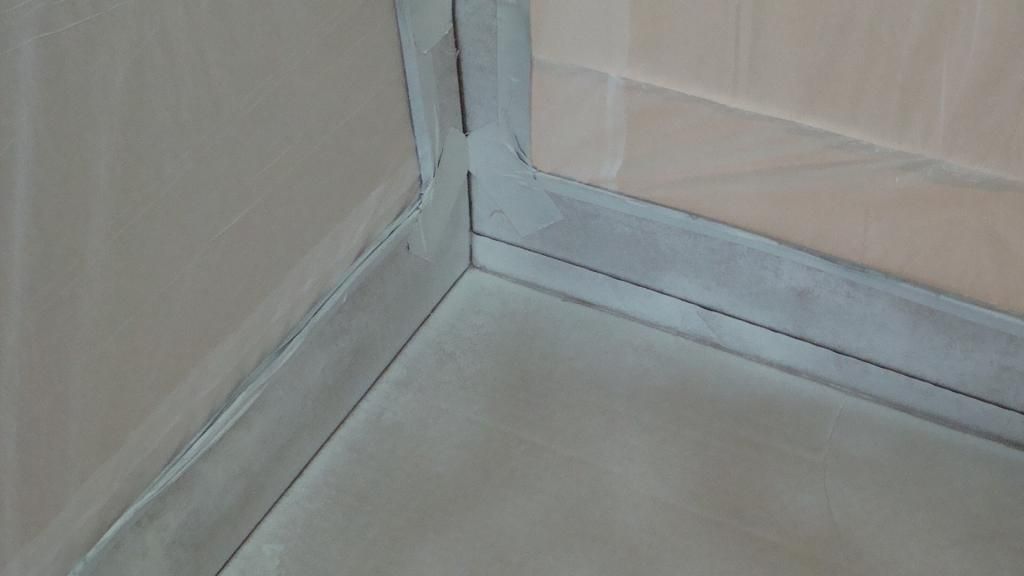
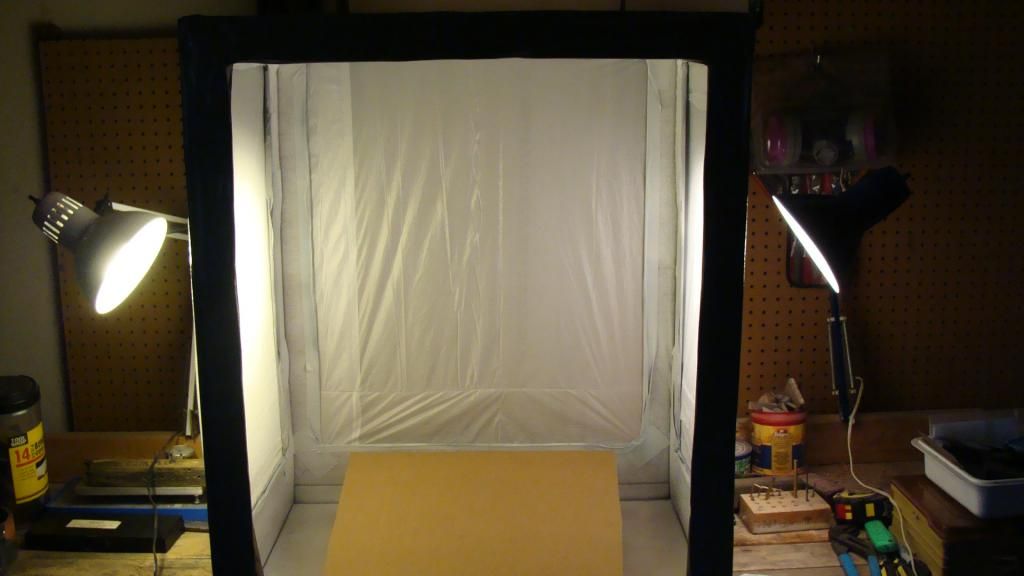
Here is a quick shot of the inside of the light box.
All set up for the first time.
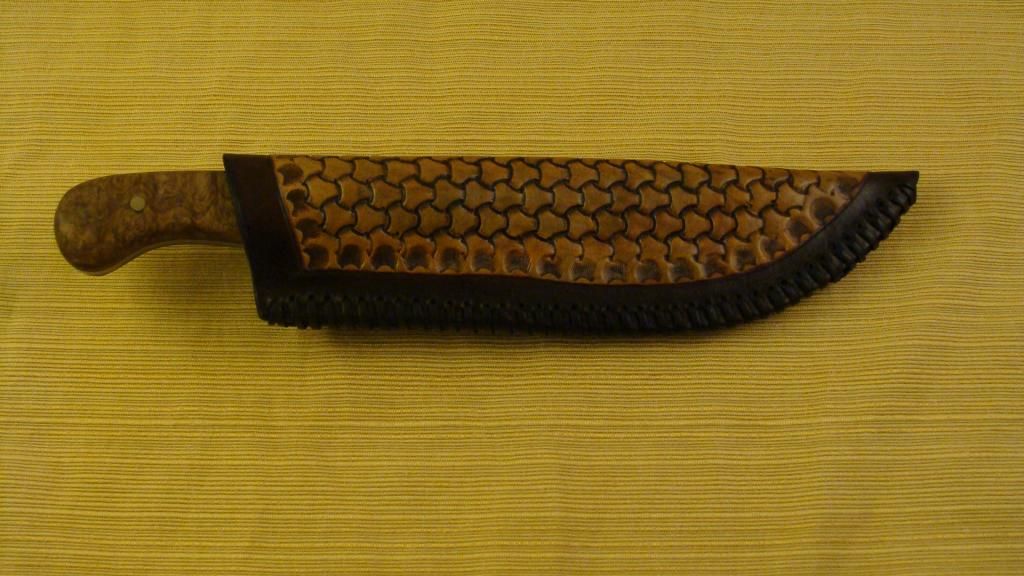
The very first knife picture from the new light box. I think it has helped me take a better picture.
If you have any suggestions. Please add them.
DeMo
First, I needed to obtain an appropriate box. I found one that was approximately 20x25x30. A fairly heavy box. Best deal in town - free. A good start to the build.

You will need to obtain a few white trash bags from the kitchen.

You will need a roll of duct tape. Around $2.50. BTW: The inventor of duct tape is my HERO!!!! Epic stuff.

You will need a sharp utility knife.

You will need two cans of cheap white spray paint. Bargain bin - 96 cents.

You will need a marking device and a ruler.

The first thing that I did was duct tape all the open edges for reinforcement purposes. Because I plan to remove most of the box - it needs this step.

The next step was marking the box where I will cut away the openings. I used 2 inches for the sides/top and 4 inches for the bottom edge.

Next step is to use the utility knife to carefully cut on the laid out lines to remove the centers of the top and sides.


I then duct taped all the cut edges.

Time to paint inside and outside.


Next, cut and attach the trash bags to each opening.

Done!

Here is a quick shot of the inside of the light box.

All set up for the first time.

The very first knife picture from the new light box. I think it has helped me take a better picture.

If you have any suggestions. Please add them.
DeMo
Last edited:


