Alright well the voyage continues!
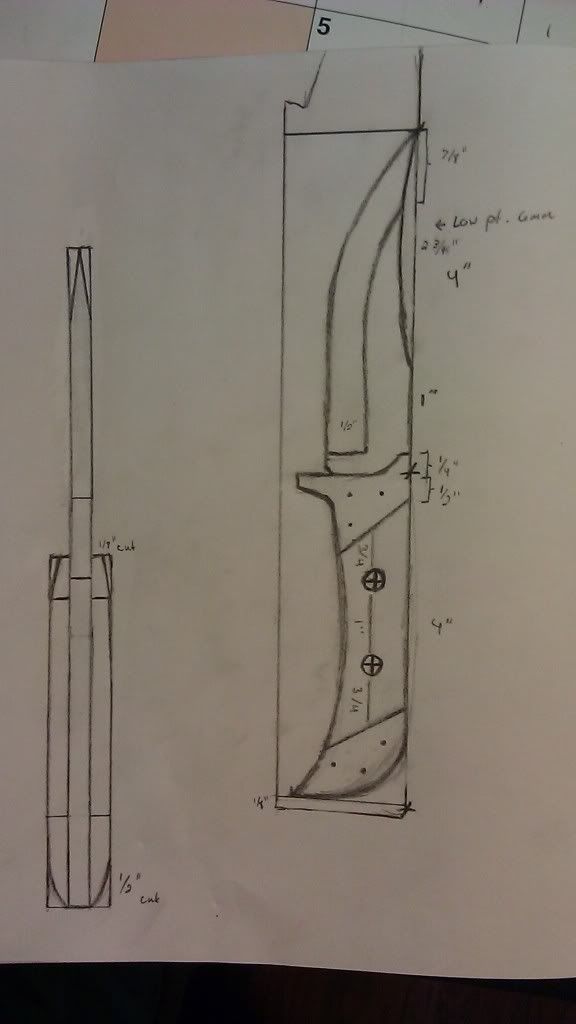
With this picture I have a lot to explain so bare with me
")
.
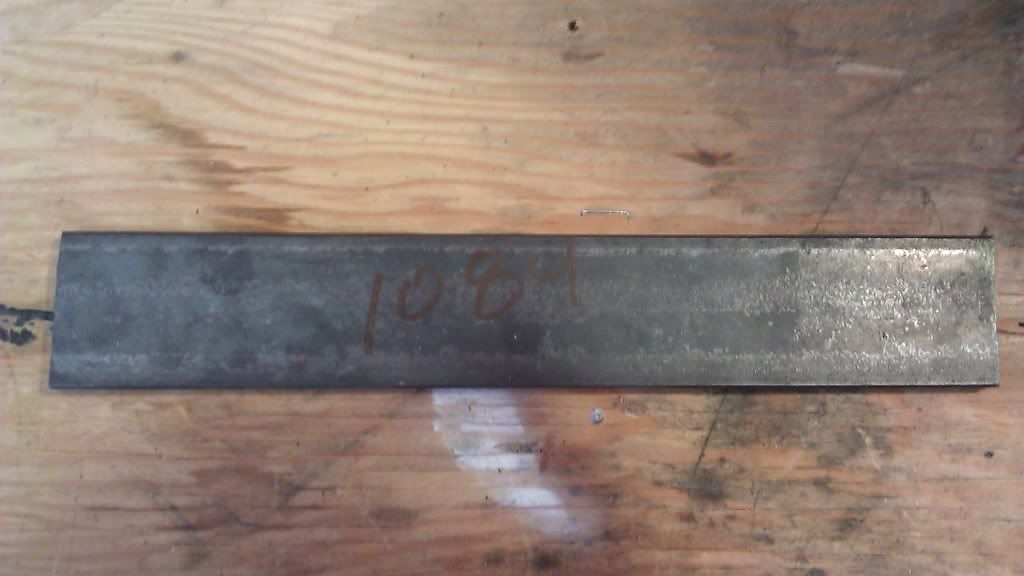
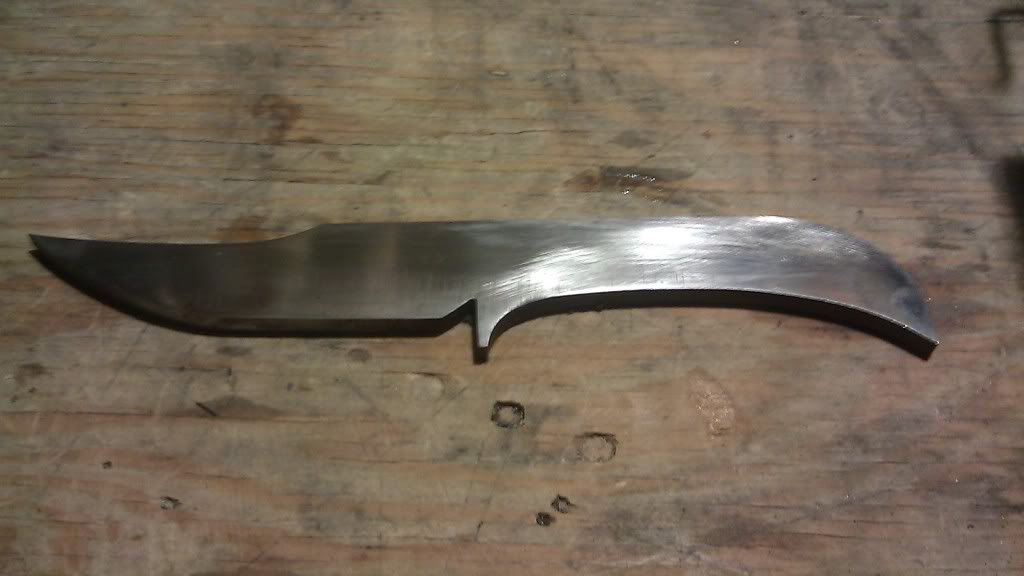
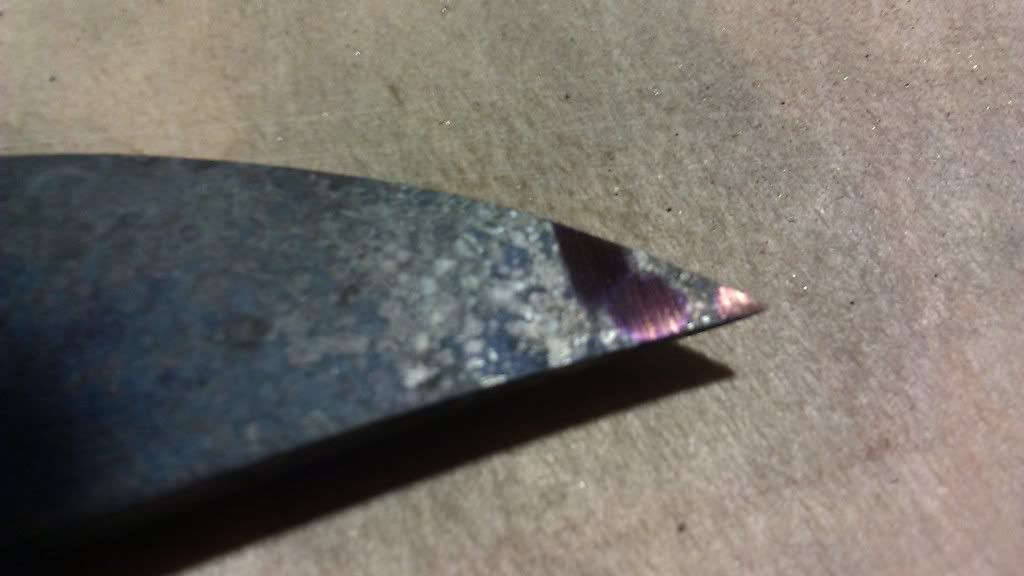
I finally sanded the knife to 220 grit and I went ahead and took it to the forge outside (There's some pictures of it on another one of my recent threads about HT.) I bought some of those instant light briquets which worked pretty well surprisingly, I'm not a big far of briquets but these worked fine. I lit the forge and took about a gallon of canola oil and set it aside right next to the forge. I heated the blade till it was a dark orange-ish which was the point where the kitchen magnet wouldn't stick what so ever and I dunked it for a little and took it out, and I repeated the dunking untill it was touch safe, but just to make sure I did it right I did it again. This time I screwed up and put the tip too far into the forge, (didn't have very good pliers to hold on) and the tip turned yellow and folded over). I wasn't thinking so after I dunked it once I though I should straighten it, I tapped it on a brick and the tip broke off. So I finished the HT and tempered it in my kitchen oven for 2 cycles at 450 degrees for 1 hour each. And I let the blade cool off for 30 minutes before touching it after it was out of the oven. Then I fixed he tip and moved on!
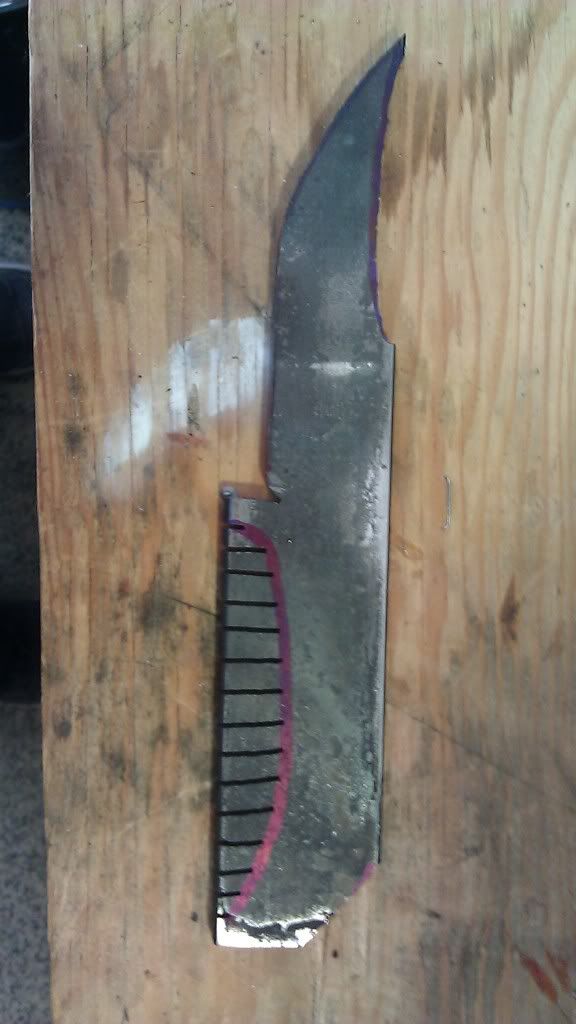
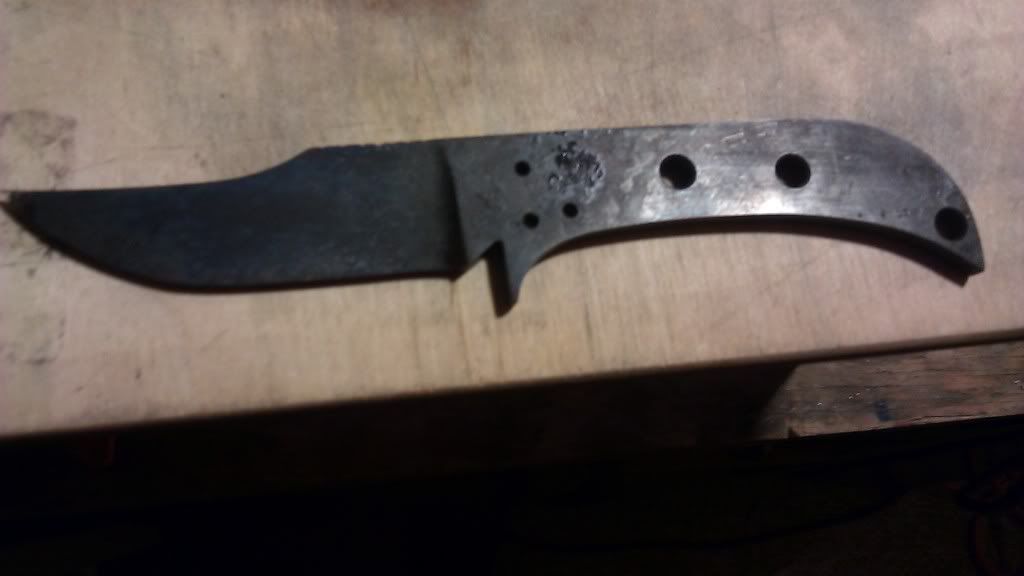
This is the blade after all that, with the junk still on it.
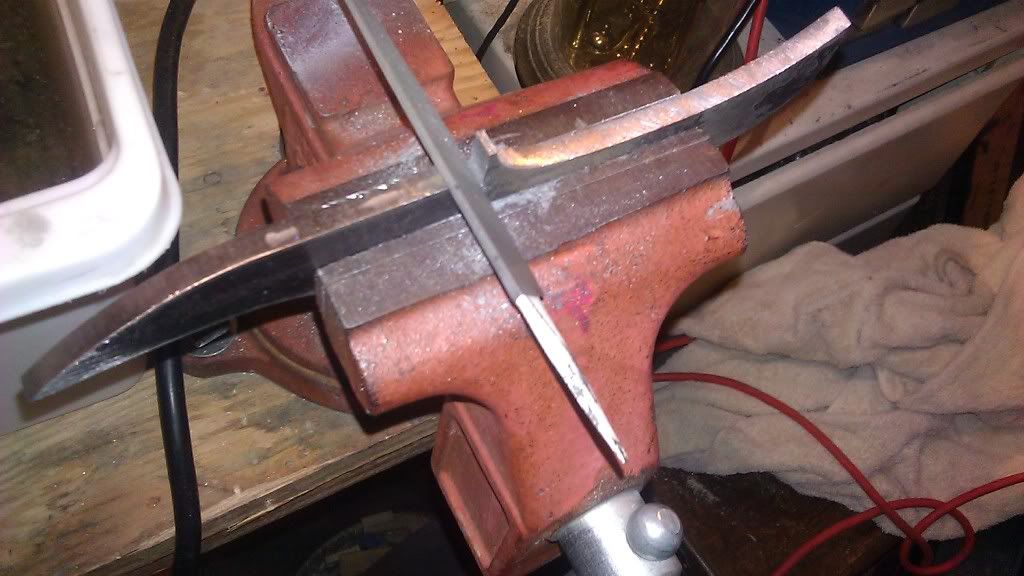
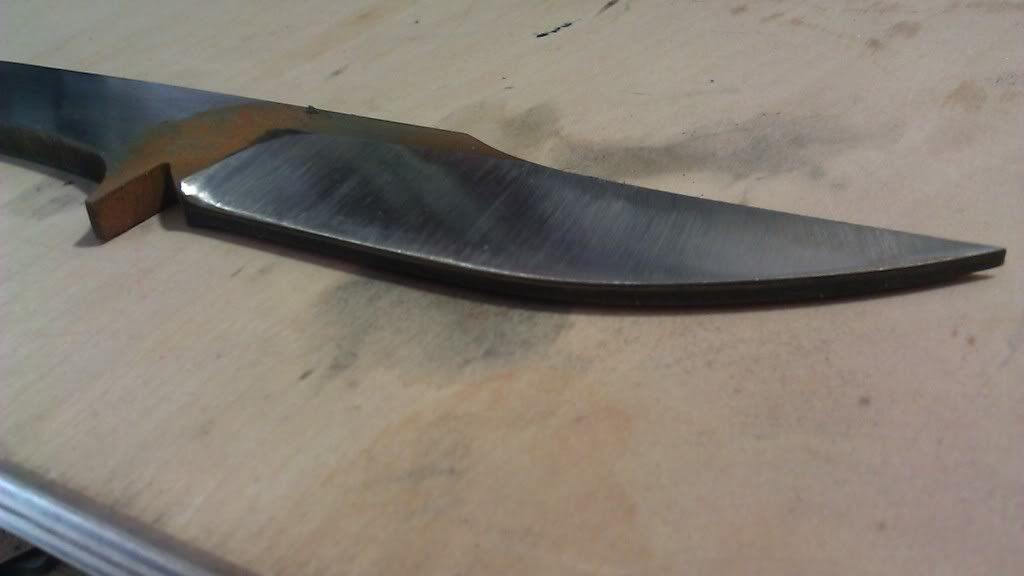
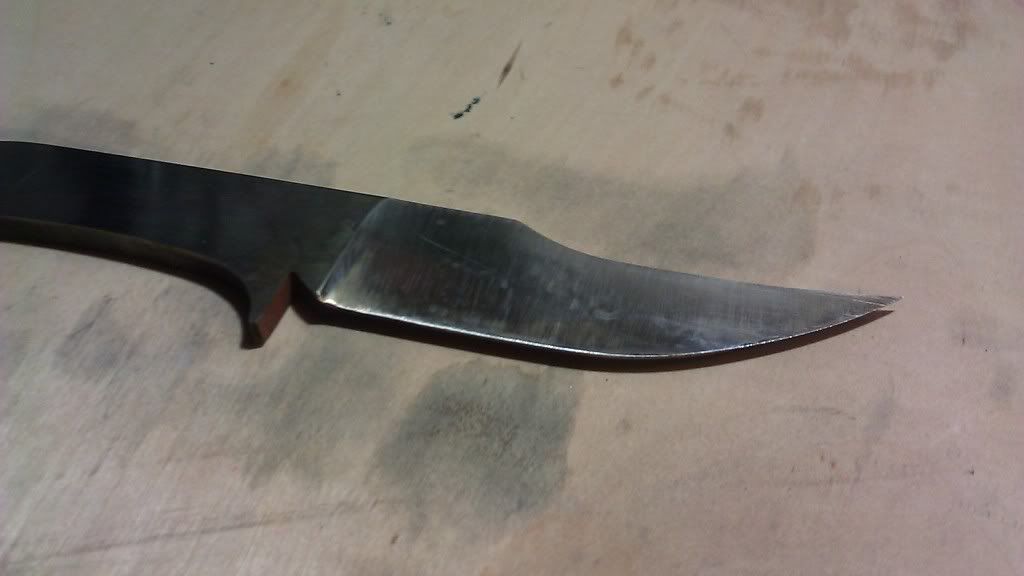
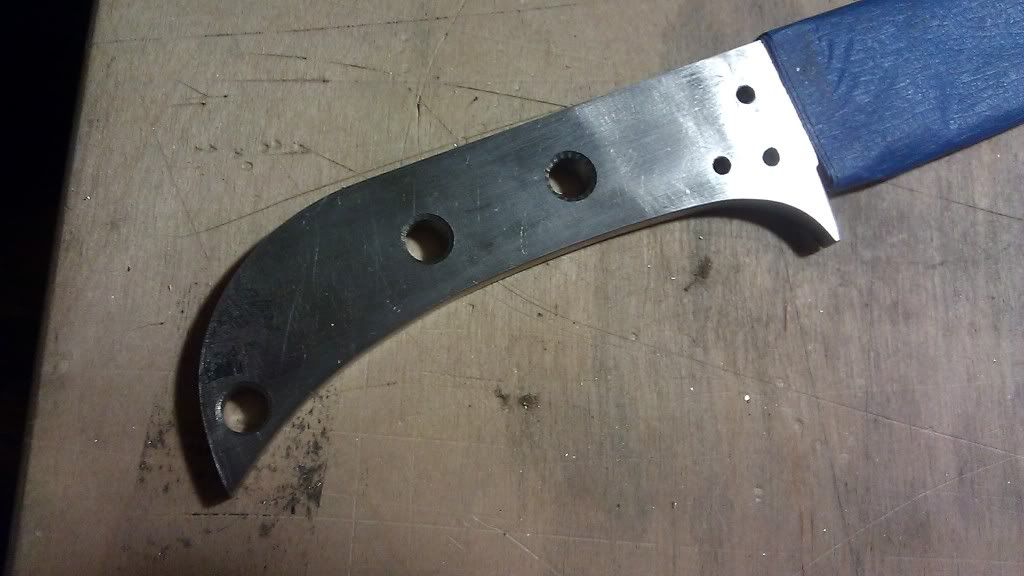
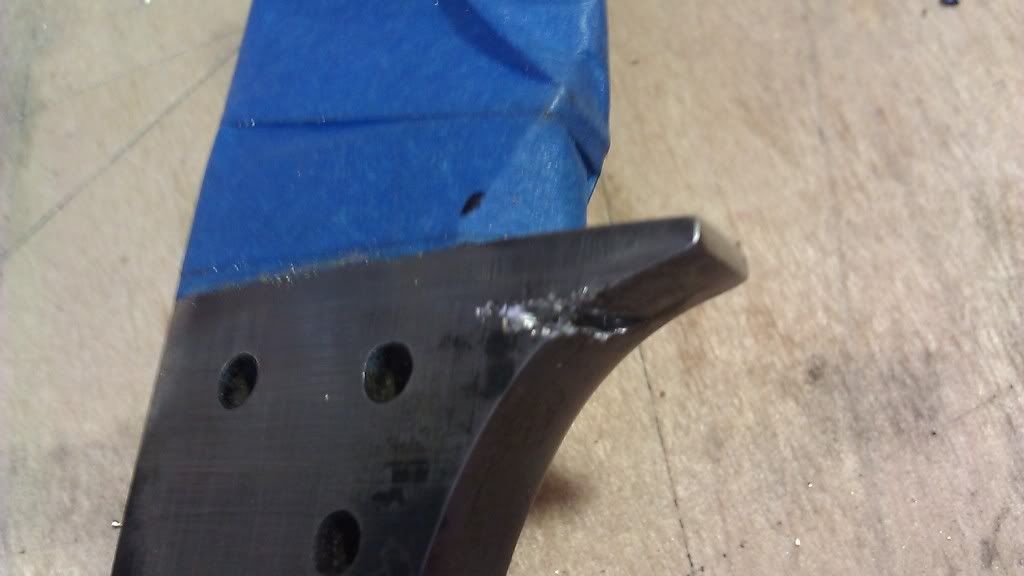
This is the picture of what I had to grind when fixing the tip. Also you can see the blisters left from the HT, I forgot to take pictures of the knife after I was done sanding it but lets say its a mix between a sub mirror finish and keeping the blisters (They look nice).
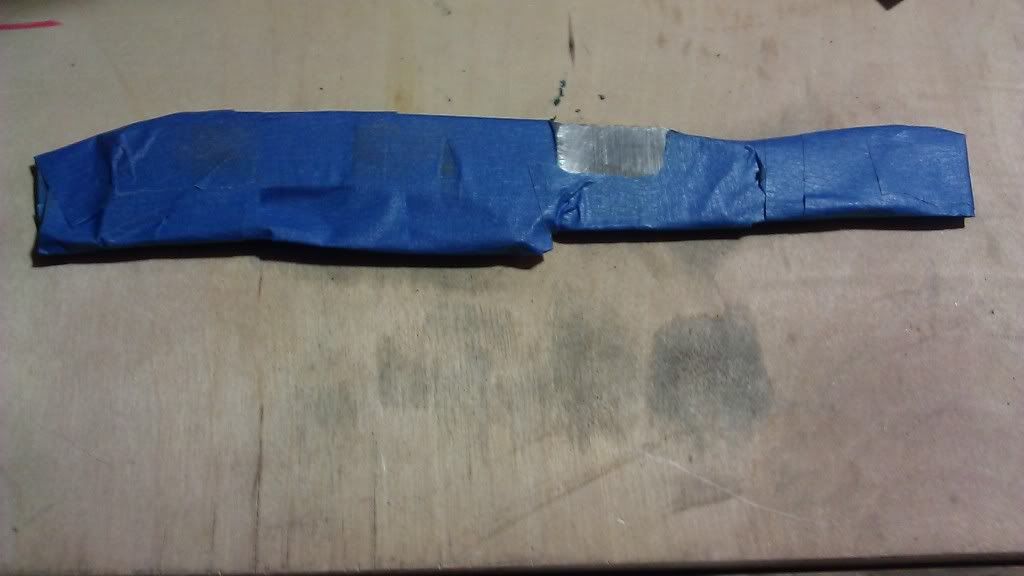
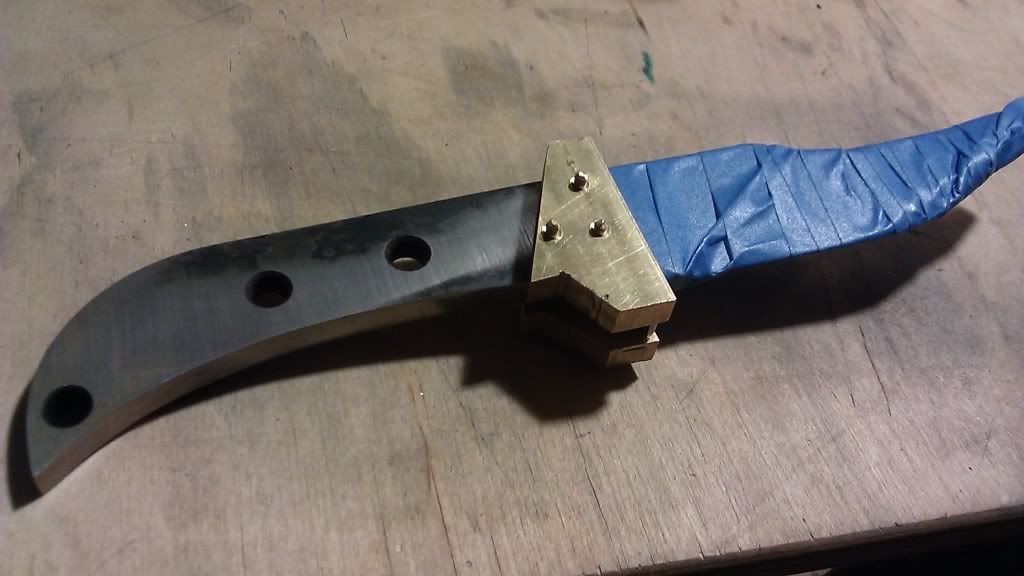
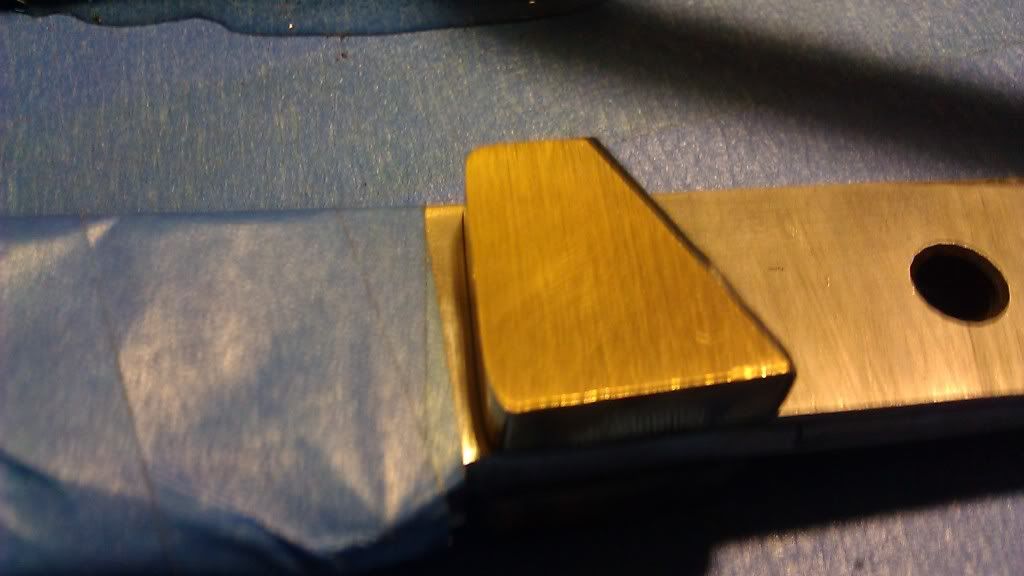
Then I wrapped the blade in some masking tape to keep it from scratching, thank you again Rex for the supplies! And I fit the bolsters on to check if they were snug.
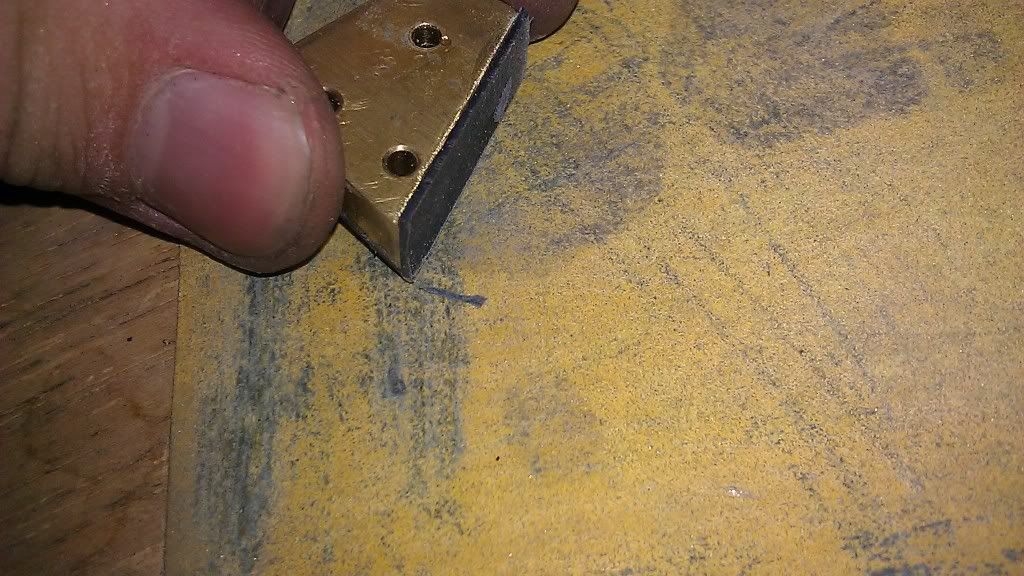
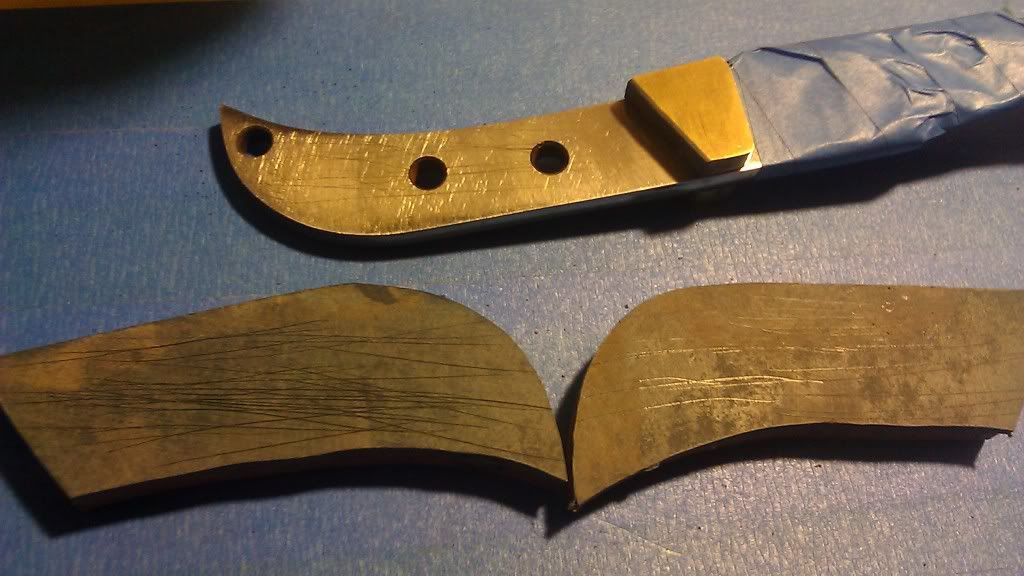
But then out of sheer stupidity I tried to use my band saw to cut wedges into the left over brass to make it easier to file off so I wouldn't ruin the sanded handle and the saw sucked up the knife and nicked it pretty bad. But I just cut that part off and made it straight and continued forward.
After shaping the brass to the new form and shining the top I decided to at liner material to it and because the brass is so dang soft I am hand sanding the liner so I don't ruin the shape of the brass. (It's pretty thick liner.)
I decided to add one more line of liner material to the handle to accentuate some more colors into the handle thus making somewhat of an L shape with the material.
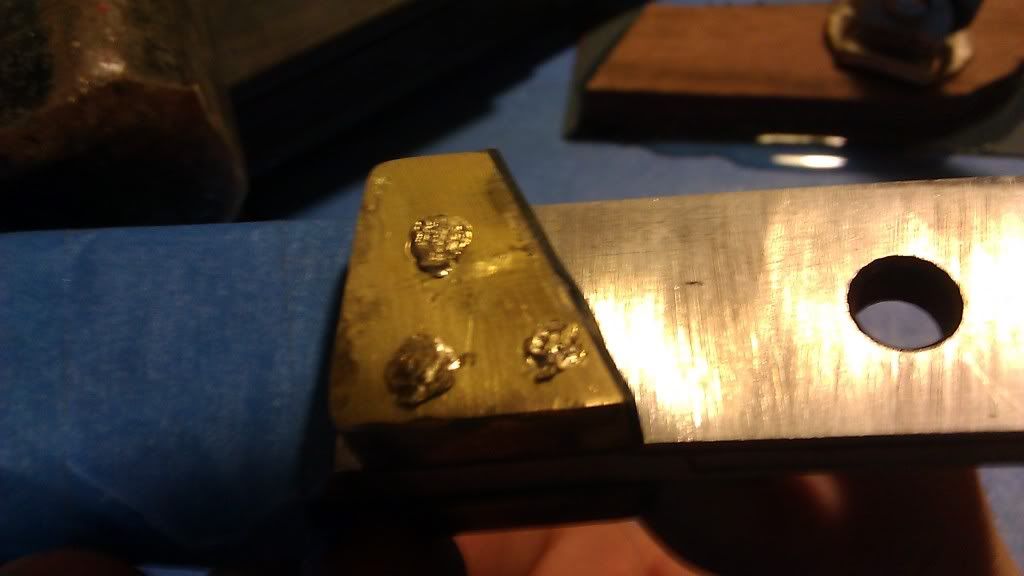
Then came the peening, it is pretty difficult if you have very long pieces of pin material but I had perfect amount to I didn't bend. You can see it's my first time since it looks pretty sloppy but it kept the bolsters very firmly in place.
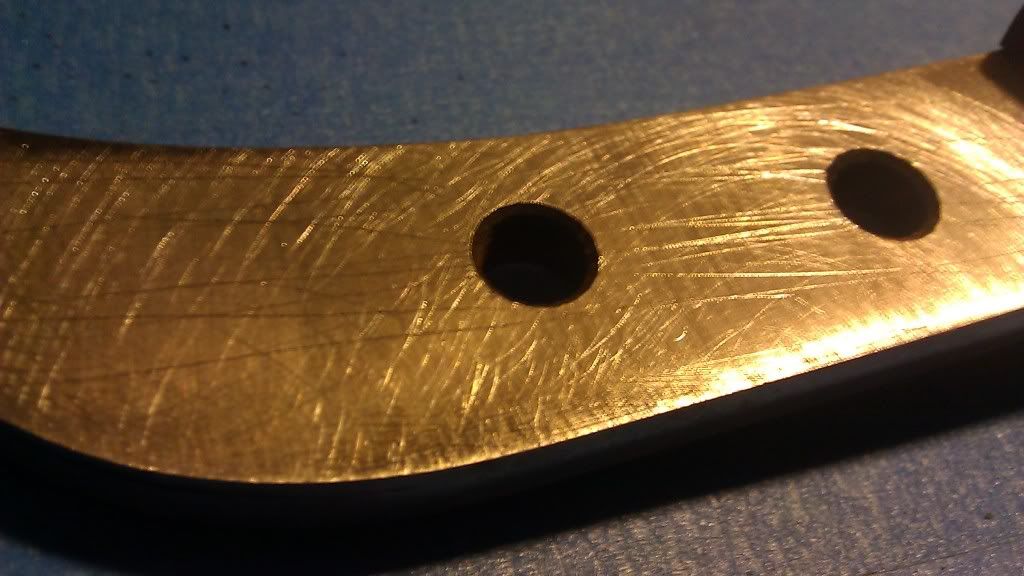
Then I lightly ground the bolsters to make the pins disappear!
Next I cut out the rough shape of the handle on a piece of walnut slab, Again thank you Rex! and glued some liner material on it. I flattened the sides I was going to stick the knife on and I used my band saw to cut the slabs from a block of wood a couple mm bigger than what I want so I can sand it back down later.
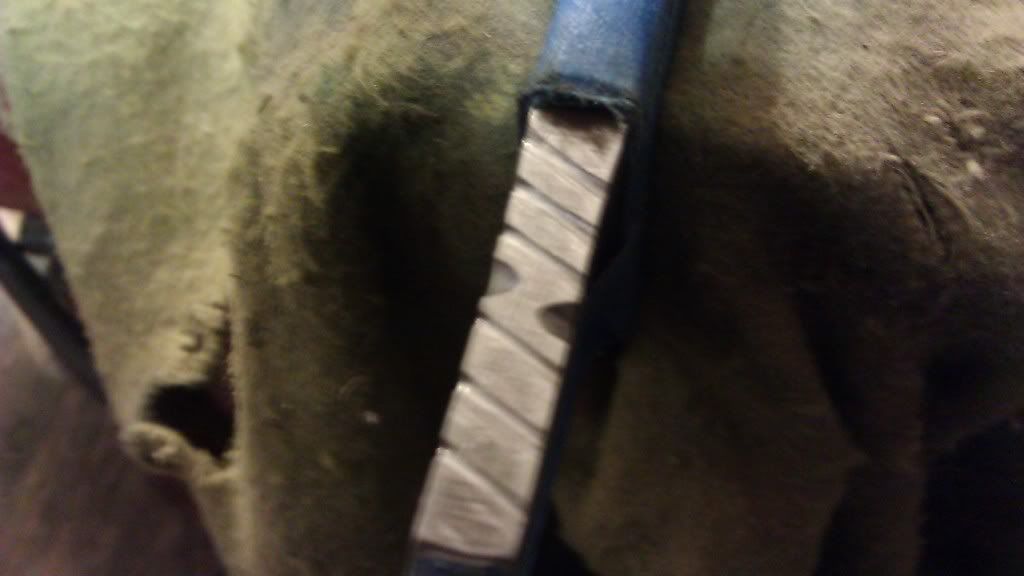
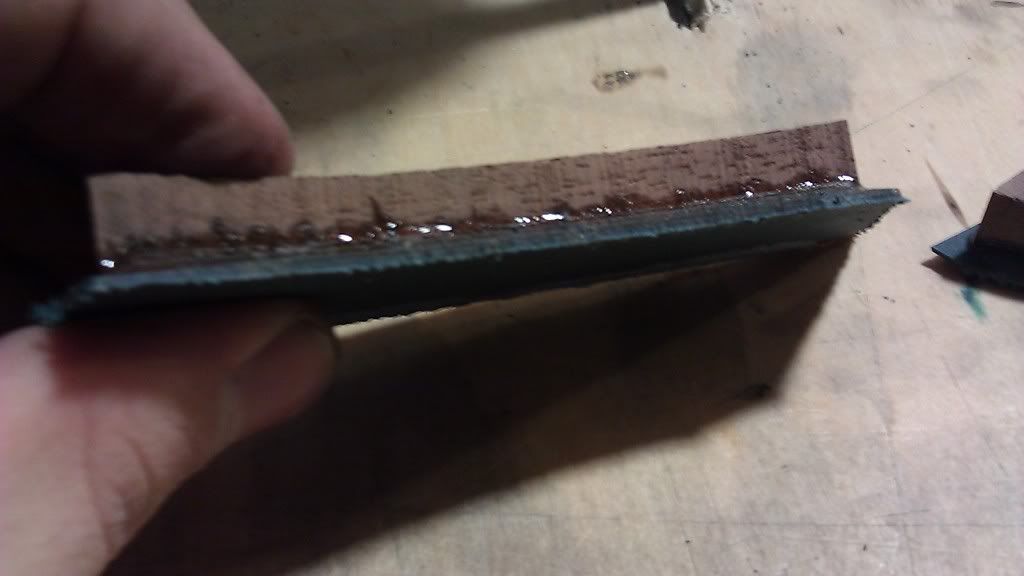
Next I took some 60 grit sandpaper and roughed up the tang of the knife, I also took a box cutter/utility knife and made some markings on it with that too just to make sure. (Preparing for the gluing of the slabs).
I did the same with the wood and liner but since I coudn't see the 60 grit marks very well I decided to also use the boxer cutter to mark the knife.
This is what I have so far, right now i'm gluing the first slab on the knife and I will have more pictures later tonight!
-Pedro G.