You are using an out of date browser. It may not display this or other websites correctly.
You should upgrade or use an alternative browser.
You should upgrade or use an alternative browser.
Railey’s KITH for DeMo (WIP)
- Thread starter Chris Railey
- Start date
MTBob
Well-Known Member
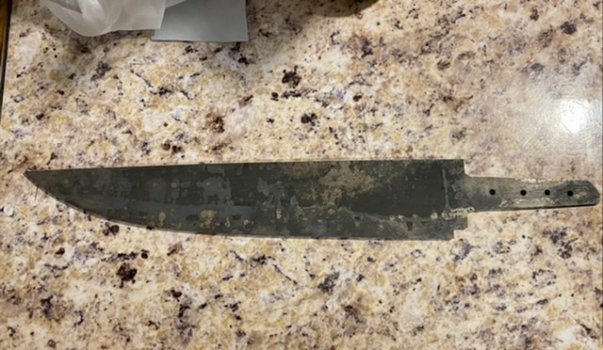
What blade straightening technique did you use?Today has been an ongoing argument between me and the knife. Me: You will stay straight. Knife: Nope!
Finally got it straight and heat treated. Profile is finished grinding is next.
View attachment 81942
Chris Railey
Well-Known Member
It kept warping when cooling after I finished forging it. The first two times I heated it back up, straightened it and left it in the forge to cool slow. The third time I ran it through an annealing cycle in my kiln then straightened it cold. That one took and it stayed straight when I hardened it and through tempering. I have never had that trouble before I wonder if it were due to the 15 degree weather here.
MTBob
Well-Known Member
Nicely done! Thanks for sharing.It kept warping when cooling after I finished forging it. The first two times I heated it back up, straightened it and left it in the forge to cool slow. The third time I ran it through an annealing cycle in my kiln then straightened it cold. That one took and it stayed straight when I hardened it and through tempering. I have never had that trouble before I wonder if it were due to the 15 degree weather here.
Chris Railey
Well-Known Member
Thanks Ken. I tried a little test etch but my ferric chloride has been comprimised so it was kind of, Meh. I left the lid off of it and it poured rain in the jug for a couple of days before I noticed it. I have ordered more but I think it will look better after I grind it. I had to go back to my real job today but I hope to do some work tonight when I get home.Good WIP showing the forging steps. Looks like this blade is getting ready to be knocked out of the park!
I'm looking forward to the pattern.
opaul
Well-Known Member
I miss working a real job……notThanks Ken. I tried a little test etch but my ferric chloride has been comprimised so it was kind of, Meh. I left the lid off of it and it poured rain in the jug for a couple of days before I noticed it. I have ordered more but I think it will look better after I grind it. I had to go back to my real job today but I hope to do some work tonight when I get home.
But thank you for your work Chris.
Chris Railey
Well-Known Member
I am jealous of you retired people all the time...I am kind of like a prisoner...I have 5-10 years left (pending econcomy) then I'm out.I miss working a real job……not
But thank you for your work Chris.
Dennis Morland
KNIFE MAKER
Me too!!I am jealous of you retired people all the time...I am kind of like a prisoner...I have 5-10 years left (pending econcomy) then I'm out.
opaul
Well-Known Member
I worked 45 years for the power company. I was very blessed to have a great employer and more blessed to having survived multiple downsizing.I am jealous of you retired people all the time...I am kind of like a prisoner...I have 5-10 years left (pending econcomy) then I'm out.
Chris Railey
Well-Known Member
Wow that was a long time. If I go 10 more that will put me at 37 years and 60 YOA. I really do not want to go to 62...45 years
I am very much enjoying my retirement. I never had a company retirement plan, only what I had the discipline to put back over the years in the "retirement" acct of my own IRA type of things. You young folks, keep working and paying SS taxes so my SS money will keep coming 
Chris Railey
Well-Known Member
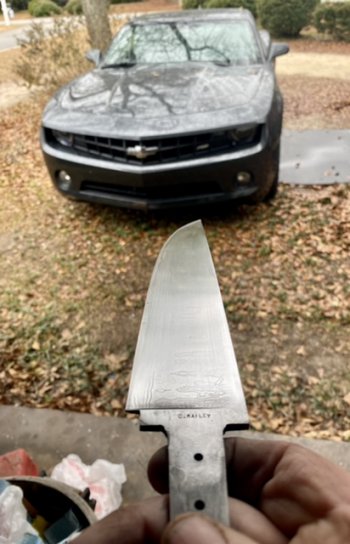
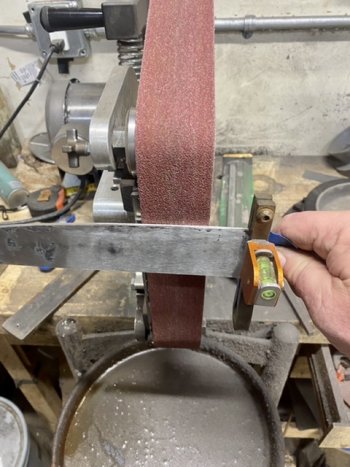
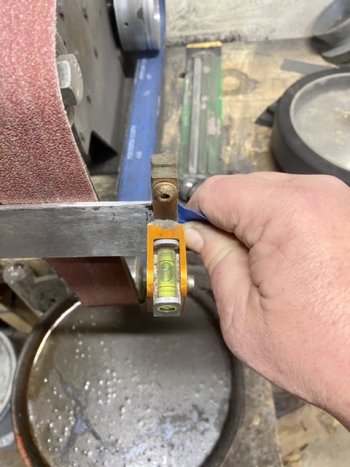
Alright back to work. Grinding has begun. This is how I grind my blades. That is a file guide and a Bubble Jig from Fred Rowe. All the bubble jig does is it gives me a reference point to start with so I know I am at a consistent angle. I am fairly ADD so the bubble gives me something to focus on during the motion across the platen. At this point I could grind without it by muscle memory but I still use it to help my focus. Primary bevel starts at 60 grit and finishes with 400.


Chris Railey
Well-Known Member
Sean Jones
Well-Known Member
That's exactly the same method I use. Looking good!Alright back to work. Grinding has begun. This is how I grind my blades. That is a file guide and a Bubble Jig from Fred Rowe. All the bubble jig does is it gives me a reference point to start with so I know I am at a consistent angle. I am fairly ADD so the bubble gives me something to focus on during the motion across the platen. At this point I could grind without it by muscle memory but I still use it to help my focus. Primary bevel starts at 60 grit and finishes with 400.
View attachment 81964View attachment 81965
Chris Railey
Well-Known Member
New ferric chloride is here and I have a little time so into the etch until I like it. While the blade is etching I set up for the Gun Kote.
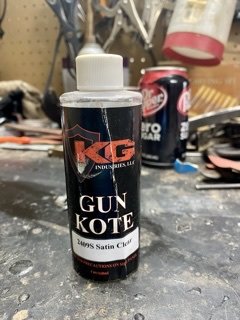
I begin by shaking the stuff up for five minutes. I actually set a timer and shake for 5 minutes. I had a few problems when I first started using it and that was the advice I got from KG. Since I started doing that, I have had no trouble. After the shake up, I get my air brush ready. Ed is the one who taught me how to do Gun Kote and he uses an air brush so you can adjust spray volume. I do not want the knife to look like its coated in plastic so I use a fine, fine mist so you can just see the stuff coming out.
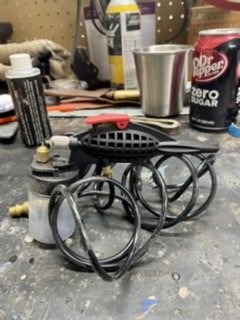
The cheapo HF one works fine. Once the knife is etched I neutralize the acid and hose it off with water. After water I flood it with rubbing alcohol and finish by blowing air from my compressor. Then spray it with the Gun Kote. I have made a simple holder so no parts of the knife are touched during the curing process. 2 hours at 300f.
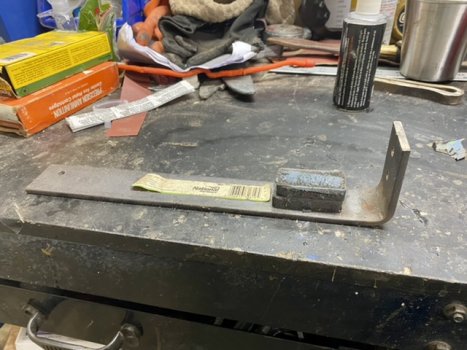
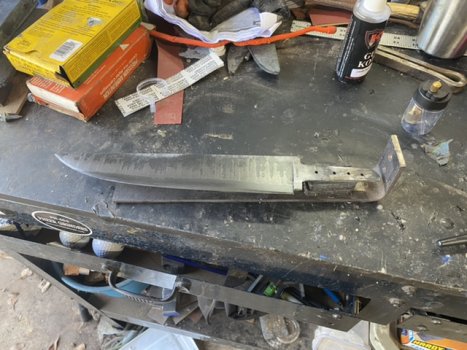
Into the kiln for 2 hours at 300f.

I begin by shaking the stuff up for five minutes. I actually set a timer and shake for 5 minutes. I had a few problems when I first started using it and that was the advice I got from KG. Since I started doing that, I have had no trouble. After the shake up, I get my air brush ready. Ed is the one who taught me how to do Gun Kote and he uses an air brush so you can adjust spray volume. I do not want the knife to look like its coated in plastic so I use a fine, fine mist so you can just see the stuff coming out.

The cheapo HF one works fine. Once the knife is etched I neutralize the acid and hose it off with water. After water I flood it with rubbing alcohol and finish by blowing air from my compressor. Then spray it with the Gun Kote. I have made a simple holder so no parts of the knife are touched during the curing process. 2 hours at 300f.


Into the kiln for 2 hours at 300f.
Chris Railey
Well-Known Member
J. Doyle
Dealer - Purveyor
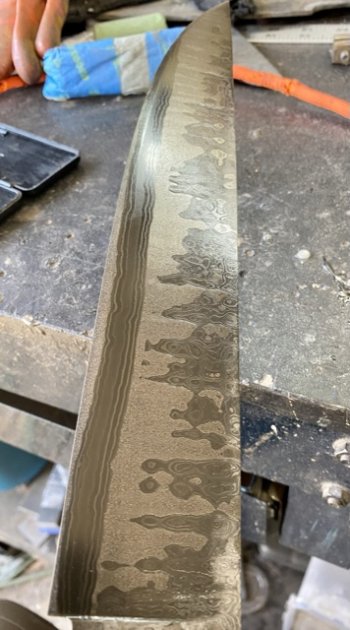
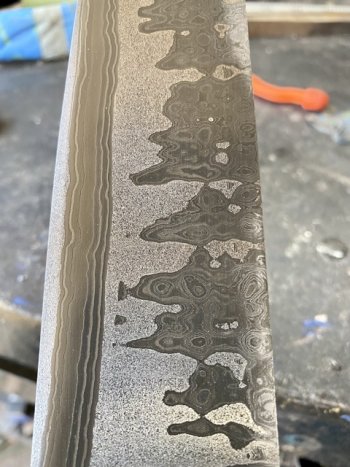
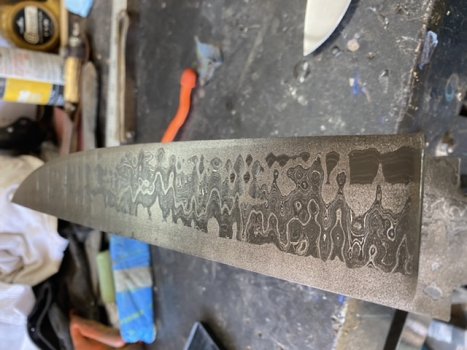
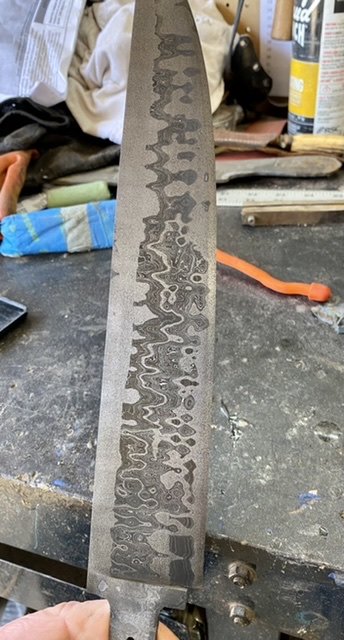
That's a neat looking pattern. Can you share a bit about the can layout?Here is the finished coating. Its ready for guard, frame and handle.
View attachment 82057View attachment 82053View attachment 82054View attachment 82055
Chris Railey
Well-Known Member
Thanks John. Its totally random. About 2/3 of the can was filled with pieces as long as the can. I filled the rest with smaller pieces. I am way too ADD to put the pieces in any kind of order where I have to remember where things are. That long piece at the bottom is really cool and I can tell that is edge grain from a piece that landed that way in the can and was drawn out with the billet. Its my favorite can so far.That's a neat looking pattern. Can you share a bit about the can layout?

