Bruce Bump
Forum Owner-Moderator
I don't need T.V. any more I just watch BRUCE>2thumbs
Dont change that channel, I'll return in a momment.

I don't need T.V. any more I just watch BRUCE>2thumbs
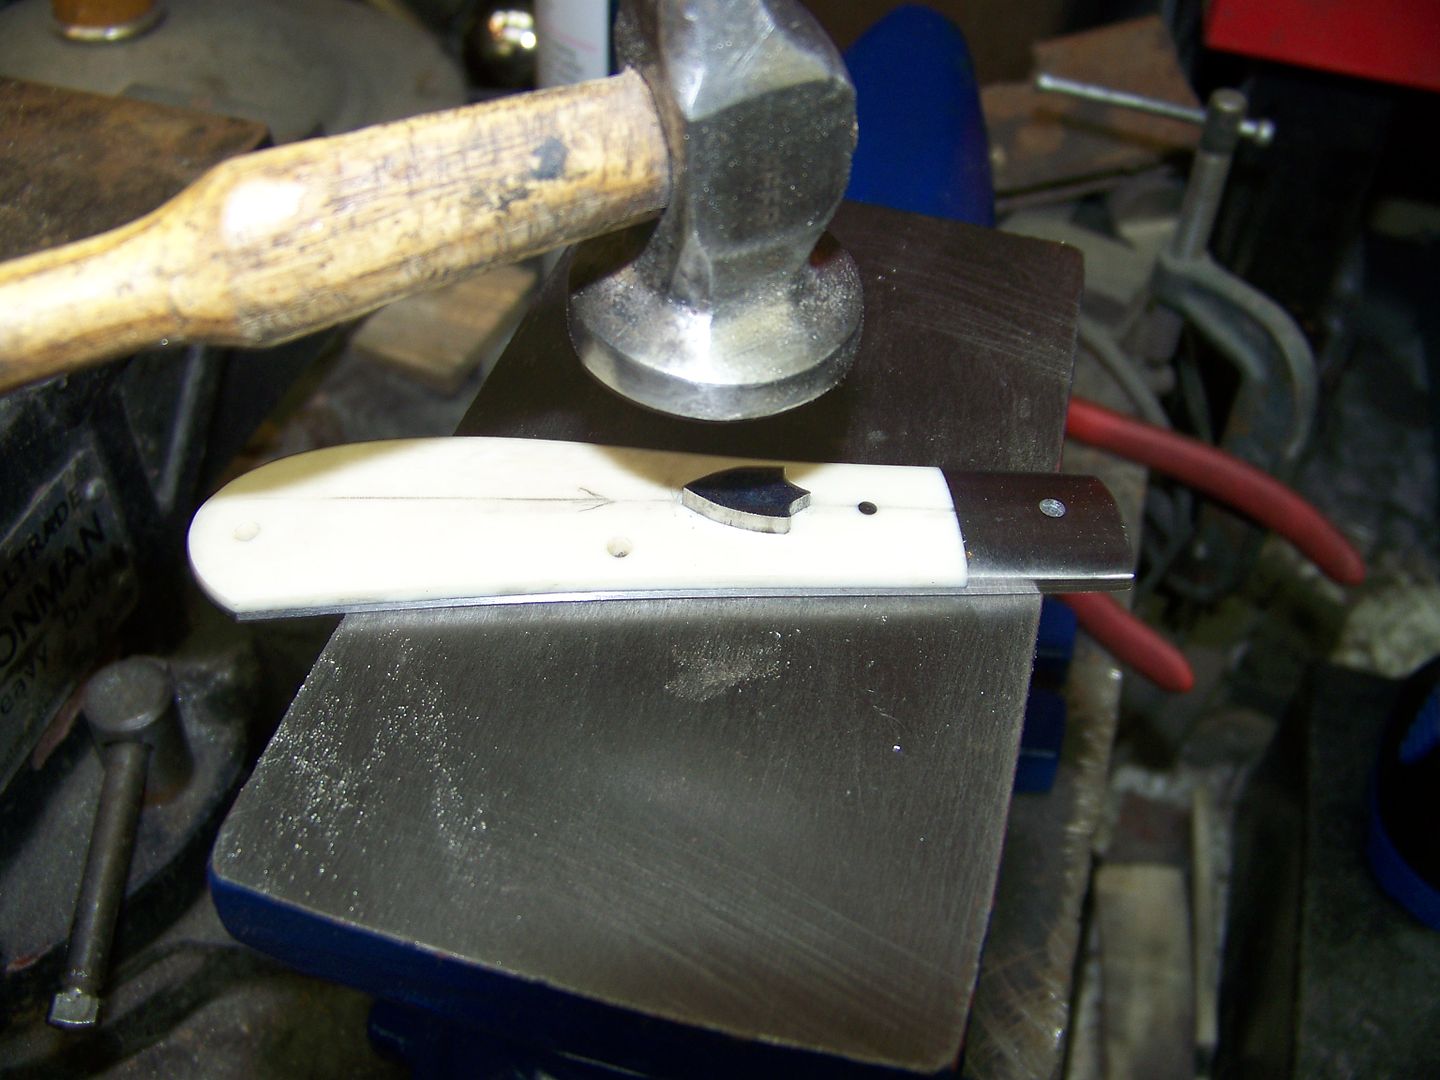
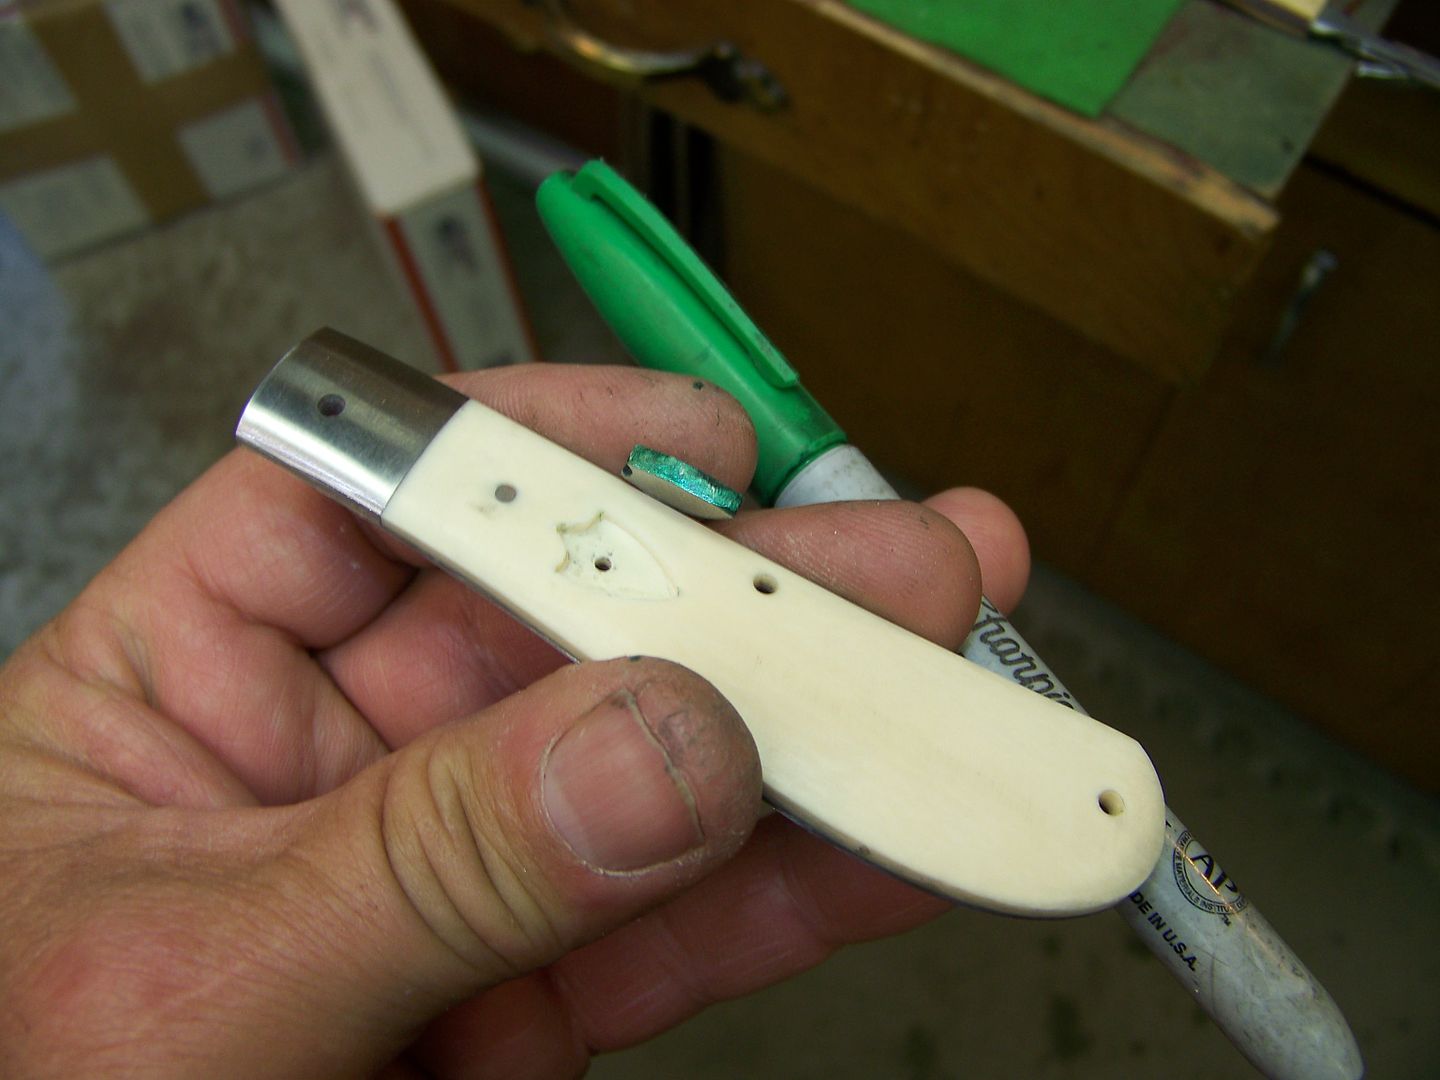

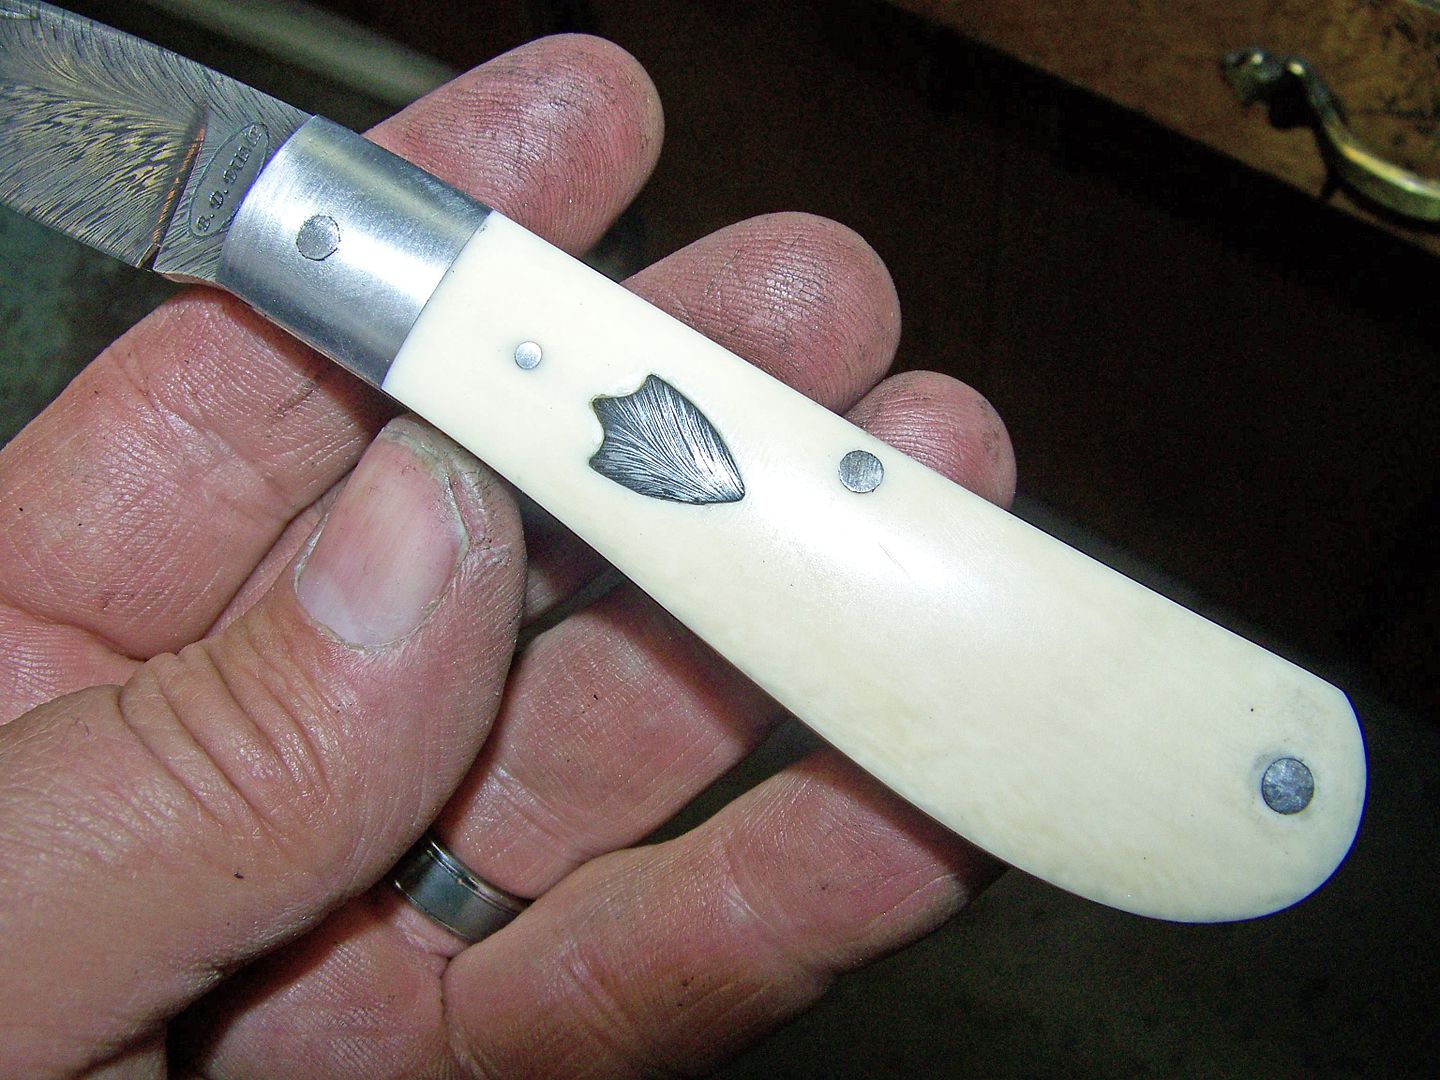
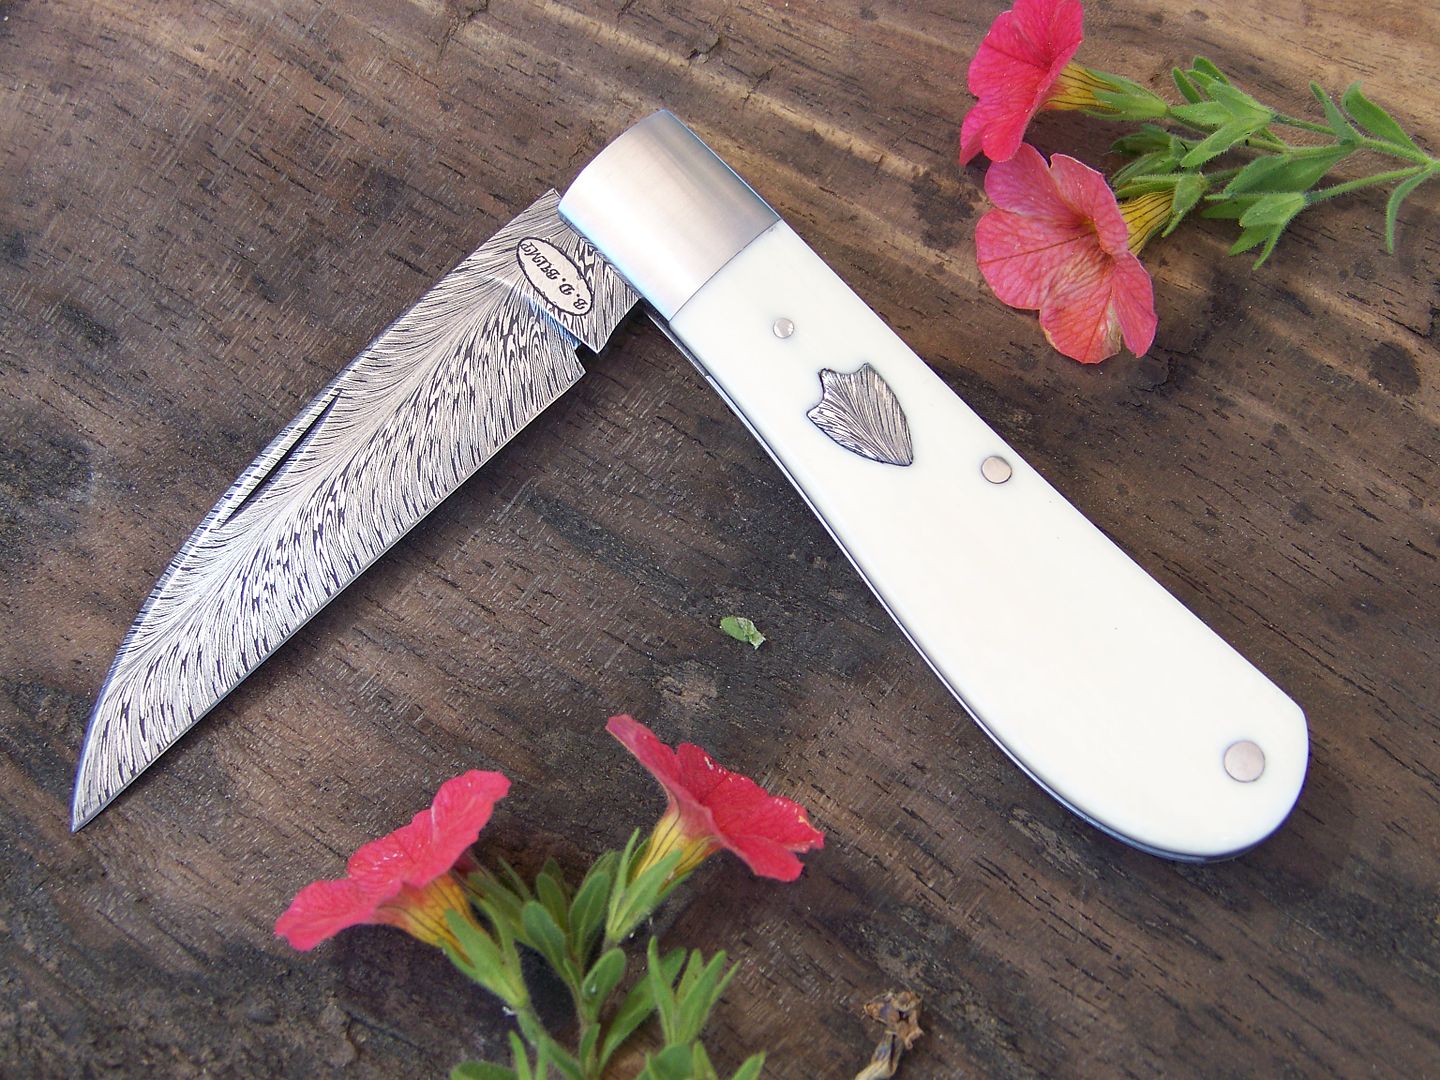
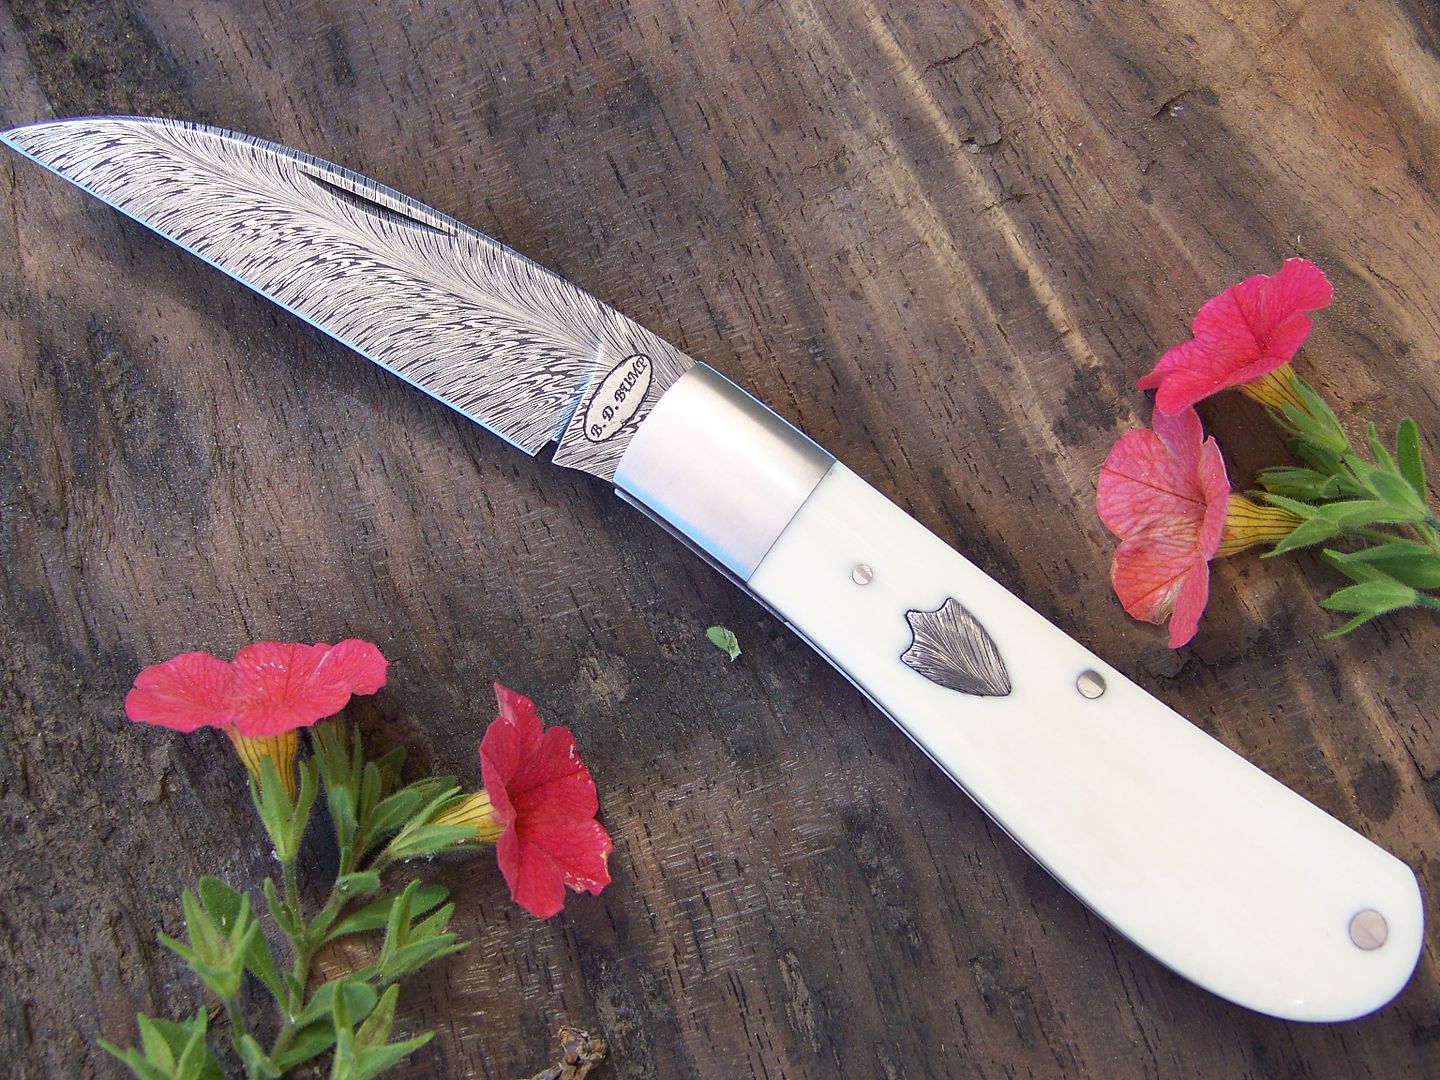
I feel your pain Bruce! The wounds are still fresh!!! I have found that soaking the Ivory in peanut oil for days or even weeks before I work with it helps a bunch! It looks great though....I know I wouldn't mess with it.
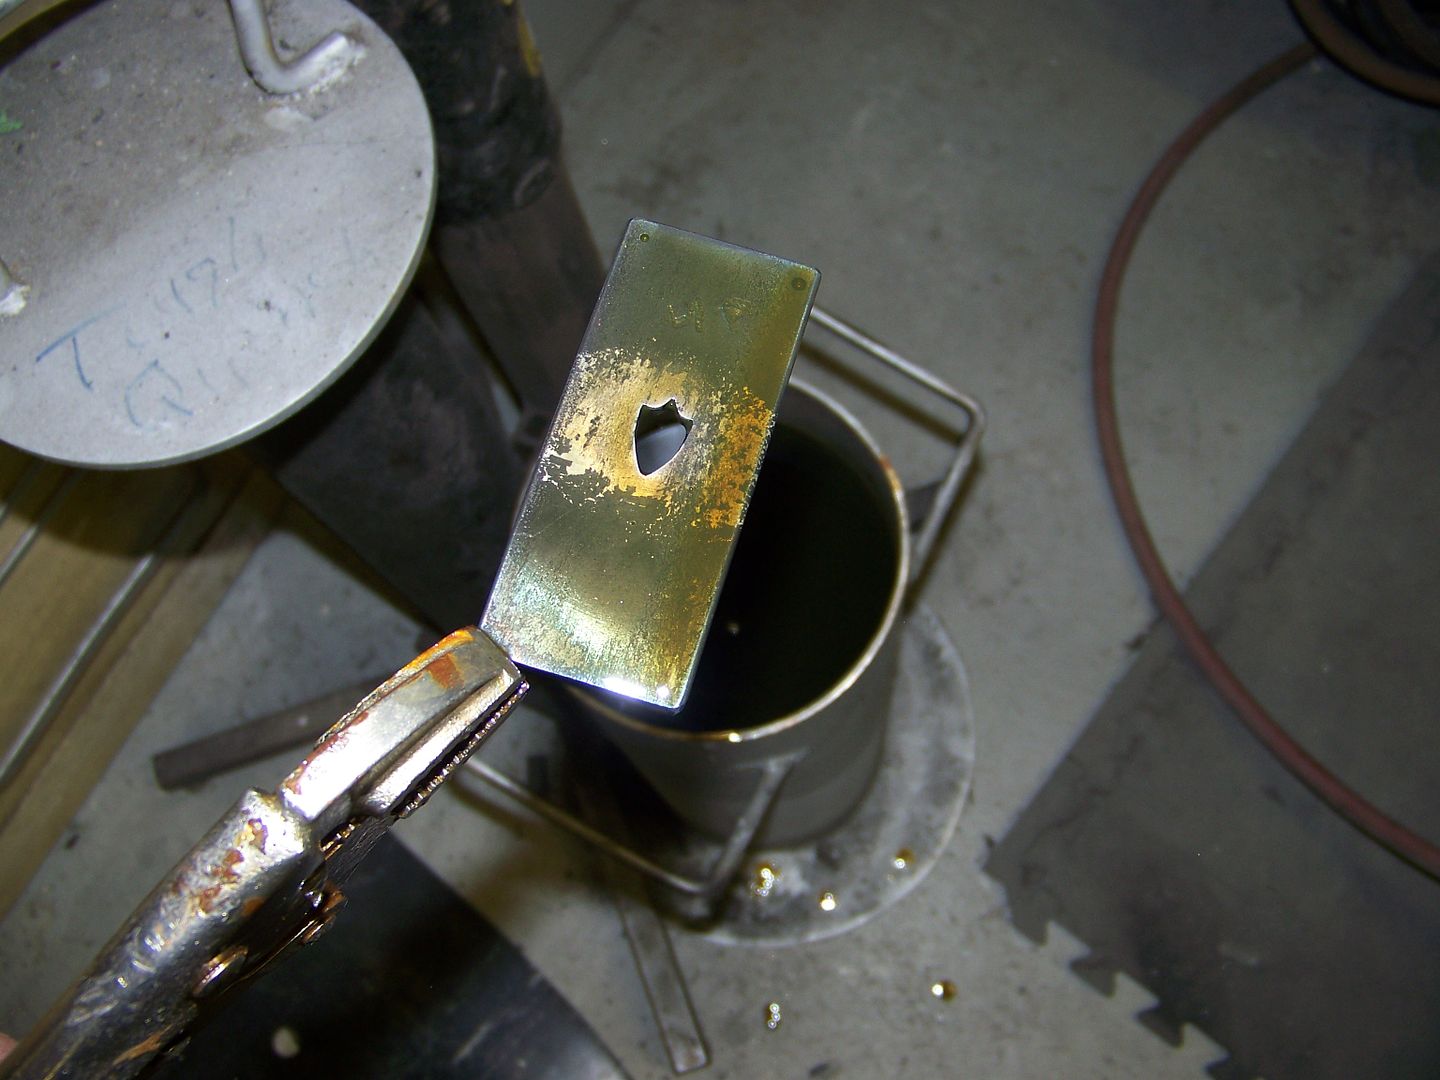
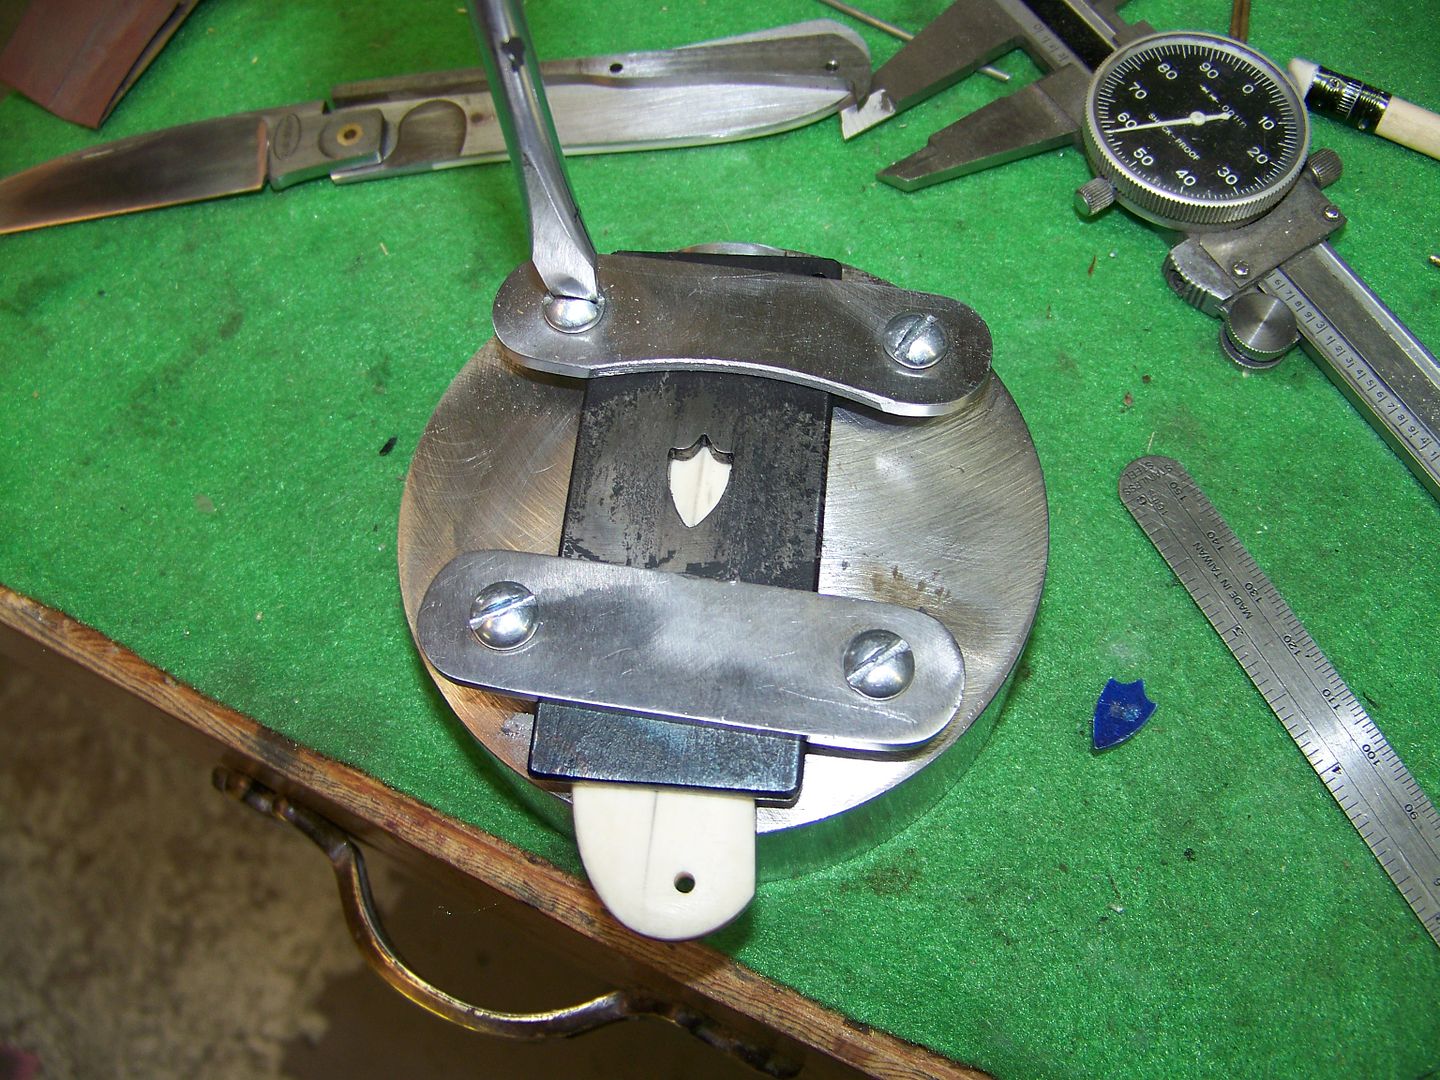
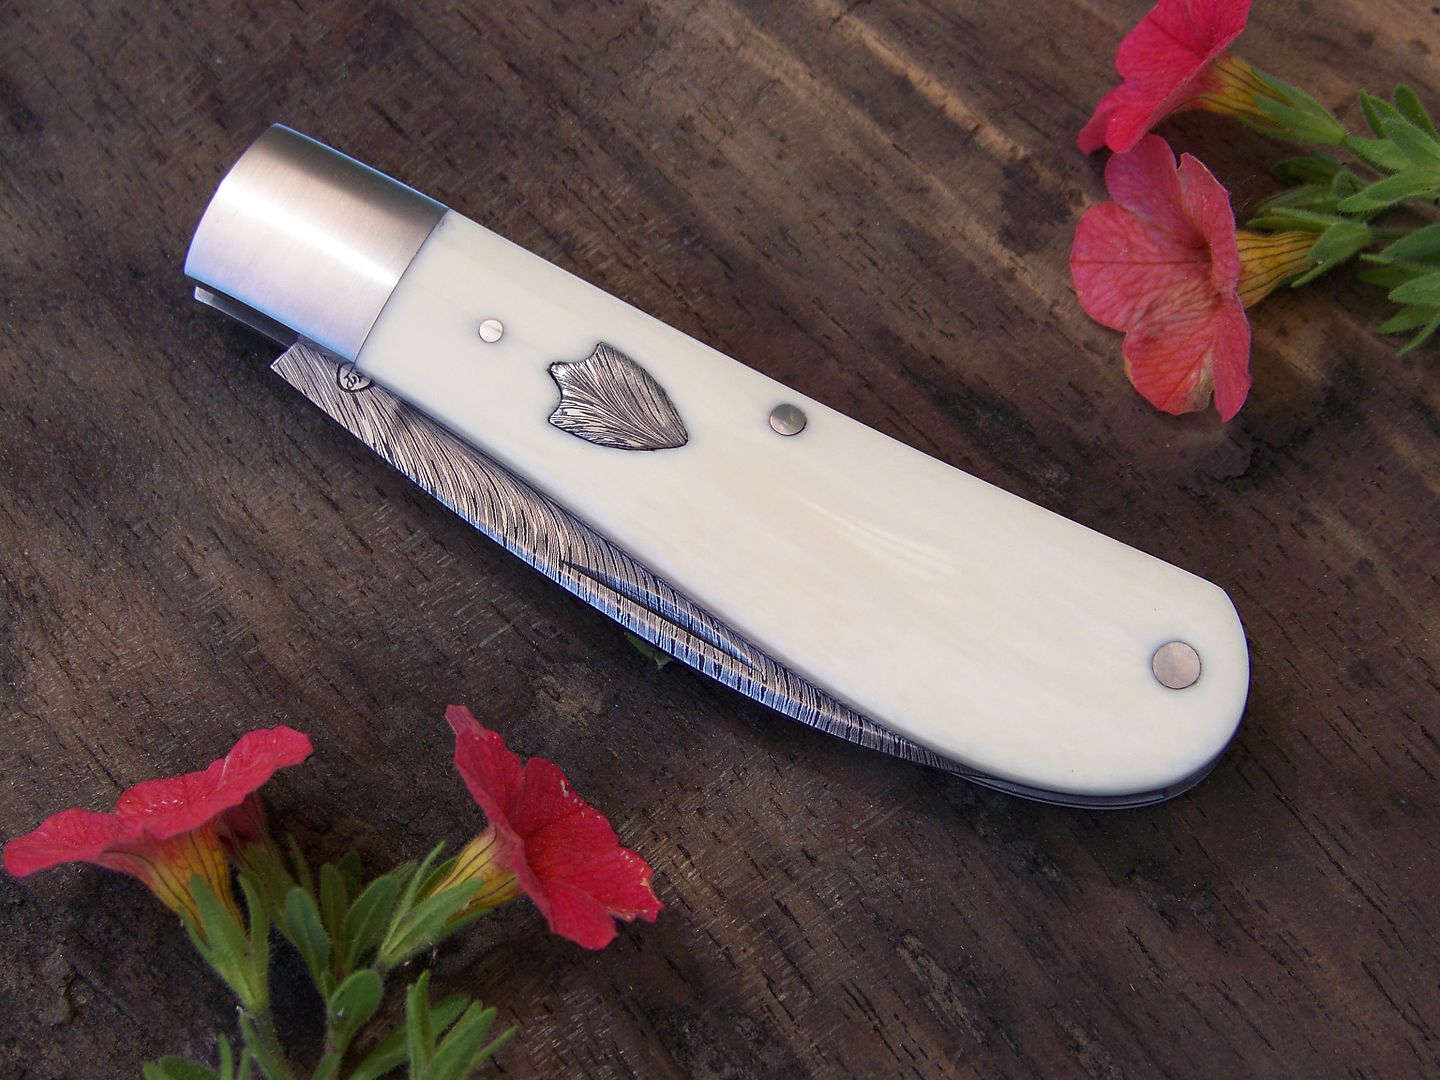
Shame about the crack but i guess thats just part of the game..........I guess i will get to experience that at some stage. The sheild came up nice though, well done2thumbsHey mate,
Bout time ya finished it
Cheers Bruce
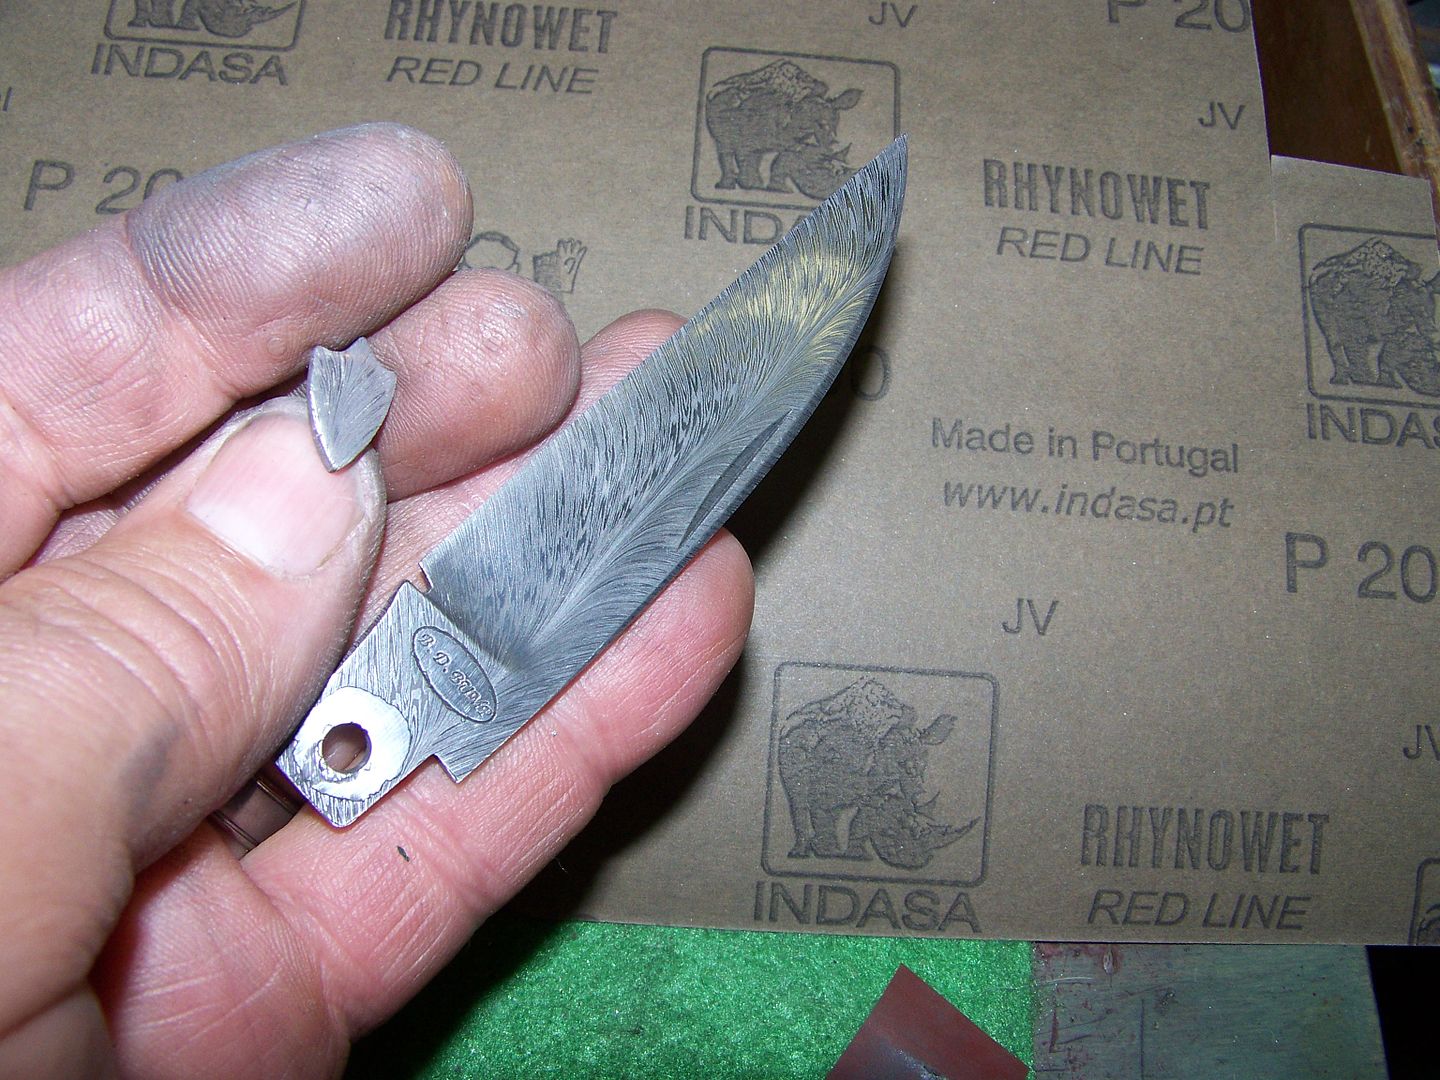
Crack or no crack , that is a fine folder...
crack.....hmmm, more like a character mark in my eyes