W-Based Mosaic WIP

:taz:I'm feeling the pain too. Graham....................Quit college and finish this billet!
I'll tell ya, kids these days, they think their education is more important than making damascus.

well, all I know is that in his pursuit of higher learning, leaving this WIP hanging has bestowed upon me a higher yearning...
(will we have to wait for Spring Break to see more!???!) ;)
 
Well folks, back again with a little more progress on this. Didn't know so many people were tuning in until the program stopped for a bit. Everyone must have been silently watching, glued to the screens, until the comercial break started and didn't end, lol. The billets been sitting in this condition for the past few weeks, but between massive amounts of work that has kept me away from the shop and lack of a decision on what to do with this billet, haven't done anything else to it.

As Bruce mentioned, I'm in College, though almost finished. I effectively have 1 day and 1 more semester to go on a degree in Mechanical Engineering. It keeps me a "weekend" only bladesmith, and sometimes not even that. With this semester comming to an end, all the work in all the classes has been piling up. The past two weeks has had a few all nighters and many more close to it to finish off papers, projects, presentations, reports, and even a few tests. Way more than what should be crammed into a couple weeks, to say the least. So if it pains you folks to have to wait on a thread, think of what it does to me, or rather what something is doing to me to prevent me from being in the shop :3:

Anyway, unfortunately when I went and did the final tiling out procedure I got side tracked by a couple folks that stopped by my shop to pick up an order and forgot to take pictures of the tiling procedure. I worked up a little sketch in paint that should hopefully give a decent picture of what was done.

Restackingprocedure.jpg


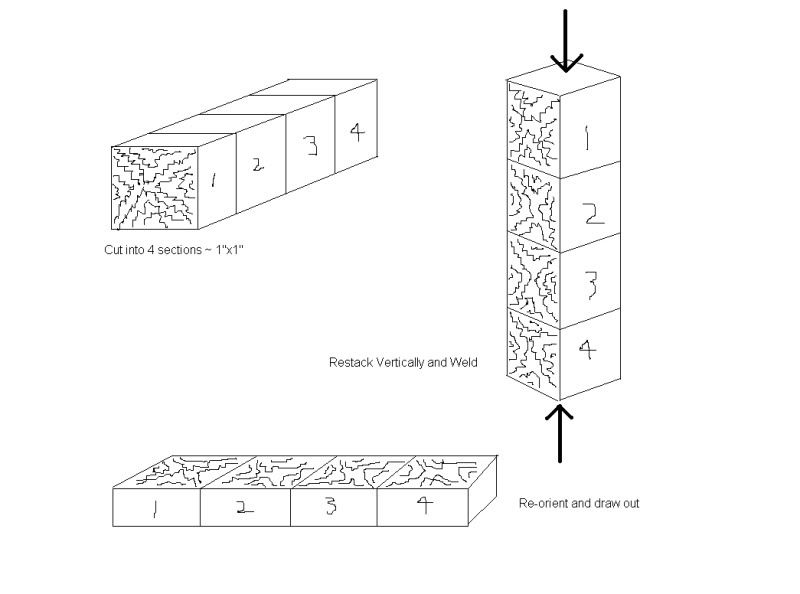
Basically, I took the square bar with the pattern on the end and cut it into 4 thick pieces (the number depends on how long of a billet you have to work with). The pieces need to be thick for the welding procedure, otherwise the stack will buckle and cause all kinds of problems. 3/4" to 1" is probably the thinnest you'd want to go. These pieces are then ground clean and stacked on top of one another and tack welded together. I grind all the mating surfaces completely flat so that there is very little gap. I also grind all of the seams so that they all meet flush, with no offsets/divets/etc. These are a pain to try to forge out, and create stress risers that make your welds more suceptable to failure when drawing out. I then weld all the tiled pieces together vertically in the press (direction indicated by the bold arrows). Once welded, the billet is flipped so that the patterned face faces up/down and the billet is slowley drawn out. by leaving the extra thickness in the billet originally, you increase the reduction of the billet and that helps solidify the welds, since this method of welding can be tricky and can produce some weak spots if welds aren't 100% solid.

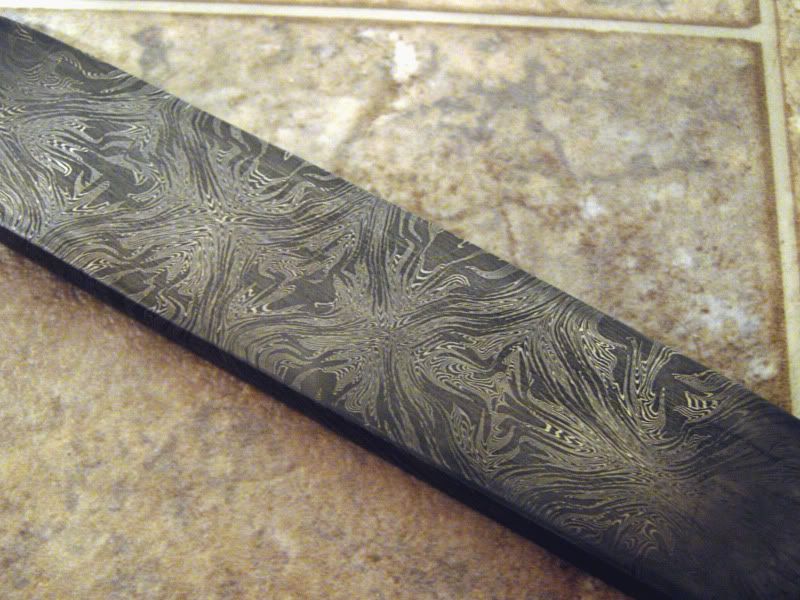
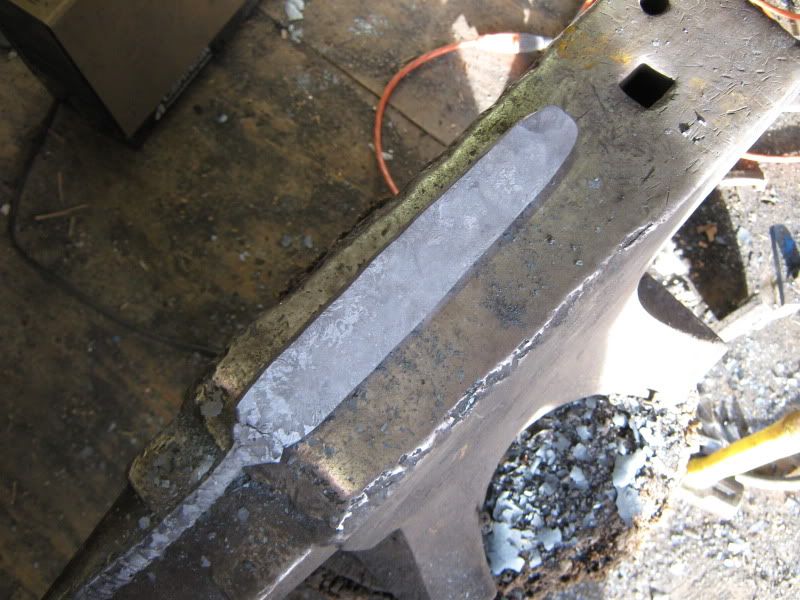
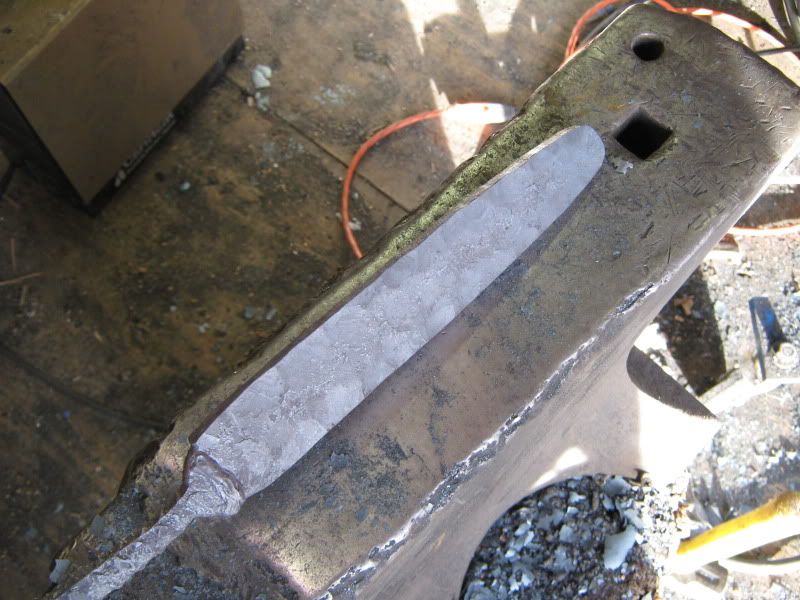
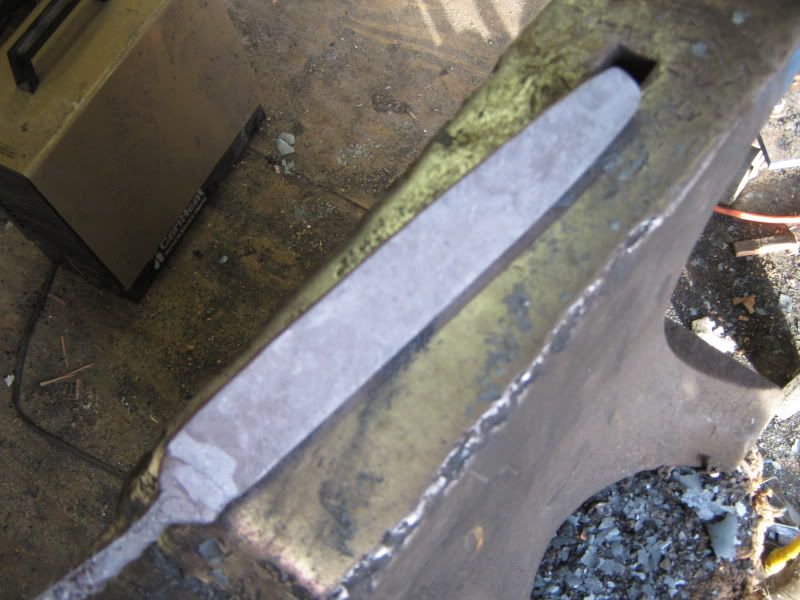
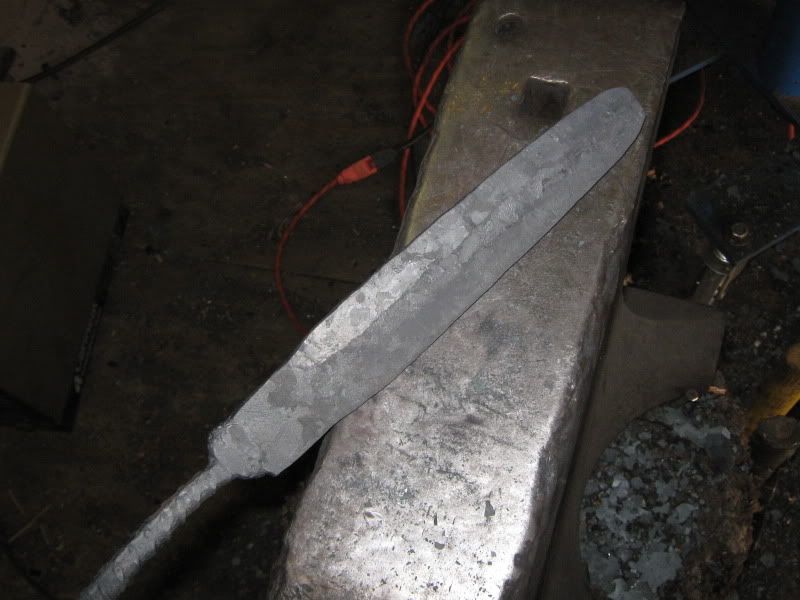
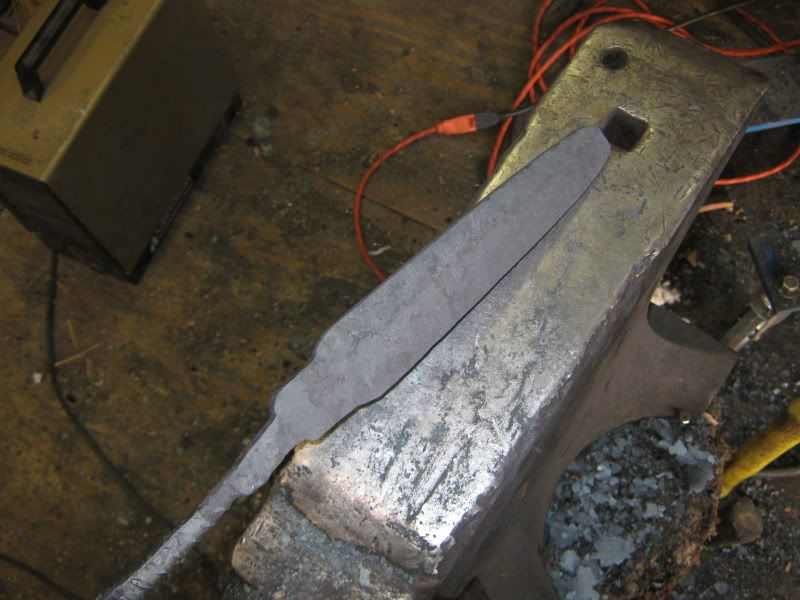
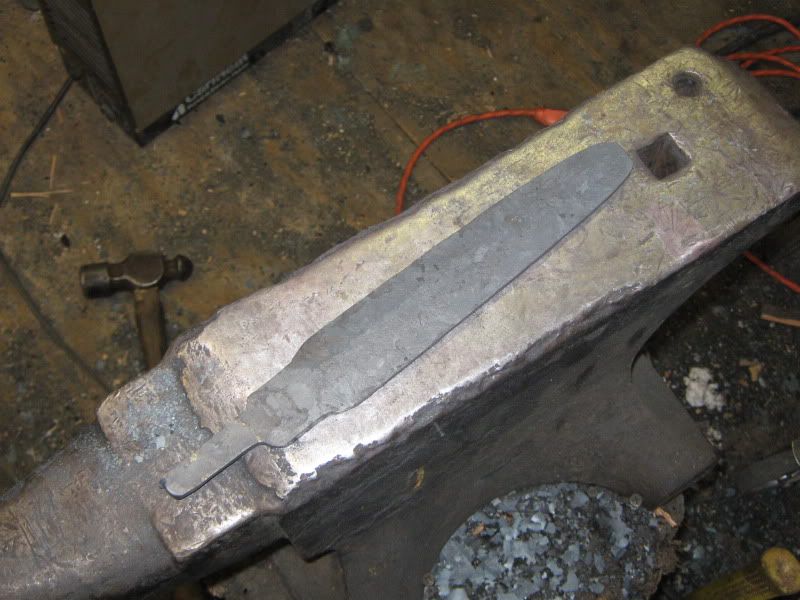
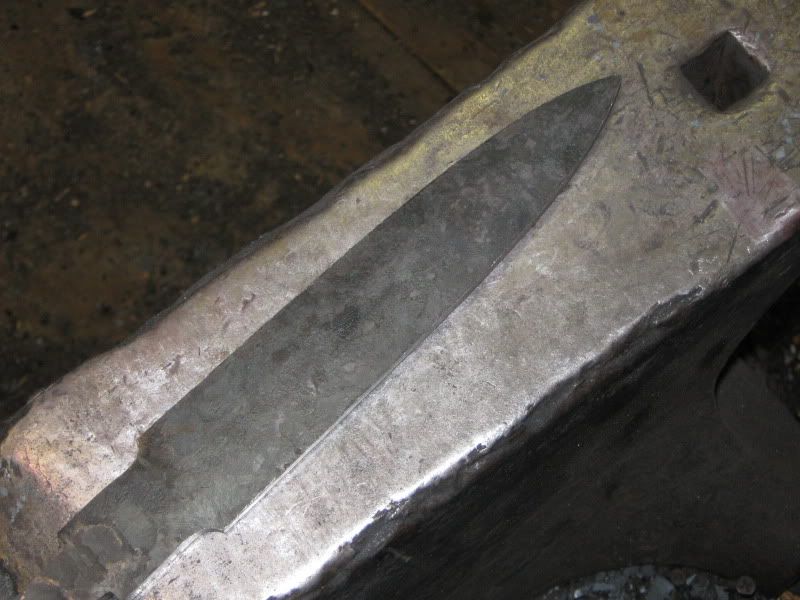
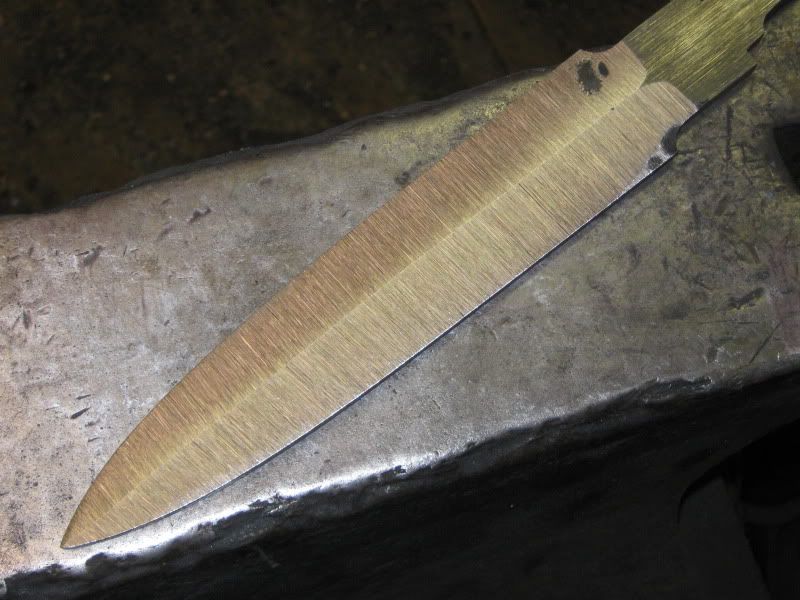
And here's the billet after being tiled out:

MosaicWIP007-1.jpg


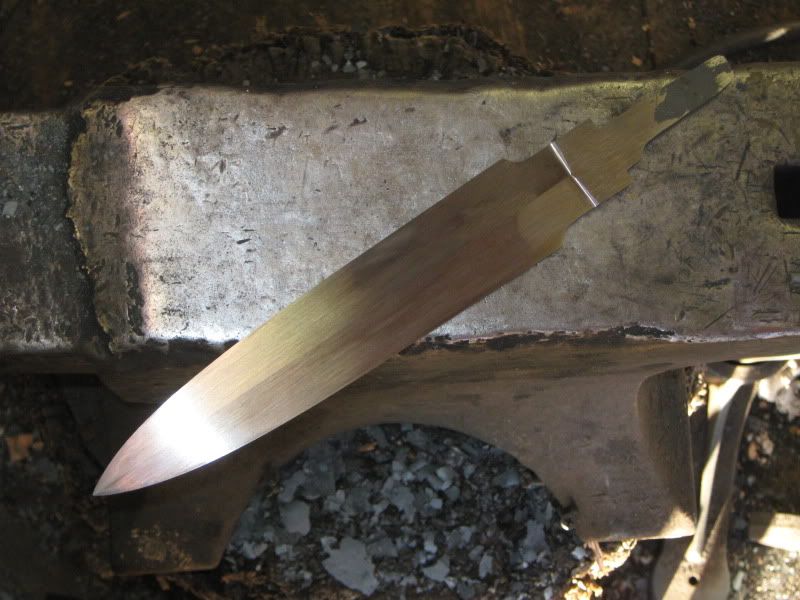
The next step is to try to figure out what in the world to forge it into. Most of the time I don't "plan" out my blades from start to finish, I just kind of work them as they go and let things sort of fall into place and let the steel do what it wishes. So I haven't came up with a plan for this quite yet. I haven't done a dagger in a good long time, so I've thought about that, or it could go in a single edge direction as well. I think tomorrow I might go out and do the rough forging on it and see what it turns into.
 
you know Graham,I can't recall having been this excited,and anticipating something so much since I was a lil' kid waitin' to hear Santa's sleigh up on the roof...:biggrin:
 
It sure is a lovely pattern and it was super to see the steps to make it !!! I could easily use up about 5" for a folder blade. Frank
 
Graham, thank you for doing this. That is one of the most beautiful pieces of damascus I have ever seen. Good luck on your finals and have a very Merry Christmas.
 
Hi Graham,
Thanks for showing us the progress. This pattern turned out beautiful! Looking forward to see what you make from it now. Study hard young man, we can wait.
 
Looks very nice, looking forward to see how it is going on.
I never restacked this way cause i had doubts about stability, but if it overlives the drawing out should proof it works.
Regards schakaa
 
Thanks folks. Glad everyone has enjoyed things so far. Even with teh suspense building silence in the middle :3:

schakaa, I've done a few billets this way and have had no issue with welds failing once everything is welded solid. In the finished blades, I've also not had any problems. I've not tested any blades made from billets like this to destruction, but have "performance" tested them like I do most all my other blades (flex testing, pine board tip test, chopping, edge flex tests, etc.) and have had no issues. In the forging I've had only 2 welds start to open when doing this, on 2 separate billets. Both times were the result of me pressing too cold, right on the weld seam, right after welding before complete diffusion had occured. Basically operator error by not paying close attention. In both cases it started at a sharp corner (stress concentration factor is greatest there) and I was able to clean things out, flux and jump weld them back together in a couple of heats with no further issues.

This method is basically just like what you would do if you were going to do a "loaf" and then band saw off slices to forge into blades. Only difference is that with my slow little press, I end up with puny billets that are only good for about one blade, so my "loaf" ends up forging out into just one slice, lol.

This is of course just the method I've been using. You could employ a Ferry Flip, or accordian fold, or whatever method suits you best. This just has less waste, which for me, is a big deal since I loose so much billet mass to fire scale from the large number of heats it takes me to draw things out with my less-than-ideal equipment. In that case, every little bit counts.
 
And now for some more progress from today.

I went ahead and decided to go down the dagger road with this one. Been a long time since I've done a dagger, and figured I wouldn't hurt to brush off the rust and do another.

Here's the rough forging progress:

MosaicWIP010-1.jpg


MosaicWIP013-1.jpg


MosaicWIP014.jpg


MosaicWIP017-1.jpg


MosaicWIP018-1.jpg


On mono steel blades I normally forge much closer to shape, however with a pattern like this, that would cause too much distortion in the pattern, hence why things, especially the point, look a bit stubby. For really controlled patterns, once the billet is forged out, it pretty much becomes stock removal to keep from distorting the pattern.

MosaicWIP021.jpg


And here it is profiled:

MosaicWIP023.jpg


I've also started on the rough grinding and have started setting the bevels and plunge cuts, etc. But will save those pictures for when that process is done.
 
Hello Graham,

thank you very much for your reports. I will try this method to see if it works for me, i did it with accordian fold already but don't like it because of the long drawn out parts.

I do not have a hydraulic press, i forge with a power hammer which has 65 Kg weight and does 200 beats per minute. Very sensitive to operate. But i think a press ist more easy to control. I have moved my workshop to a forging company
http://www.hammerwerk-baumann.de short time ago, the circumstances and the powerhammer are new for me. Have to get used to the new hammer better, if you pull there a little to much the billet is flat like foil. There i do not use a gas forge any more but a big oven.

Beche.jpg


The material i use has 1,5 percent Cr which makes it difficult to weld, it must weld at the first try, rewelding is not possible.

Anyway i will give it a try and let you know if i made it. Think once i will be used to the new circumstances it will be a pleasure to work there, that's why i moved the workshop to this place. The good thing is that what took me a day before i can forge there in a quarter houer.

Regards Peter
 
Peter,

That hammer looks really nice! You can't beat that hammer for drawing out billets. Wish I had something like that myself! Once you get used to the new equipment, I'm sure you'll be able to do some great things with it!

I'm in agreement with you, I don't like accordian folding because of the distortion it causes to the pattern, that and the large amount of waste it causes in the billet. I'd rather do this straight tiling procedure or a ferry-flip than accordian fold.

Anyway folks,

Got the dagger all rough ground and it is now ready for heat treatment. My dagger skills were pretty rusty, and I probably shouldn't have picked a nice piece of steel like this to get back into practice, but so far I haven't pushed it past saving, but did have a couple snags along the way, which I was able to correct, thankfully.

Here are some pictures:

MosaicWIP027.jpg


MosaicWIP028-1.jpg


MosaicWIP081.jpg


MosaicWIP086.jpg


MosaicWIP091.jpg


The center line, plunge cuts, and such aren't perfect yet, but good enough for the rough grind and heat treatment.

I also etched it to see what I was working with, and it's not half bad. I'm going to save that for a supprise though :shifty:
 
Nice work. Just read the whole thread so no "breaks" for me.
That is a very good looking piece of steel, well done.
Dagger looks good, NOW I'll be waiting with the rest of the crowd.
Dozier
 
Restack this way

Hello Graham,
now i tried to restack like you did.
Tried it with 6 cubes and it worked well.
Look what came out.

gestirnter-damast.jpg


Regards Peter
 
wow...Peter,that's some kinda gorgeous bro,
nicely done!
What kind of blade have you got in mind for it?
(will you start a thread showing a WIP of that?)
 
Thank you Ironwulf,
want to do something like this
outdoormesser02.jpg


Think i won't start a Wip thread, the work progress is too far already, want to make a thread in the future but from the beginning with all the forging.

Rather would like to see Grahams dagger etched.

Regards Peter
 
Back
Top