Cory Martin Imaging
Well-Known Member
(ADMIN NOTE: I had to move this post to week 5 and can't change the order of posts in the thread....See msg#2 for this weeks entry information. Thanks. Bossdog)
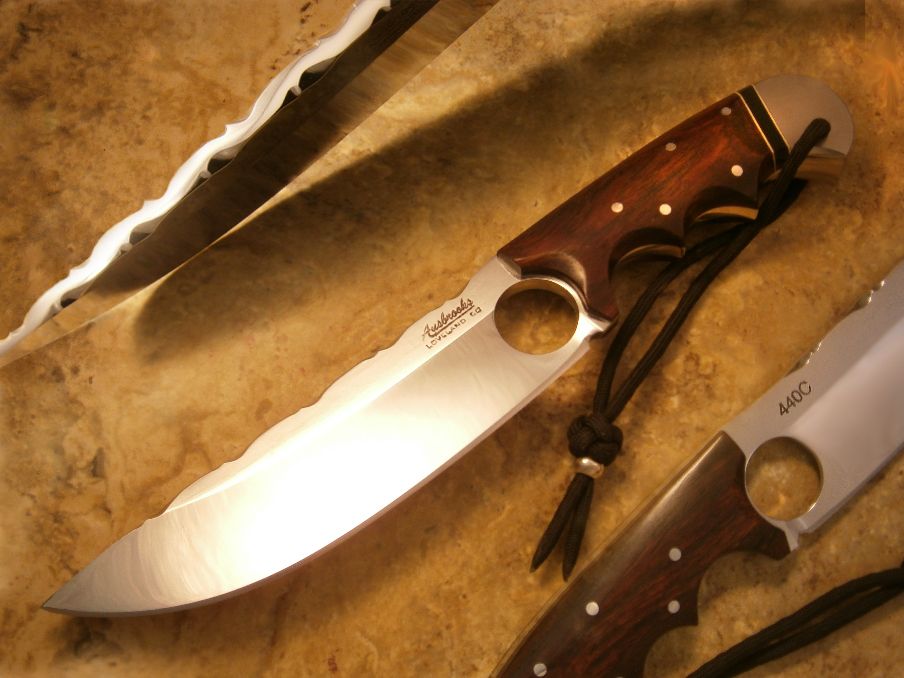
I really enjoy the "inset" (or "Multi-View" as I like to call it) photos because it's sort of like a blank canvas for a painter. Based on how intricate of a knife I'm photographing, I need to be able to visualize where I want each new view of the knife to be placed within the photo frame. Each new "view" should be just that, a new view of the knife. The goal is for the viewer to be able to see all the important details of the knife in a matter of a second or two, all neatly packaged in one image.
I use a home-made photo diffuser tent I made out of pvc tubing and diffusion cloth materials. I didn't glue it together completely but made it modular so it's able to be broken down and transported between home and shows. I have a Canon Rebel T1i (it's about 3-4 years old and will be upgraded soon) with hot-shoe adapters running to 2 strobe lights. I bought the lighting kit from Ebay and each strobe is 150w and has a variable output and each light has it's own fully adjustable stand. That allows me to have one strobe as the "main" and the other as the "fill" light. I use home-made adjustable mirrors to bounce / reflect light anywhere that may be too dark...90% of the time I have only one mirror directly opposite of the "main" light shining towards the belly of the knife. In thos particular photo, it highlighted the liner enough to show that there is a texture there (file work, jewelling, etc.).
The backgrounds are another Ebay find; wallpaper samples. There are collections of a specific style of wallpaper (rustic, modern, contemporary, floral, etc.) and I looked specifically for "Faux" wallpaper books because these are usually earthy tones, non patternized and sized just right for most knives. I use a modelling putty under 2 (usually) spots of the knife, handle and blade, to elevate it off the background to help throw and somewhat diffuse the shadow under the knife. This simple trick, which I found on a knife forum a few years ago, DRAMATICALLY changes the way the photo looks. It makes the knife really stand out from the background, no pun intended.
I shoot in RAW format and do the processing in Photoshop. My simple advice for Photoshop (or your chosen editing software) is to make subtle changes, walk away from the photo for 10 minutes, come back and see if your happy. It's easy to get into a sort of tunnel vision when you're zoomed in on a picture 600% and looking at pixels for hoirs on end.
Hope my long winded description is helpful.
Enjoy

Last edited by a moderator:


