Alden Cole
Well-Known Member
Thank you!
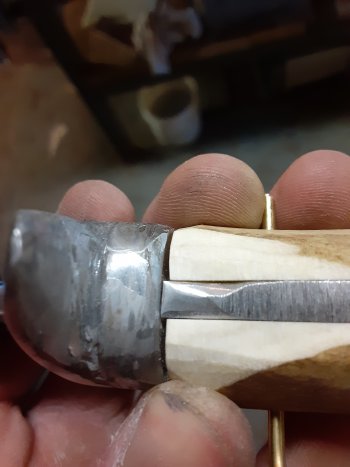
Just a scratch. I was testing how deep it was with a file.Is the line at the top of the spot a crack?
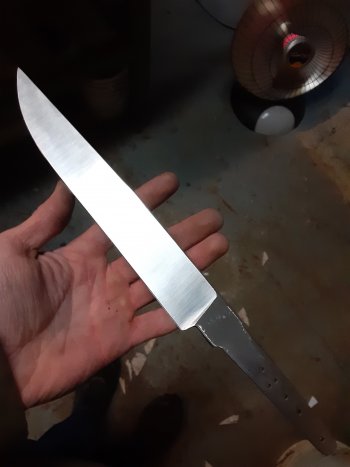
I recently HT'd my first stainless (AEB-L) blade and I had the same issue and discoloration in a larger area. It ground out just fine. Hopefully yours will too.Alrighty, profiled blade, rough ground, drilled tang holes, and into heat treat, wrapped in ss foil. Everything went as normal, until I pulled the blade out of the pouch. There was a dark area about a thumb width in the middle of the blade. Decarb and first time that's happened to me. I did three folds on the long edge to make sure that there would be no penetration, but in so doing I made it too tight, and when I finally got the blade into the pouch it must have ripped and made a small hole that was hidden by the folds, until after ht. Hopefully it grinds out, but at the soak times and heat that 440c goes at, and the thickness of the edge pre ht, I doubt it. Most likely I'll be starting over.
Hey everyone! Just a heads up.... I had the wrong link in this post concerning the 4-40 clevis(es) that I use..... I have corrected it. My apologies!I know folks build in different manners, but when I build anything with a frame handle, I always have a mechanical method from the butt end. In my case, I often use a small clevis on the end of the tang, threaded 4-40, with a 4-40 screw through the rear of the frame. If that's a pin hole on the side of the handle in your drawing, those are a royal pain to try to get things aligned, and tight at the same time.
EDIT!! I had the wrong link for the ones I use...... It's now corrected! Here's the clevis I use... https://www.amazon.com/gp/product/B0006O8O7Q/ref=ppx_yo_dt_b_asin_title_o06_s00?ie=UTF8&psc=1
I drill a 1/16" hole through the end of tang, spread the clevis and insert the pin through the hole (one side springs back into place), and you have enough "motion" to allow everything to be drawn up tight..... without pulling anything off, one way or another. I use these clevises for just about anything I build with a buttcap, or a "through tang" type of construction. I personally choose to glue everything up anyway.....but if you're neat and tidy, it makes for a great take-down type construction too. I just choose to glue, because I've had far too many clients wreck "take downs" in the past....everything from stripping threads, to scaring up fittings.....and then wanting me to repair their mistakes for free.
I also counterbore the hole through the back of the handle frame to fit the head of the 4-40 screw I use....or sometimes will even turn down the head if I choose. Some filework and/or coloring on the screw head adds a nice tough of detail.
