Josh Dabney
Moderator
WOW 2 1/2 months since the last update !
Still figuring out this new computer so bear with me.
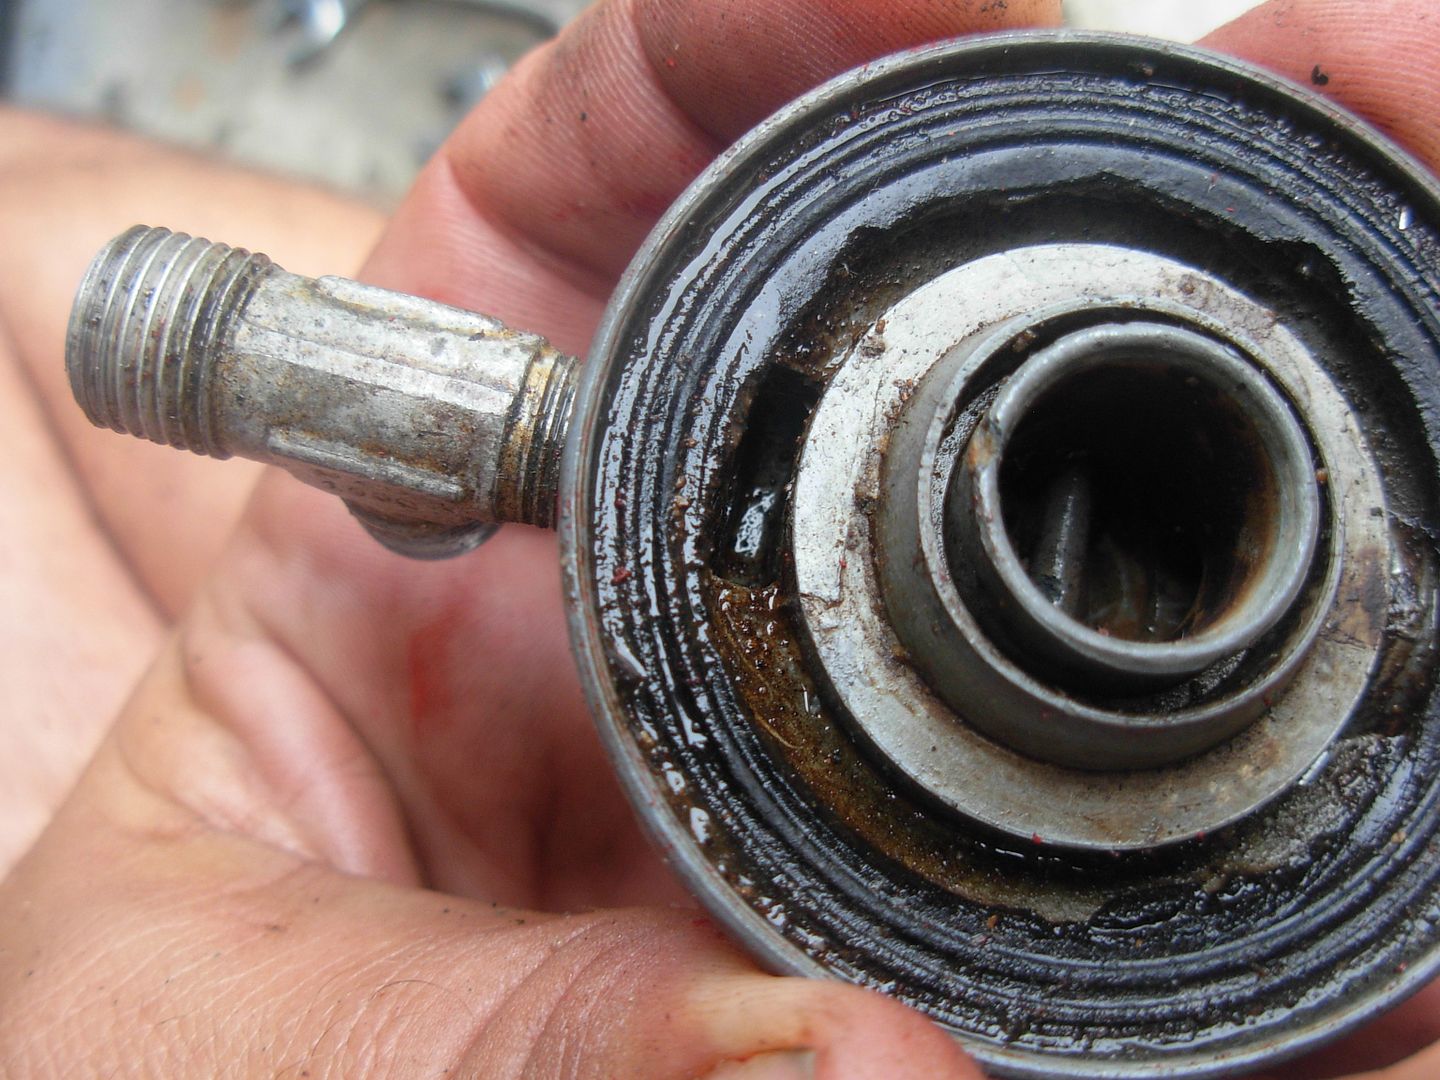
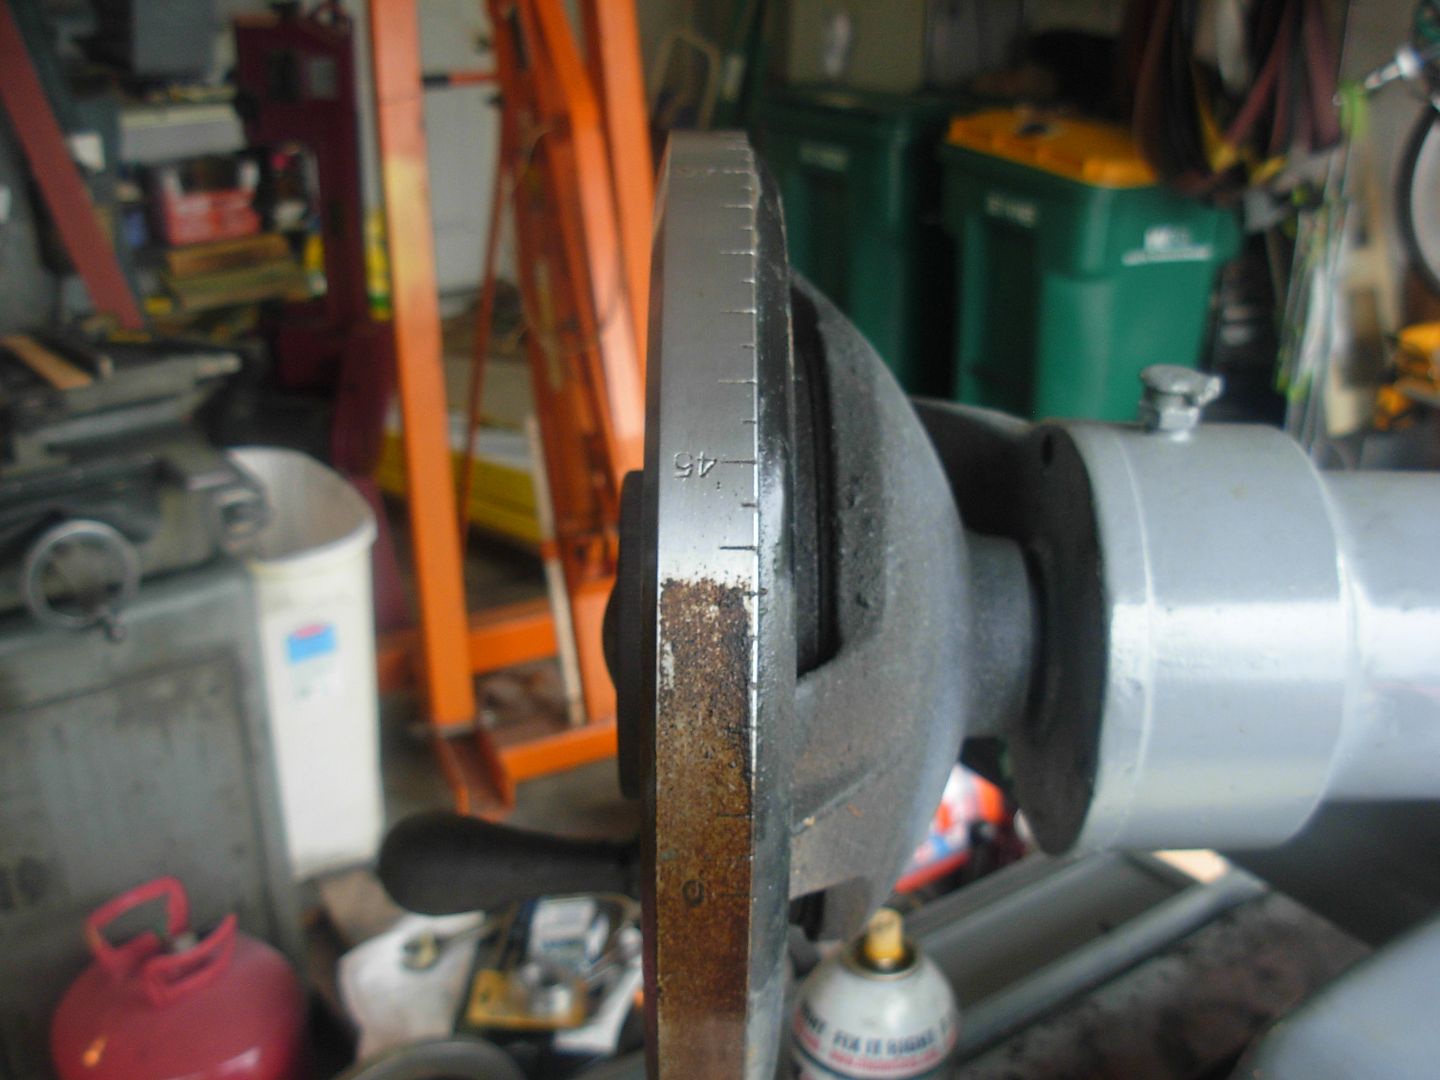
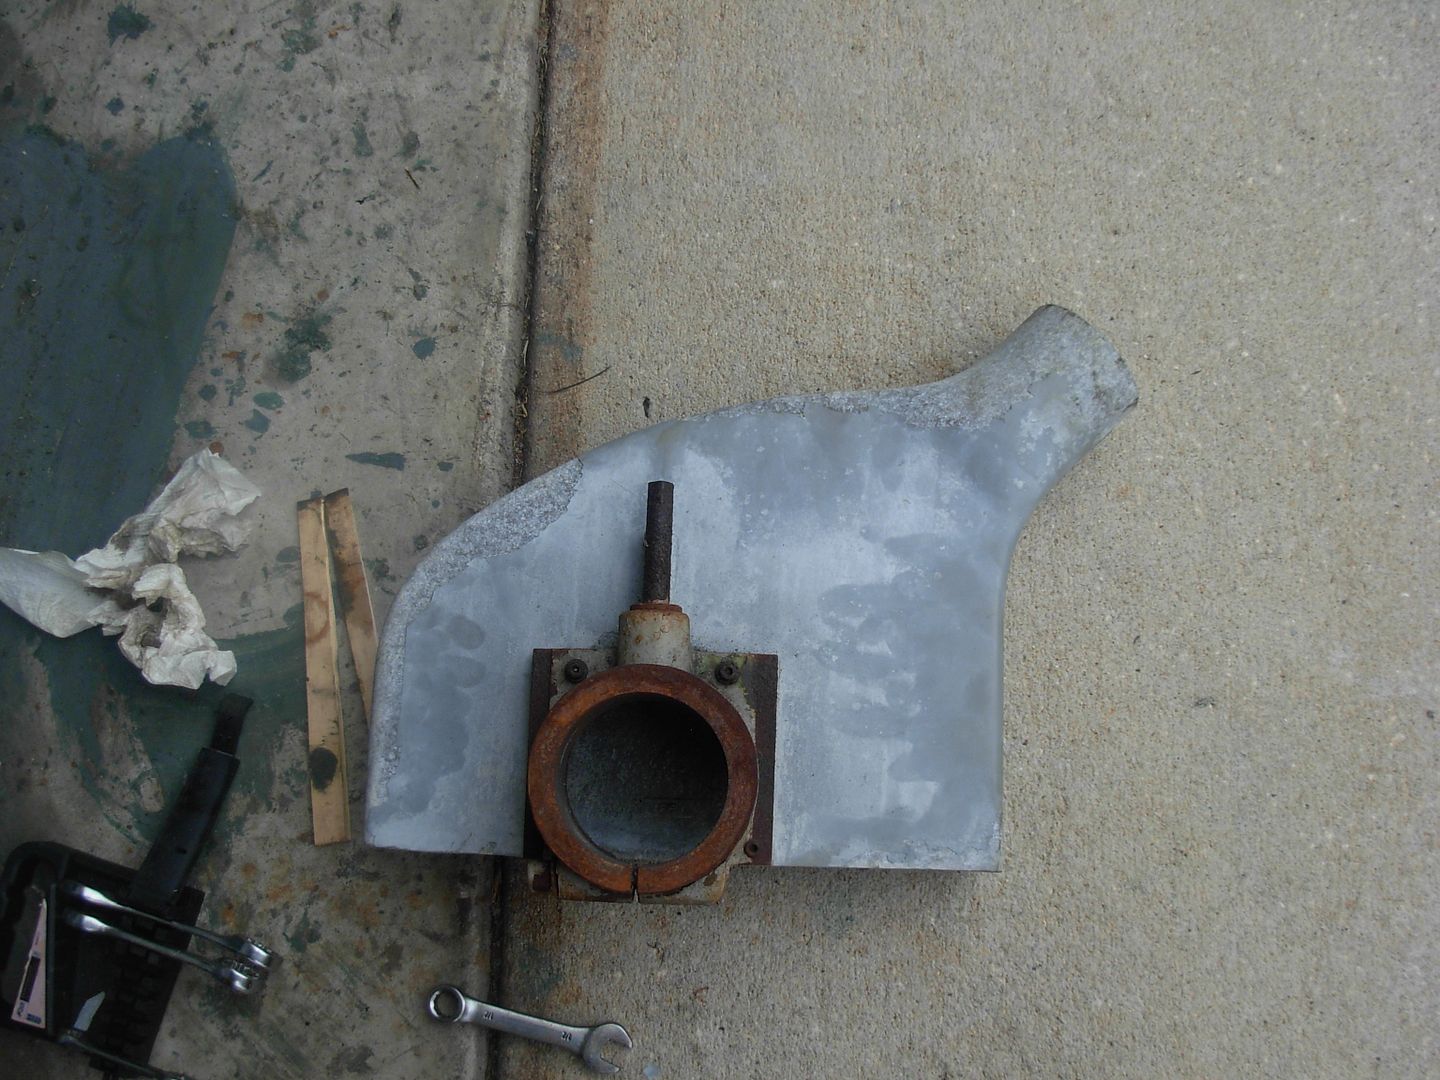
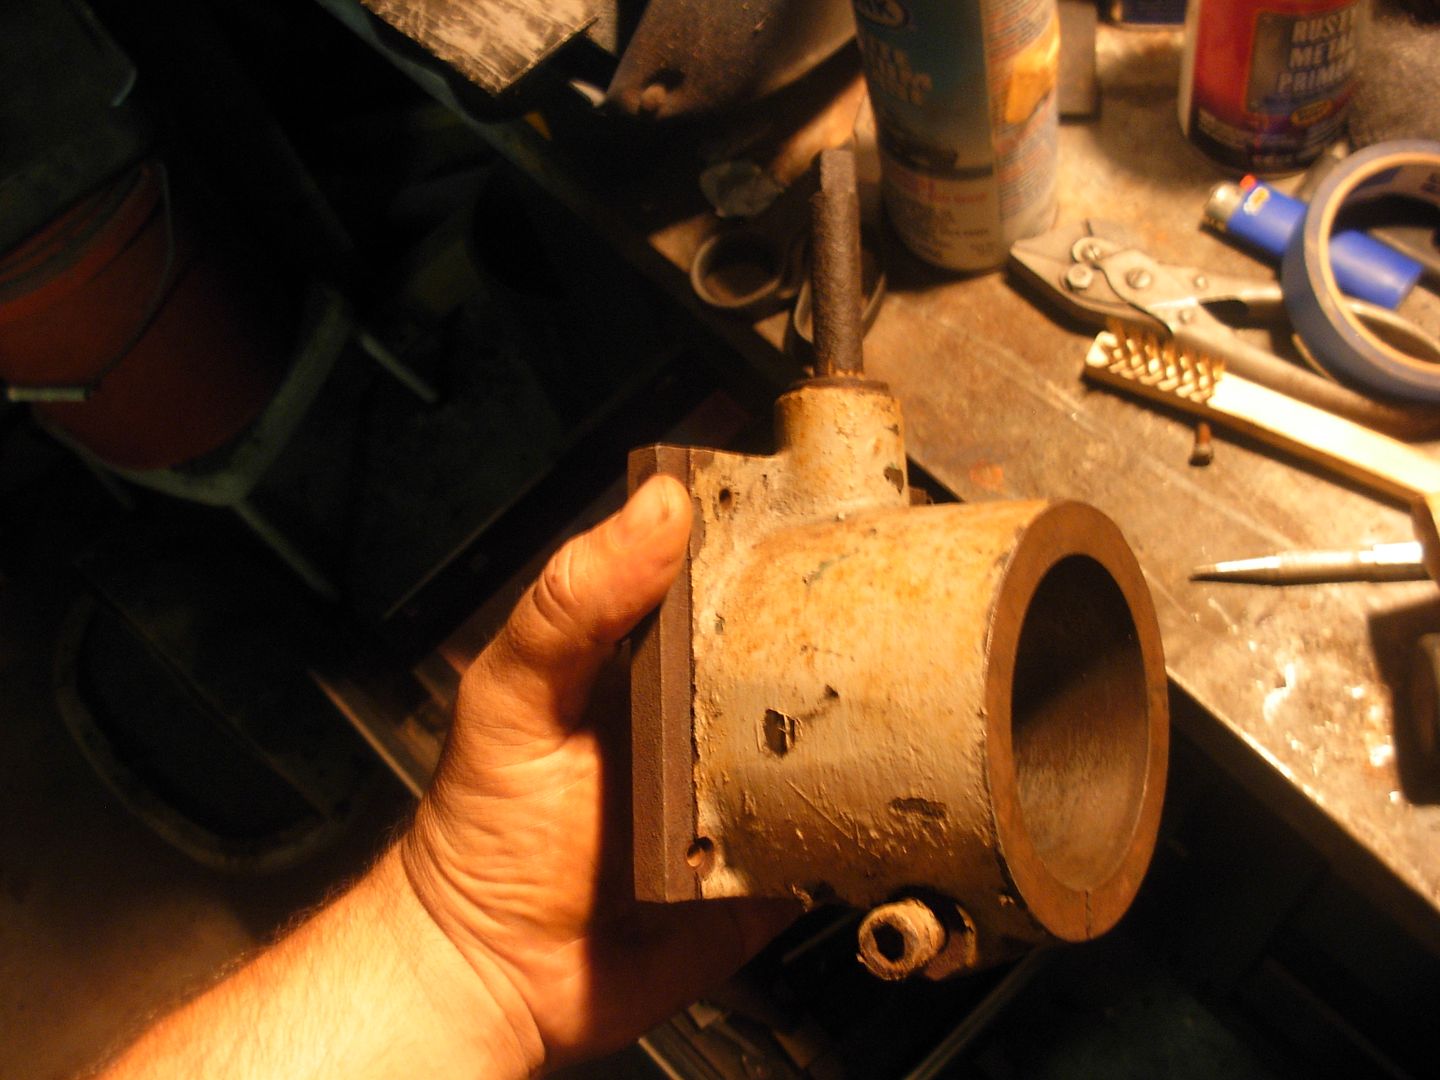
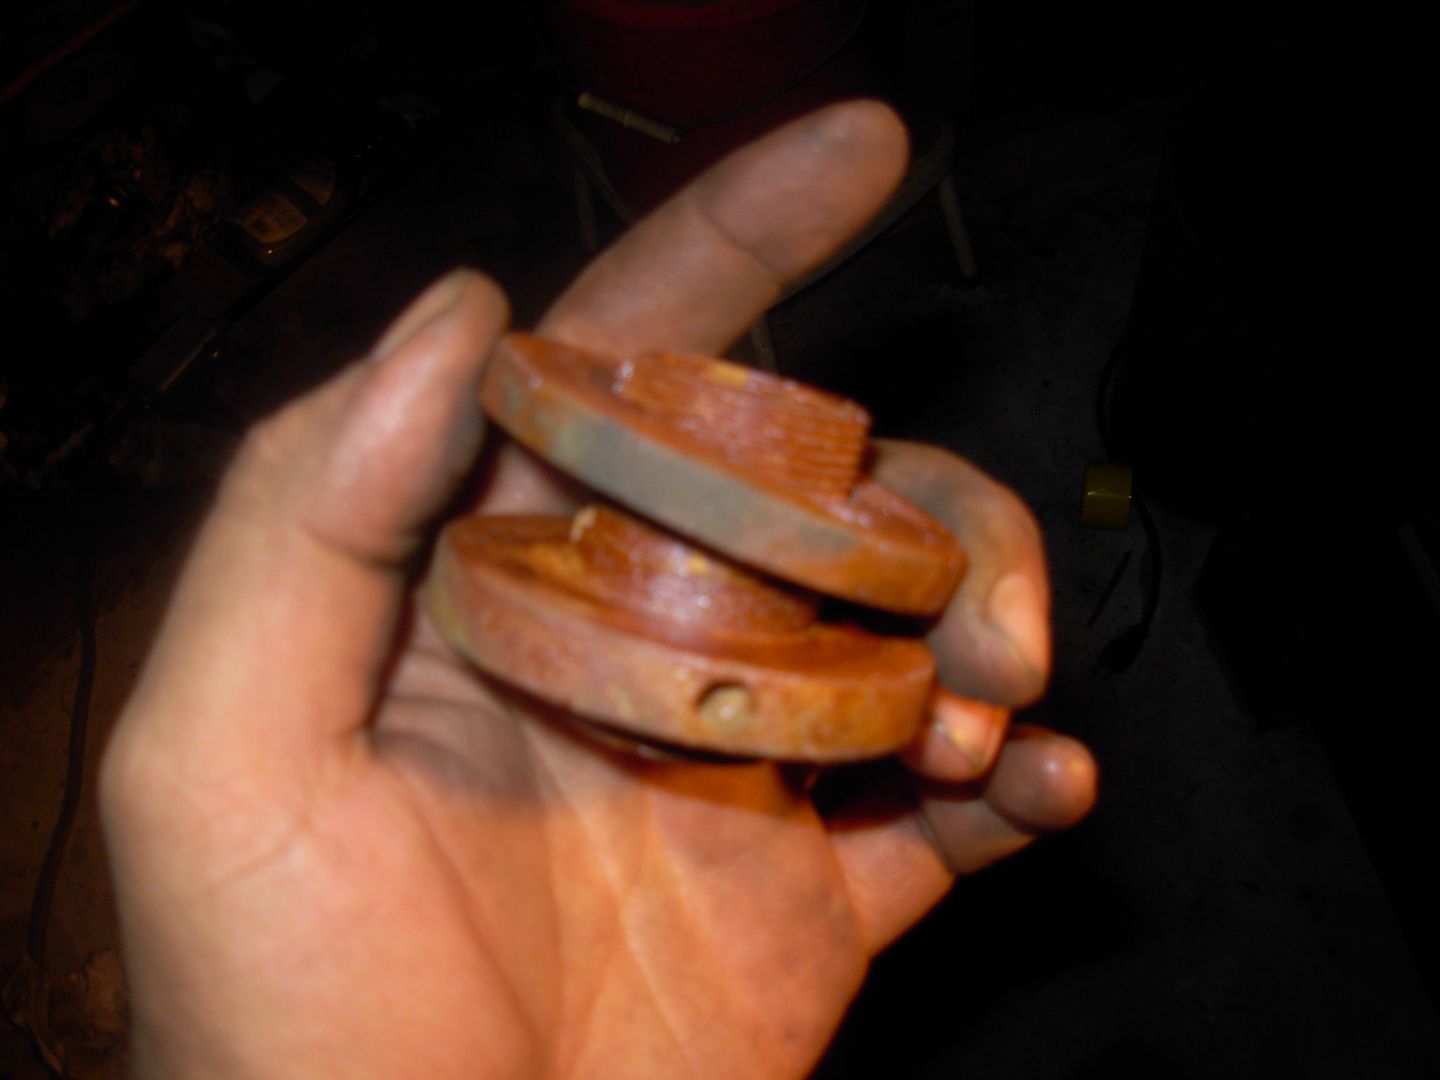
Of course a resto like this cant be done without a mishap or three") Here we've got my stone adapter which was left soaking in vinegar and forgotten about..... hmmmm way to go genious The vinegar ate the threads completely out of the nut side. these two pieces should be threaded precisely together... bye bye DoAll hello scrap pile
Here we've got my stone adapter which was left soaking in vinegar and forgotten about..... hmmmm way to go genious The vinegar ate the threads completely out of the nut side. these two pieces should be threaded precisely together... bye bye DoAll hello scrap pile
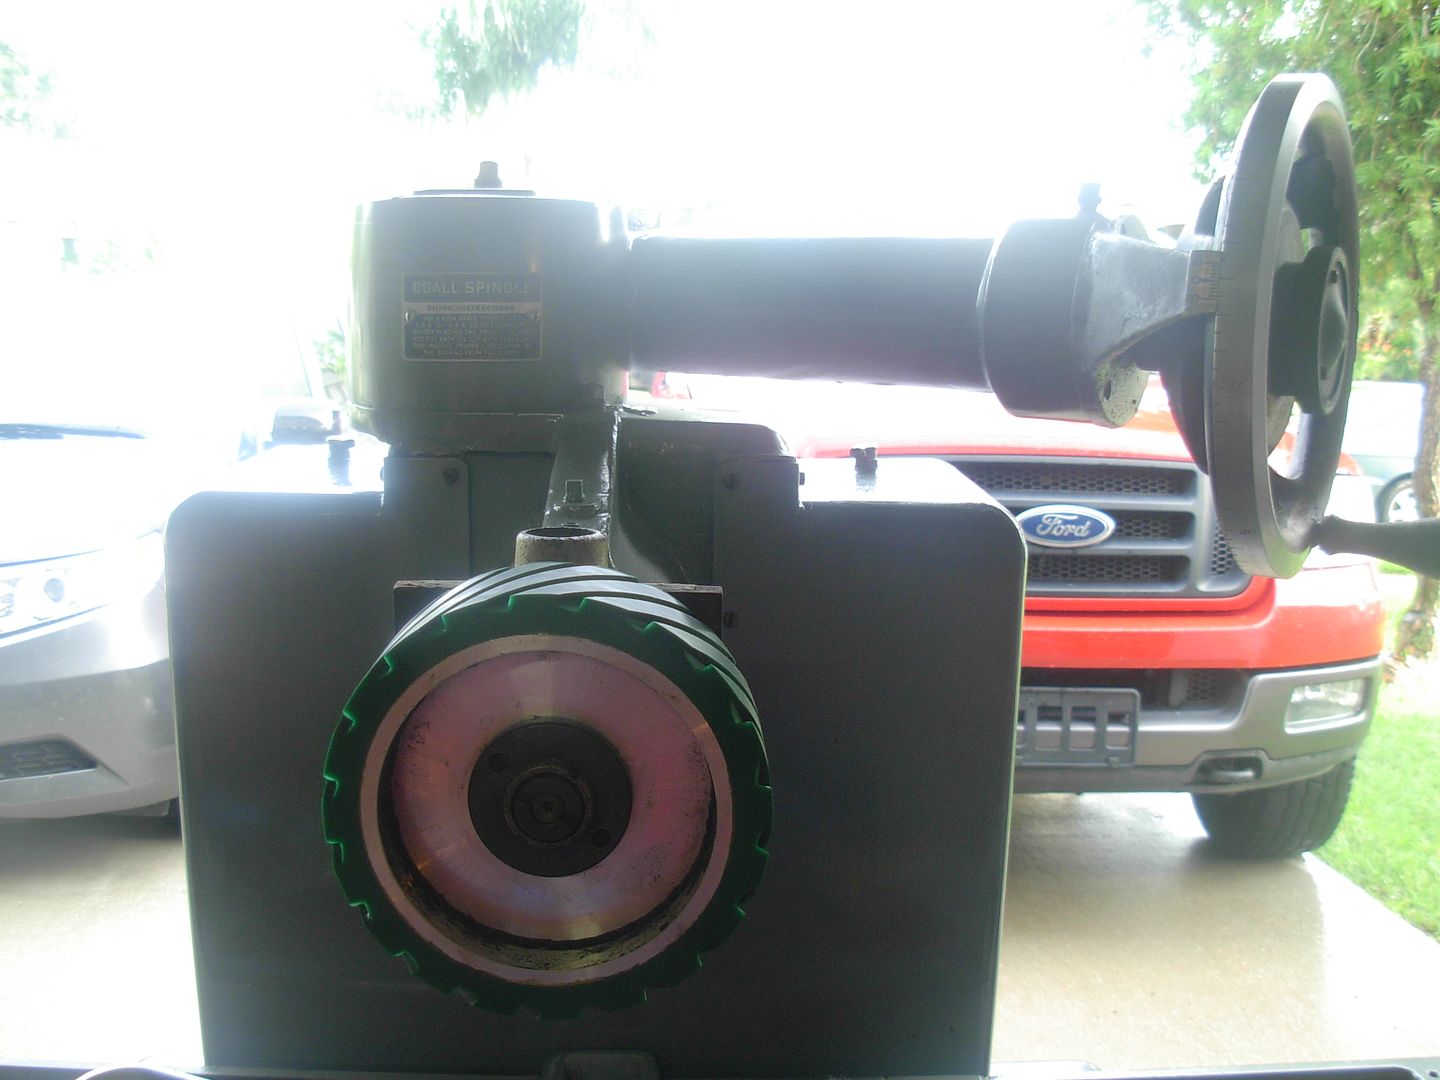
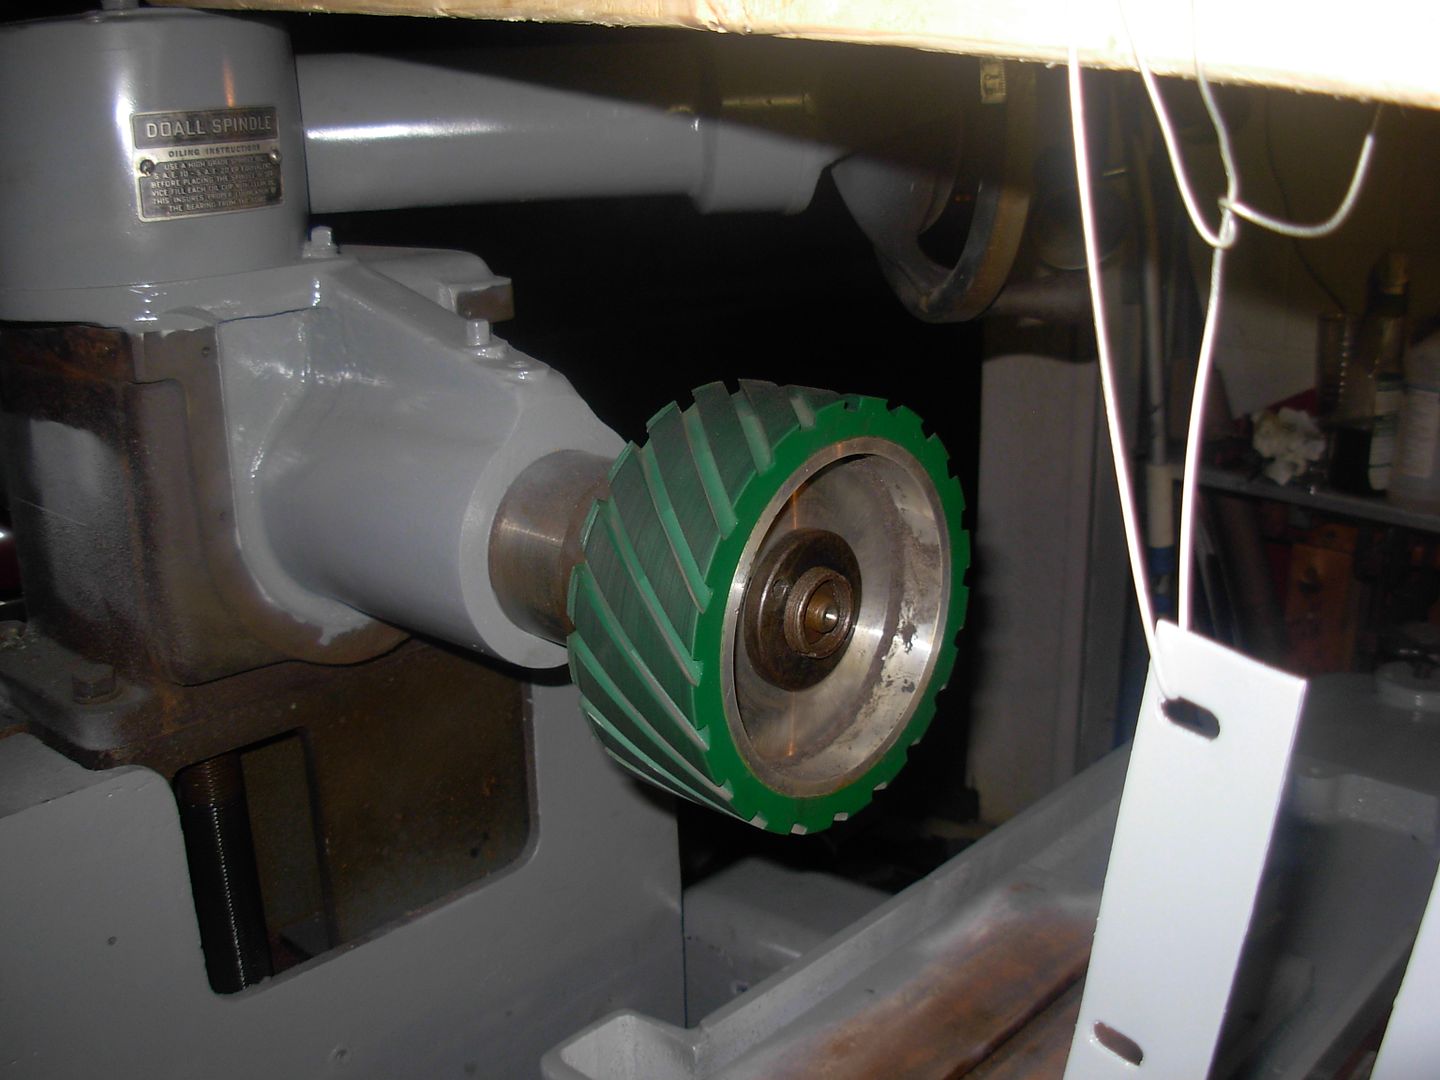
As luck would have it the adapter from my Boyar Schultz is a match to the DoAll's spindle so I'm still in business and I'm already set-up with a contact wheel.
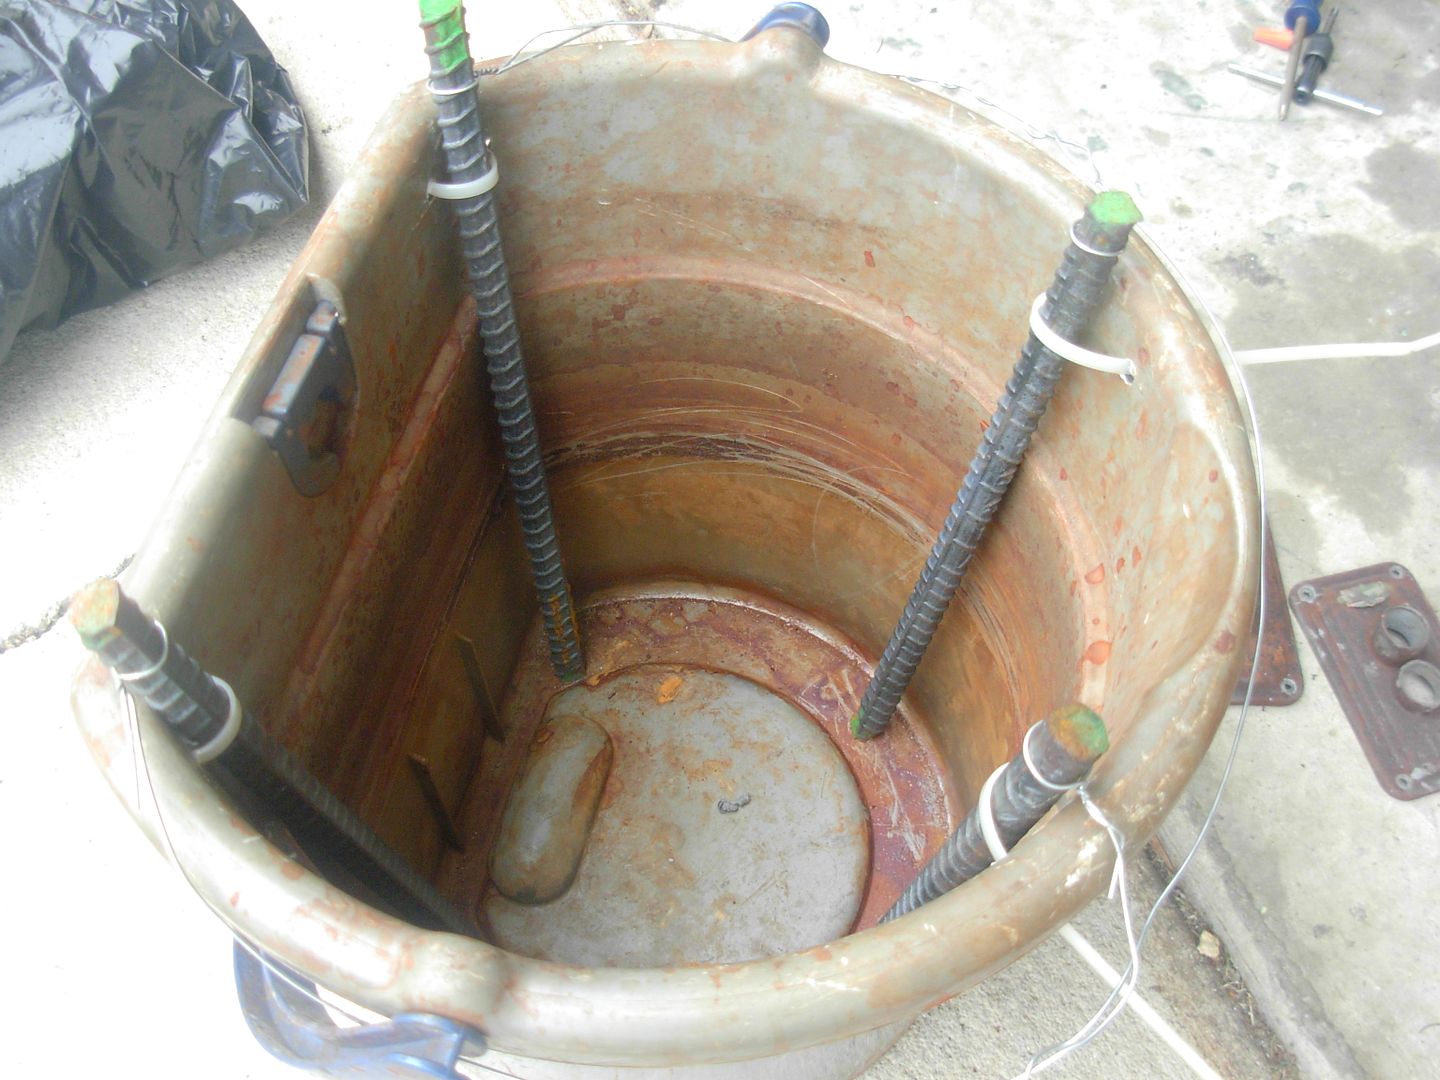
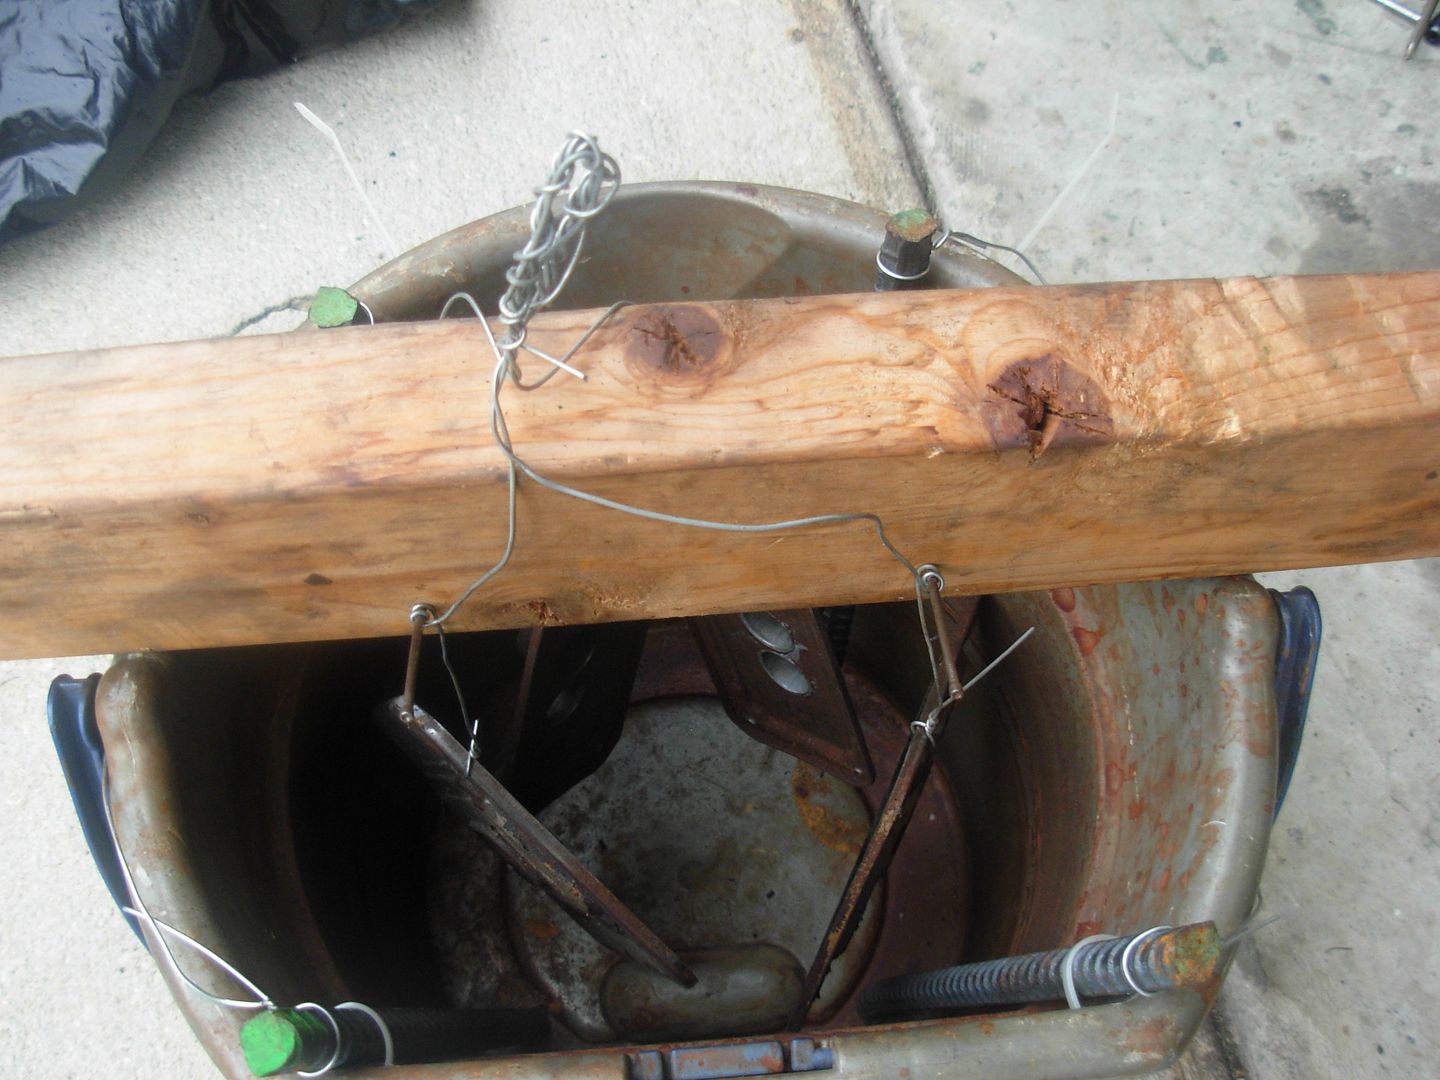
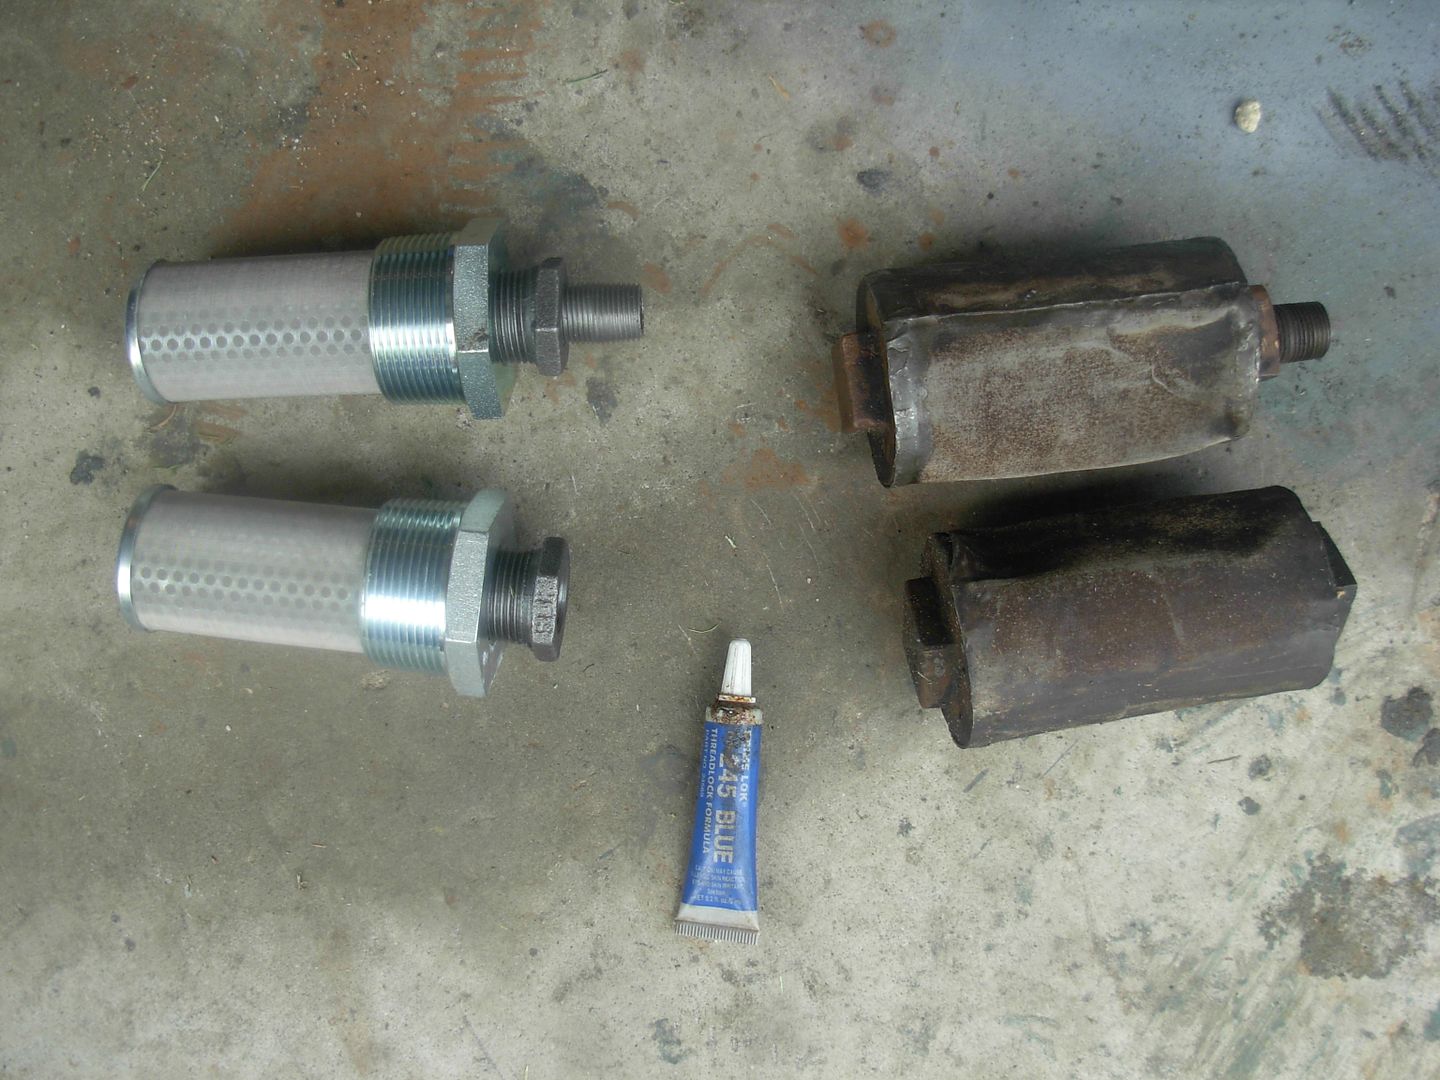
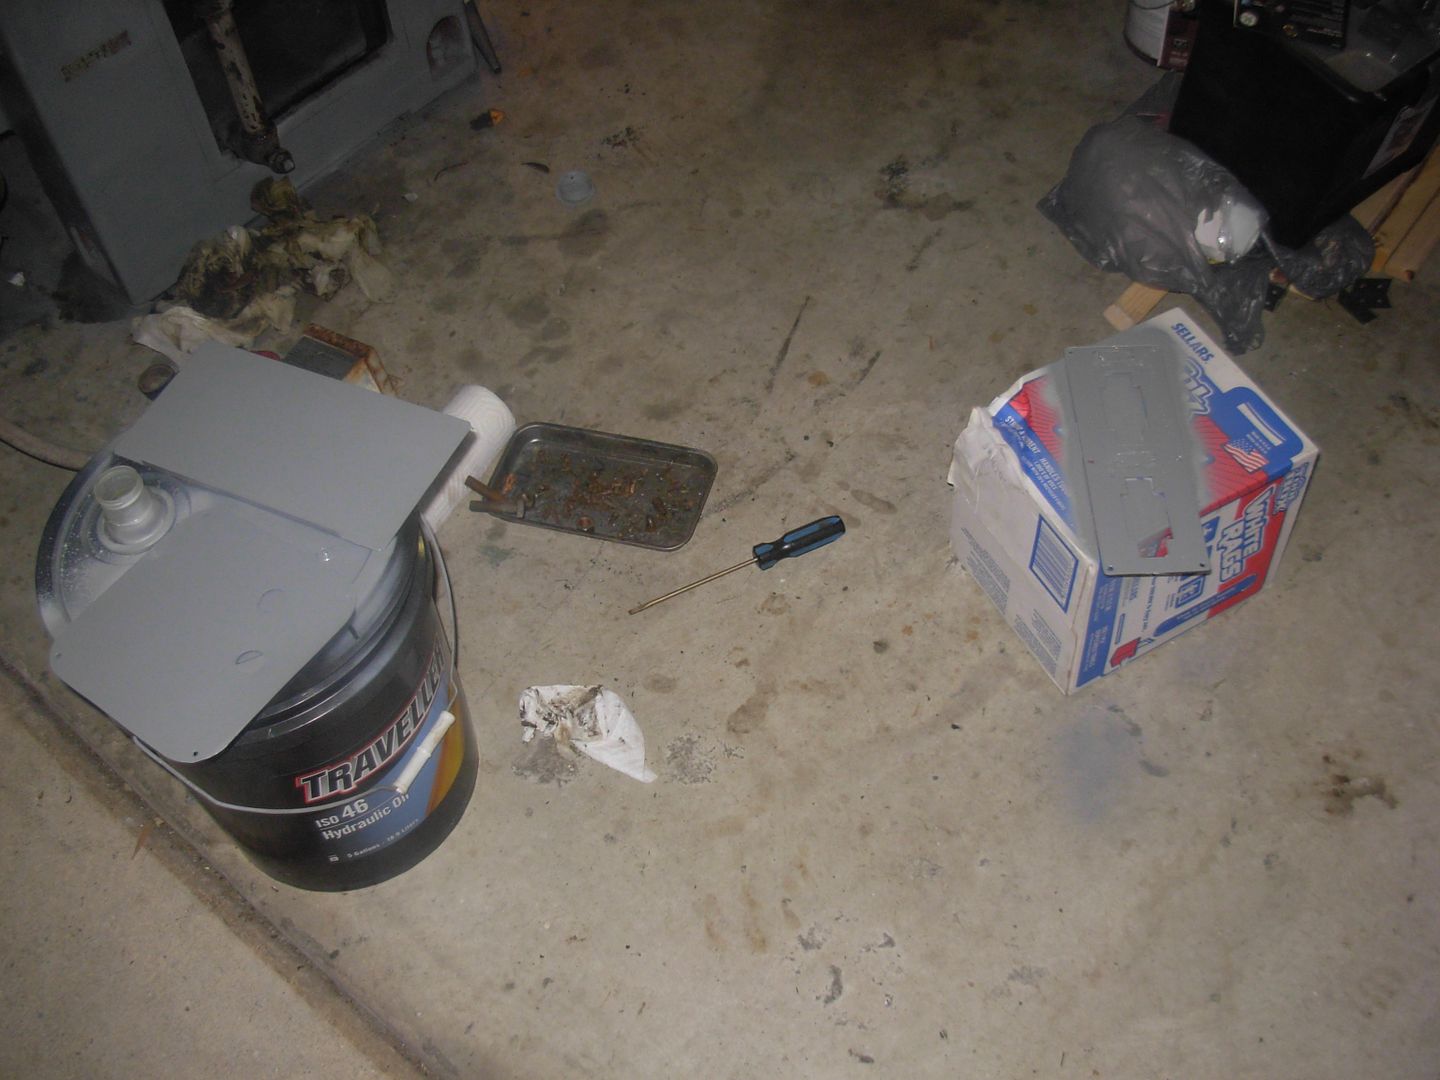
Here I've got my two old ripped up suction strainers plus the two new ones, their related reducers and fittings, and some thread sealant.
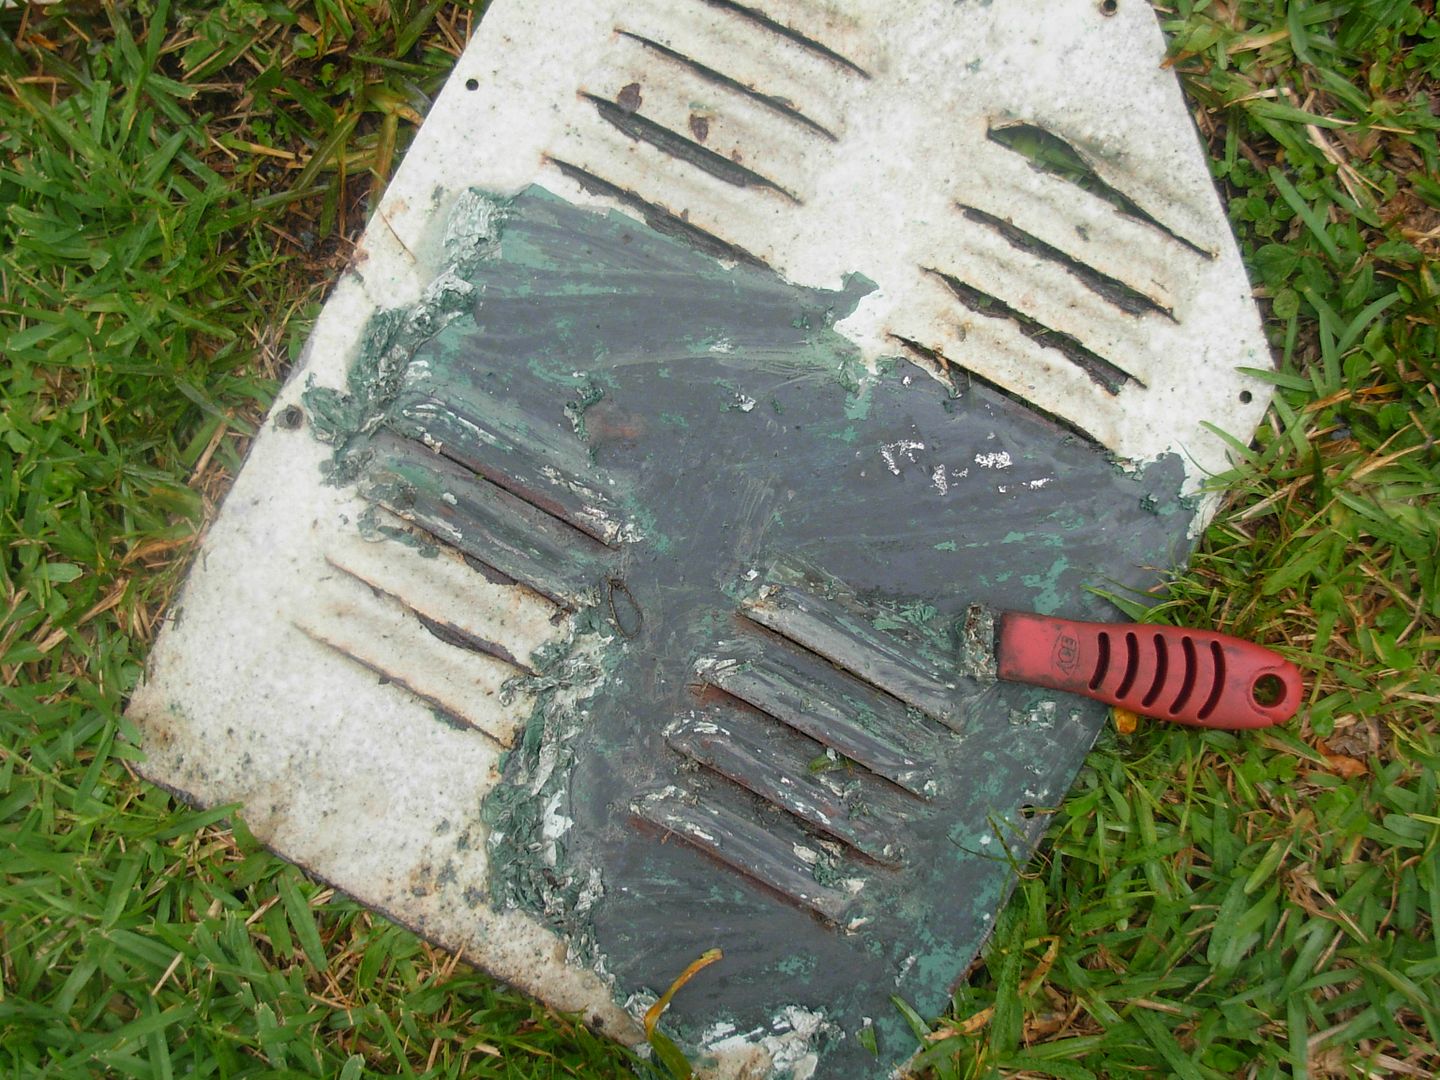
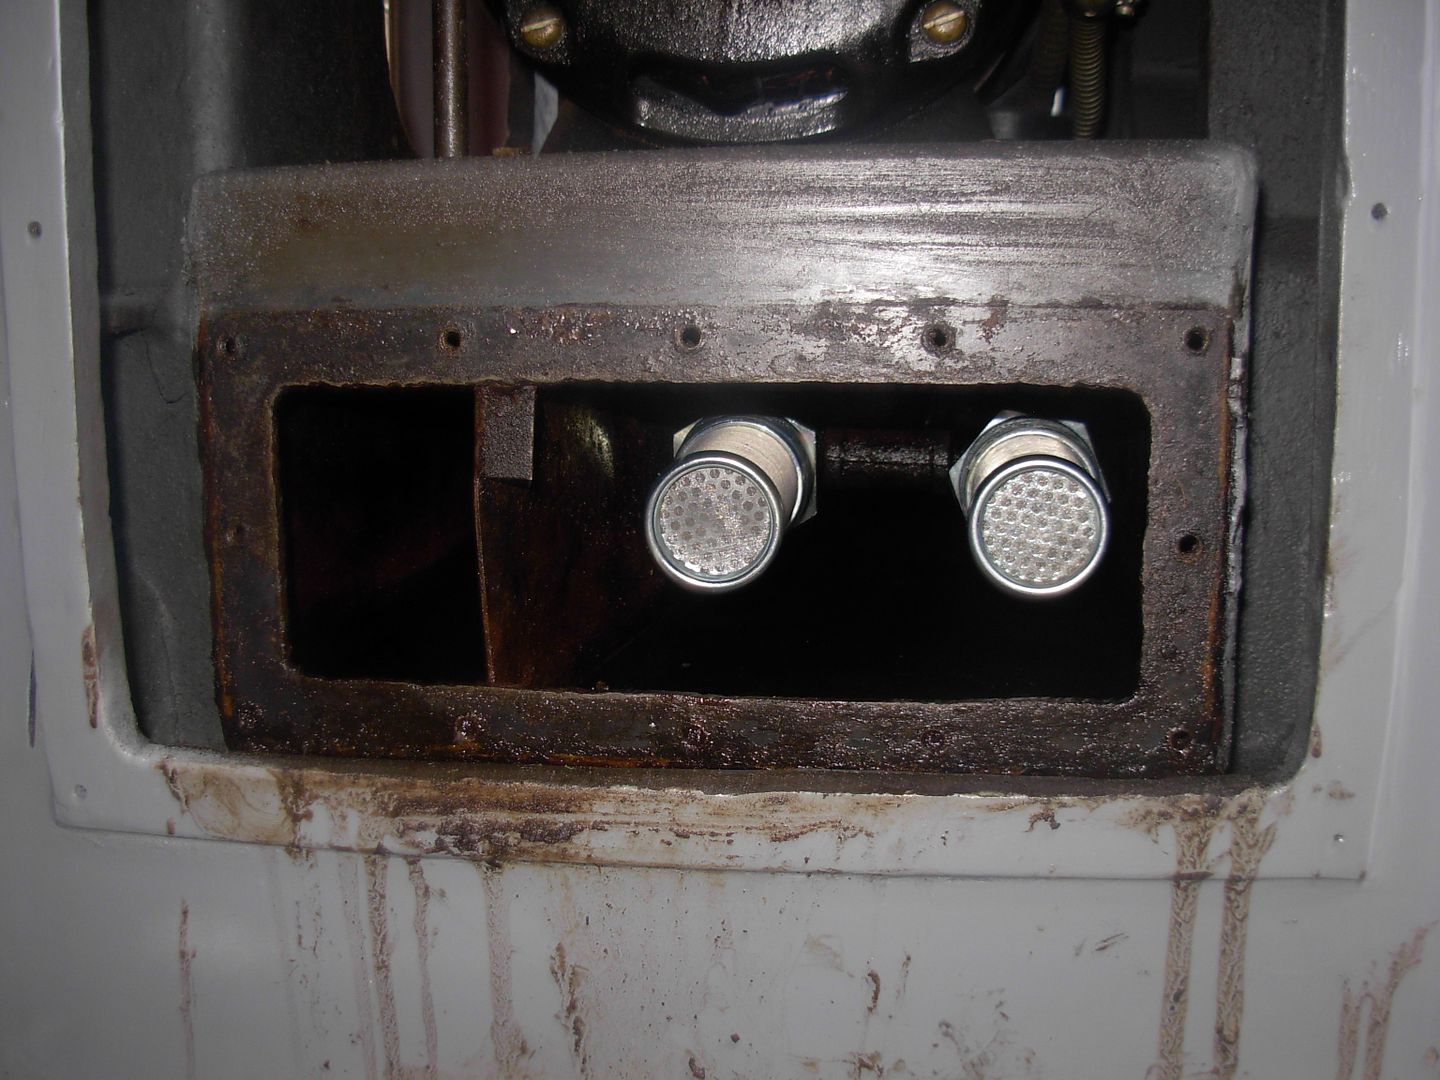
New suction strainers installed back in the tank
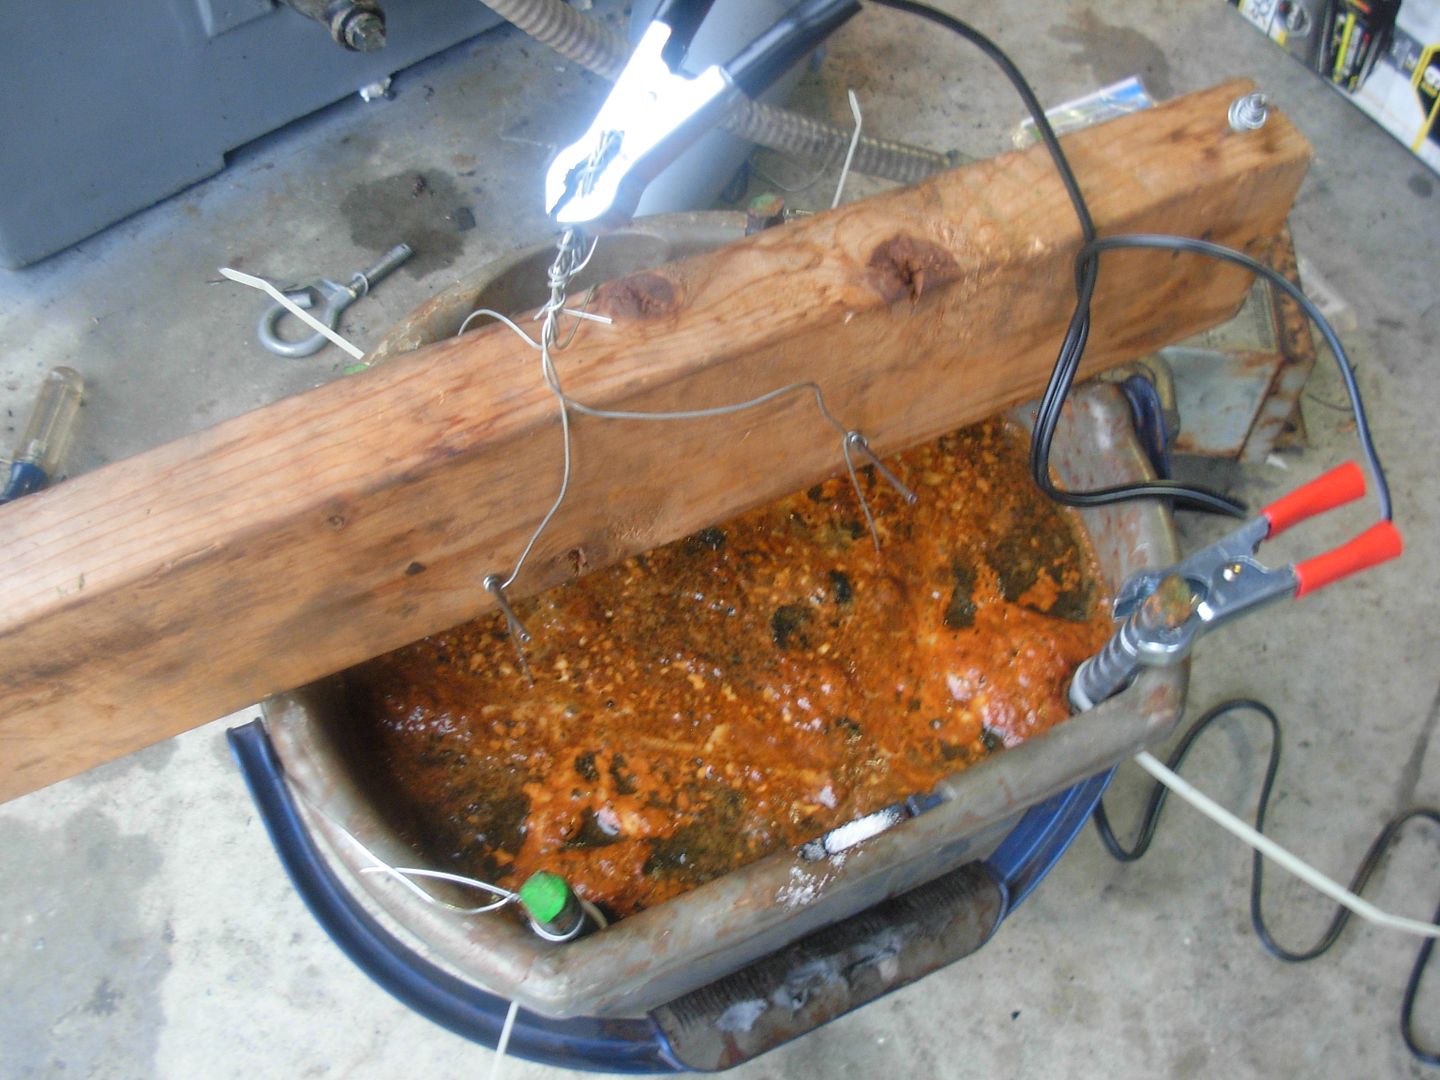
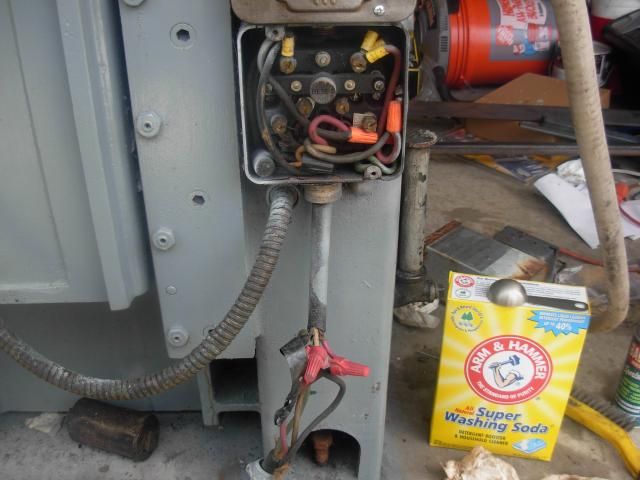
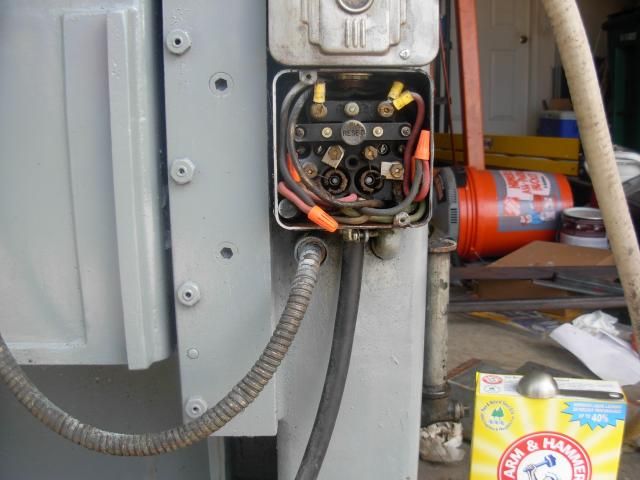
I didn't get any pics of the next step but it wasn't without a trip up Reinstalled the end of the tank with gasket, no problems there. Re-wired up the machine and the cord, no problems there. Added 5 gallons of hydraulic fluid, no problems there. Flipped on the pump and she fired right up.... No movement on the cylinder... Hmmm .... Switch off pump. Investigate to quickly realize I never reconnected the 3 hydraulic lines .... Oooops Only pumped about a gallon or two of fluid into the base of the machine. Live and learn rookie :biggrin:
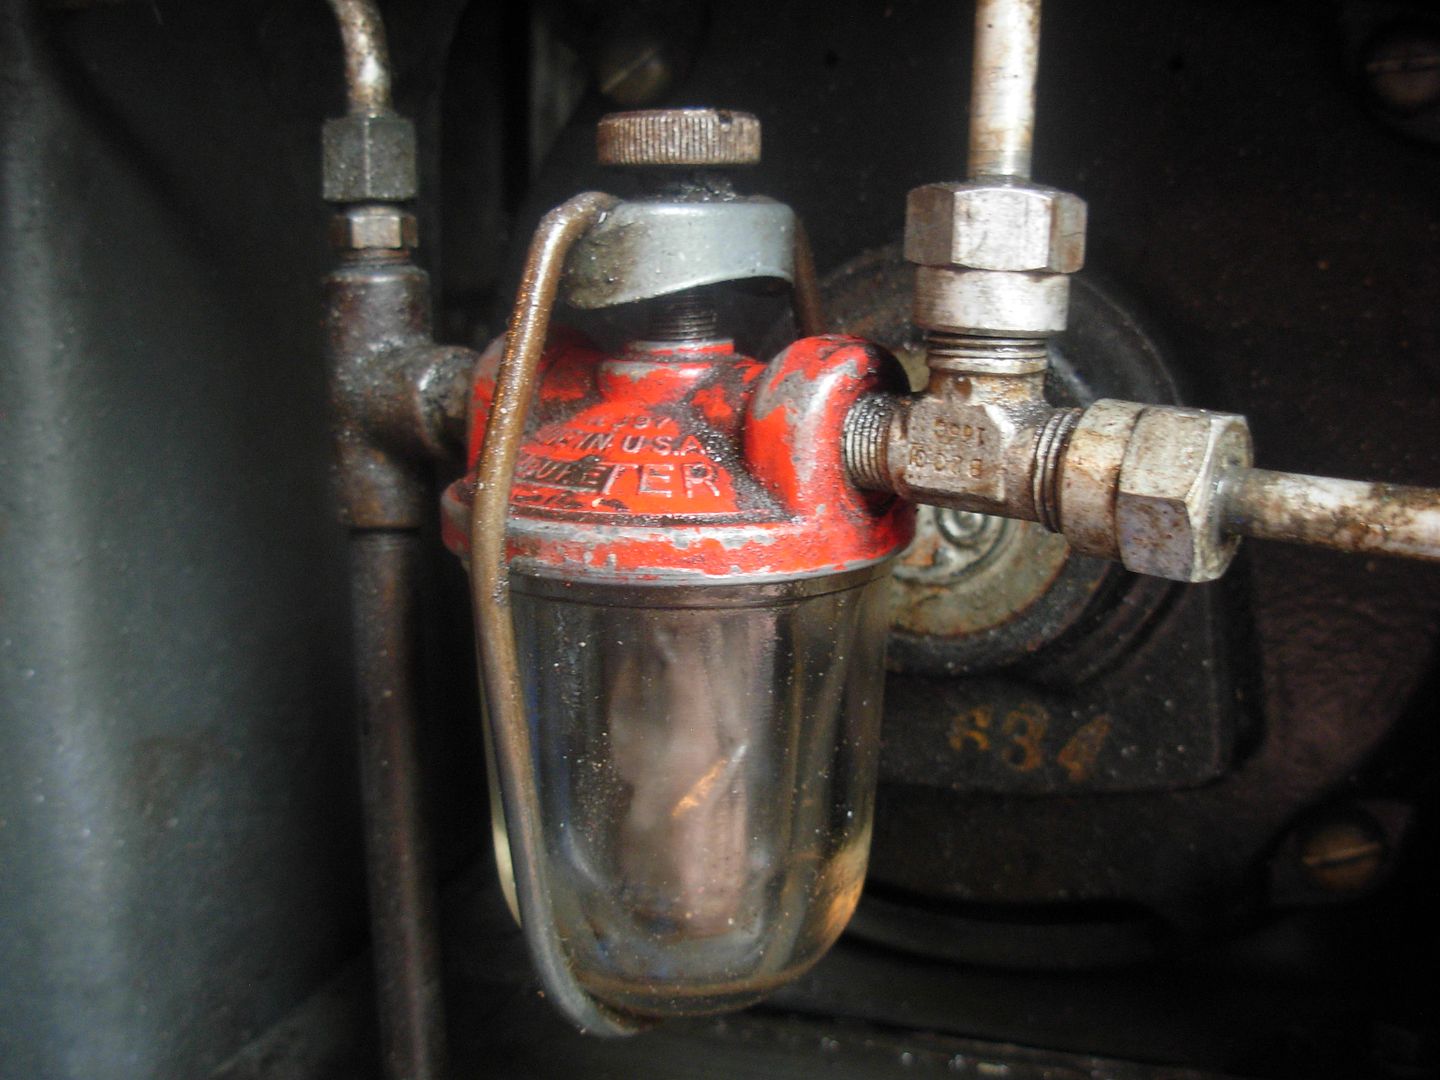
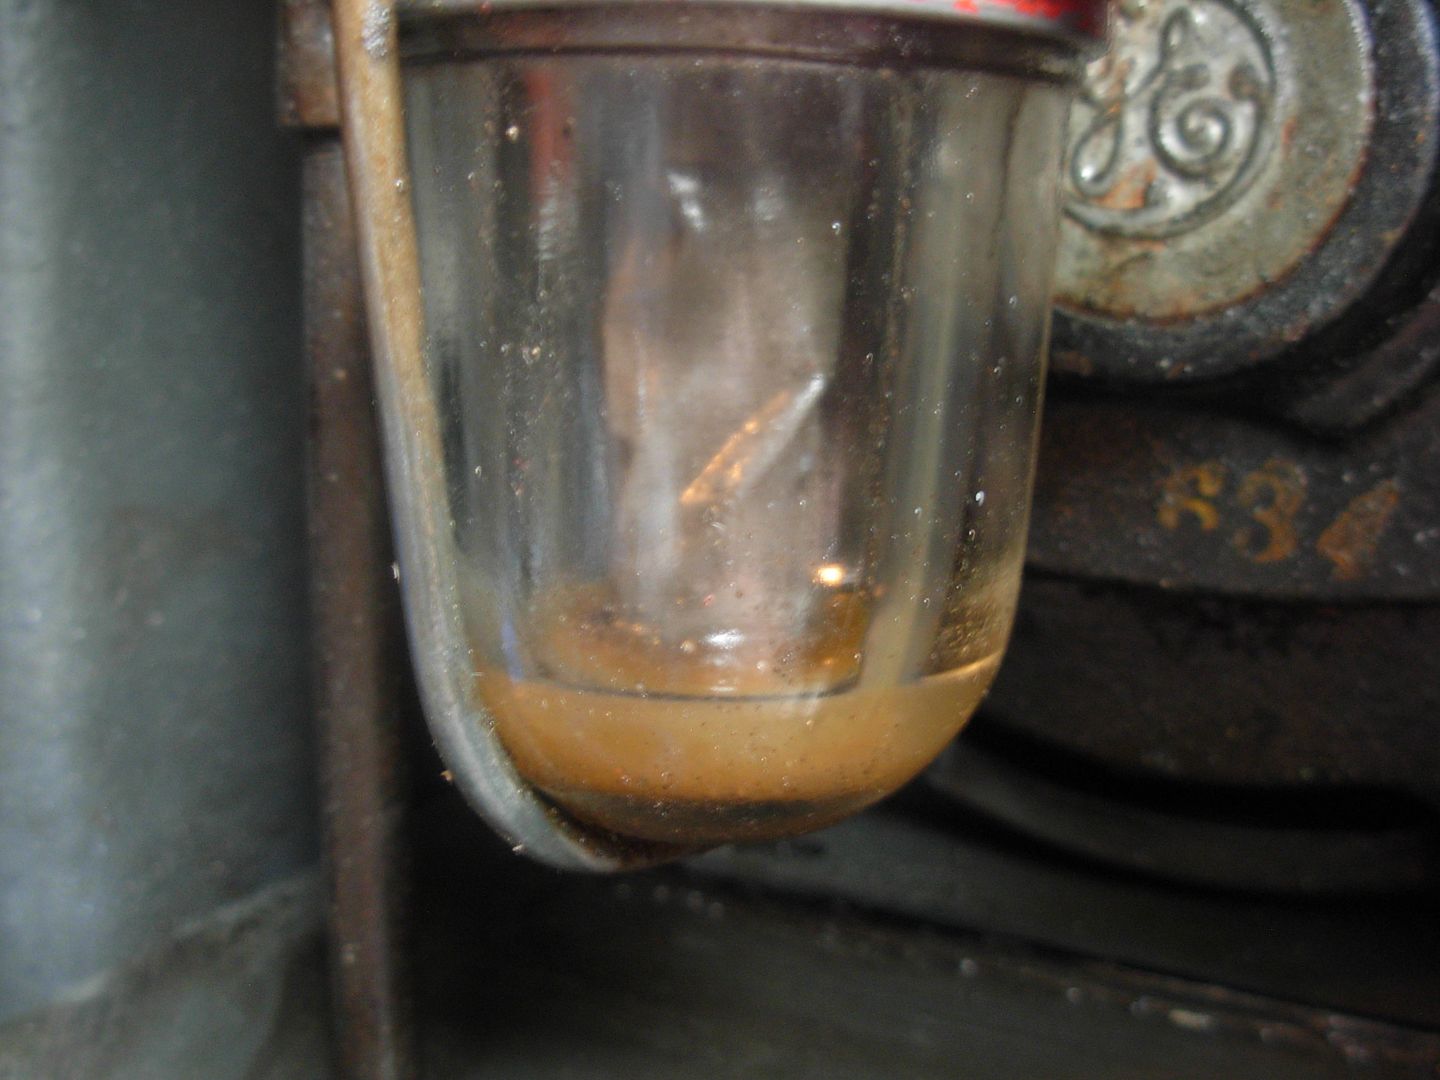
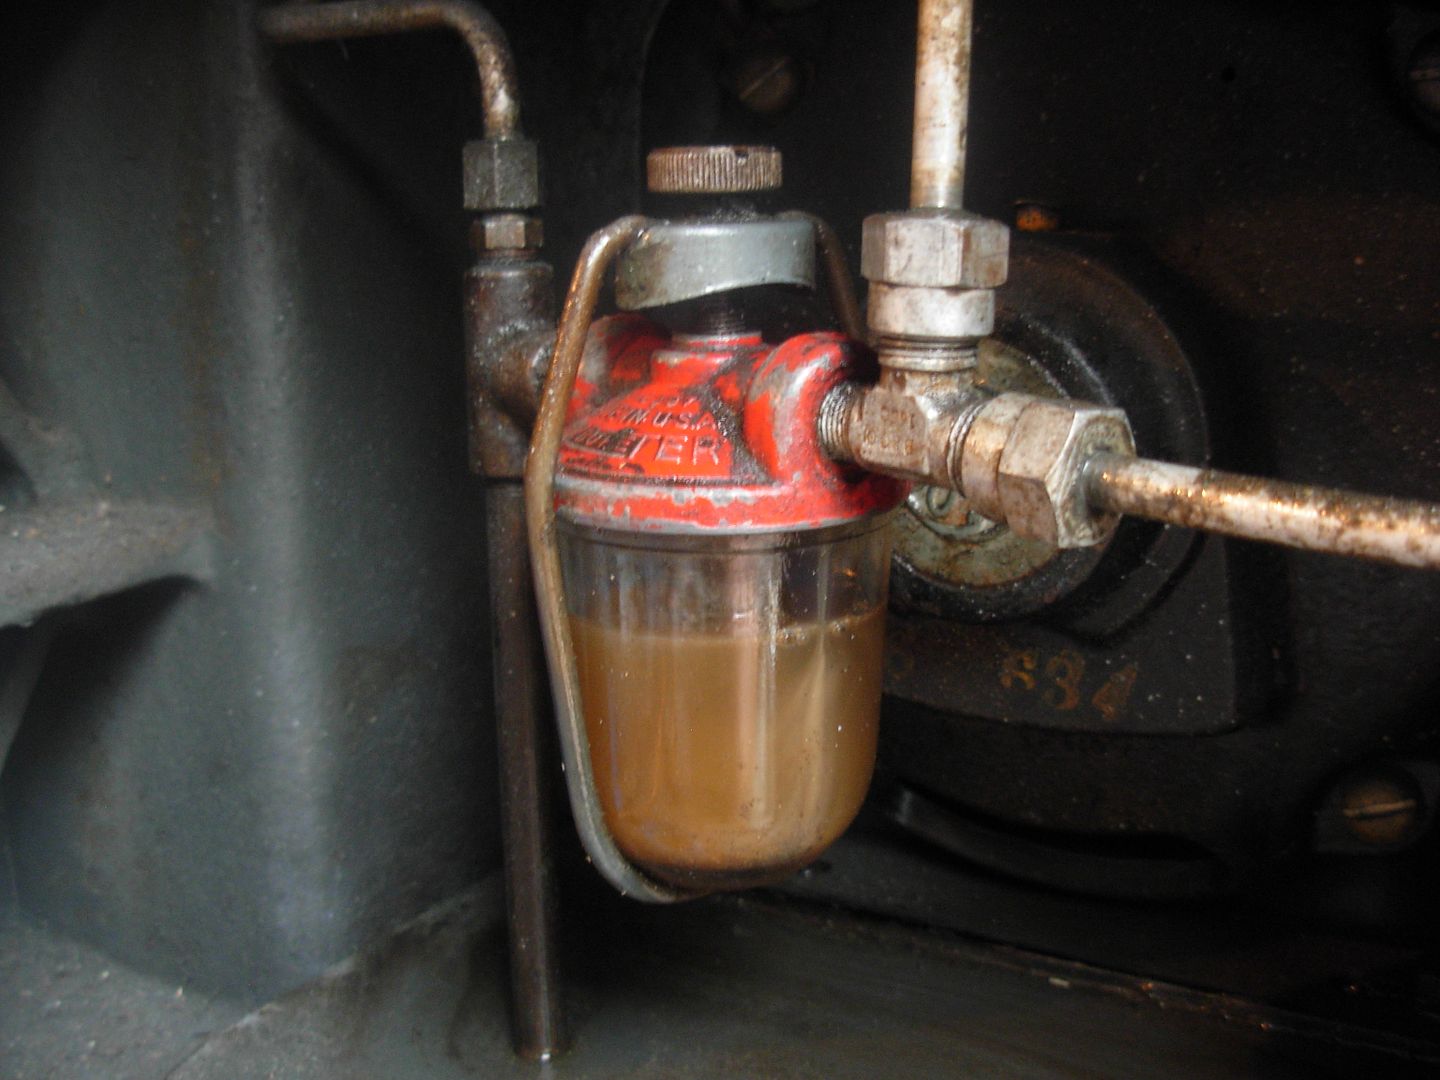
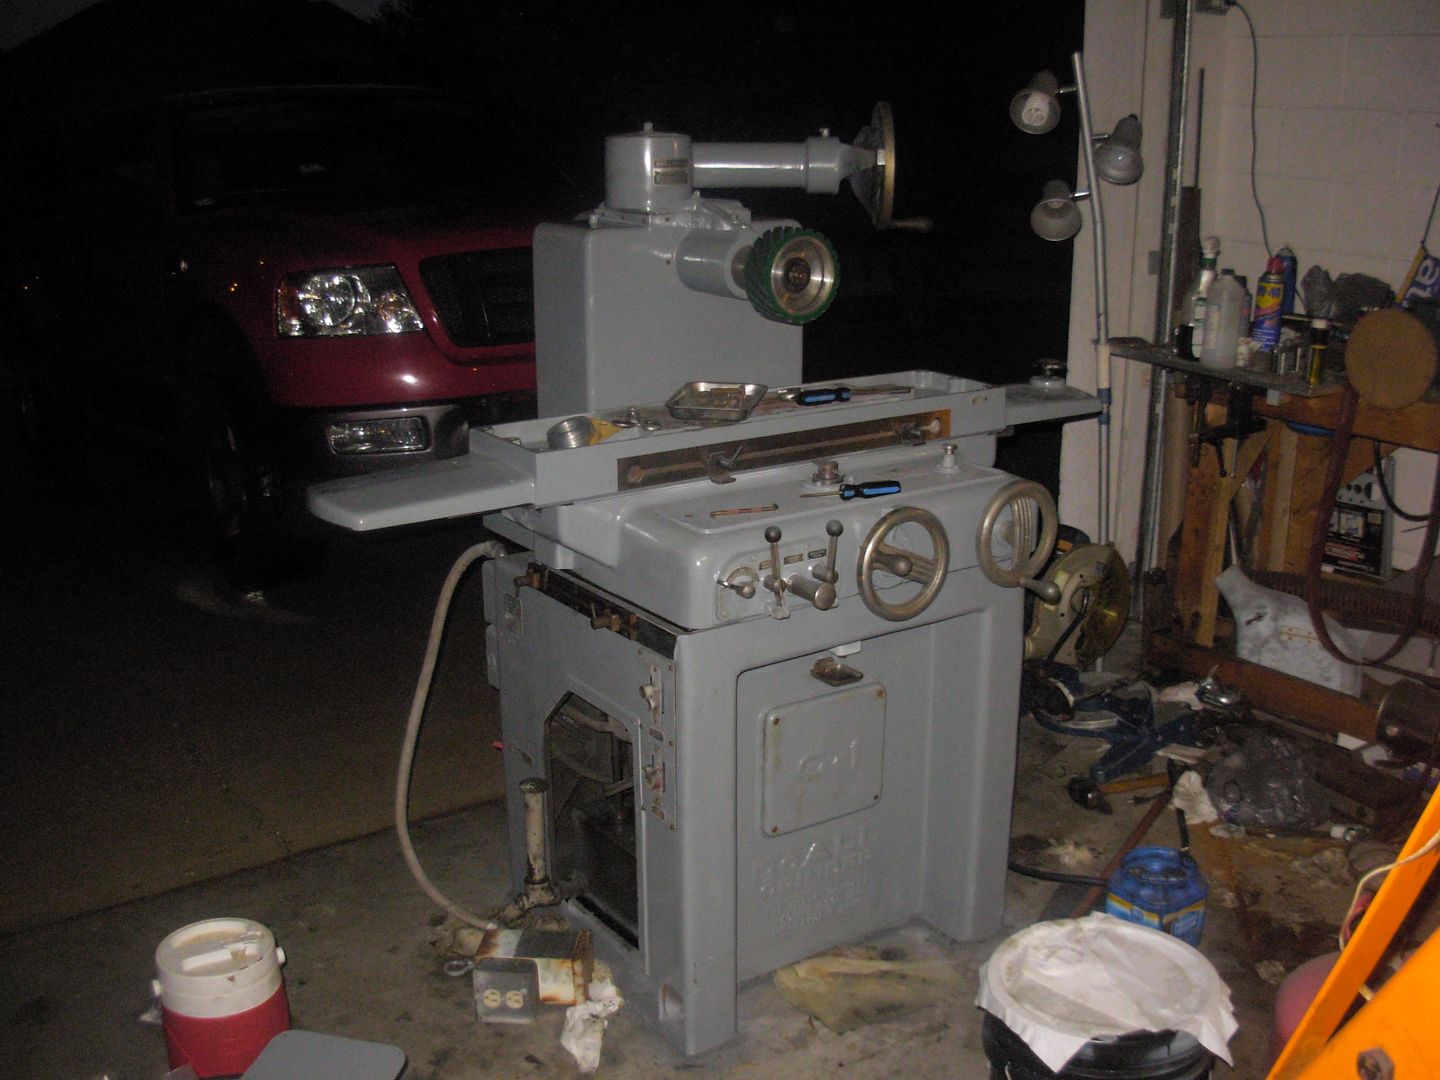
Reconnected the lines and the DoAll is back under power and functioning. I am getting oil to the ways which I'm very happy about but something is clogging the works for the excess draining correctly. I'm suspecting the clear sightglass filter is stopping up the works but I'll dig deeper into the issue. It could be that I'm just pushing too much oil through the system for the drain to handle and need to adjust it. Of course I gotta grab some more oil and top off the tank but otherwise I'm stoked she is back under power, functioning, and doesn't appear to be squirting fluid from anywhere :biggrin:
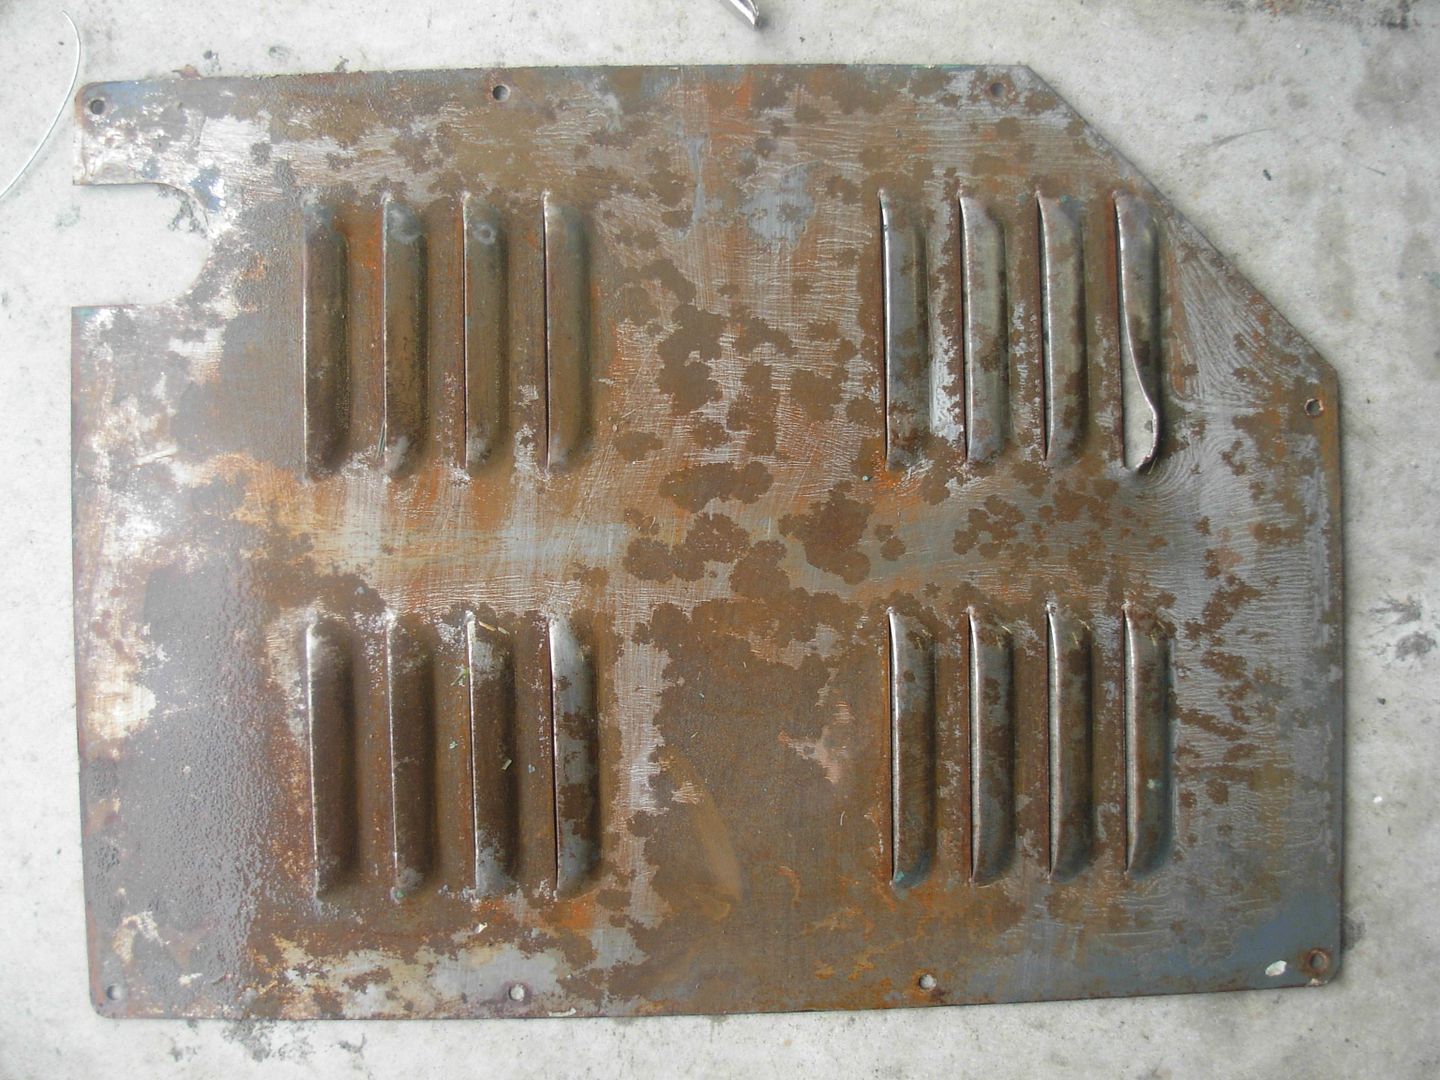
I had stripped all these parts and had them sitting around awaiting prime and paint. That time had finally come for this batch of parts.
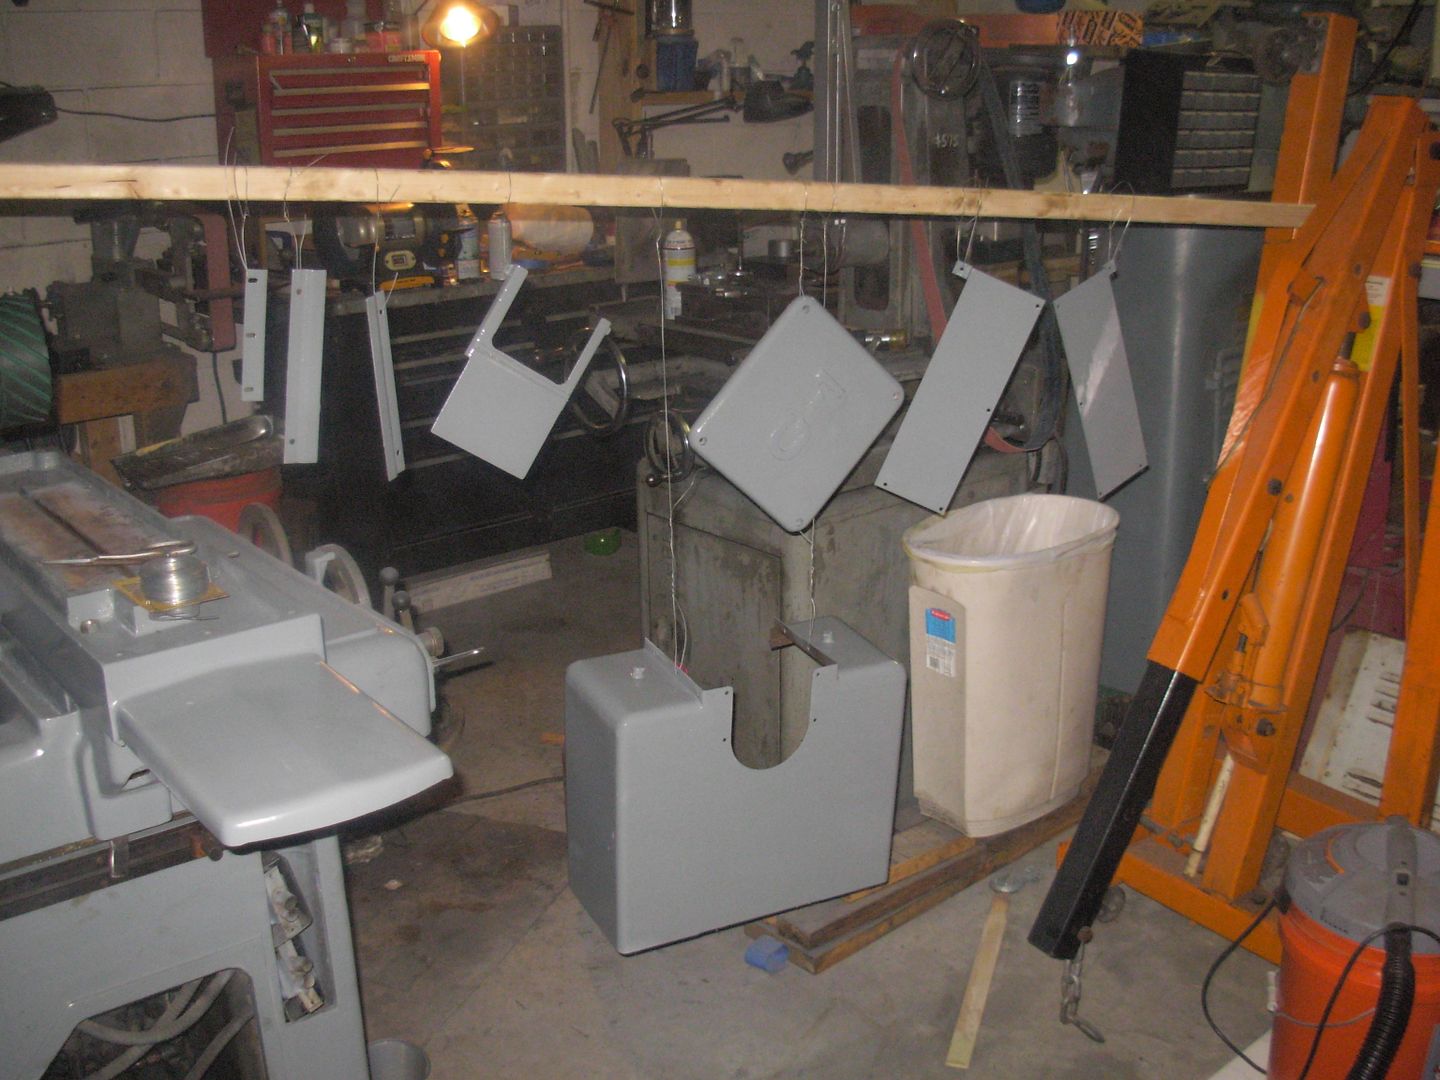
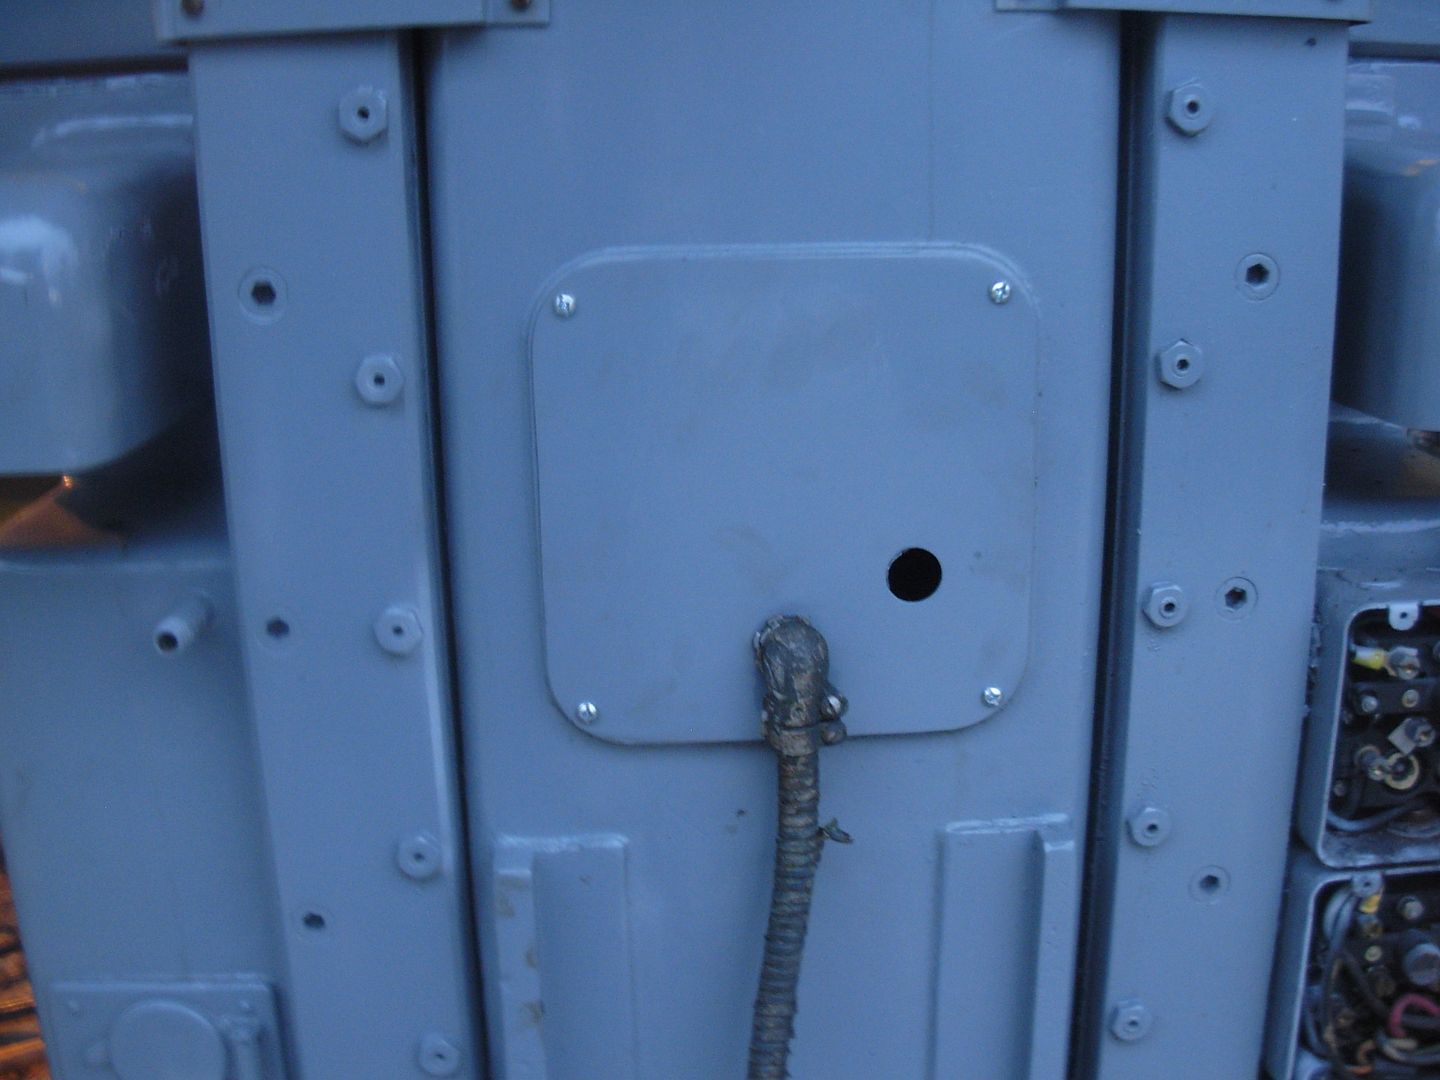
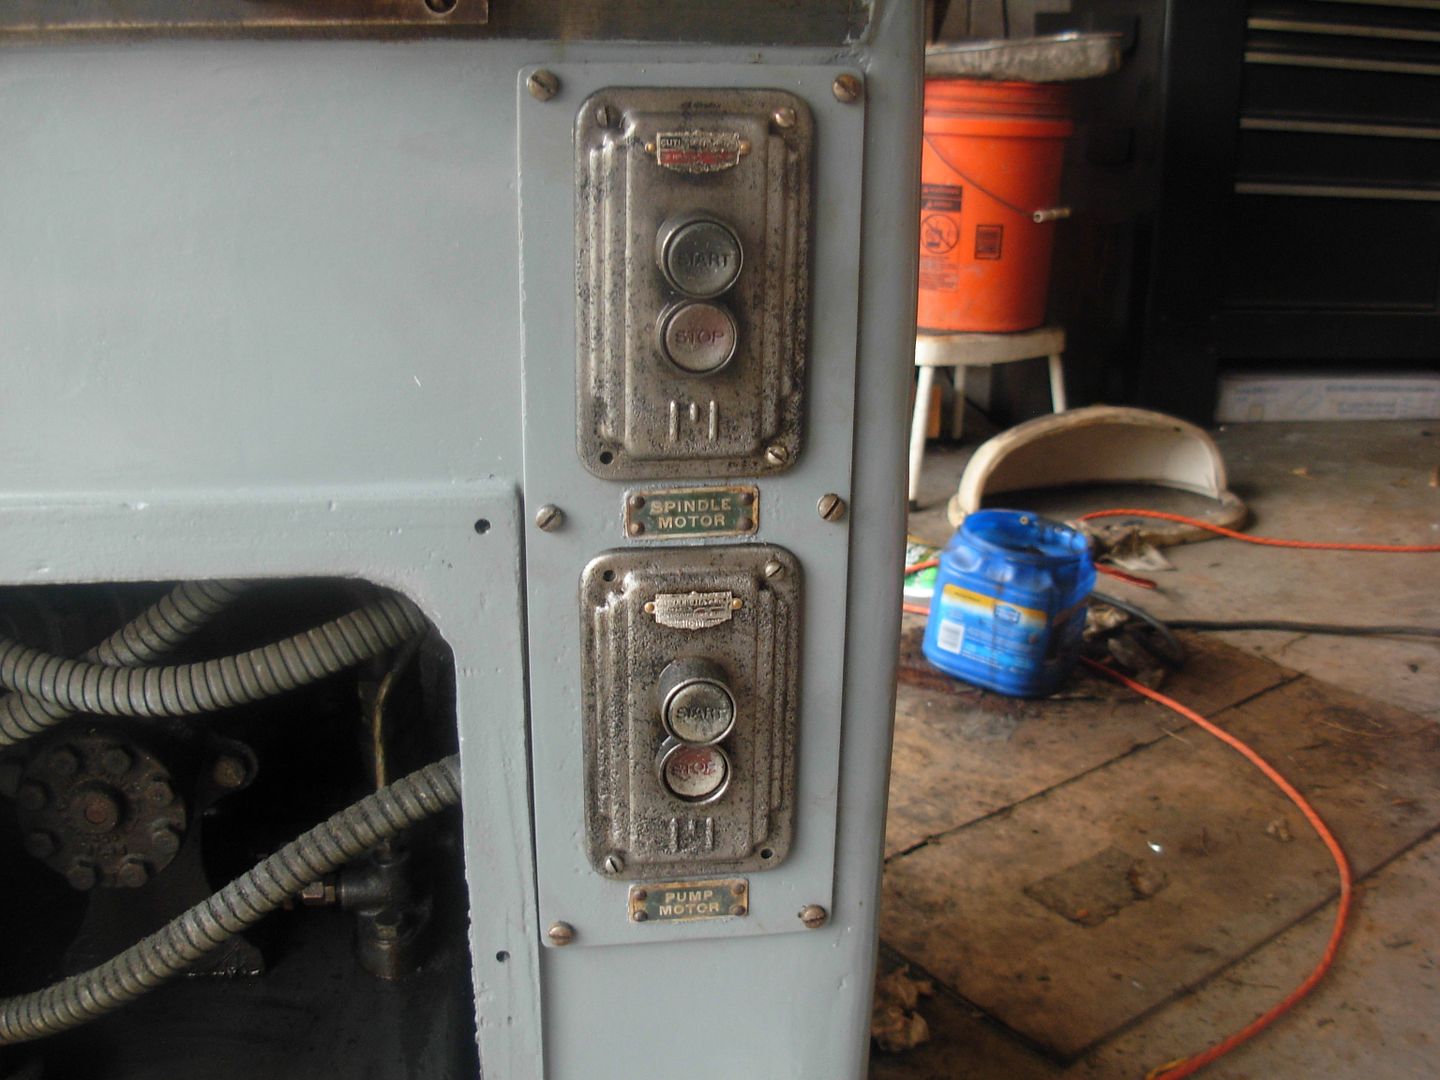
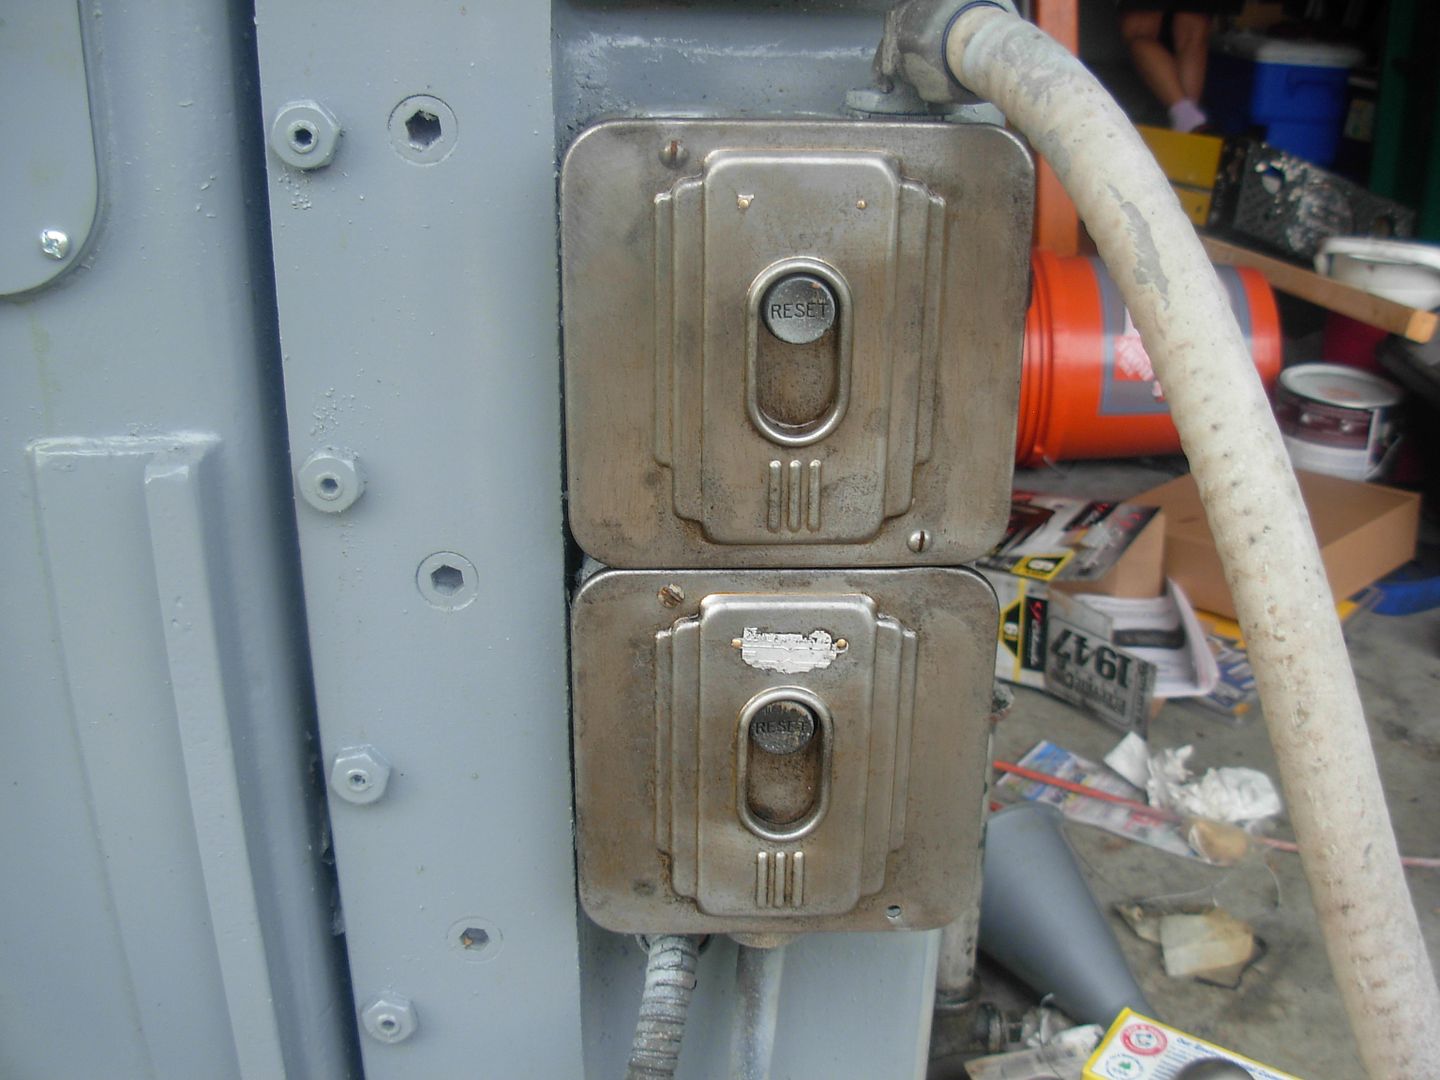
With the prime and paint dry I mananged to reinstall all the dust covers and associated parts without forgetting what was what or how it went back together.
This is where I currently am with the resto so what's left to do on this ole girl ?
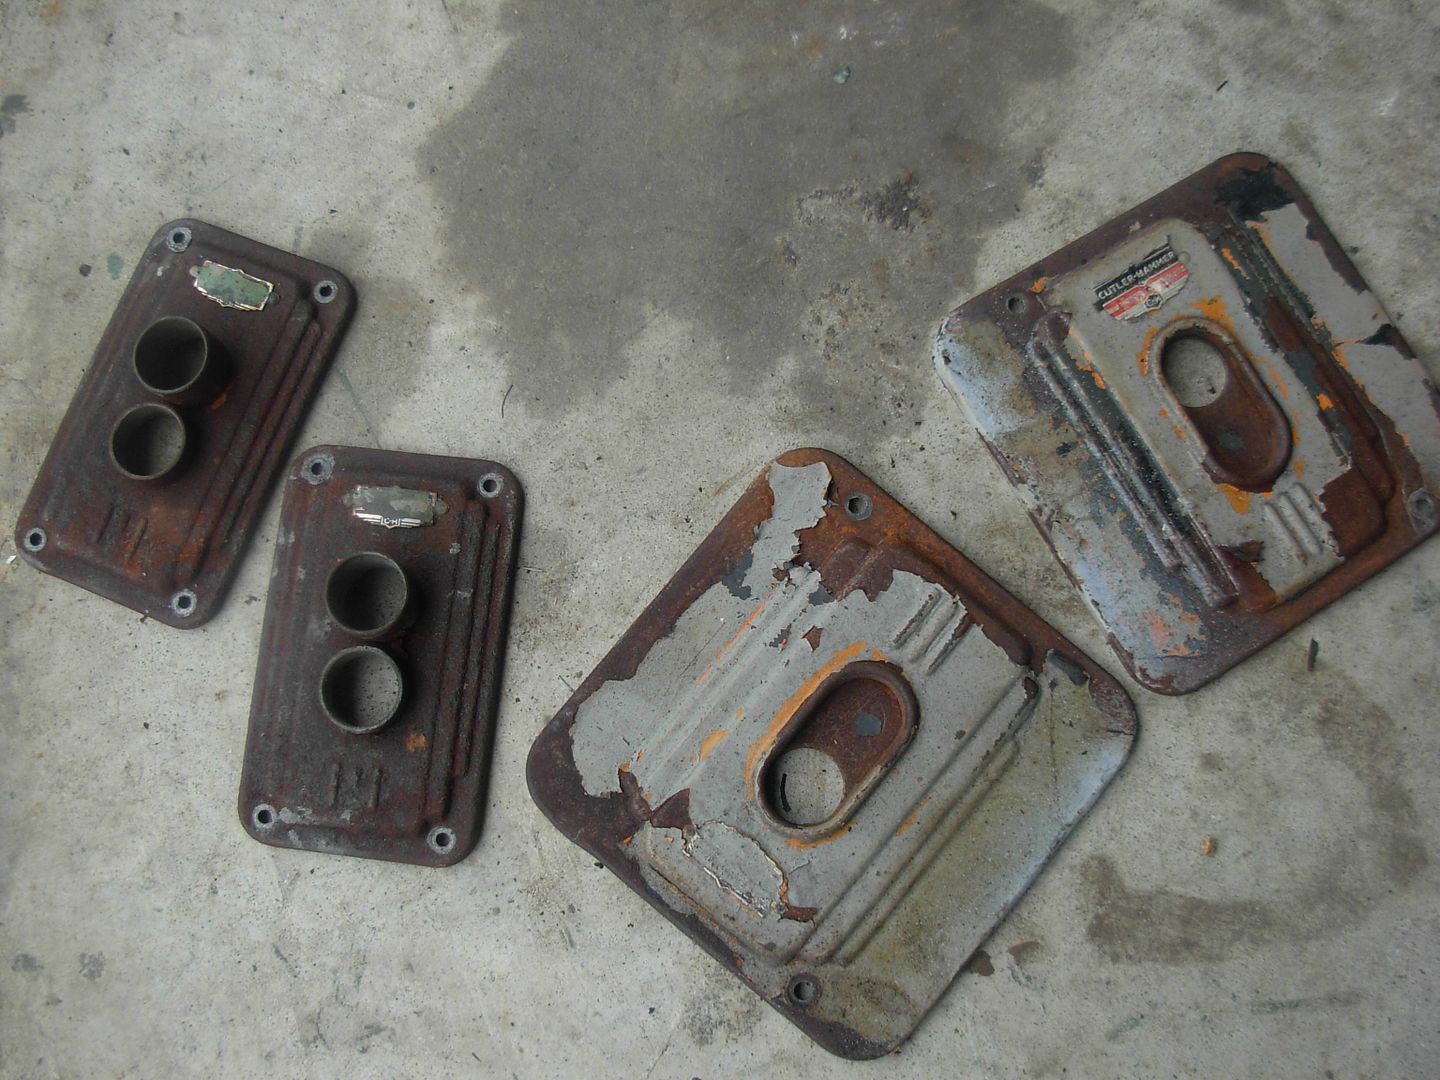
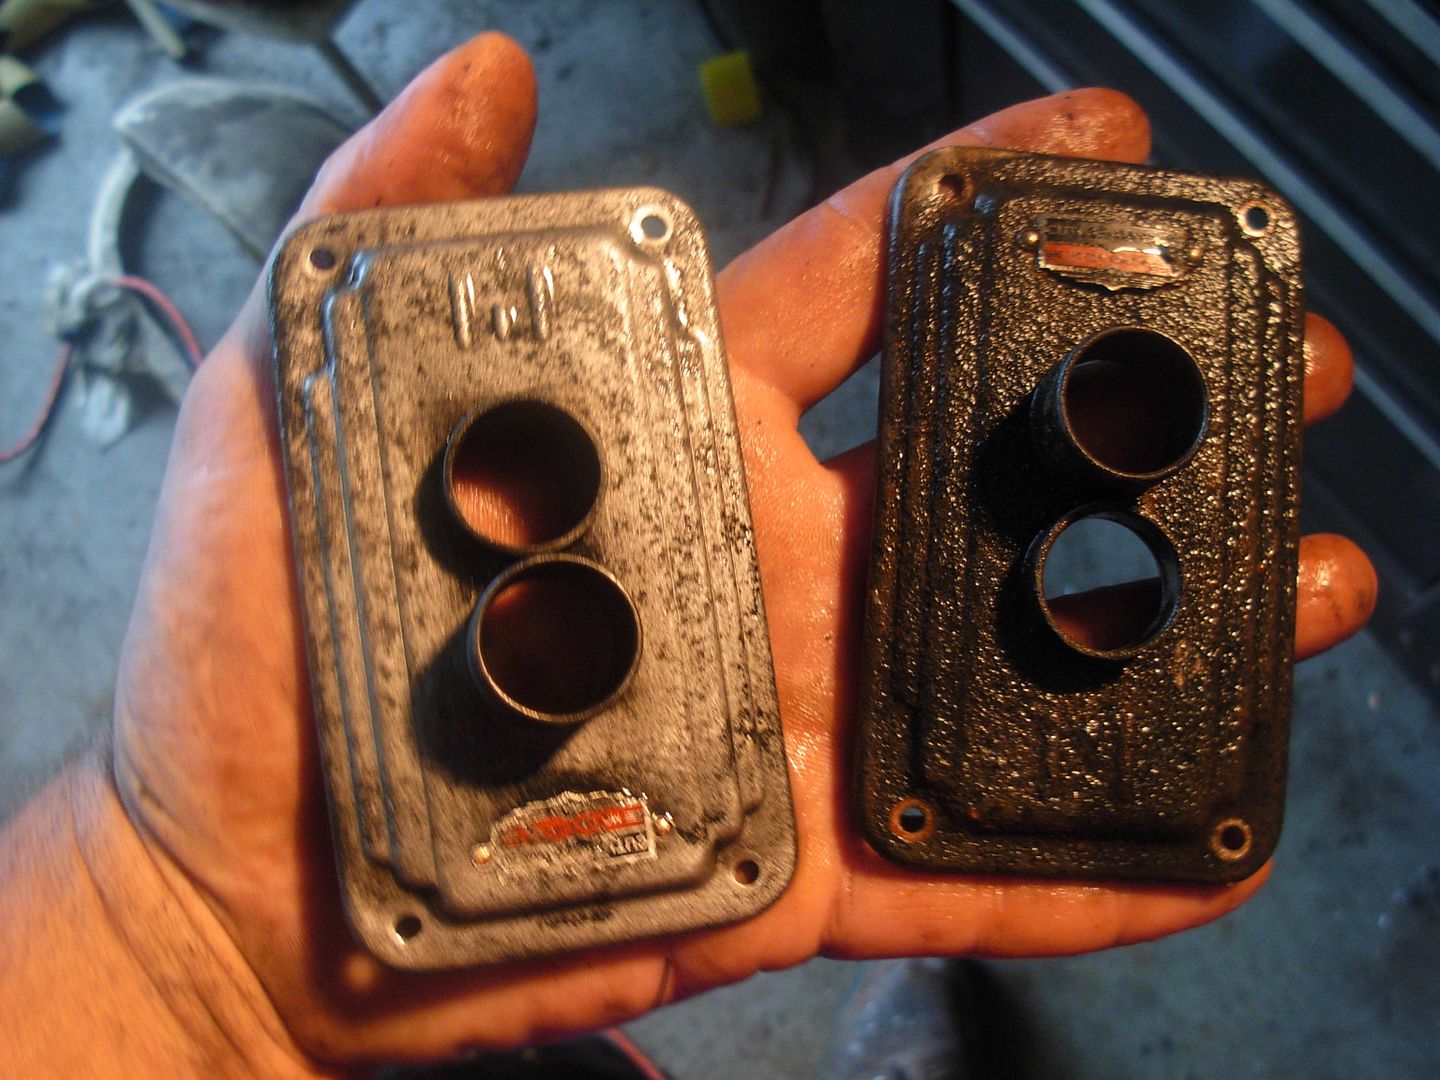
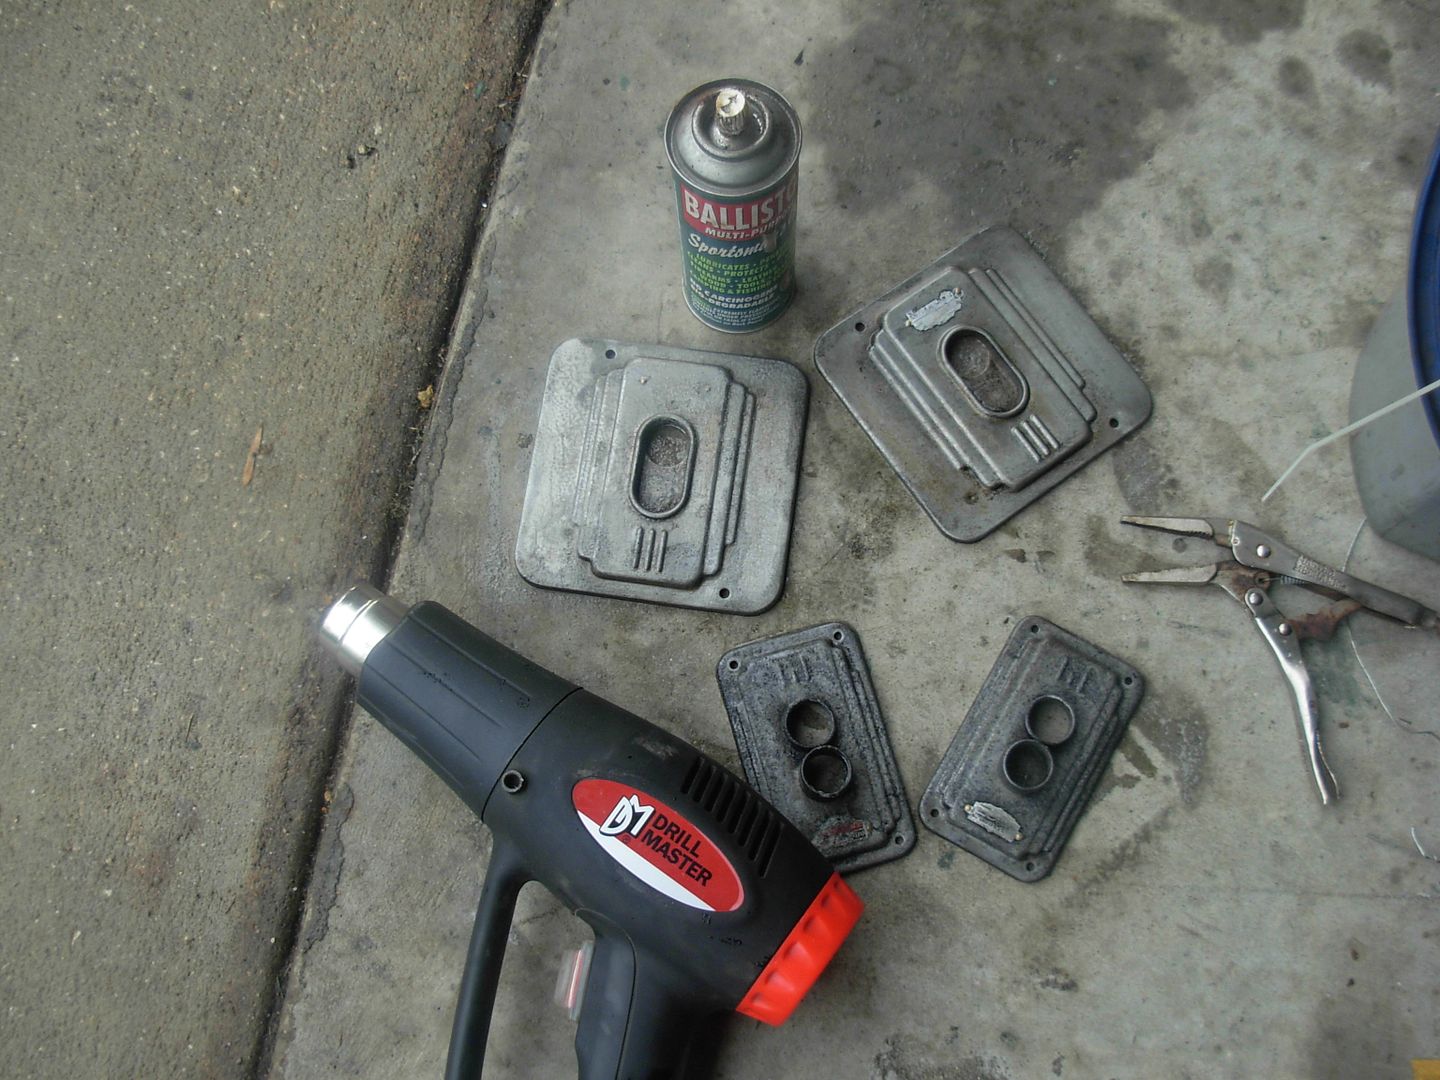
Electrolysis the 4 switch covers and the two side covers.
Prime and paint those plus the 110v outlet box that bolts to the base.
Trouble shoot the drain issue.
Hand polish the handwheel that raises and lowers the spindle since I never took it off and stripped it.
Top off hydraulic fluid.
Get and wire up a permanent cord. (the one I'm using is borrowed from my Bridgeport)
Celebrate with a beer
Of course I'll need to design and build the belt conversion then-
Grind the table on the machine flat
Grind the bottom of the chuck flat
Mount chuck
Grind top of chuck flat.
When I eventually reach this point she'll be a plug and play grinder.
Take care Dogs !
-Josh
Still figuring out this new computer so bear with me.
Of course a resto like this cant be done without a mishap or three
Here we've got my stone adapter which was left soaking in vinegar and forgotten about..... hmmmm way to go genious The vinegar ate the threads completely out of the nut side. these two pieces should be threaded precisely together... bye bye DoAll hello scrap pile
As luck would have it the adapter from my Boyar Schultz is a match to the DoAll's spindle so I'm still in business and I'm already set-up with a contact wheel.
Here I've got my two old ripped up suction strainers plus the two new ones, their related reducers and fittings, and some thread sealant.
New suction strainers installed back in the tank
I didn't get any pics of the next step but it wasn't without a trip up
Reinstalled the end of the tank with gasket, no problems there. Re-wired up the machine and the cord, no problems there. Added 5 gallons of hydraulic fluid, no problems there. Flipped on the pump and she fired right up.... No movement on the cylinder... Hmmm .... Switch off pump. Investigate to quickly realize I never reconnected the 3 hydraulic lines .... Oooops Only pumped about a gallon or two of fluid into the base of the machine. Live and learn rookie :biggrin:Reconnected the lines and the DoAll is back under power and functioning. I am getting oil to the ways which I'm very happy about but something is clogging the works for the excess draining correctly. I'm suspecting the clear sightglass filter is stopping up the works but I'll dig deeper into the issue. It could be that I'm just pushing too much oil through the system for the drain to handle and need to adjust it. Of course I gotta grab some more oil and top off the tank but otherwise I'm stoked she is back under power, functioning, and doesn't appear to be squirting fluid from anywhere :biggrin:
I had stripped all these parts and had them sitting around awaiting prime and paint. That time had finally come for this batch of parts.
With the prime and paint dry I mananged to reinstall all the dust covers and associated parts without forgetting what was what or how it went back together.
This is where I currently am with the resto so what's left to do on this ole girl ?
Electrolysis the 4 switch covers and the two side covers.
Prime and paint those plus the 110v outlet box that bolts to the base.
Trouble shoot the drain issue.
Hand polish the handwheel that raises and lowers the spindle since I never took it off and stripped it.
Top off hydraulic fluid.
Get and wire up a permanent cord. (the one I'm using is borrowed from my Bridgeport)
Celebrate with a beer
Of course I'll need to design and build the belt conversion then-
Grind the table on the machine flat
Grind the bottom of the chuck flat
Mount chuck
Grind top of chuck flat.
When I eventually reach this point she'll be a plug and play grinder.
Take care Dogs !
-Josh