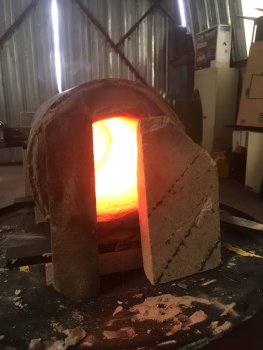
Forge WIP

Daniel Macina

Well-Known Member
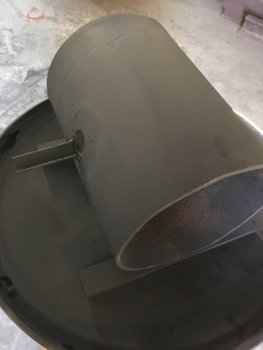
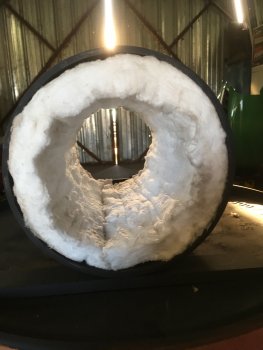
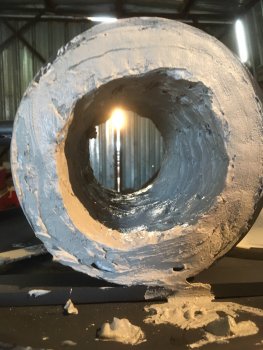
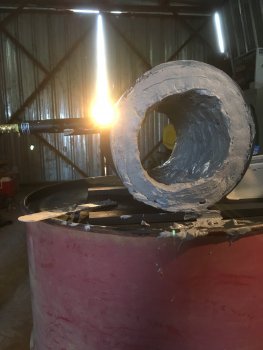
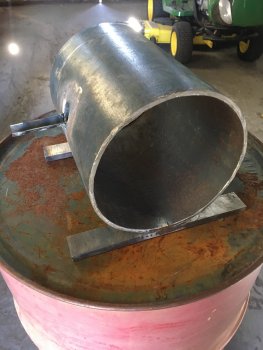
Figured I would post a few progress pics of the Forge I’m working on. Decided to go with a simple Venturi burner forge for right now. Can’t remember the diameter of the tank off the top of my head but it’s an old oxygen tank. Got the first light coating of Satanite in tonight. I always do a real thin coating the first coat because it’s so much easier to spread after that first little coat. BBF47889-78CB-47B6-A018-9DD96F629D66.jpegB514DC0A-5C0A-4CAA-98F8-D635E81AD957.jpegBD52FB6B-356B-4D31-95A4-57E2FC544527.jpeg2233A706-CB89-40BB-B66E-69C9CC7FBE78.jpegC5E08F46-C313-44E7-A026-0E0B538F7E5E.jpeg
 
Looking good Daniel. I'm looking forward to how your project goes

I need to get to work on my forge, which is similar in size to yours. Right now I have a small coffee can forge which really limits what I can do.
 
Thank you sir. I think this is going to be just about the right size. Not so small I can’t do anything but not so big it’s going to completely guzzle the fuel
 
We’ve gotten so humid here lately that the coding I put on yesterday was still just as wet this morning as when I put it on. LOL. It’ll probably take another two days for it to dry enough to fire it a li we’ve gotten so humid here lately that the coding I put on yesterday was still just as wet this morning as when I put it on. LOL. It’ll probably take another two days for it to dry. I’ll keep ya updated!
 
Looking good Daniel! Just remember to allow the coating to dry naturally. That's always the toughest part, because it takes so long. Letting it dry part way, then firing the forge in an attempt to "cure" the coating(s), will dramatically shorten its lifespan.

A "trick" to get coating to spread evenly and smoothly...... first, thin the coating by adding water until it's the consistency of latex paint. Spritz the wool with water/spray bottle, and apply your coating with a paint brush.

Don't fall for the notion of "more is better" with forge/wool coatings. Especially for something such as ITC-100 or other ceramic coatings..... a couple of very thin coats tend to serve better than "globbing" it on. In general, with any wool coating/stiffener, anything more than a slurry coat is just wasting the product.
 
Yessir! I had forgotten about the trick to spread coatings. Thank you for reminding me. I will also try to be very patient letting the coating dry naturally.
 
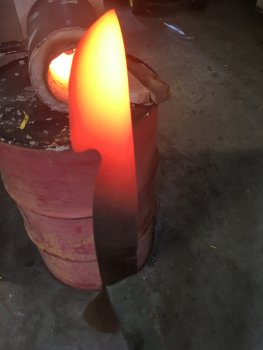
First big firing of the new Forge. Still need to add ITC. Hopefully that will help even out that cold Spot you see in the front plus it will be closed off a little more when I am using it. Blades an old dud that I just wanted to get a little heat on for the heck it. That was after about 10 minutes burning at five psi. I’ll have to play around with it to see where I like it to run but it seemed like a good starting point. One thing I’m noticing with this burner it is a whole lot quieter than any others I have used AFB0229F-AA1B-4ACB-B9AA-95B3F16421C3.jpegF39D893C-2092-44BE-9000-5454539056C4.jpeg
 
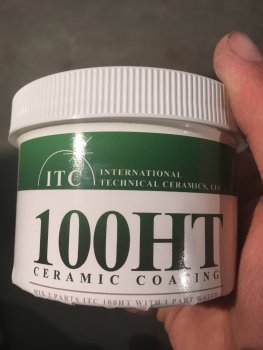
Well I hope one painted on coat of ITC-100 is enough because it took about 90% of 1/4 a pint to coat the forge. Using the smallest paintbrush in existence. LOL. It was the only one I could find.CA5891D1-414B-4A6F-8025-44FC2CF52920.jpeg
 
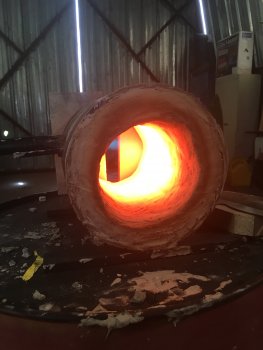
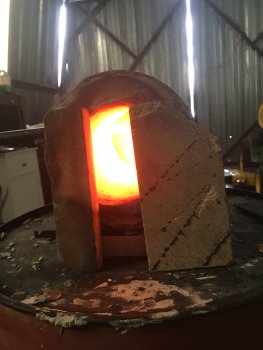
Welp she’s all done. This was after about seven minutes at three psi Pretty nice even heat. Even got some of that sought after swirling action in this one! I was hoping to just leave the burner hooked up every time after shutting it off but that burners getting so hot after shutting off the forge I think I’m going to have to take it out every time. Kind of a pain but oh well 1D619138-670E-432B-AE35-FF1215EEF48F.jpeg7FC779D2-1C31-4F31-AA2D-F99A7674E0B6.jpeg

Ps: The little bit of smoke that you see there is not the refractory steaming it was completely dry the fire brick had a tiny little dab of paint on the corner and it was just that burning off that you see.
 
Last edited:
On the picture of the knife I pictured that bright yellow is way too hot for general forging correct? That’s more of a forge welding temperature?
 
Back
Top