Matchlock Axe/Pistol

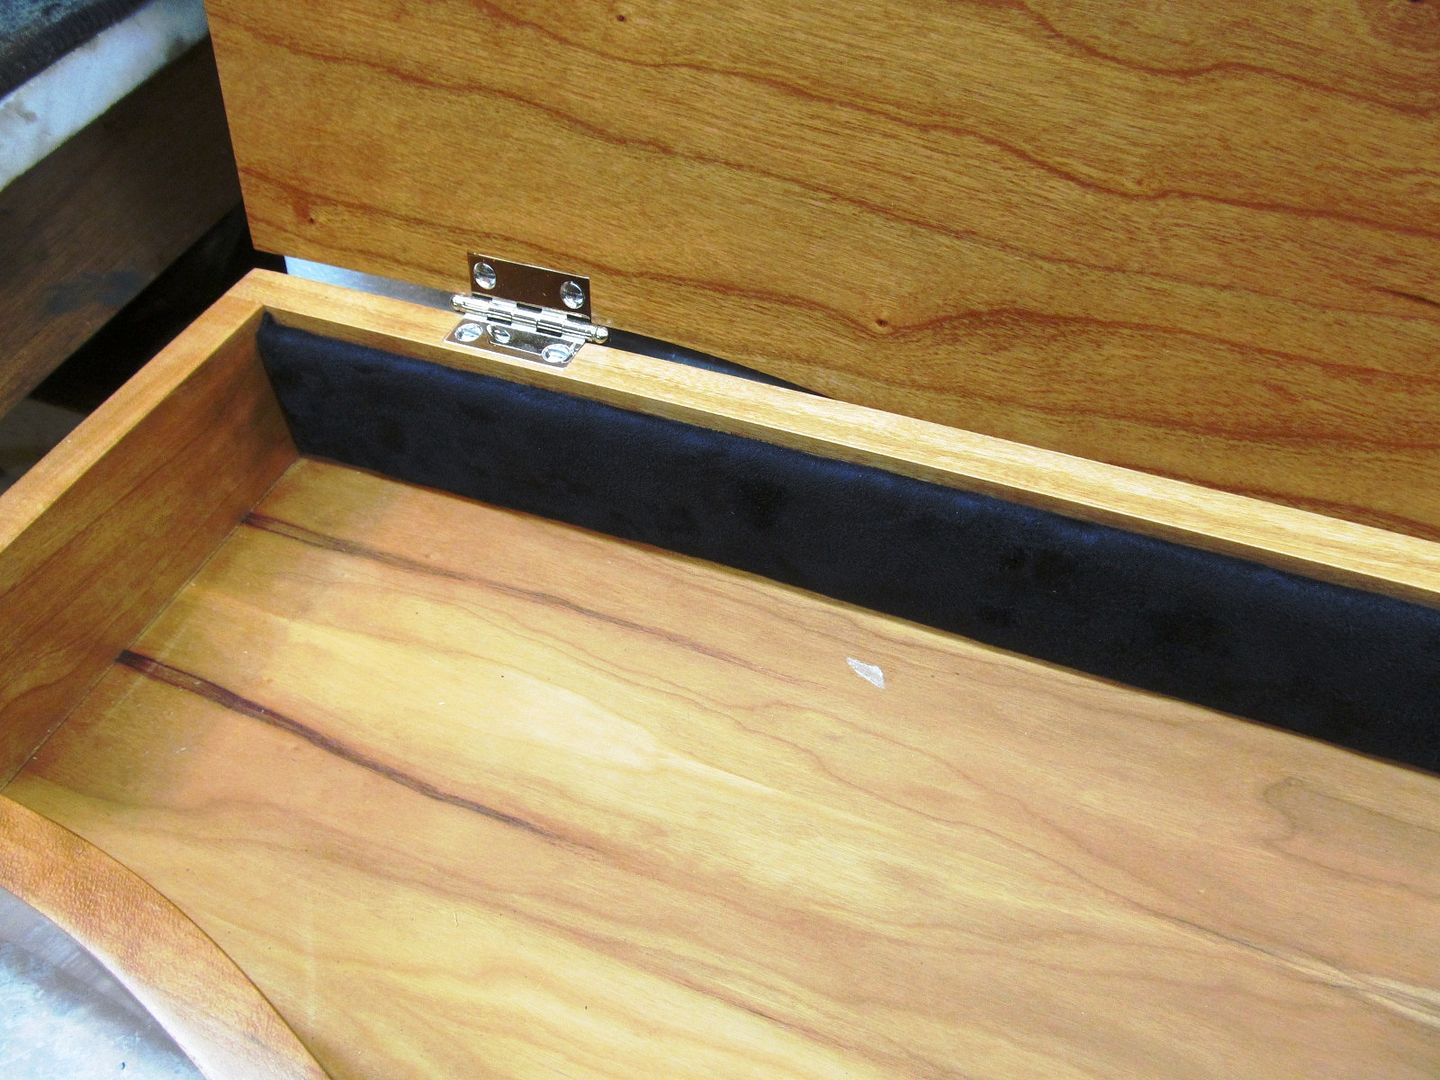
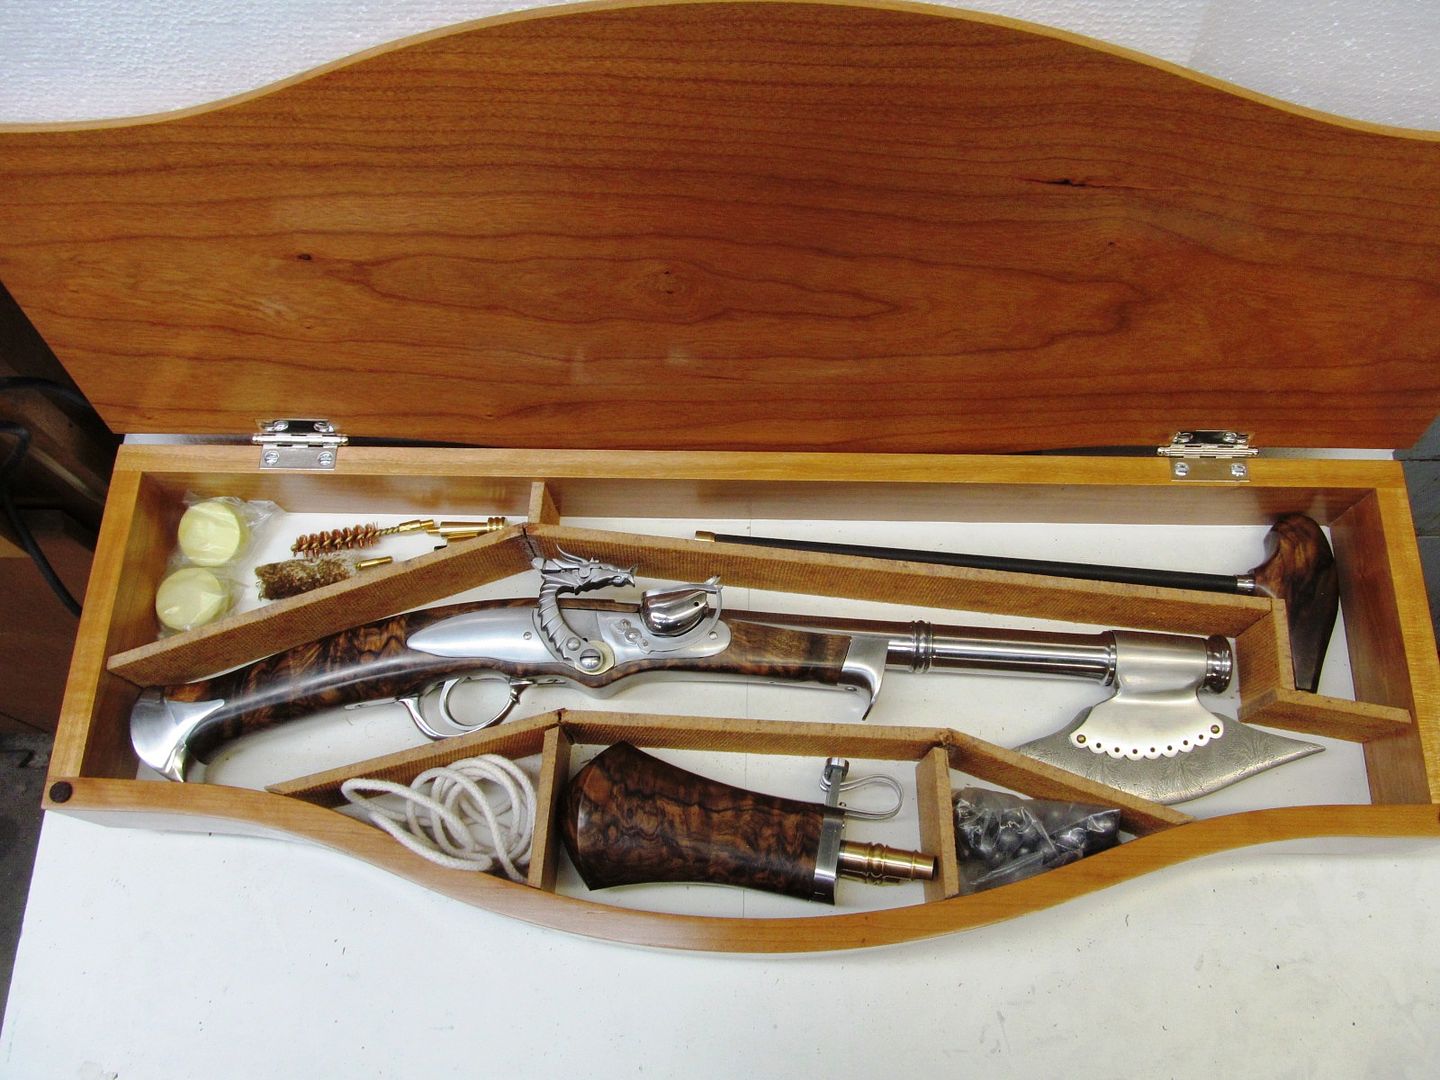
Amazing Bruce. Like Dave said, you are my hero. If I create something one tenth as nice as these shooters of your someday I'll be darn proud. What I would not give to work in the shop with you.
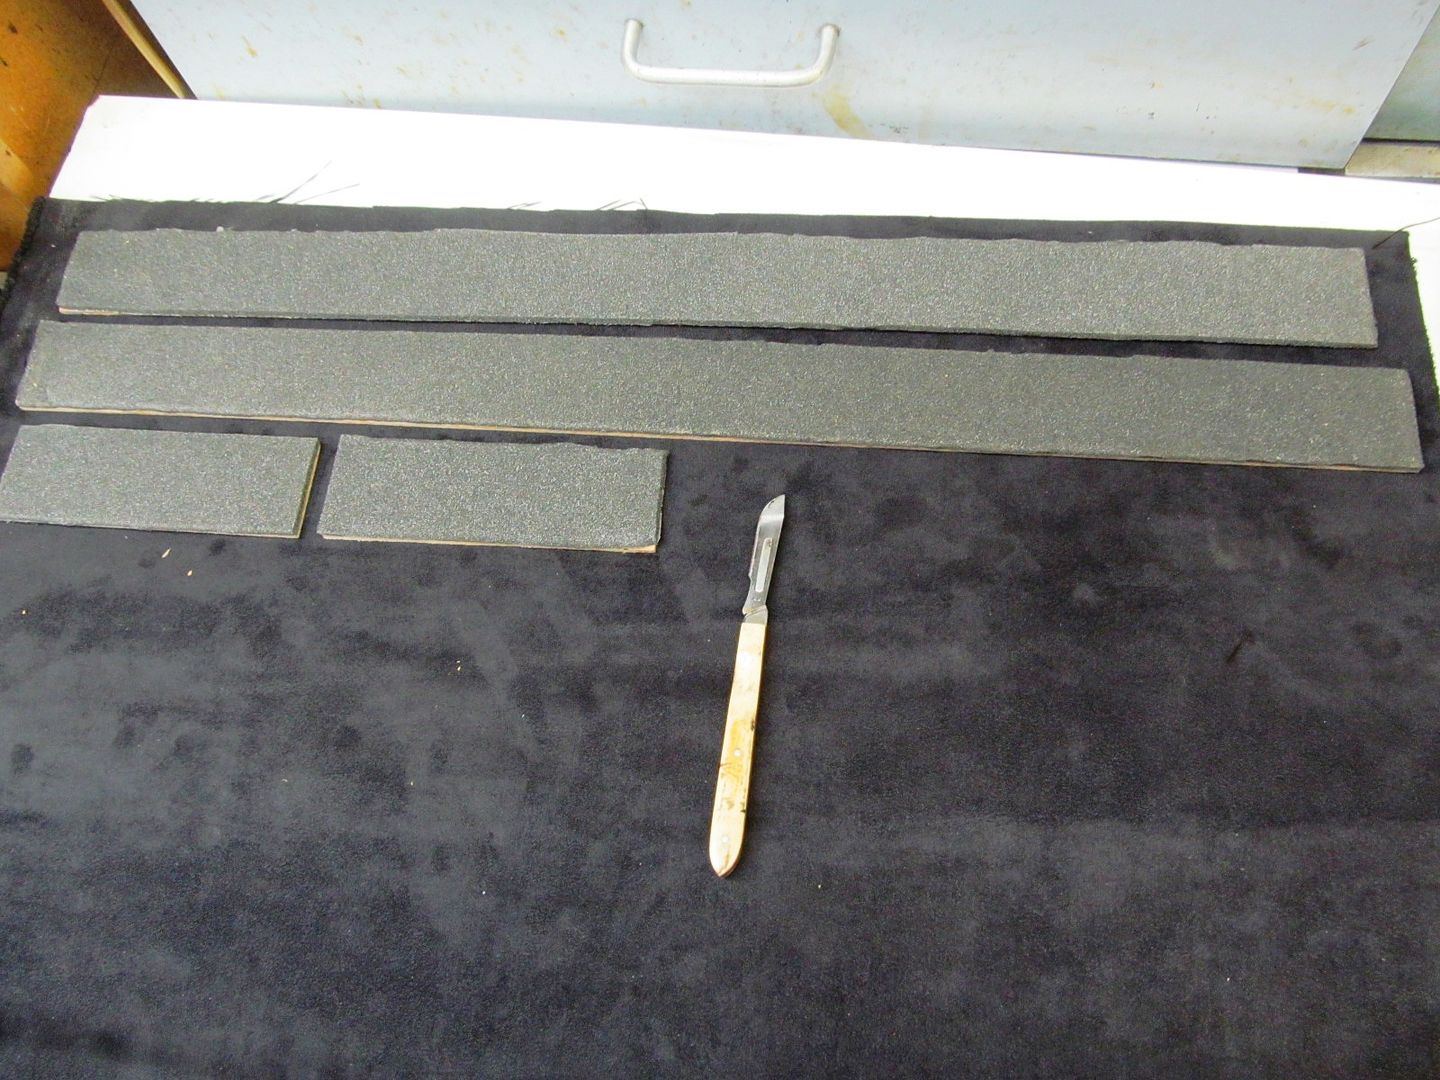
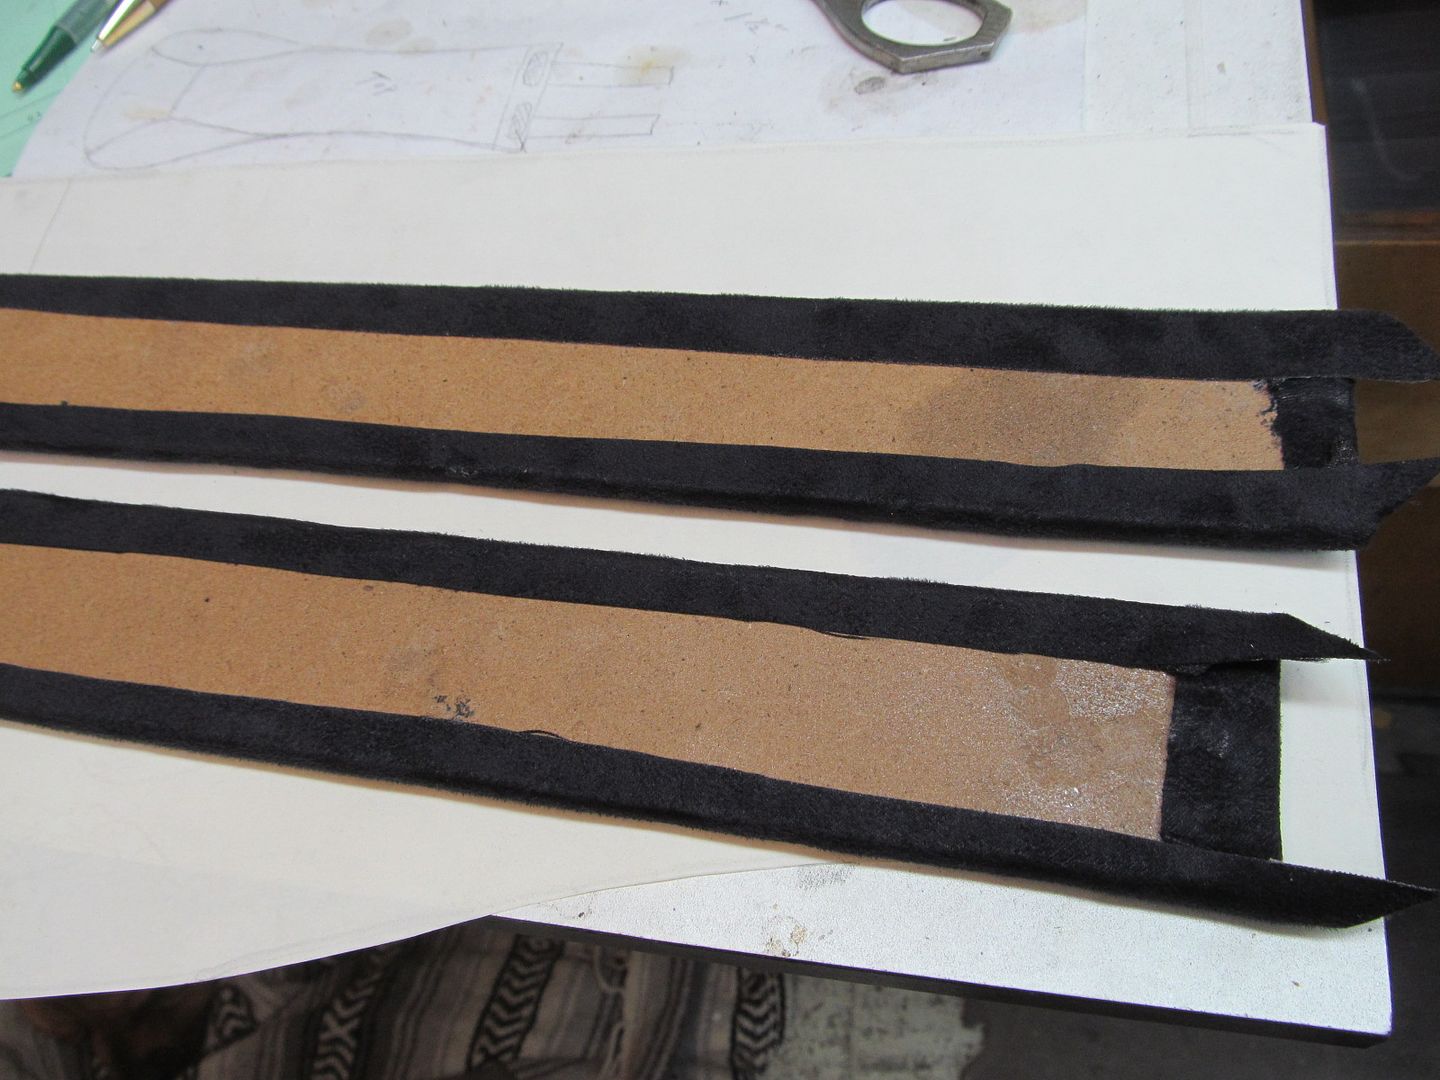
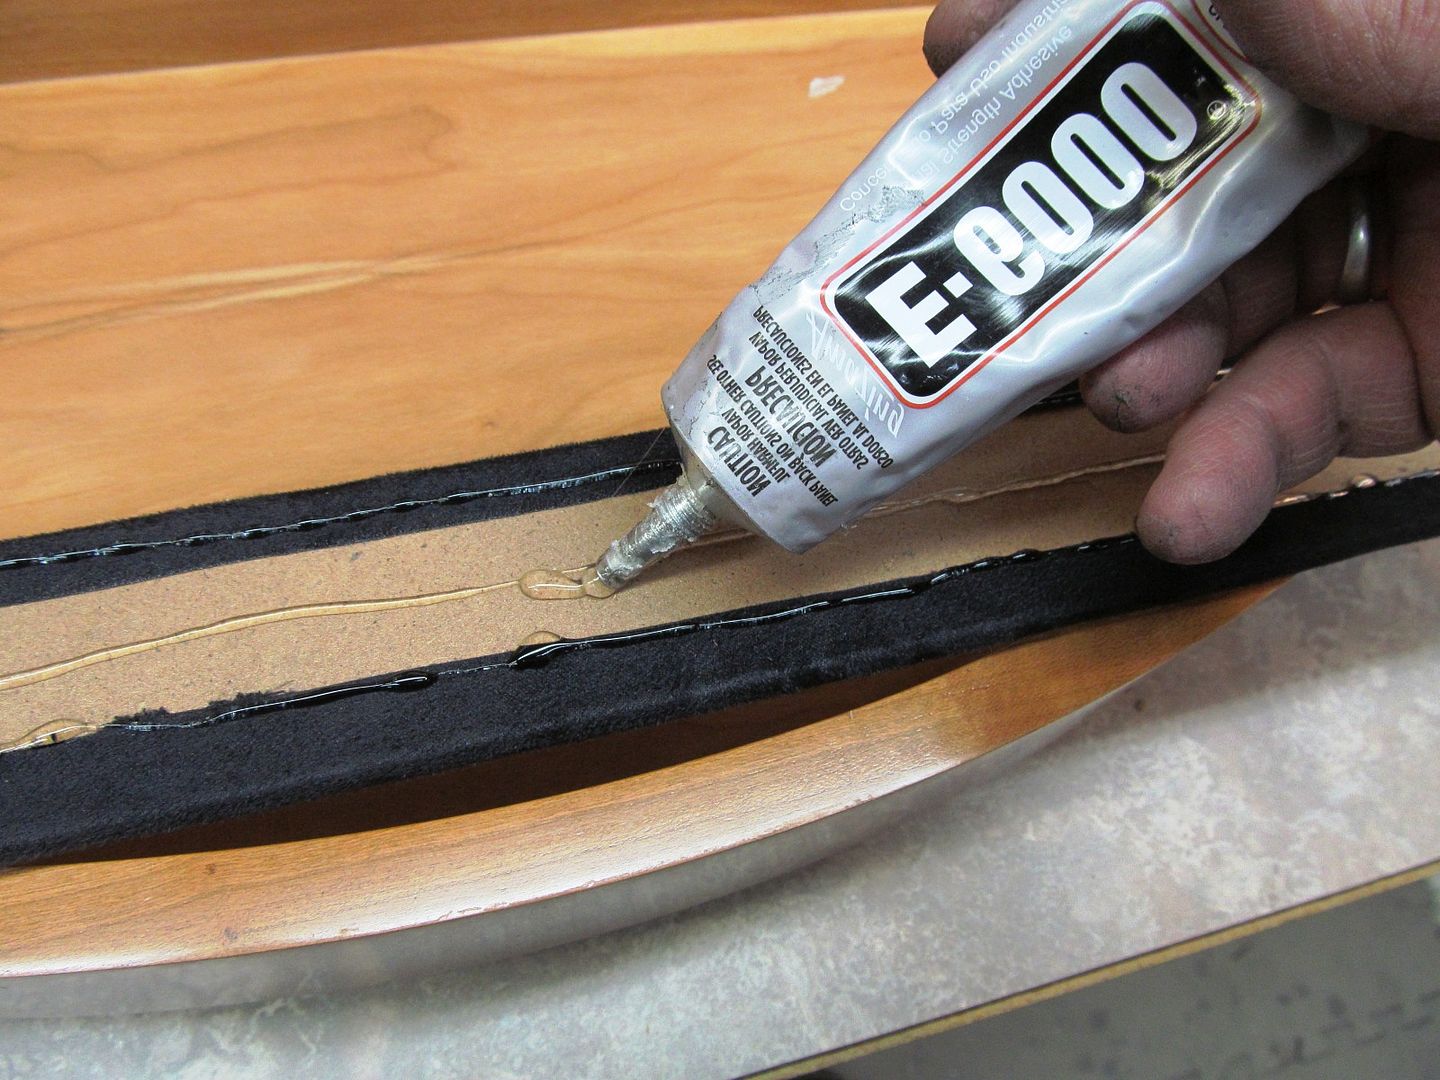
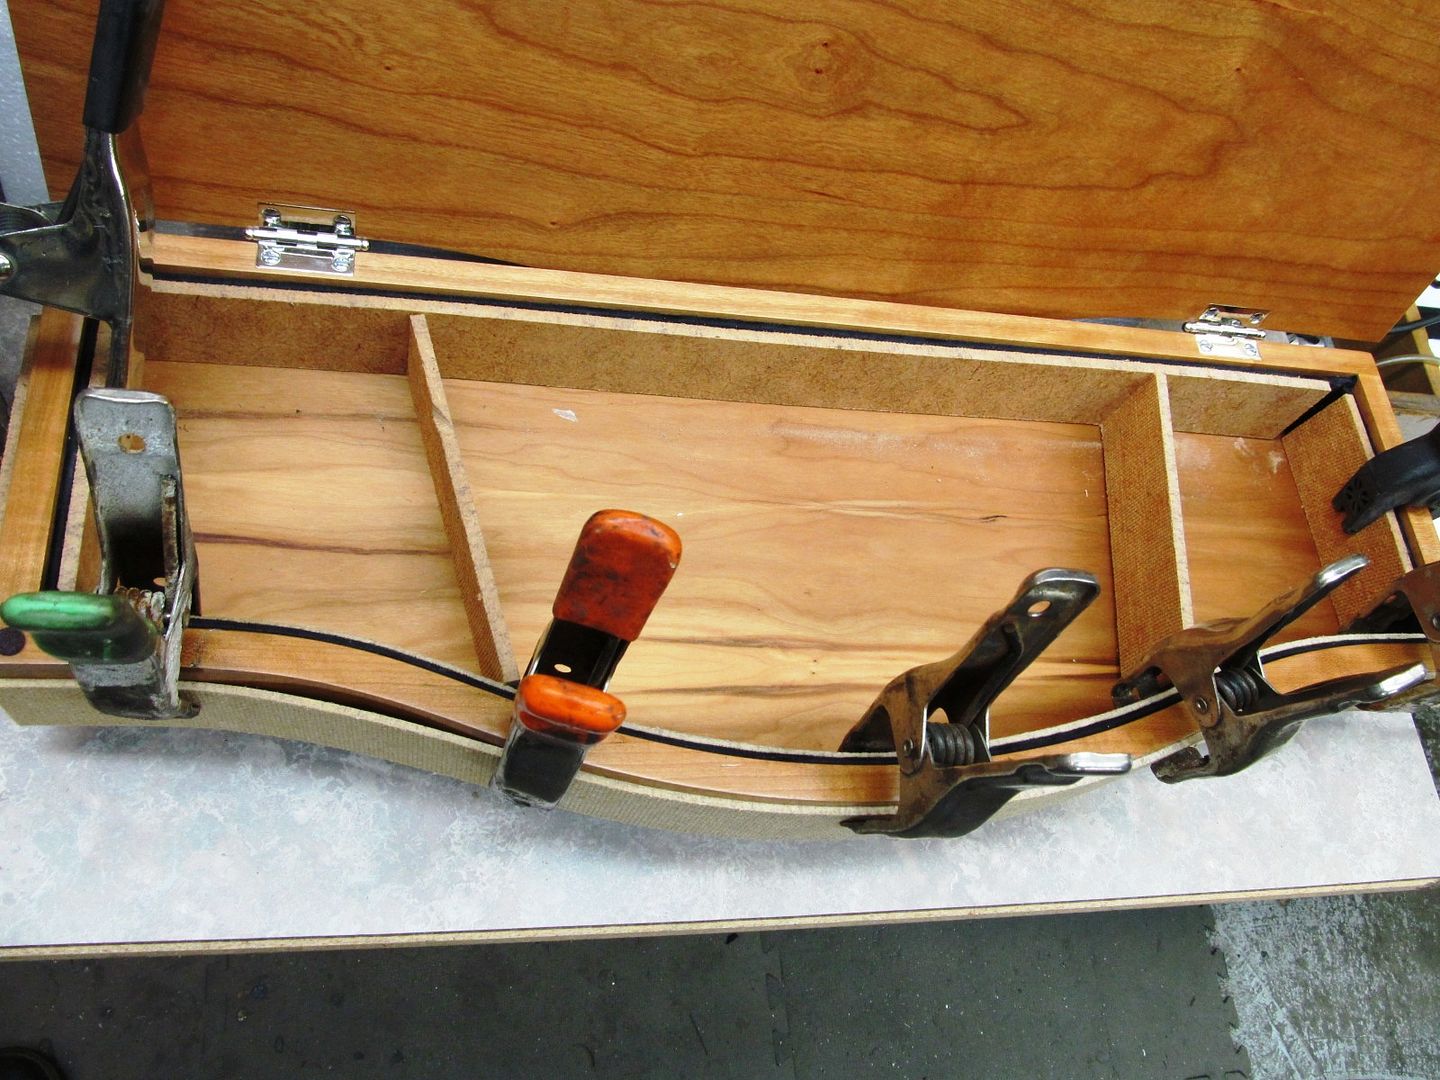
Guess it's going to the engraver now?
 
Bruce,

She's looking really good!! I'm anxious to see the pattern in the barrel after you etch it.

:0 I have no idea of the value really. I do know its been about 6 months of work now.

SEROUSLY; these pieces take a tremendous amount of time to build! I don't think most people can comprehend how much time went into the construction, when they are looking at the finished item. Your WIPs go a long ways to educate everyone on what it takes to build a combination weapon. Thanks for taking the time to photograph and post all of this up!
 
I'm subscribed to your photobucket, so I'm looking at the photos you have there but not here yet.
http://i284.photobucket.com/albums/...k axegun/woodpeckeraxegunandRicksbowie014.jpg

I see you're trying out different layouts in the box.

The gun has such nice humpy curves and that bow front box has such a nice curve, but the dividers you have roughed in are angular and sometimes asymmetrical.
It would be nice if you could mirror the box bow front curves in the dividers

(just a suggestion to increase your workload)
I'm following you and appreciate what you see. I've studied several boxes with compartments like this and most are angled to fit the gun and accessories. Can you think of a material that can be formed into the curves? If so I can form the top compartments also. Metal will form but is too heavy. I need about 1/4" thick and nearly 2" wide. Steamed wood would be really cool but time is ticking away. I might use a solid piece of wood and cut out the shapes. Remember I have to cover everything with my fabric (micro-fiber) and it doesnt always conform without wrinkles.
 
Yes, I just talked with Roger T and he does that with his fine cabinetry. He is experimenting with an eight inch strip of masonite first.
My other idea is kydex covered with my thin foam and micro-fiber.
Is it possible to glue together several layers of veneer in a curved shape?
 
Thanks Brad,
Both are good ideas. I've used the flocking before from Lee Valley. It works good but I'm just being different this time. I bet theres no flexable plywood here in town. I like to see that stuff.
Some places can get flexible plywood, used for wooden boat building. The stuff is not cheap.

Lee Valley has a flocking kit that coats the inside of the box it may be a bit too small for your case
http://www.leevalley.com/en/wood/page.aspx?p=44669&cat=1,250,43298,43300,44669

I don’t know if this would work, but they also have wood roll tops for desks that might

http://www.leevalley.com/en/wood/page.aspx?p=66471&cat=1,250,43217
 
Bruce,
we use "bending plywood" in our business. It is 1/4" thick and has all uni-directional grain. It is usually bent and then covered with a finished wood veneer, front and back, for radiused sink fronts and quarter circled ends on cabinets.
let me know if you want to try some.

Steve
www.romarcabinet.com
 
The only reason I know about flexible plywood is from a guy I know who works on wooden yachts, they don't spare much expense.

Steve is the man to talk to, sounds like what I'm talking about.
 
Thanks Steve. I just got back from Rogers shop and his 1/8" masonite trick works just fine. Just pour boiling hot water on it and it bends like rubber. Dry it with a heat gun or leave it overnight and it stays bent.
 
Back to business on the interior, I cut the outside pieces to length and used spray contact cement to the foam and then for the micro-fiber. Using Christmas gift wrapping skills to the back side corners I glued and clamped them inside the box. The curved one practically stayed all by itself and didnt need to be soaked and formed to the curve. Tomorrow when this drys I can work on the separate compartments.

boxinterior001.jpg


boxinterior003.jpg


boxinterior004.jpg


boxinterior005.jpg


boxinterior007.jpg
 
Bruce , have you considered just machining fairly tight custom pockets for each of the items and then covering the whole thing with a valor fabric? if we were closer to each other I'd be happy to do it for you. If you did it that way each item would sit in a secure pocket the would provide a back drop to showcase it.

Erik
Erik that sounds good, I wish you we're here in town, I could find allot of projects for ya. Maybe the next gun box I can trace the parts and mail it to you?
 
Last edited:
woodpeckeraxegunandRicksbowie014.jpg
[/QUOTE]

Oh My!!!!!I have been watching this build and am at a loss for words. Thank you so much for sharing -- I cannot imagine the thing of beauty this is going to become when it is finished as it is incredible right now!!!

Brian
 
Bruce,
That look's fantastic! Especially with your hand rubbed wood & Nipples! :biggrin:

All joking aside you have created a master of work that some collector will surly need!

Are you starting on the "Queen Anne's Revenge" Anytime soon?

Laurence

www.rhinoknives.com
 
Back
Top