Brad Lilly
Moderator and Awards Boss
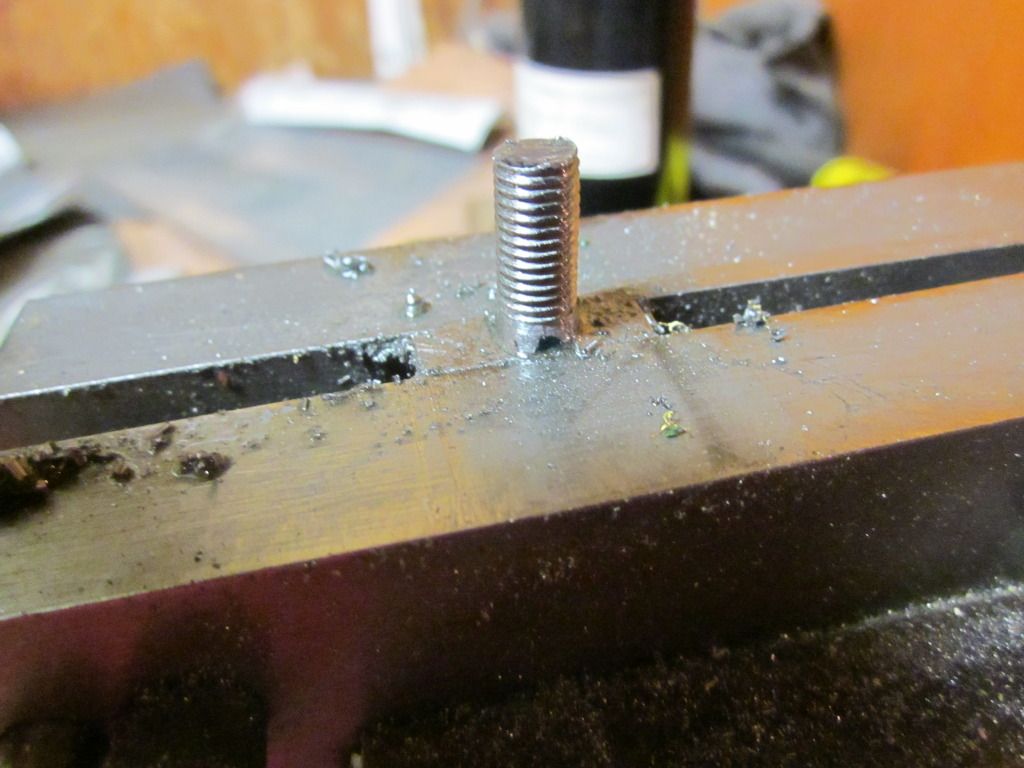
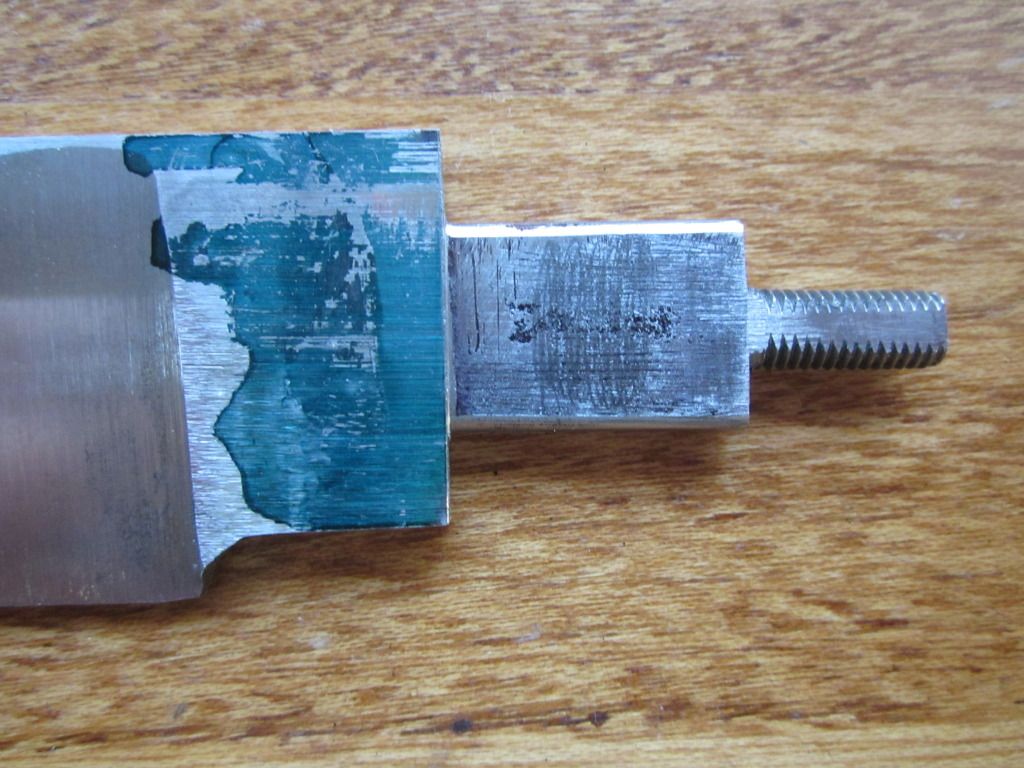
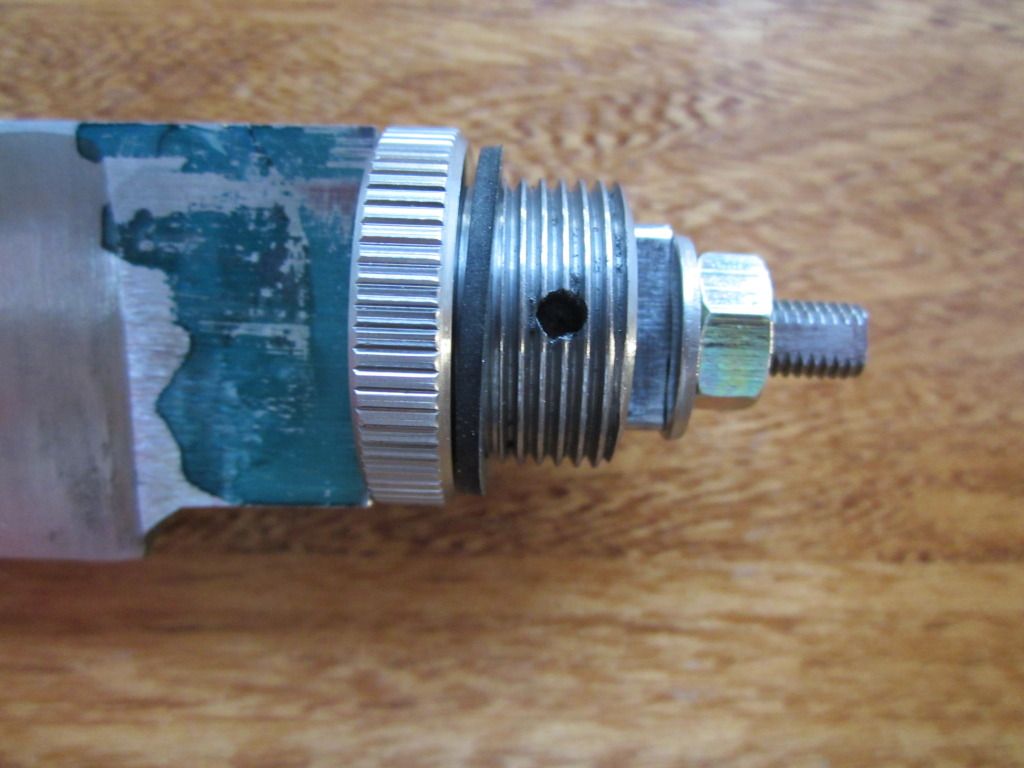
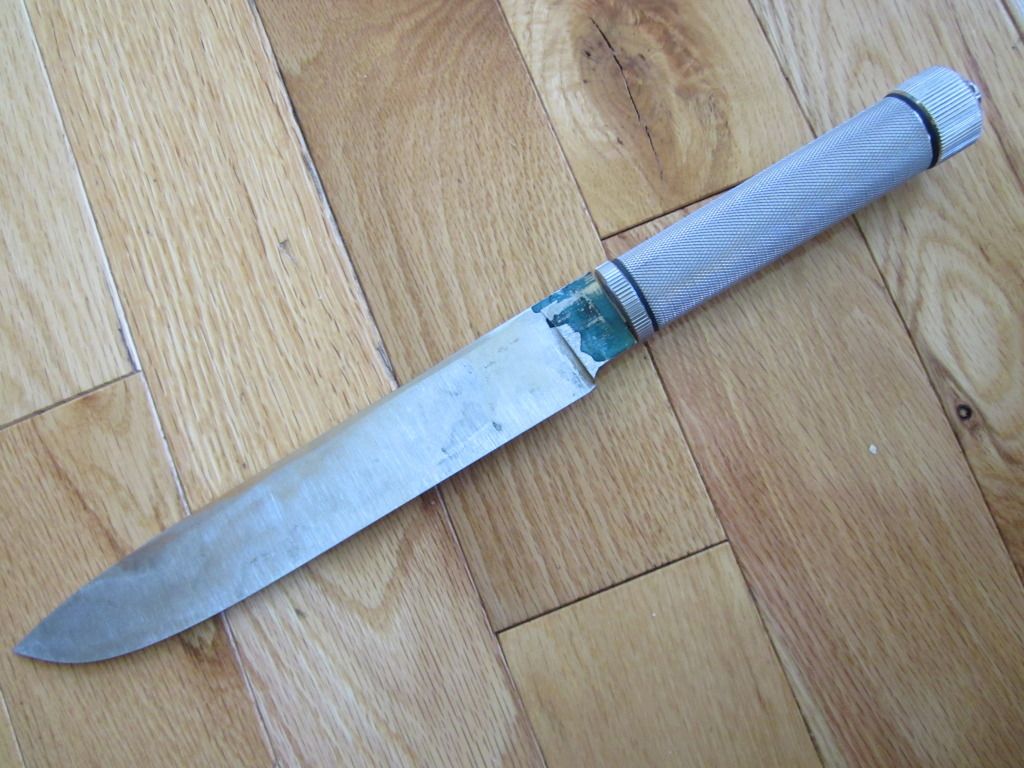
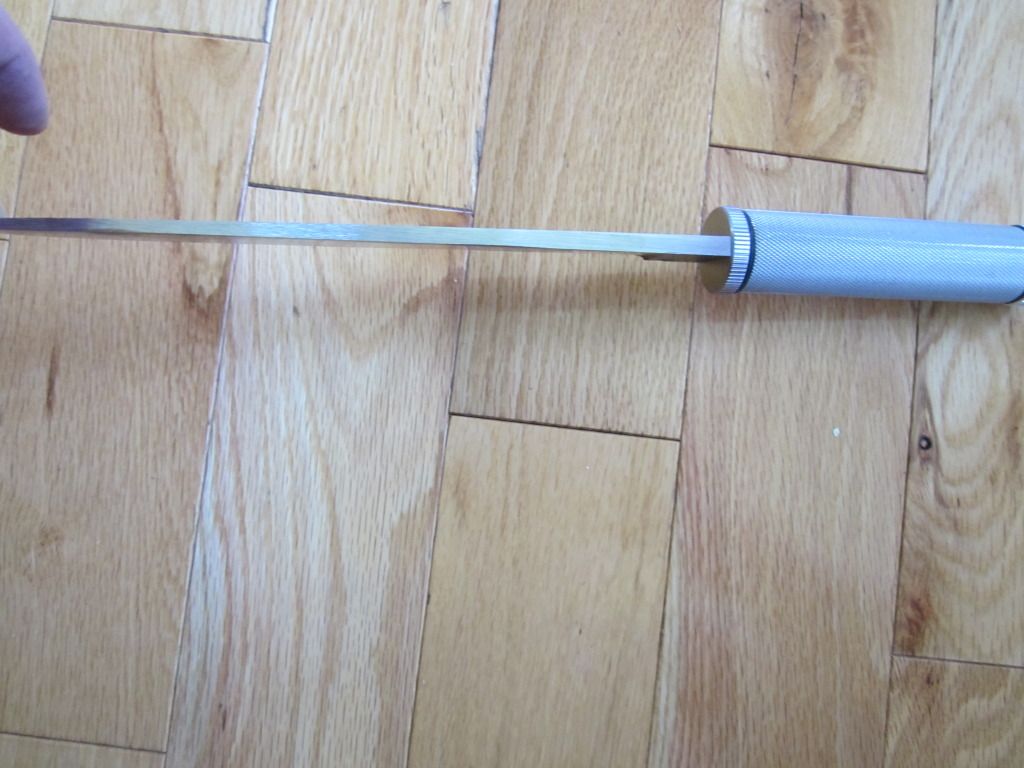
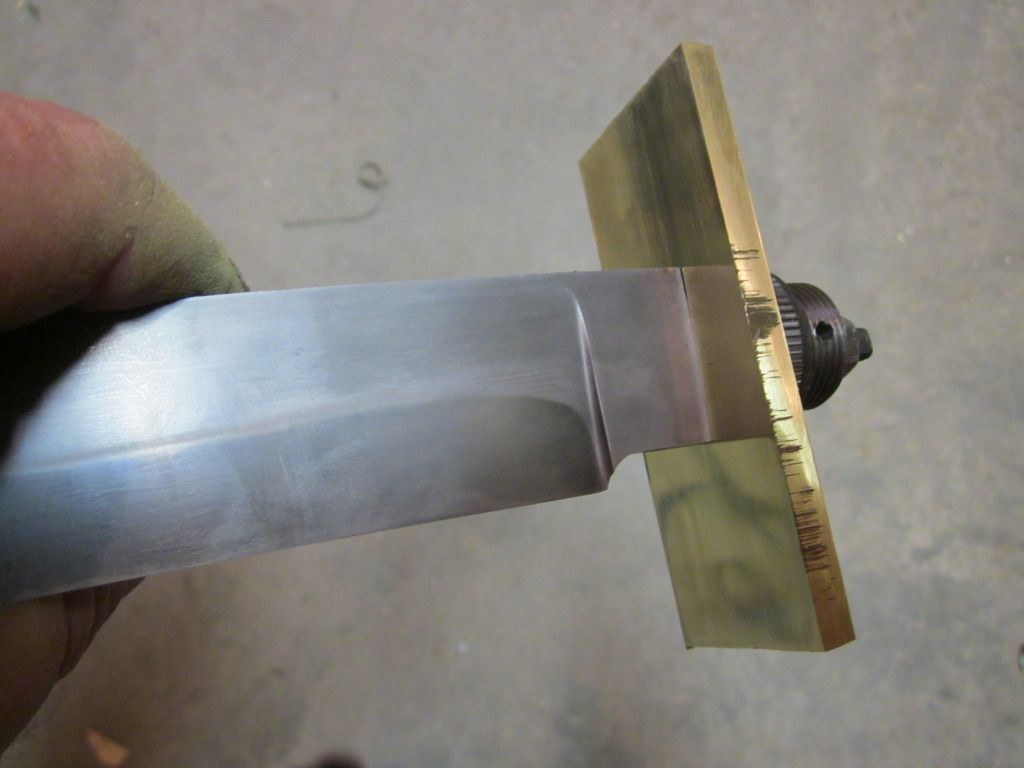
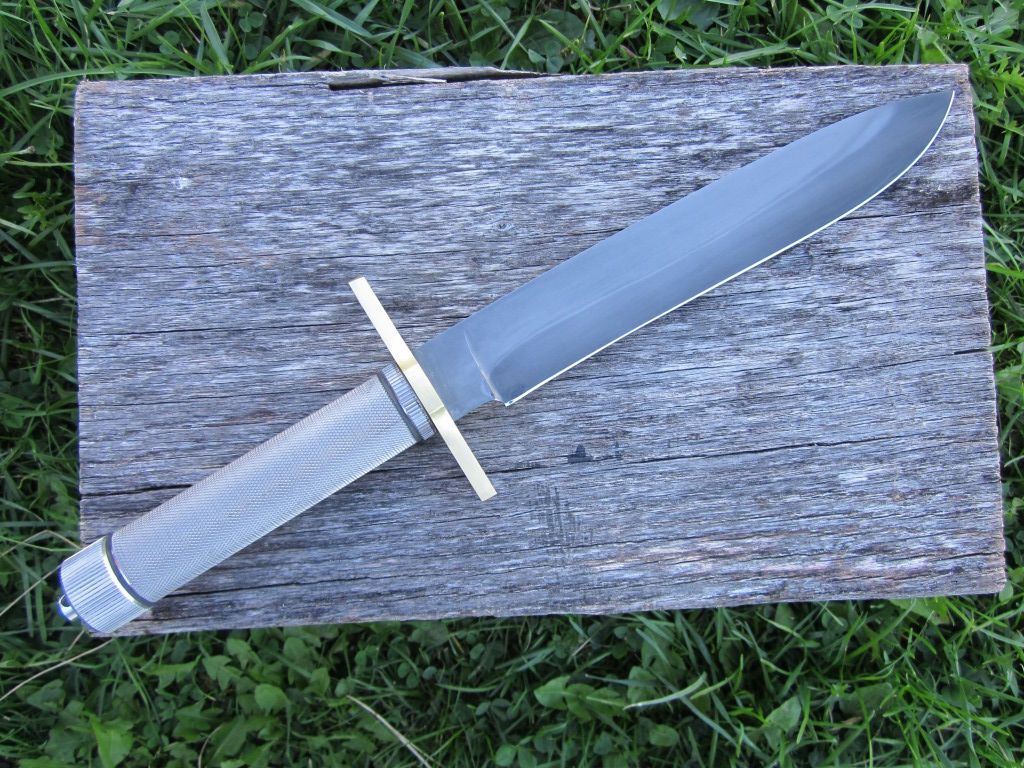
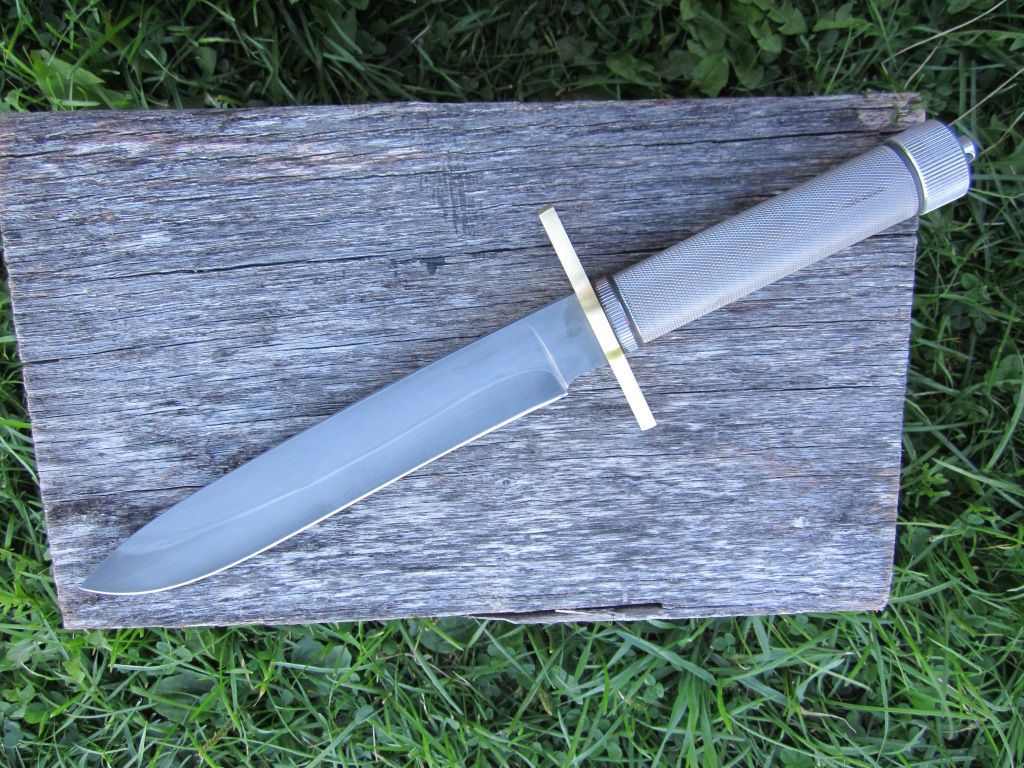
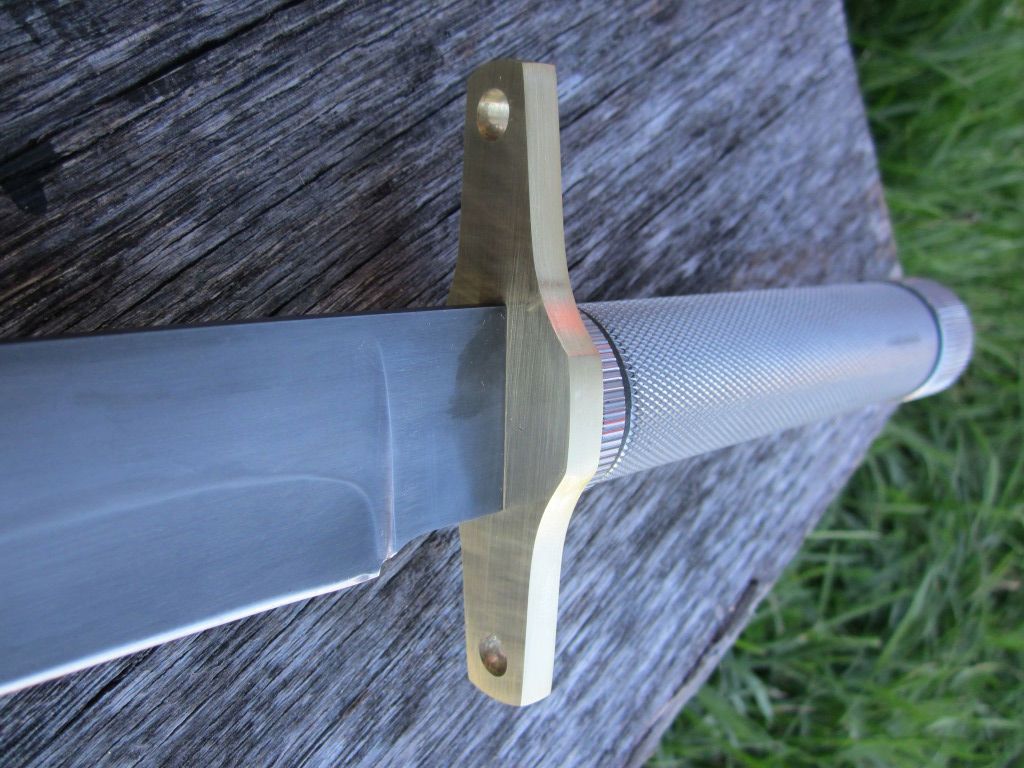
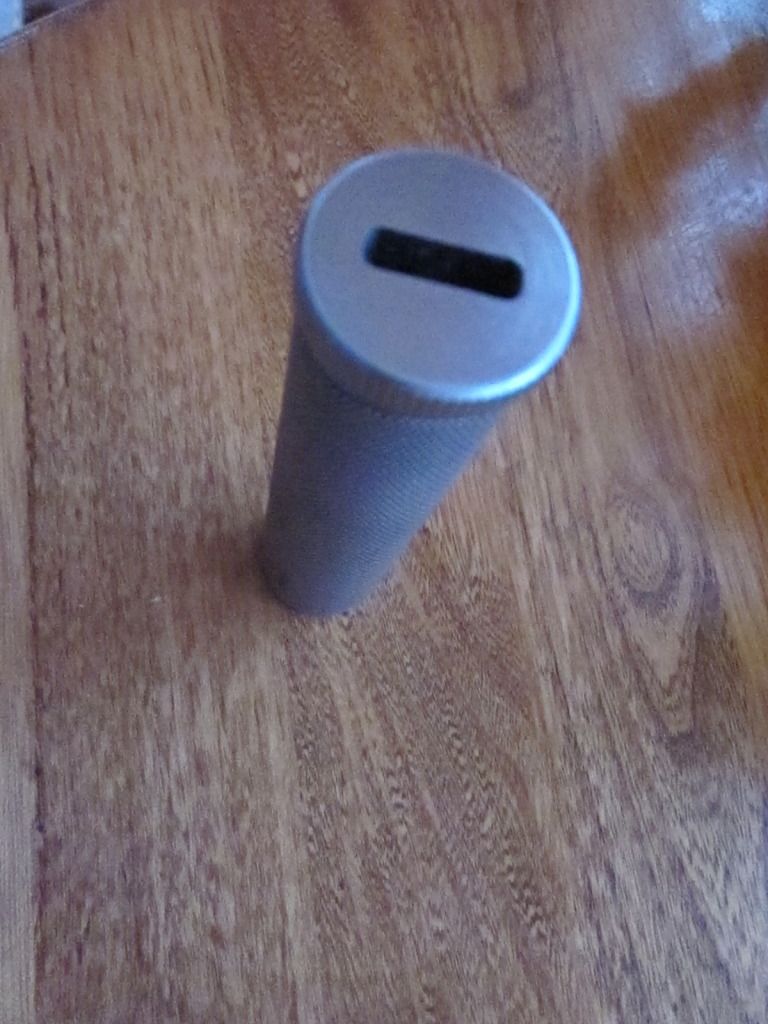
I thought I should do a WIP on the blade for my new handle that I won. Most guys would be using a high grade stainless steel but I can’t forge stainless ") . I was thinking I should make something along the lines of a Randall look alike (Not sure about the saw back yet) Lacking any stainless that would do the job I grabbed some 5160. The slot in the handle tube is 3/16” x 5/8” which allows for some serious meat in the blade.
. I was thinking I should make something along the lines of a Randall look alike (Not sure about the saw back yet) Lacking any stainless that would do the job I grabbed some 5160. The slot in the handle tube is 3/16” x 5/8” which allows for some serious meat in the blade.
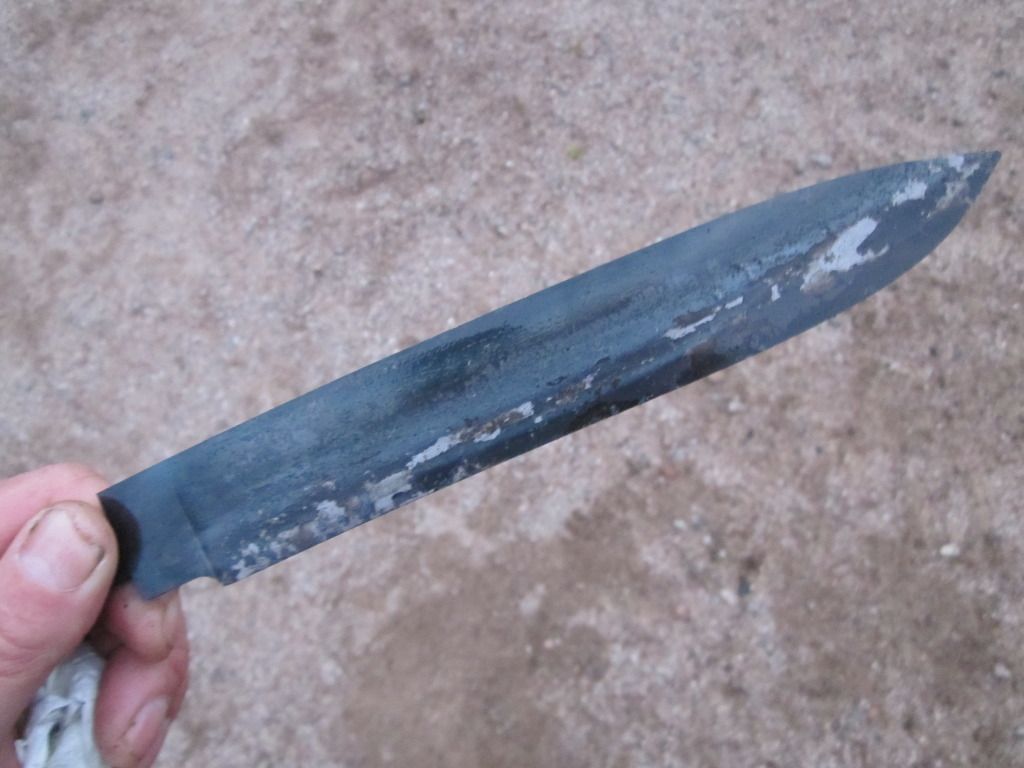
Guys who can forge the profile of a blade from square stock are good, for the rest of us I like a nice round tip so I don’t have to deal with fish lips.

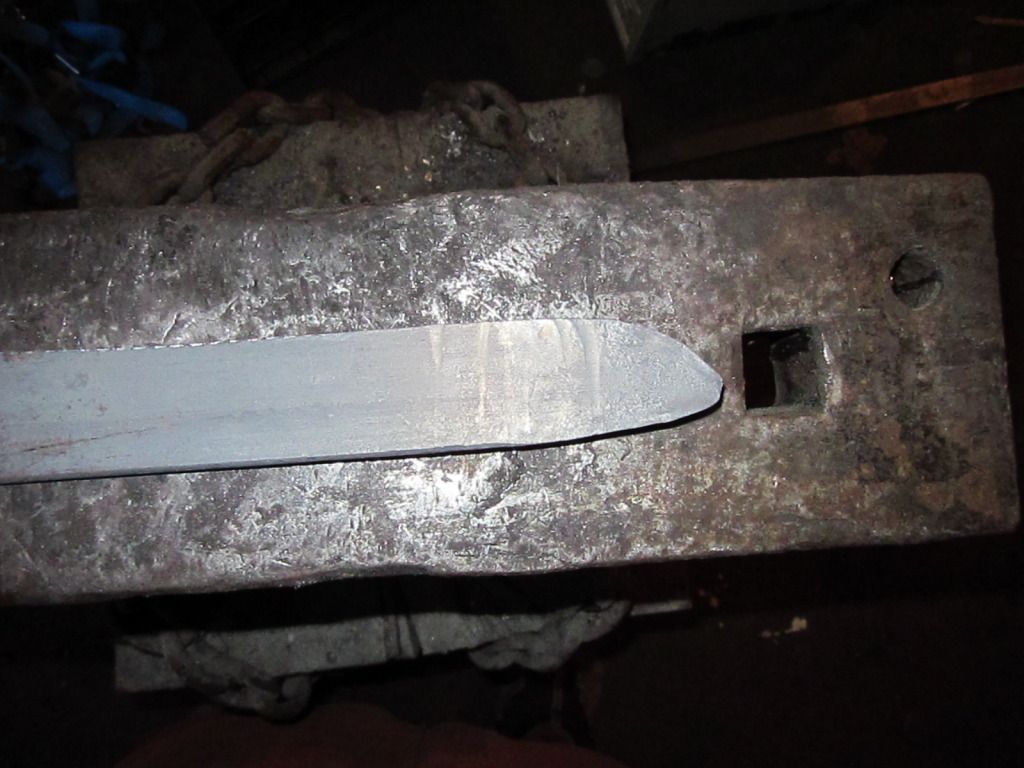
I forge the profile first trying to get the right shape for the tip
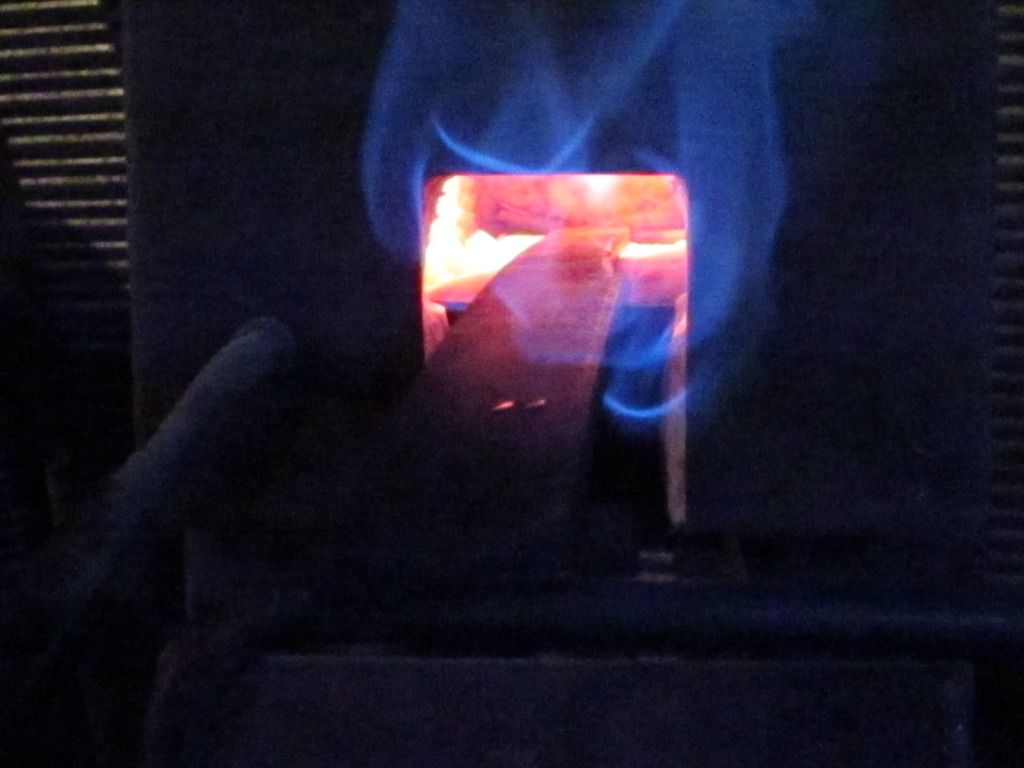
Just a cool forge shot
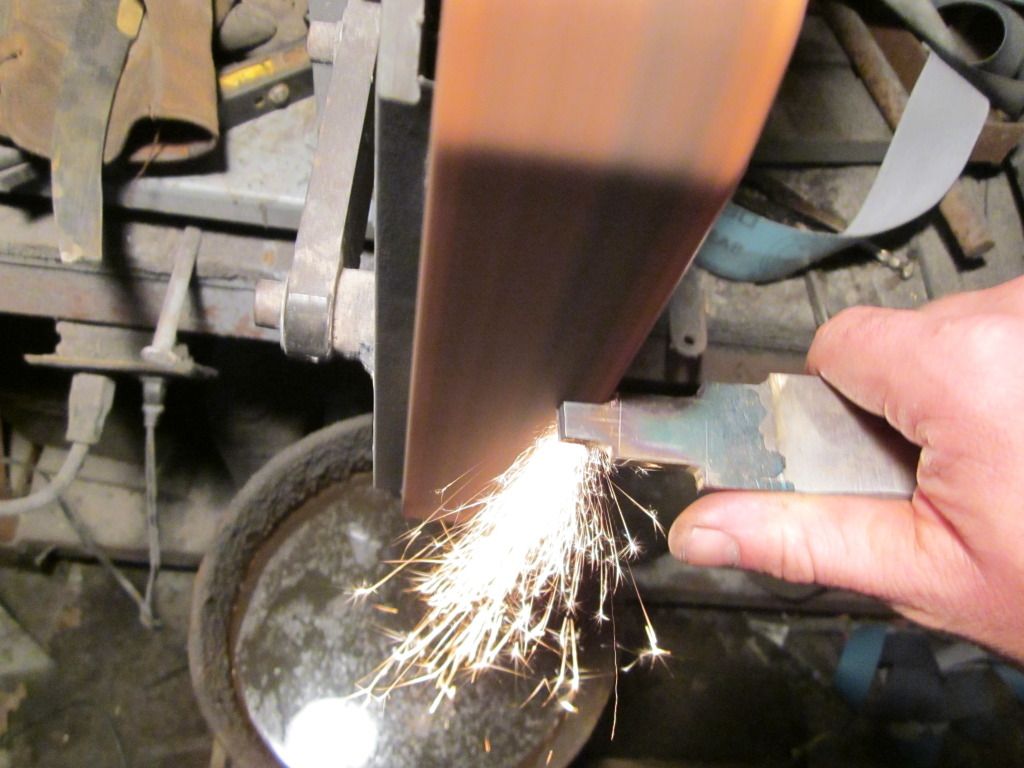
My camera crapped out and I lost a bunch of forging shots. The only one I have is the perform of the tip. After forging the tip to shape I draw the blade out for my distal taper. Then curve my perform and work in my bevels.
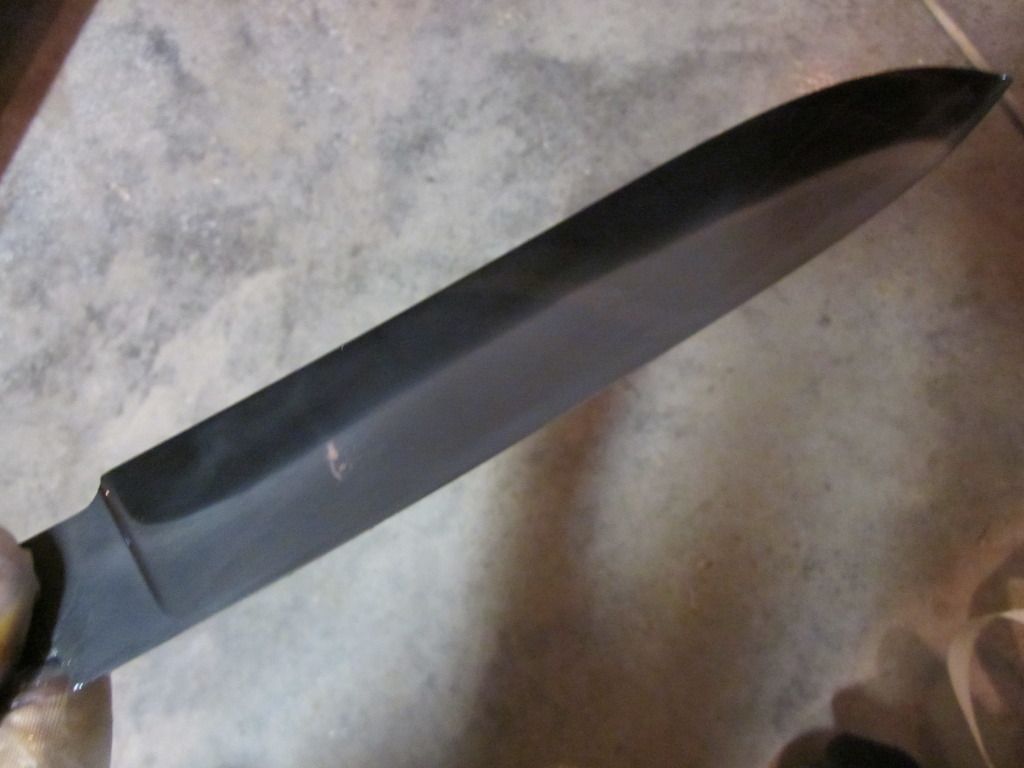
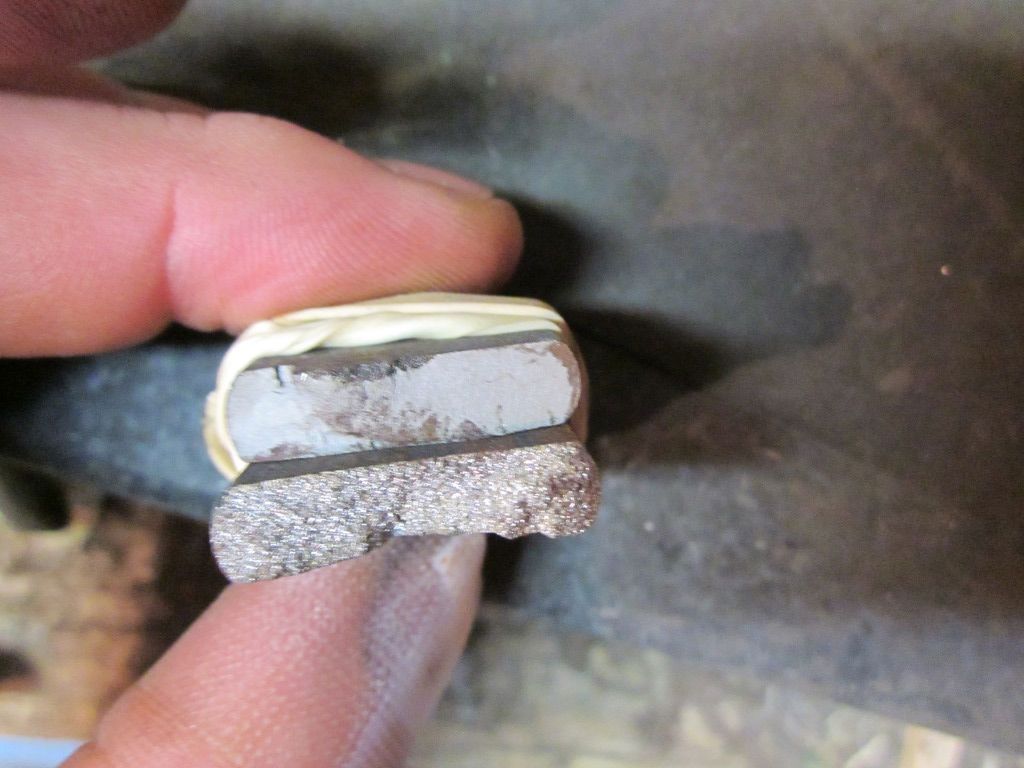
This is a good point to talk about grain size, smaller grain the better. I forge on the cold side trying to keep grain growth to a minimum. I try never to have my steel “bright orange” only red. The hotter the steel the easyer it moves but you need to deal with a large grain size later. Large grain can be fixed by quenching and annealing the blade later. I think it is better to keep the grain small and not worry about it.
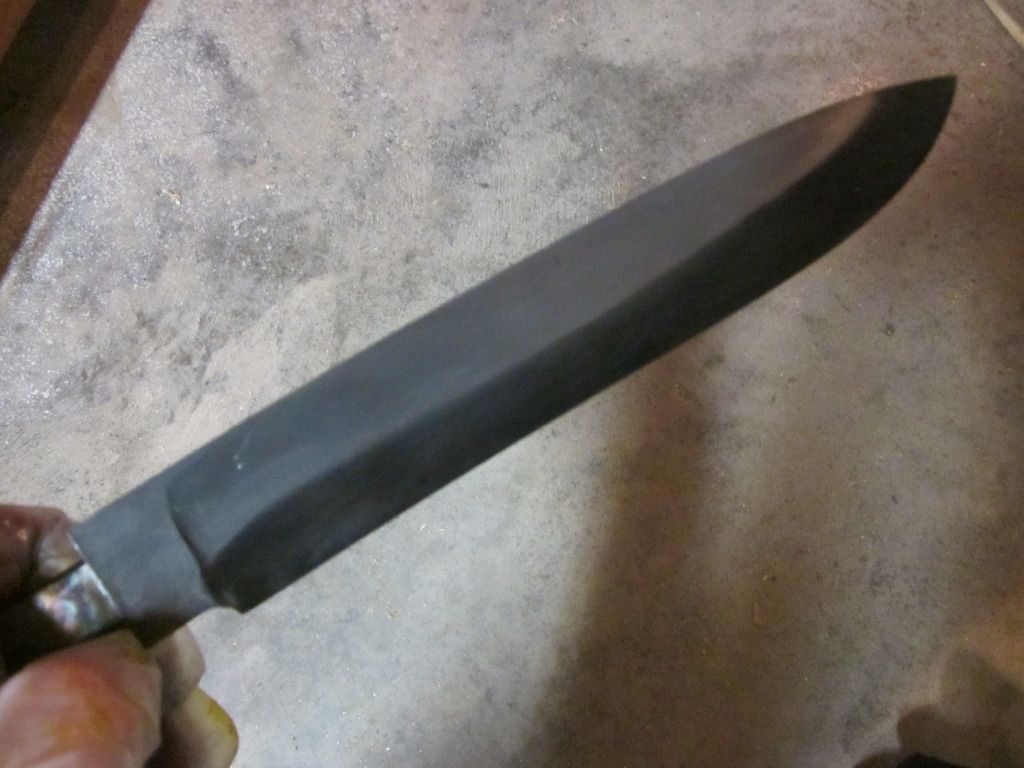
This picture is of the same piece of steel the large grain came from being too hot. After quenching and annealing three times you can clearly see the difference.
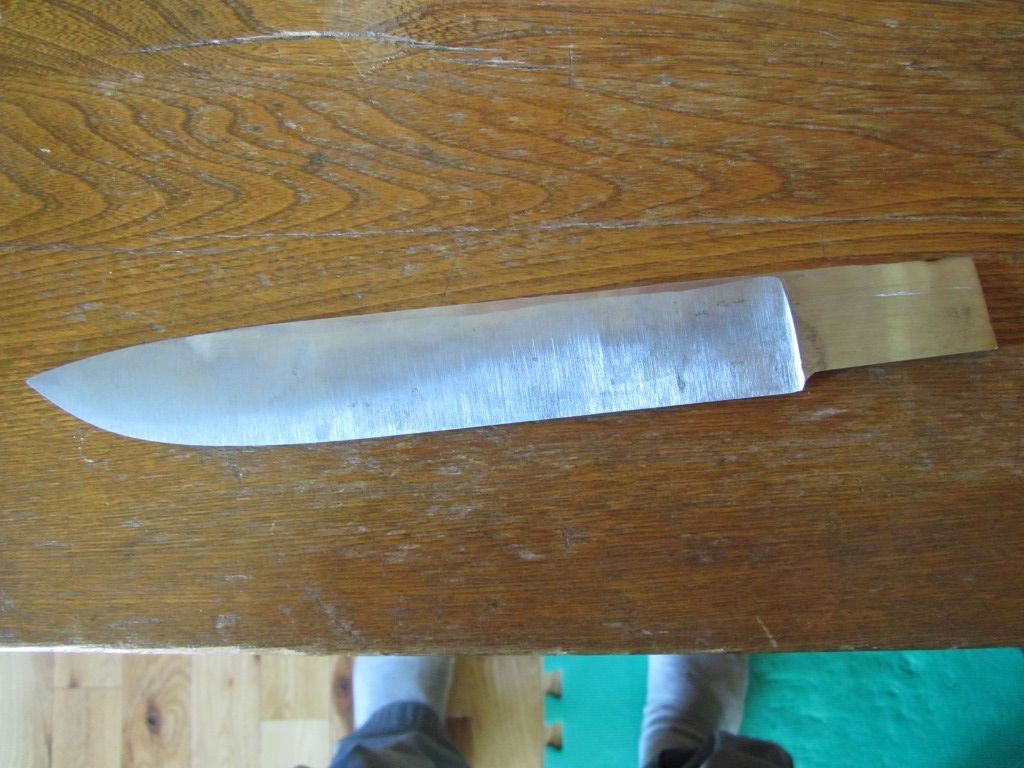
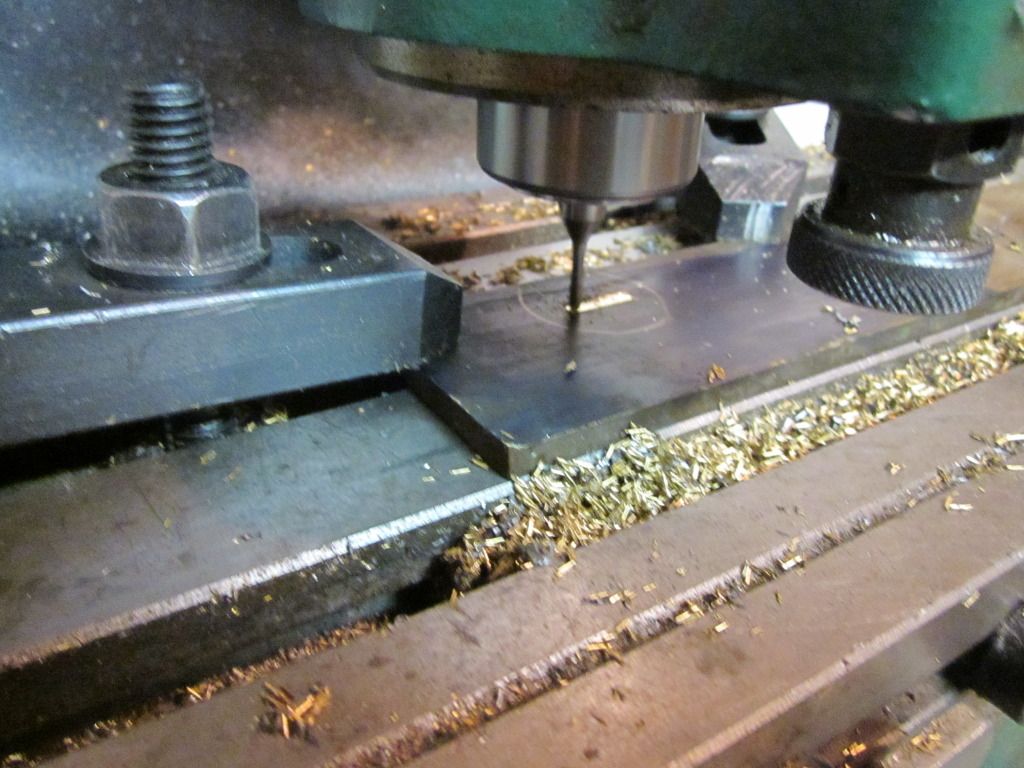
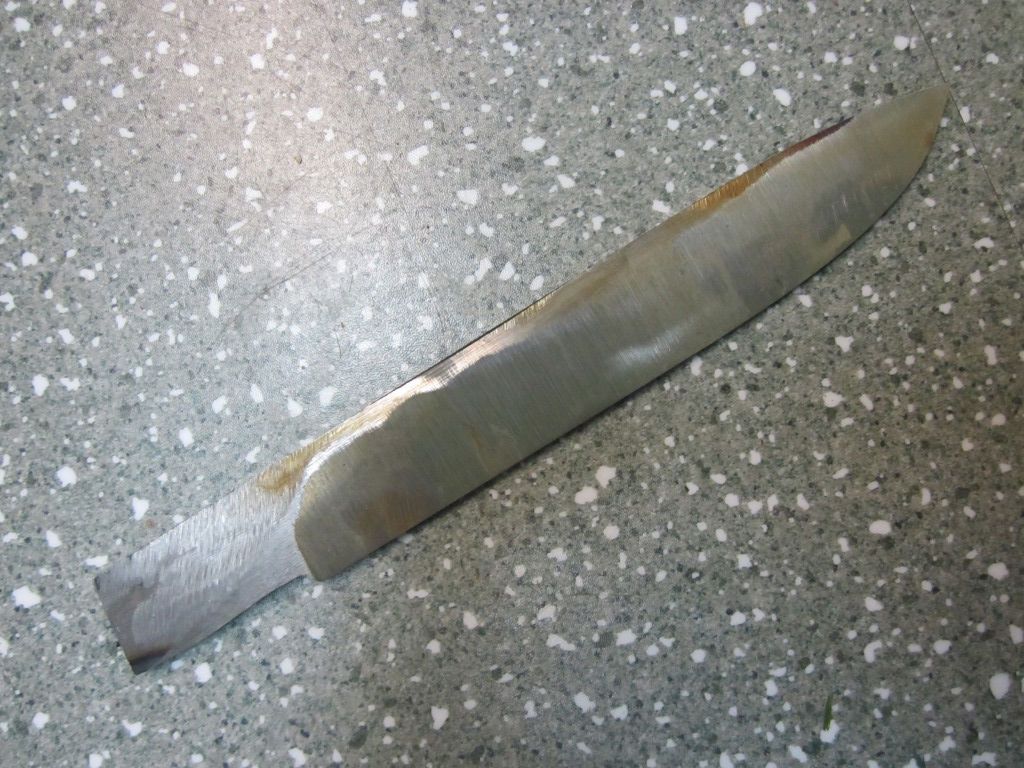
Once I have the blade forged where I like I normalize three times then anneal the blade in vermiculite. The next day I knock all the forge scale off with a mini grinder. I like to rough in my tapers and distal taper with the mini grinder (Cheep son of a gun). Here is the blade cleaned up with a 60 grit belt. Ready to clean up the flats and grind the edge
More coming later
. I was thinking I should make something along the lines of a Randall look alike (Not sure about the saw back yet) Lacking any stainless that would do the job I grabbed some 5160. The slot in the handle tube is 3/16” x 5/8” which allows for some serious meat in the blade.
Guys who can forge the profile of a blade from square stock are good, for the rest of us I like a nice round tip so I don’t have to deal with fish lips.
I forge the profile first trying to get the right shape for the tip
Just a cool forge shot
My camera crapped out and I lost a bunch of forging shots. The only one I have is the perform of the tip. After forging the tip to shape I draw the blade out for my distal taper. Then curve my perform and work in my bevels.
This is a good point to talk about grain size, smaller grain the better. I forge on the cold side trying to keep grain growth to a minimum. I try never to have my steel “bright orange” only red. The hotter the steel the easyer it moves but you need to deal with a large grain size later. Large grain can be fixed by quenching and annealing the blade later. I think it is better to keep the grain small and not worry about it.
This picture is of the same piece of steel the large grain came from being too hot. After quenching and annealing three times you can clearly see the difference.
Once I have the blade forged where I like I normalize three times then anneal the blade in vermiculite. The next day I knock all the forge scale off with a mini grinder. I like to rough in my tapers and distal taper with the mini grinder (Cheep son of a gun). Here is the blade cleaned up with a 60 grit belt. Ready to clean up the flats and grind the edge
More coming later