Frank Hunter
Well-Known Member
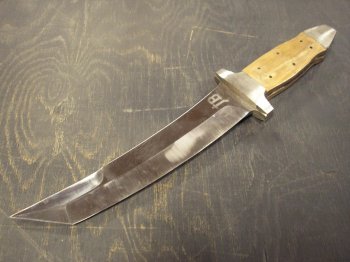
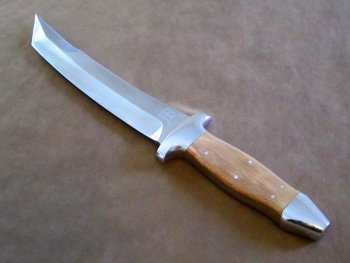
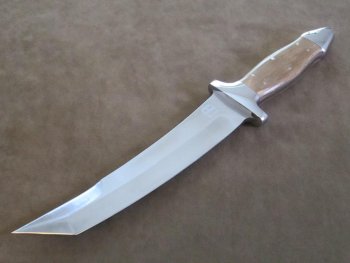
Alright, here's my first WIP for the forum. This is a knife commissioned by one of my friends who also owns some of my earlier work, so I'm going to really try to knock it out of the park for him. If there are any missing photos or content as I post this up over the coming days I am sorry, remembering a photo for each step is something I'm still getting used to. There aren't any particularly tricky parts to this pattern of mine, just making sure all the gaps are tight. Comments, questions, and criticism are welcome.
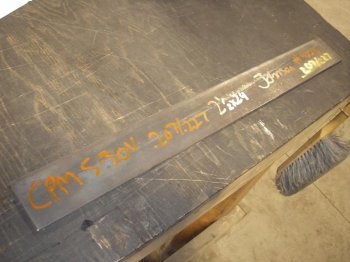
I'm starting with a .207-.227 bar of S30V that measures out an actual thickness of .200 prior to any descaling. If it was any thicker, I would taper the tang and have in the past with some built on .270 and .312 steel. With the 7" blade of this pattern and this overall gauge of the bar, the balance will be right at the first finger under the guard and give an appropriate handle thickness when I finish it up.
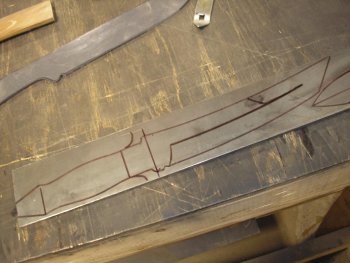
I did a quick outline of my pattern onto the steel to get approval on the overall shape before I started cutting into it. This one has a 3" sharpened swedge requested so I laid everything out with a narrow sharpie to get started. The shop is unusually clean.
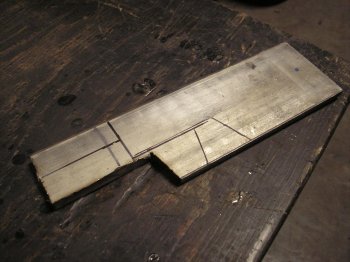
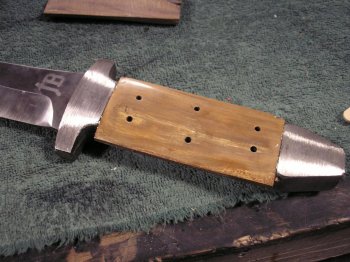
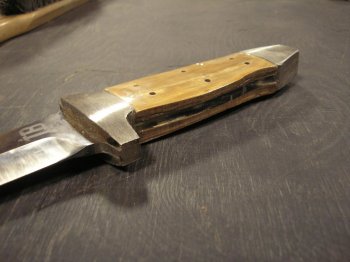
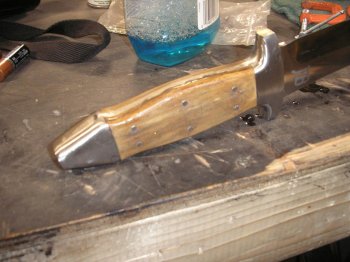
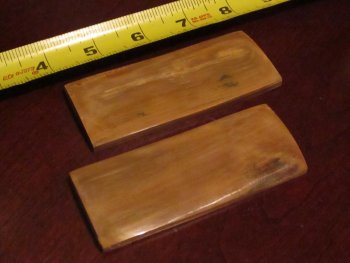
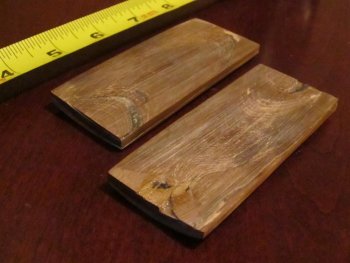
The mammoth ivory handle scales, from usaknifemaker. These are a very nice light caramel set that's matched well in color and very solid. I'm shooting for a similar color Kydex for the sheath and the leather retainer paddle will be dyed as close as I can get it as well. I like the color to all be either very similar, or directly contrasting. As I'm mitering the bolsters to pin the ends of the scales down, this grip is getting six small pins at the perimeter instead of Corby fasteners run up the middle. With mammoth, stag, and some woods the larger heads can be disruptive and hard to finish clean and flush if you're trying to save any of the surface character. With this smooth set it's not so much of an issue but if this pair had a lot of bark it would be even more important.
Now for profiling the blade out of the raw S30V. I've left the mill scale on for this part. I color the surface with a large marker and scribe tight to my pattern. This gives me a very tight go-no-go line of just a couple thousands of an inch so it will match previous ones built to the pattern. I could possibly optimize my stock more than this but have another knife coming out of the same bar that let me rotate and shuffle things around and kill two birds with one stone.
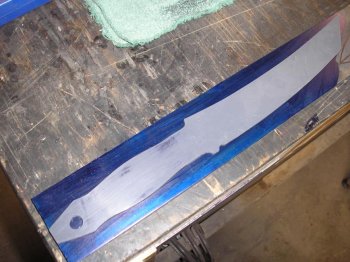
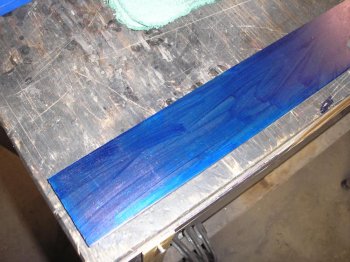
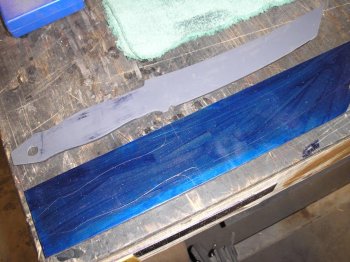
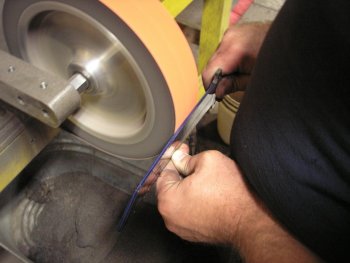
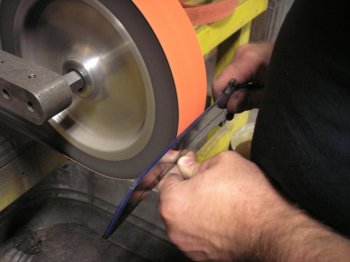
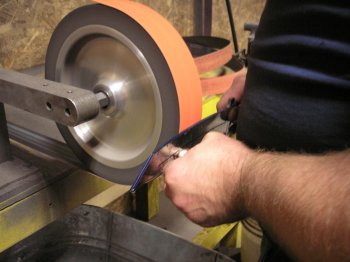
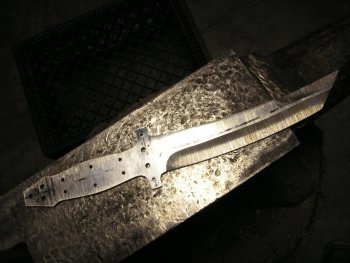
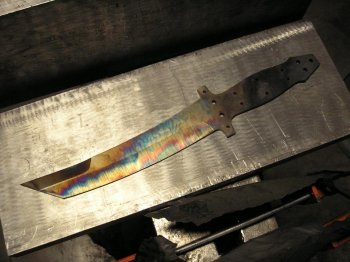
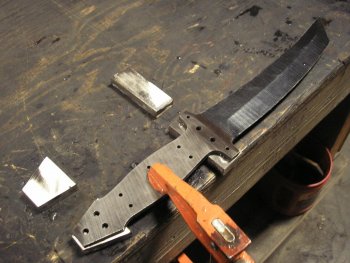
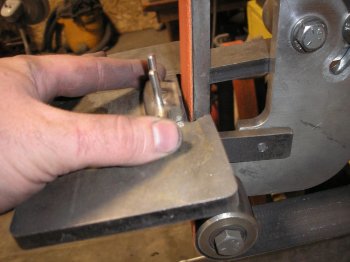
I do this the hard way as I don't have a metal cutting band saw yet. I nip off any large sections with cut off wheel on my 4 1/2" grinder, then grind to the line using my work rest and backing platen on the KMG. This is dirty and not efficient for thicker stock but I have to still invest in better tooling. You tear up the cold-roll platens into a grooved mess and your belt will occasionally explode. I use a push stick, welding glove, and a face shield, running the belt off the edge of the platen to clean up inside corners. I currently make this knife with a large top bolster/guard that's pinned from the sides instead of slotted and slid up from the pommel like a bowie as my first ones. That is a miserable fitment job with drilled overlapping holes and filing the interior square, especially without a milling machine on 304 stainless, so I do it this way now with the large top bolster. That is why the pattern doesn't show the guard protrusions the finished blade has, I scribe those in and try to keep them uniform. I'll make a new pattern reflecting the change at some point. Here's the finished work after awhile and some stainless swarf all over everything.
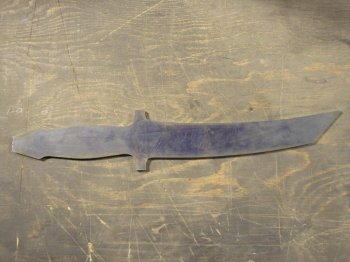
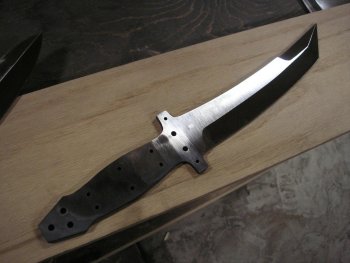
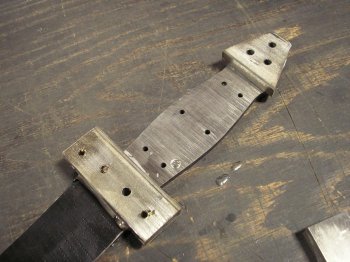
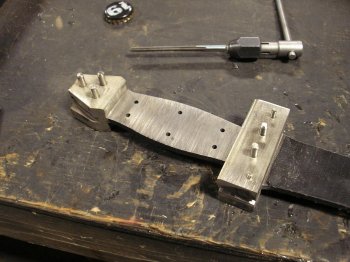
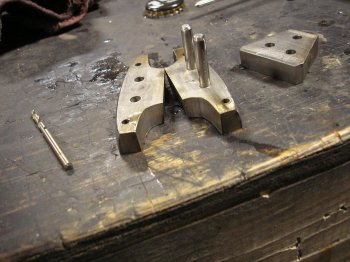
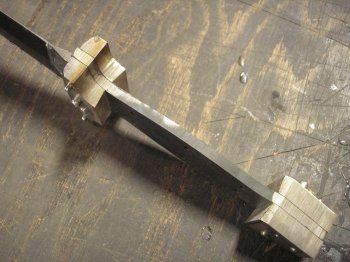
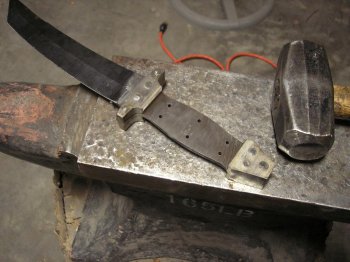
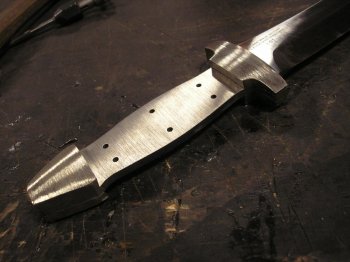
I lay out my bolster locations using a 1" bar width for the top guard and a 1 1/4" chunk for the pommel. You have to remember to allow extra material from your handle scales to account for the miter cut. It sucks to think "Great, 2 7/8" inch long scale inserts", cut them, and actually need 3" because your included miter means the scale is longer against the tang than at the outside rounded area of the handle where the bolster is longest. After getting this decided, drawn on and checked, I lay out my pin holes. The grip pins get one pair of 1/8" holes centered between the bolsters, then the other two pairs eyeballed an appropriate amount from the center. Getting too close to the bolsters with the end pins can cause some cracks or appearance issues. The pommel and center bolster holes are 3/16" with the outer two on the "wings" of the guard are 1/8". Here's everything after it's drilled, I start the holes with a fine punch and use good drill bits, although the S30V annealed is a dream to drill compared to the 304 fittings that are coming. I use just straight water as a lubricant and coolant.
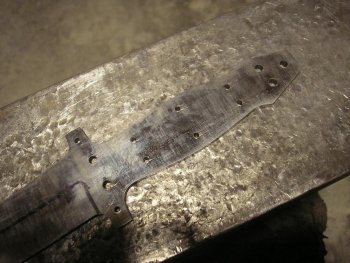
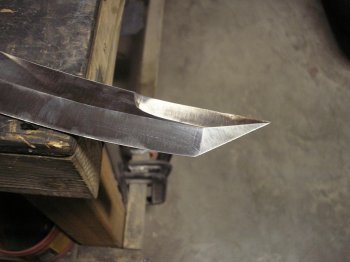
I lay out a line to grind to a uniform height from the edge using a sliding combination square. Also, I use the wide marker on the edge itself and scribe a pair of lines using a drill bit and profiled blank laid flat on my wood bandsaw table. I do one side, then flip it over. With the 3/16" bit it gives me two lines with about .050 spacing in between which is what I'm shooting for.
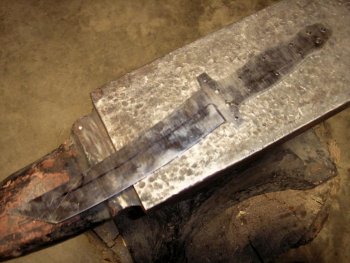
At this point I'm only a few minutes into the build.
I'm starting with a .207-.227 bar of S30V that measures out an actual thickness of .200 prior to any descaling. If it was any thicker, I would taper the tang and have in the past with some built on .270 and .312 steel. With the 7" blade of this pattern and this overall gauge of the bar, the balance will be right at the first finger under the guard and give an appropriate handle thickness when I finish it up.

I did a quick outline of my pattern onto the steel to get approval on the overall shape before I started cutting into it. This one has a 3" sharpened swedge requested so I laid everything out with a narrow sharpie to get started. The shop is unusually clean.

The mammoth ivory handle scales, from usaknifemaker. These are a very nice light caramel set that's matched well in color and very solid. I'm shooting for a similar color Kydex for the sheath and the leather retainer paddle will be dyed as close as I can get it as well. I like the color to all be either very similar, or directly contrasting. As I'm mitering the bolsters to pin the ends of the scales down, this grip is getting six small pins at the perimeter instead of Corby fasteners run up the middle. With mammoth, stag, and some woods the larger heads can be disruptive and hard to finish clean and flush if you're trying to save any of the surface character. With this smooth set it's not so much of an issue but if this pair had a lot of bark it would be even more important.


Now for profiling the blade out of the raw S30V. I've left the mill scale on for this part. I color the surface with a large marker and scribe tight to my pattern. This gives me a very tight go-no-go line of just a couple thousands of an inch so it will match previous ones built to the pattern. I could possibly optimize my stock more than this but have another knife coming out of the same bar that let me rotate and shuffle things around and kill two birds with one stone.


I do this the hard way as I don't have a metal cutting band saw yet. I nip off any large sections with cut off wheel on my 4 1/2" grinder, then grind to the line using my work rest and backing platen on the KMG. This is dirty and not efficient for thicker stock but I have to still invest in better tooling. You tear up the cold-roll platens into a grooved mess and your belt will occasionally explode. I use a push stick, welding glove, and a face shield, running the belt off the edge of the platen to clean up inside corners. I currently make this knife with a large top bolster/guard that's pinned from the sides instead of slotted and slid up from the pommel like a bowie as my first ones. That is a miserable fitment job with drilled overlapping holes and filing the interior square, especially without a milling machine on 304 stainless, so I do it this way now with the large top bolster. That is why the pattern doesn't show the guard protrusions the finished blade has, I scribe those in and try to keep them uniform. I'll make a new pattern reflecting the change at some point. Here's the finished work after awhile and some stainless swarf all over everything.

I lay out my bolster locations using a 1" bar width for the top guard and a 1 1/4" chunk for the pommel. You have to remember to allow extra material from your handle scales to account for the miter cut. It sucks to think "Great, 2 7/8" inch long scale inserts", cut them, and actually need 3" because your included miter means the scale is longer against the tang than at the outside rounded area of the handle where the bolster is longest. After getting this decided, drawn on and checked, I lay out my pin holes. The grip pins get one pair of 1/8" holes centered between the bolsters, then the other two pairs eyeballed an appropriate amount from the center. Getting too close to the bolsters with the end pins can cause some cracks or appearance issues. The pommel and center bolster holes are 3/16" with the outer two on the "wings" of the guard are 1/8". Here's everything after it's drilled, I start the holes with a fine punch and use good drill bits, although the S30V annealed is a dream to drill compared to the 304 fittings that are coming. I use just straight water as a lubricant and coolant.

I lay out a line to grind to a uniform height from the edge using a sliding combination square. Also, I use the wide marker on the edge itself and scribe a pair of lines using a drill bit and profiled blank laid flat on my wood bandsaw table. I do one side, then flip it over. With the 3/16" bit it gives me two lines with about .050 spacing in between which is what I'm shooting for.

At this point I'm only a few minutes into the build.
Last edited:

