JAWilliams
KNIFEMAKER
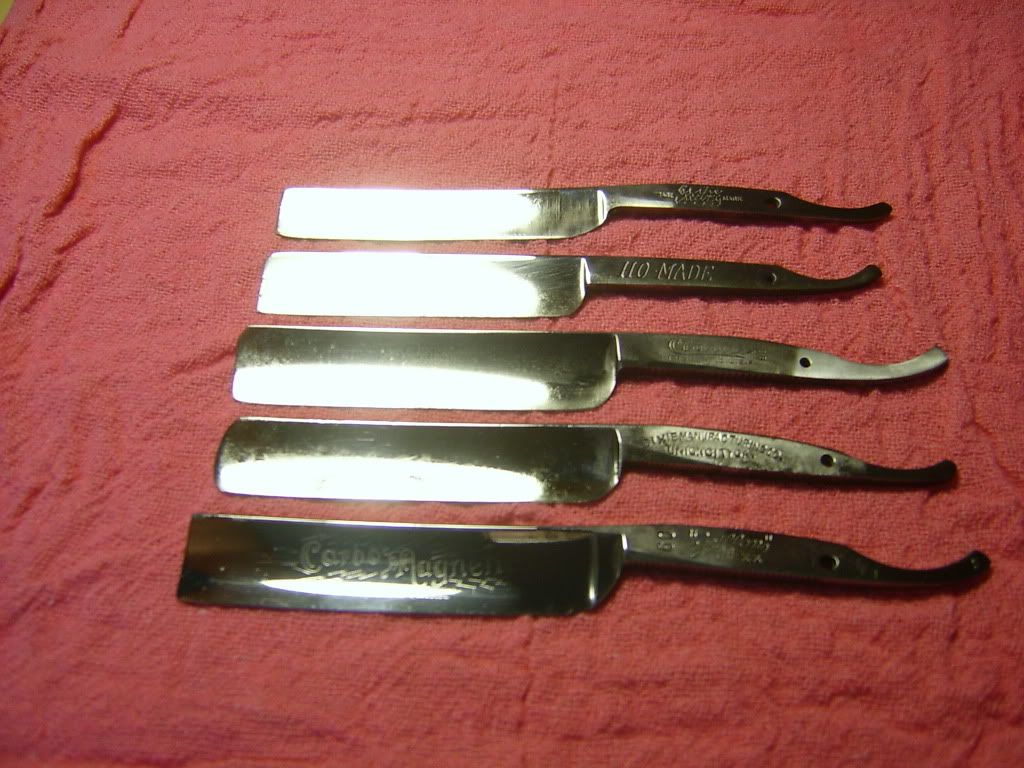
Ok thought I would share my project with everyone. I got these straight razors very cheap. There are reasons for this, most of them are in very bad shape and some are in fair shape.
The first pic is a group shot.
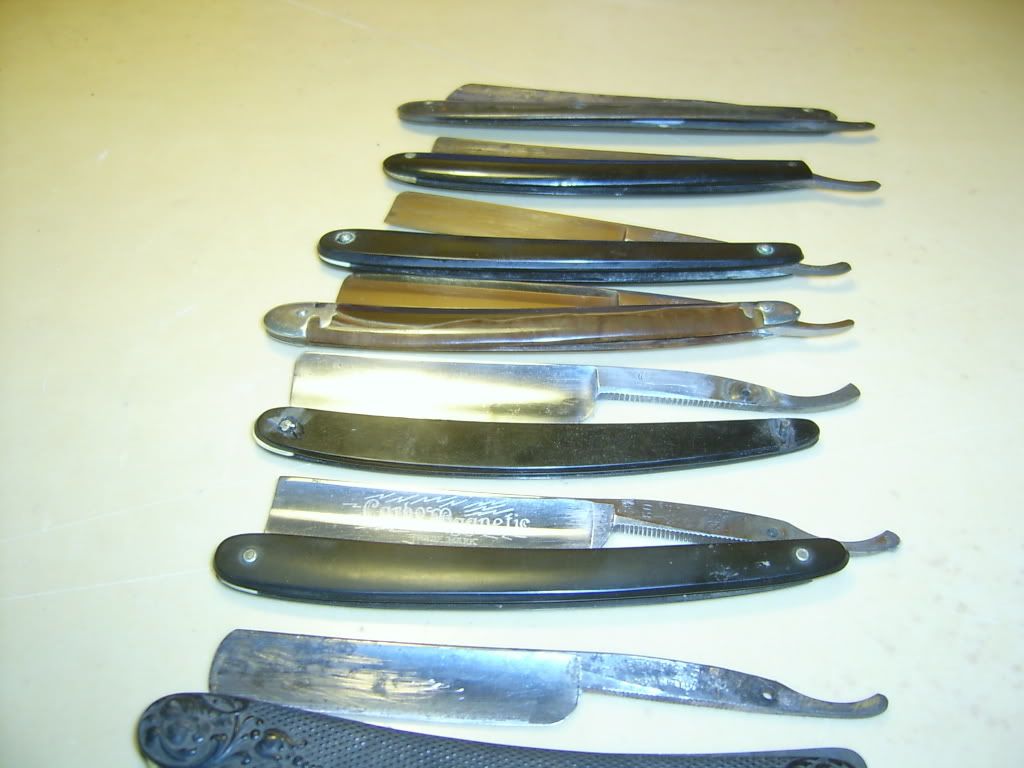
Now you can see why they went so cheap.
What I am going to do is remove the scales. Now there is a couple of ways to do this. One is using a dremel tool. If you are wanting to save the scale I would not suggest this unless you are very confident in your grinding. You will pass over this the pin until it come loose.
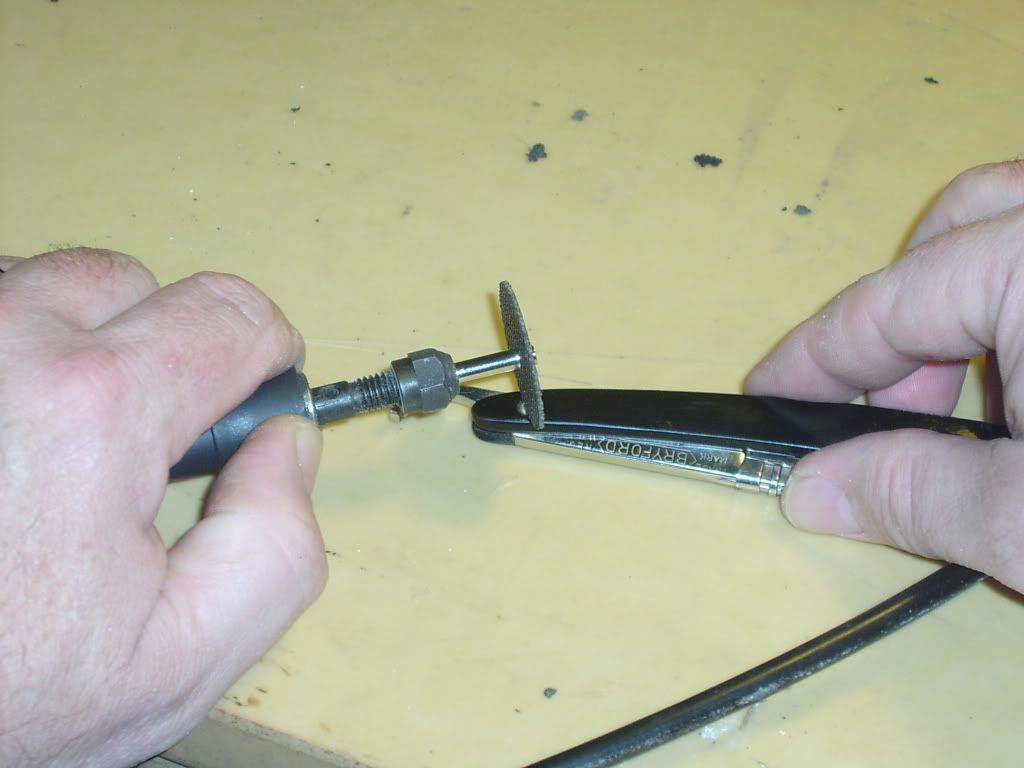
The other way it to take a 1/16" drill bit and drip it out.
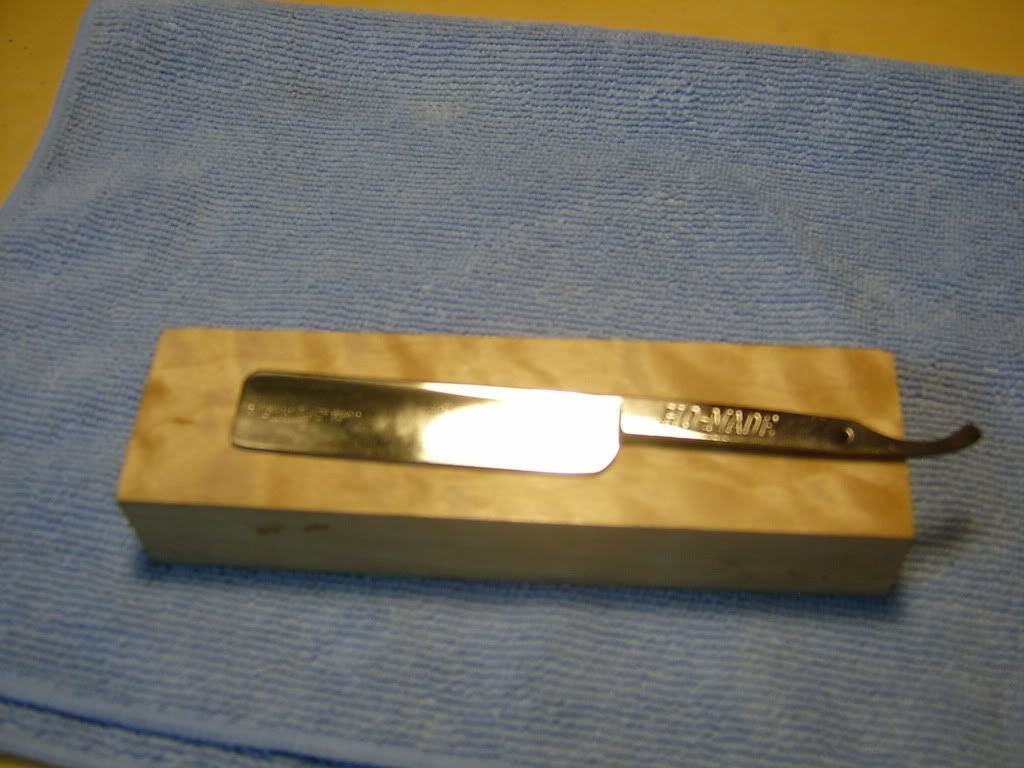
Once you have gotten all the scales off it is time to look and see what needs to be done. Just a couple of shots.
/
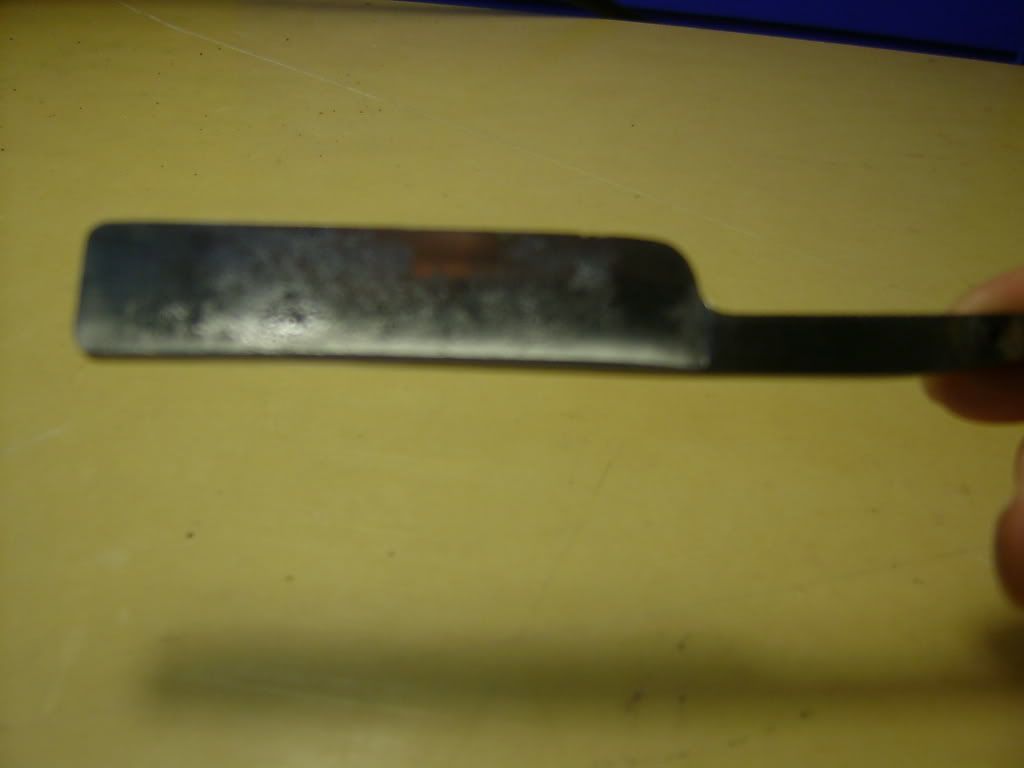
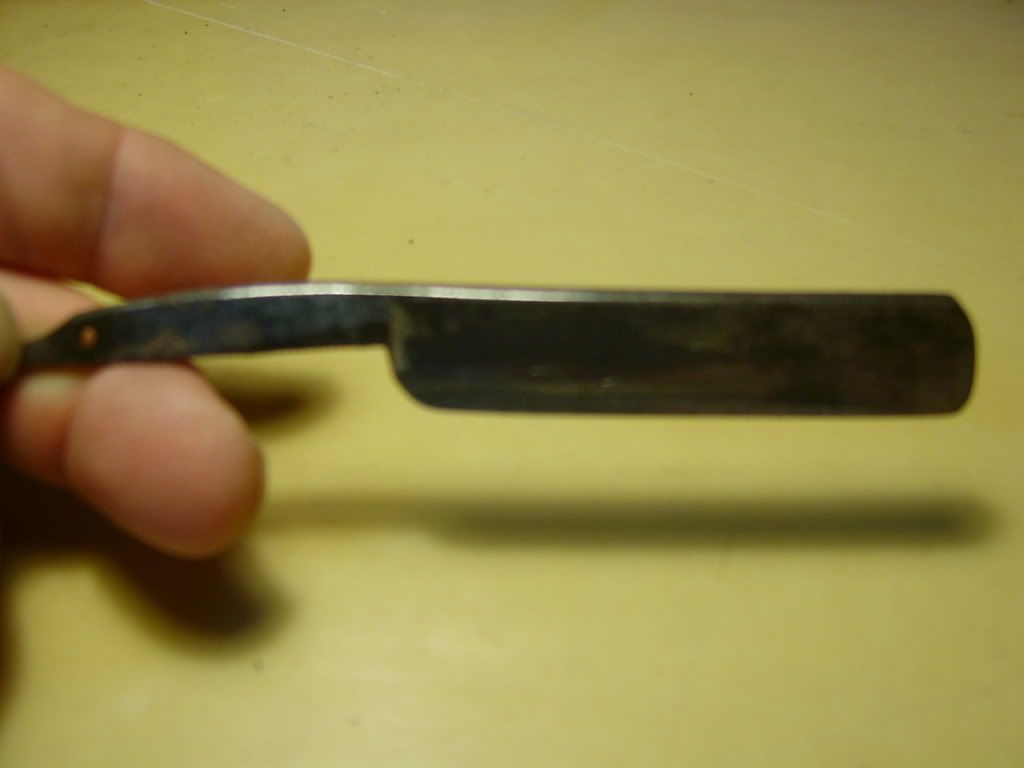
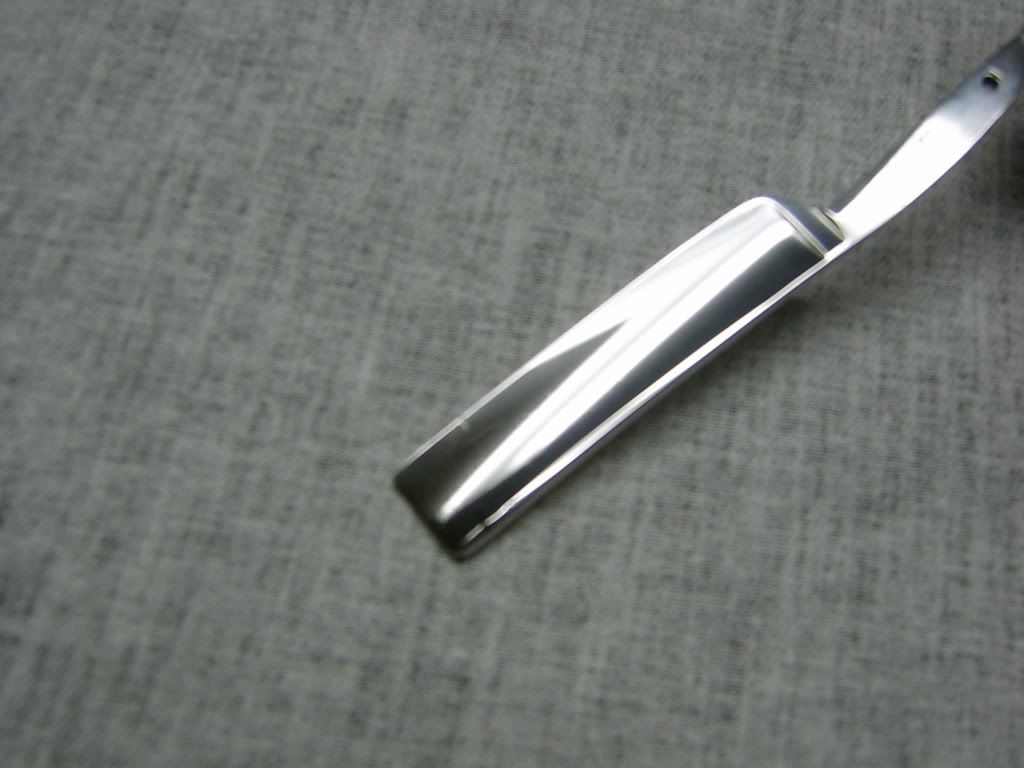
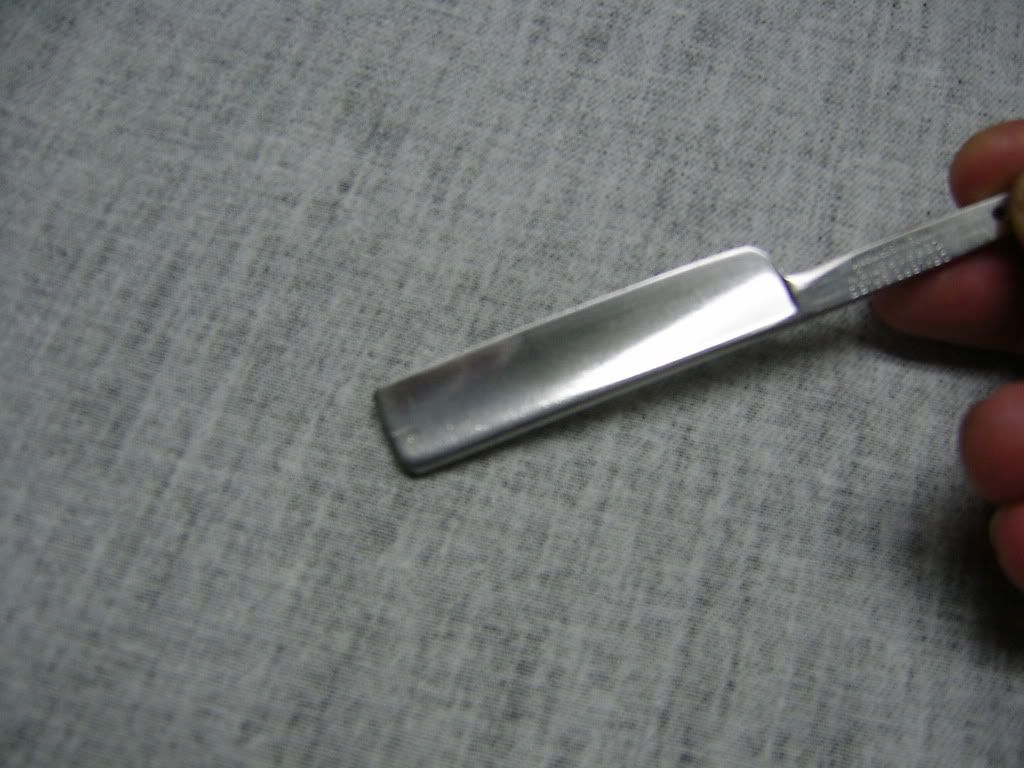
Now here is the part that might suprise some of you. I take and polish these razors. The reason for this is I will find more with it polish to mirror or right at mirror. The problems stand out. and I can see who made it.
From inspecting these I have found alot of pitting and rust stains. Some of these might not be able to be saved. But I will finish these out because it will give me the practice and I can still display them.
The first pic is a group shot.
Now you can see why they went so cheap.
What I am going to do is remove the scales. Now there is a couple of ways to do this. One is using a dremel tool. If you are wanting to save the scale I would not suggest this unless you are very confident in your grinding. You will pass over this the pin until it come loose.
The other way it to take a 1/16" drill bit and drip it out.
Once you have gotten all the scales off it is time to look and see what needs to be done. Just a couple of shots.
/
Now here is the part that might suprise some of you. I take and polish these razors. The reason for this is I will find more with it polish to mirror or right at mirror. The problems stand out. and I can see who made it.
From inspecting these I have found alot of pitting and rust stains. Some of these might not be able to be saved. But I will finish these out because it will give me the practice and I can still display them.