What's going on in your shop?

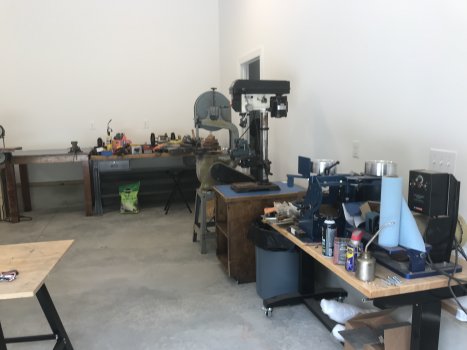
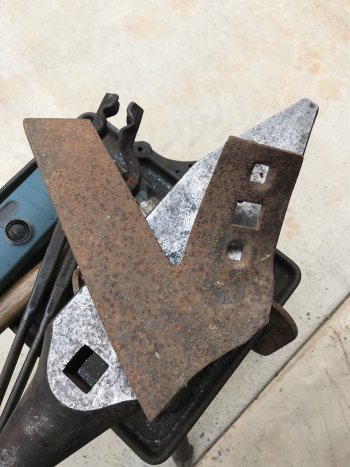
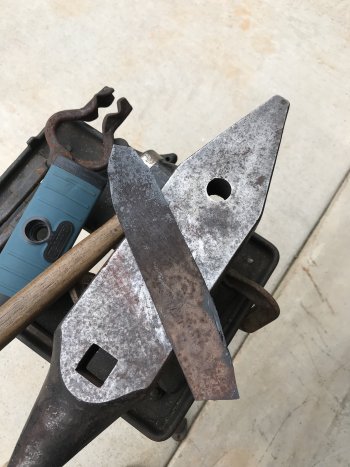
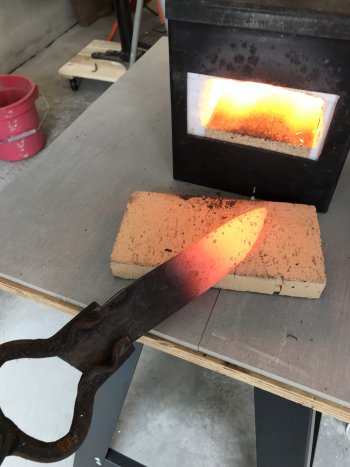
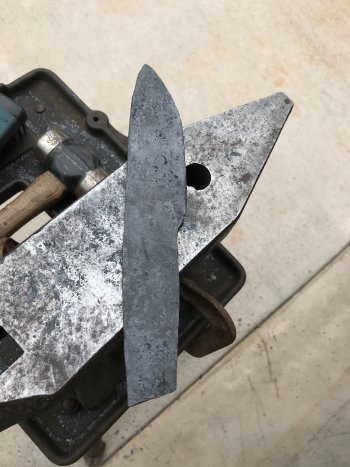
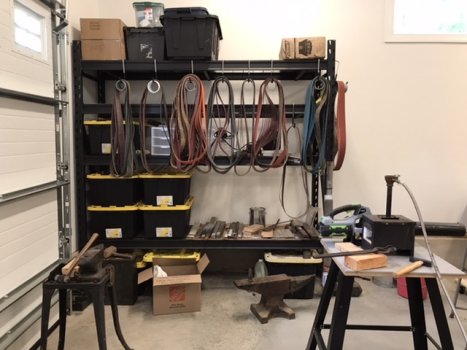
It’s been awhile but I’m still kicking and itching to get back to knife making. My goal is to have the shop ready to go by the end of August. I’m sure I’ll have to chase my first grinds all over the place.
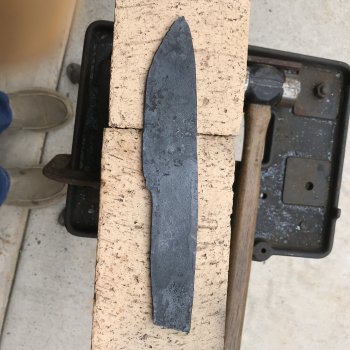
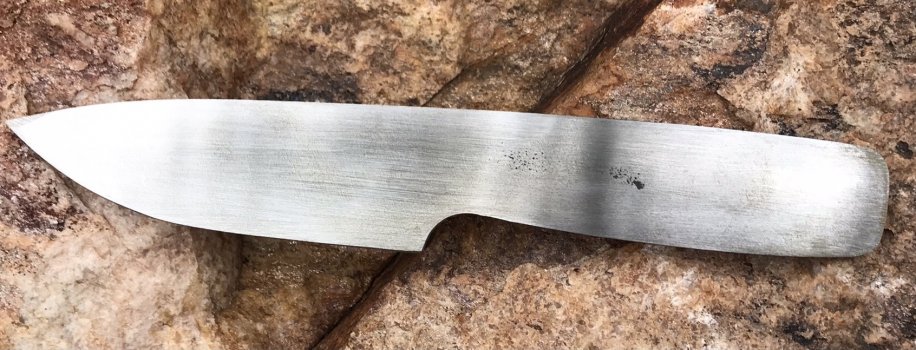
Here are the latest photos- still more arrangements but it’s getting close.
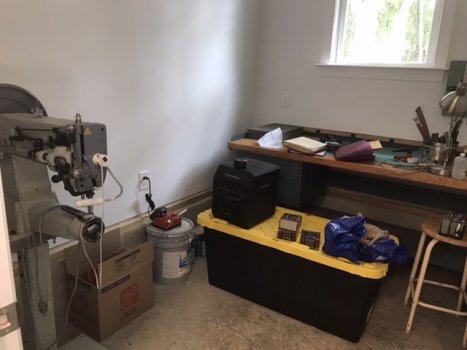
I have a side room that I plan on doing leather work and final finishing work.
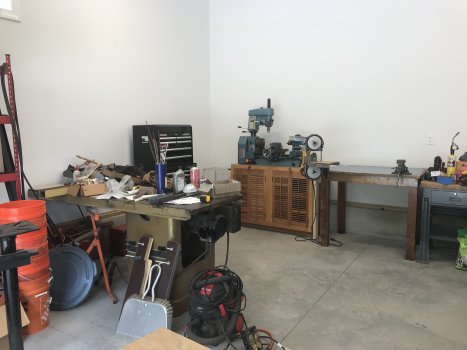
EBCC6CF3-BACE-403F-9AAC-BACCF82F49F6.jpegEBCC6CF3-BACE-403F-9AAC-BACCF82F49F6.jpeg8559D105-DA6D-4521-AE38-EA4F01412825.jpegFA15FEA6-90FE-41CE-A6CD-CAB909A675DA.jpeg
 
It’s been awhile but I’m still kicking and itching to get back to knife making. My goal is to have the shop ready to go by the end of August. I’m sure I’ll have to chase my first grinds all over the place.
Here are the latest photos- still more arrangements but it’s getting close.
I have a side room that I plan on doing leather work and final finishing work.
View attachment 81333View attachment 81333View attachment 81334View attachment 81335
Very nice!
 
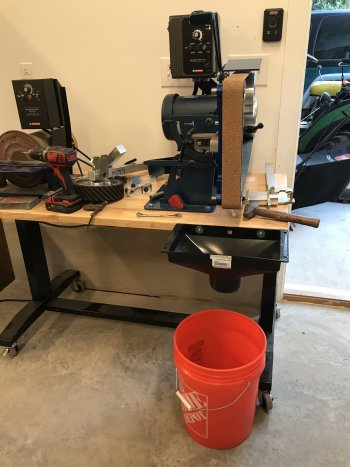
Anyone else use a dust collection hood to control your grinding dust?
View attachment 81337

I do. I'd suggest lining it with several layers of foil, or foiled duct tape, or something similar to take the heat of the sparks. The plastic will stipple and will likely fail over time without shielding. I have a dust collector hooked up, and it does a good job of keeping the dust down in my shop. I have zero worries about a spark surviving long enough to be a risk. A sealed bucket of water can serve as a baffled intake for the dust collector to keep metal particles out of your impeller and collector parts.
 
Good advise I’ll do that if it looks like there will be an issue. At some point I’d like to get either a misting system a true dust vacuum system. For now it’s just the hood funnel and bucket.
 
Anyone else use a dust collection hood to control your grinding dust?

Yep, I have the same setup but I ran a tube down to the bucket (metal stove pipe) to keep the dust from "wandering". Does what I need. The only downside is when I drop a bolster pin or whatever and it lands in the bucket.

The single biggest dust "helper" I've got is the Fasco blower fan I have that blows outside my shop. I used to have to sweep daily to get rid of the dust, now I can go a week or so and not have to sweep.
 
I'm building a Revolution grinder in my shop. I've started a WIP in "WIPs & Tutorials":


Check it out, ask questions, make suggestions, tell me I'm a fool, whatever!
 
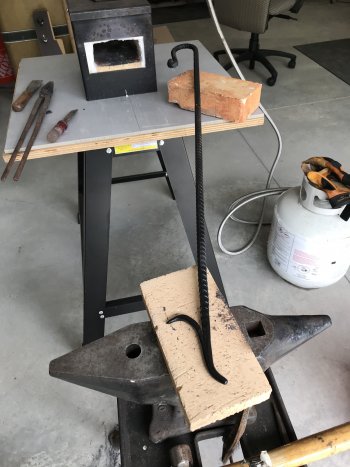
First time I’ve fired up the forge in over a year. Thought I’d try my hand on a simple fire pit poker. The end is forge tapered and folded back on itself and forge welded. This allows for a tapered poker and a curl. It’s called a turkey foot. I watched a few you tube videos to understand the technique.
2792C9FA-3960-45CC-844C-D669EC231E86.jpeg
 
I haven’t done much forge welding and didn’t really understand how it could mess up the forge floor. Now I do. Even the small amount of borax I used left a mess.
 
I haven’t done much forge welding and didn’t really understand how it could mess up the forge floor. Now I do. Even the small amount of borax I used left a mess.

well get some of the dirt on the floor, anvil, tables, etc. You're making the rest of us look bad.... ;)
 
I couldn't find my good center punch the other day and the one I was using wasn't hard enough for the steel I was working with. So, as one does, I made a new one! I liked it enough that I made another one for my neighbor. I sent a picture of it to a few of my friends and asked if they wanted one and they do, so instead of just making them some, I'm going to have them over at the shop and have them help make theirs. I made it pretty simple, just a "to the point" (pun intended) center punch.

For what it's worth, I DID actually clean it up a lot more after this picture. I ran out of daylight.

On this one in particular, I decided to experiment with "composite" tooling. The tip of the punch is actually a high carbon steel round (broken drill bit shank) that is pressed into the body, which is made of lower carbon steel (rebar).
b1be585fc17d6677a05ae712c3c235b0.jpg


Sent from my Champion Forge using Tapatalk
I really like that. The twist gives it appeal as well as a grip. Did you mill the drill bit?
 
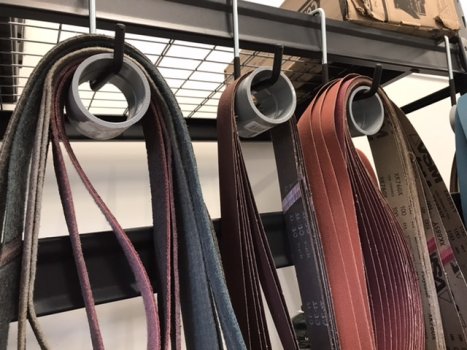
Interim belt hanging. For now I’m just using the storage rack to hang belts. Long term plan is to drill holes in the top of a 2x6 to mount these hangers to install on another wall. It does block two shelves but I will be storing items I don’t use much.F6F8116B-9098-4BF7-B1C5-34B73F0DCD61.jpegF8C81DF3-4EF0-4461-AE03-3AC8226943F2.jpeg
 
Back
Top