Bruce Bump
Forum Owner-Moderator
Its been too quiet around here so time to start another thread.
This pattern is like one I did several years ago and always wanted to try it again.
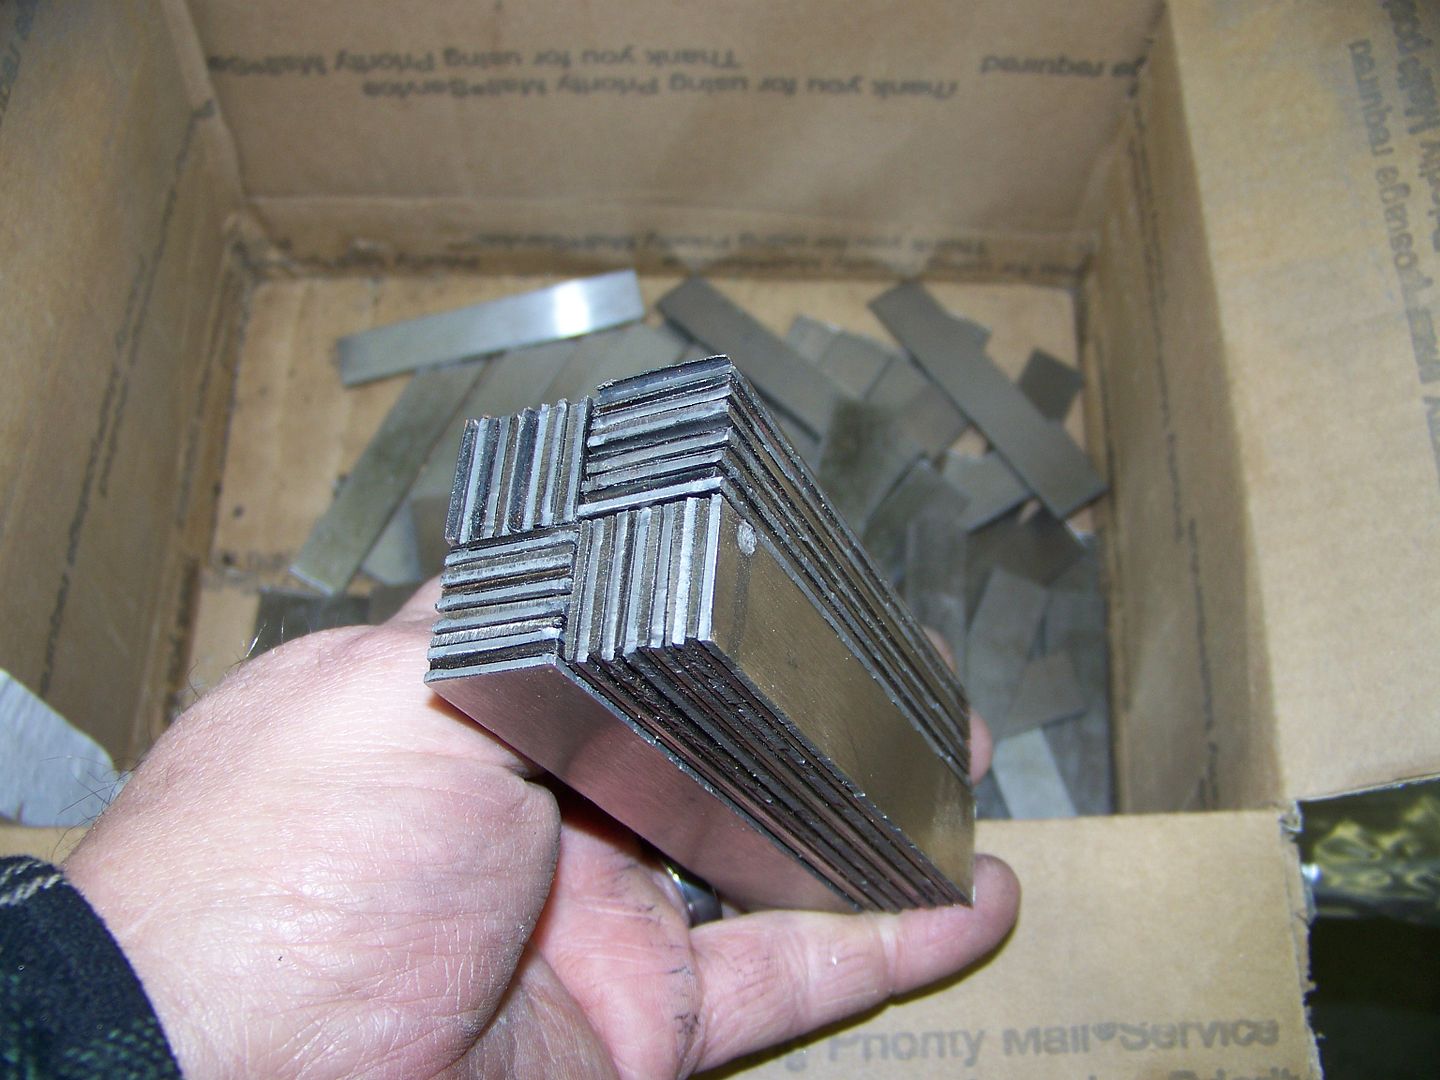
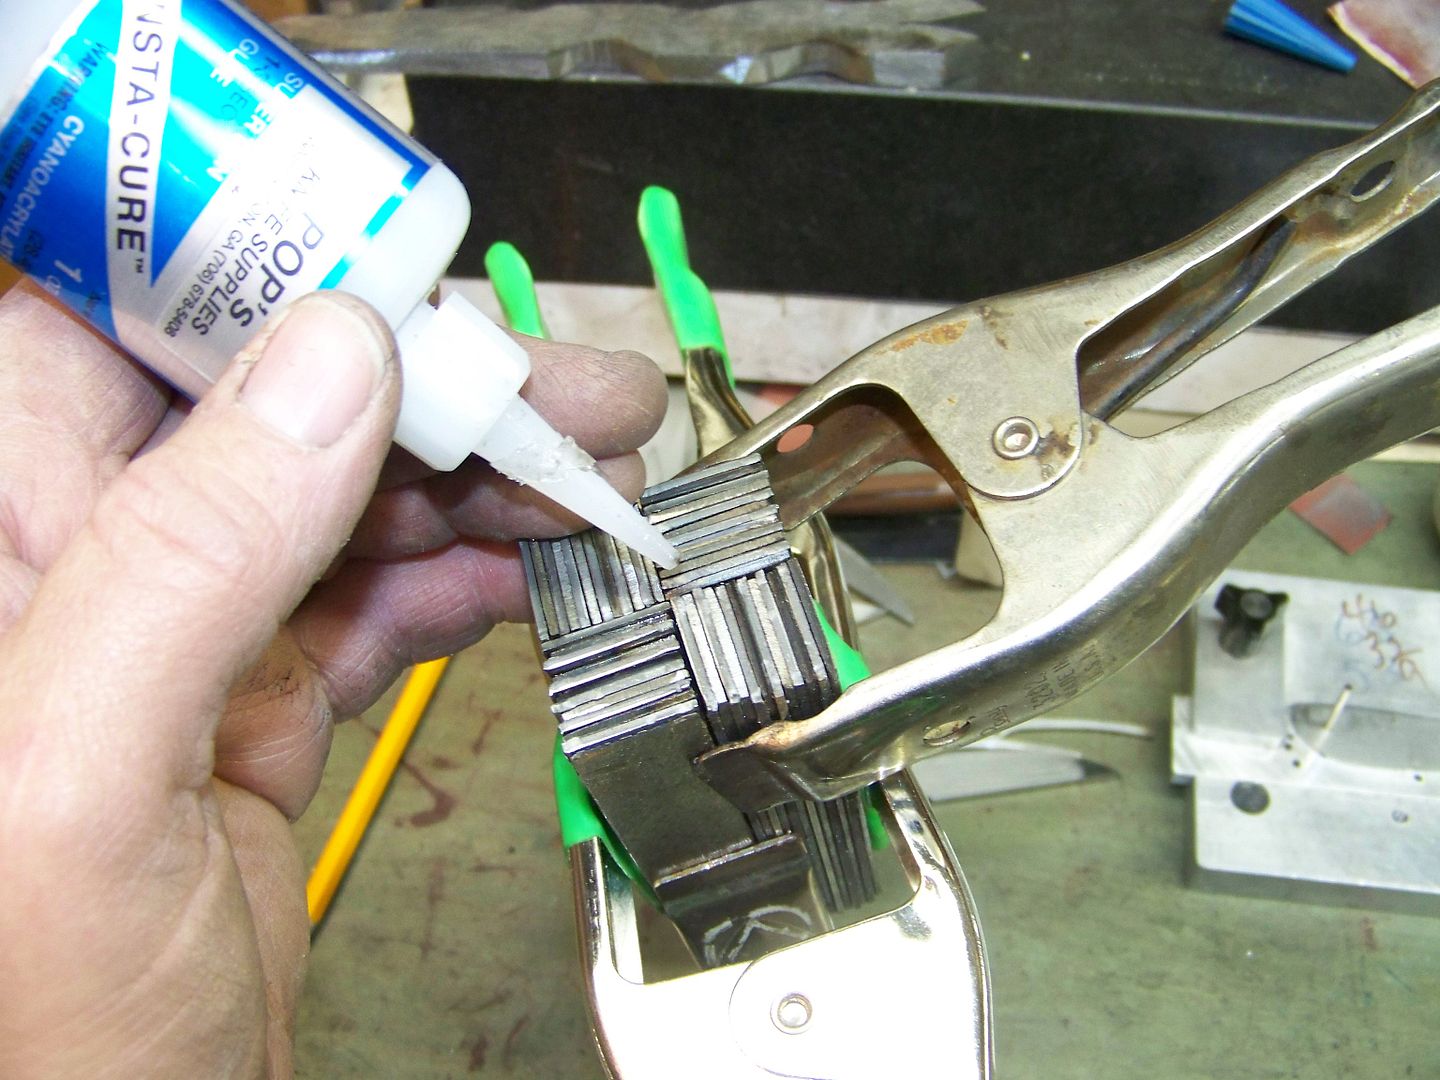
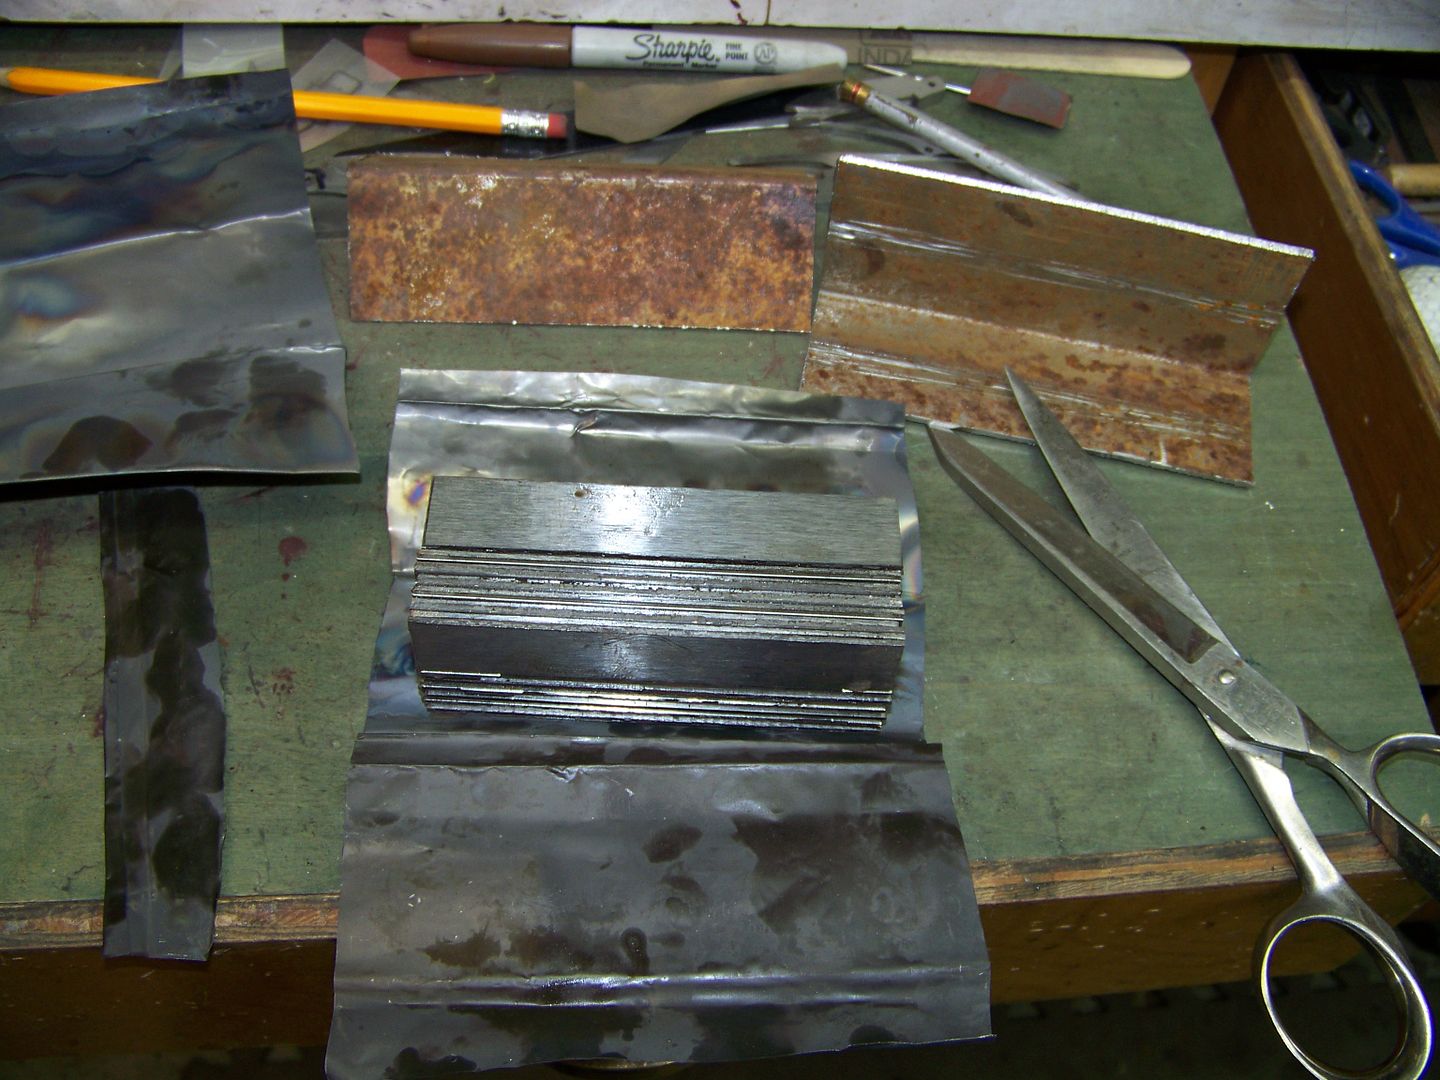
I used 1095 and 15n20 and stacked them in 4 equal stacks and arranged them like this. The super glue is used to hold everything together and doesnt seem to cause any trouble in the forge welding process. (I hope anyway) Actually I've used super glue many times before in canister welding.
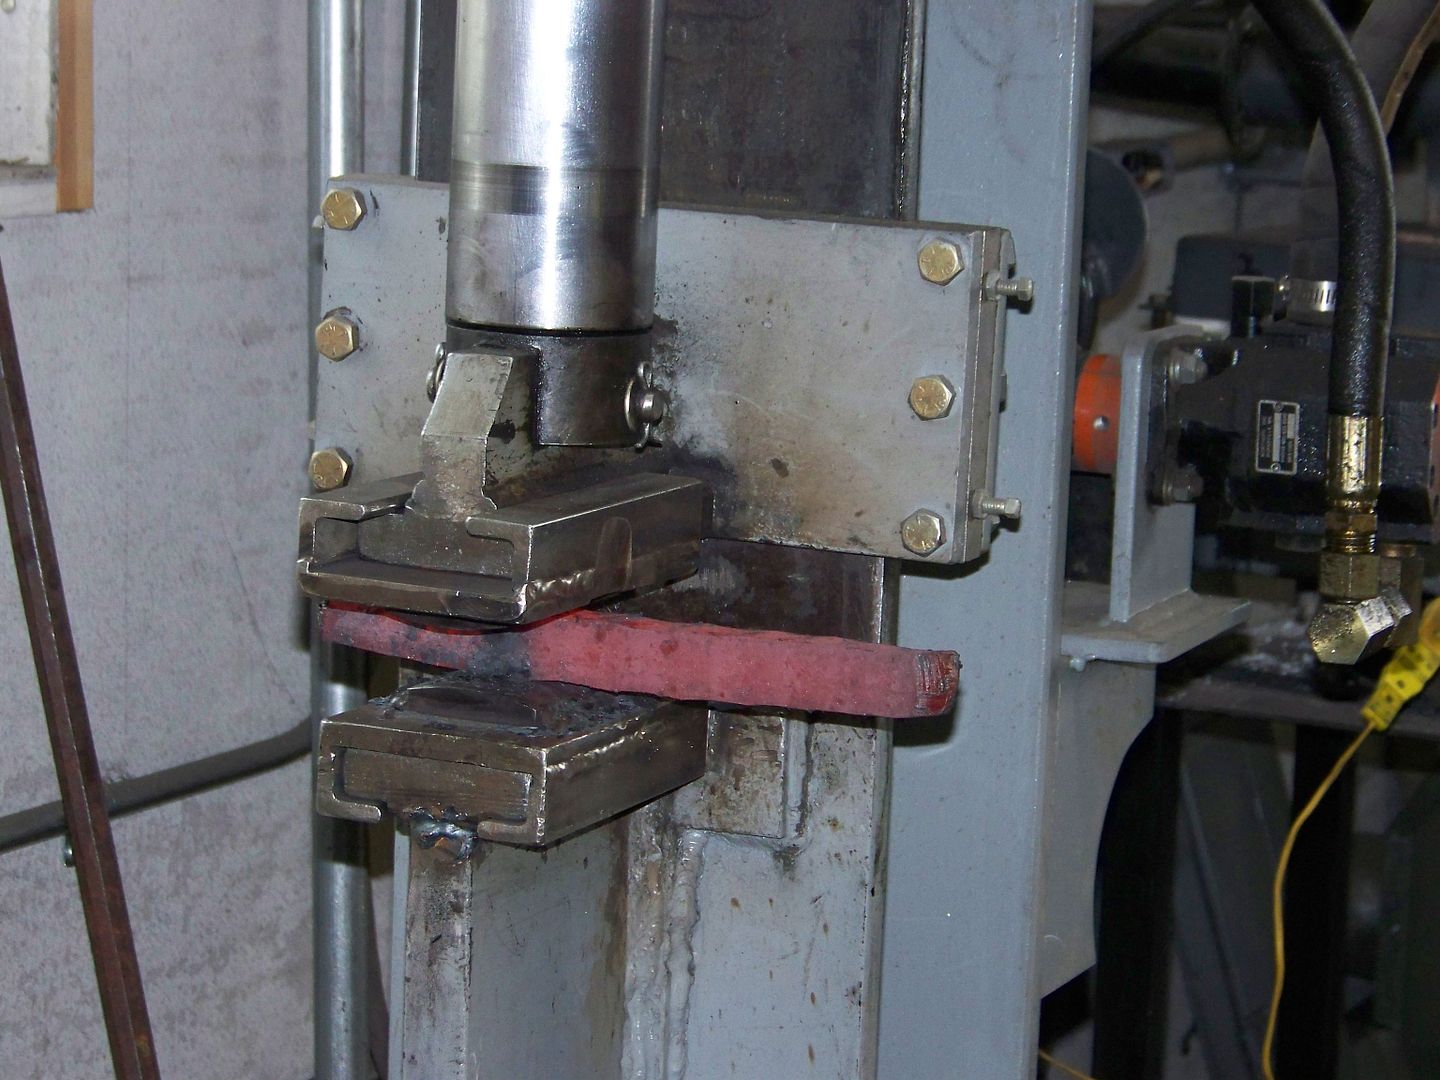
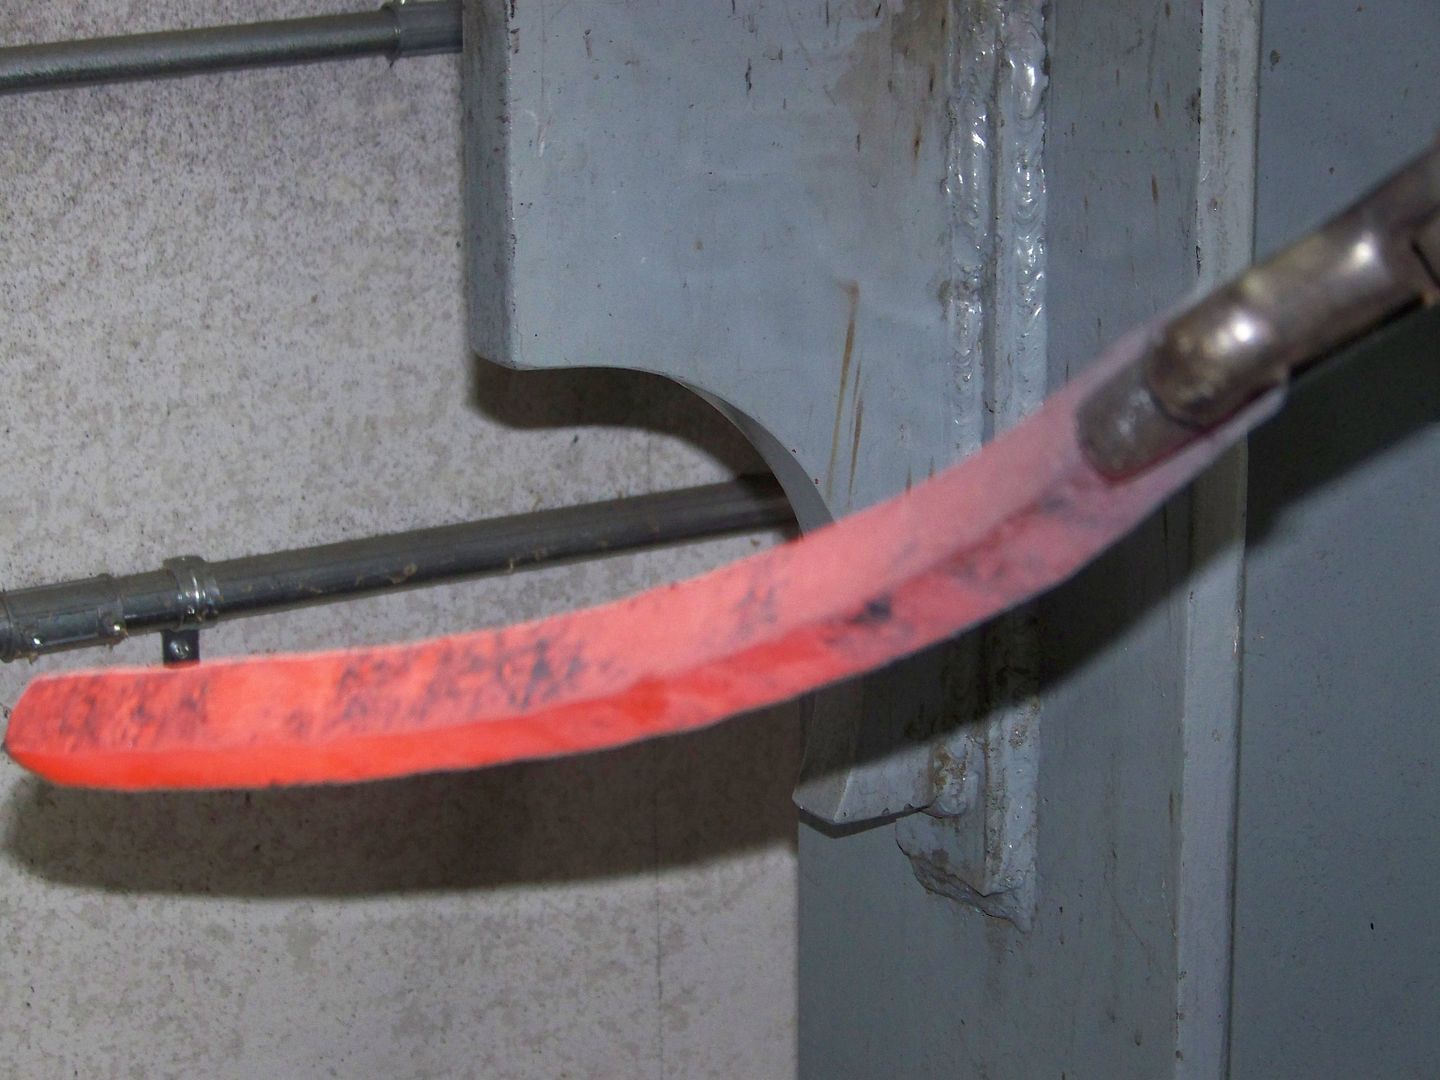
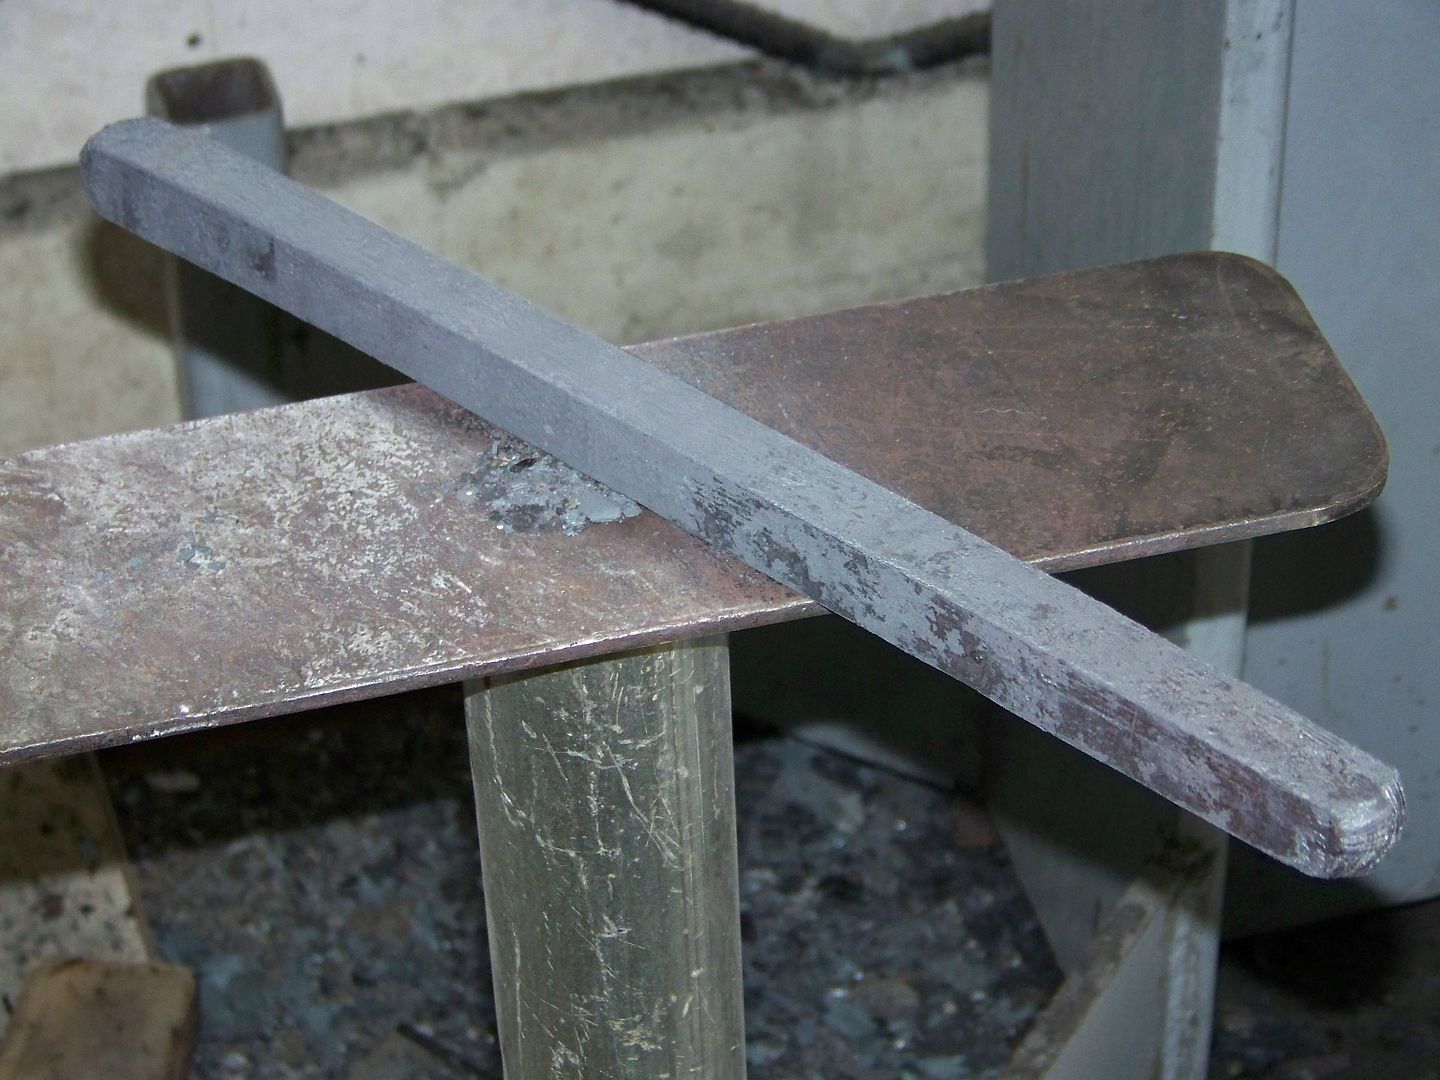
This is a reletively small billet as its only 4" long. I plan to draw it out at least 4 times its length, cut it up and restack it back into 4 parts. The next time I will draw it out 3 times its length and restack but will add the 4th piece as a solid piece of 1084 steel. This solid piece will be the edge. In order for it to be the edge I will need to re-orient the billet or aka re-square it. I want to do an accordian cut on the billet to show the basket weave pattern and also the solid 1084 edge will show up very similar to a san-mai.
Dang, I hope this all works. If it does it will only yield enough steel for a 2 blade folding knife I think. We will see.
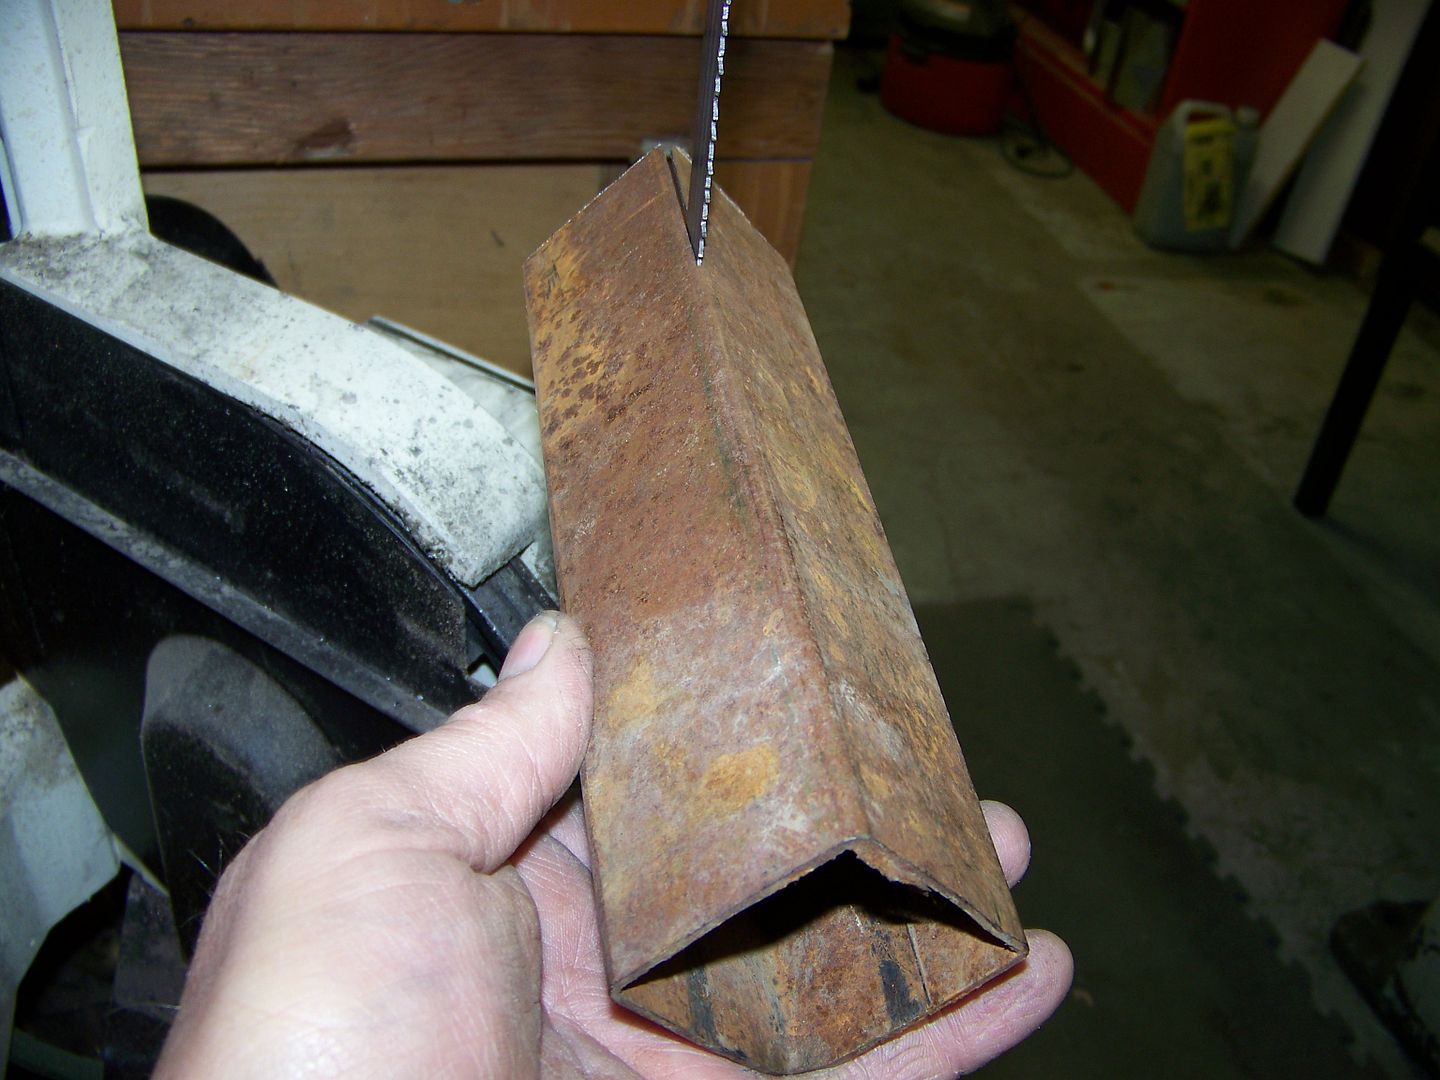
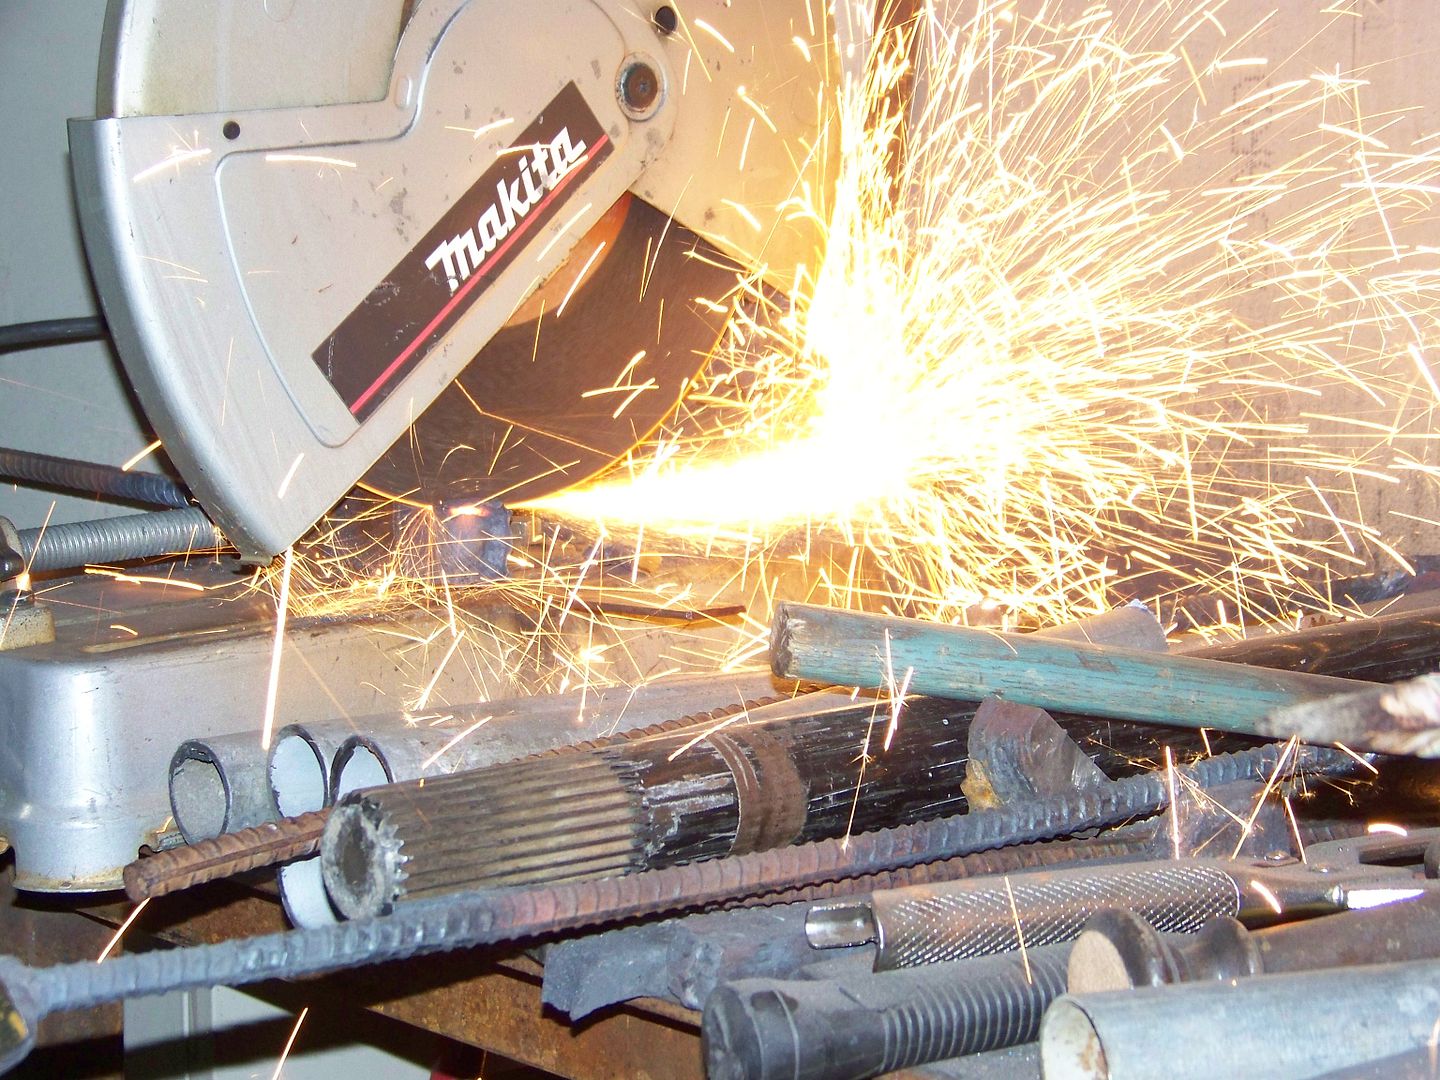
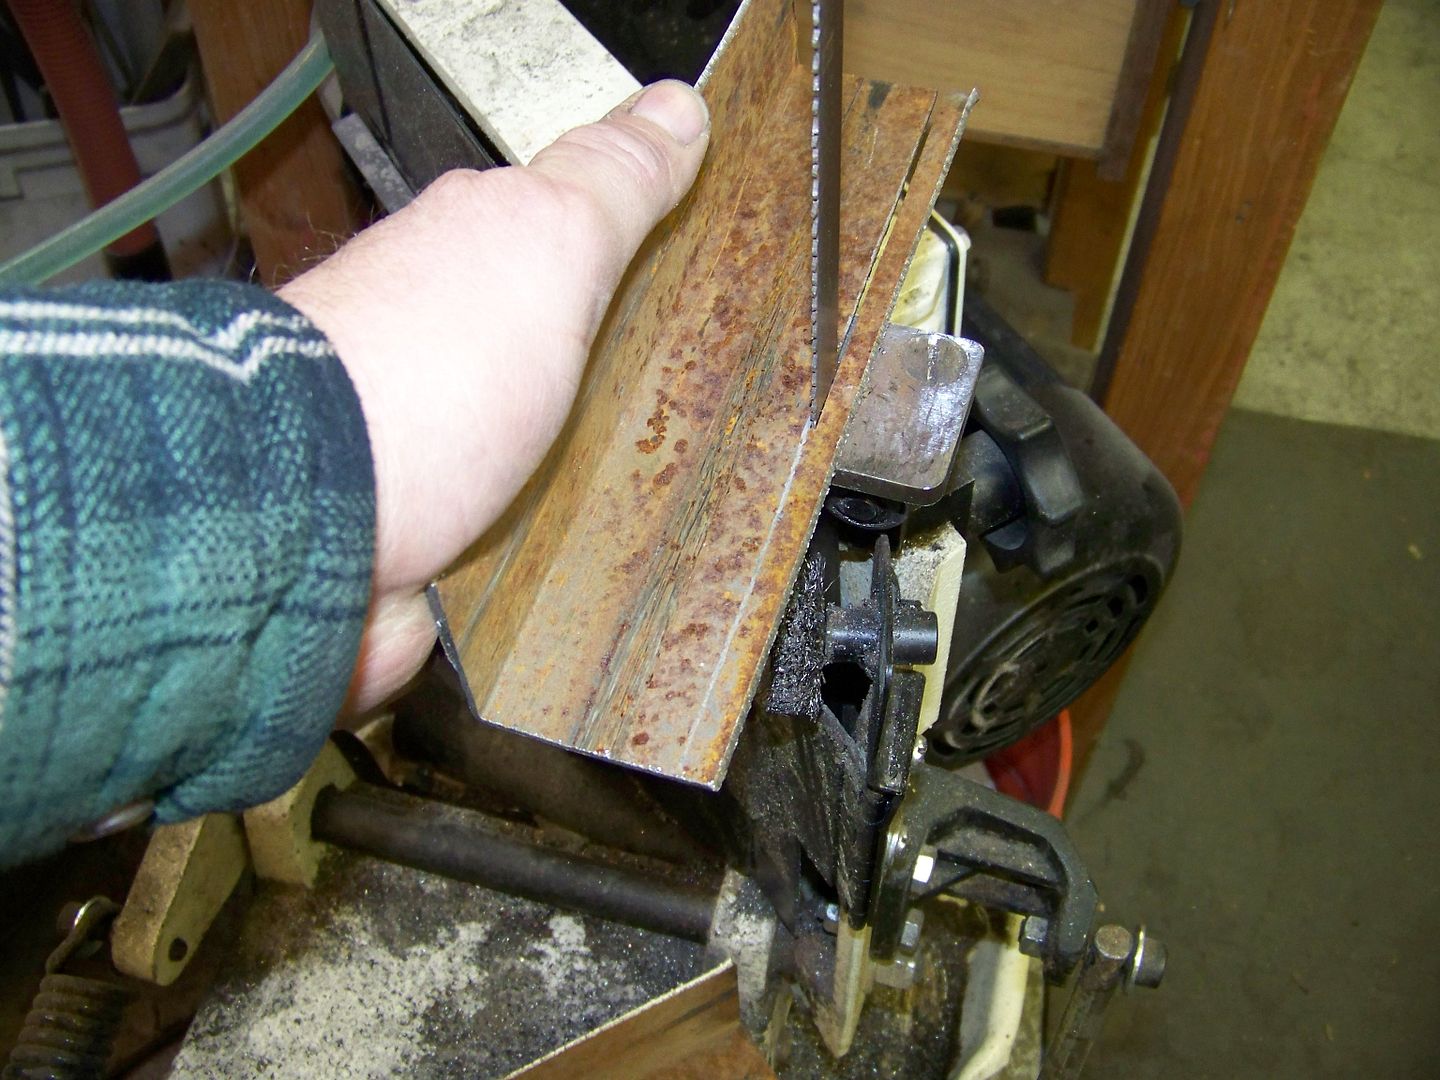
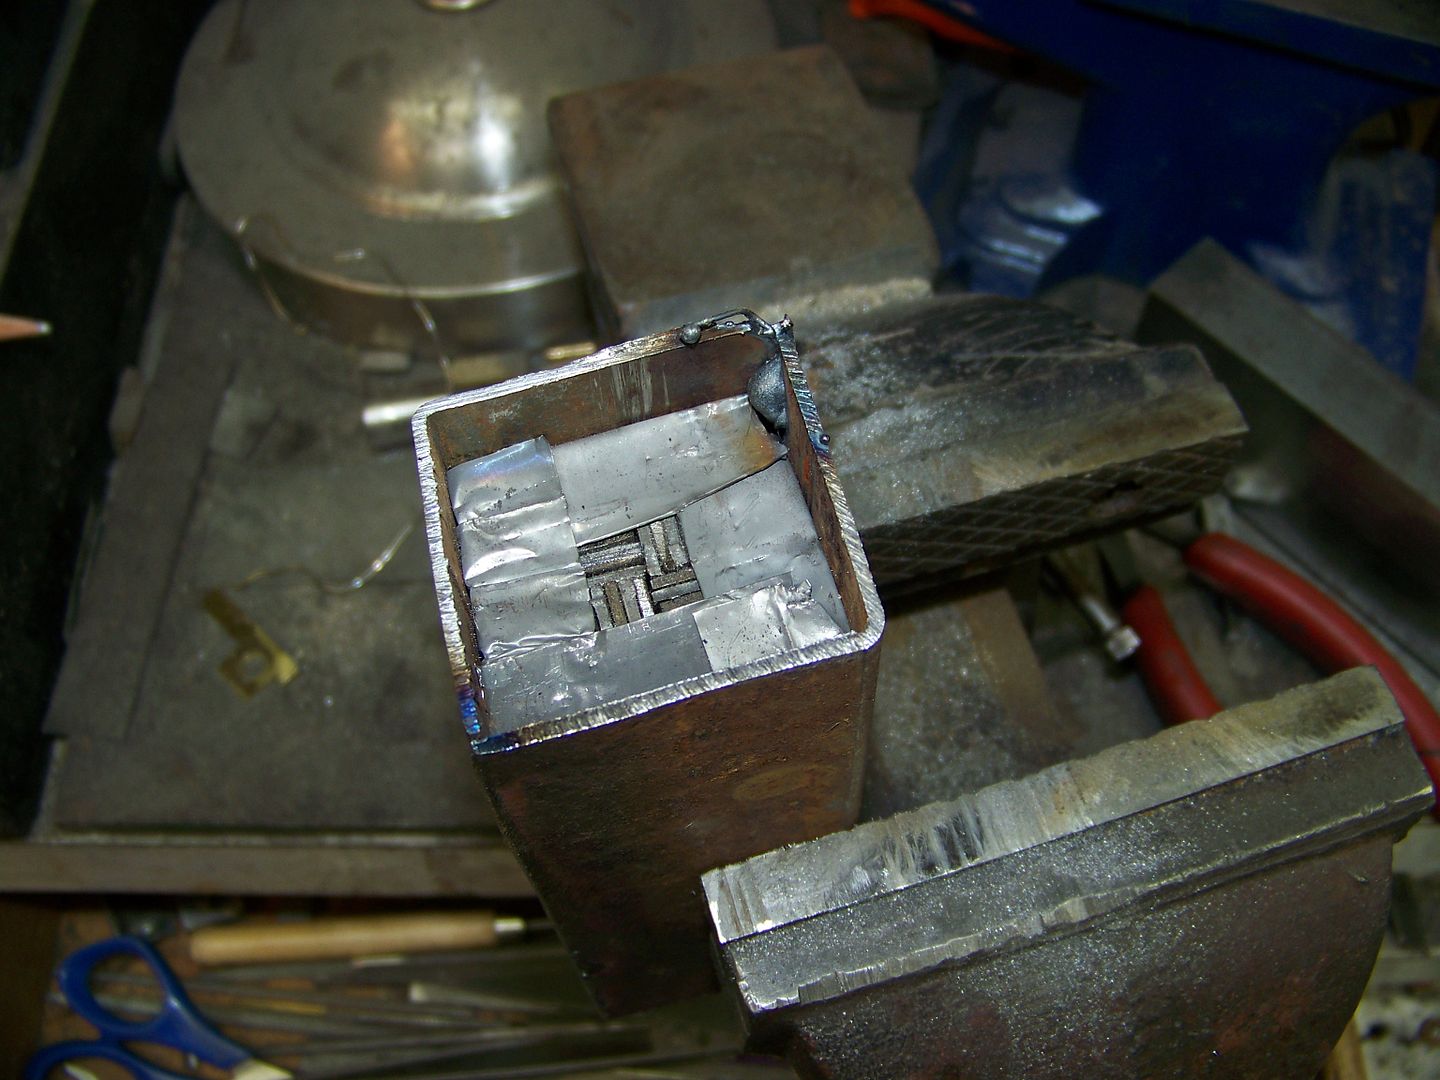
This canister is cut out of a 1.5 x 1.5 thin wall square tubing. I used some used stainless steel heat treating foil around the contents for ease of canister removal after the initial weld. The used foil is oxydized and wont weld to the contents.
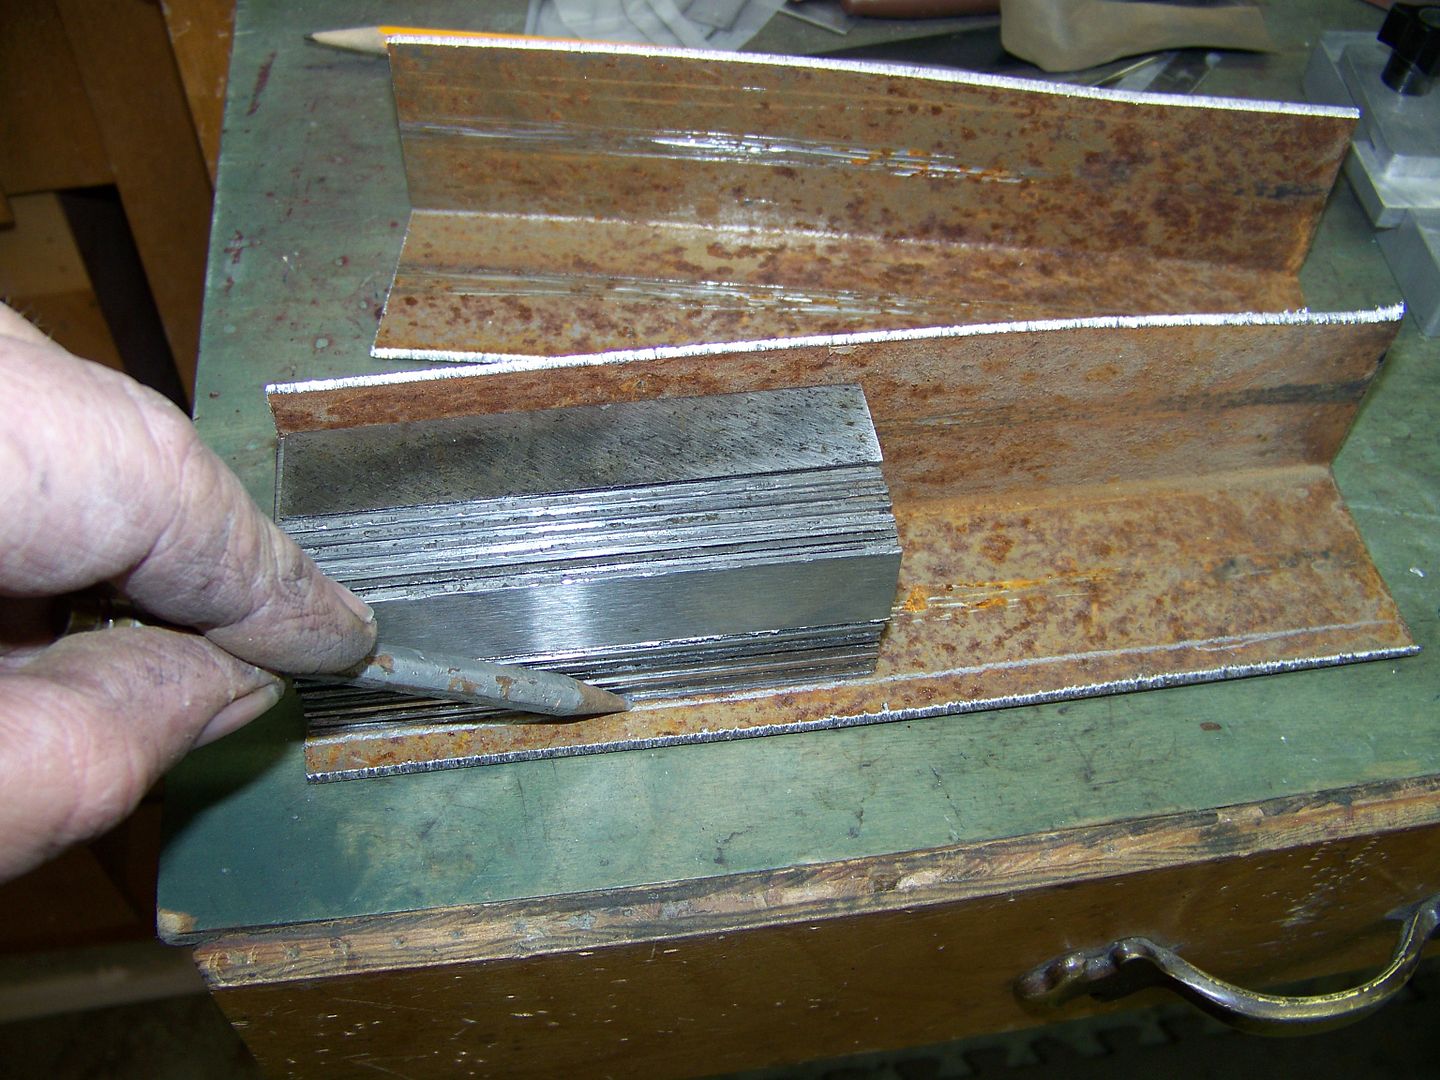
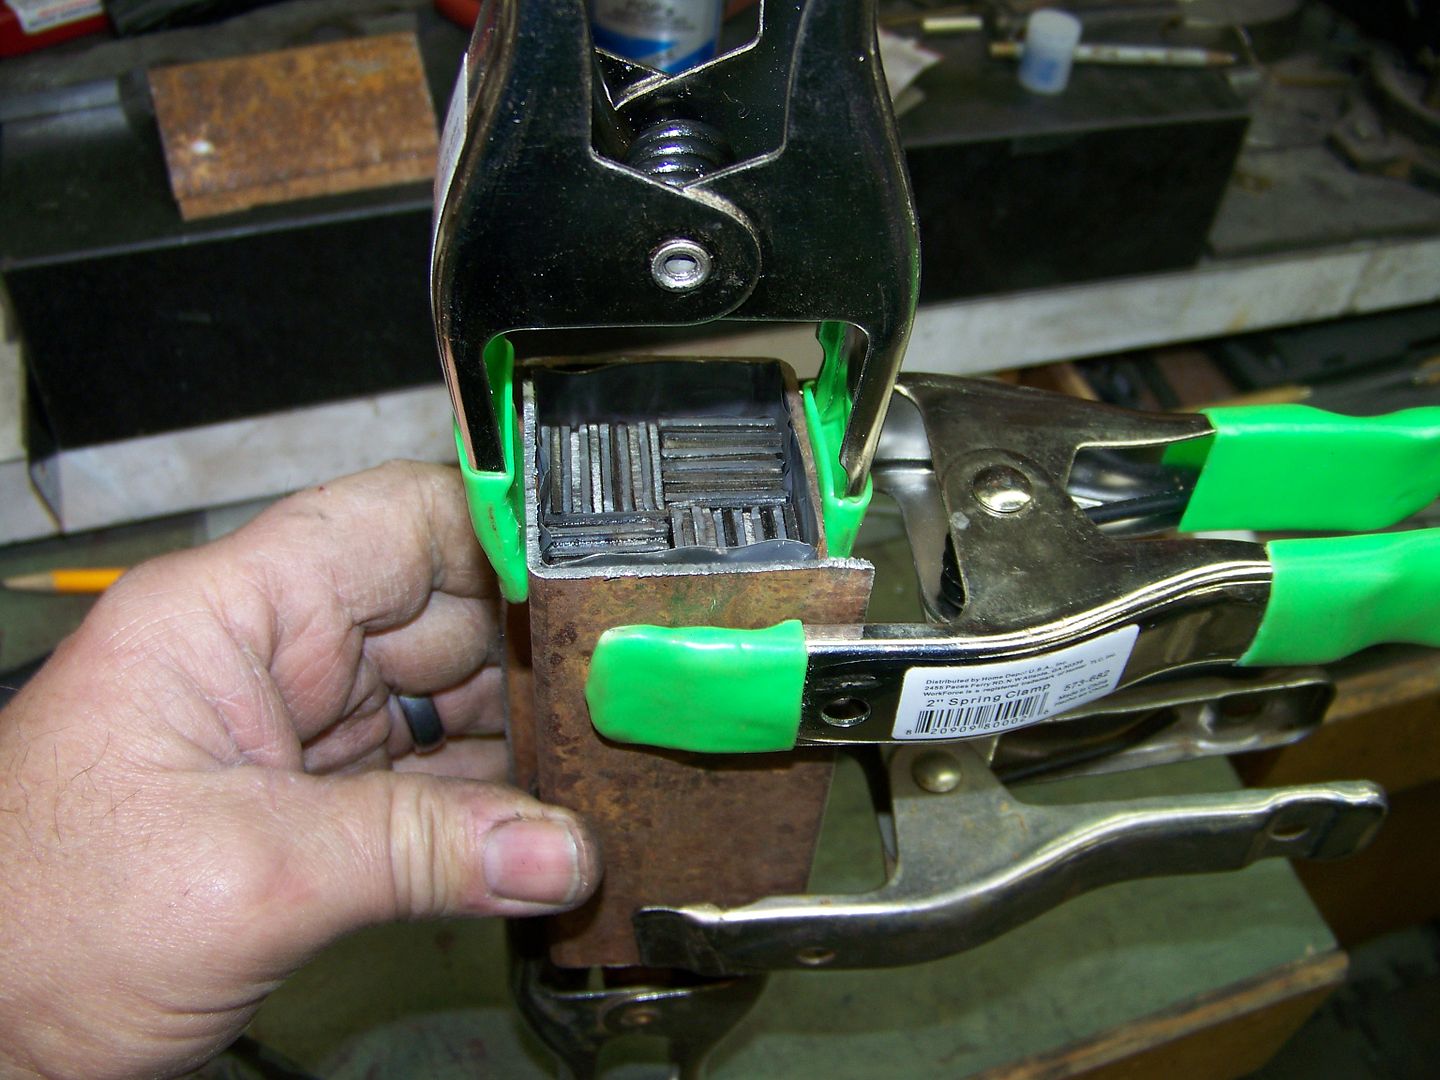
I clamped the canister together and mig welded the seams. Notice the canister needed to be cut down to fit very tight as there should be minimum air spaces inside. I'm not using powder metal to fill any gaps. I'm depending on the super glue and some residual wd-40 to burn off any air trapped that could cause the dreaded scale between the parts that will defineatly cause a bad weld. Again, I hope this works.
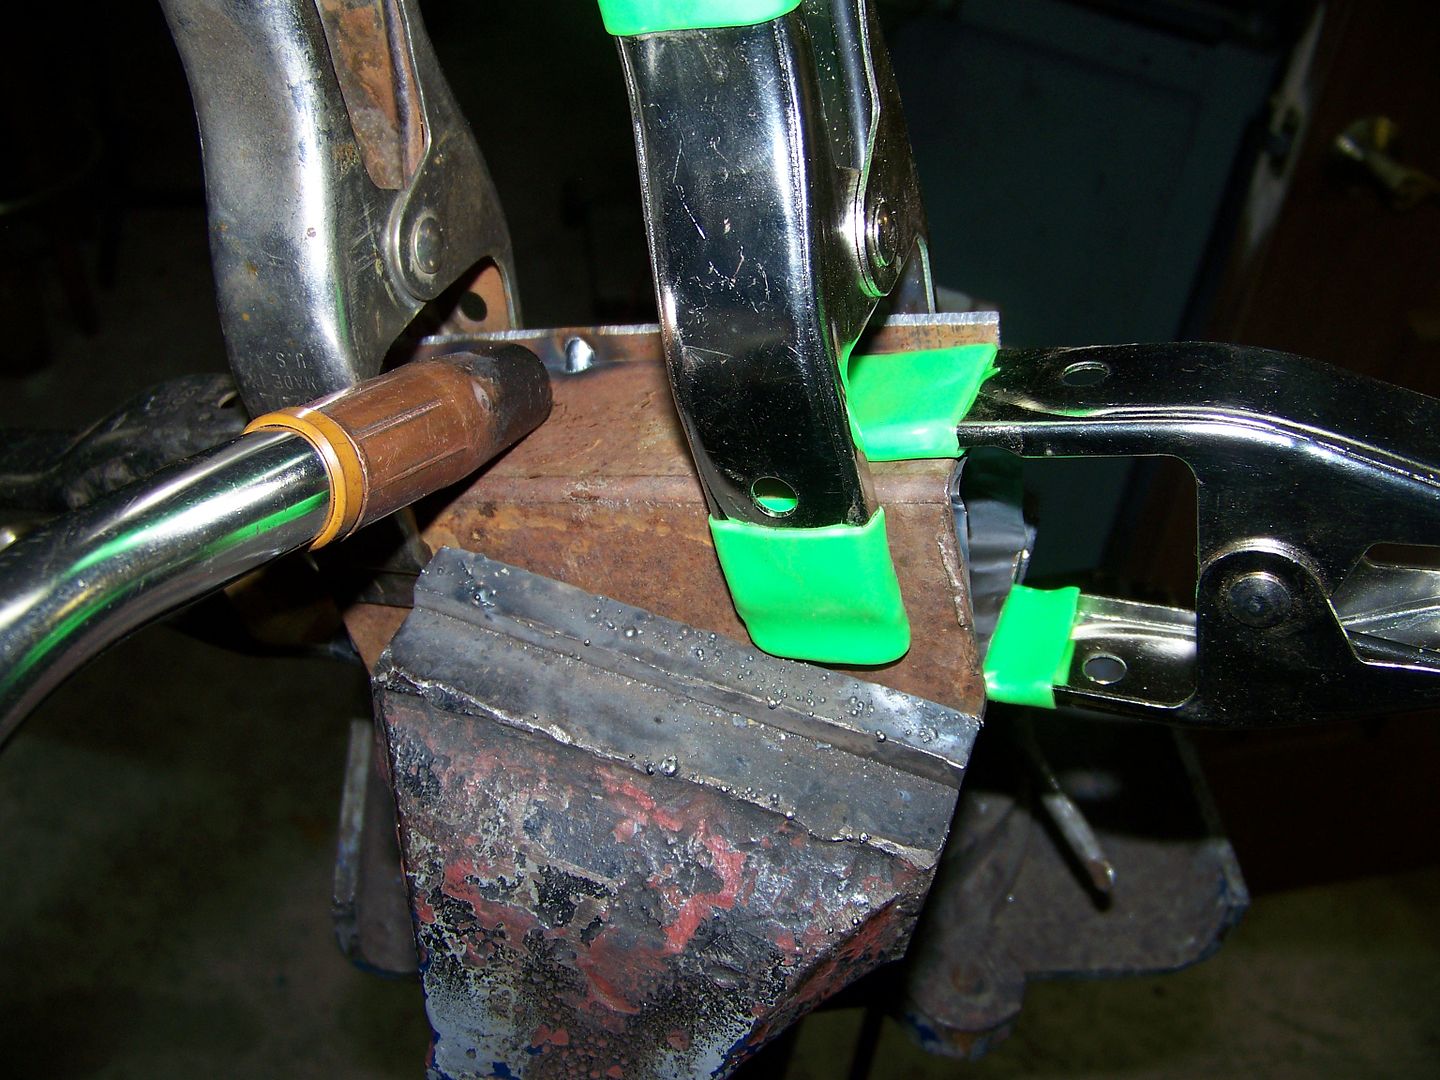
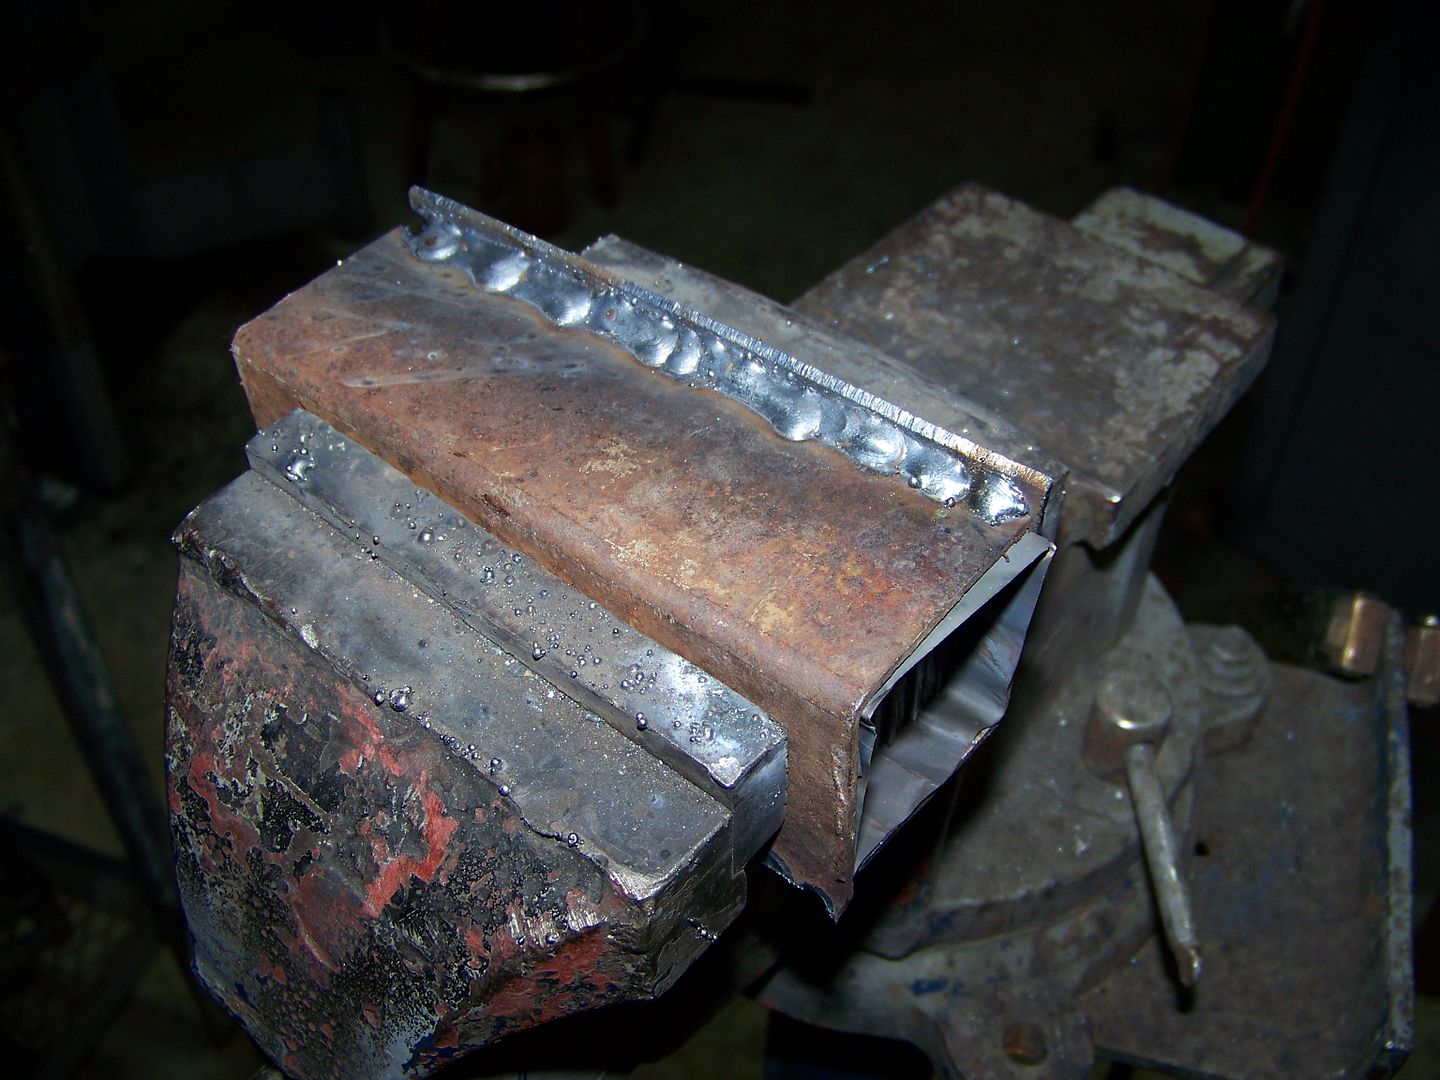
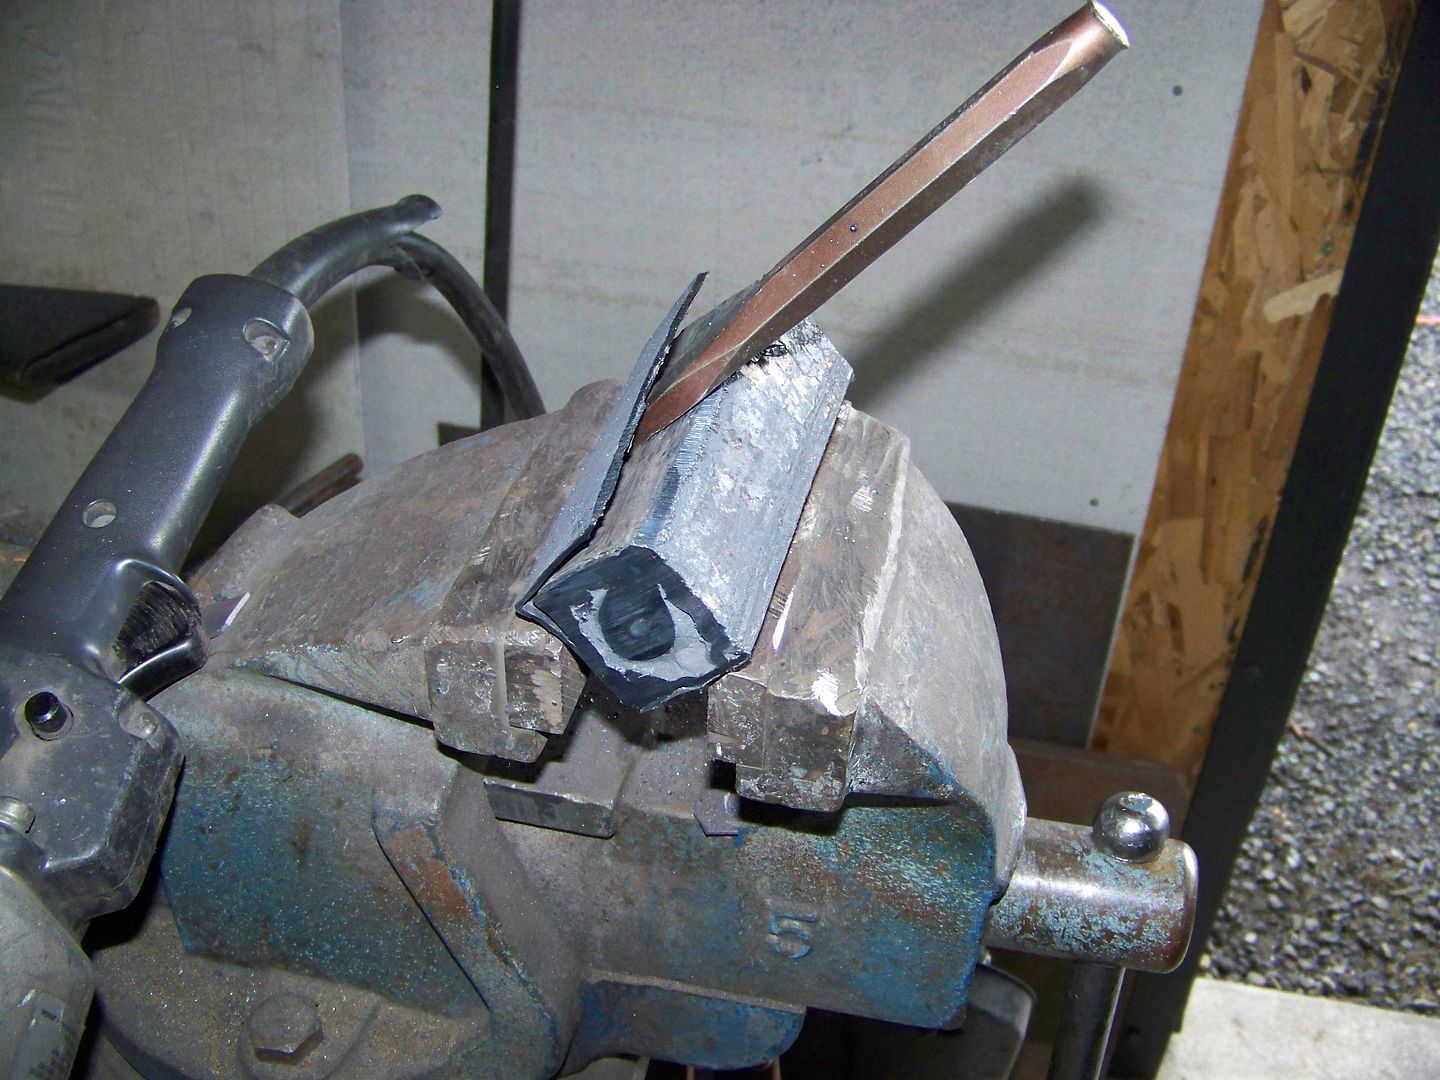
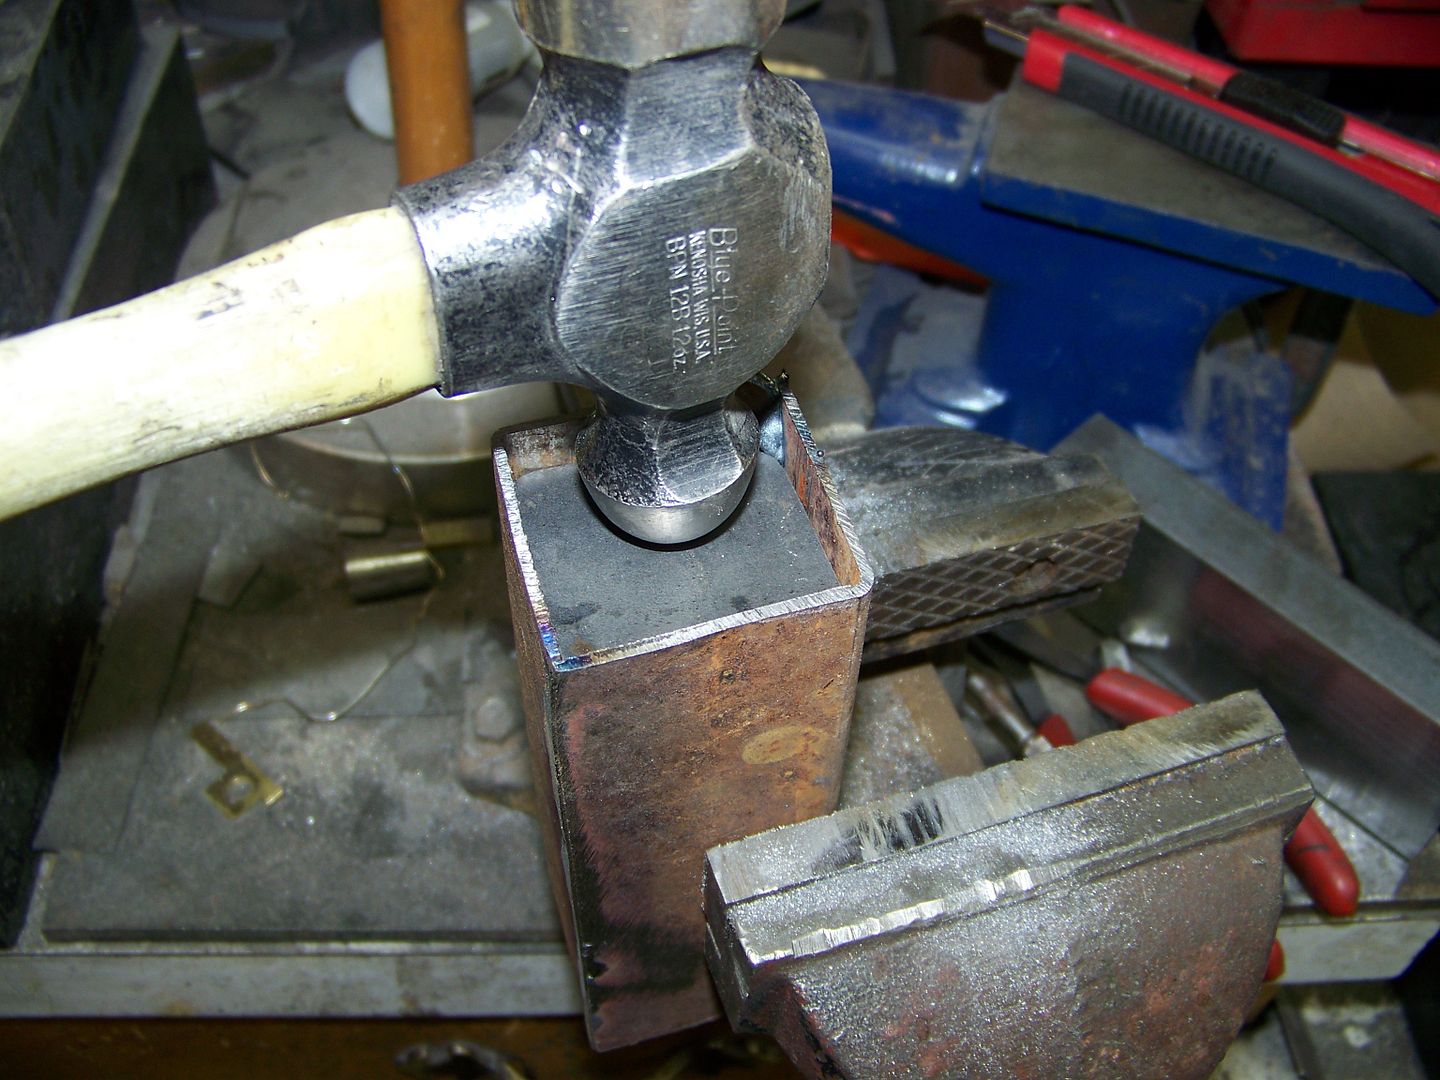
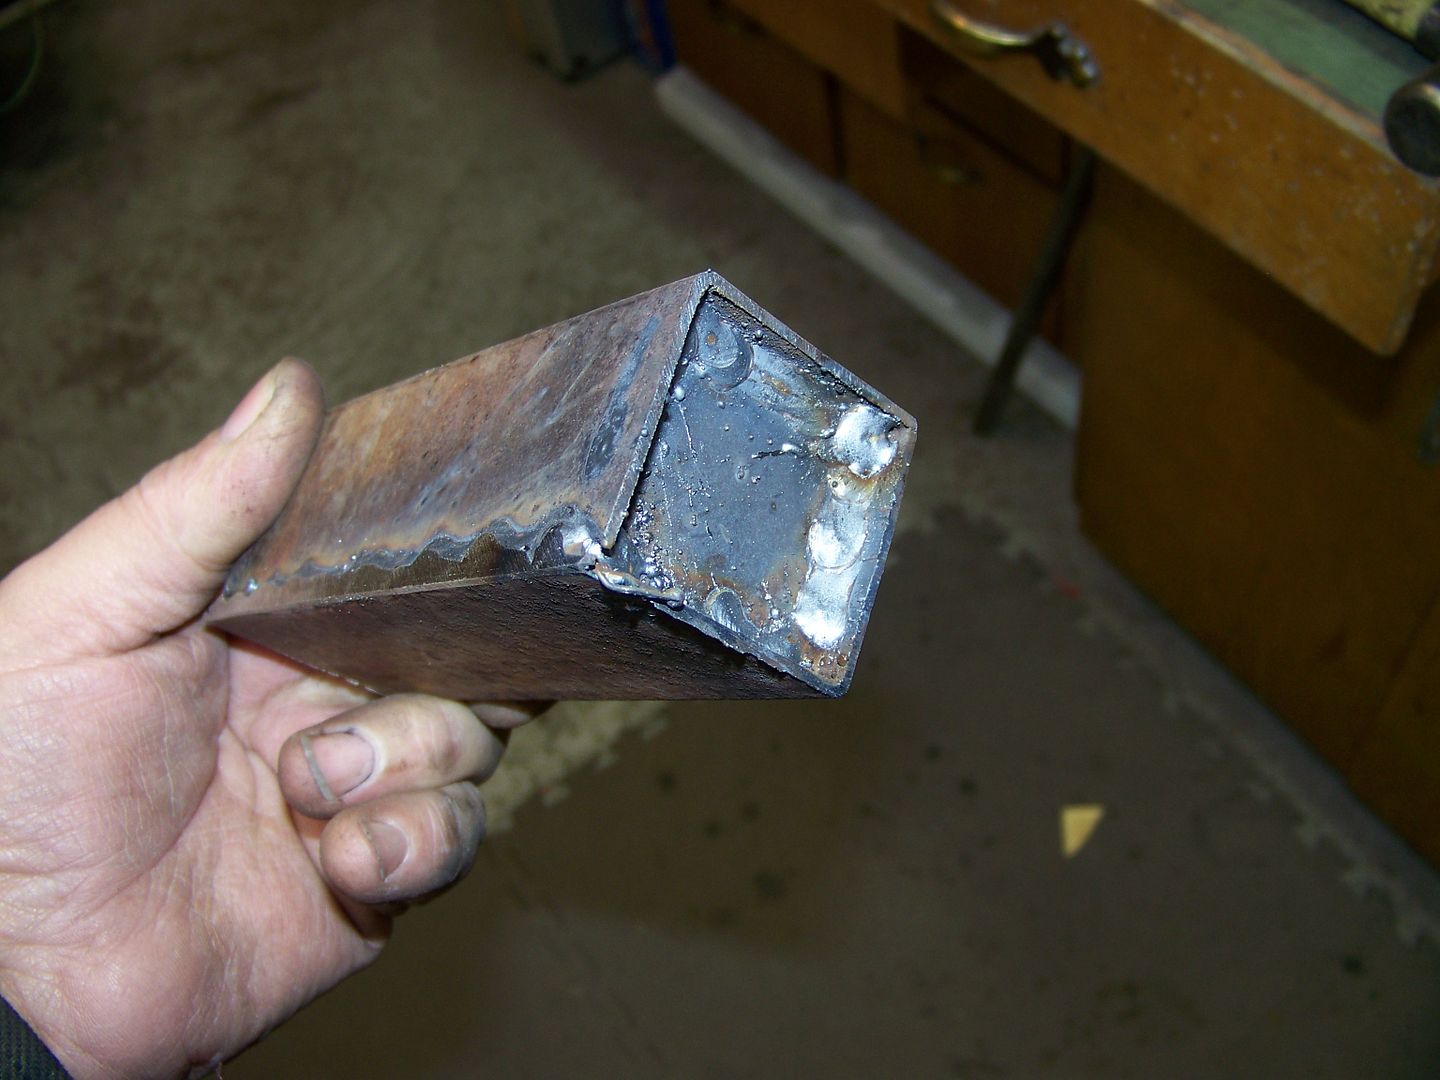
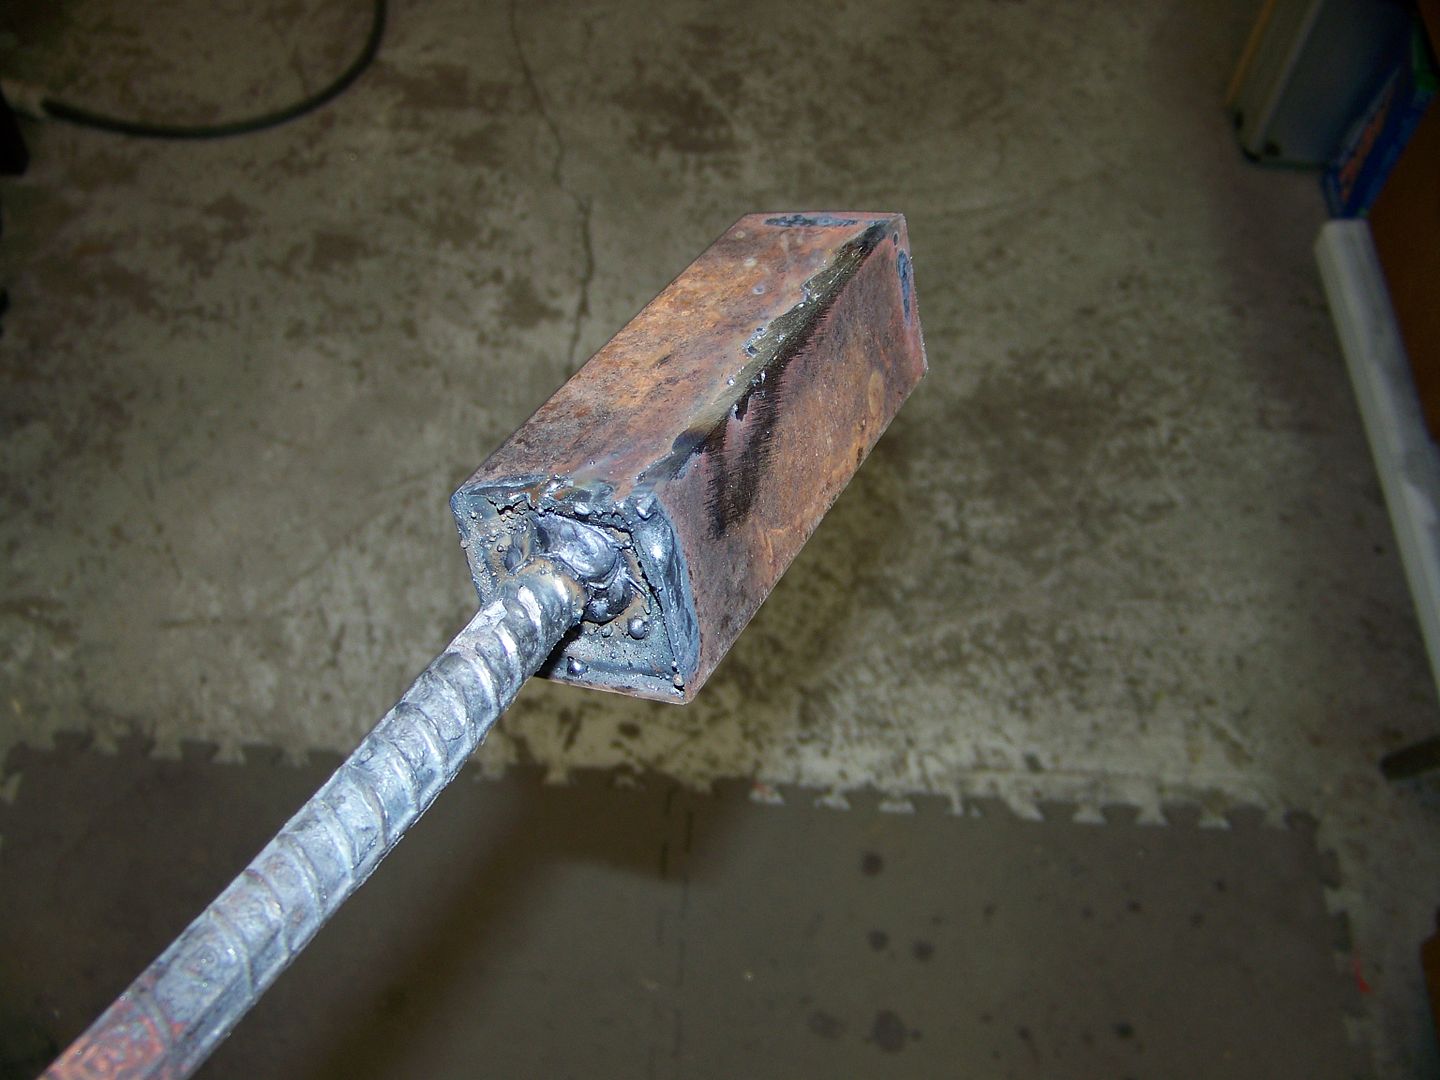
The ends get folded over and closed off with 1/8" thick steel plates welded all the way around inside the canister. This method keeps the canister together when making the first forge welds.
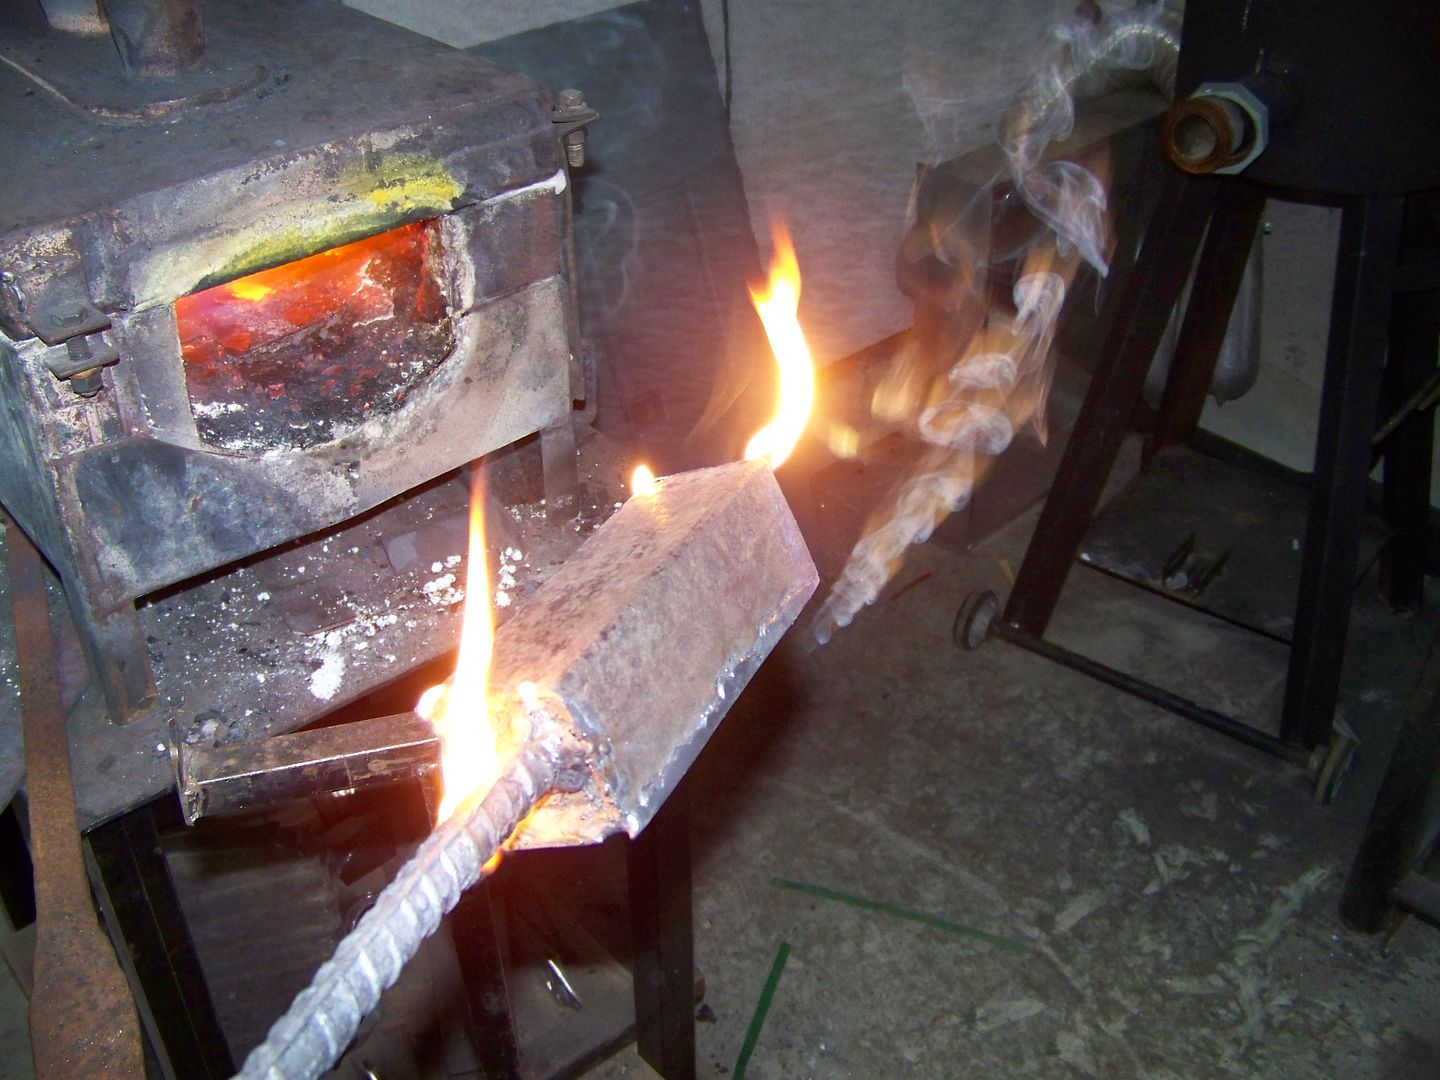
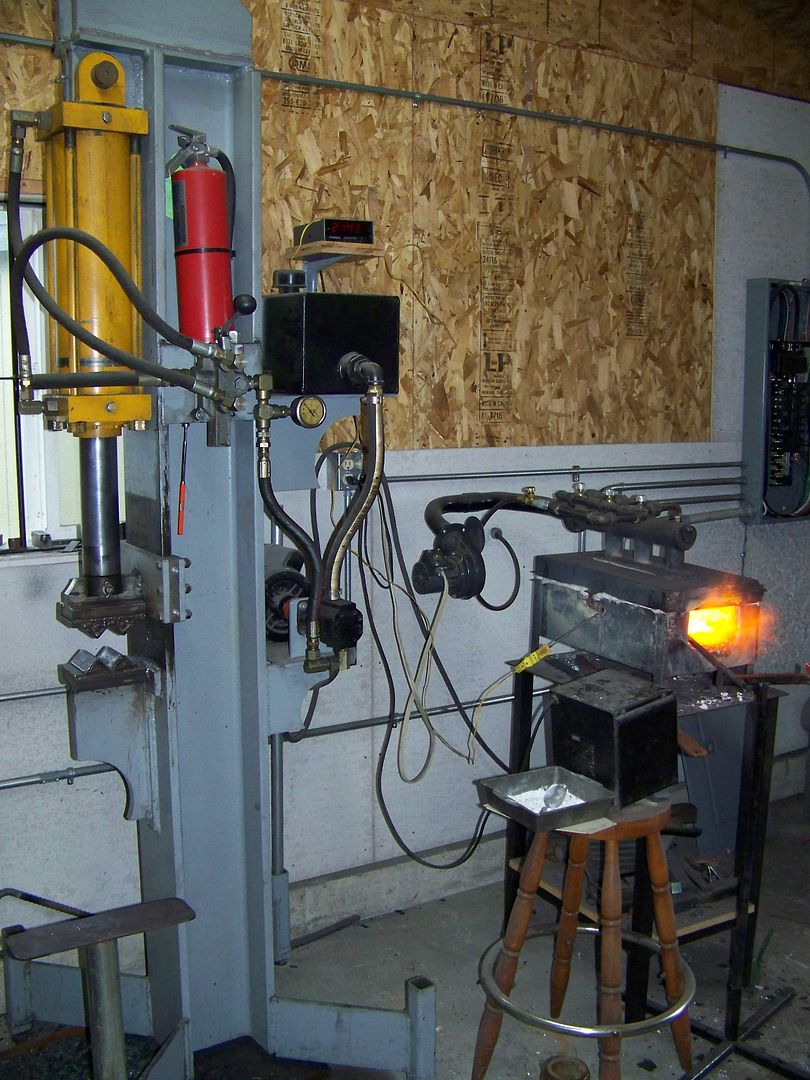
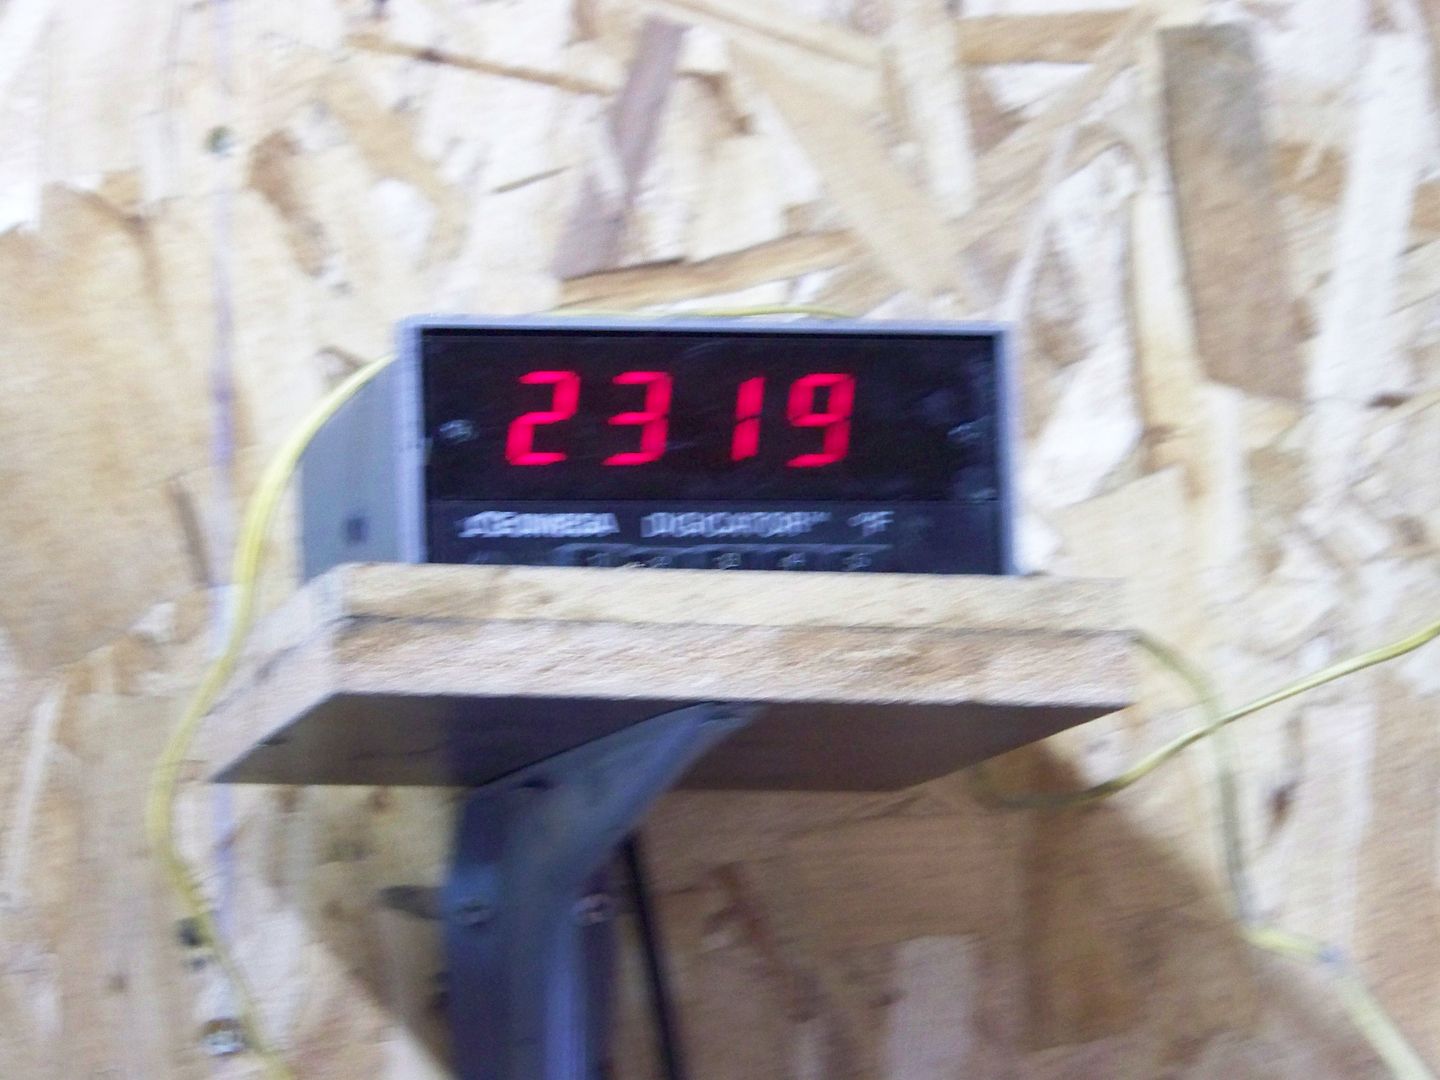
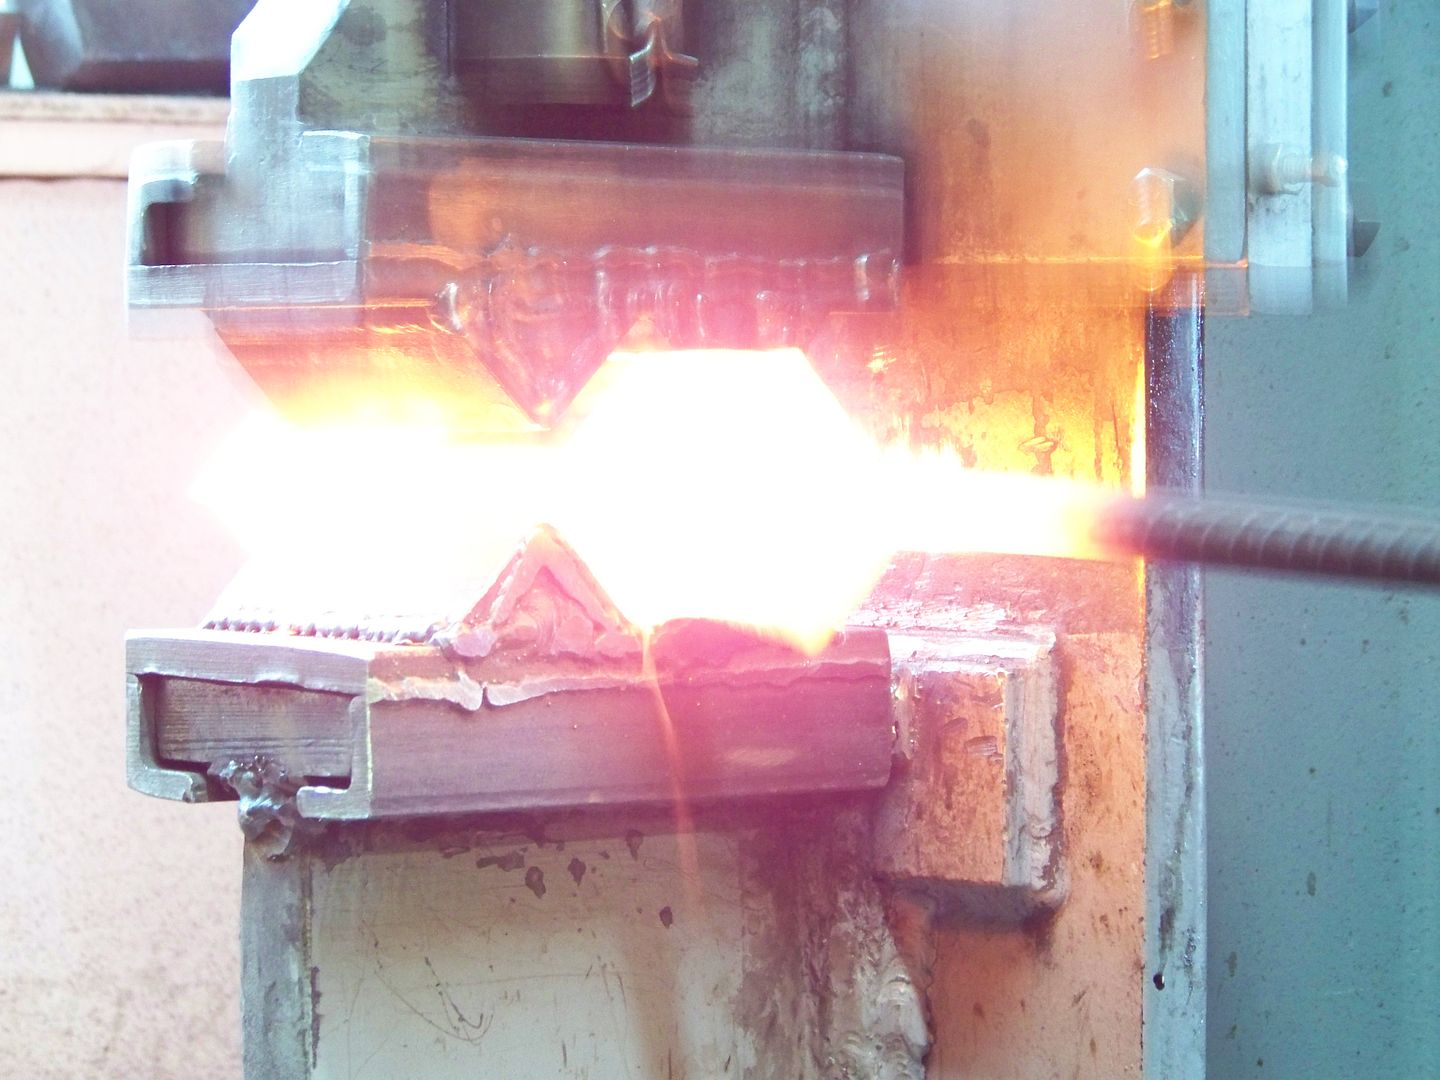
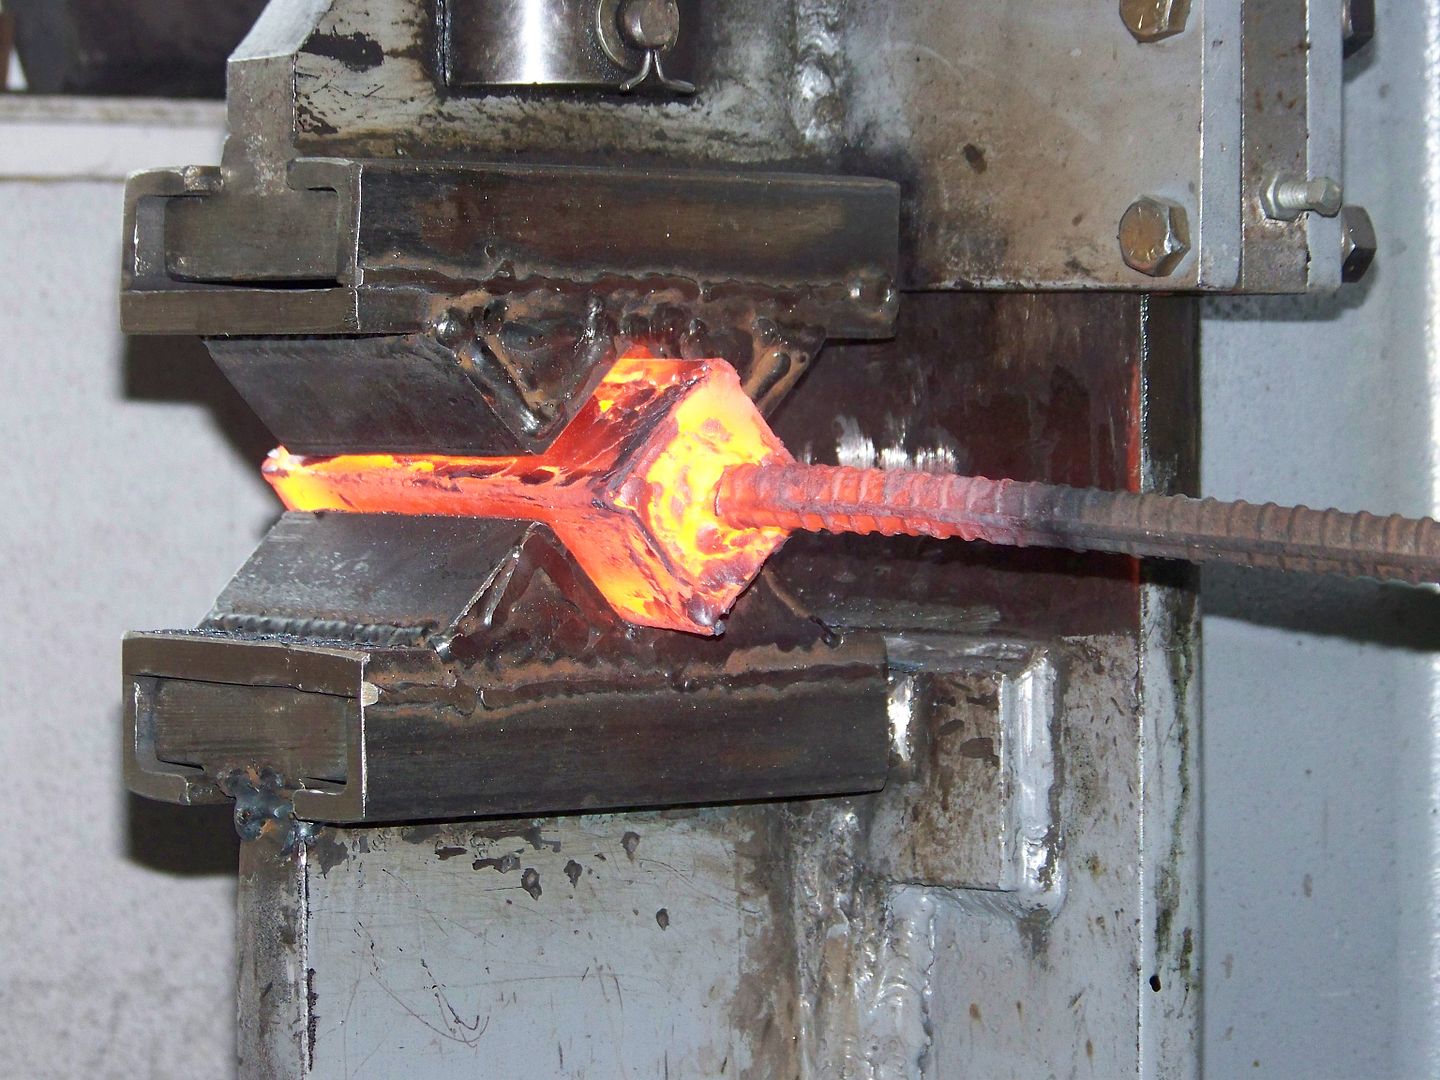
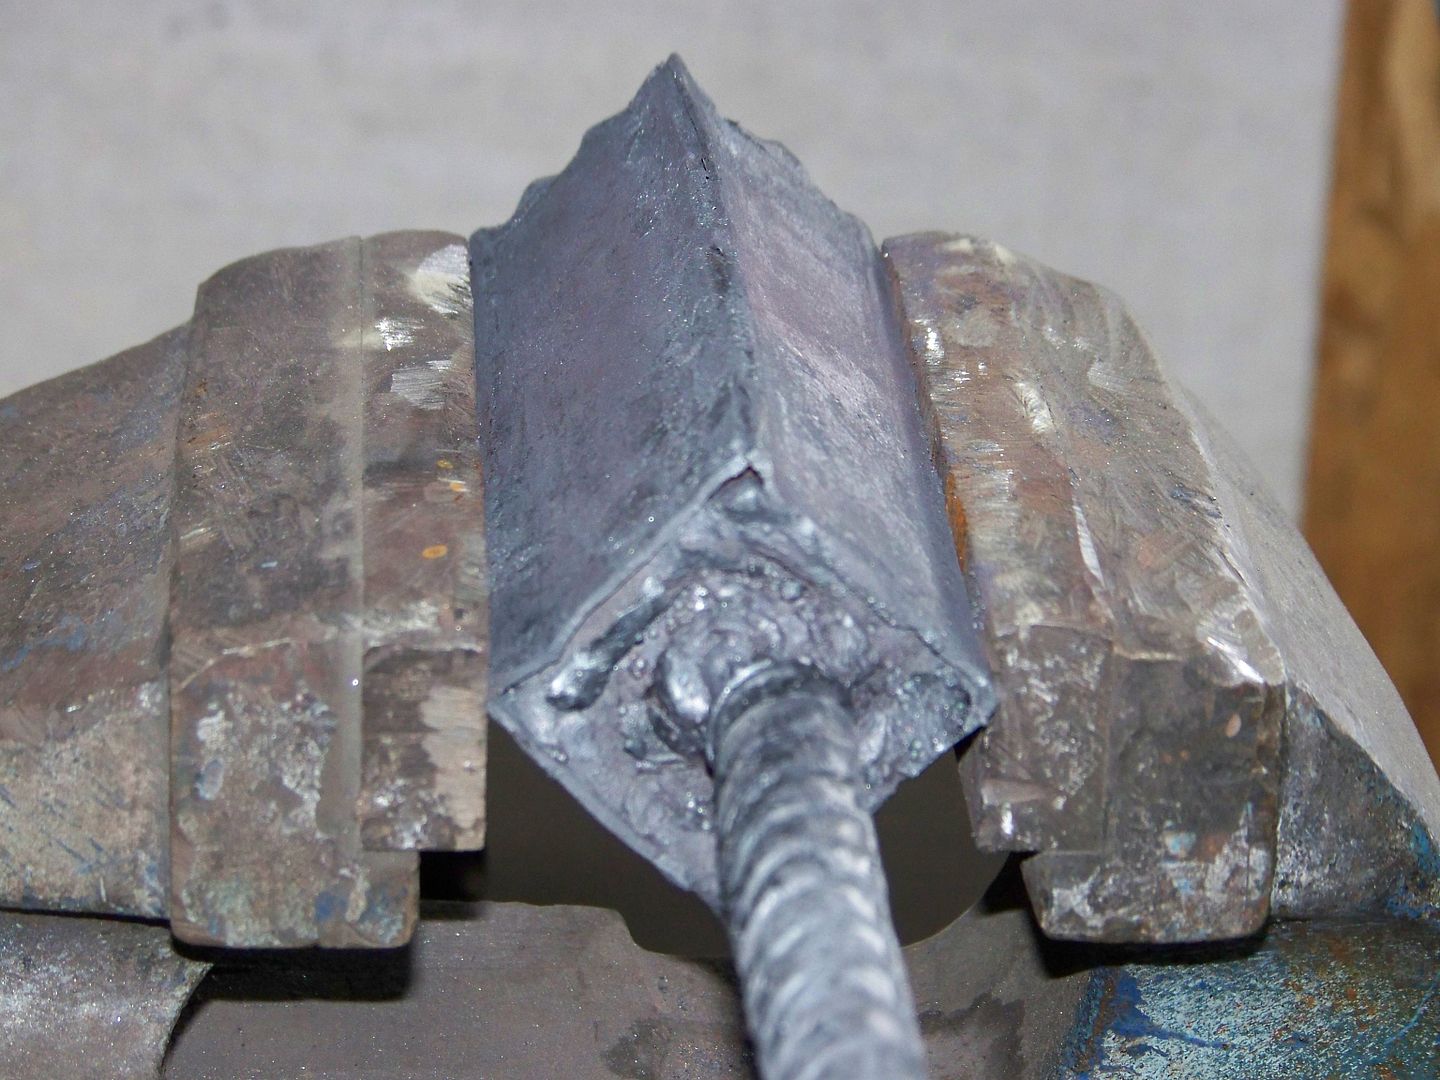
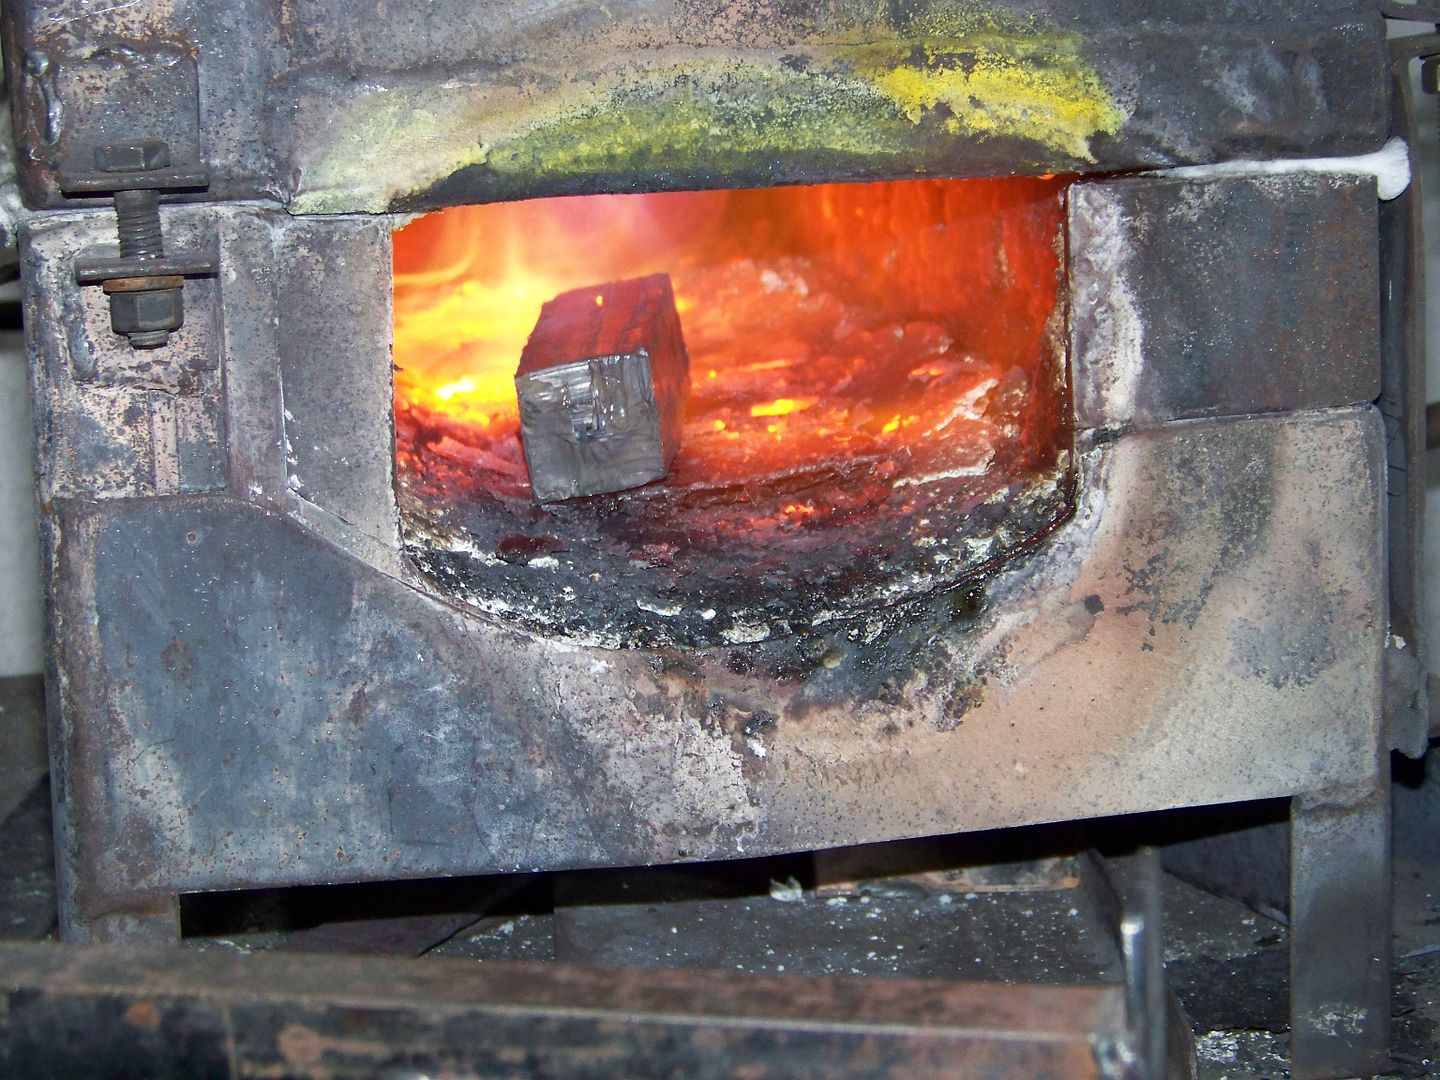
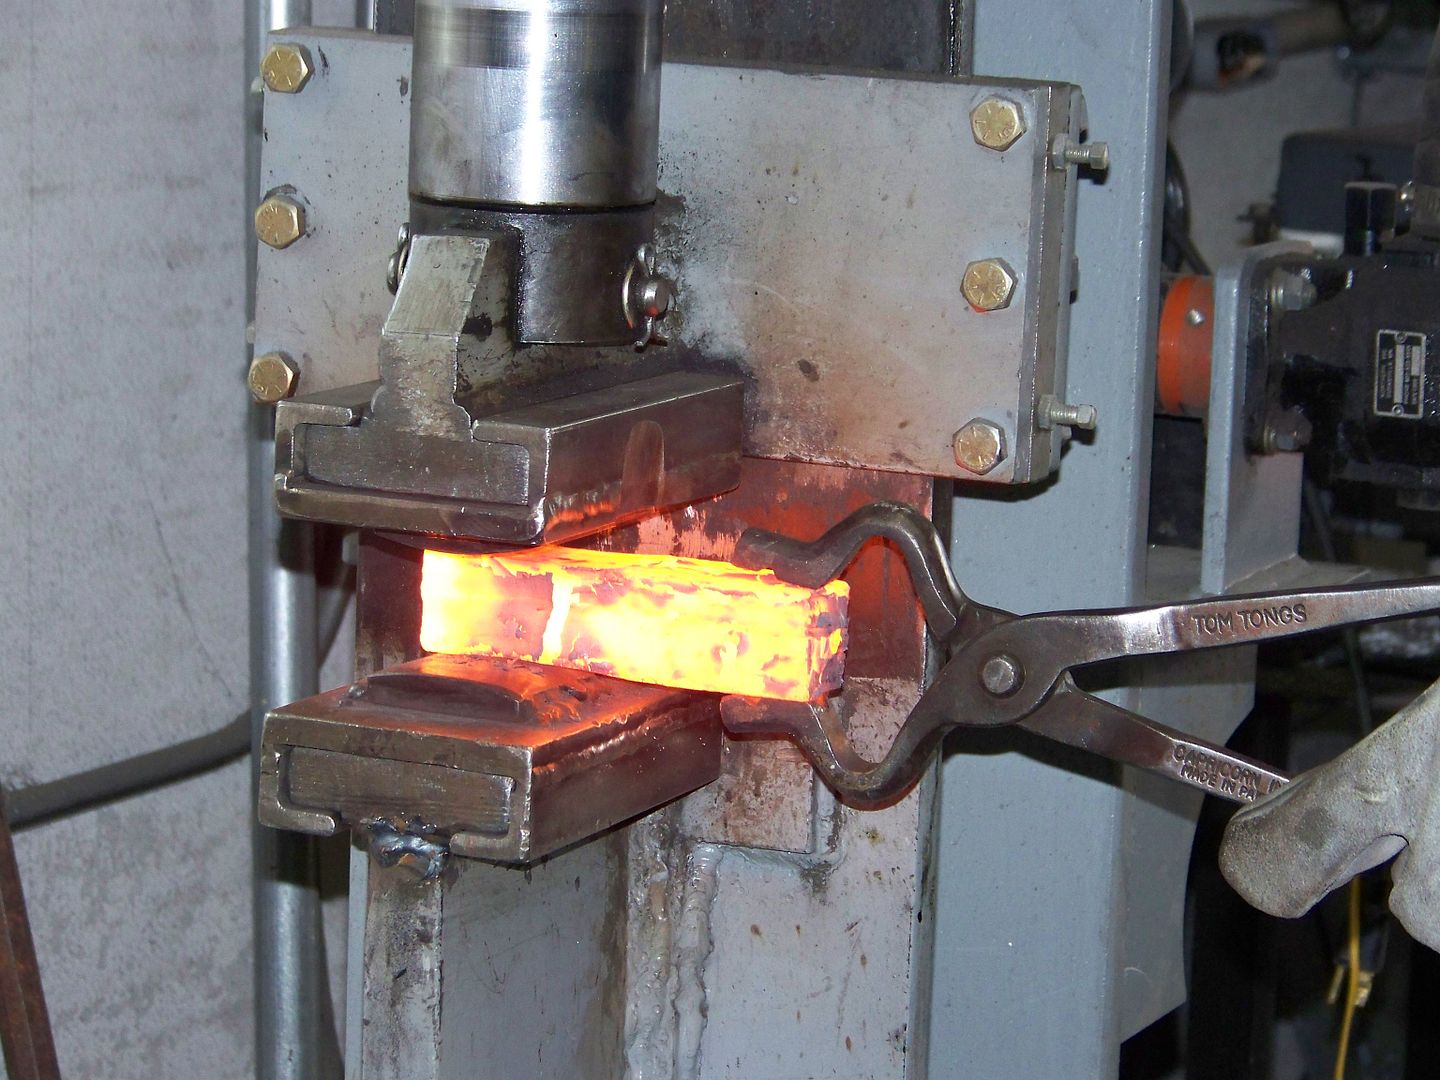
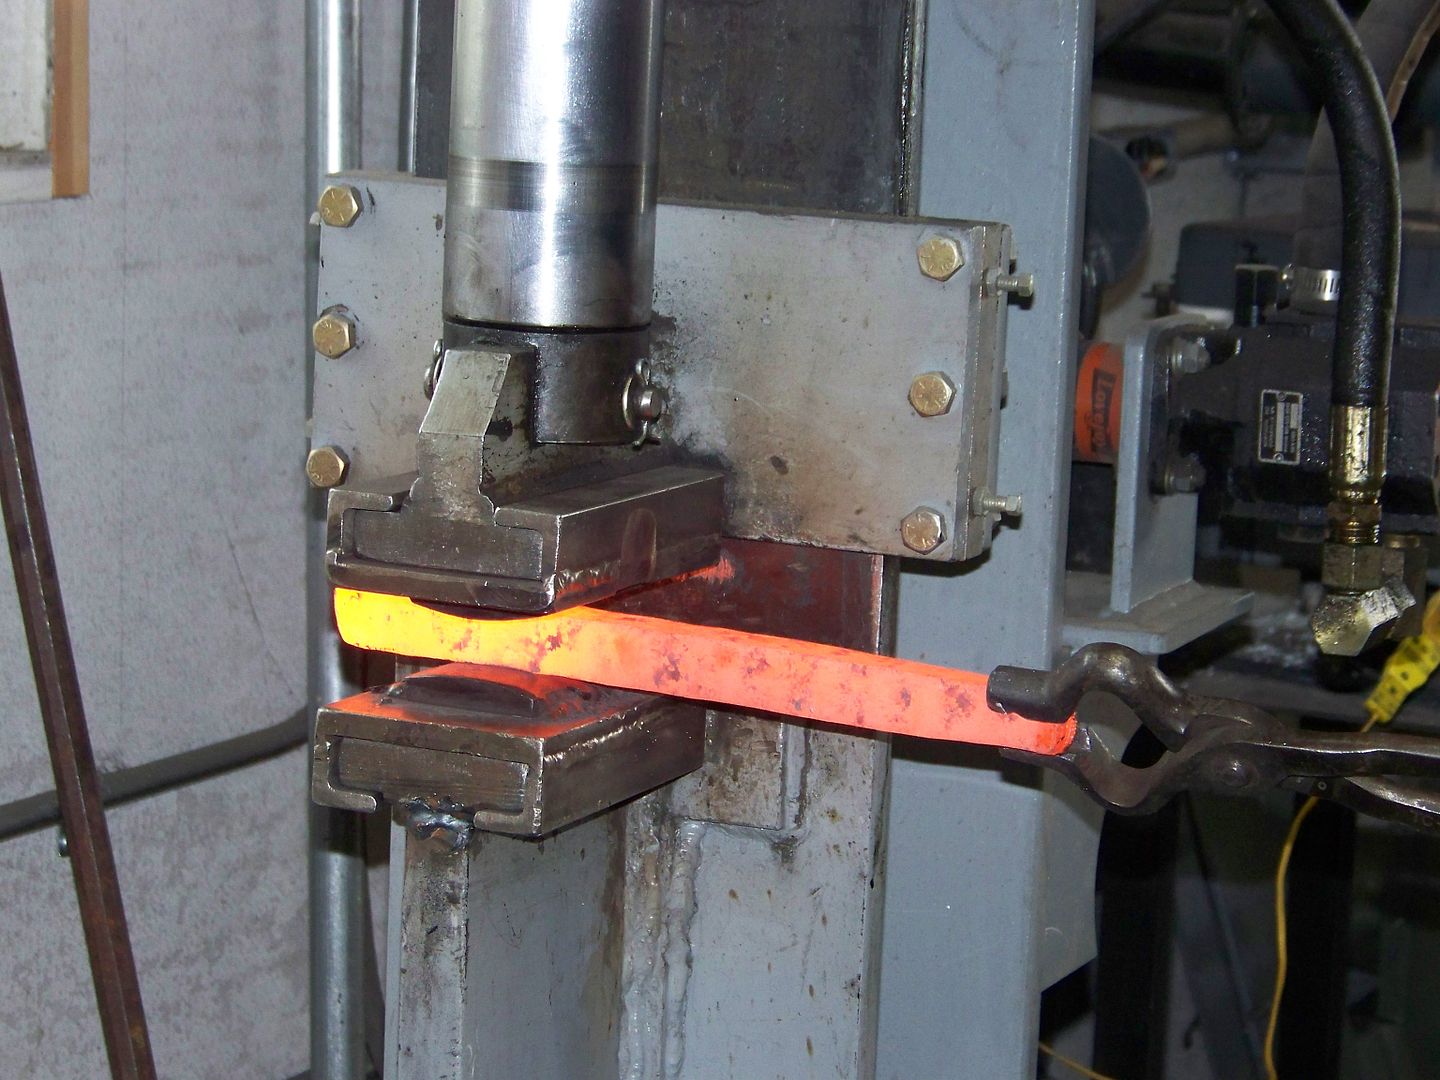
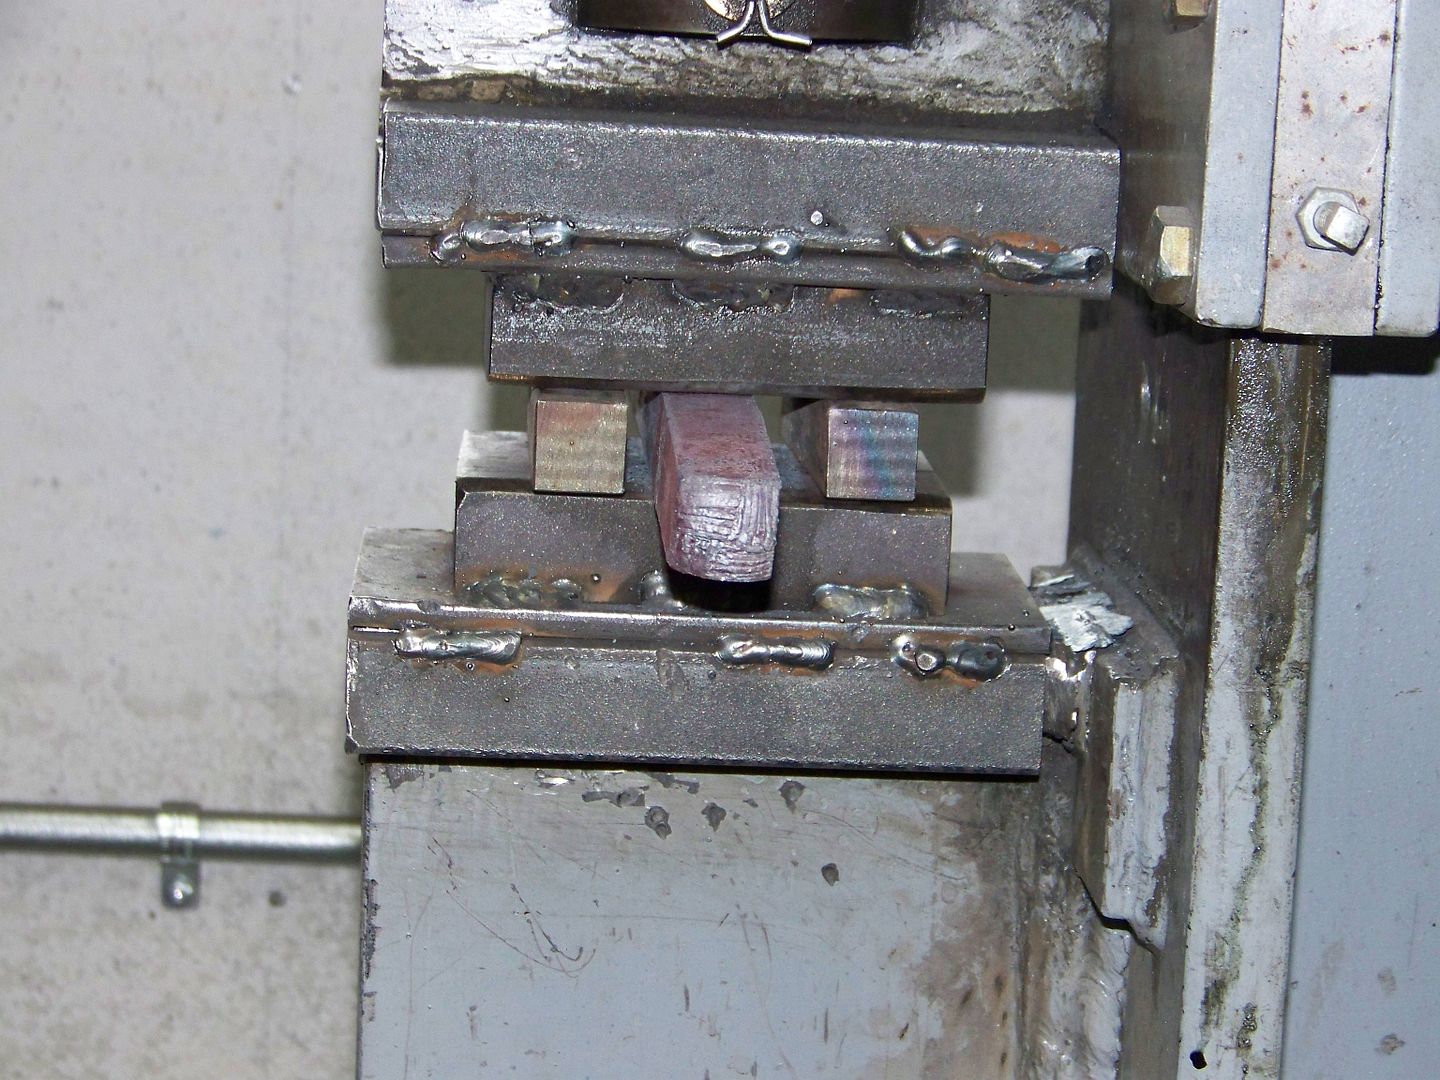
Now its ready to heat it in the forge. I like to let it soak at 2300 deg f. to be sure it is welding heat inside the canister. I will use squaring dies of the proper size so it will sqeeze from all sides at once. You can feel it stiffen up when the welding is completed. Canister welding is fun and the patterns are unlimited. This pattern is pretty basic but I think the basket weave makes an interesting knife pattern and with the added solid edge should get some attention. If this doesnt work............I can always delete the whole dang thread.")
Stay tuned for the next episode.
This pattern is like one I did several years ago and always wanted to try it again.
I used 1095 and 15n20 and stacked them in 4 equal stacks and arranged them like this. The super glue is used to hold everything together and doesnt seem to cause any trouble in the forge welding process. (I hope anyway) Actually I've used super glue many times before in canister welding.
This is a reletively small billet as its only 4" long. I plan to draw it out at least 4 times its length, cut it up and restack it back into 4 parts. The next time I will draw it out 3 times its length and restack but will add the 4th piece as a solid piece of 1084 steel. This solid piece will be the edge. In order for it to be the edge I will need to re-orient the billet or aka re-square it. I want to do an accordian cut on the billet to show the basket weave pattern and also the solid 1084 edge will show up very similar to a san-mai.
Dang, I hope this all works. If it does it will only yield enough steel for a 2 blade folding knife I think. We will see.
This canister is cut out of a 1.5 x 1.5 thin wall square tubing. I used some used stainless steel heat treating foil around the contents for ease of canister removal after the initial weld. The used foil is oxydized and wont weld to the contents.
I clamped the canister together and mig welded the seams. Notice the canister needed to be cut down to fit very tight as there should be minimum air spaces inside. I'm not using powder metal to fill any gaps. I'm depending on the super glue and some residual wd-40 to burn off any air trapped that could cause the dreaded scale between the parts that will defineatly cause a bad weld. Again, I hope this works.
The ends get folded over and closed off with 1/8" thick steel plates welded all the way around inside the canister. This method keeps the canister together when making the first forge welds.
Now its ready to heat it in the forge. I like to let it soak at 2300 deg f. to be sure it is welding heat inside the canister. I will use squaring dies of the proper size so it will sqeeze from all sides at once. You can feel it stiffen up when the welding is completed. Canister welding is fun and the patterns are unlimited. This pattern is pretty basic but I think the basket weave makes an interesting knife pattern and with the added solid edge should get some attention. If this doesnt work............I can always delete the whole dang thread.
Stay tuned for the next episode.
Last edited: