Hi.
This is my first WIP on this forum.
Now english is not my main language so please be tolreant with my if i misspell somethings.
Ferrum flos is an artdagger i made for Helsinki knifeshow in januari.
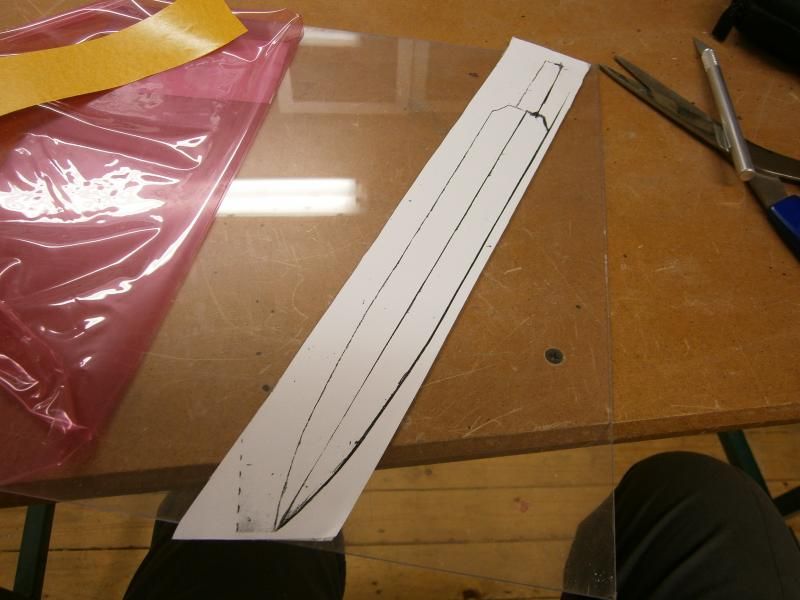
When i draw an dagger i only draw half of it. Thats becuse im a lossy drawer an i simply cant draw a symetry dagger.
Make a copy an cut it out an d glue it to the orginal and make a new copy and tadaaaa you have a komplitly drawing.
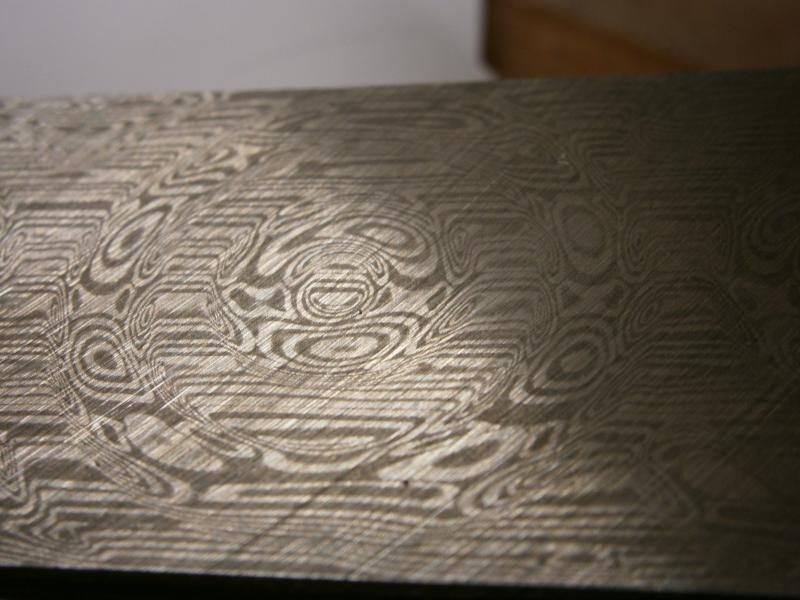
The steel is a nice piece from Damasteel.
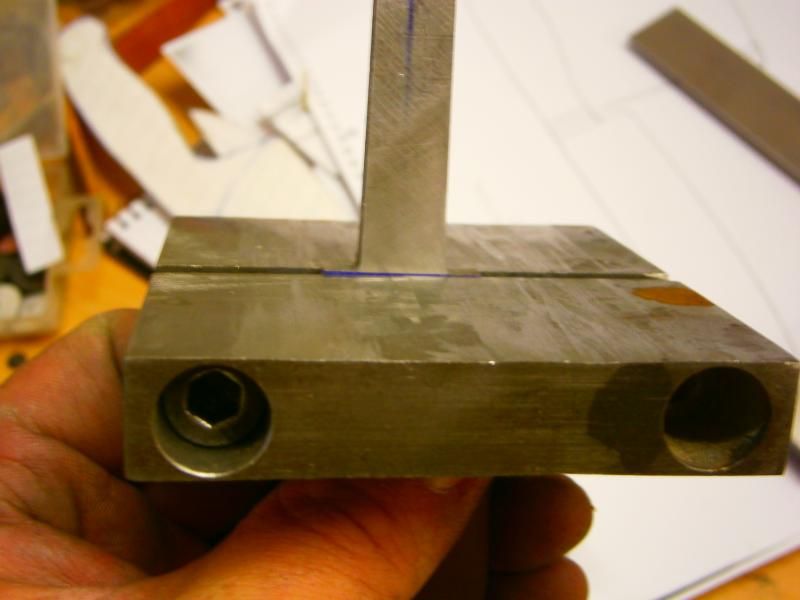
I tape the drawing to some plexiglas and cut it out on my bandsaw. Then i have a stabil tamplet fore the steel and also á tamplet for the shelth later on.
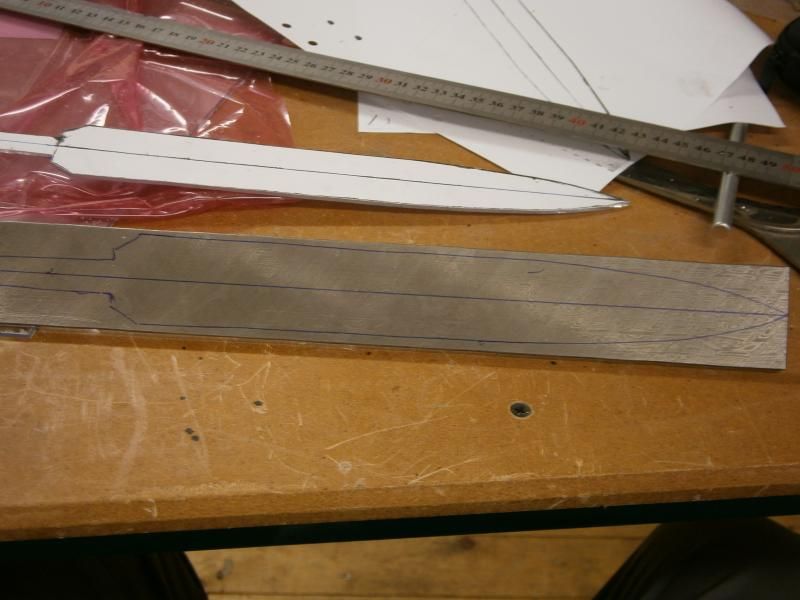
transfer the bladedrawing to the steel.
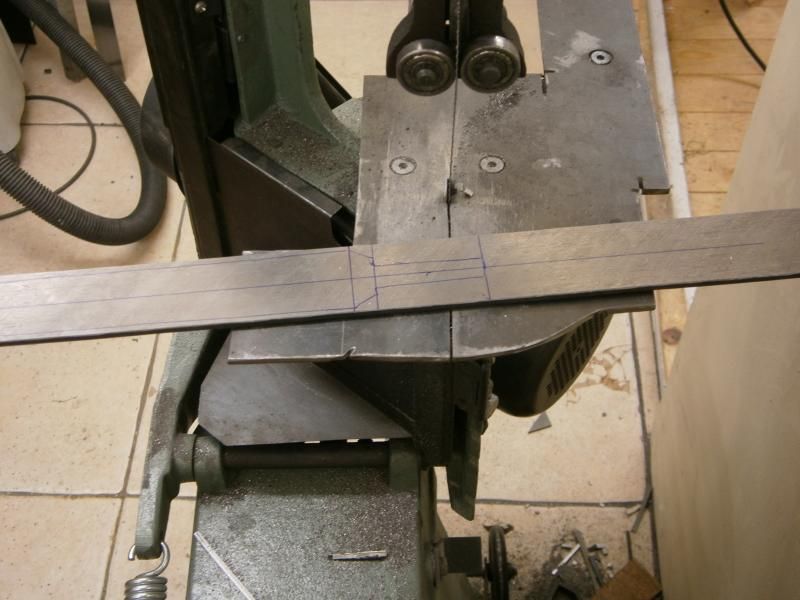
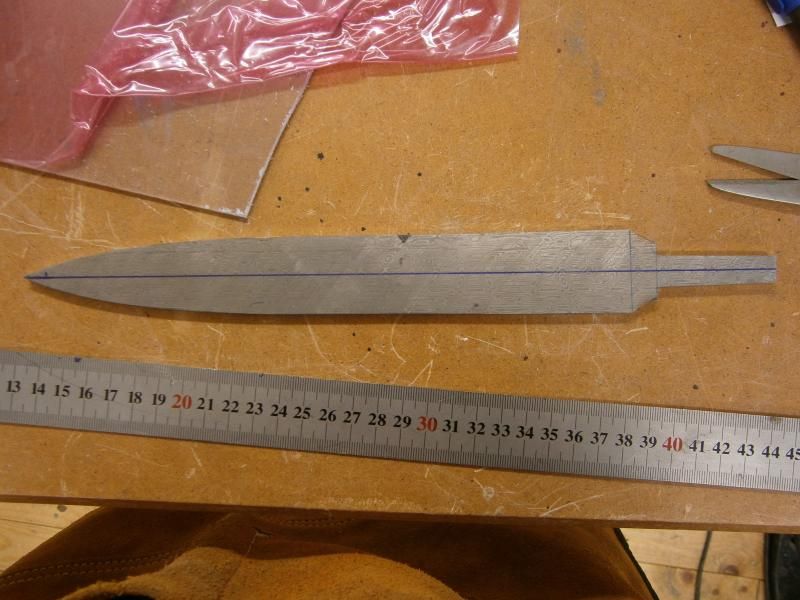
Cut out the blank on the bandsaw.
Blade is now cut and profiled and its time to grind.
80 grit
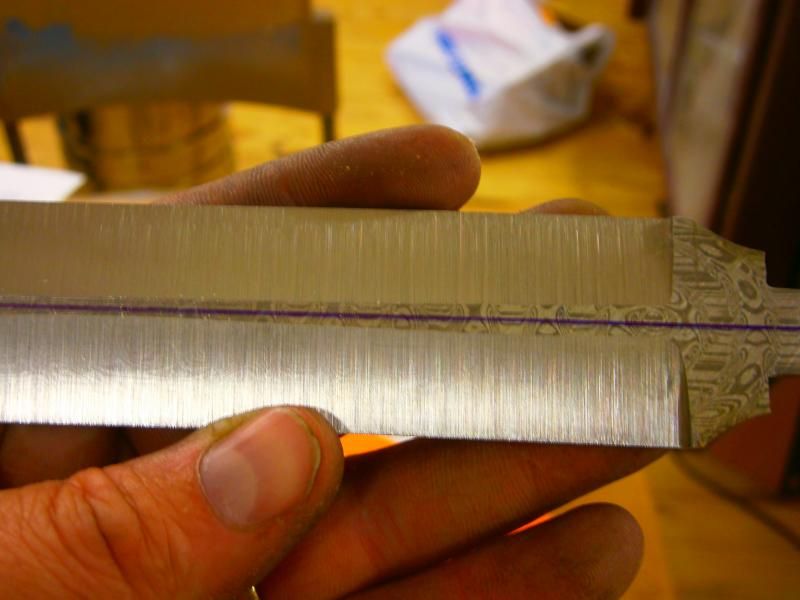
1000 grit.
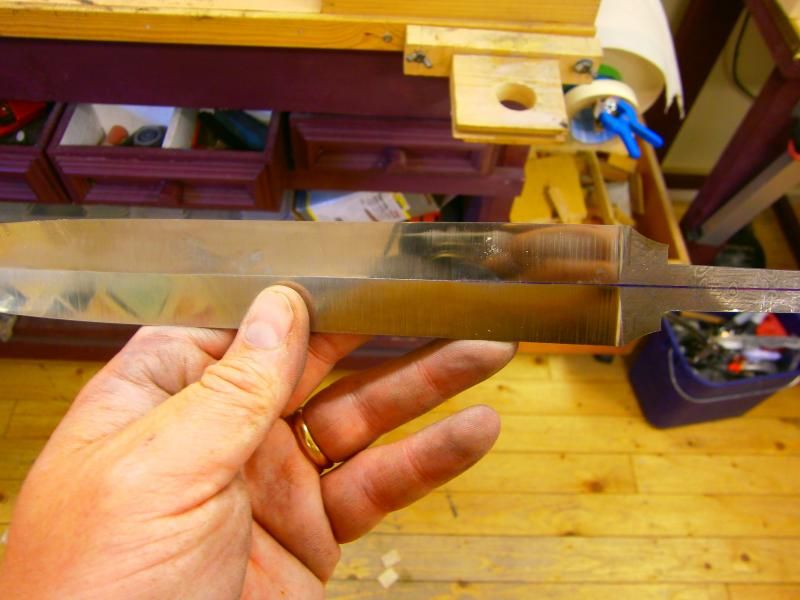
Handsand the riccaso.
its pretty stright so i just use a file for this.

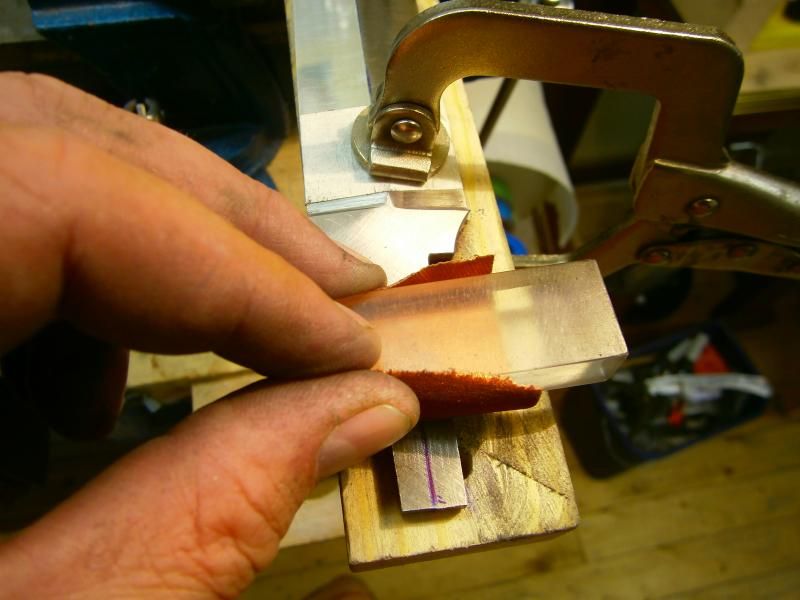
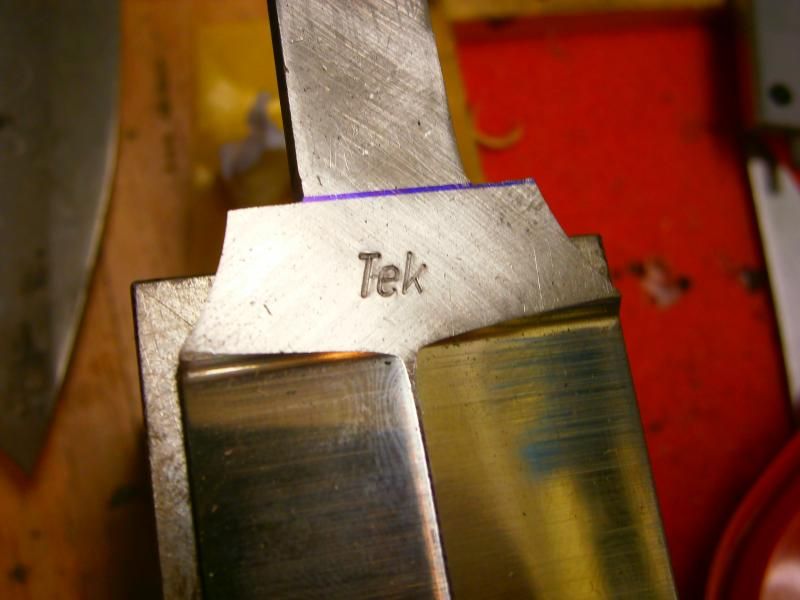
Stamping the blade.
Now its hardningtime.

hope you like it sofar.
Tommy
This is my first WIP on this forum.
Now english is not my main language so please be tolreant with my if i misspell somethings.
Ferrum flos is an artdagger i made for Helsinki knifeshow in januari.
When i draw an dagger i only draw half of it. Thats becuse im a lossy drawer an i simply cant draw a symetry dagger.
Make a copy an cut it out an d glue it to the orginal and make a new copy and tadaaaa you have a komplitly drawing.

The steel is a nice piece from Damasteel.

I tape the drawing to some plexiglas and cut it out on my bandsaw. Then i have a stabil tamplet fore the steel and also á tamplet for the shelth later on.
transfer the bladedrawing to the steel.

Cut out the blank on the bandsaw.

Blade is now cut and profiled and its time to grind.

80 grit

1000 grit.

Handsand the riccaso.

its pretty stright so i just use a file for this.


Stamping the blade.

Now its hardningtime.

hope you like it sofar.
Tommy


