USAKnifemakers Stage 1 knife kit Tutorial

Josh, my friend, the tutorial and WIP that you have done here is ,by far, the best I have seen. It is concise, interestly described with easy to understand directions. You are not merely a "teacher" you are a man of knowledge with the desire to share that which you know. So many of our present day teachers today are presenting hear-say knowledge without any practical hands-on experience. This is not to be faulted as experience is often diffiicult or impossible to attain in this era.

I couldn't agree more with what Sandy has said. Josh, my friend, you da man!
 
Wow Thanks for the great comments Fellas ! The are surely appreciated :)

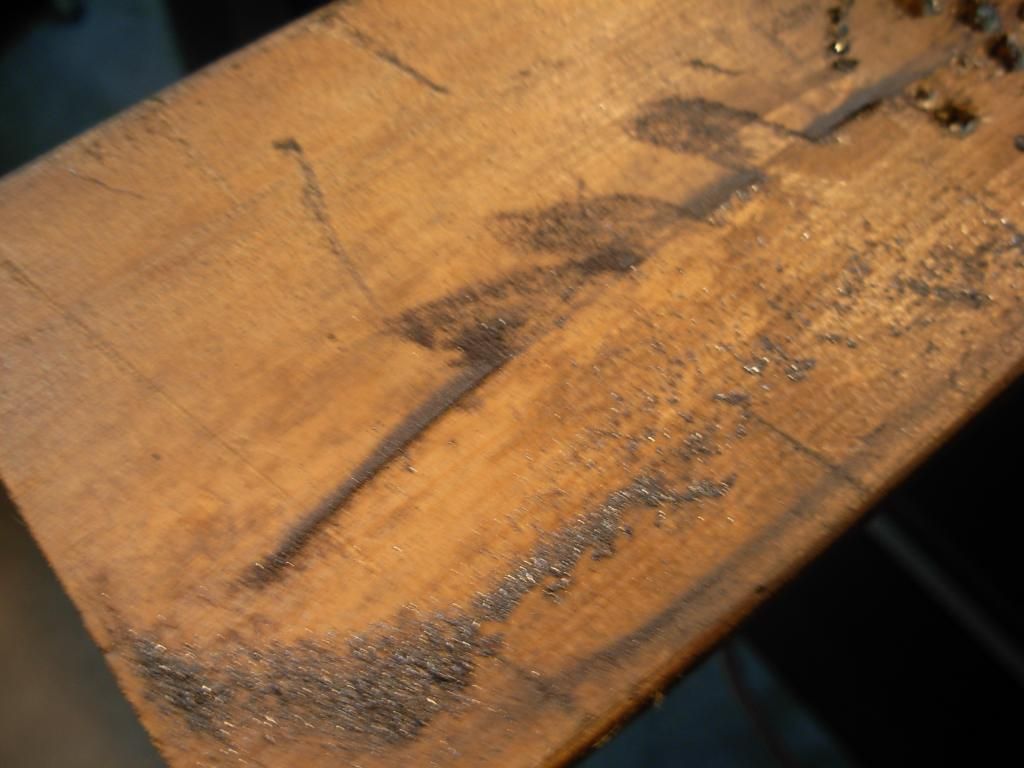
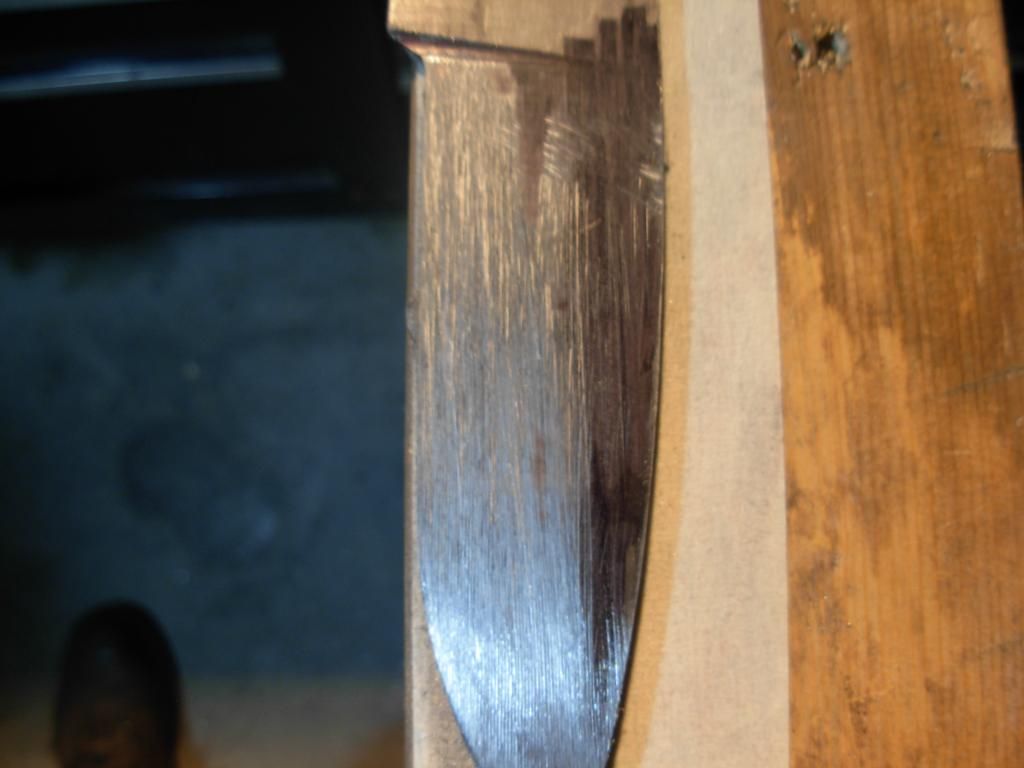
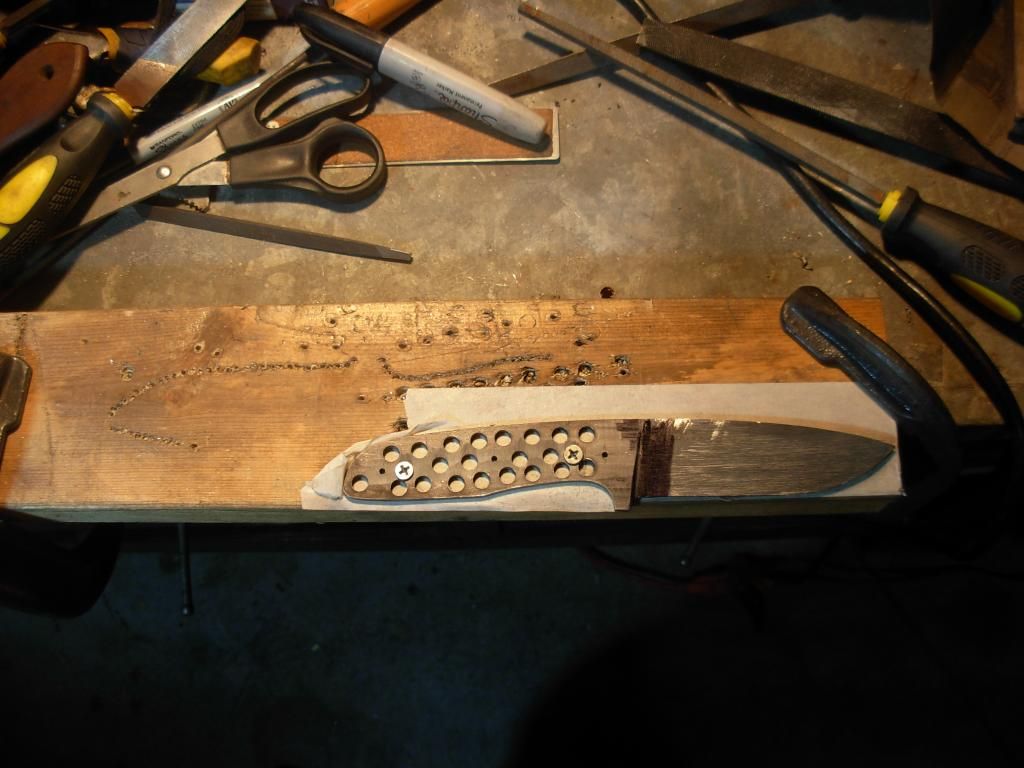
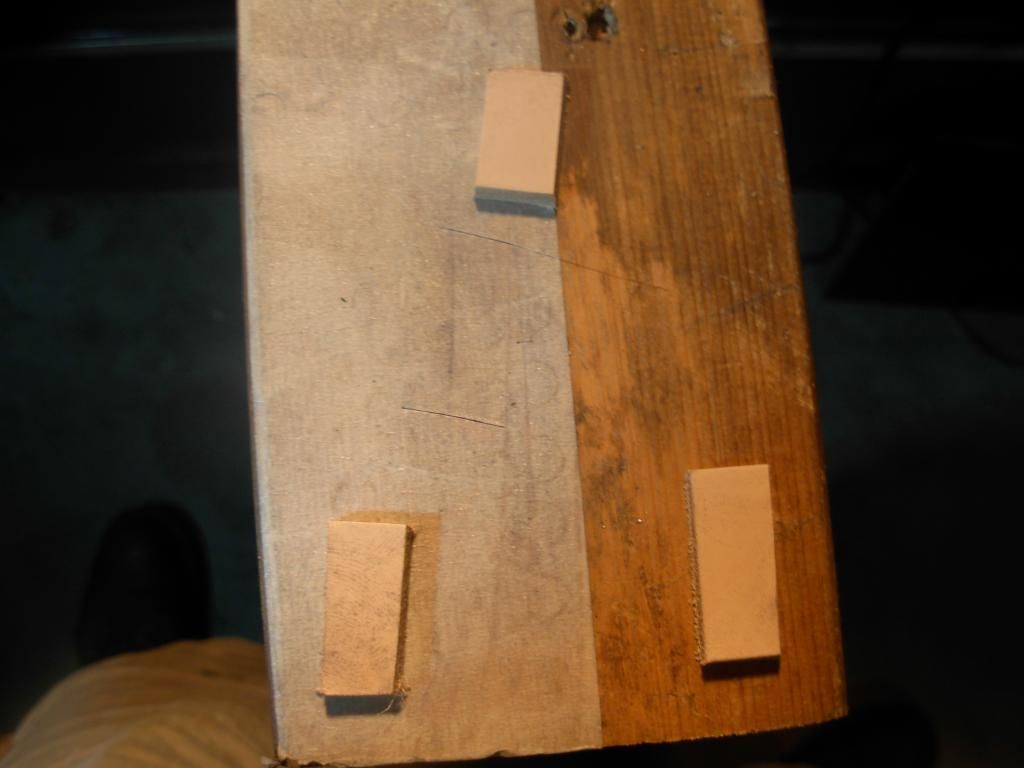
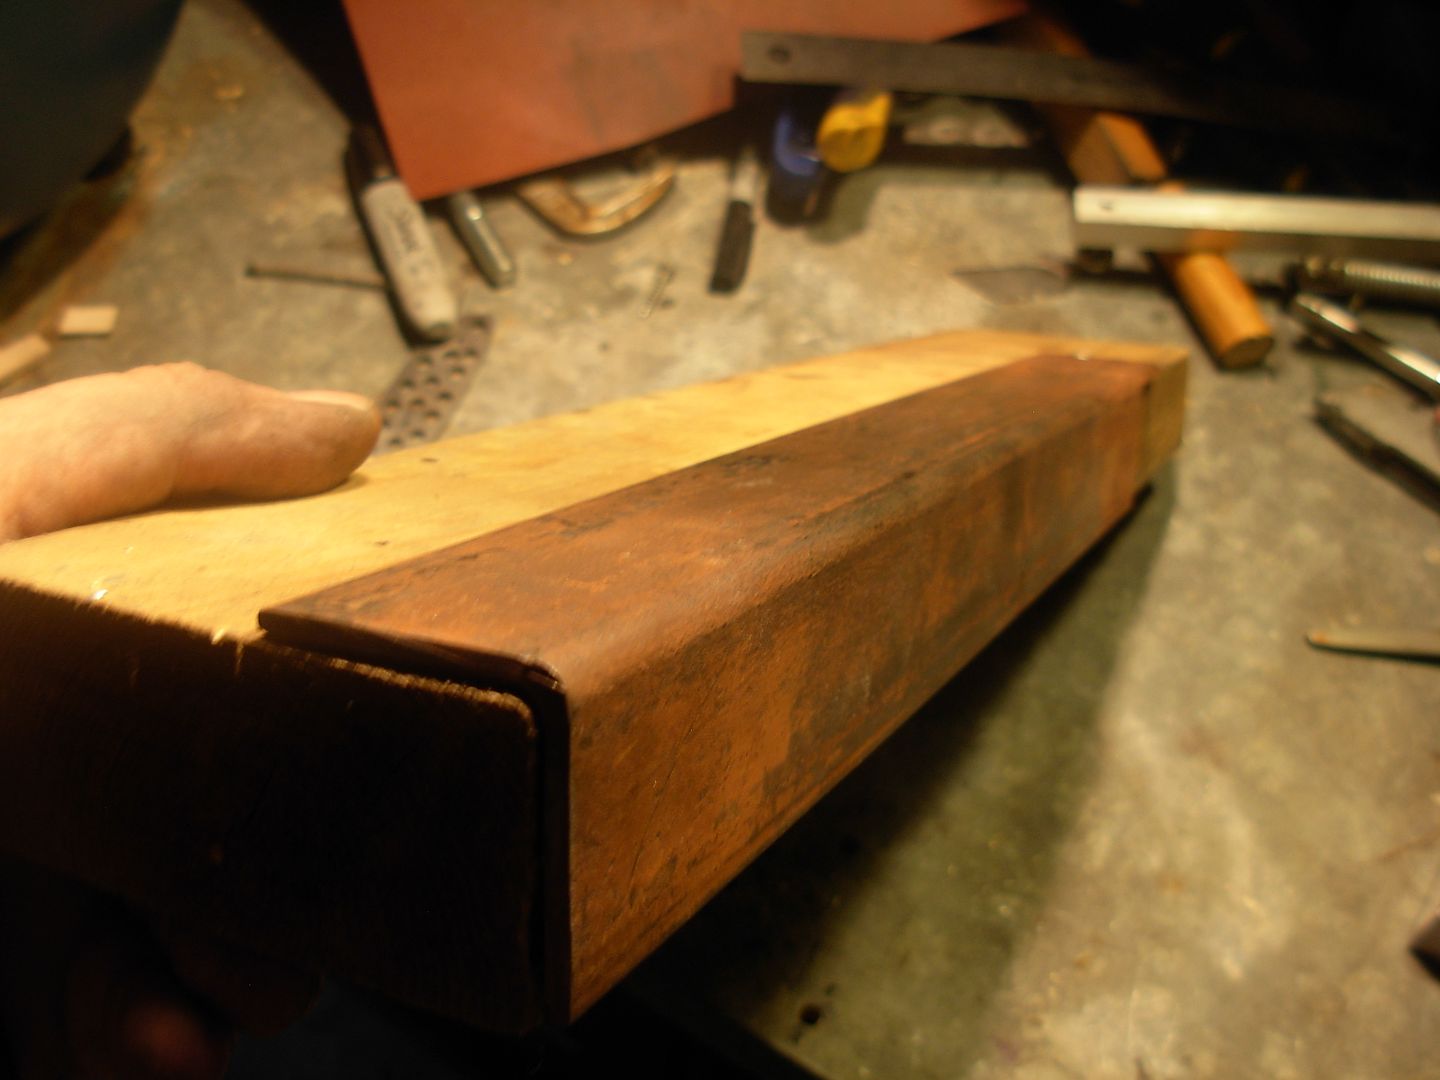
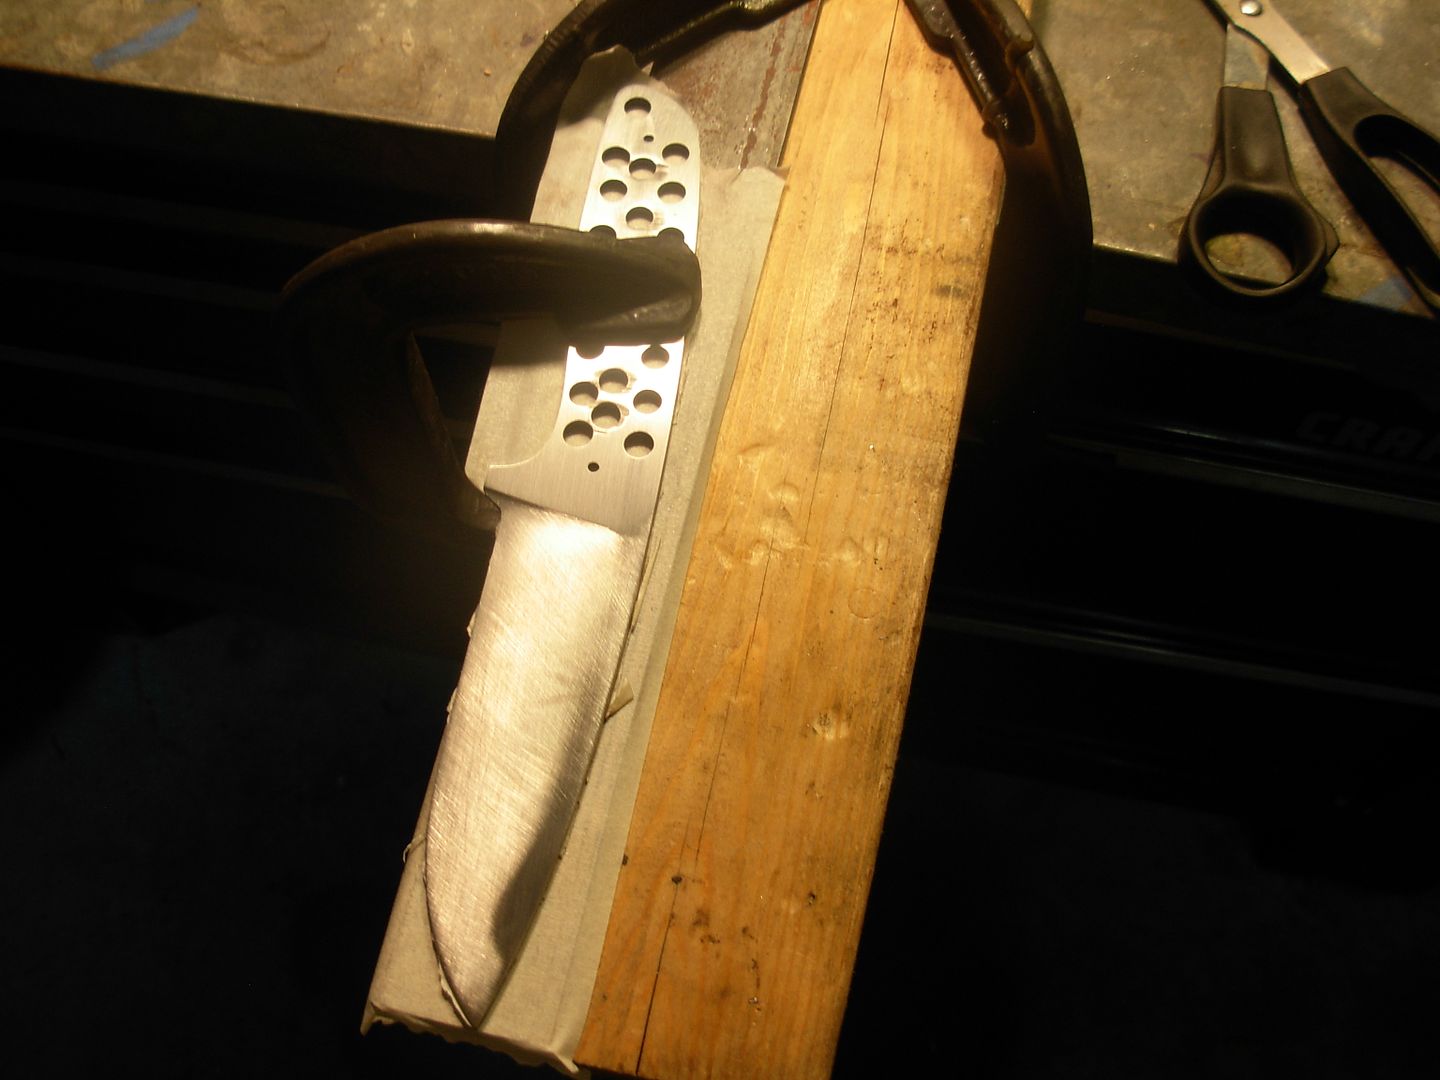
With the first bevel done I need to flip it over and work on the other side. This is a shot of my 2x4 after removing my blade just to show all the filings and sandpaper grit left from previous operations. I'll dust this off but some of this material is now embedded in the wood so we're going to need to protect the finished side from unwanted damage

firstknifewip001_zps98a3d4ba.jpg


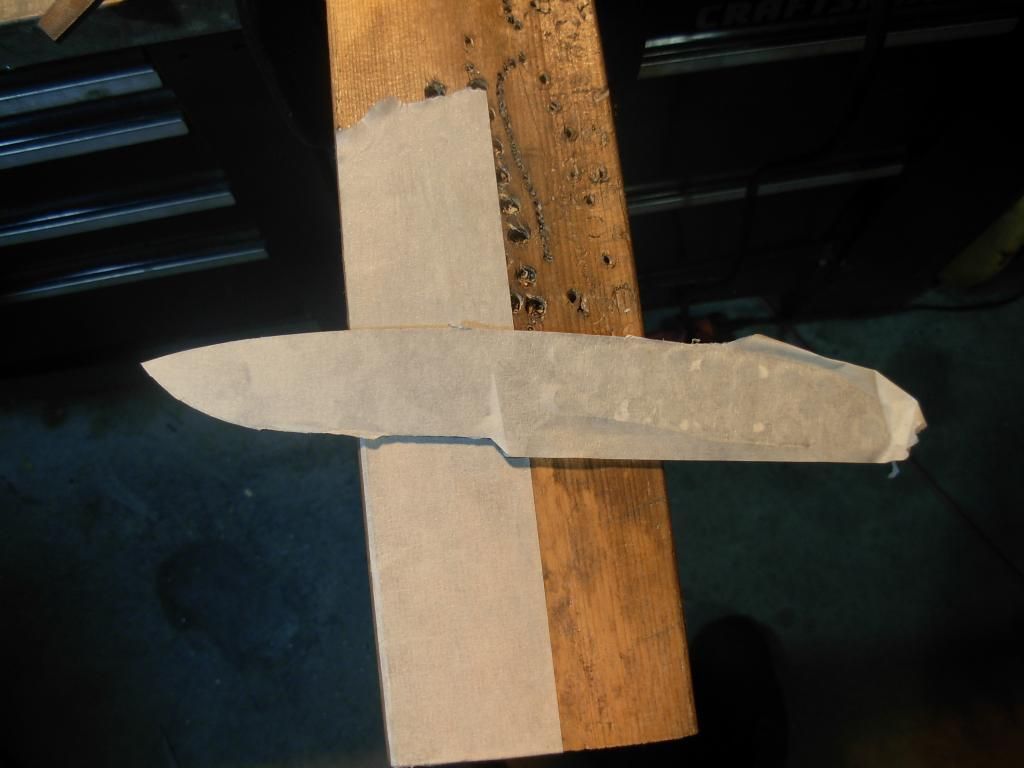
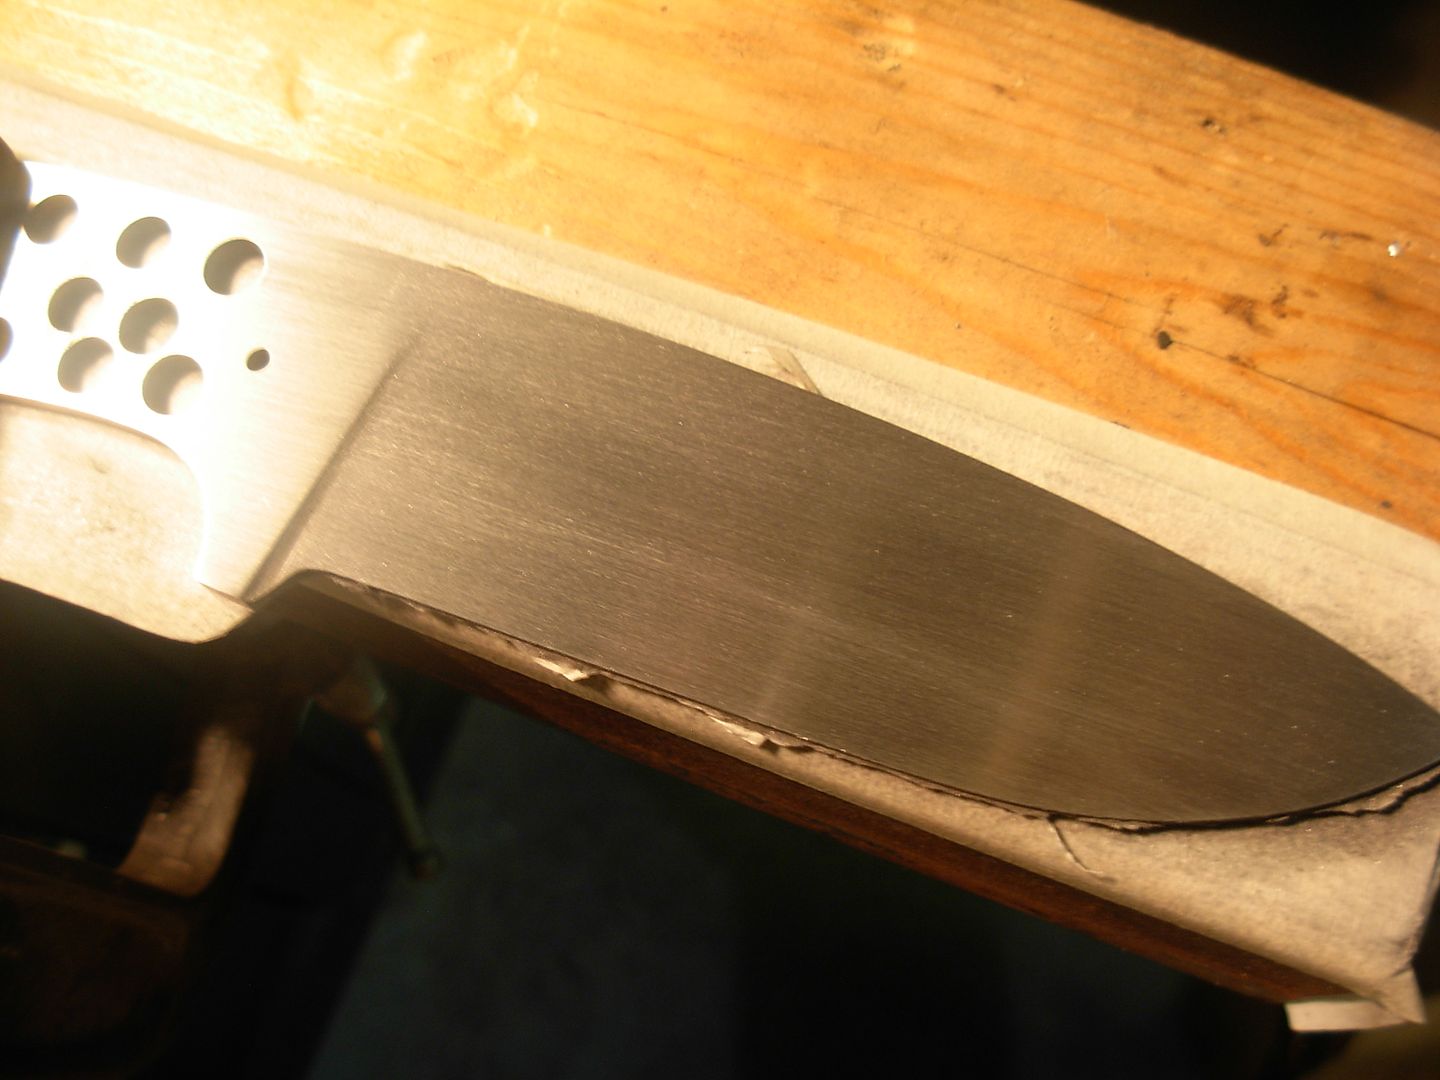
To protect the blade I use one piece of masking tape on the board and one on the blade.

firstknifewip002_zps443fea11.jpg


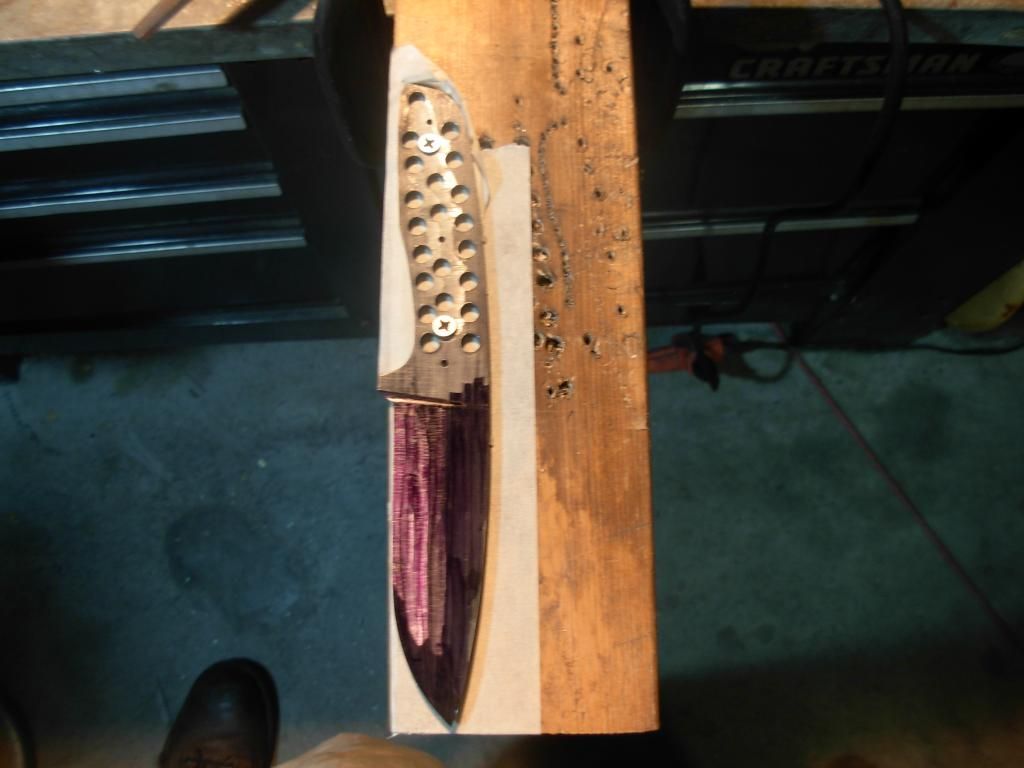
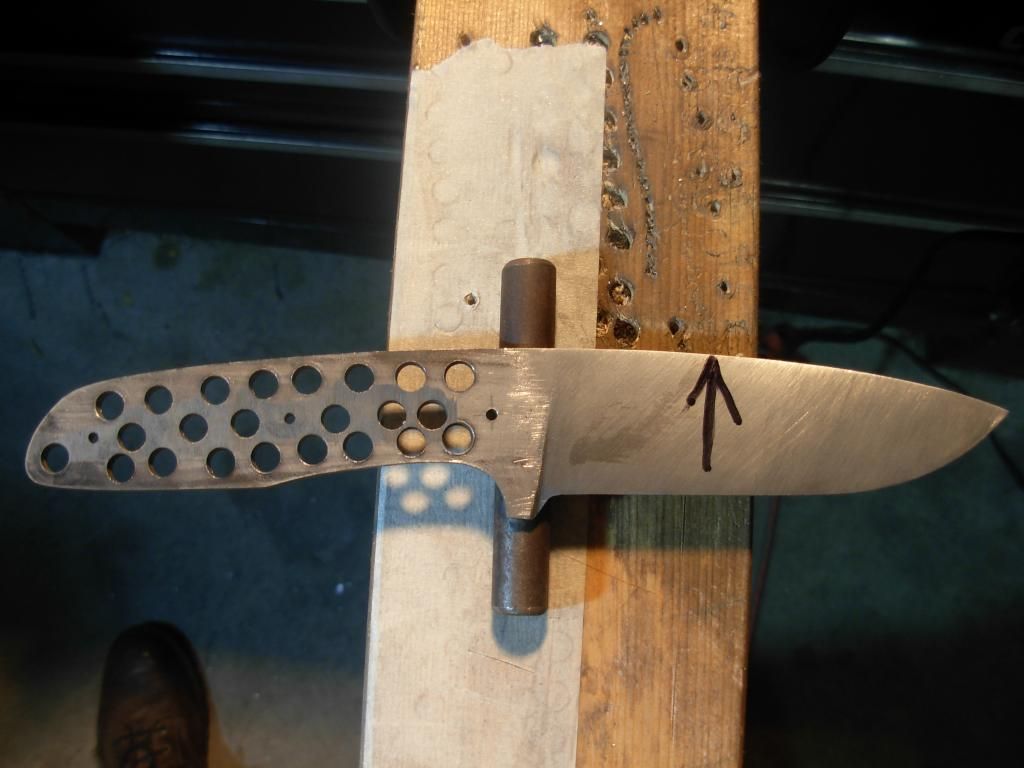
Got my blade mounted and ready to do the exact same to this side I did to the first

firstknifewip003_zpsd3199564.jpg


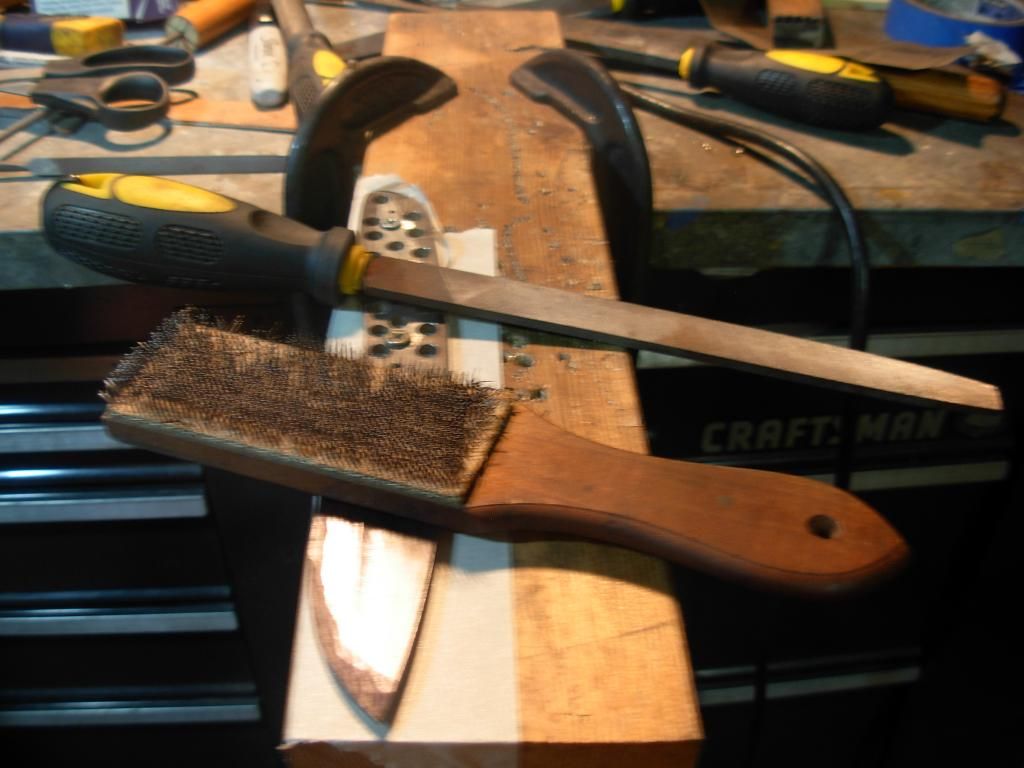
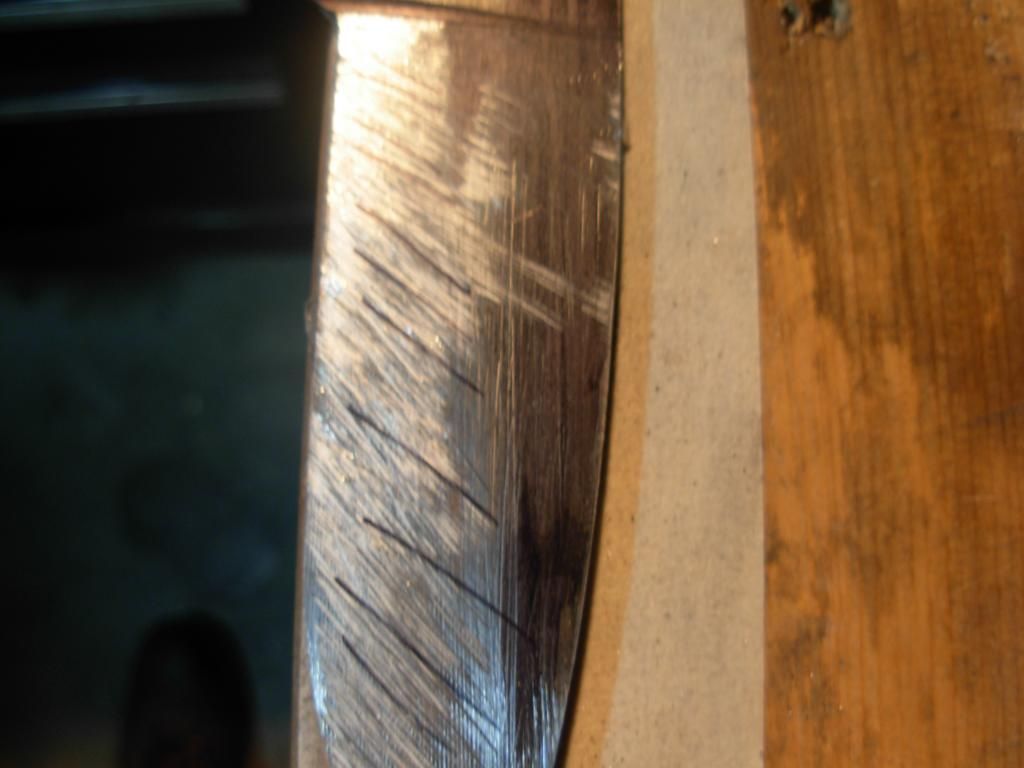
I wanted to mention this little tool. It's known as a File Card and you'll be needing one of these to clean out your files when they get clogged up. While filing this blade I'm carding my file every couple minutes. It only takes a second and will keep the file cutting and prevent the clogged up filings from gouging your work.

firstknifewip004_zpsbb4edb7b.jpg


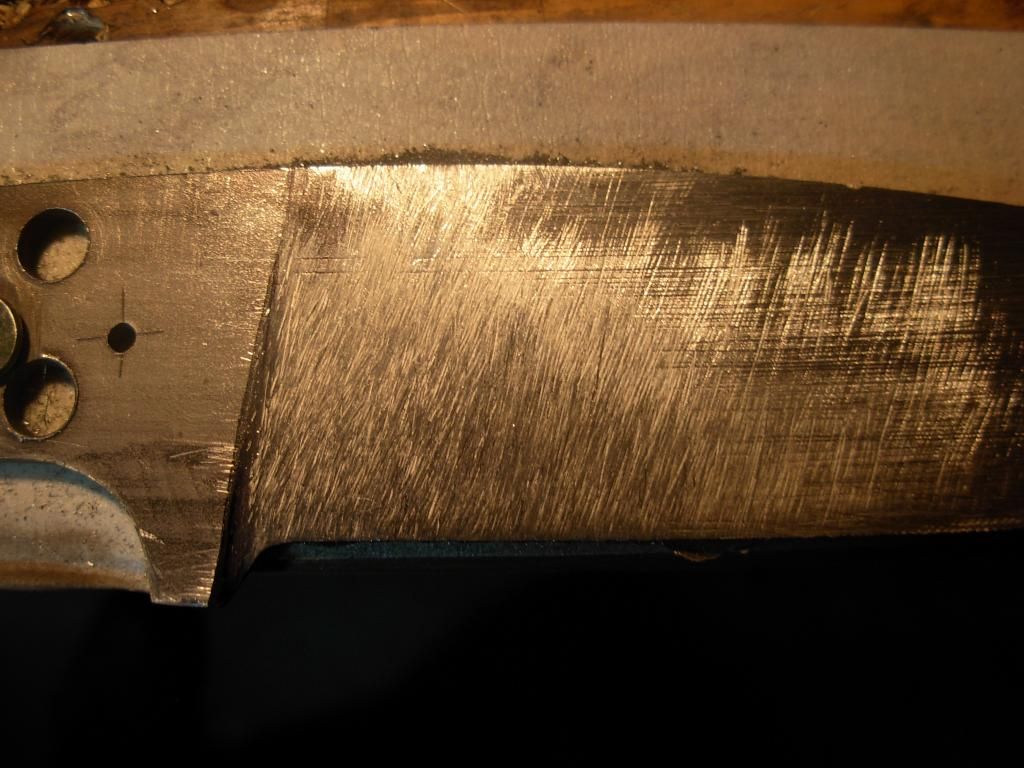
Draw filing works great for removing steel with a nice aggressive cut. However once you get to a nice wide flat like this some of the agressivness is lost. At this point I've got a nice flat going but still have alot of material to remove.

firstknifewip005_zpsdfabf9de.jpg


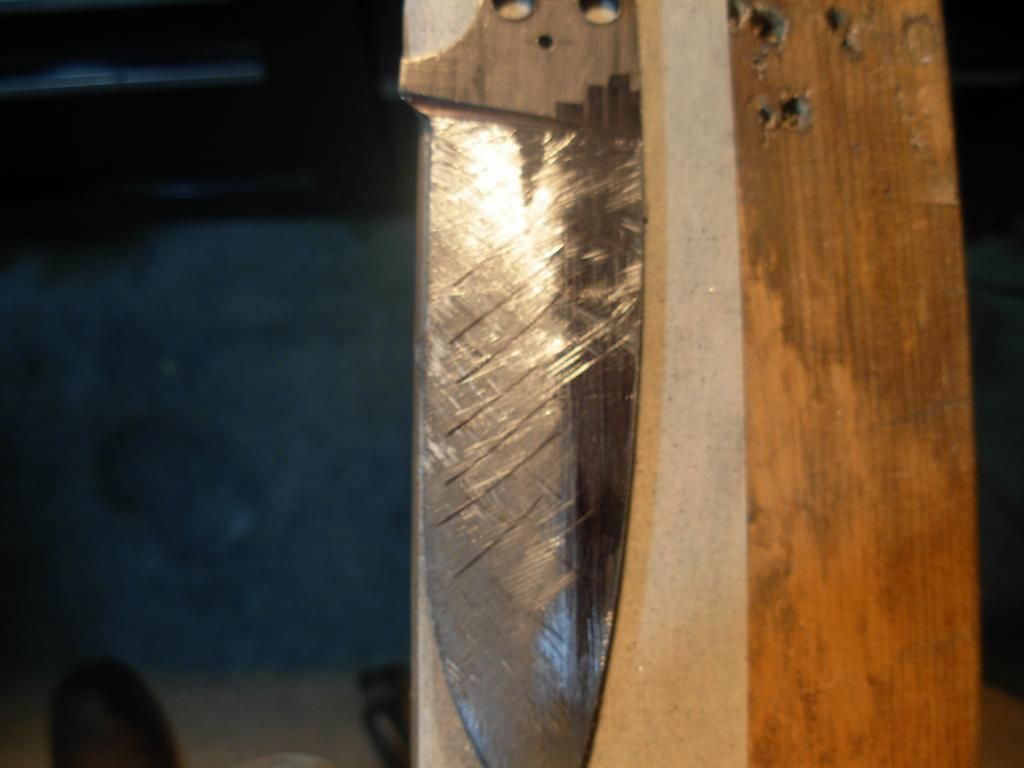
I find it helpful for heavy stock removal to file in a deep crosshatch pattern over my draw filing marks. I'll start in this direction

firstknifewip006_zps9de07ca6.jpg


Then in this direction. After crosshatching the draw filing will again cut nice and aggressively

firstknifewip007_zpsbeb667bd.jpg


Removed the crosshatch and still following the same procedure as the first side. Ready to work the area in front of the plunge.

Edited to add some comments on positioning our work for success. You'll notice that I've moved my 2x4 in relation to the bench it's clamped to. I'm right handed so working on this bevel is my "off hand" side. Repositioning my work here allowed me to perform this detailed blending of the plunge area using my strong hand to control the file and my weak hand only for supporting the tip side of the file. A comfortable working position in relation to your work and maximizing the use of your strong hand will lead to success in the operation you're performing. Attempting to "force it" with your weak hand in an awkward position will lead to mistakes which will create more work for yourself in the long run.

firstknifewip008_zpsa9c3fc62.jpg


firstknifewip011_zpsc5524e93.jpg


And of course hand sand to 120 grit

firstknifewip012_zps0bf44261.jpg


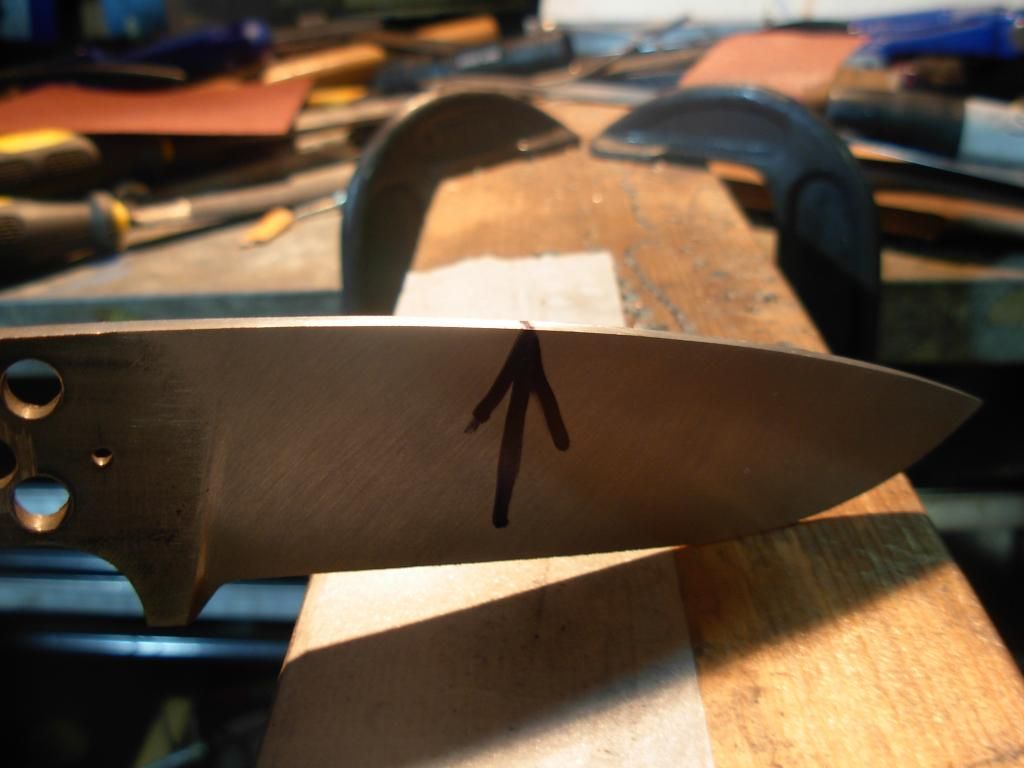
Now before working the flats of the blade I need to get it straightened once again. This time the blade side is need of straightening so I won't be able to use the screw for the three point technique like before. I start by figuring out where the center of the bend is and marking it

firstknifewip013_zpsc57a9b23.jpg


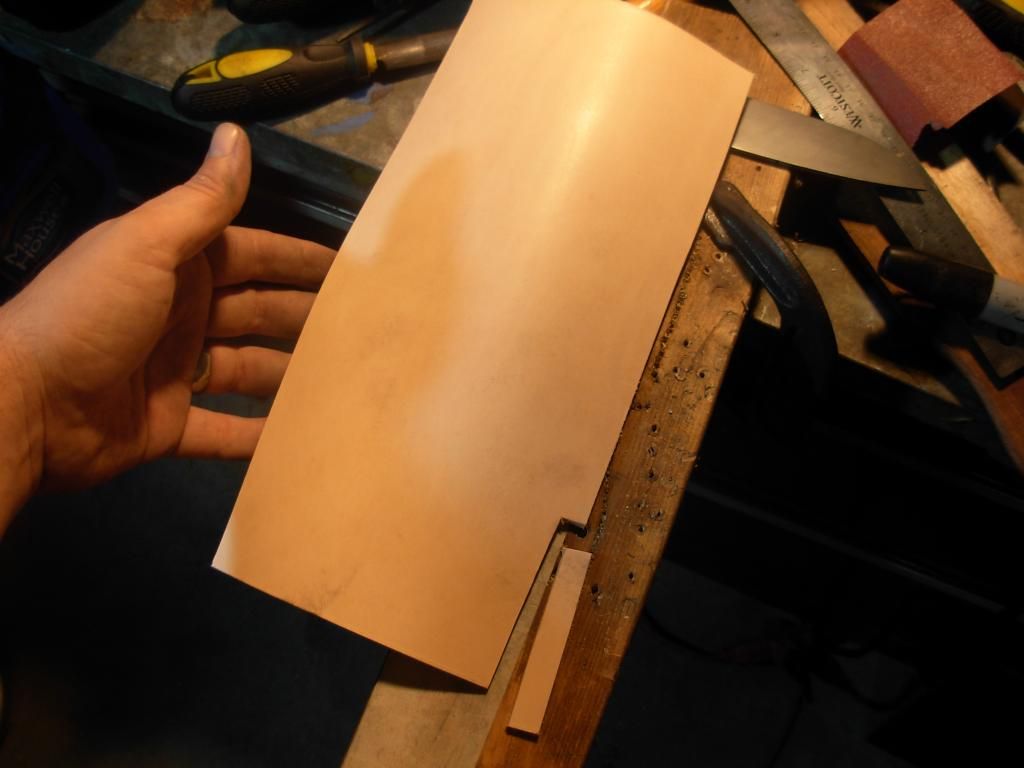
I want to keep from marring my sanded finish so I'll just cut a small piece of leather

firstknifewip014_zps9f4d3f89.jpg


Cut the leather into 3 stamps for padding the blade

firstknifewip015_zps3c3065e4.jpg


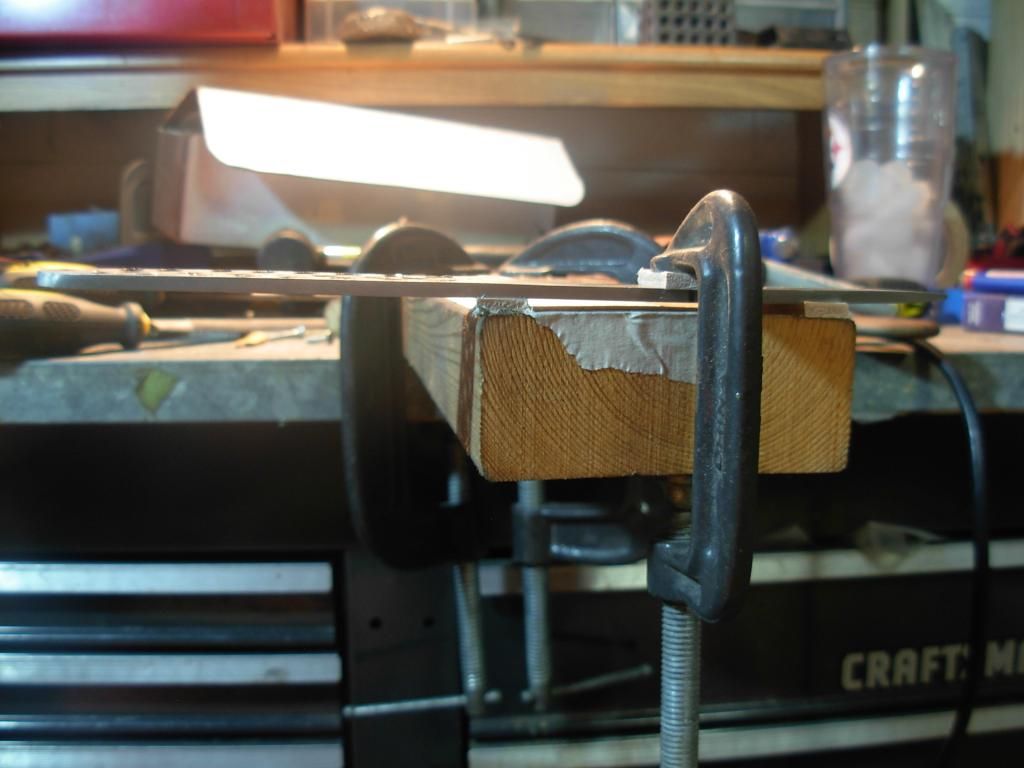
Now use a C-clamp for the bending force.

firstknifewip016_zps18df3fe3.jpg


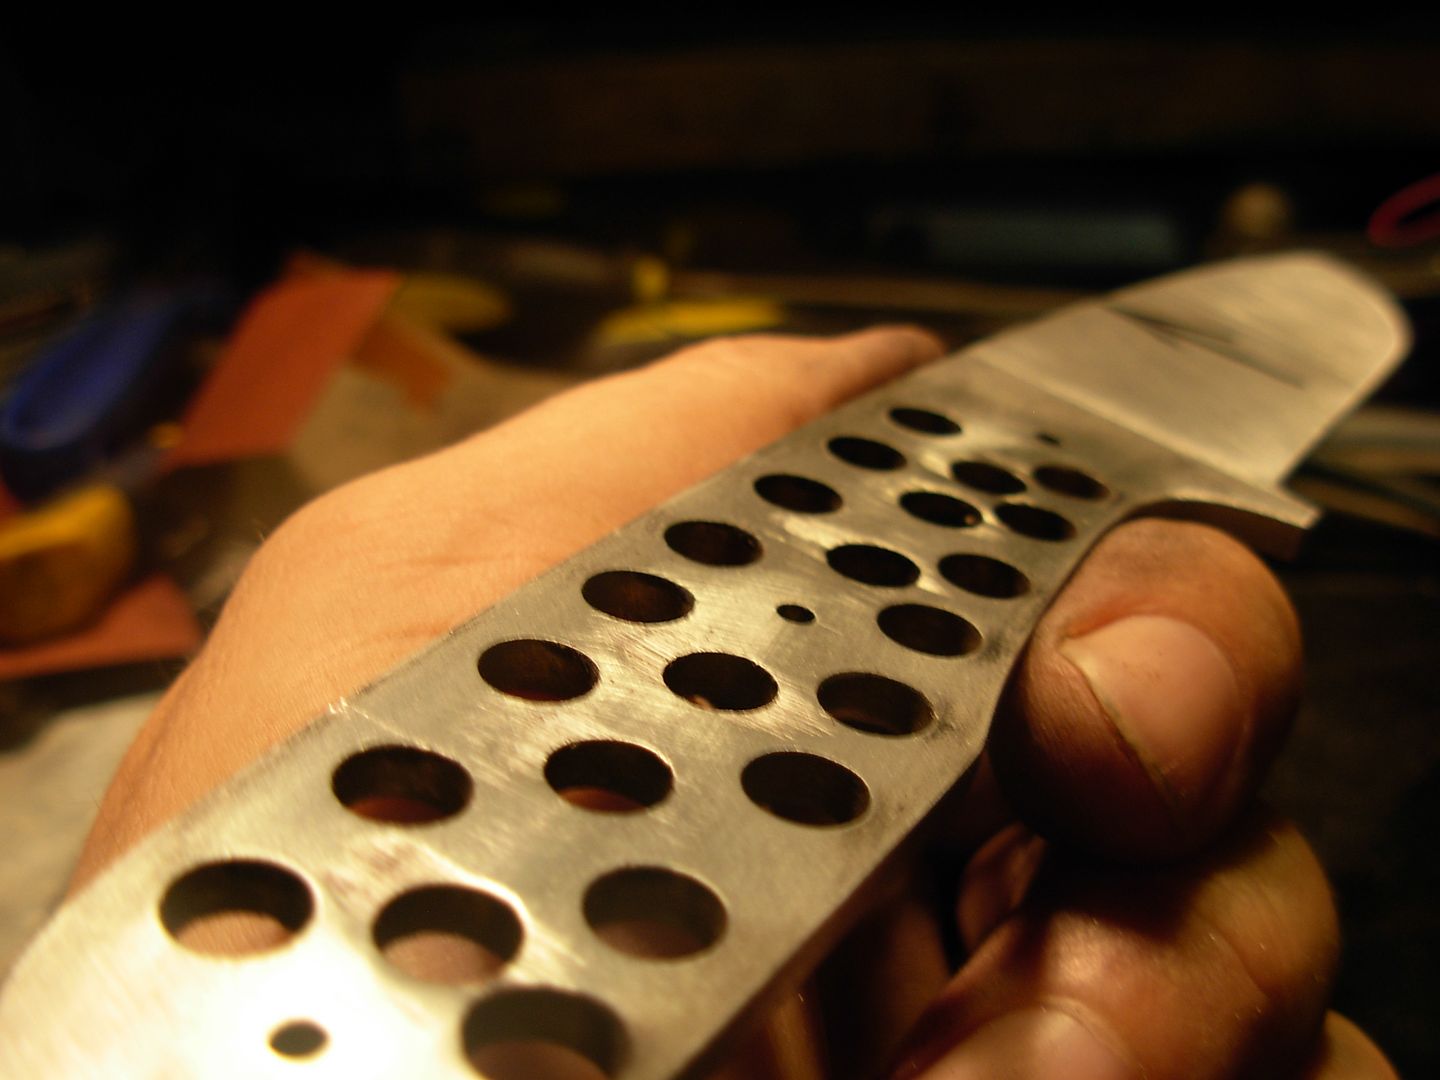
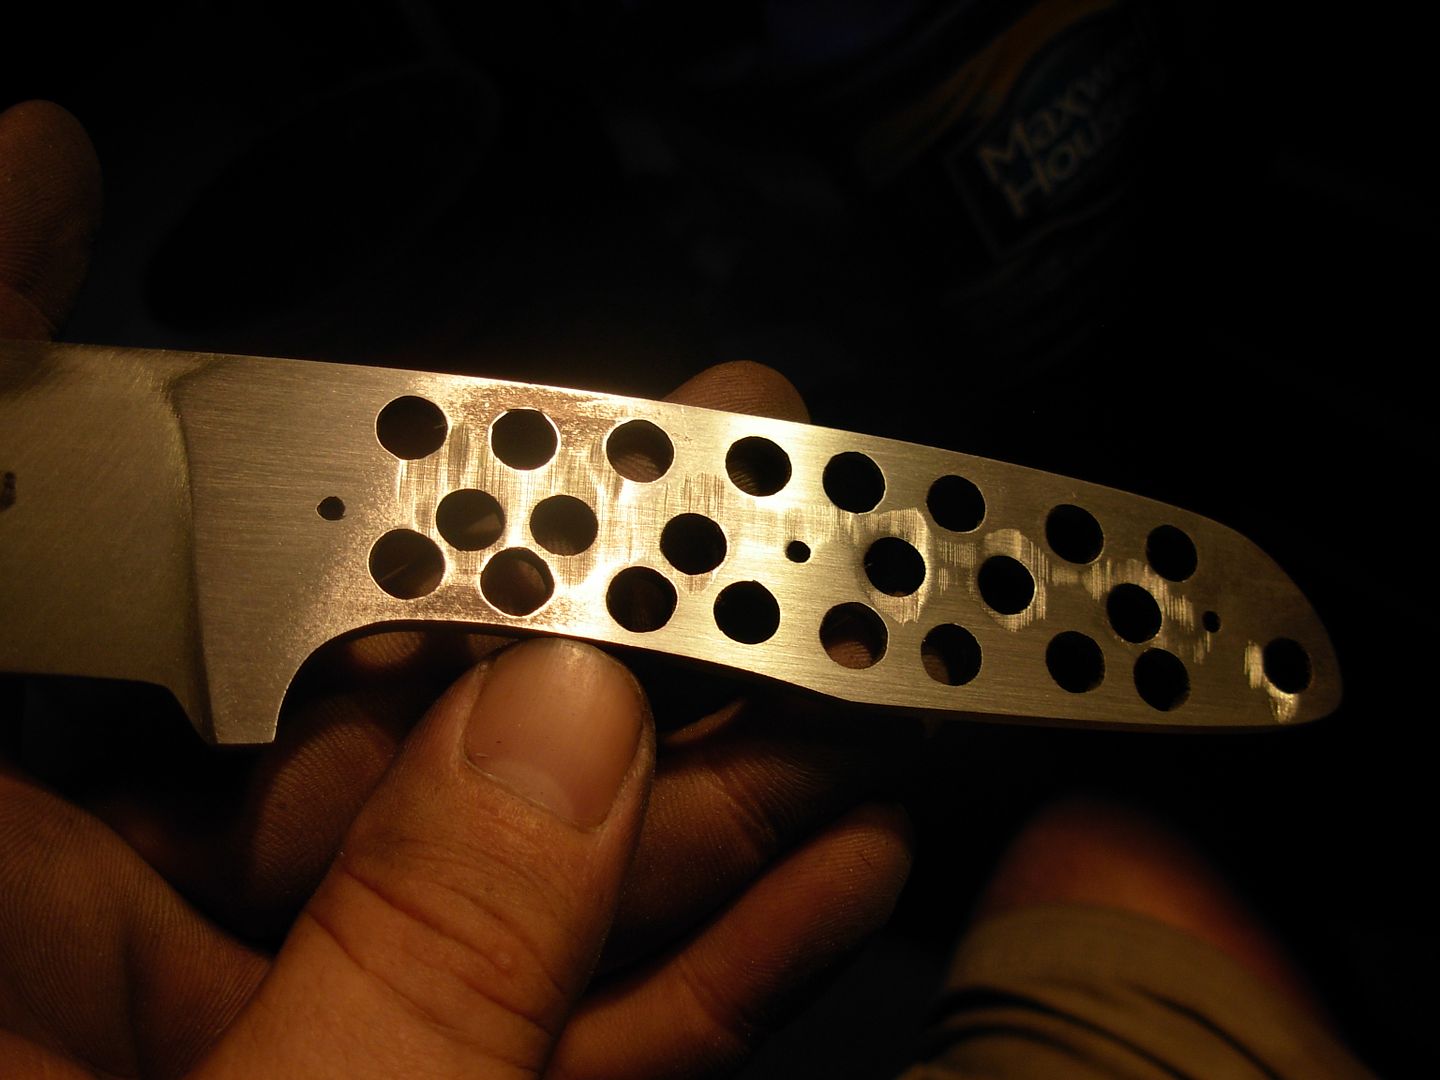
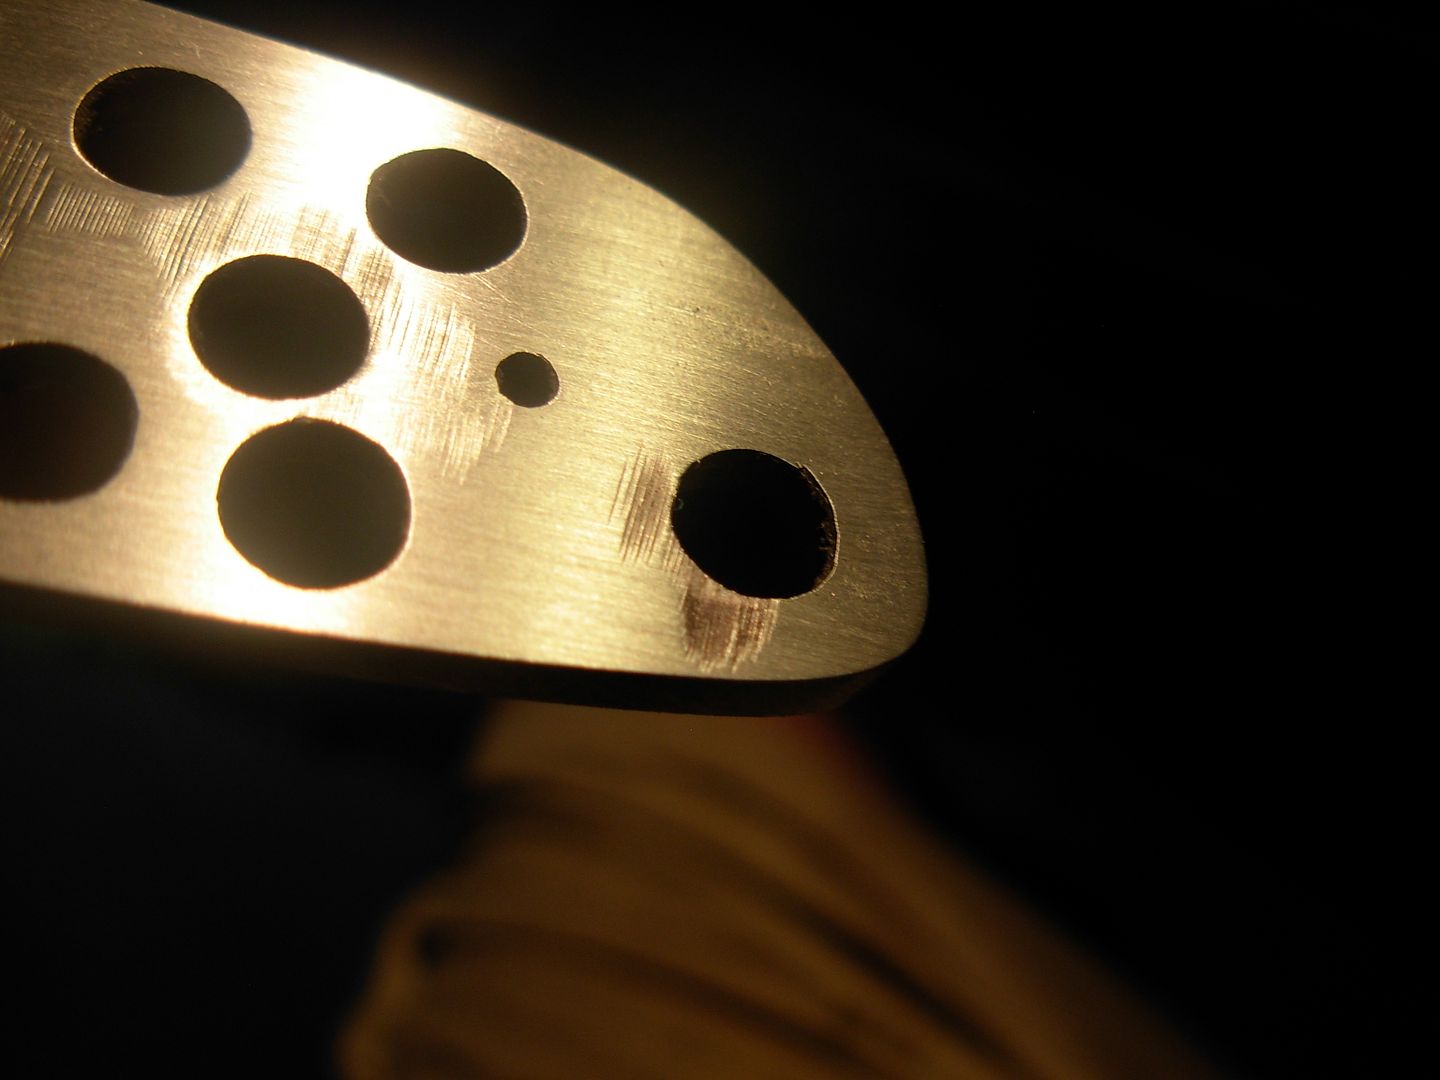
I snapped this pic to demonstrate why we used the swiss cheese method on the tang. This is the ballance point of the blade right now without scales, pins, or epoxy on the handle side. This is very close to neutral balance as it is. Without those holes for weight reduction we would end up with a very handle heavy knife which I want to avoid.

firstknifewip018_zps3a947ed7.jpg


-Josh
 
Last edited:
With our bevels completely filed I'm ready to move on to the "flats" . Let's define what exactly the flats are

Flats- The perimeter of the handle and the ricasso. (ricasso is the exposed area of blade between the handle scales and plunge cuts)

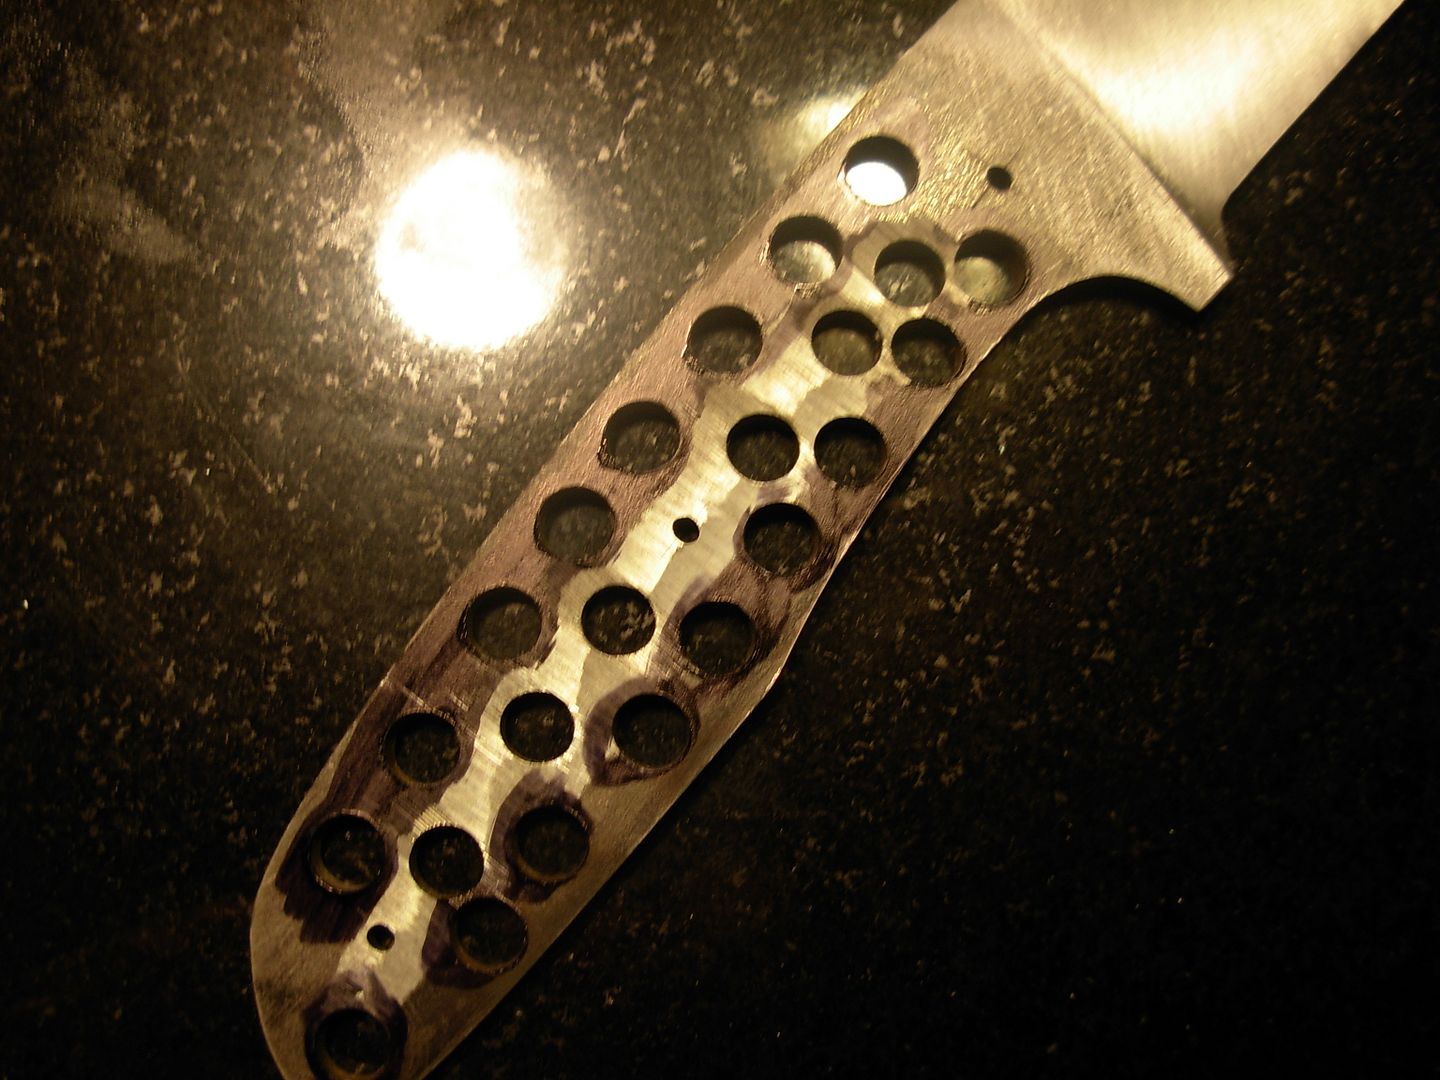
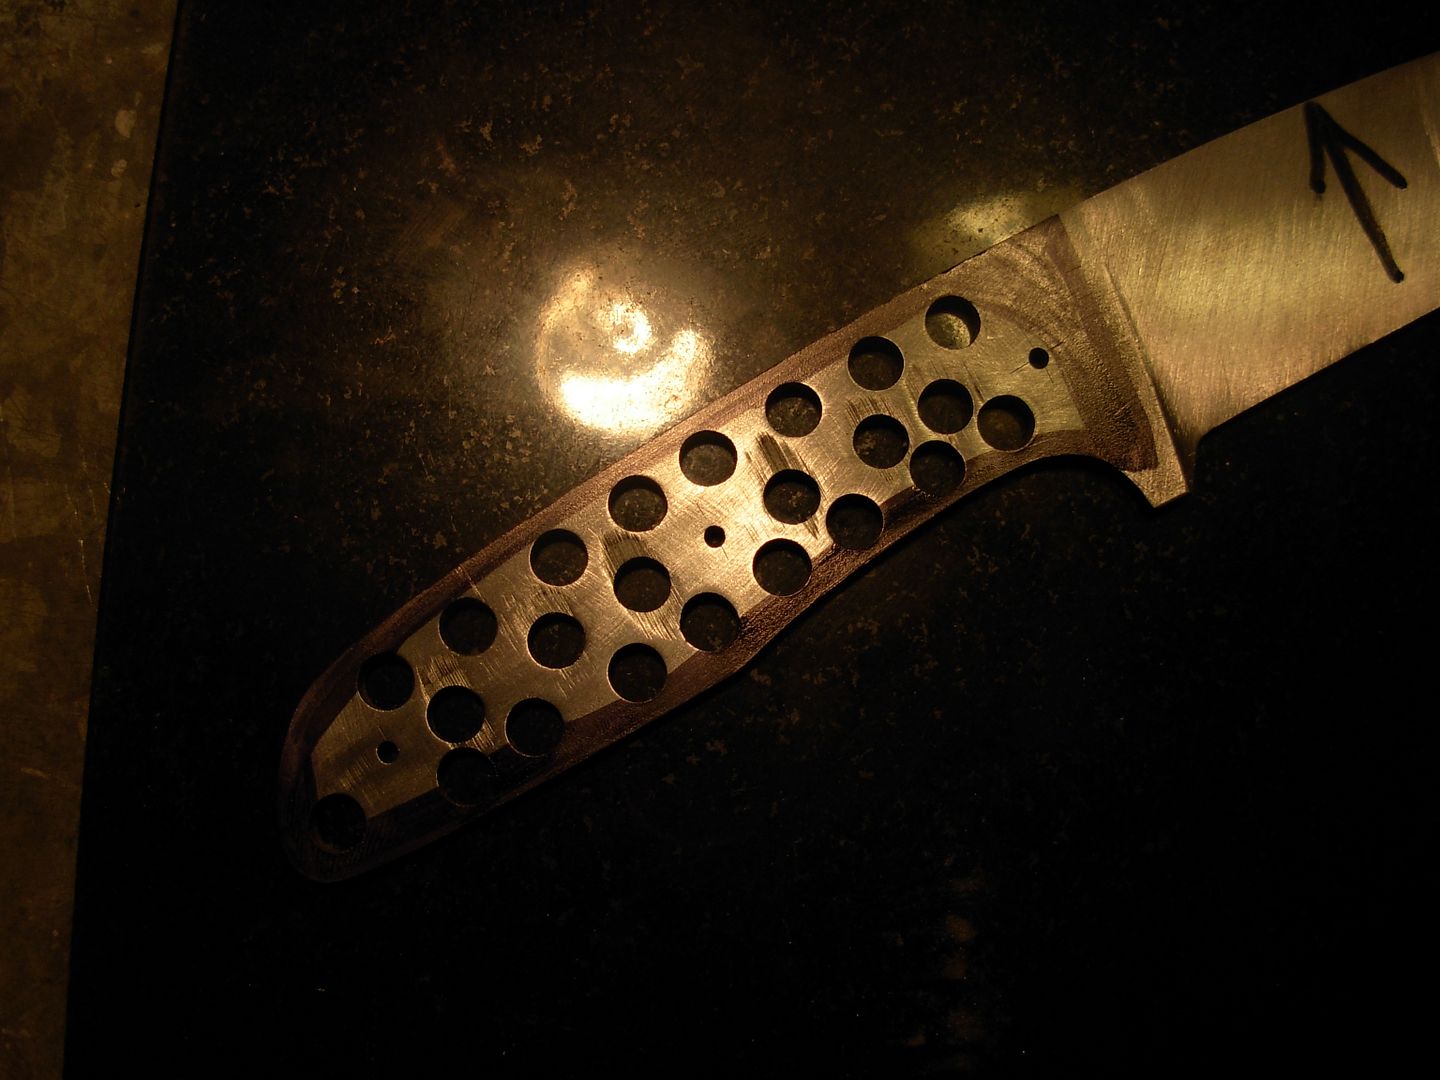
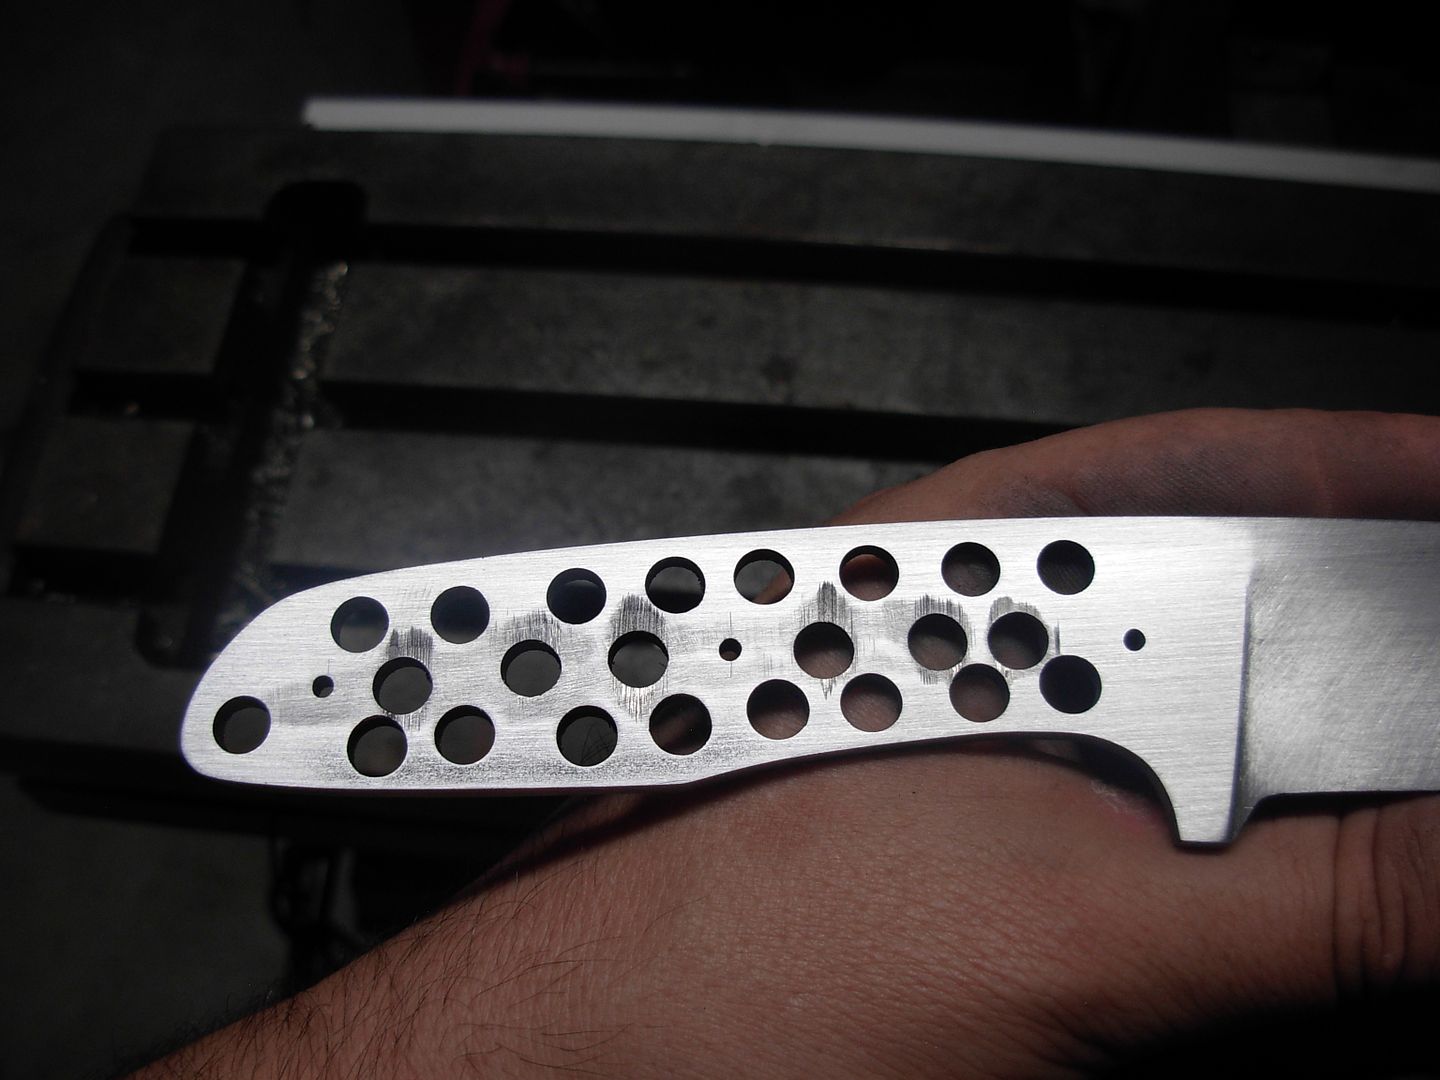
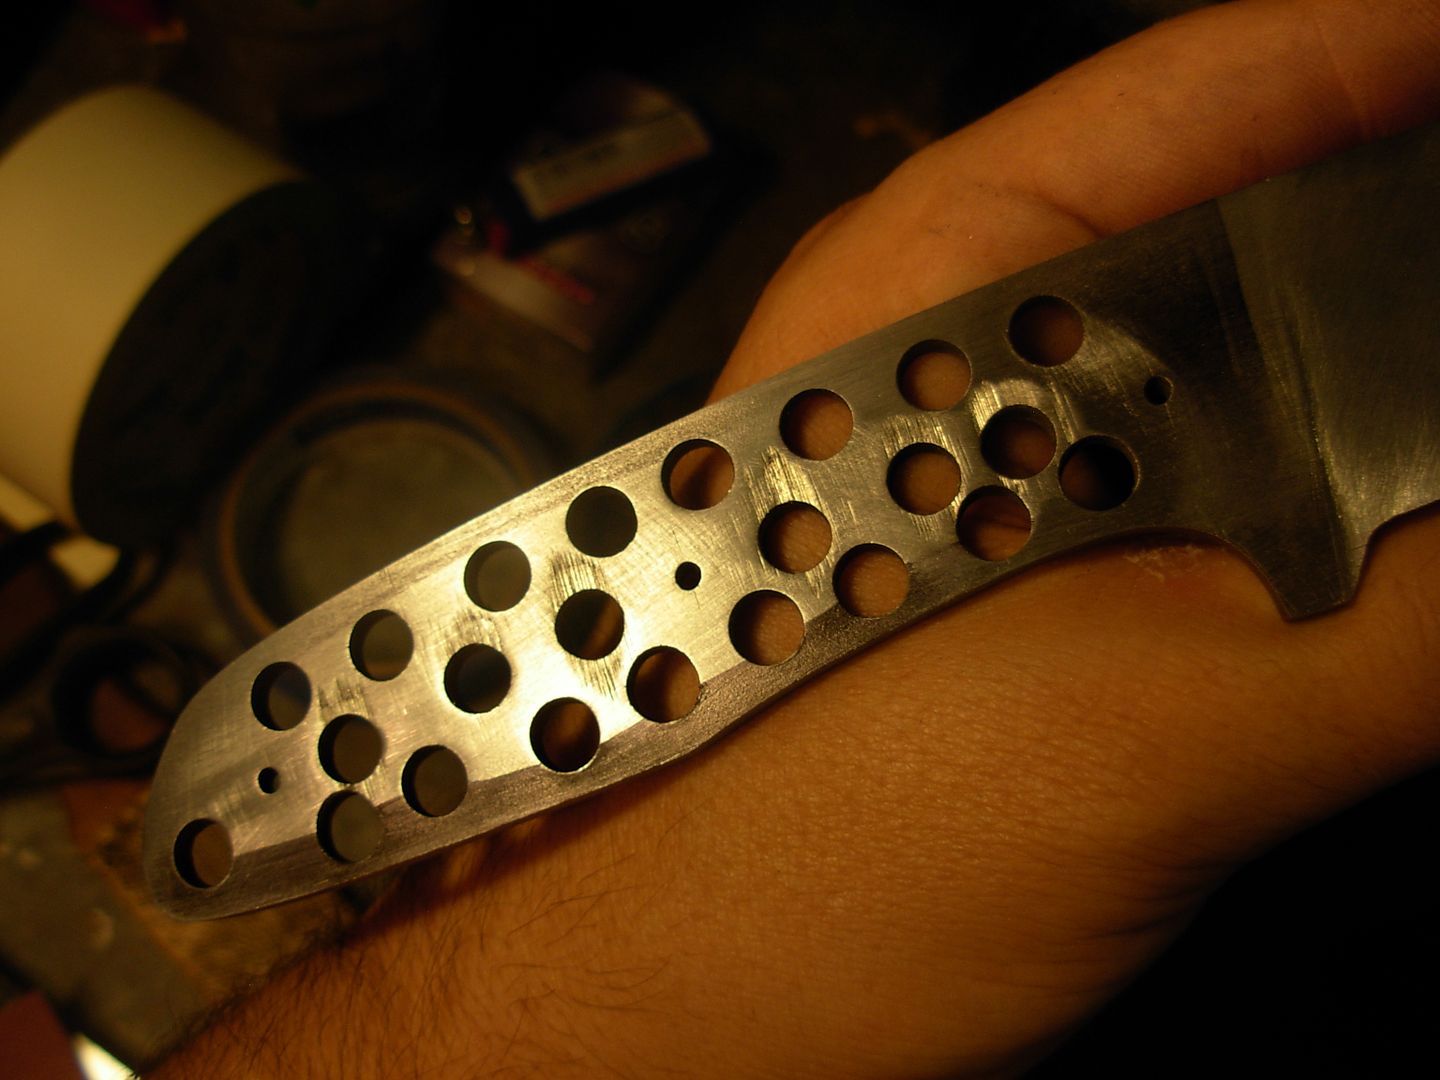
The first order of business is to complete the job of removing the burrs around the drilled holes.

Color the area with your sharpie

001_zps728fd25c.jpg


If you've got any especially nasty burrs left you can file those right off. Insert your chainsaw file though the hole and file the edge of the hole until the burr falls off.

I was pretty good here so I went right to sanding with 120 grit paper. I want to sand the hole only and stay away from my "flats" as much as possible.

002_zpscfe6a092.jpg


Keep at it until you're smooth and burr free.

003_zpsc8f0e8b6.jpg


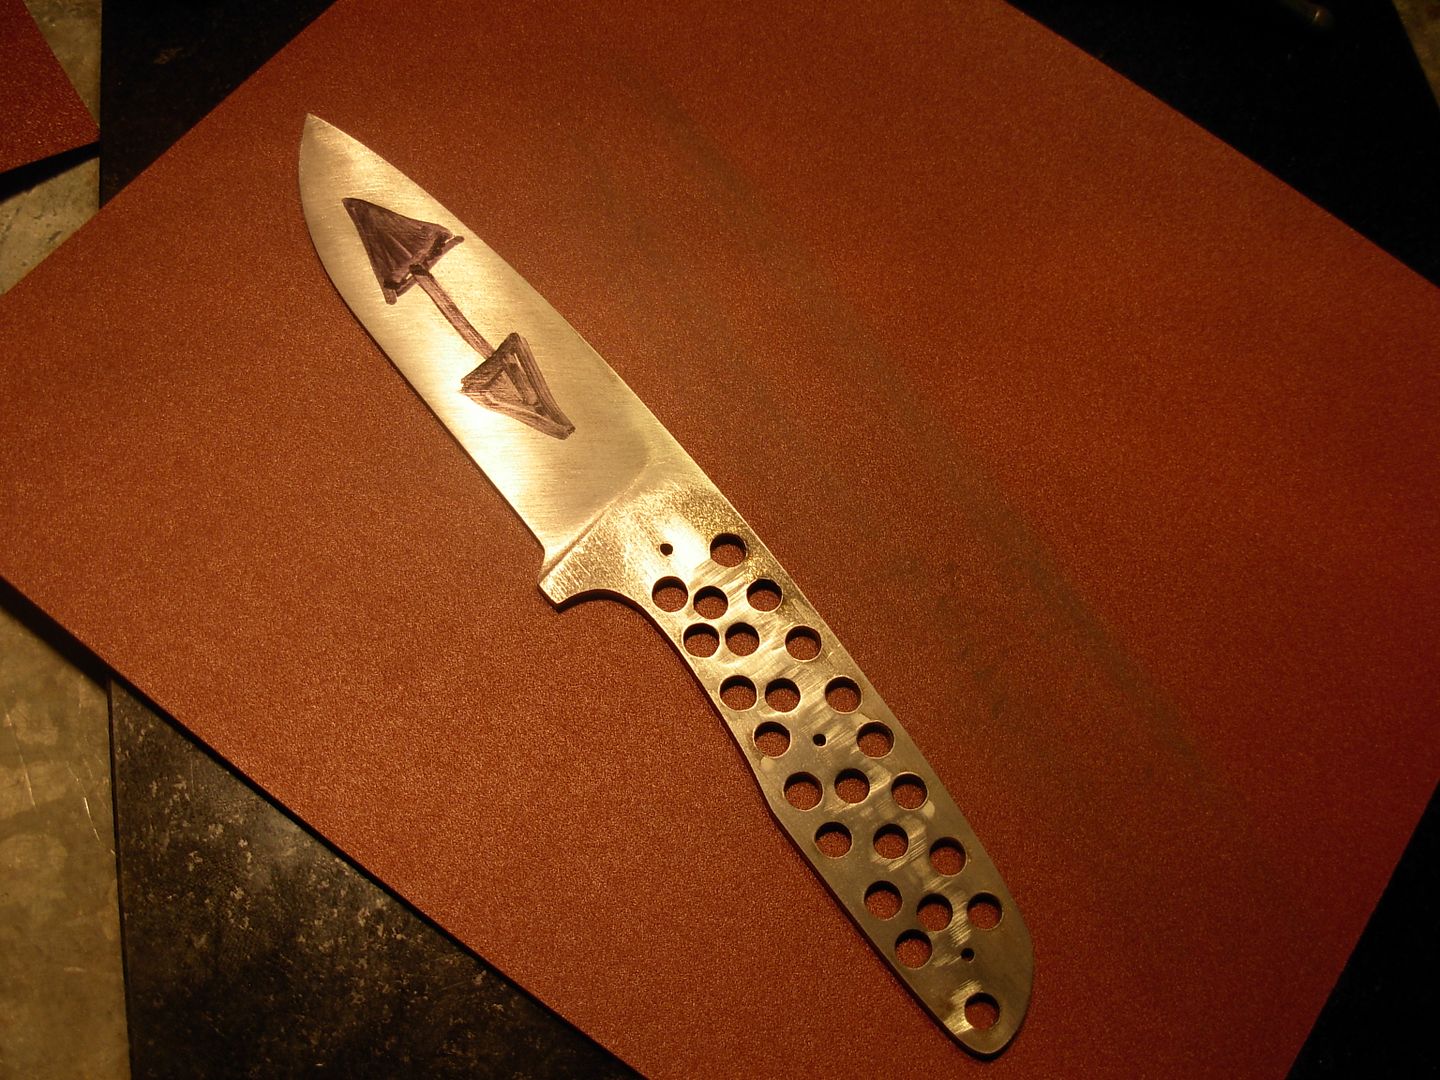
Now we're ready to get our flats truely FLAT. Again with the sharpie... notice a re-occuring theme here with the sharpie ?

004_zpsfda194f3.jpg


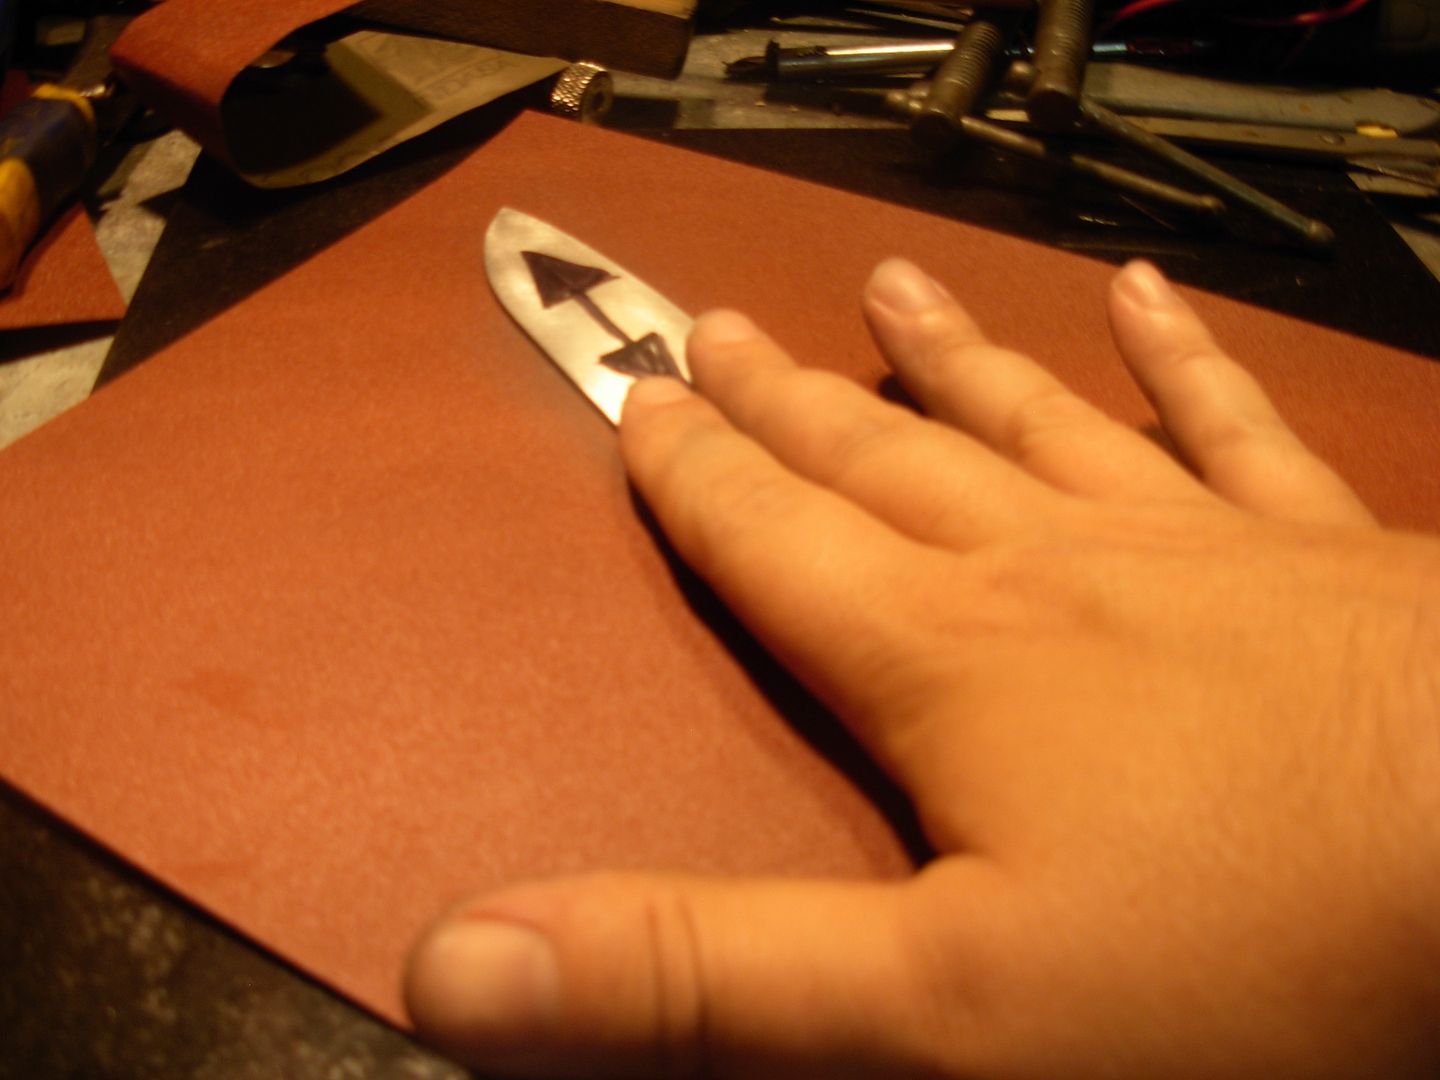
Here I've got a piece of 220 grit paper on my granite tile and I'm sanding the flats in the direction of the arrows.

005_zps6823f885.jpg


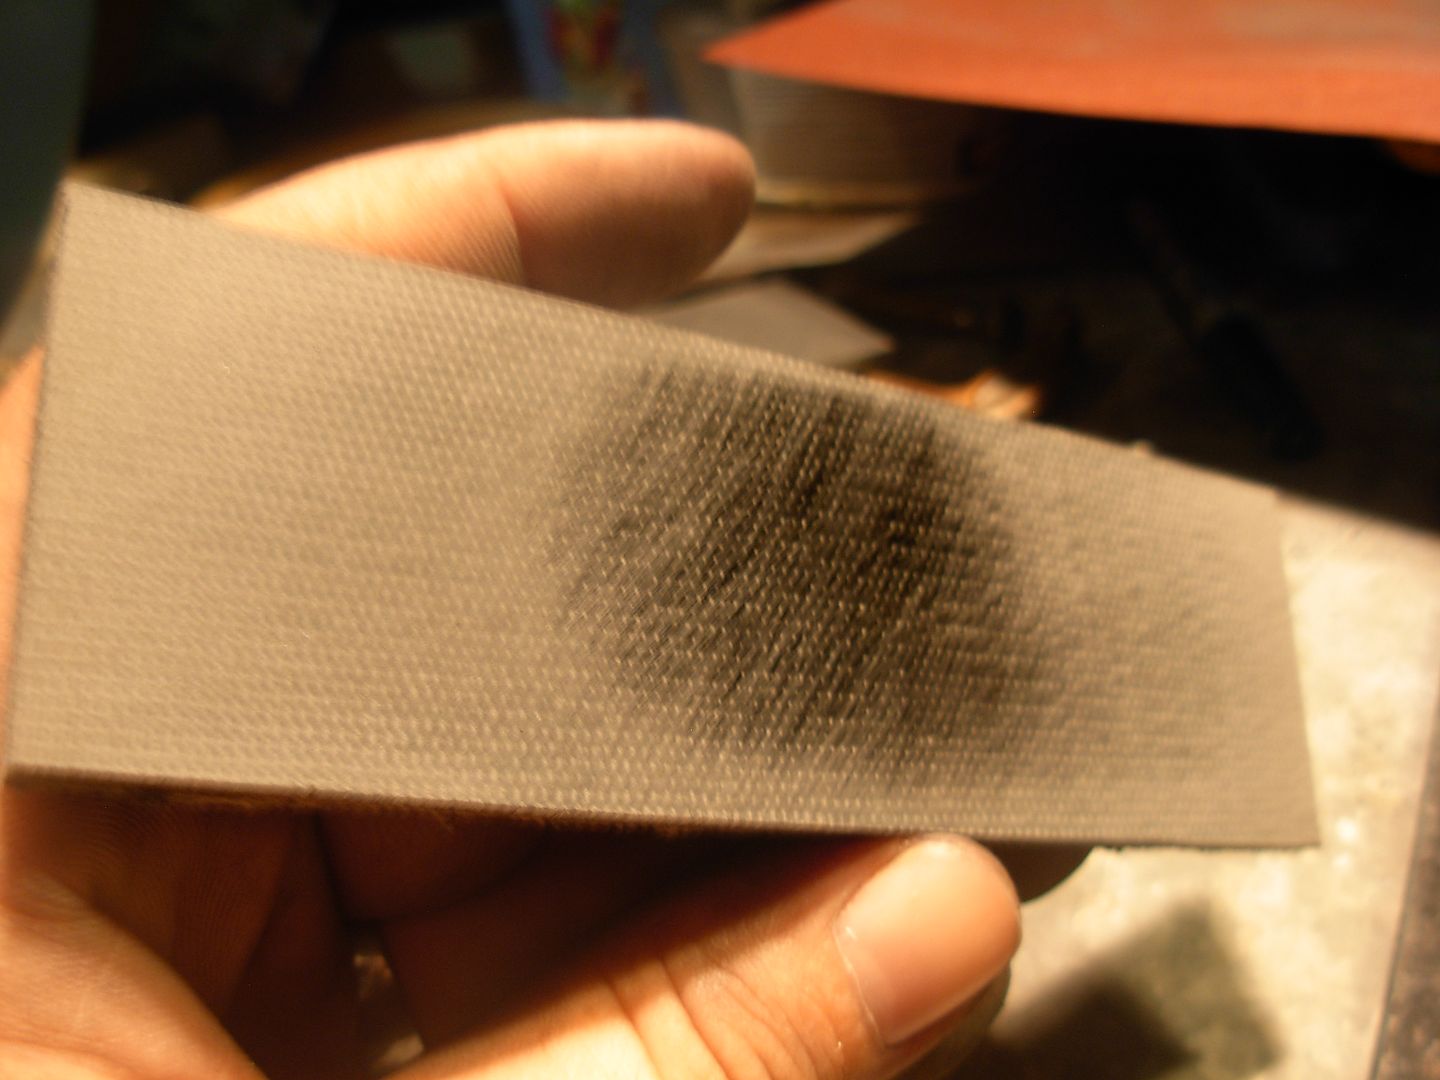
Sand just a little then inspect the flat. The sharpie is necessary to reaveal irregularities that are so slight you'll never even notice them with the naked eye. Read the scratch pattern to determine any issues and their severity. Any area with sharpie still on it is a LOW spot that's not making contact with the paper. Here I've got sharpie left on opposite corners, the bottom edge of the handle at the rear and the top of the ricasso in the front. So what exactly is this telling me ? I've done a nice job straightening and I'm nearly flat in the long plane but what I do have is a TWIST in my handle. I've hardly even sanded this at this point, just enough to clean off the sharpie, so I'll go back to sanding a bit more to see if this is sandable or I need to use force to un-twist my handle.
006_zps8cc088a8.jpg


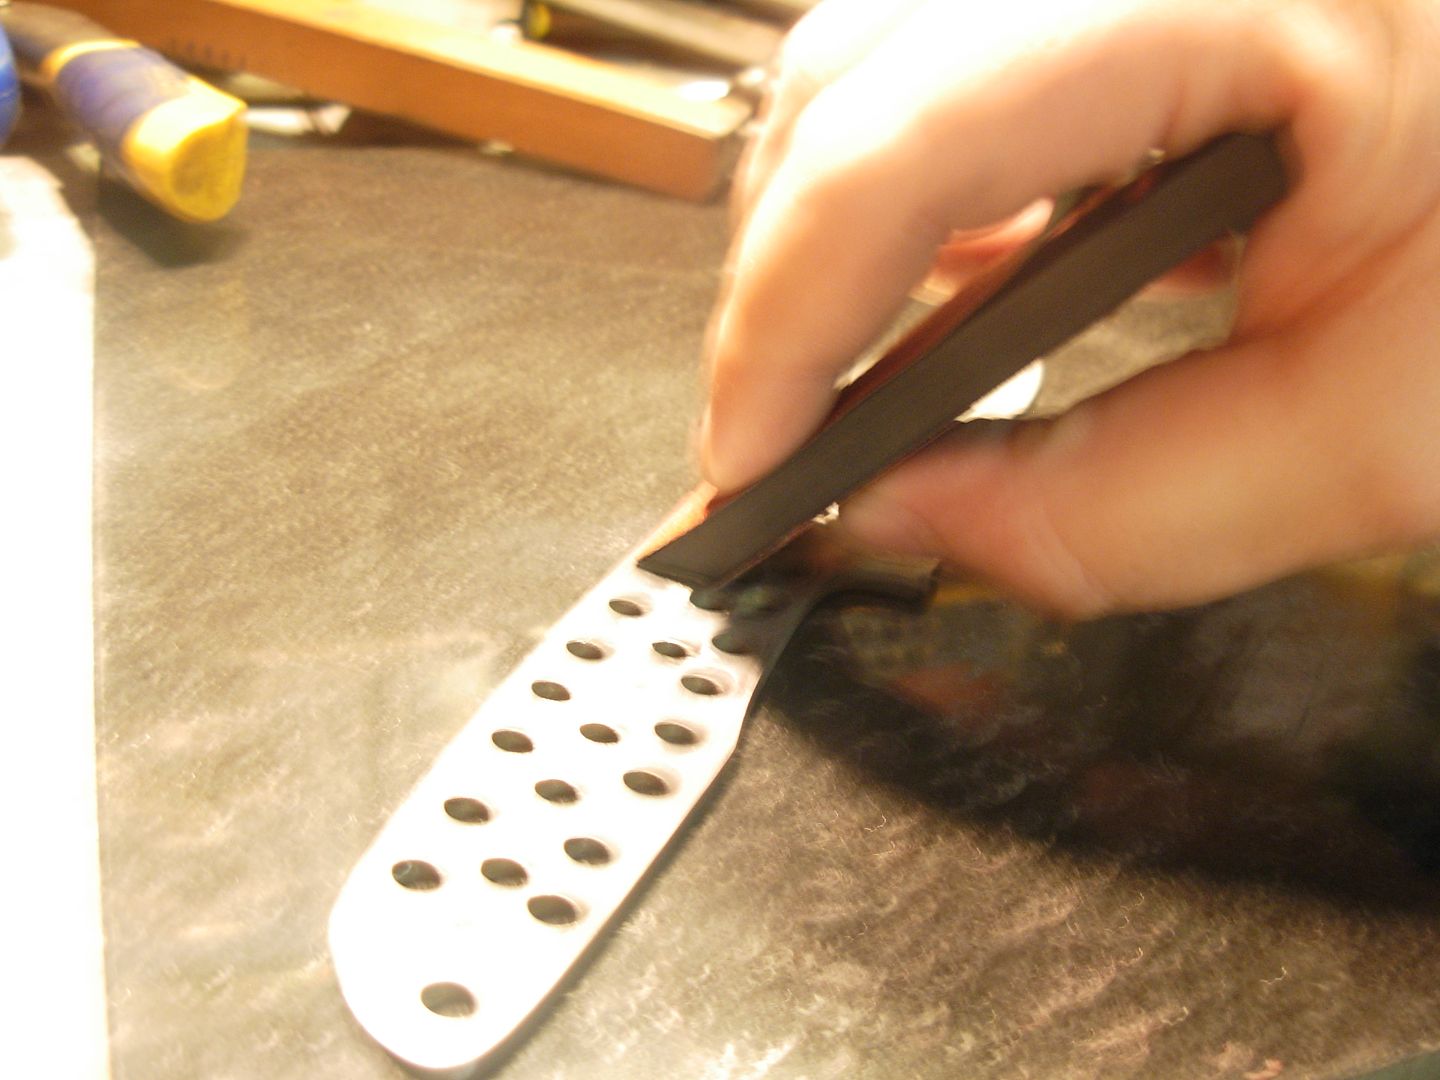
This is how I'm holding the blade for sanding the flats. Even contact with my hand over the area I'm flattening, LIGHT downward pressure, and slide back and forth. LIGHT pressure because I do not want to flex the blade while flattening.

007_zps6627b94b.jpg


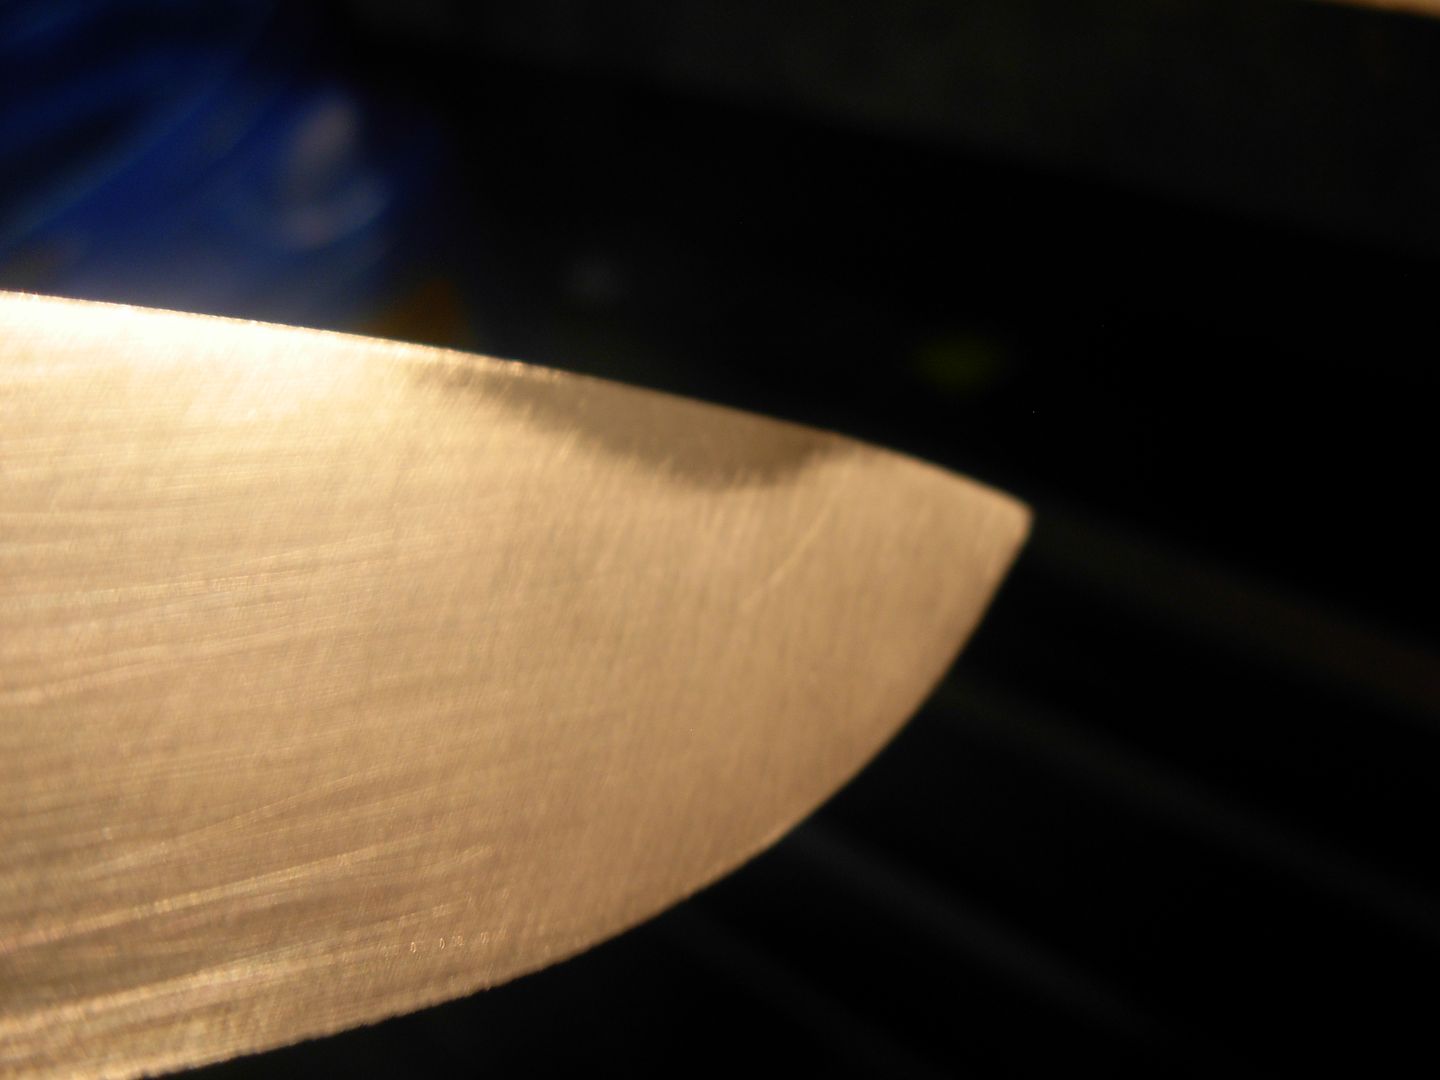
This shiny area out at the tip of the blade is letting me know that I've still got a slight bend on the blade side of my blade. The bend is slight so I'll fix this while sanding out the blade but if it was severe I'd need to stop working the flats and fix the issue to proceed.

008_zps20ea2d95.jpg


Now our flat is TRUELY FLAT. do the same for the opposite side of your blade also

009_zps00df96ab.jpg


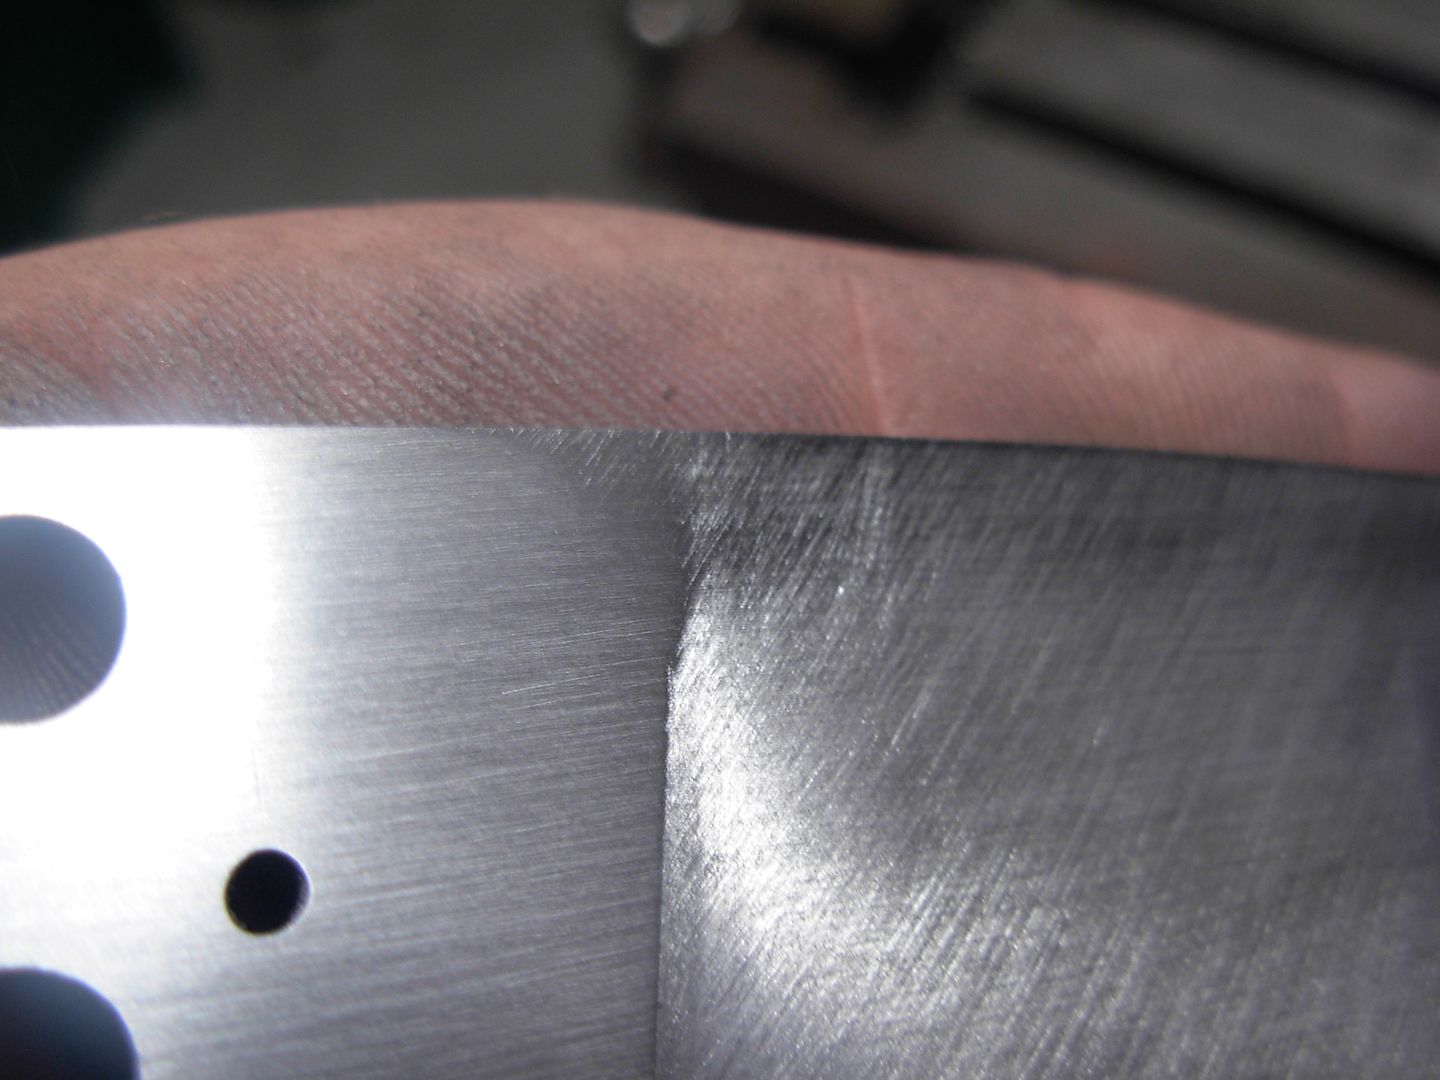
This is a close-up to show that sanding my flats is not extending past the top of the plunge. This isn't a problem but I'll need to pay special attension to this area when sanding the bevele to blend the flat into the bevel.

010_zps96f67c2d.jpg


Here's the other side. You'll notice a fairly large area towards the front of the handle where you can still see a hint of the sharpie. This will finish out fine as-is. Also notice the thin shiny line around the perimeter edge. This is my goal for a gap free fit to my handle scales so I don't need to go any further with it.

011_zpsa50cb484.jpg


On the rearmost hole you'll see that I cam EXTREMELY close to grinding into my perimeter flat. I got very lucky with this and it's going to work out fine but and grinding into the area of my FLATS would be exteremly difficult to correct.

012_zps63033569.jpg


I don't know how to stress this point enough....

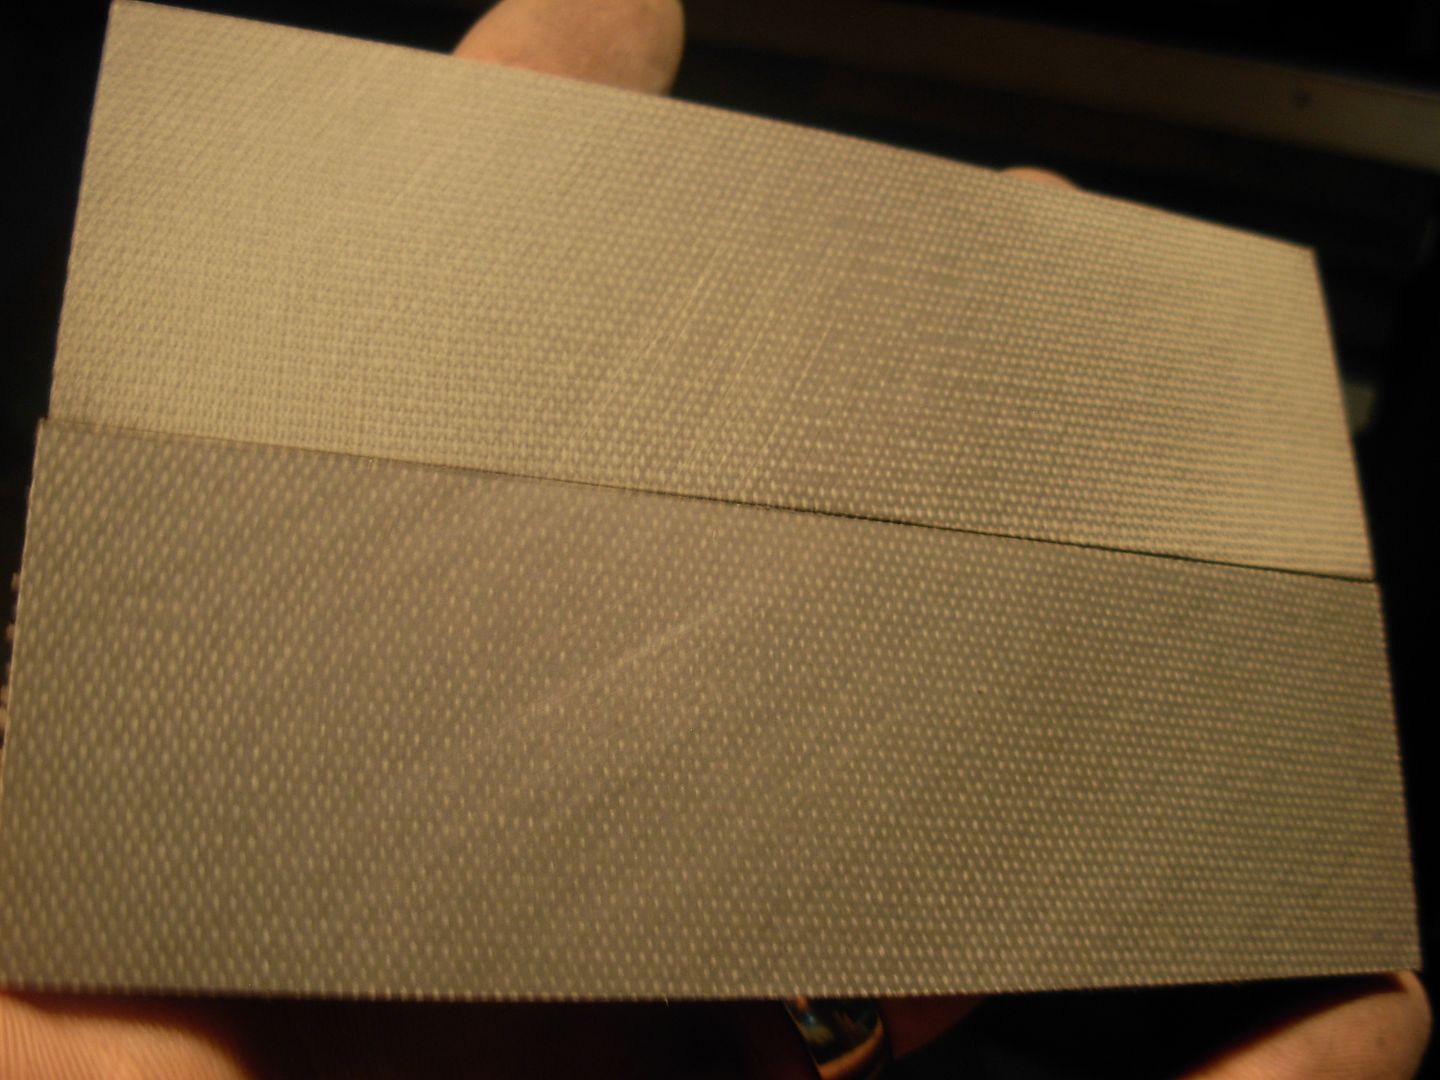
YOU MUST FLATTEN YOUR HANDLE MATERIAL. Handle material is NEVER perfectly flat when you get it.

There are 2 things we want to avoid with our handle material in the construction of our knife.

1. Gaps between the steel and the handle material

2. Handle materail that is bowed or warped in any way. Can we clamp bowed material tight to our blade ? Sure we can so no problem right ? WRONG !!!!! This is a sneeky little problem but this is what will happen eventually. This handle will finish out nicely and you'll pat yourself on the back. Then at some point in the future the handle material will pull away from the blade as it goes back to it's natural warped state.

Now we are working with synthetic handle material so I dont have to worry about tempature chages or humidity changes affect my handle right ? WRONG again. The affects of these things are greatly reduced in comparison to natural materials but they are not elliminated completely.

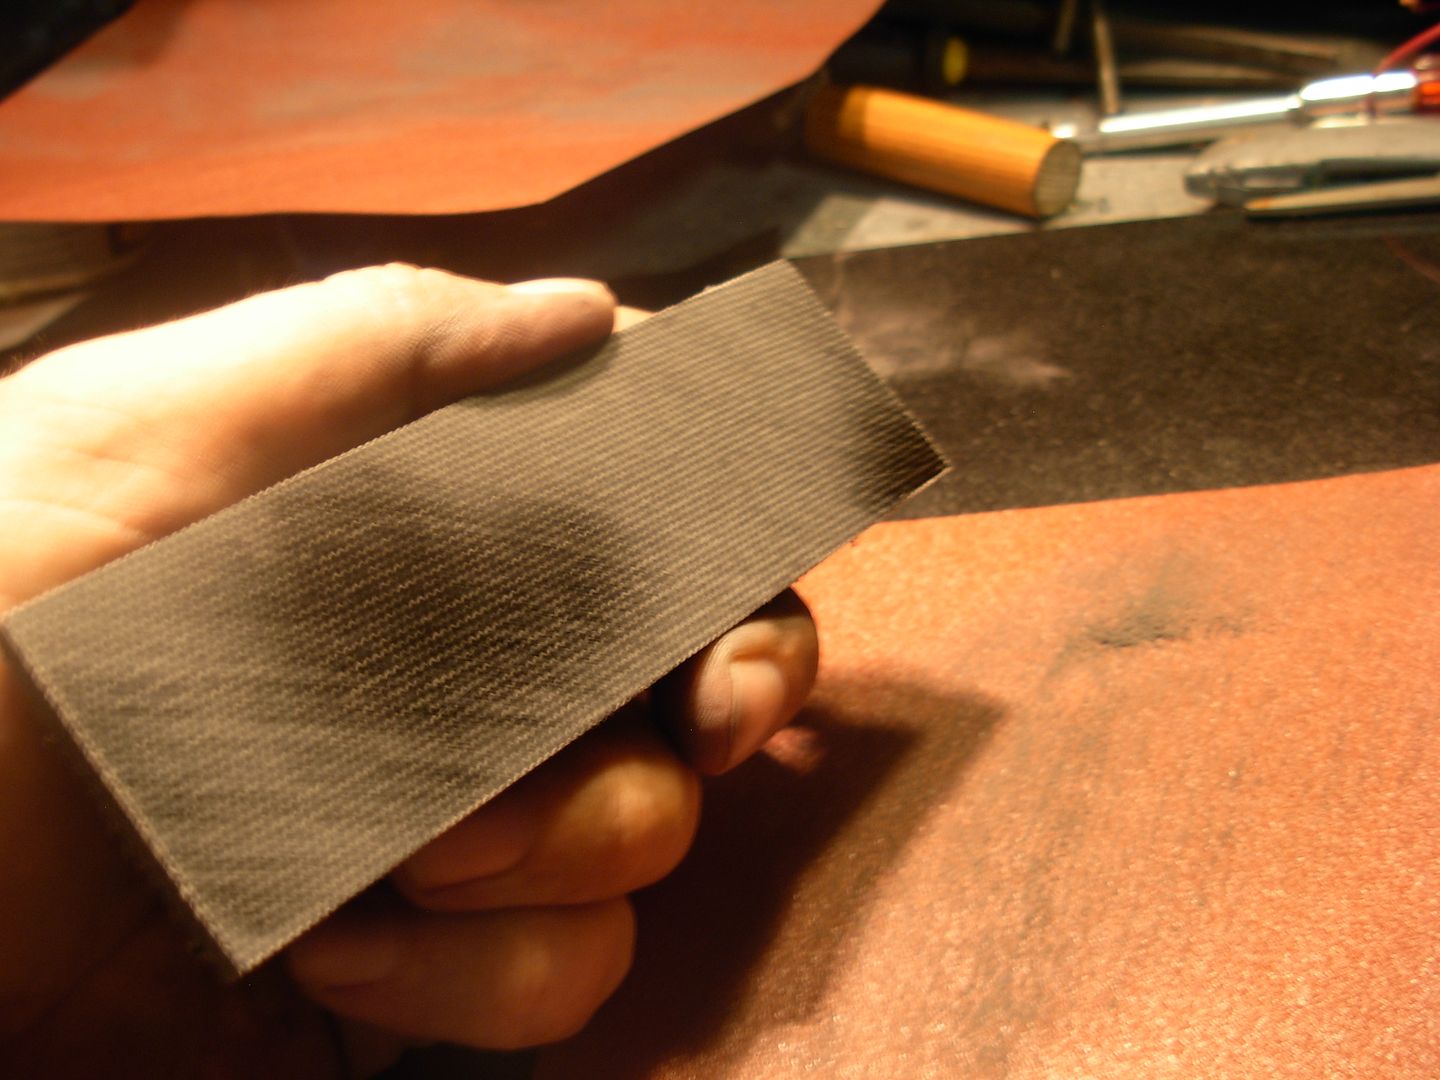
That all said I'm set-up right now for flatenning so I'll flatten my handle material also on some fresh 120 grit paper. Notice the shiny spots after sanding a bit. Nope it sure wasn't FLAT

013_zpsb9007402.jpg


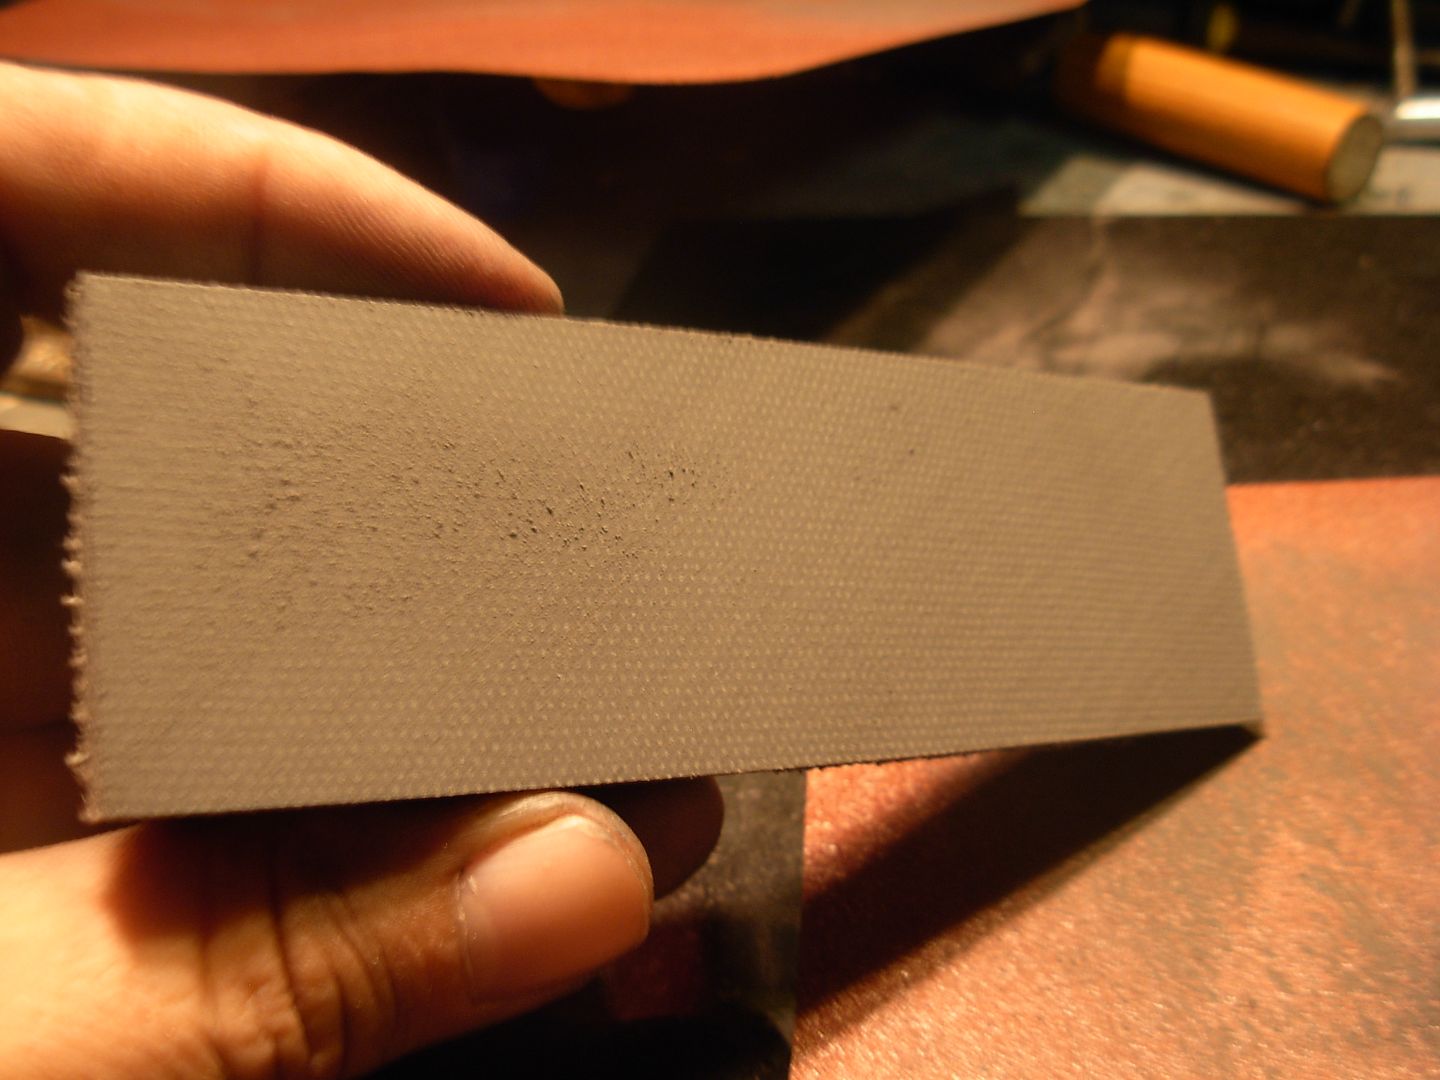
A couple minutes sanding and we've got what we're after

014_zps33ac3130.jpg


Maybe just maybe the other scale will be flat..... NOPE

015_zpse635639b.jpg


NOW these scales are prepared for use on a knife handle :)

016_zpsd8af8dd4.jpg


Now that we have everything straight and flat we want to keep it that way and we know that screwing down to the 2x4 is going to twist and bend our blade so we need something sturdier anf flatter for use in sanding our bevels. This angle iron should do the trick. It's just a section of an old bed frame that was going in the trash.

017_zps6cba10f2.jpg


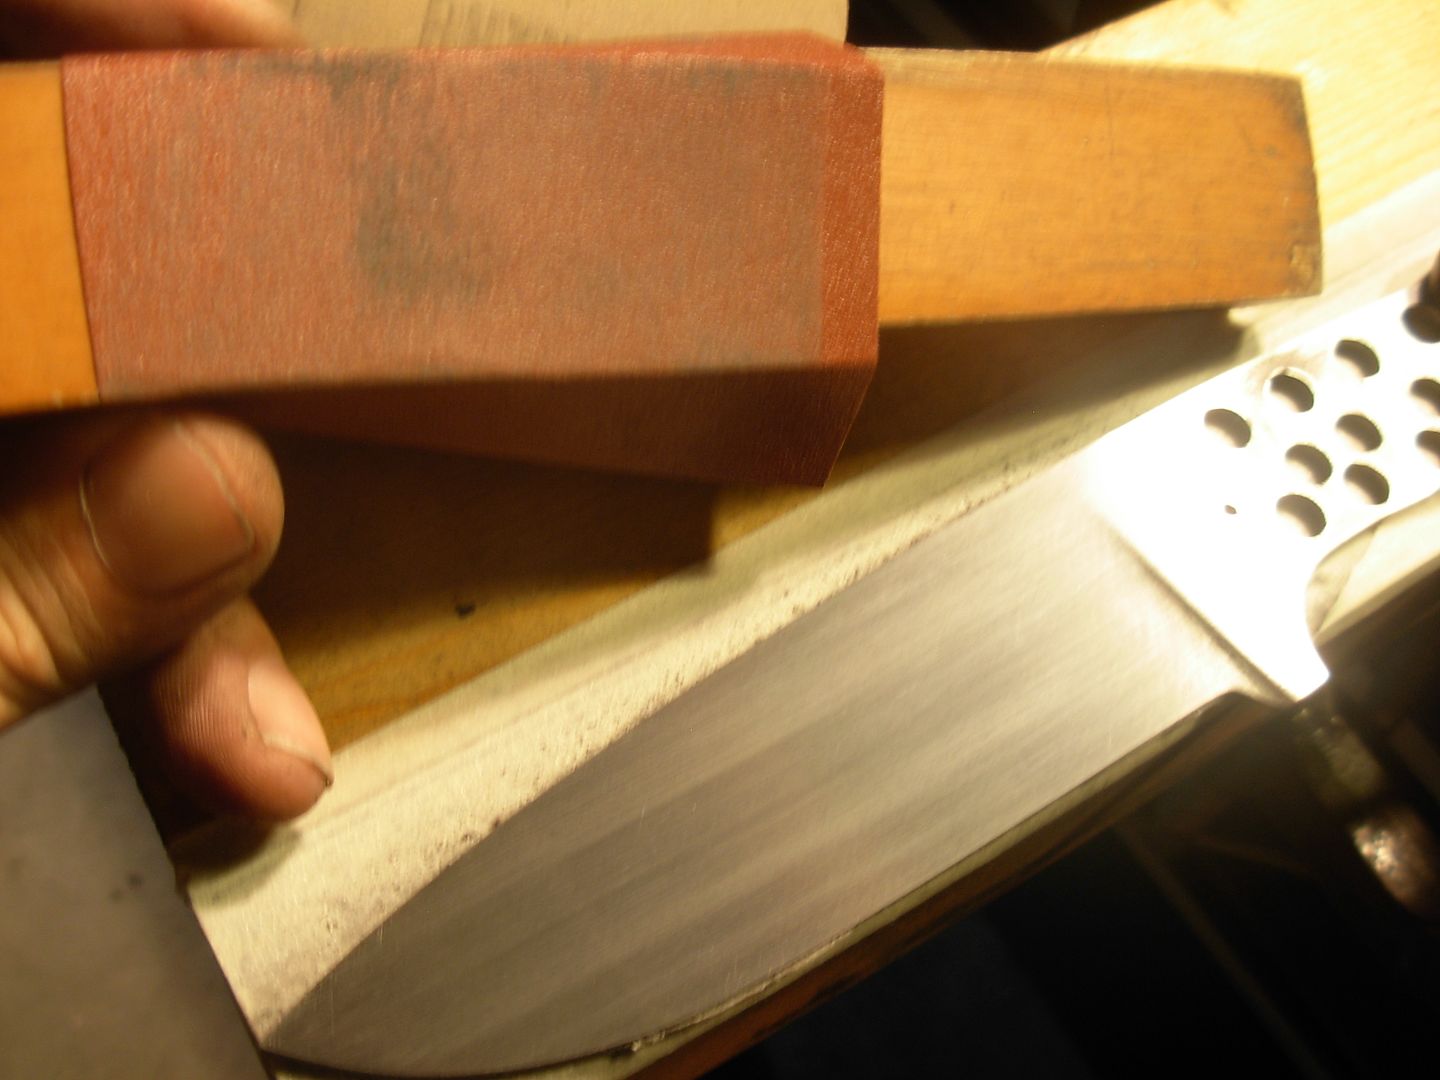
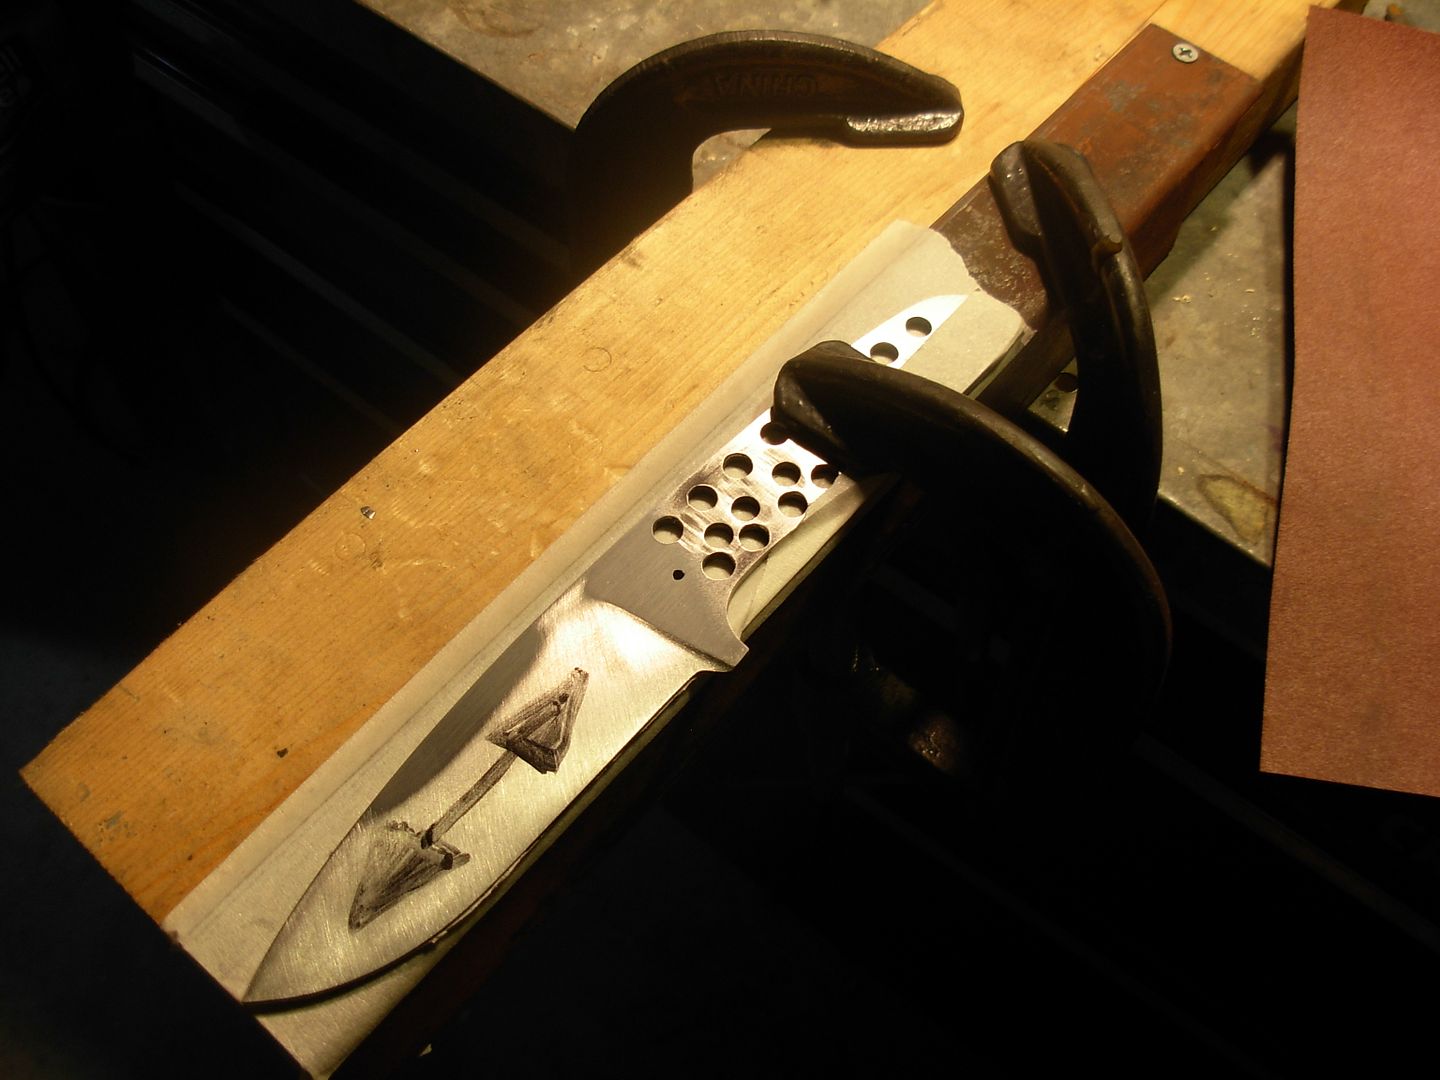
Tape on the blade. Tape on the angle iron. Blade clamped in place safely and ready to sand this bevel in preperation for heat treating.

018_zps399f4d79.jpg


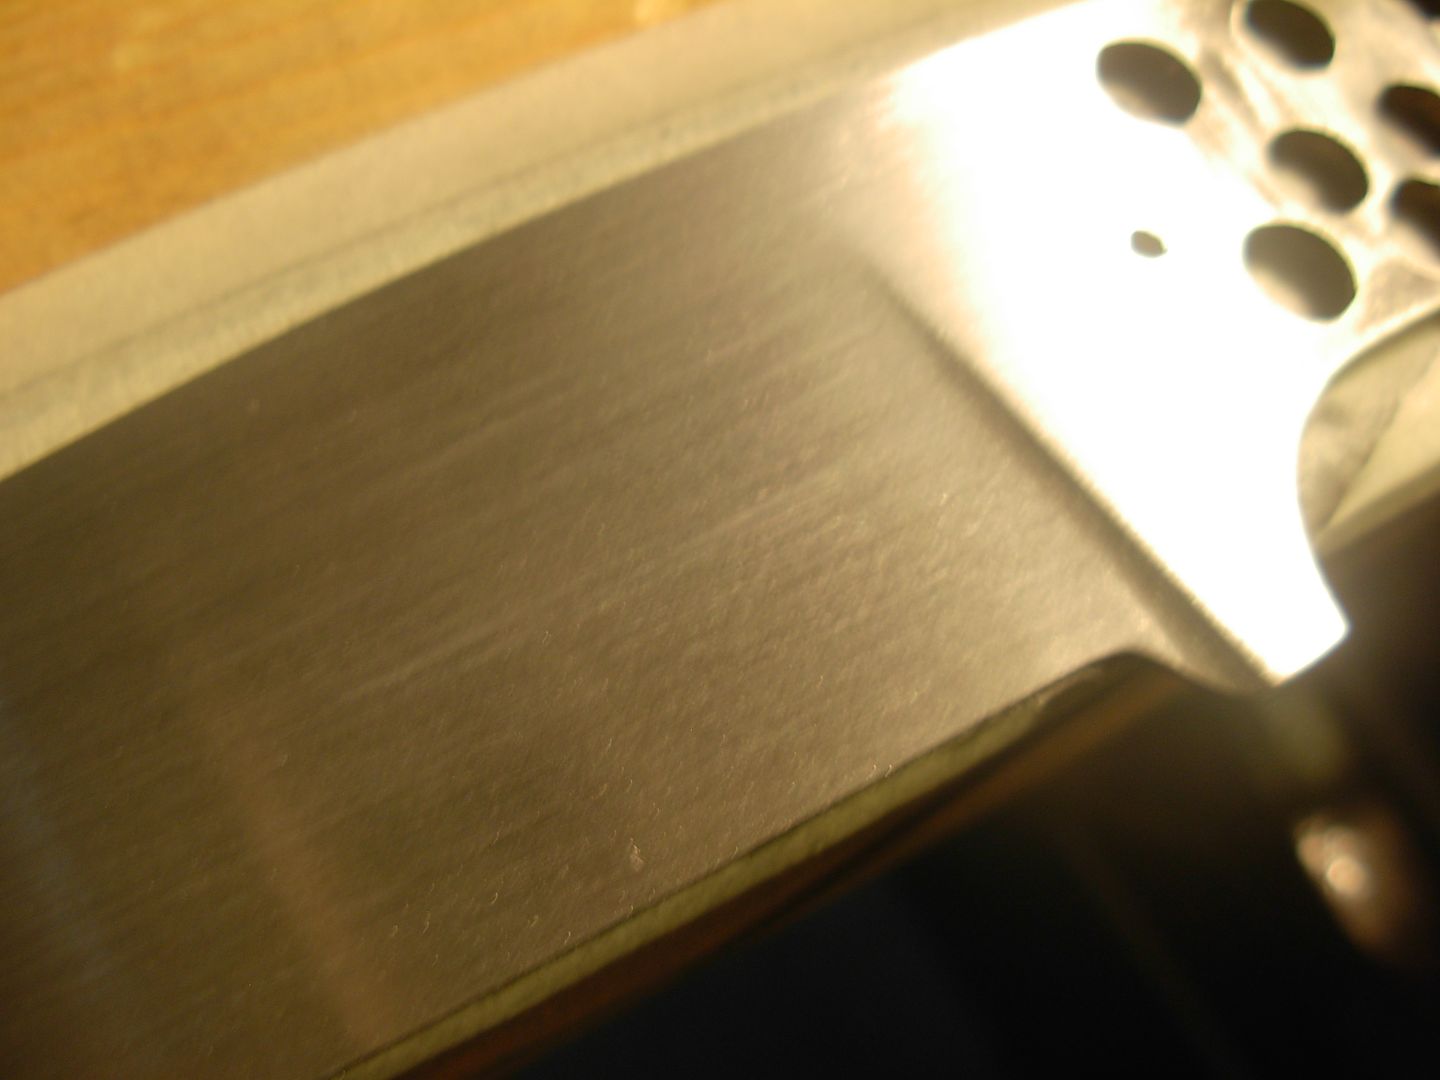
Compared to what we've already done this'll be a cinch. I'm nearly there with just this one little spot of 220 grit paper.

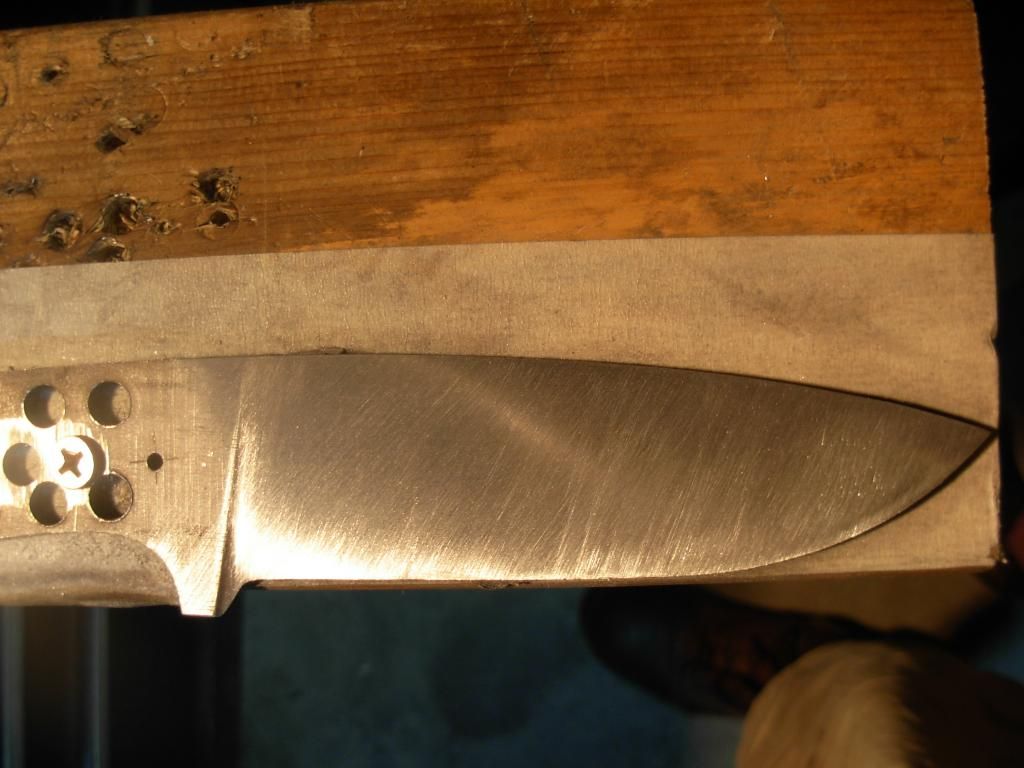
In this Pre Heat Treat stage we don't need to worry about how pretty our finish is. What we do want is to remove all traces of filing and 120 grit scratches and get our scratch pattern running in line with the length of the blade. In short... Scrub it out to 220 and get it done.

019_zpsd8338363.jpg


Done with this side. Getting into the plunge can be a little challenging. Don't be intimidated though just use the corner of your block to scrub right up into the plunge itself.

020_zps32b9bc98.jpg


Un-tape everything then re-tape everything and move your set-up to the other side

021_zps9328bf9f.jpg


Scrub it out just like the first side

022_zpsaf908937.jpg


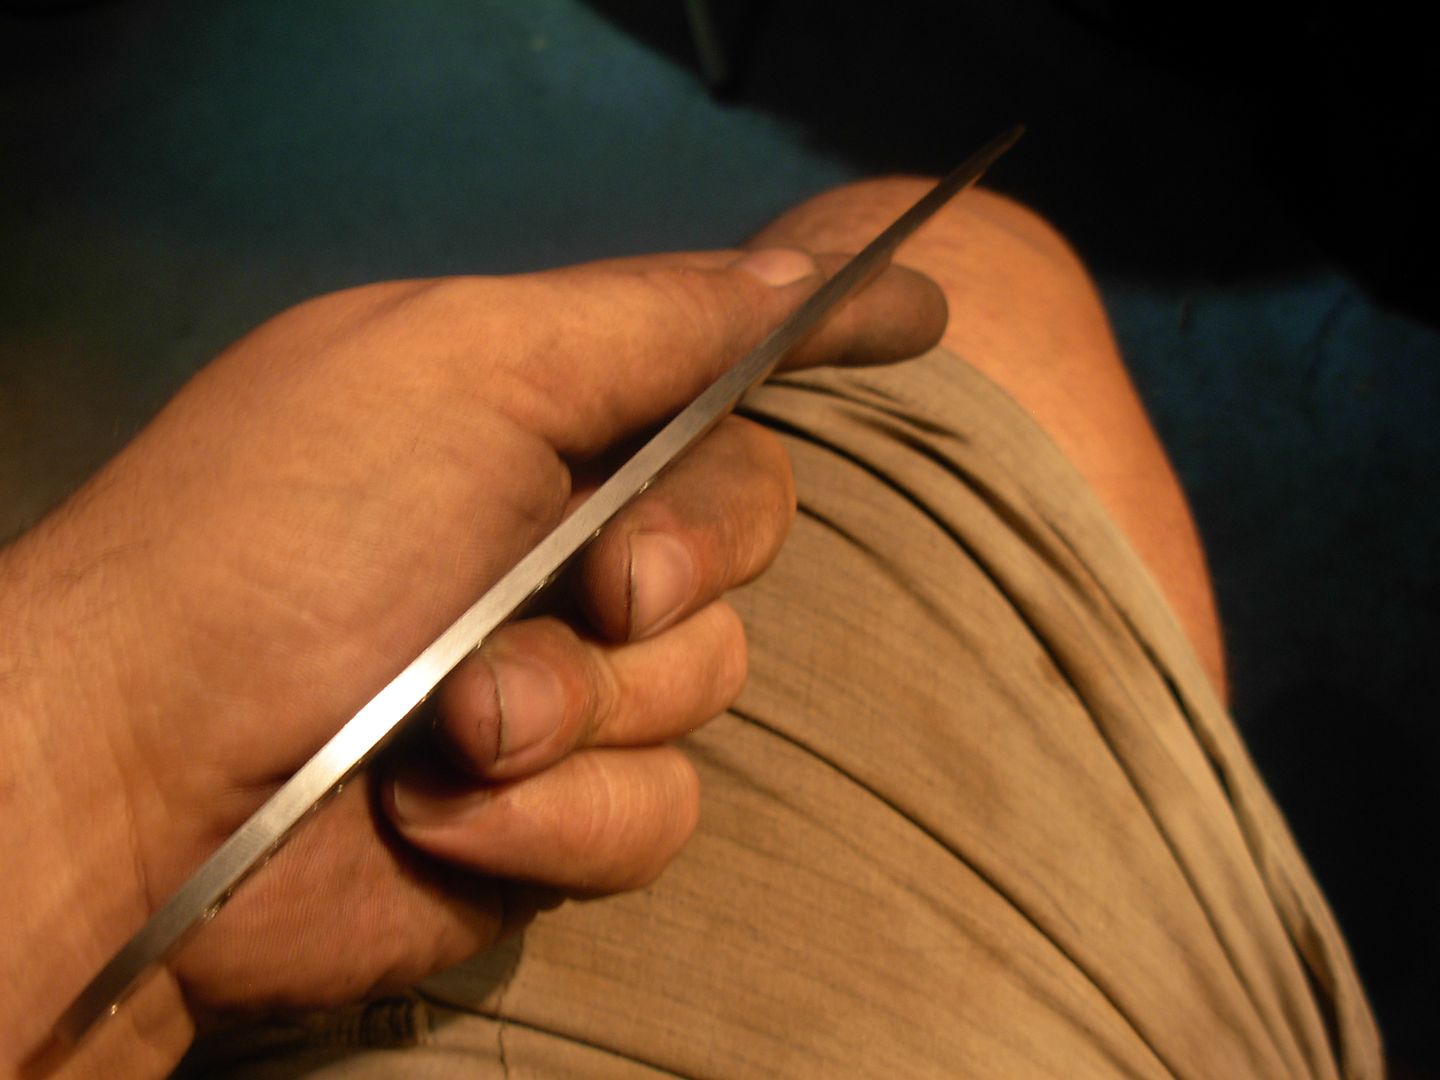
The final step in Stage #1 is to sand the profile with 220 grit paper in line with the length of the blade. Just hold the blade in hand and scrub it out. The goal here is to have ZERO corse scratches or file marks left on the profile and ZERO scratches running across the profile. Everything nice and smooth and running in line with the blade.

023_zpsa5143837.jpg


If you are following this tutorial and reach this point with your blade......

Congratulations

You have officially completed Stage #1 of making your first knife !

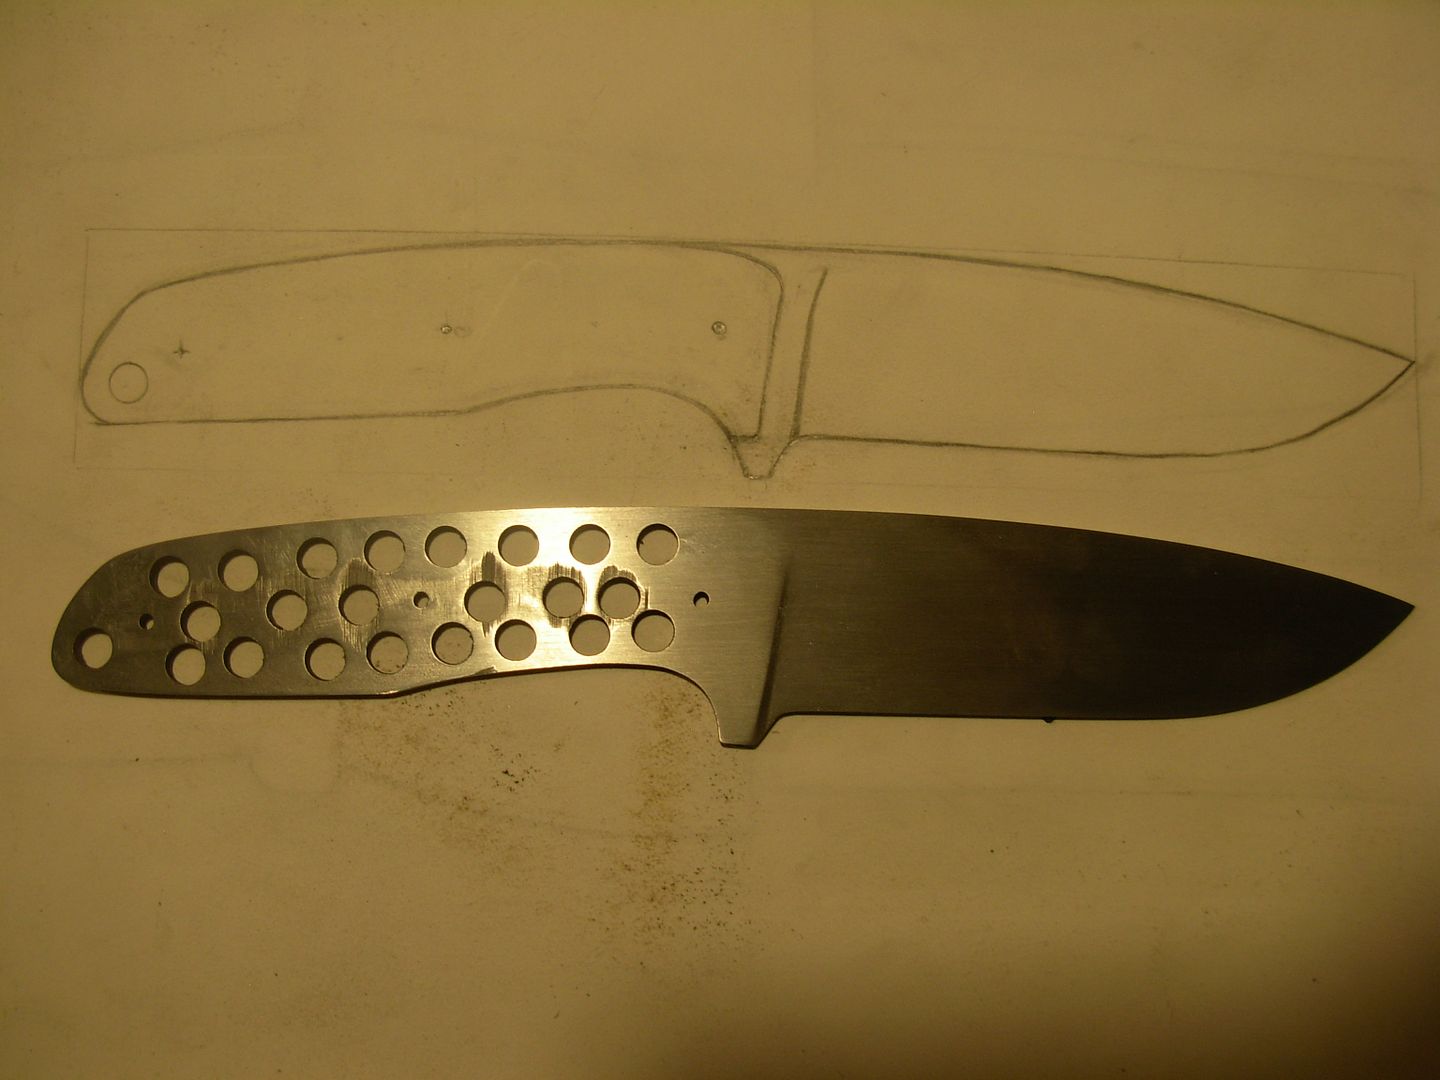
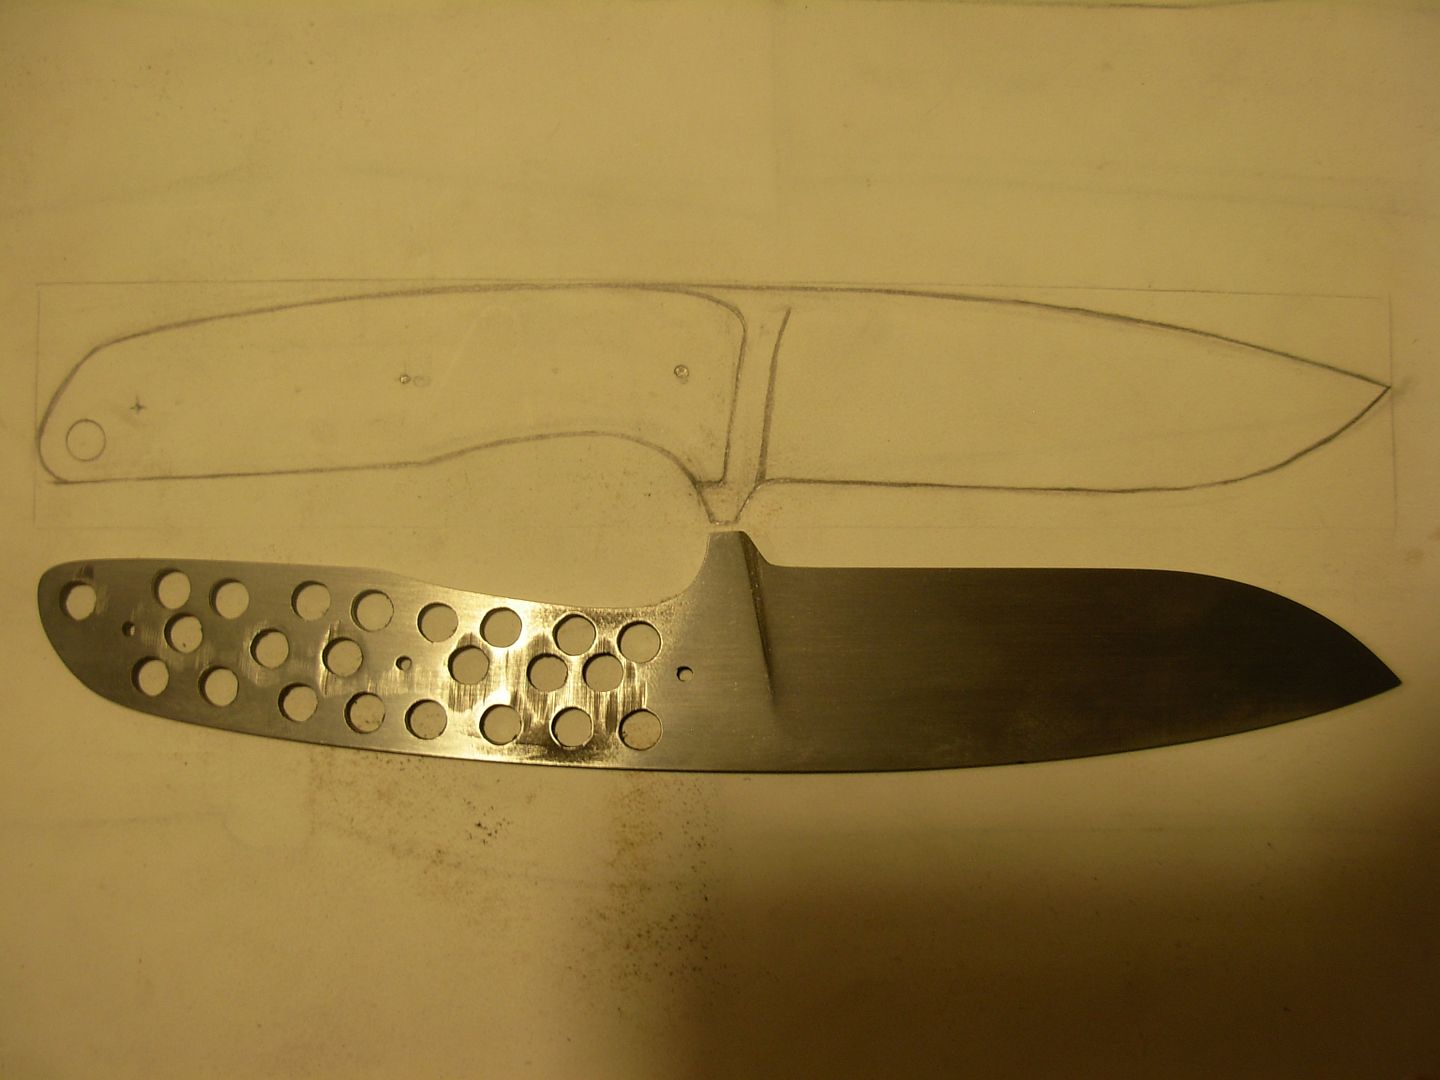
Now you should be patting yourself on the back for a job well done and comparing our blade to our plan to self asses our progress.

024_zps28241a4f.jpg


025_zps1443782b.jpg


-Josh
 
Last edited:
Very Cool Josh,
This the true essence of what a beginner WIP should be.
I don't know how you combat the urge to run to your big grinder, but we all appreciate that you didn't.

Thanks a million,
Steve
 
This is an instant "Best of the Web" how to for the beginner knife maker.

I am really pleased at how our KnifeDogs members have really stepped up with quality WIP's and Tutorials of all kinds. We are going to continue to push this and develop as much content as we can this coming year.

Josh, thanks for the fantastic detail on this one.
 
Welcome to Stage 2 of our knifemaking process !

In this stage we'll be be hardening and tempering our blade.

The biggest obstacle we must overcome is reaching hardening heat. This can be troublesome for the new knifemaker but we're going to overcome this challenge with a locally available tools and materials and some Kaowool you can oreder from USAKnifeMaker.com along with your Kit.

This is exactly what you'll need to duplicate my build that will follow-
http://usaknifemaker.com/forging-to...2-173/kaowool-8lb-density-1-x24-x-1-foot.html

To harden our 1084 we'll need to reach approximately 1500 degrees.

A common propane or MAP gas torch has enough heat to reach this temperature but IMHO lacks enough volume to harden a blade in the conventional way of playing the flame over the blade to bring the temperature up. Put more simply... You'll get a small area up to heat but this area will cool back down before you get the entire length up to heat.

To solve this problem what is needed is to contain the heat from the torch to heat up a larger volume of air. Our method to accomplish this is going to be building our own torch powered micro forge.

This is not a brand new concept just my variation on the "one brick forge"

I designed this forge with a few goals such as cost, durability, ease of construction, and availability of materials in mind.

Building the micro forge is FAR easier than making our blade so have no fear and keep reading for detailed instruction on building your own micro forge.

-Josh
 
Lets build our micro forge !

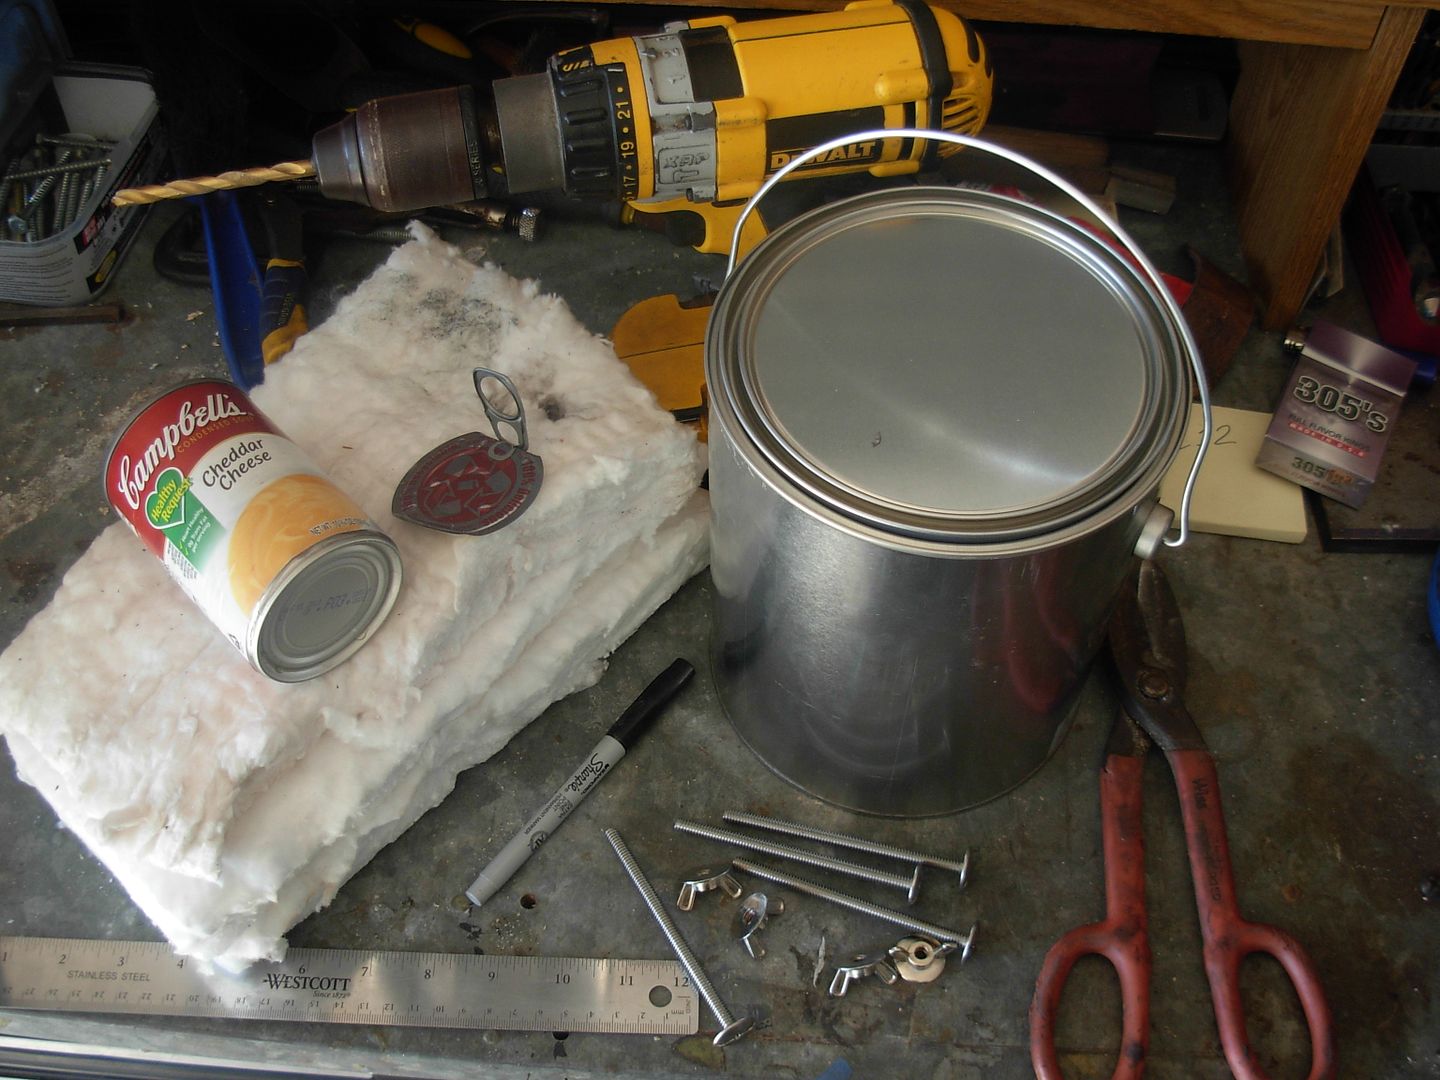
I've gathered up the tools and materials I'm going to use for the build.

The paint can body is an empty can available at Home Depot for $4.98 These are located in the paint department near the buckets. I built my prototype with a metal coffee can which will work equally well if you have one laying around.

The soup can is obviously a Campbells can with a pulltop lid. The signifigance of this choice is the size of the can. It's large enough for our purpose but smaller than other cans I had in the cupboard.

I had these bolts and wingnut's on hand. They are 1/4-20 bolts 4" long

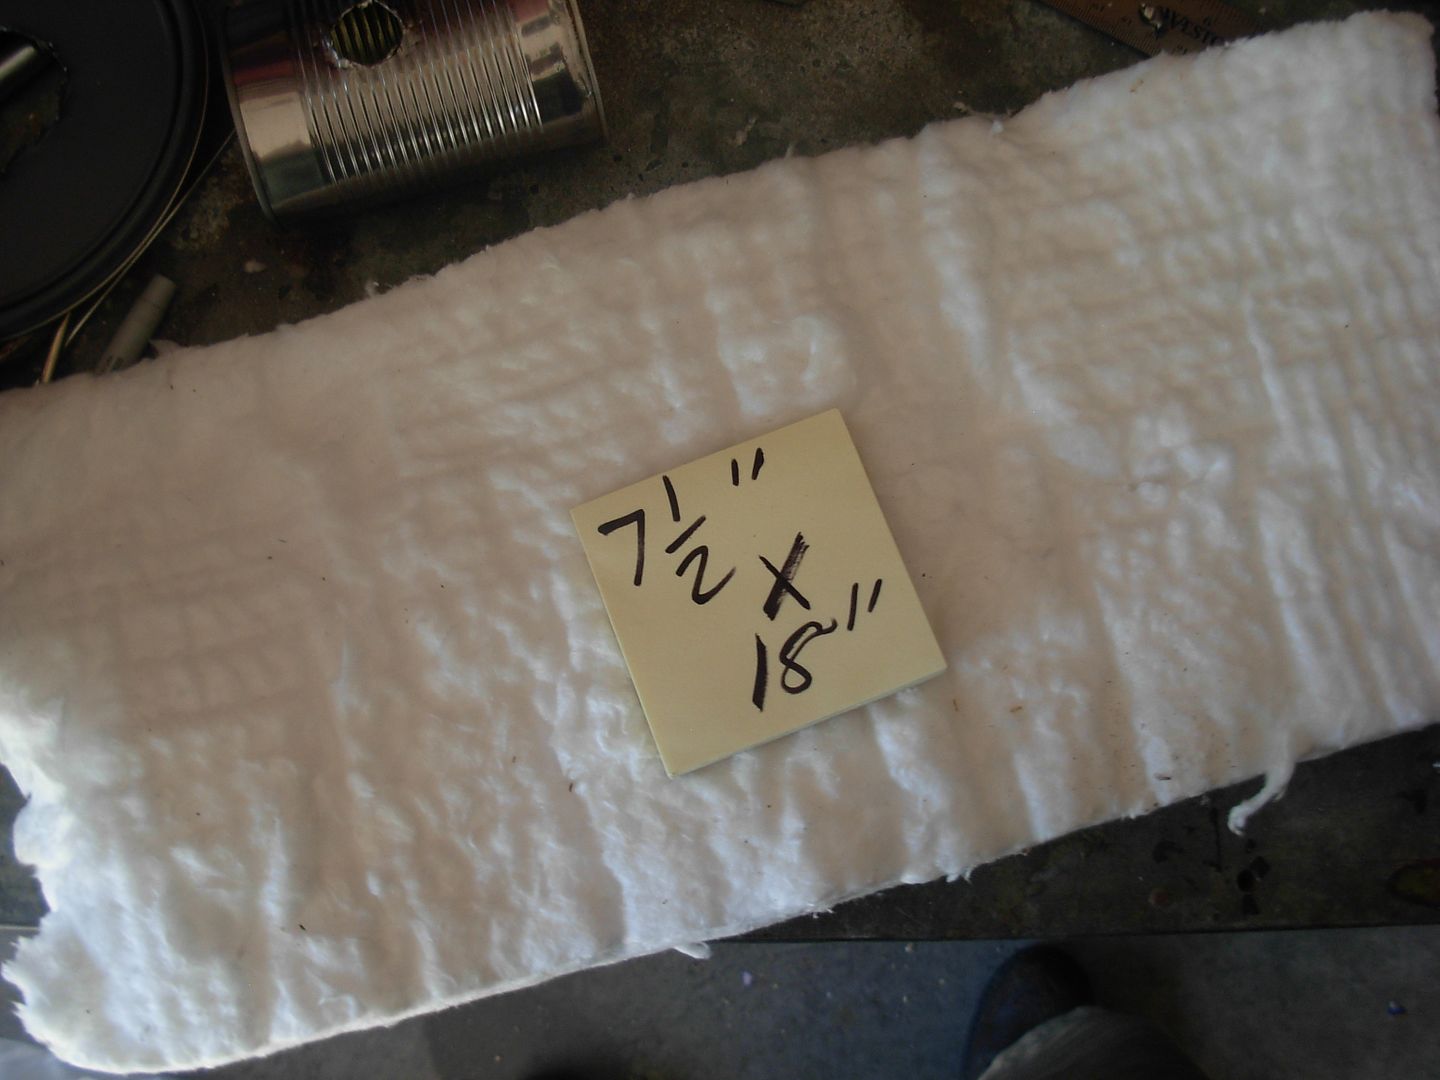
I also had the Kaowool on hand from another forge build. The pieces I ended up using for this build are 7 1/2x18 and a second piece 4x12

The tools used for construction are-
Drill with 1/4" bit
Tin snips
Sharpie
ruler
Channel locks & Linesmans pliers

paintcanforge001_zpsbf3add86.jpg


The first step is to remove the handle from the paint can. Drill a hole here on both sides and oblong them a little.

paintcanforge002_zps73b8a665.jpg


This little button that holds the handle on is pressed into the side of tha can. Grip it, squish it, and pull it off

paintcanforge003_zps365eef58.jpg


Once those buttons are removed you'll see this

paintcanforge004_zps577e637d.jpg


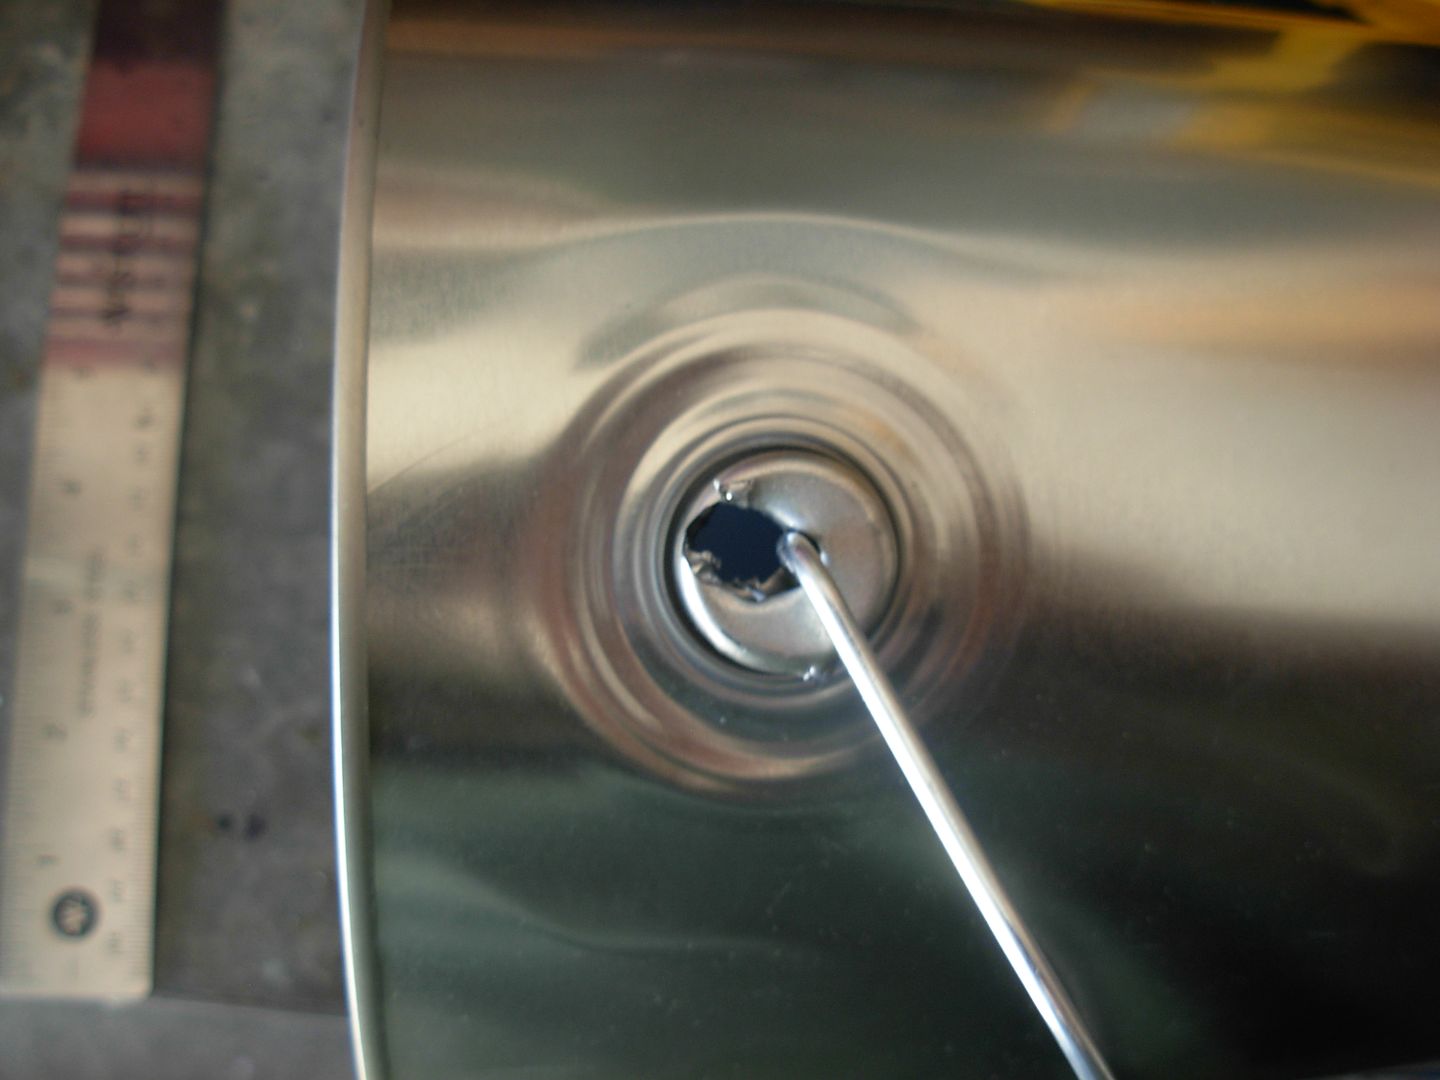
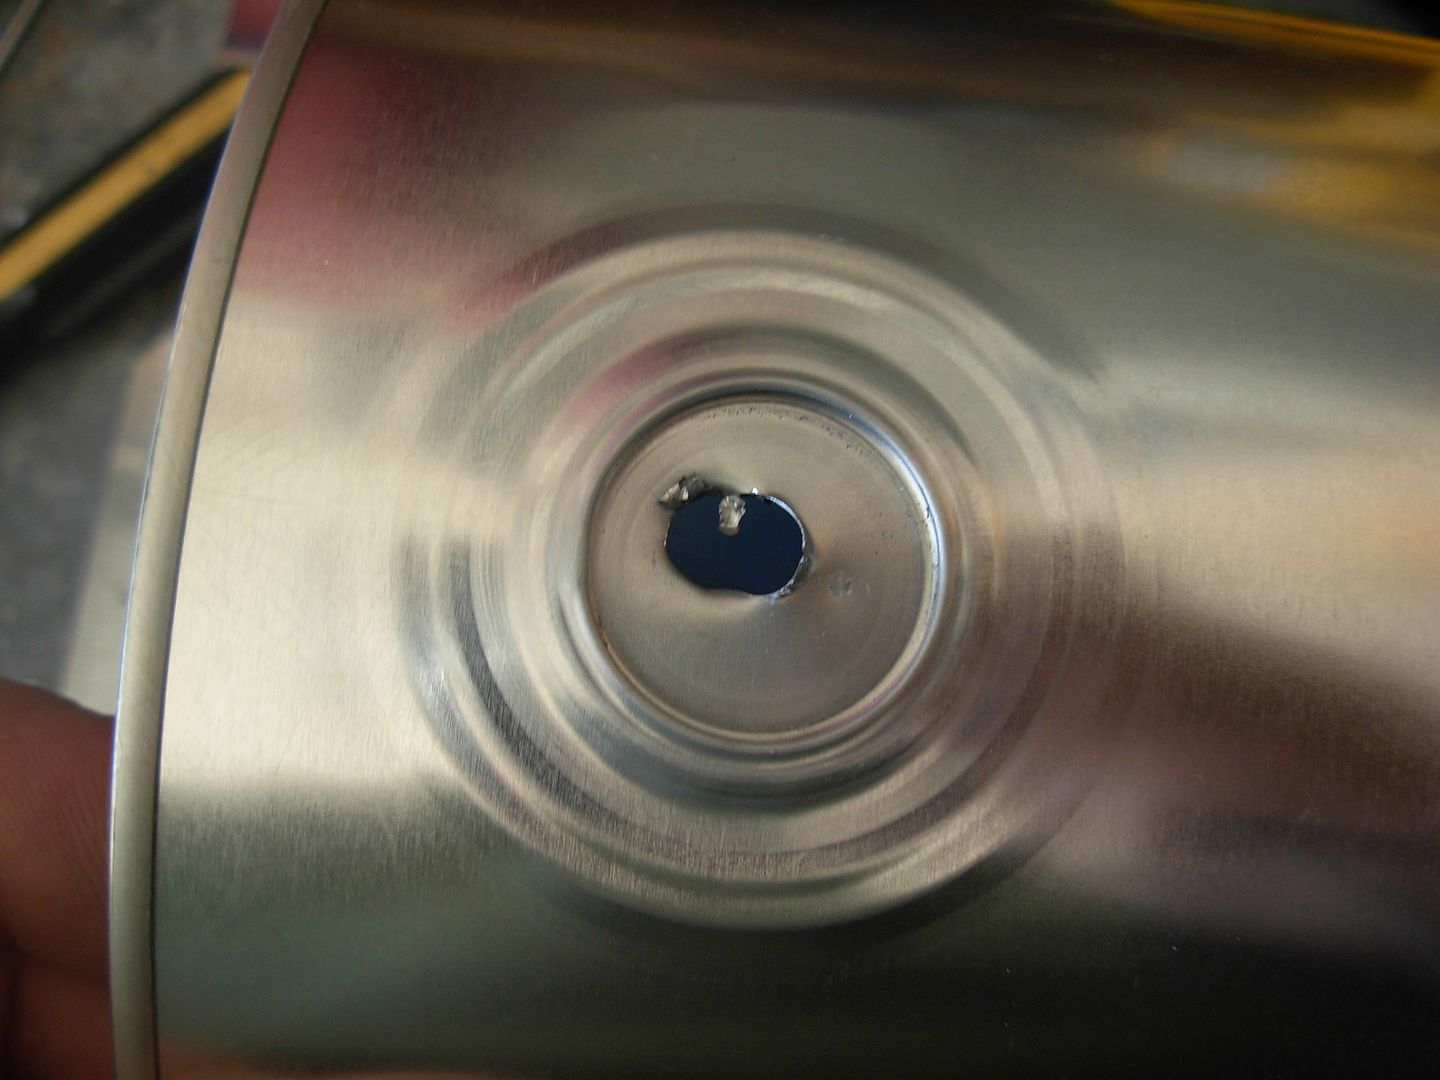
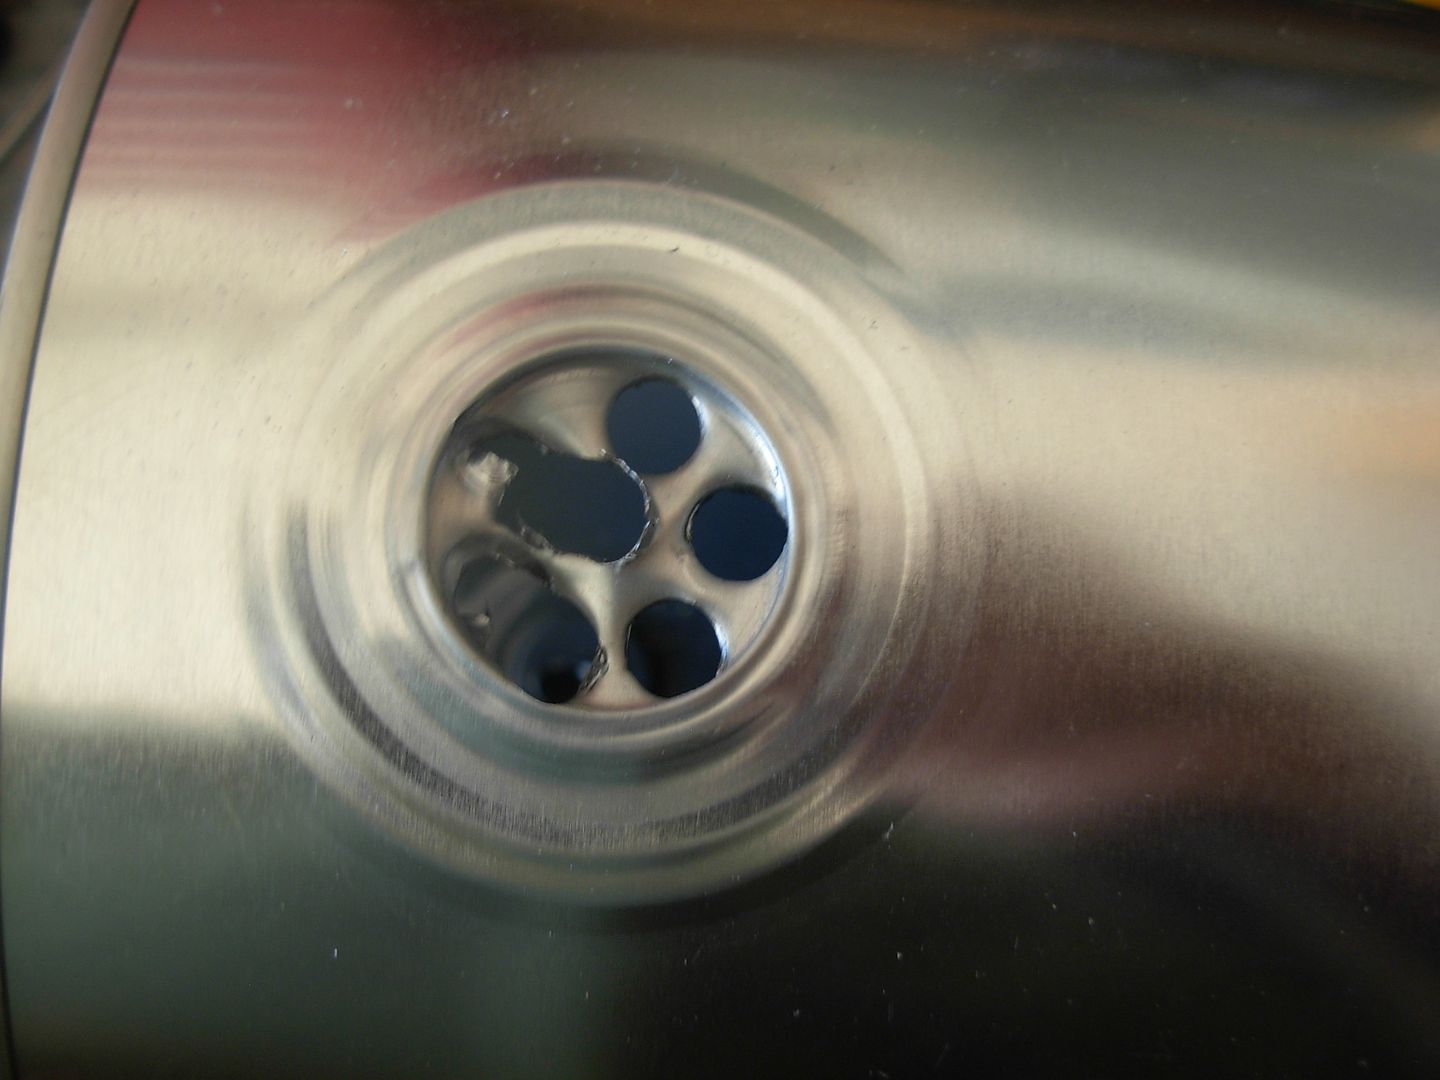
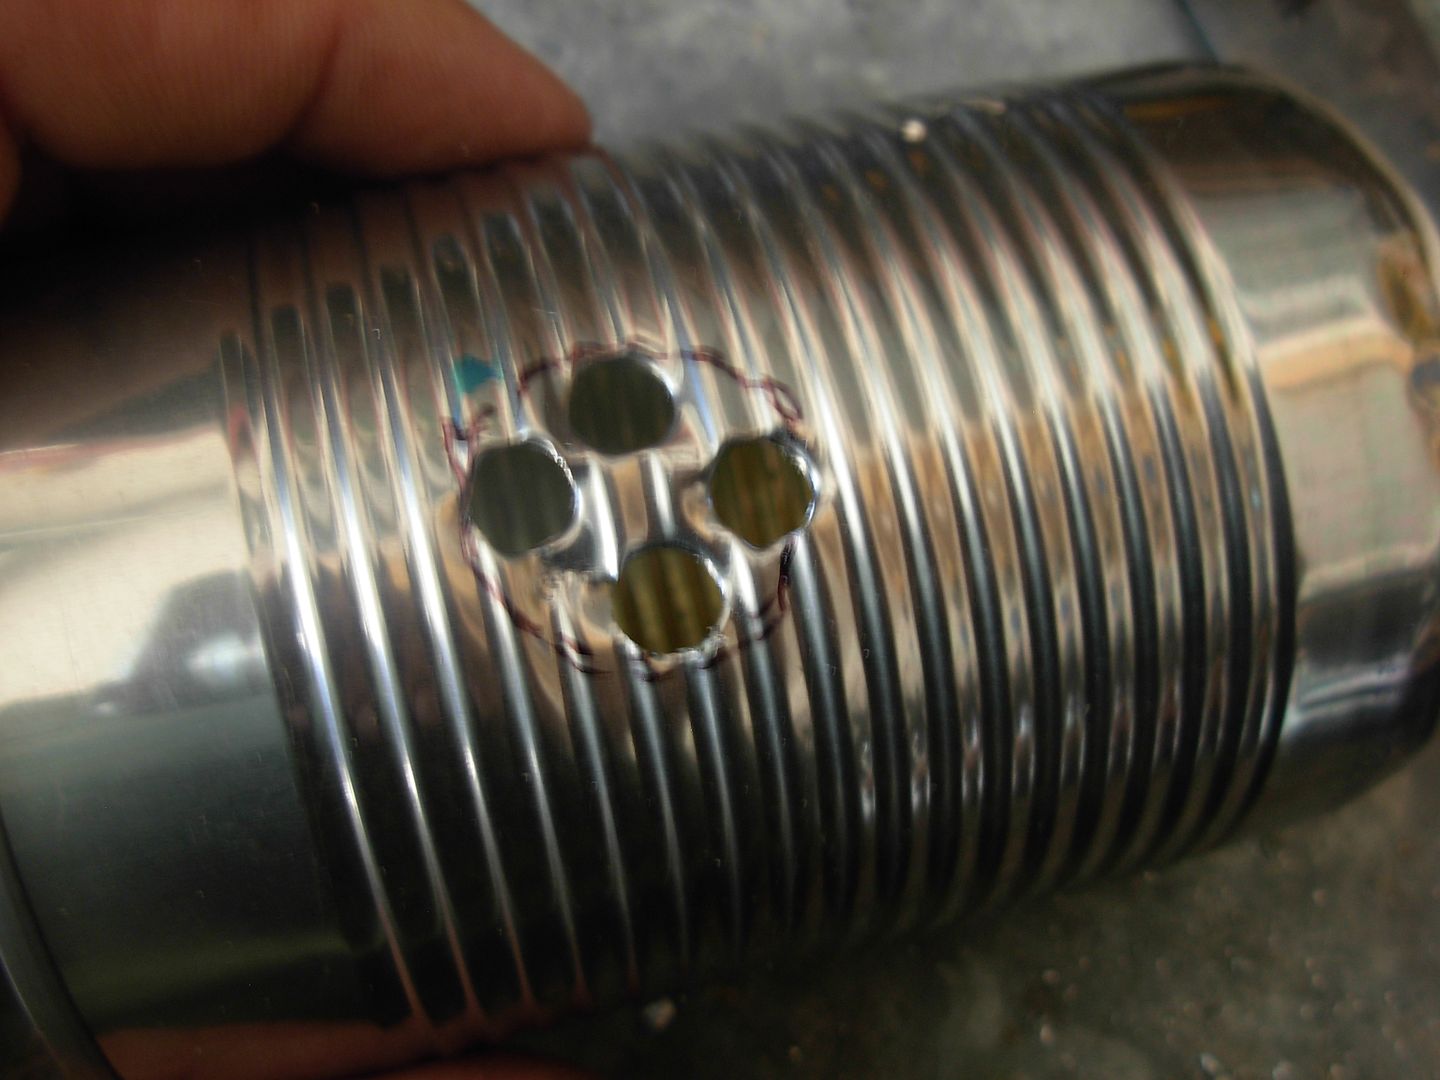
This area is going to be the hole the torch to enter the forge chamber so drill a bunch of holes around it

paintcanforge005_zps4e3504f8.jpg


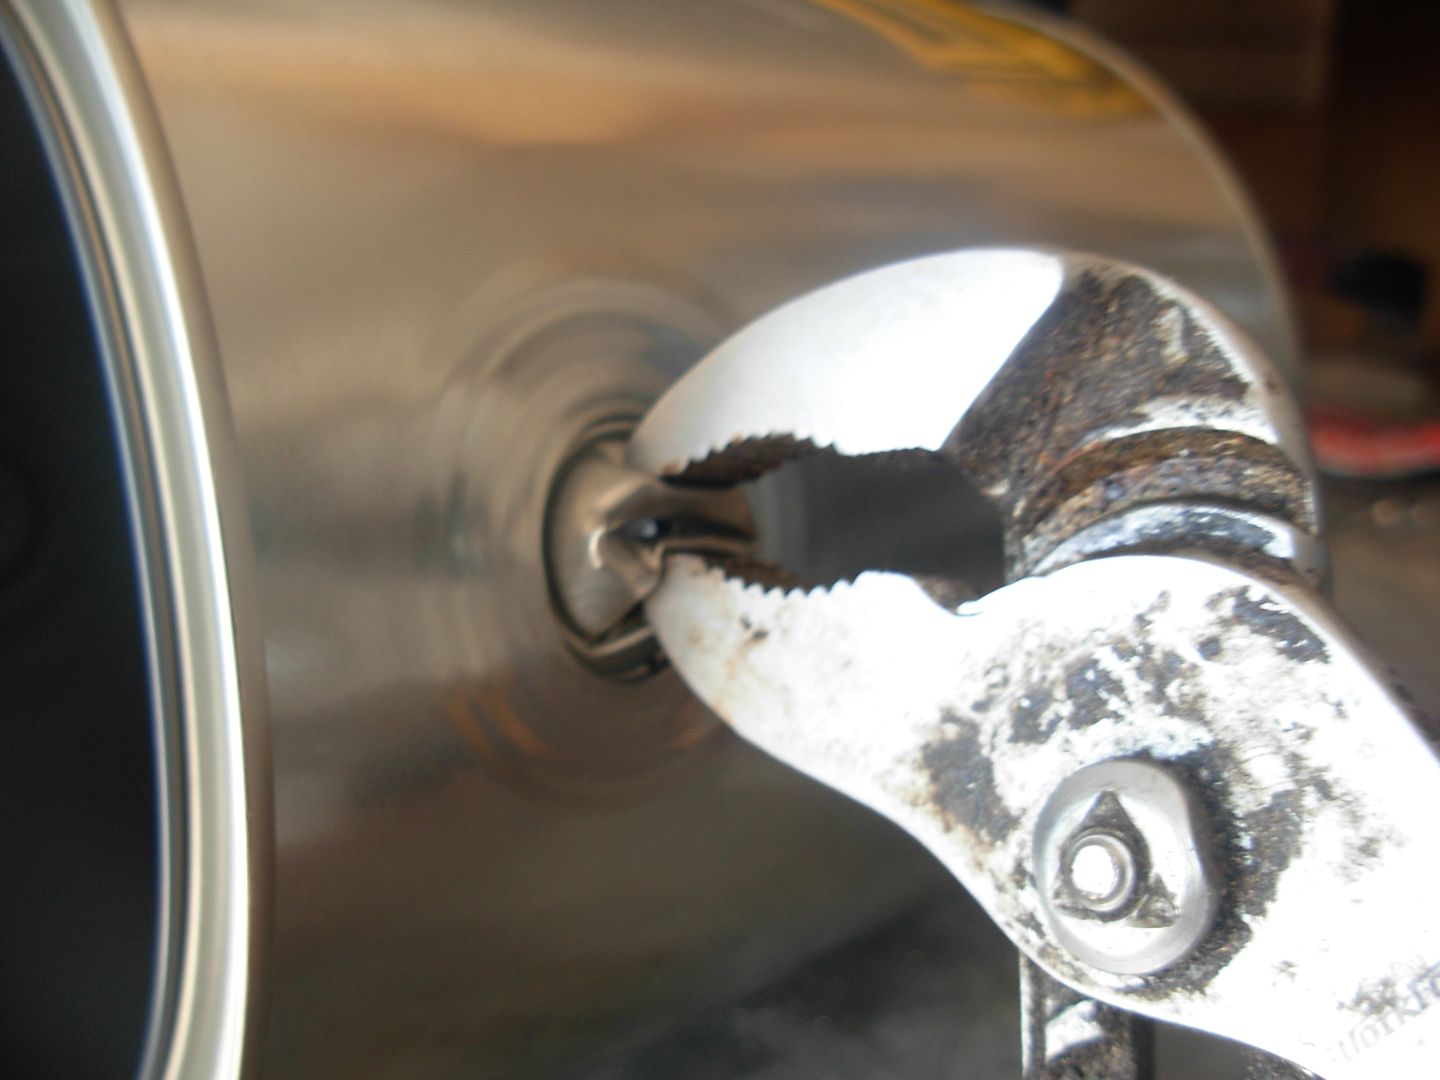
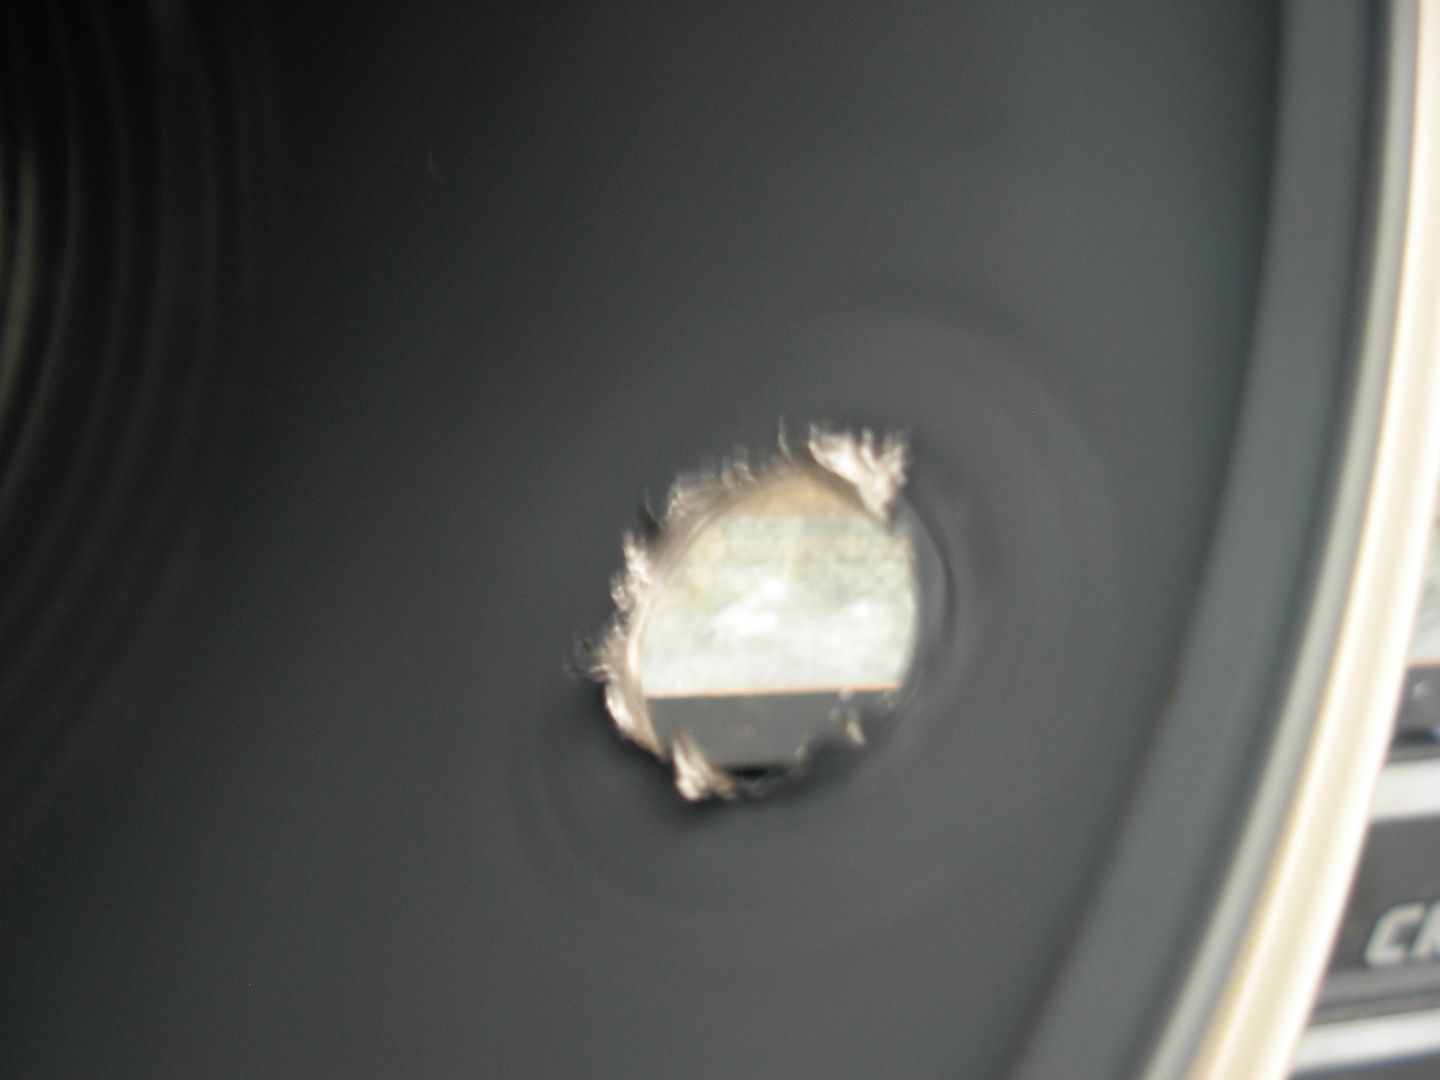
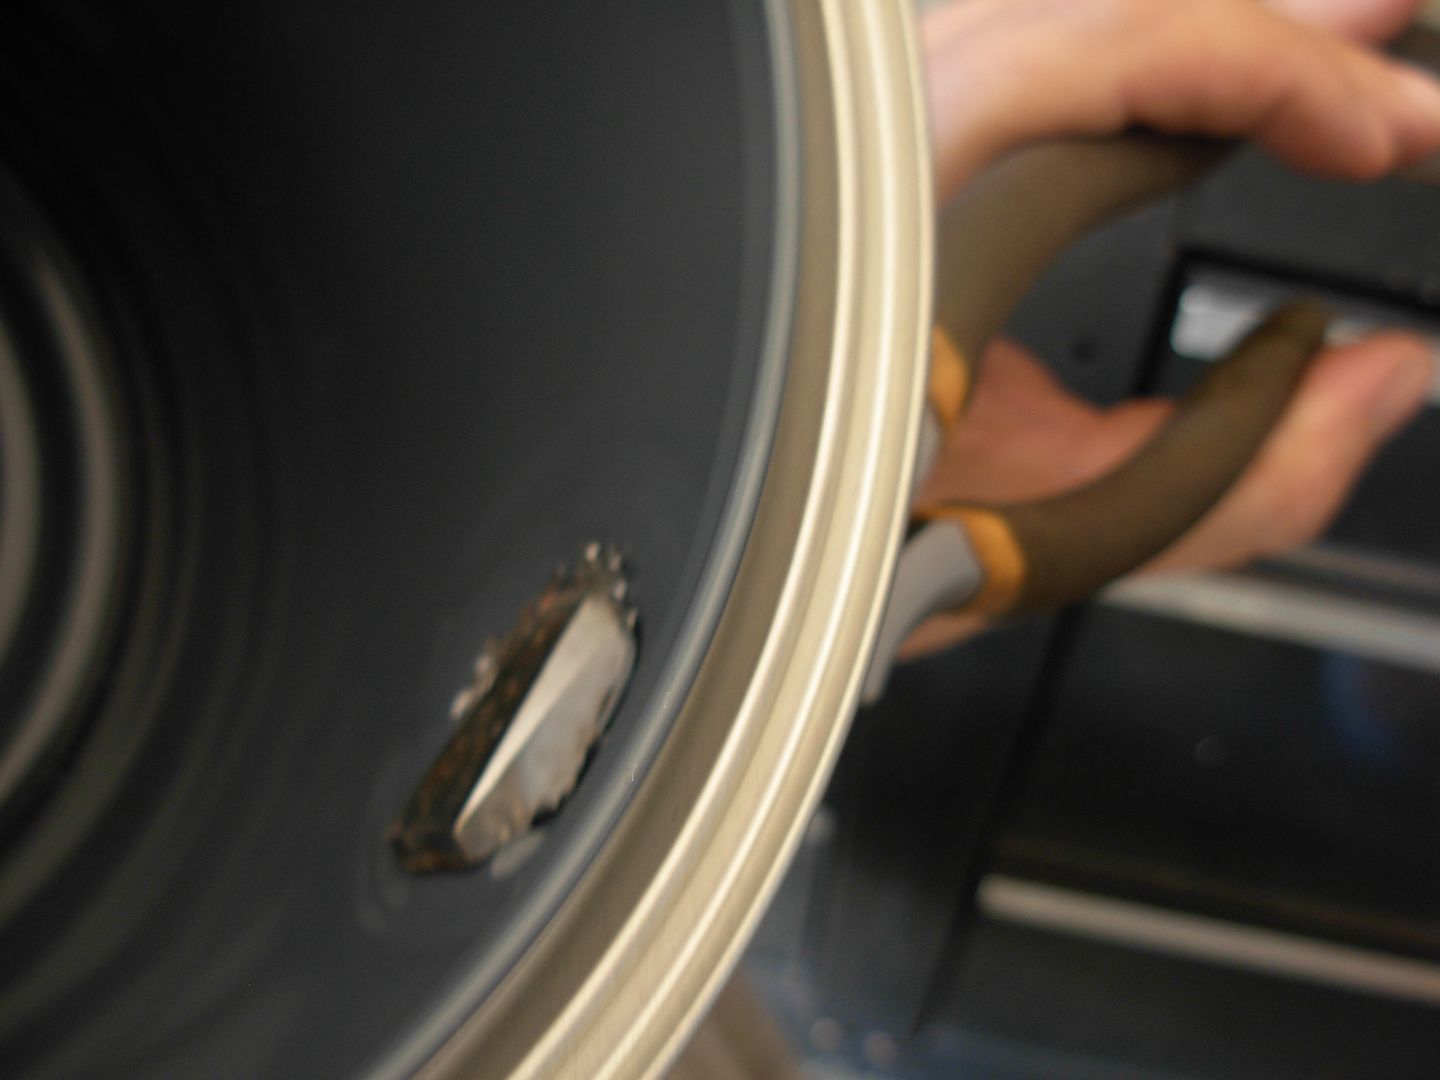
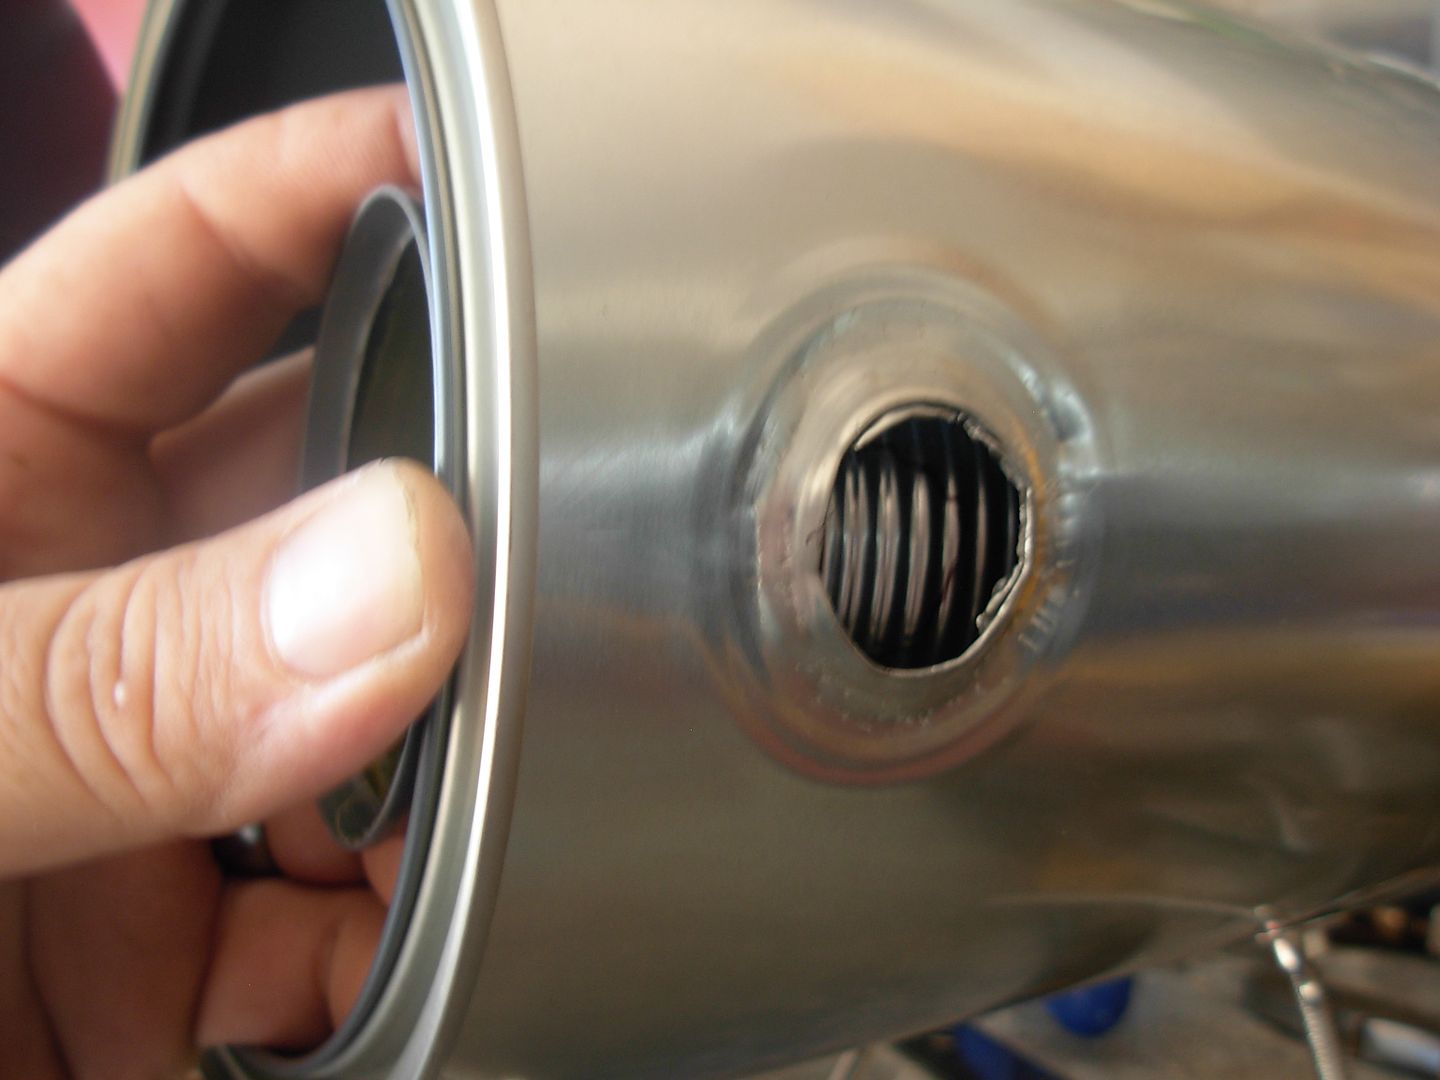
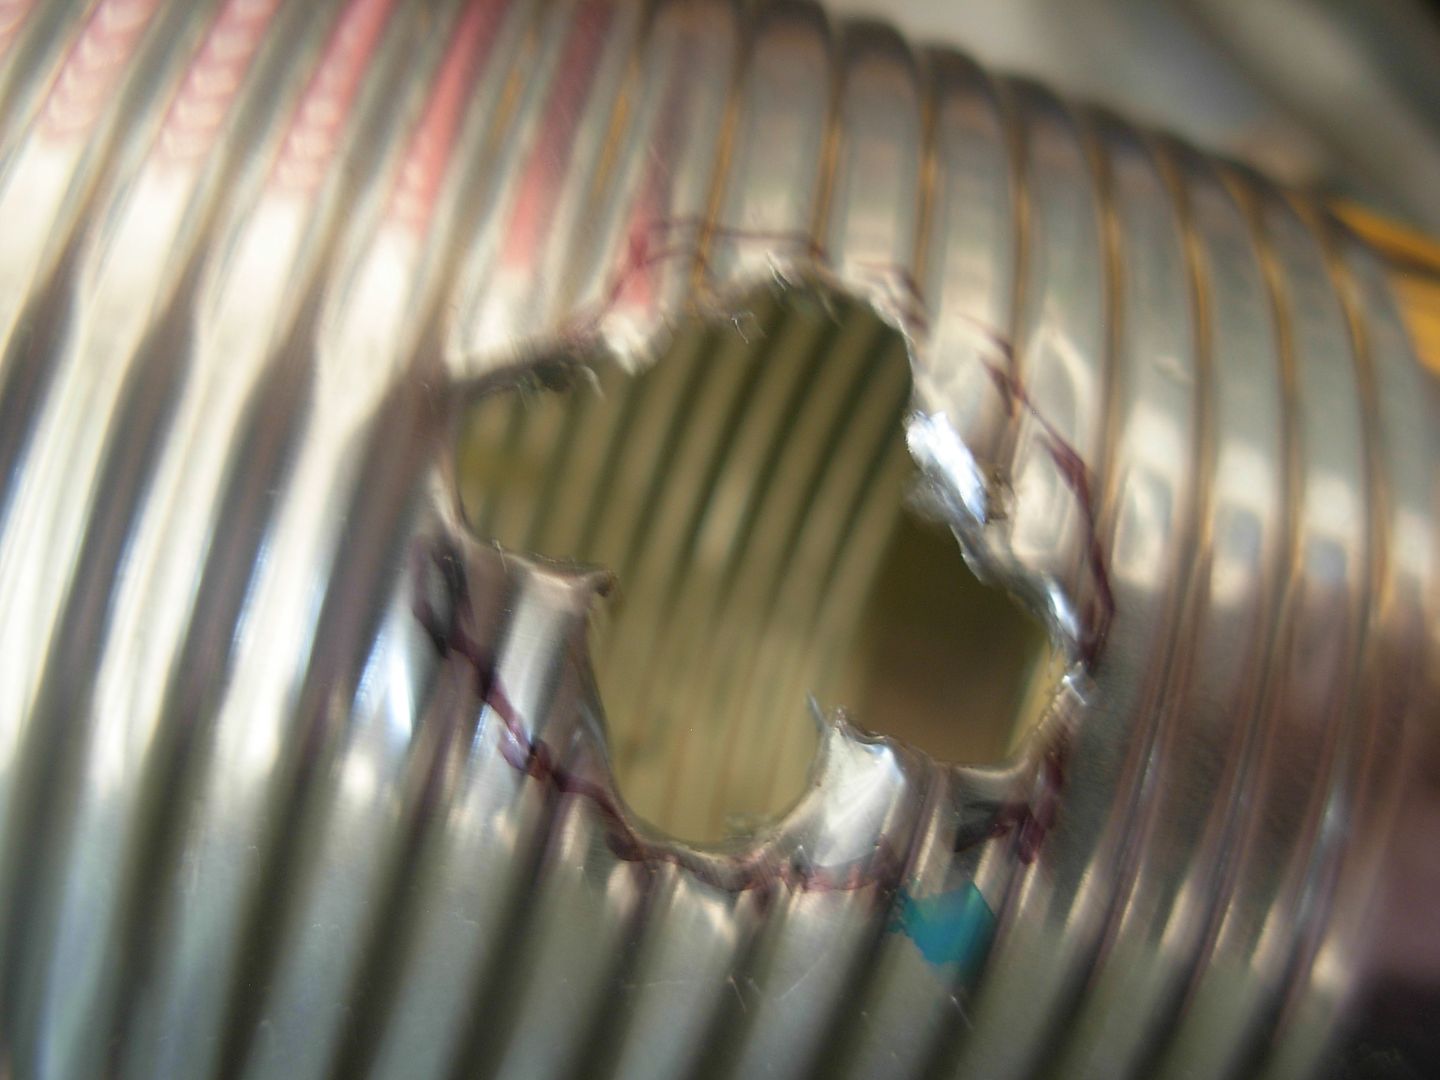
Snip the center out of the hole and fold the jagged tabs to the inside of the can

paintcanforge007_zps4f741f18.jpg


Use your pliers to crimp those tabs down

paintcanforge008_zps95e36d0b.jpg


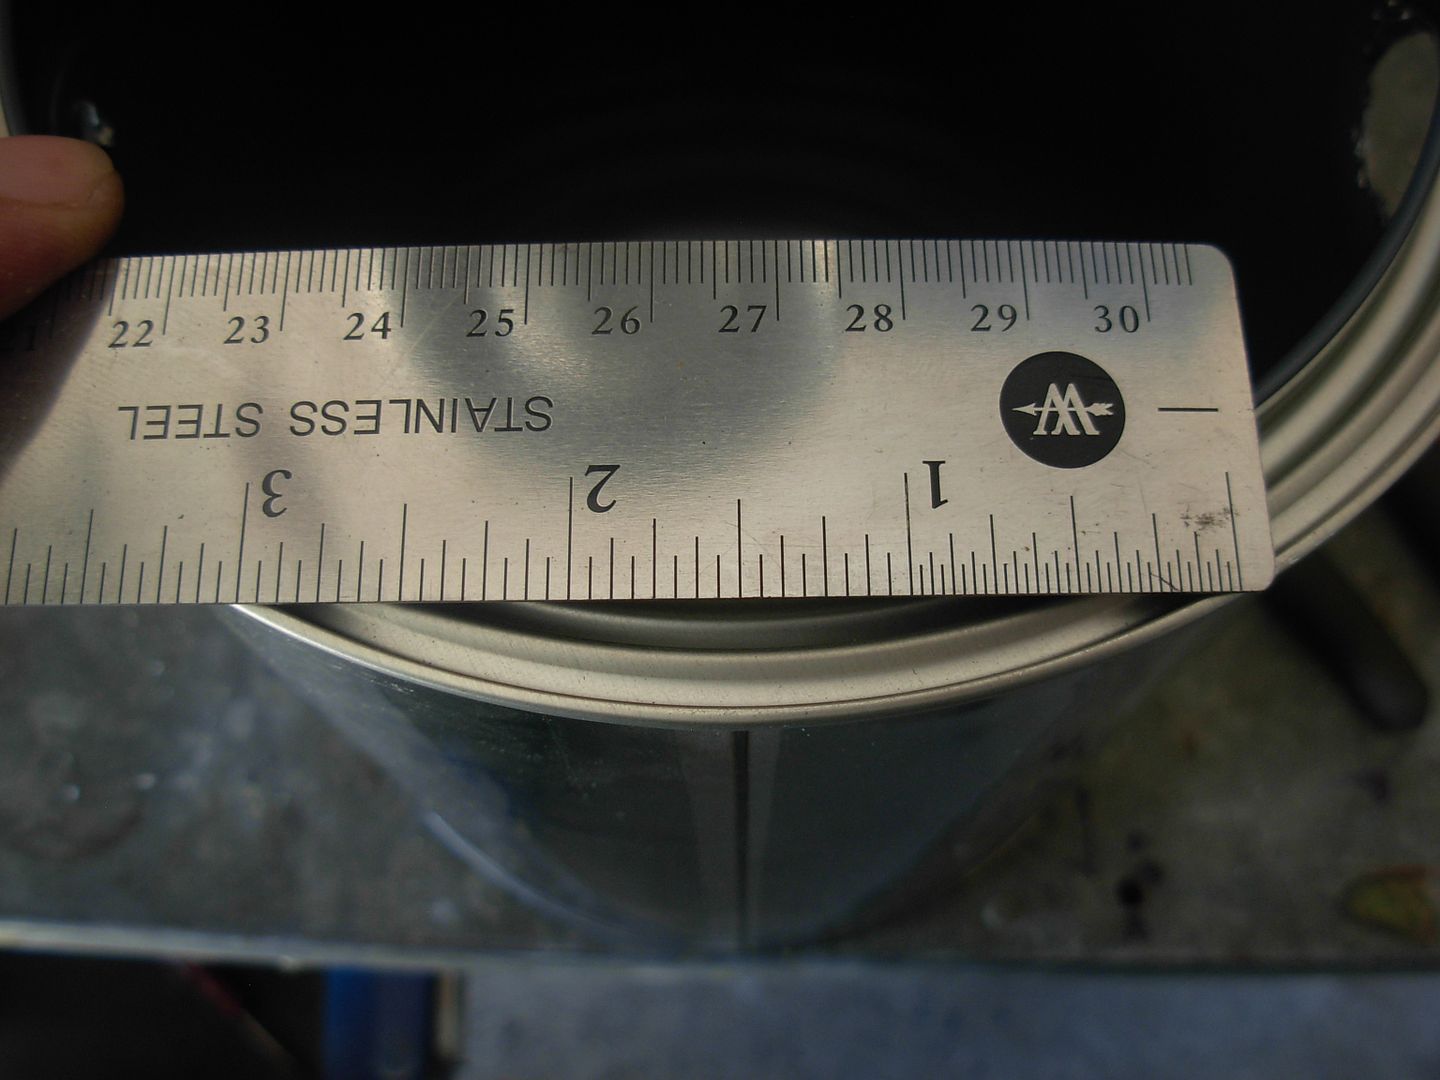
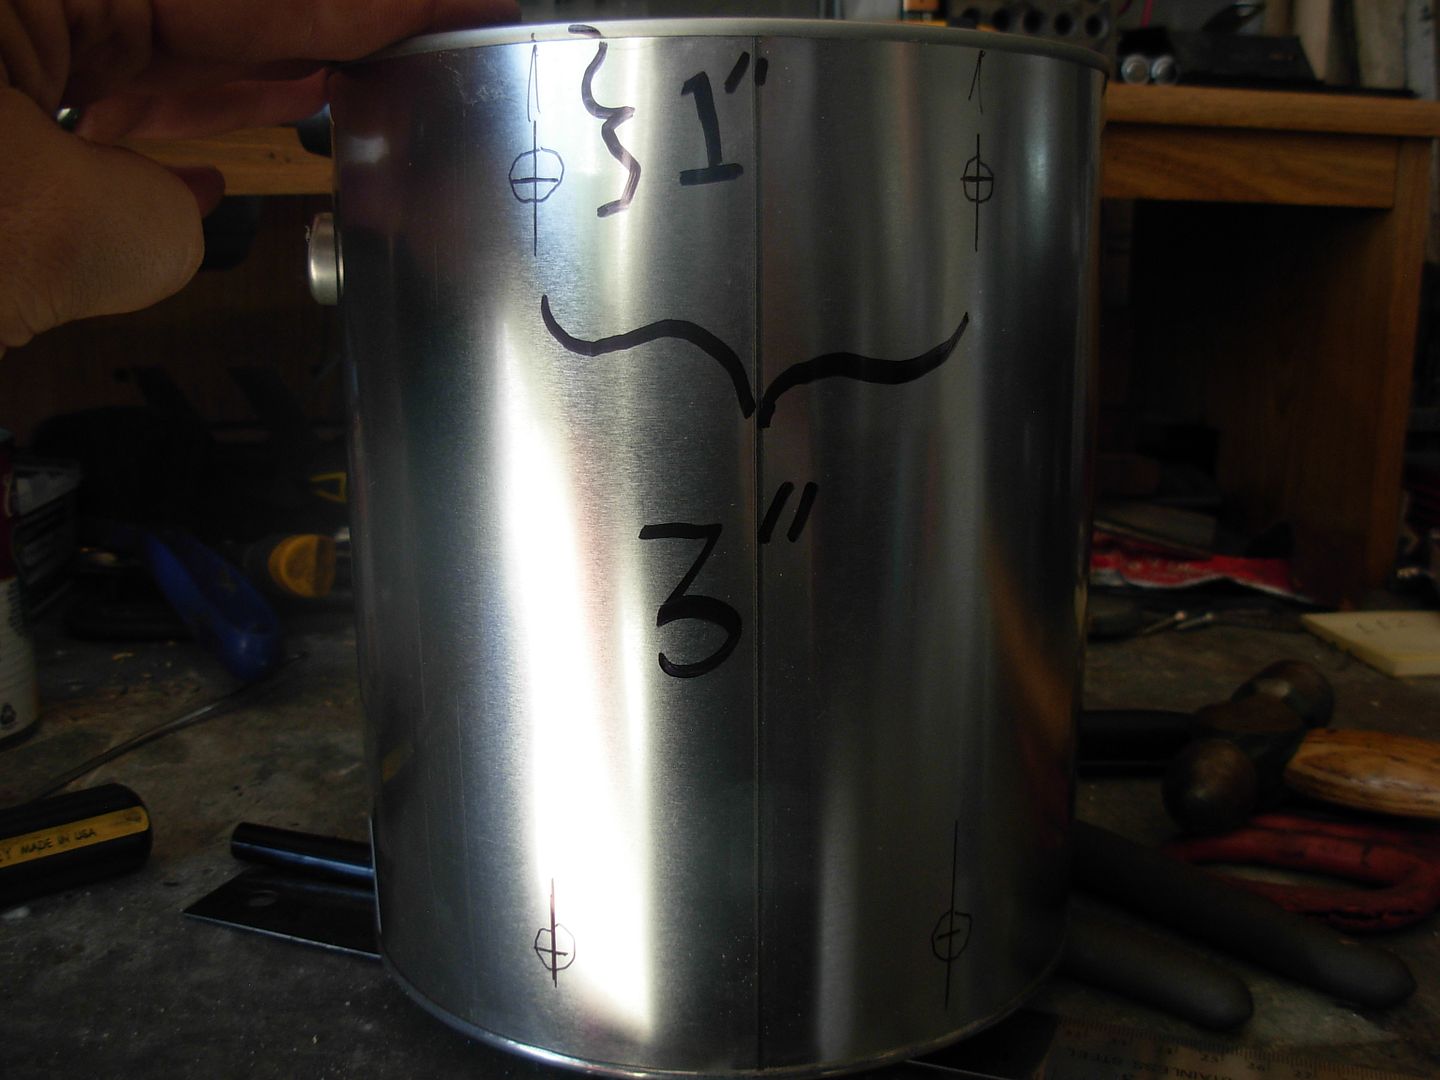
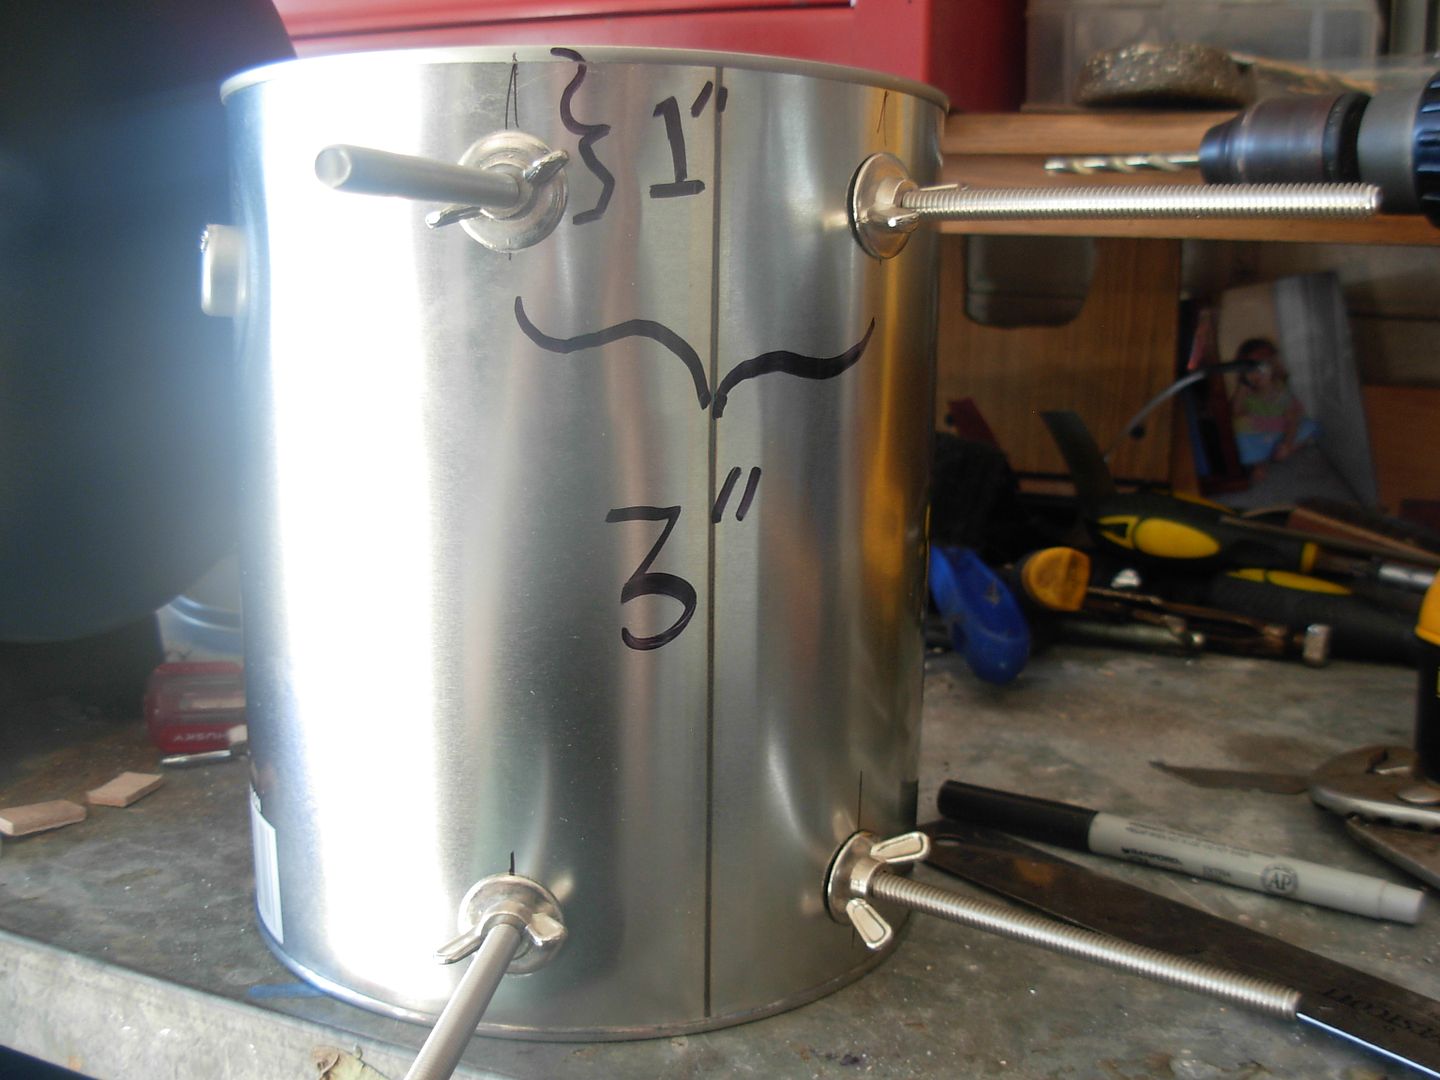
Laying out the holes for the forge's legs. I'm using the can's seam as a center point and making the legs 3" apart

paintcanforge010_zps69aef43e.jpg


The layout of the leg holes

paintcanforge011_zps3f6acfaf.jpg


Drill the holes and install the bolts and nuts

paintcanforge012_zpsba5e3f6d.jpg


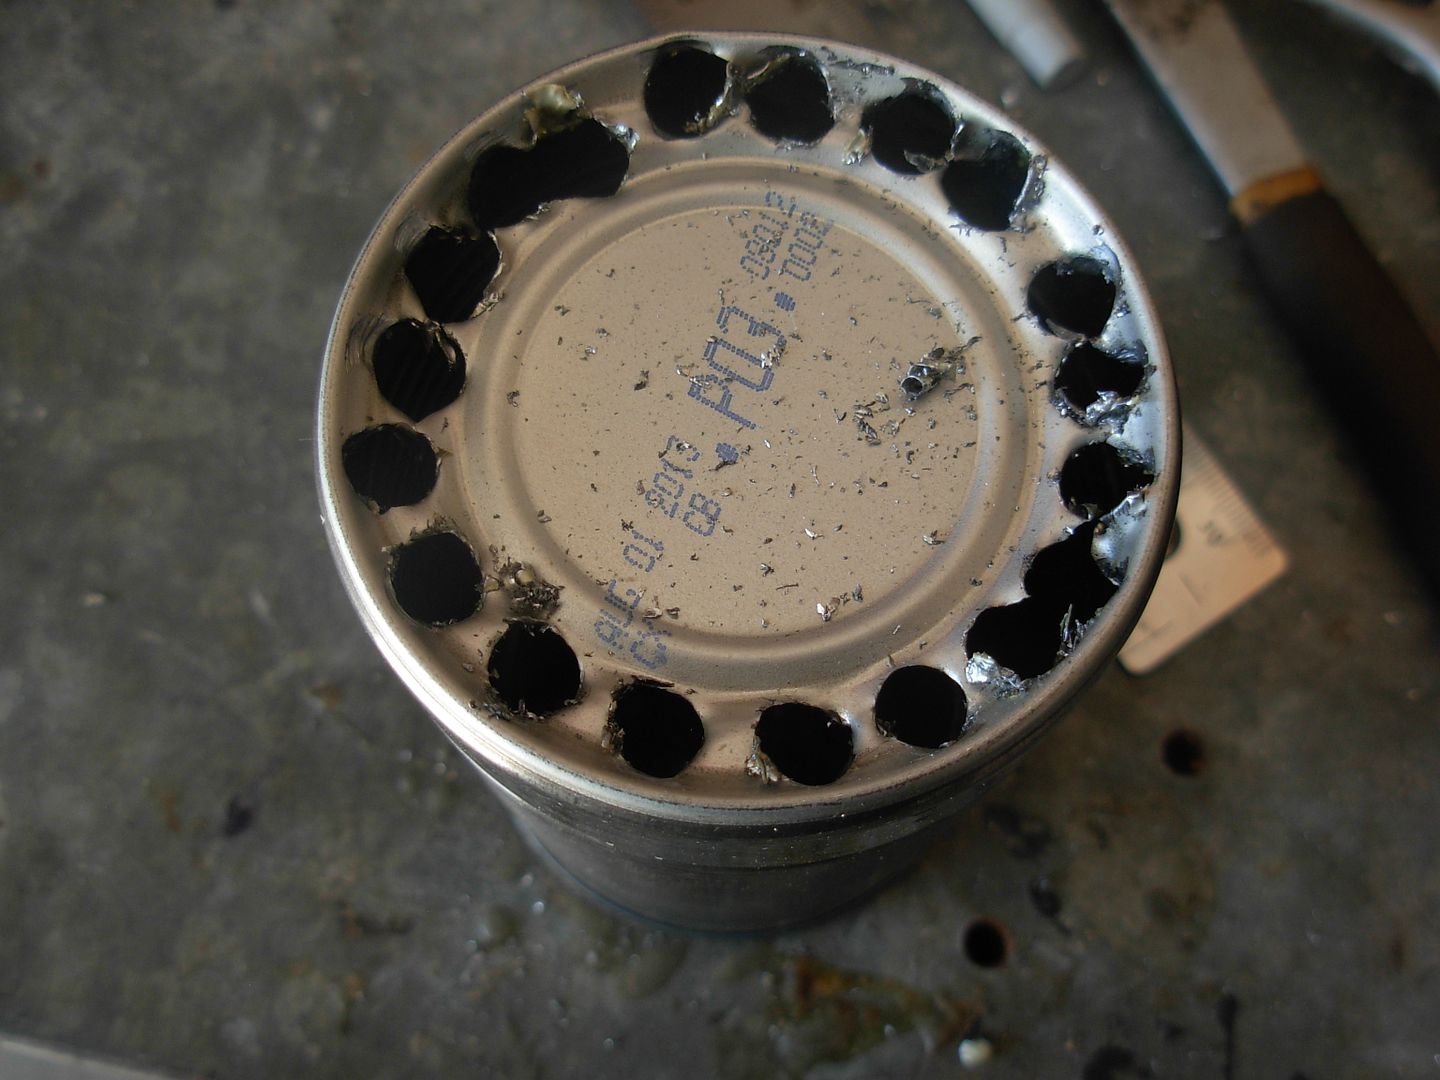
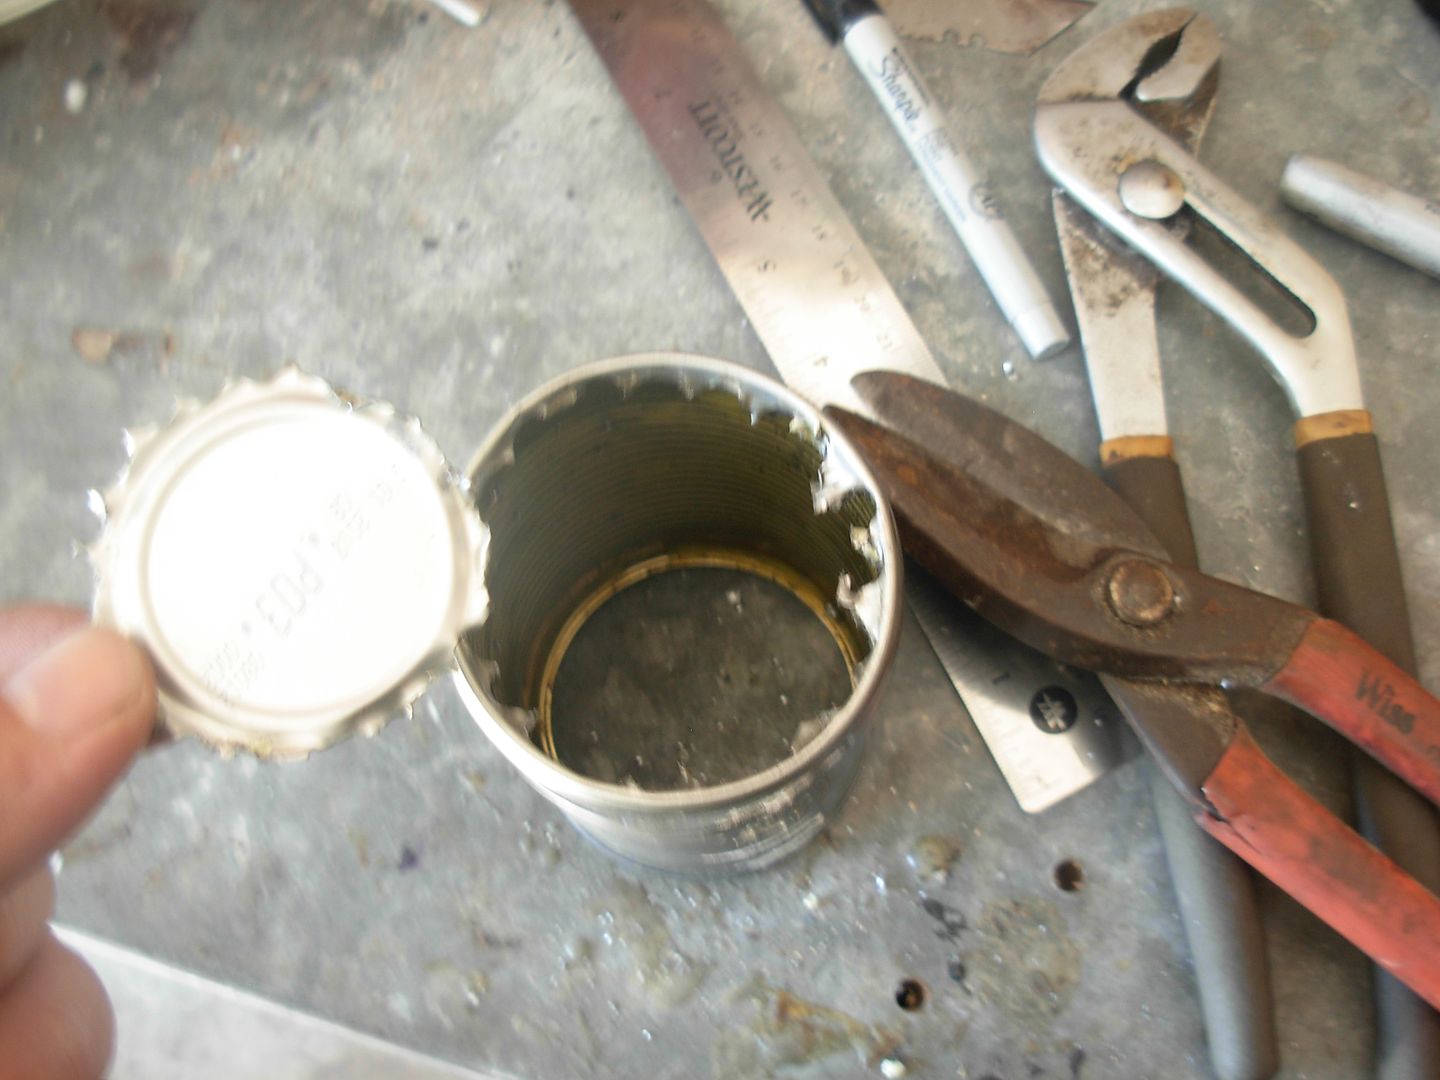
That completes the work on the forge body. Now we need to prepare our soup can for use as the forge's chamber. We'll start by removing the cans bottom. Drill holes around bottom

paintcanforge013_zpsf8d3d148.jpg


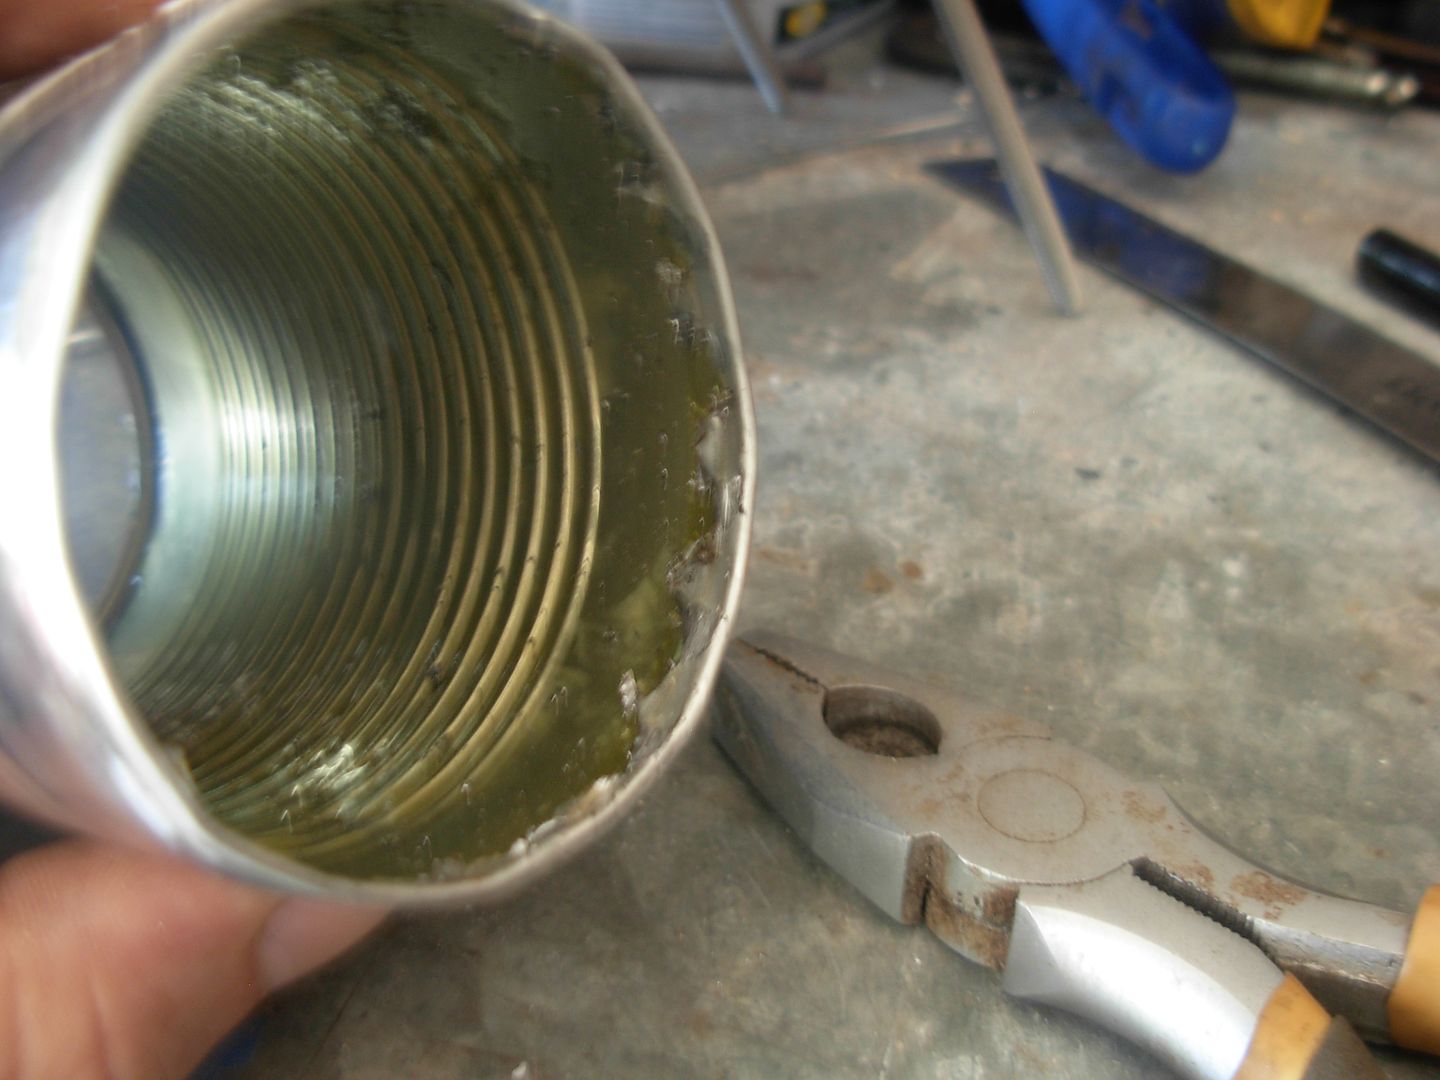
Snip out the bottom

paintcanforge014_zps941698a9.jpg


Fold and crimp tabs

paintcanforge015_zpsba2d9c9c.jpg


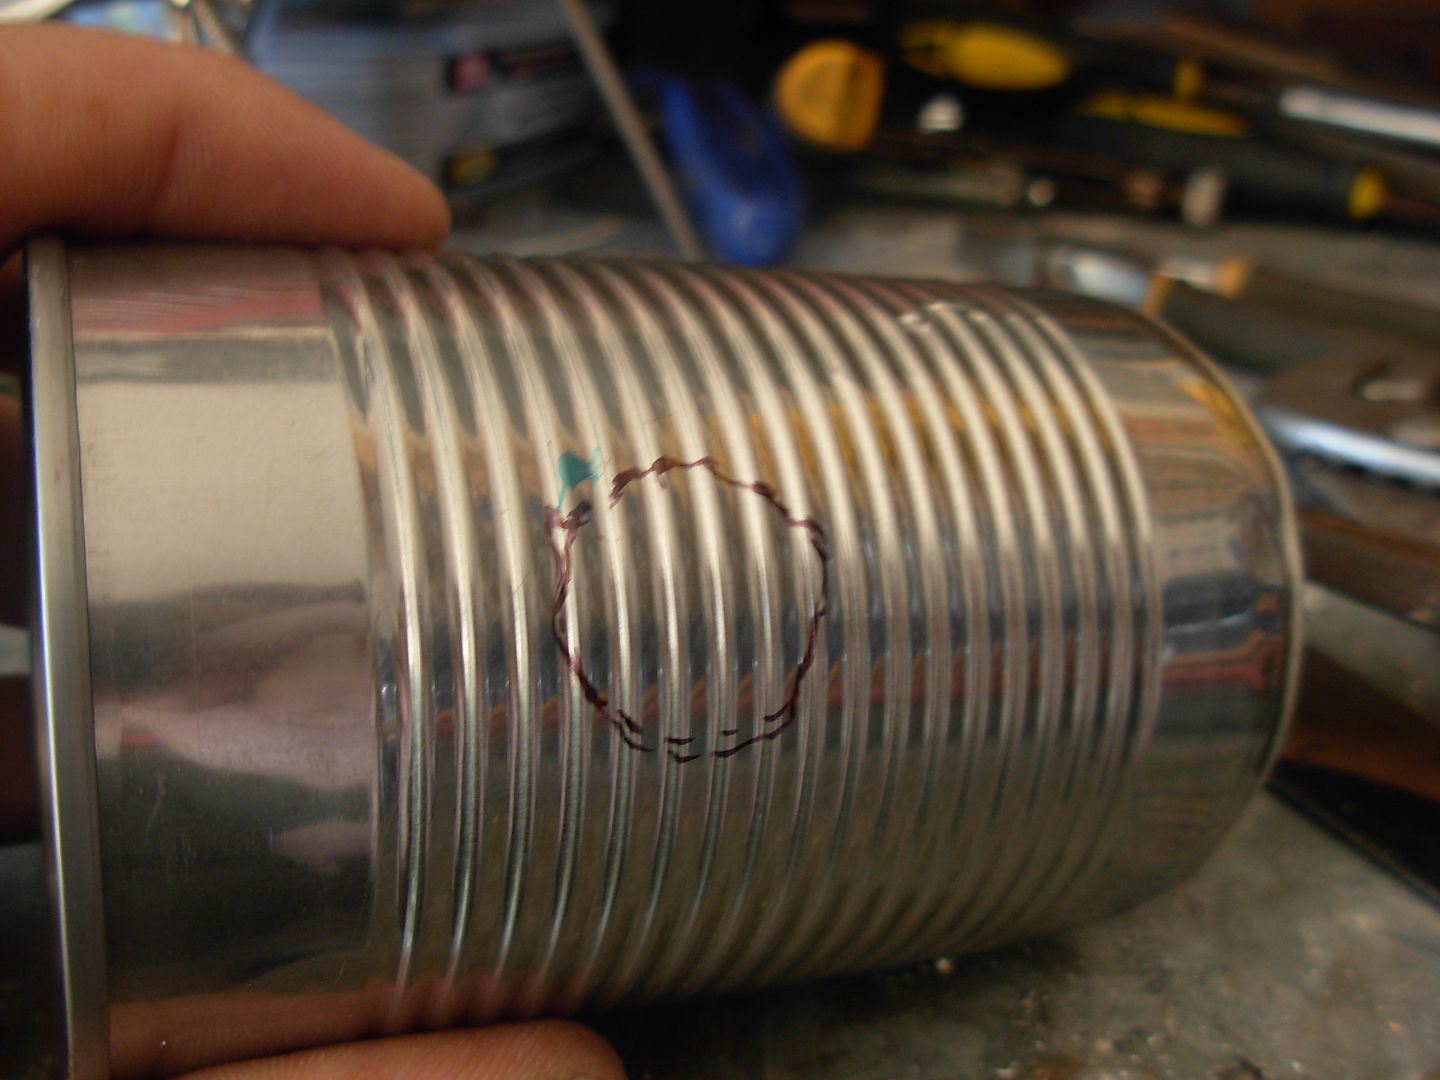
Line the soup can up flush with the fromt of the paint can and trace the burner hole with sharpie

paintcanforge016_zpsbdabf46b.jpg


paintcanforge017_zps6bfb30ed.jpg


Drill

paintcanforge018_zpsa24e518b.jpg


Snip

paintcanforge019_zps075d08c8.jpg


Fold, crimp, and check the line-up with the paint can's hole

paintcanforge021_zpsb821aa48.jpg


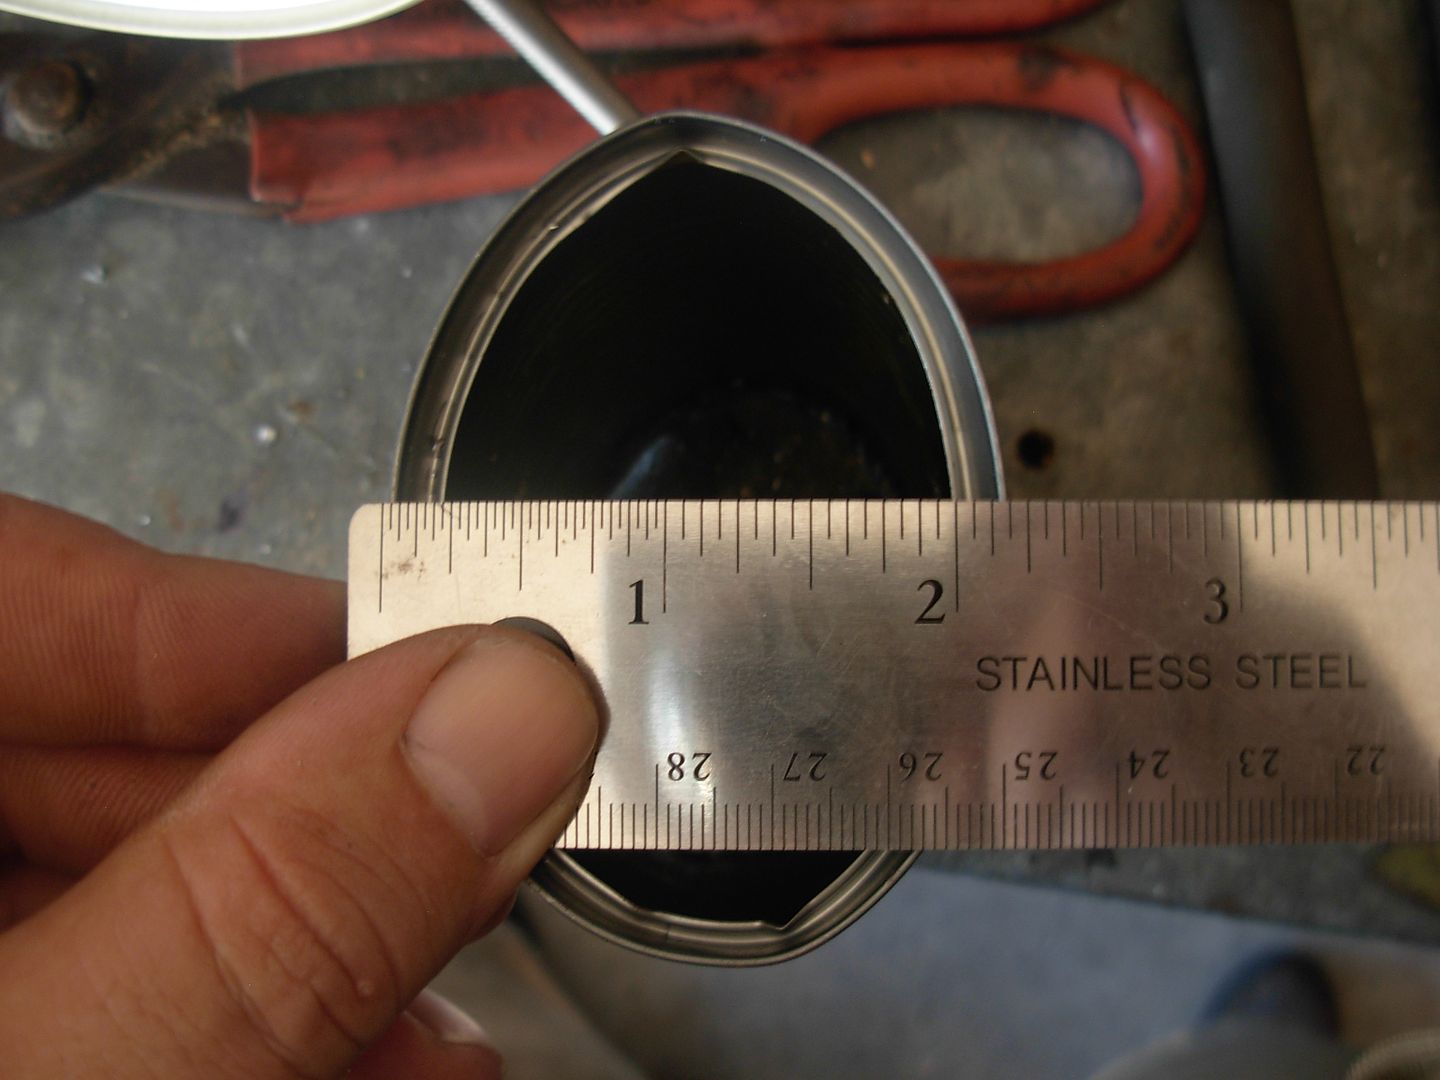
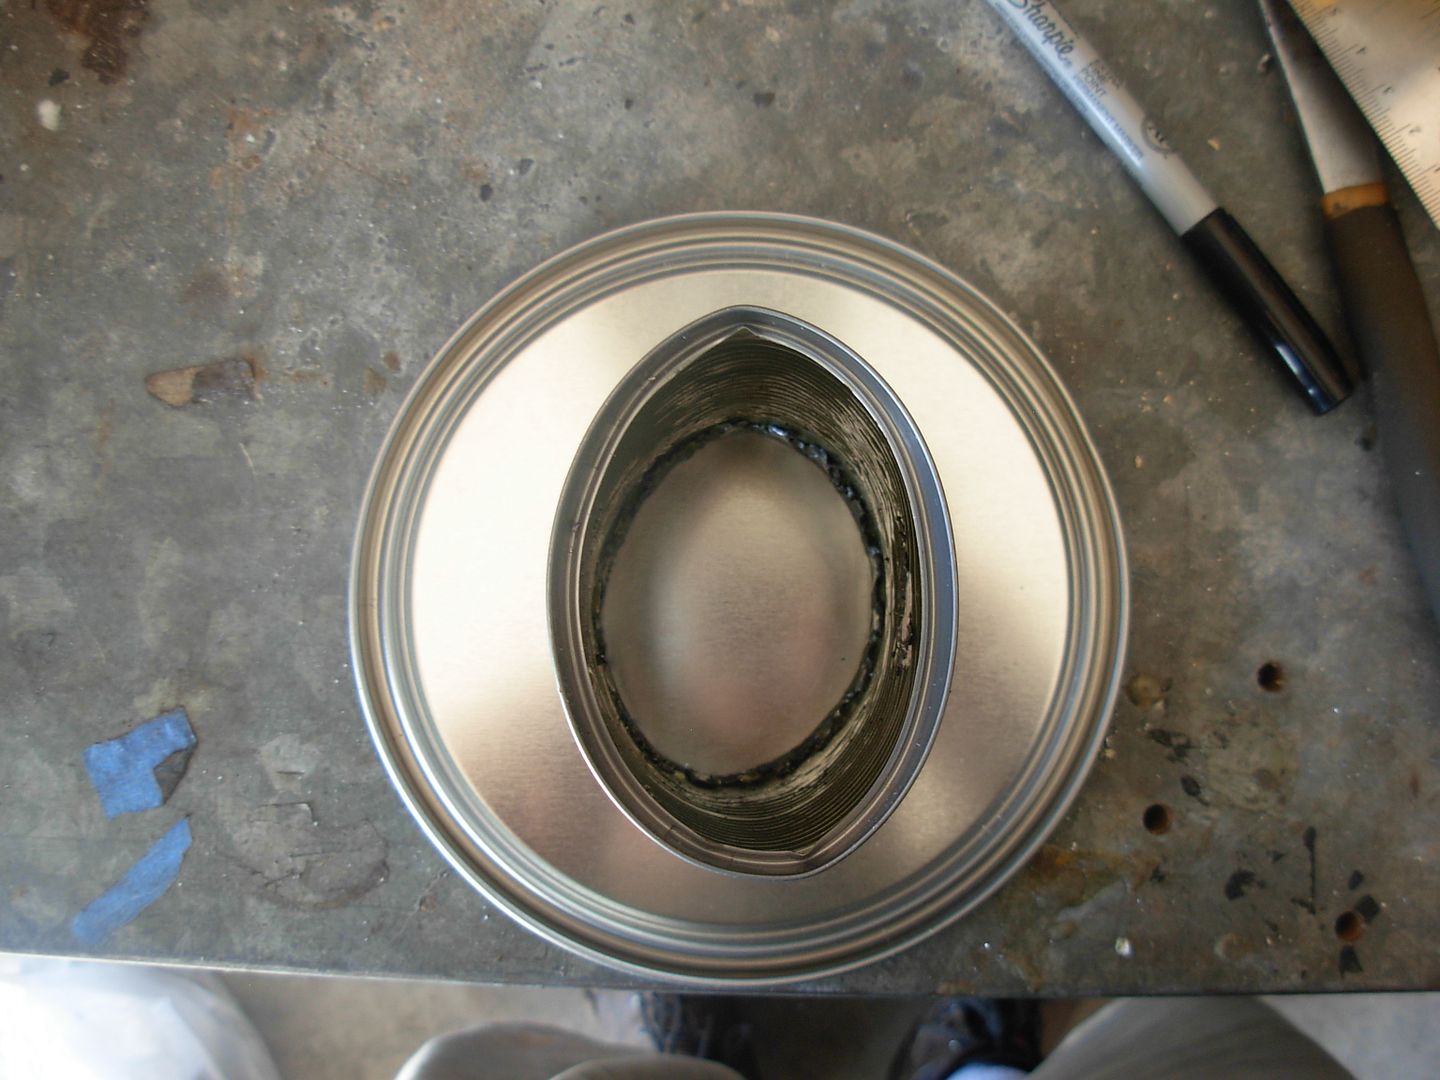
My chamber design is oblong instead of round. What I want is to create a heat zone right across the center of the chamber while the top and bottome of the chamber will stay cooler than the center.

The purpose of this is to give me plenty of room to run my blade throught the chamber either spine up or spind down and control the exact placement of where on the blade I'm putting the direct heat from the flame.

To get the oblong chamber just squish the soup can a little.

paintcanforge022_zps3e03ec2c.jpg


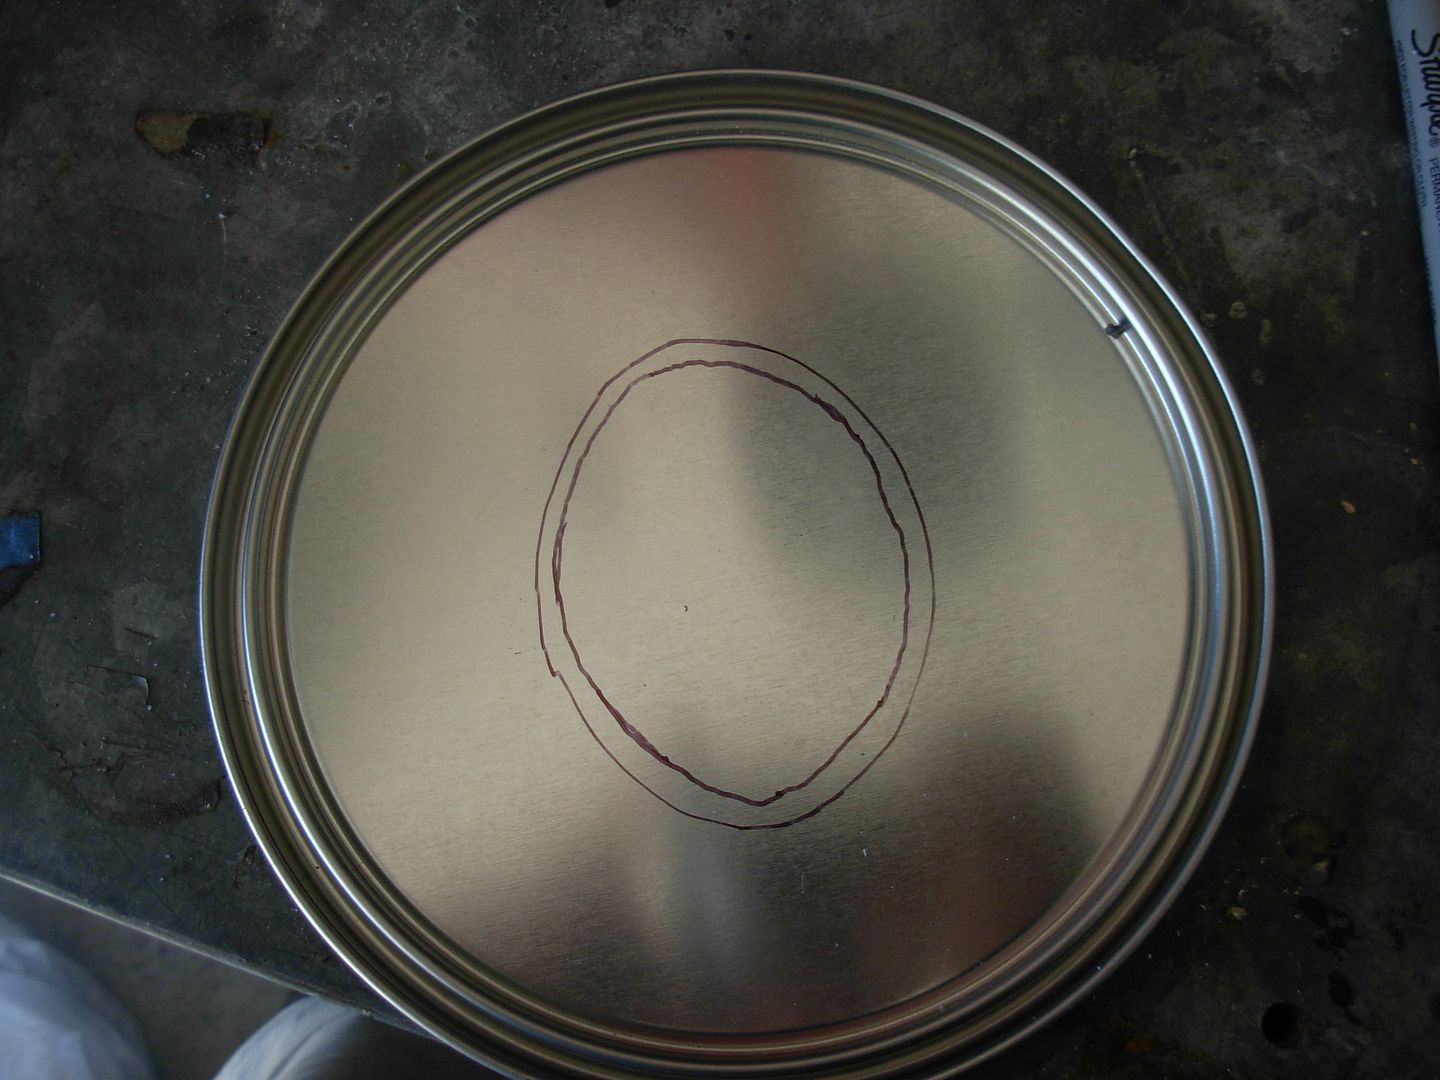
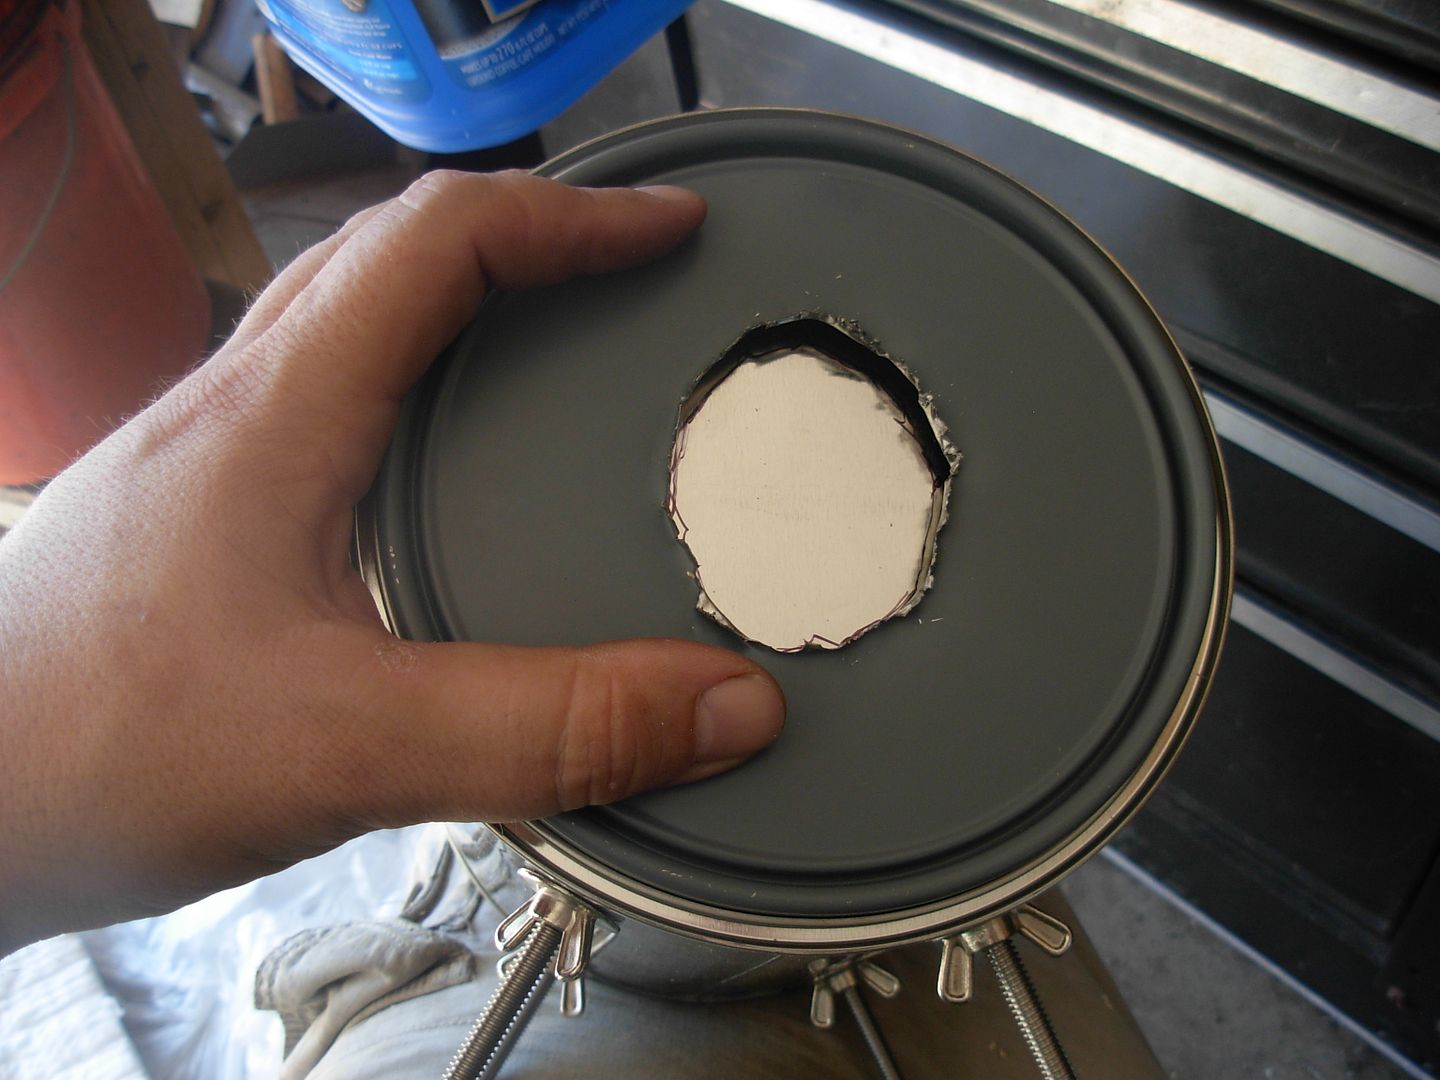
Center the soup can up on the paint can's lid and trace around it with your sharpie

paintcanforge023_zps38d0a414.jpg


I want the hole in the lid just a little smaller than the soup can so draw a parallel line on the inside of your traced line

paintcanforge024_zpsadfa749c.jpg


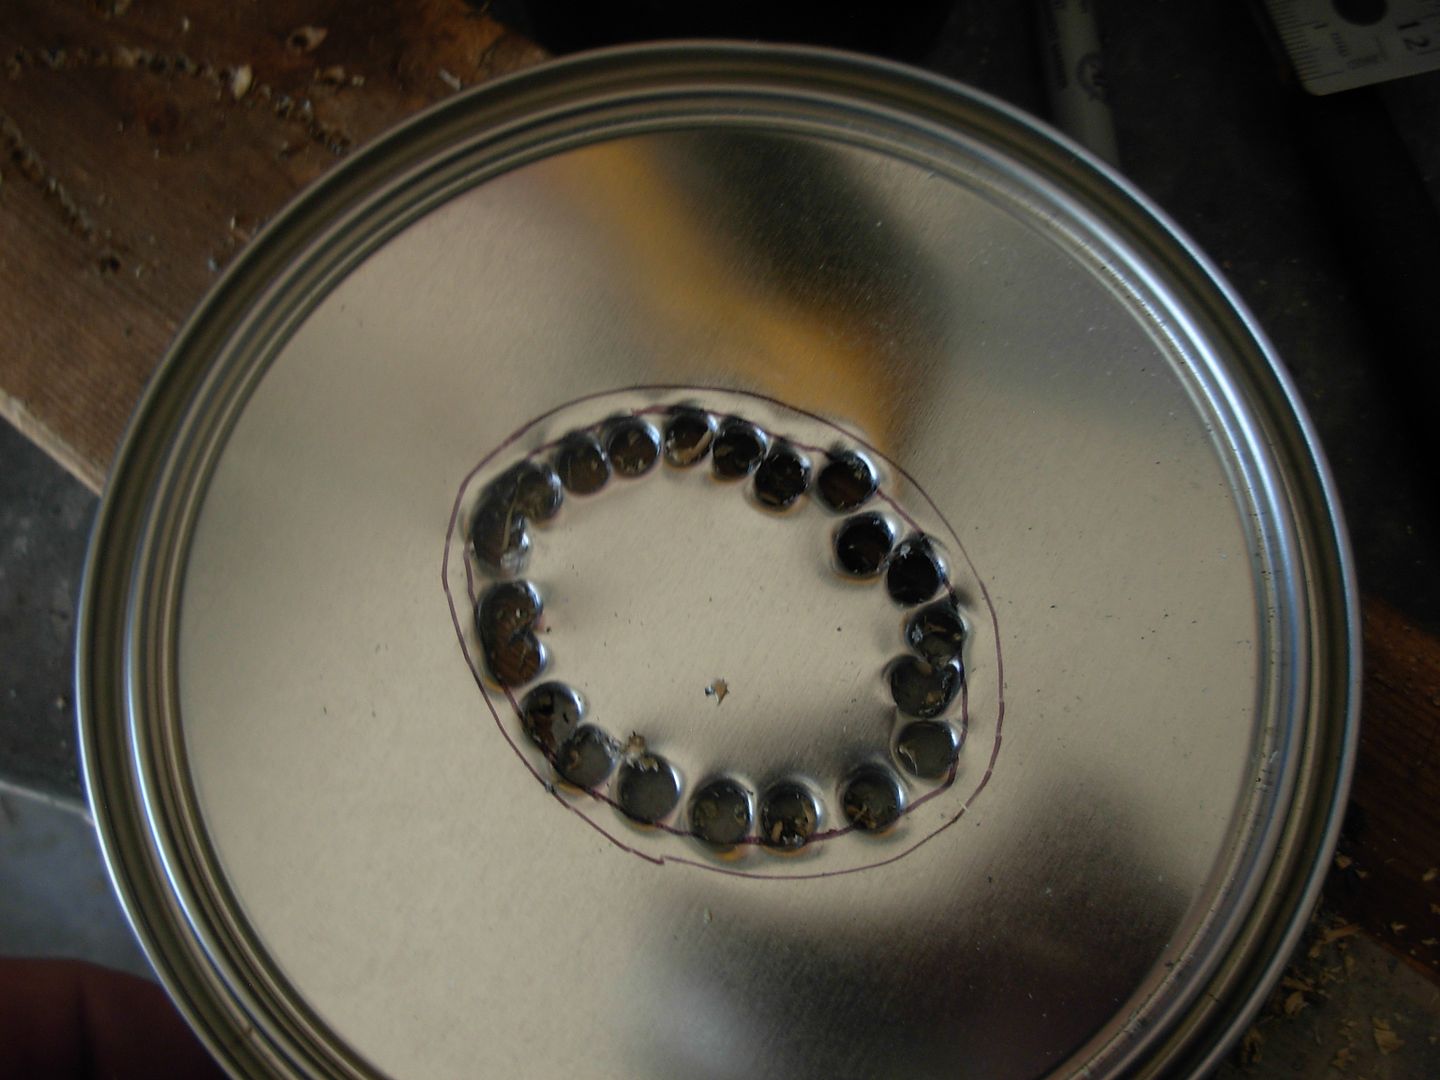
Back the lid up with your 2x4 and drill

paintcanforge025_zps81f43e94.jpg


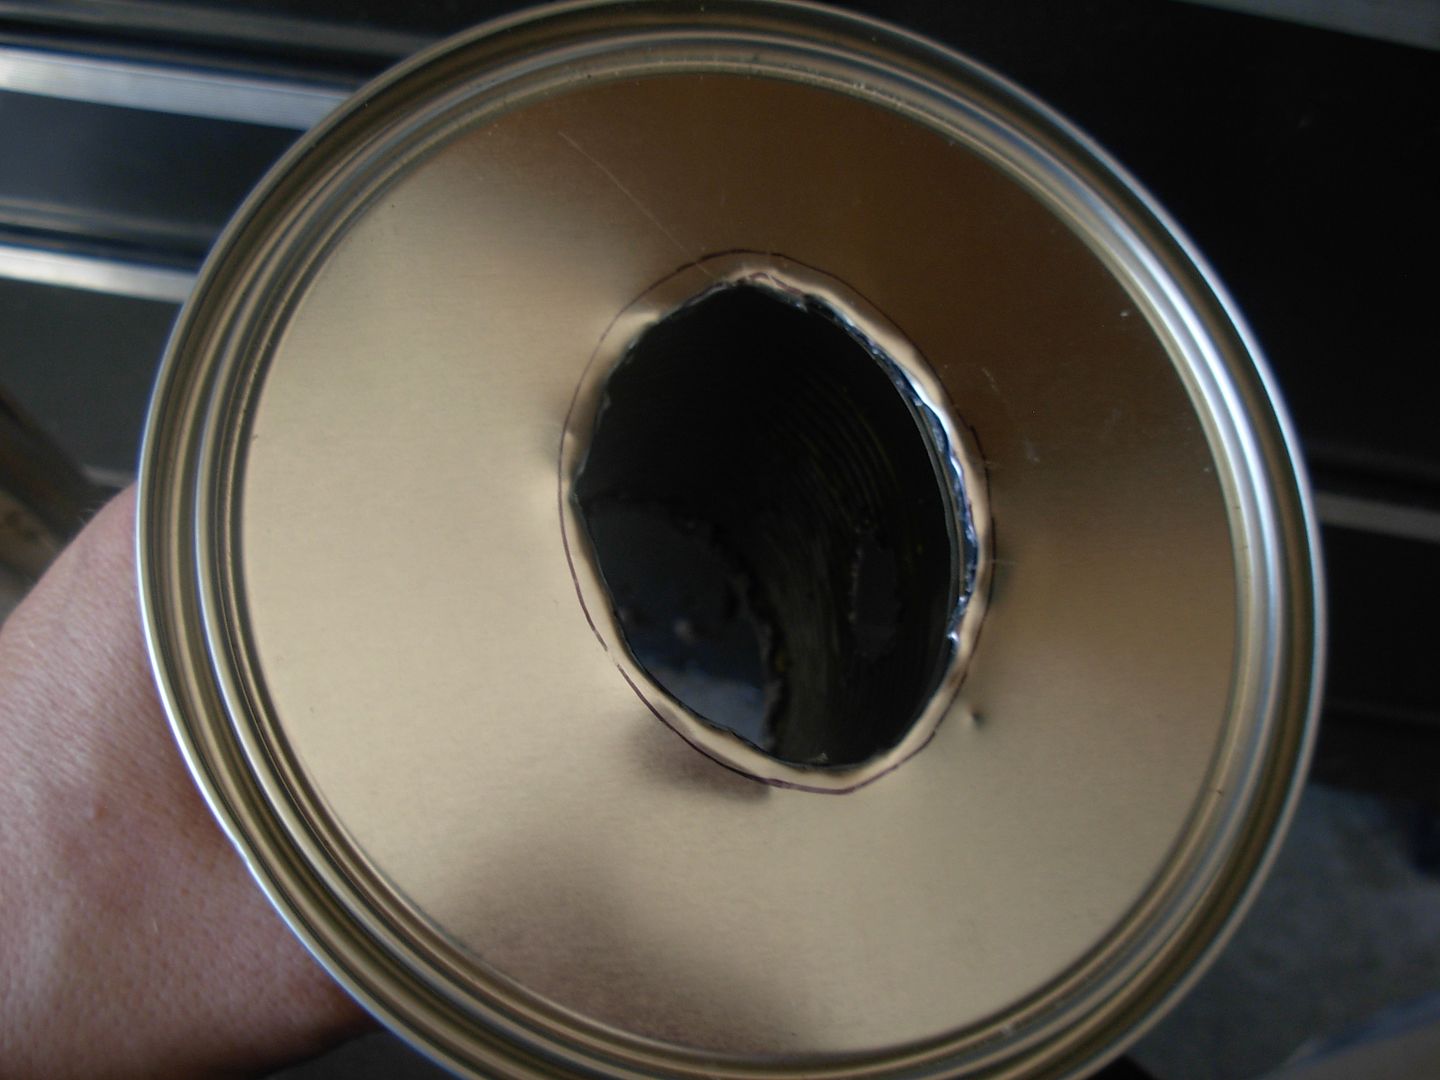
Snip, Fold, and Crimp

paintcanforge026_zps23656c51.jpg


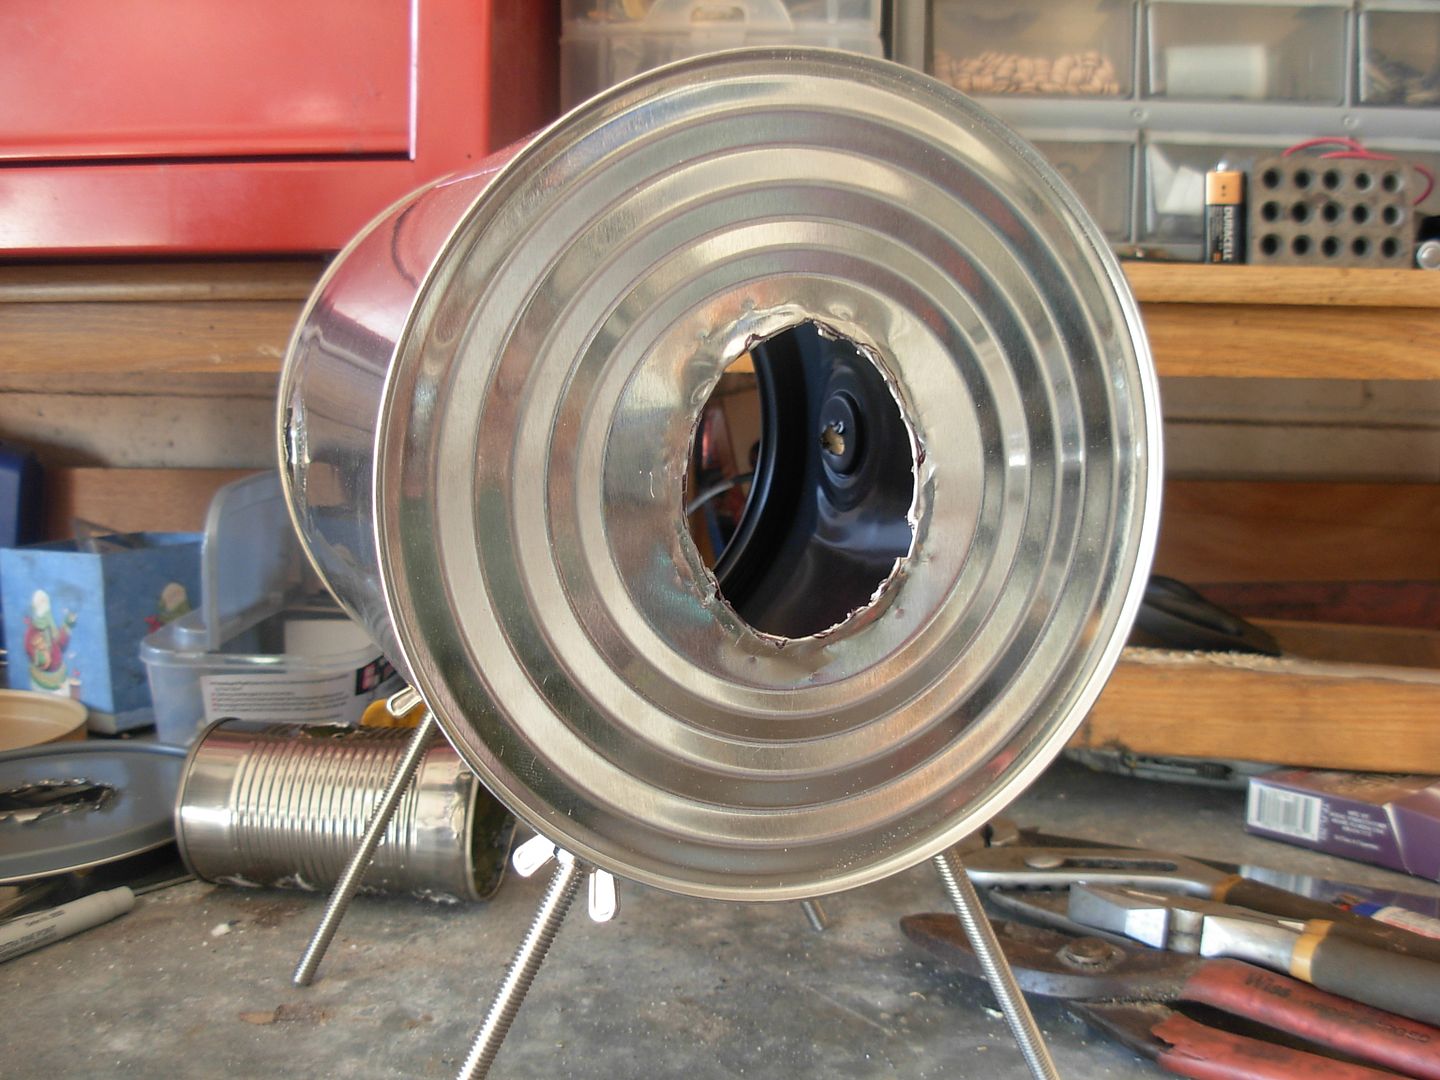
Now line the lid up on the bottom of the paint can keeping in mind the orientation of the oblong shape and the location of the torch hole and trace inside with sharpie

paintcanforge027_zpsda0738e7.jpg


Drill, Snip, Fold, and Crimp the bottom

paintcanforge028_zps4d8ae4e3.jpg


Now all our forge parts are ready for assembly

-Josh
 
Last edited:
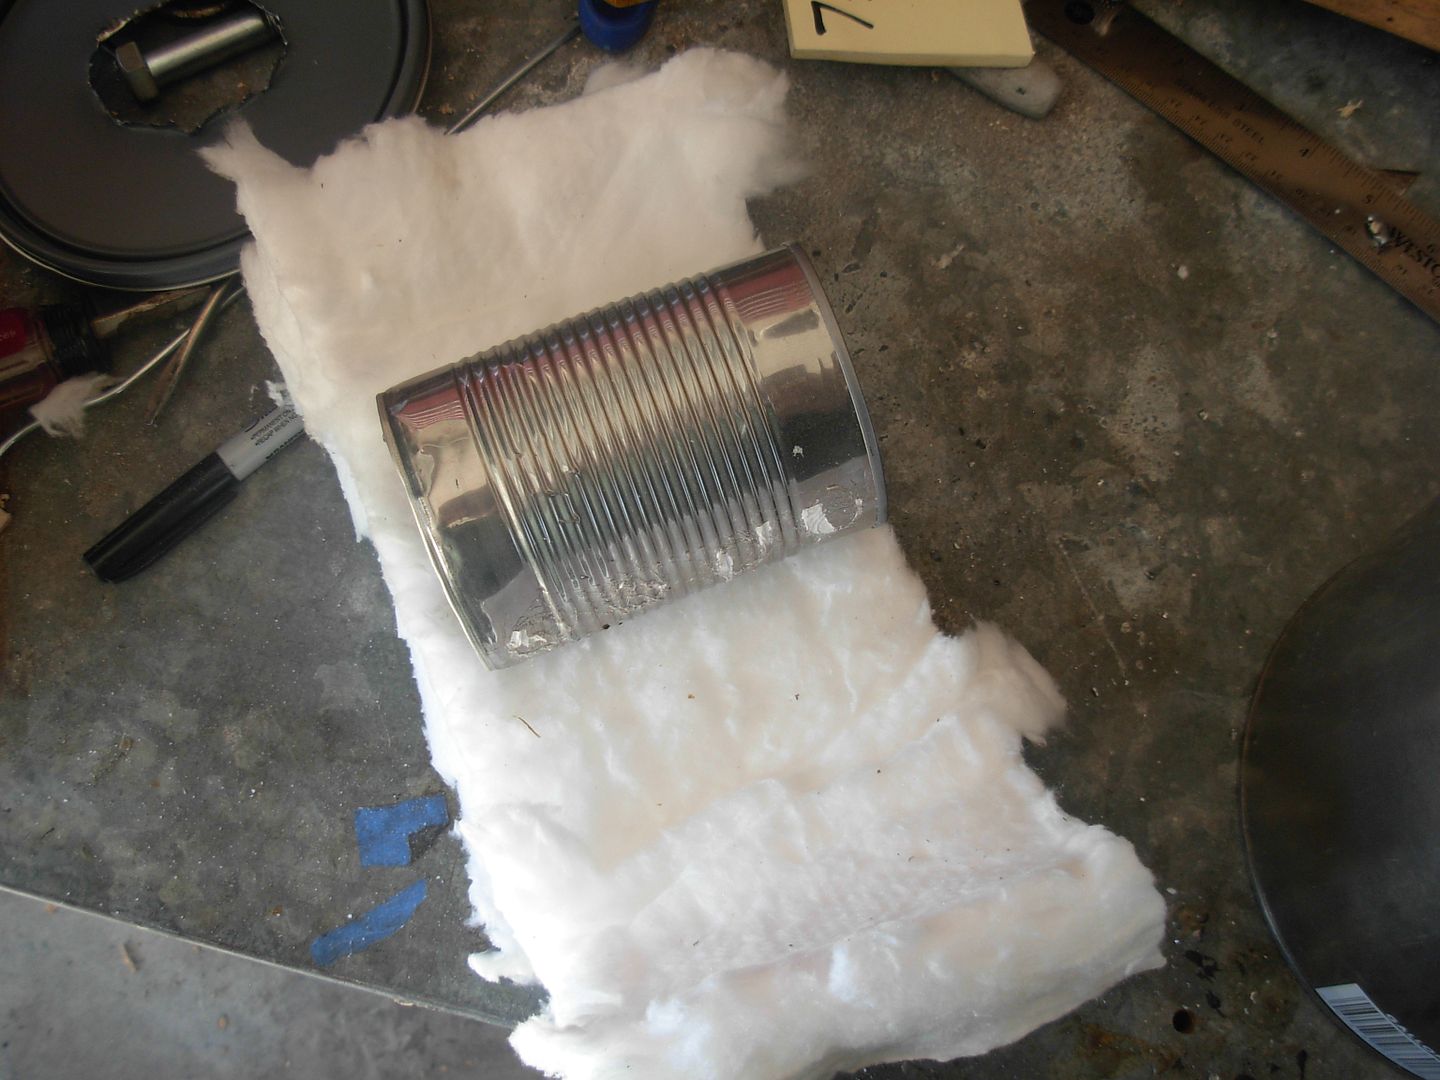
The first step of assembly is to cut our Kaowool to size. I'm going to use two pieces to insulate the forge. One 7 1/2" x 18" and a second 4"x12" I cut the wool with my tin snips.

paintcanforge029_zps048e95dc.jpg


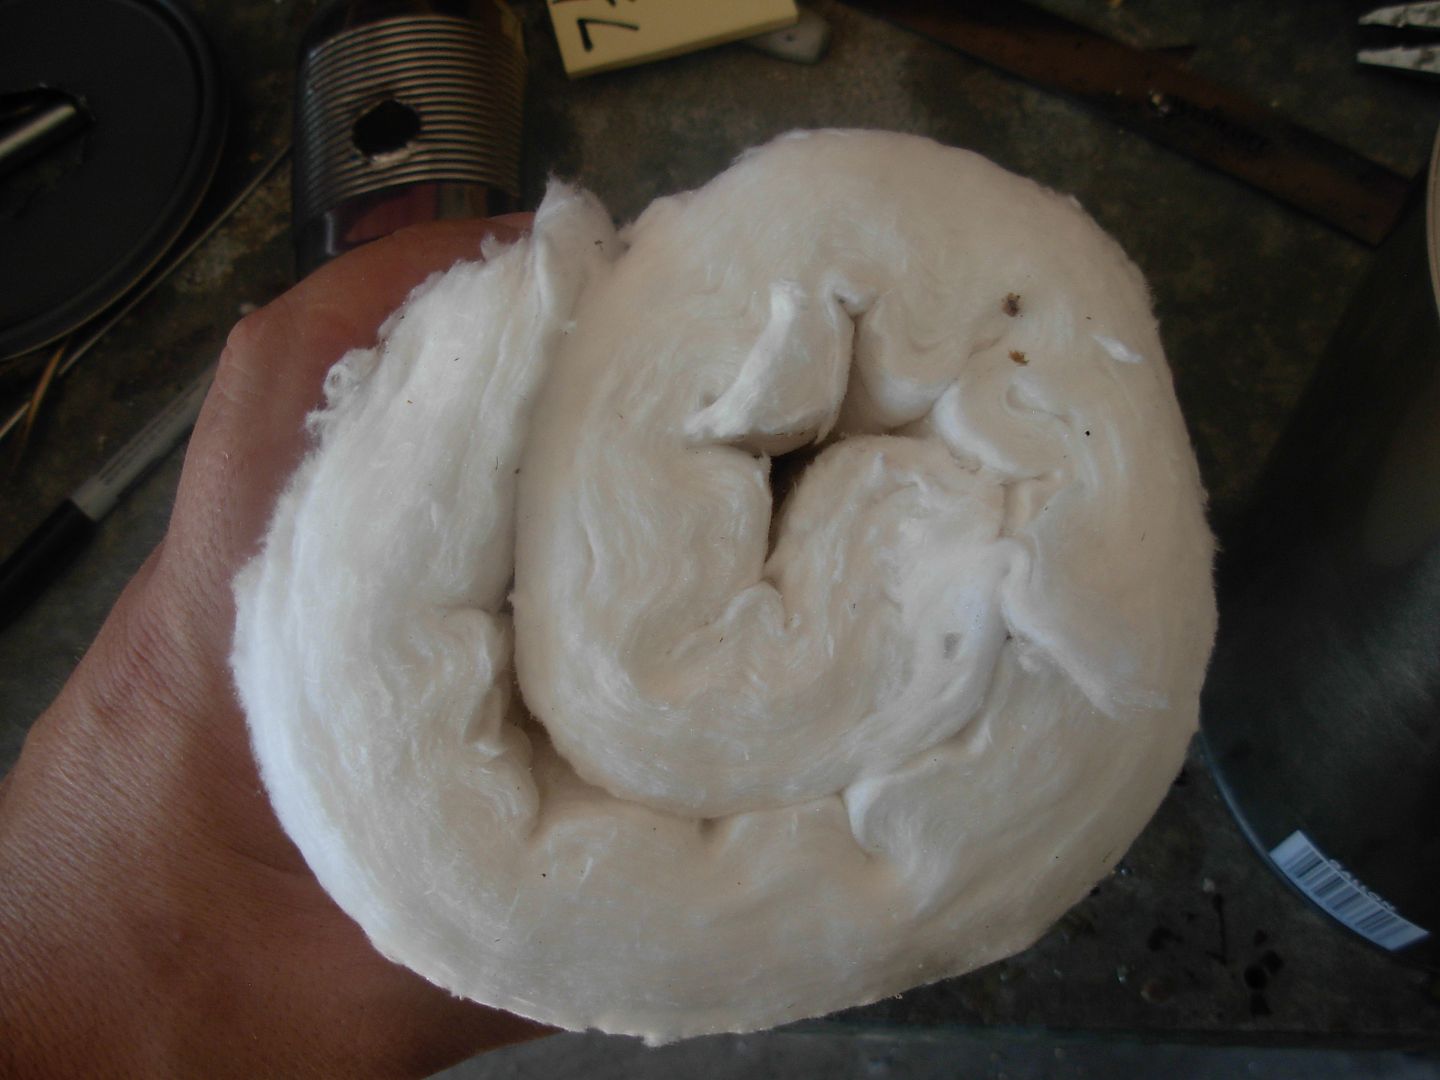
Start by rolling up the big piece and inserting it into the paint can. Then unroll it until it's tight around the can.

paintcanforge030_zpsc56221a5.jpg


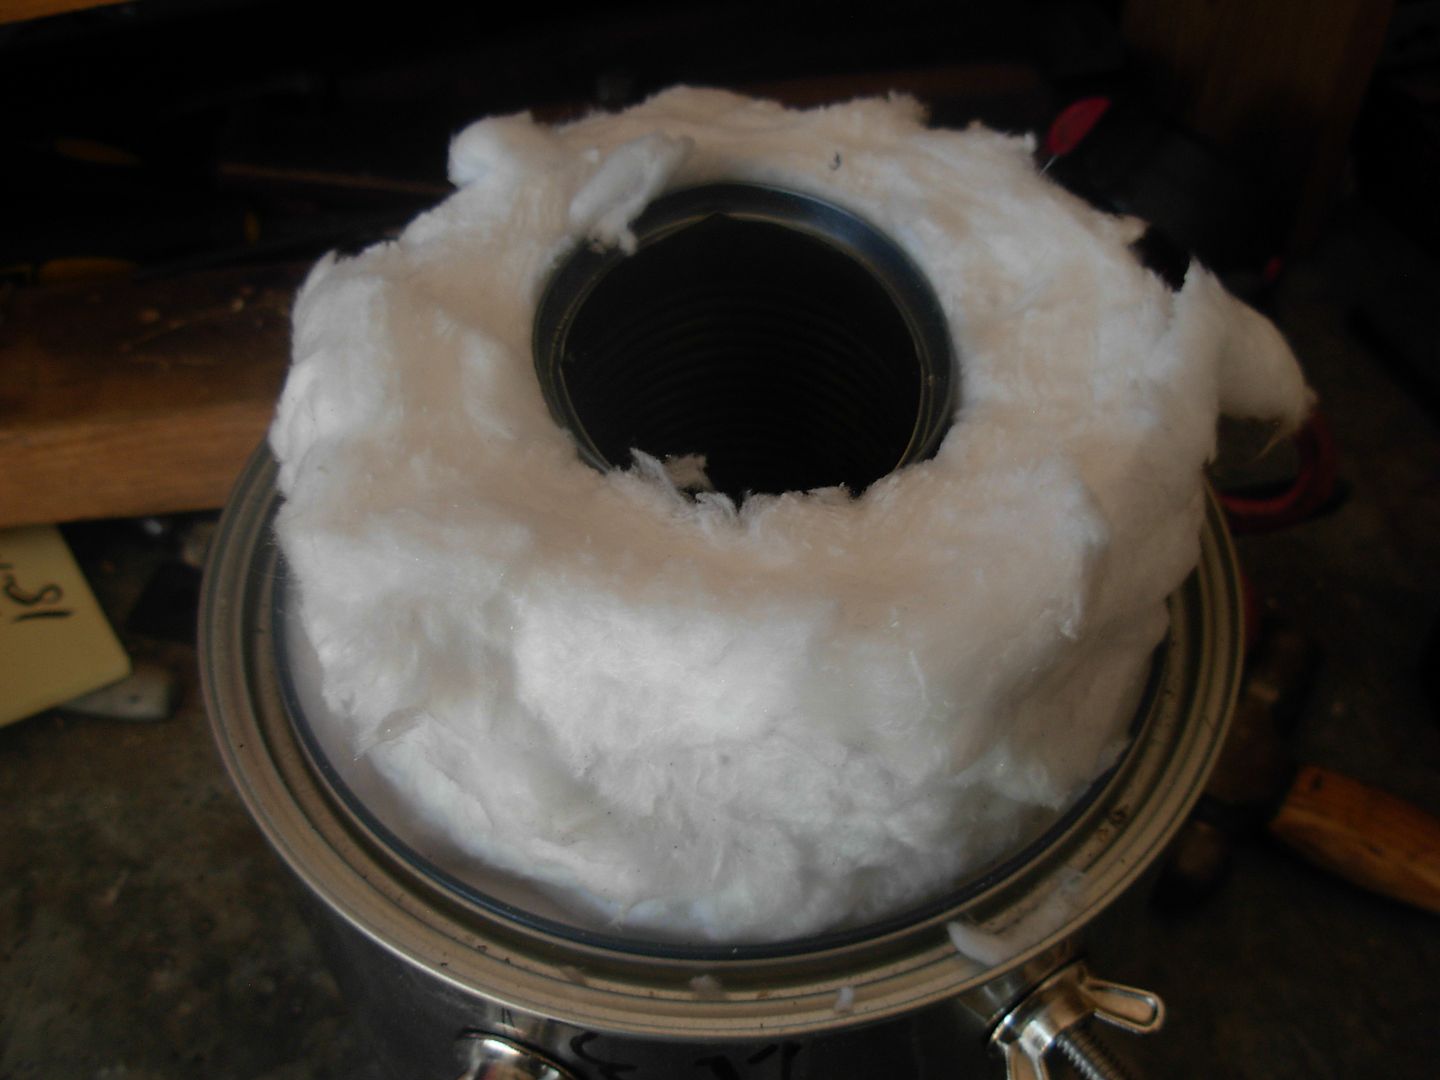
Then take the small piece and wrap it around the soup can.

paintcanforge031_zps705a991d.jpg


Now insert the wrapped up soup can into the middle of the paint can being sure to properly orient the torch holes to each other

paintcanforge032_zpsc423ace2.jpg


Drill your 1/4" bit through the wool and wobble it around a little to connect the torch holes through the wool. After this I worked a 1/2" bolt through the hole to clear the way for the torch tip to fit through

paintcanforge033_zps574a8240.jpg


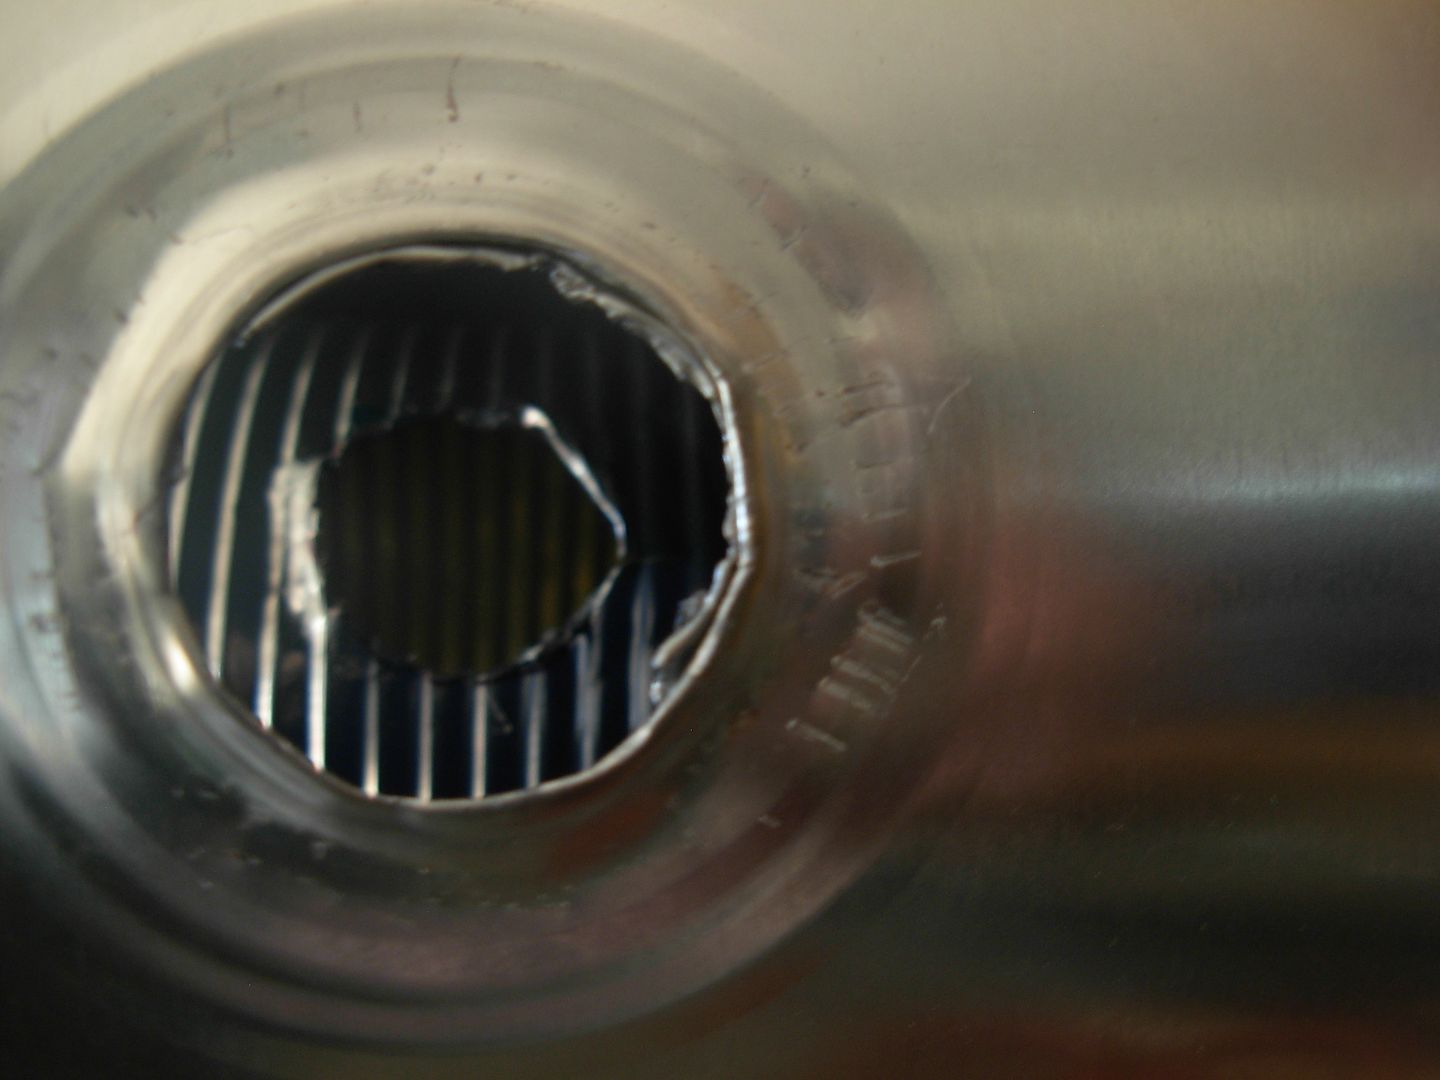
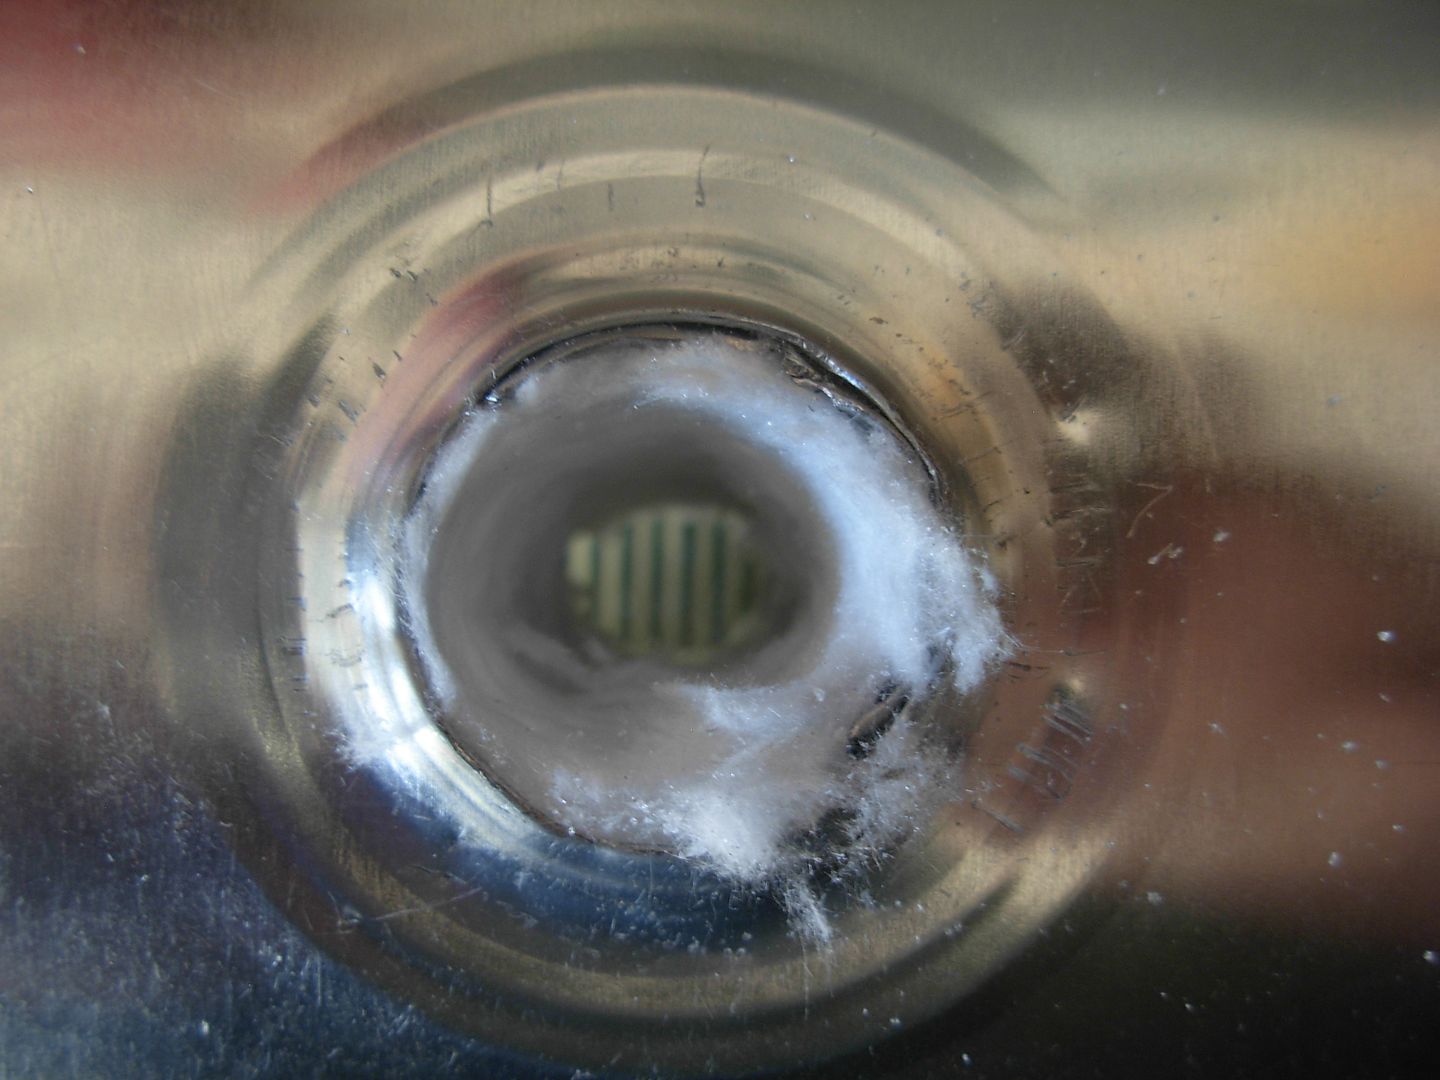
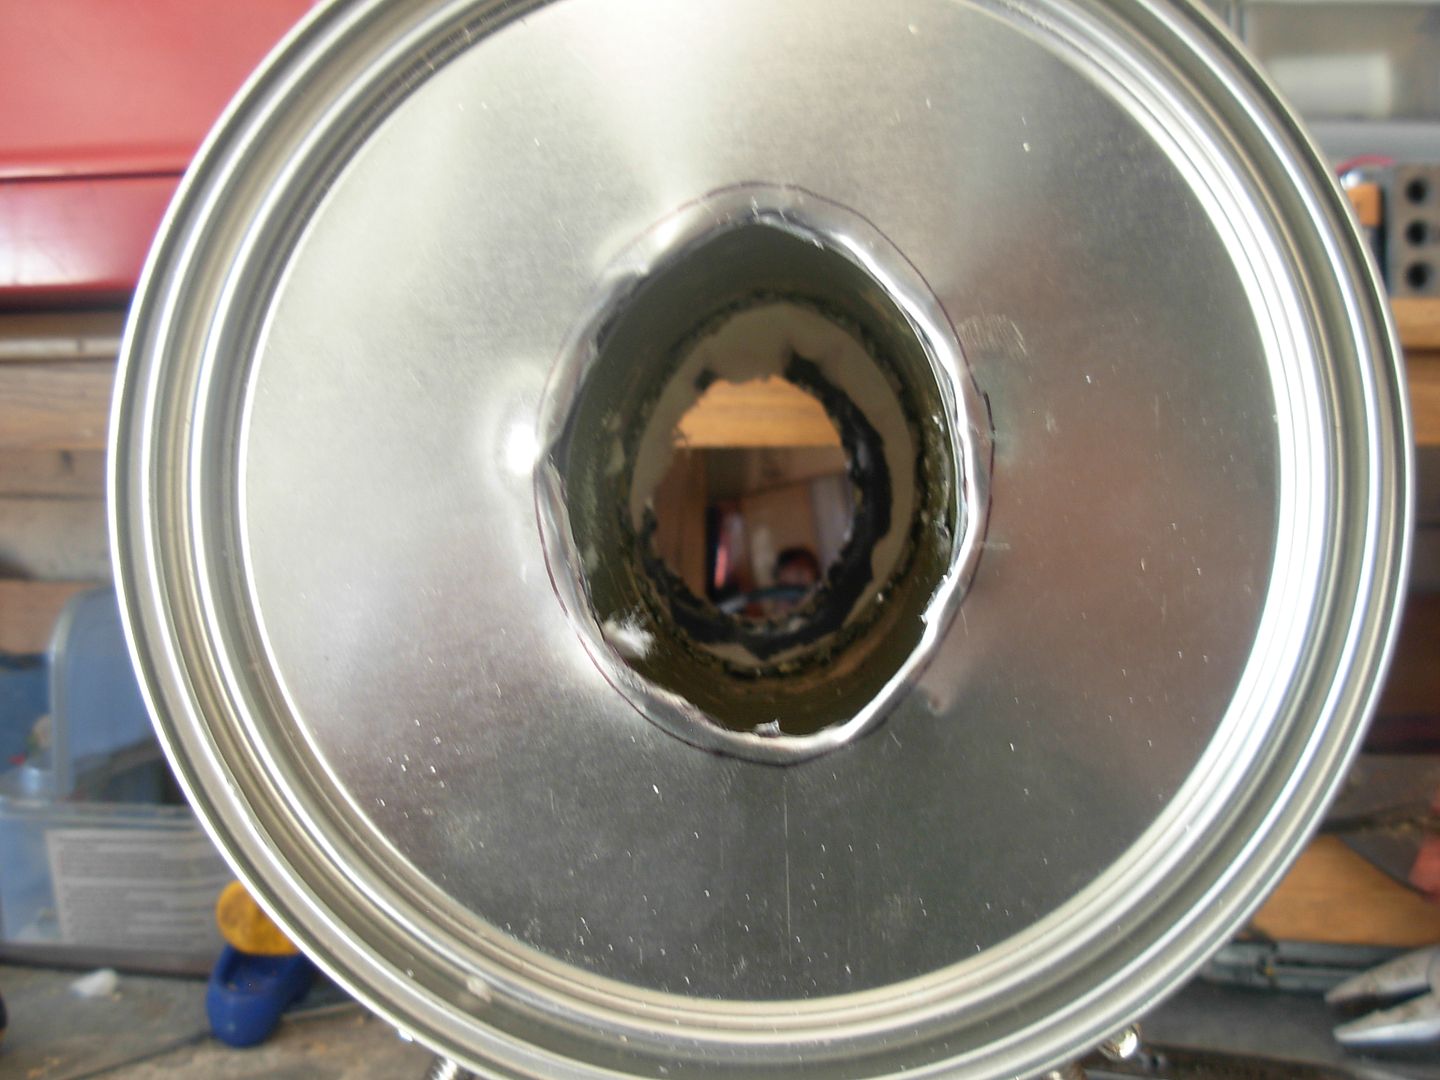
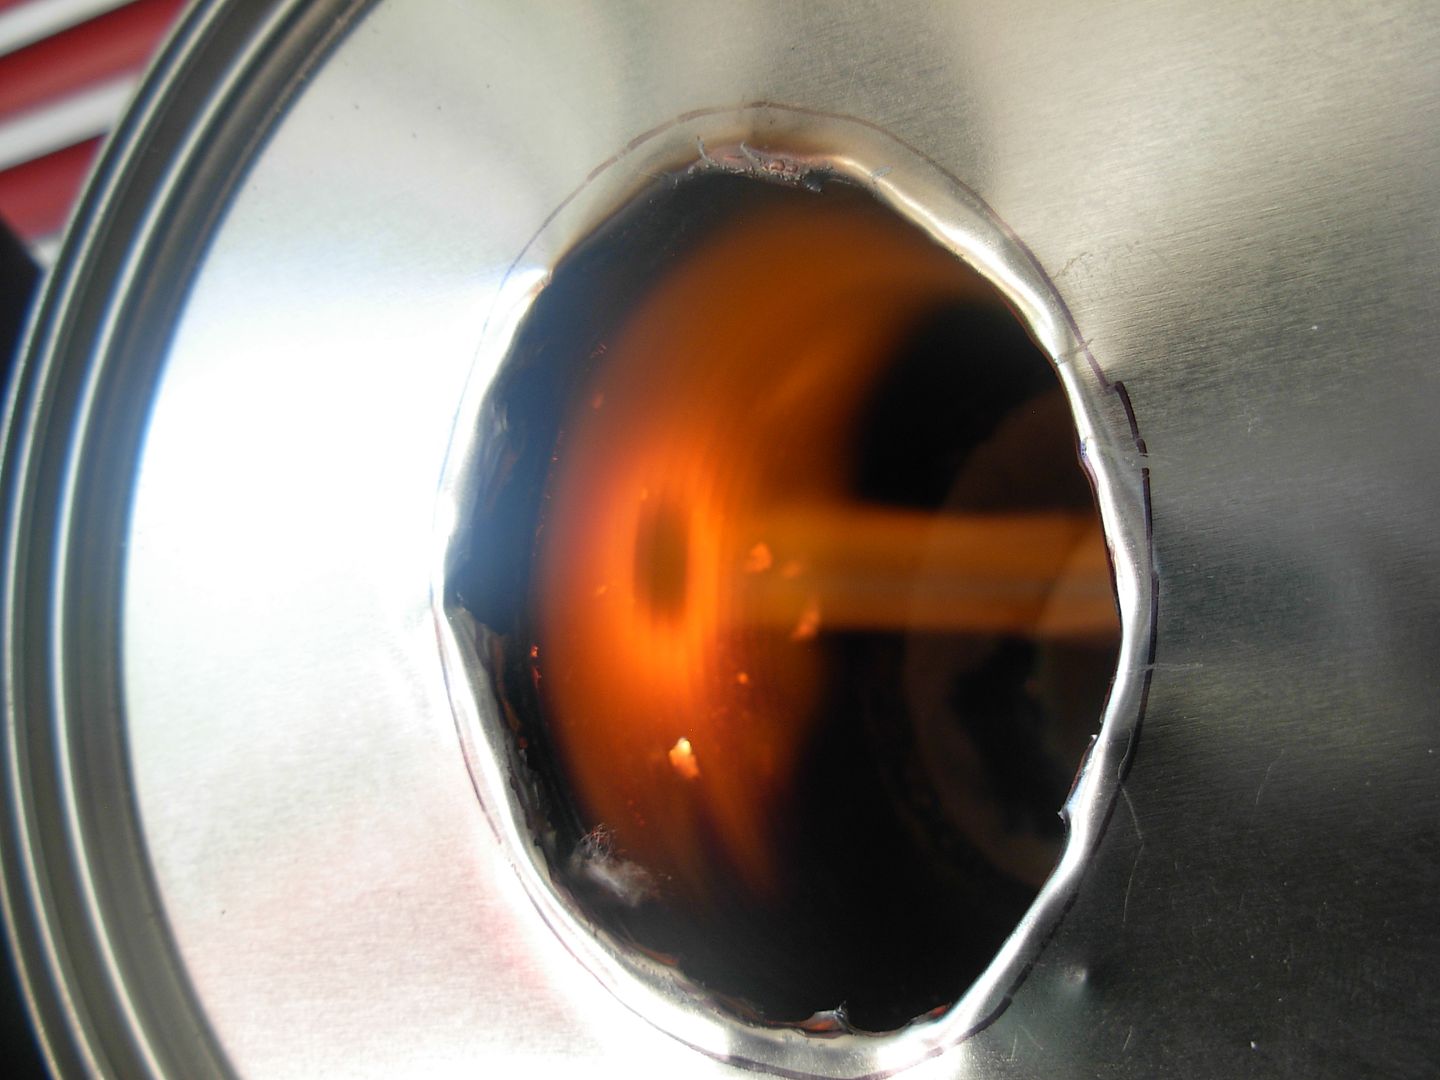
Looking through the torch hole

paintcanforge034_zpse9fb877b.jpg


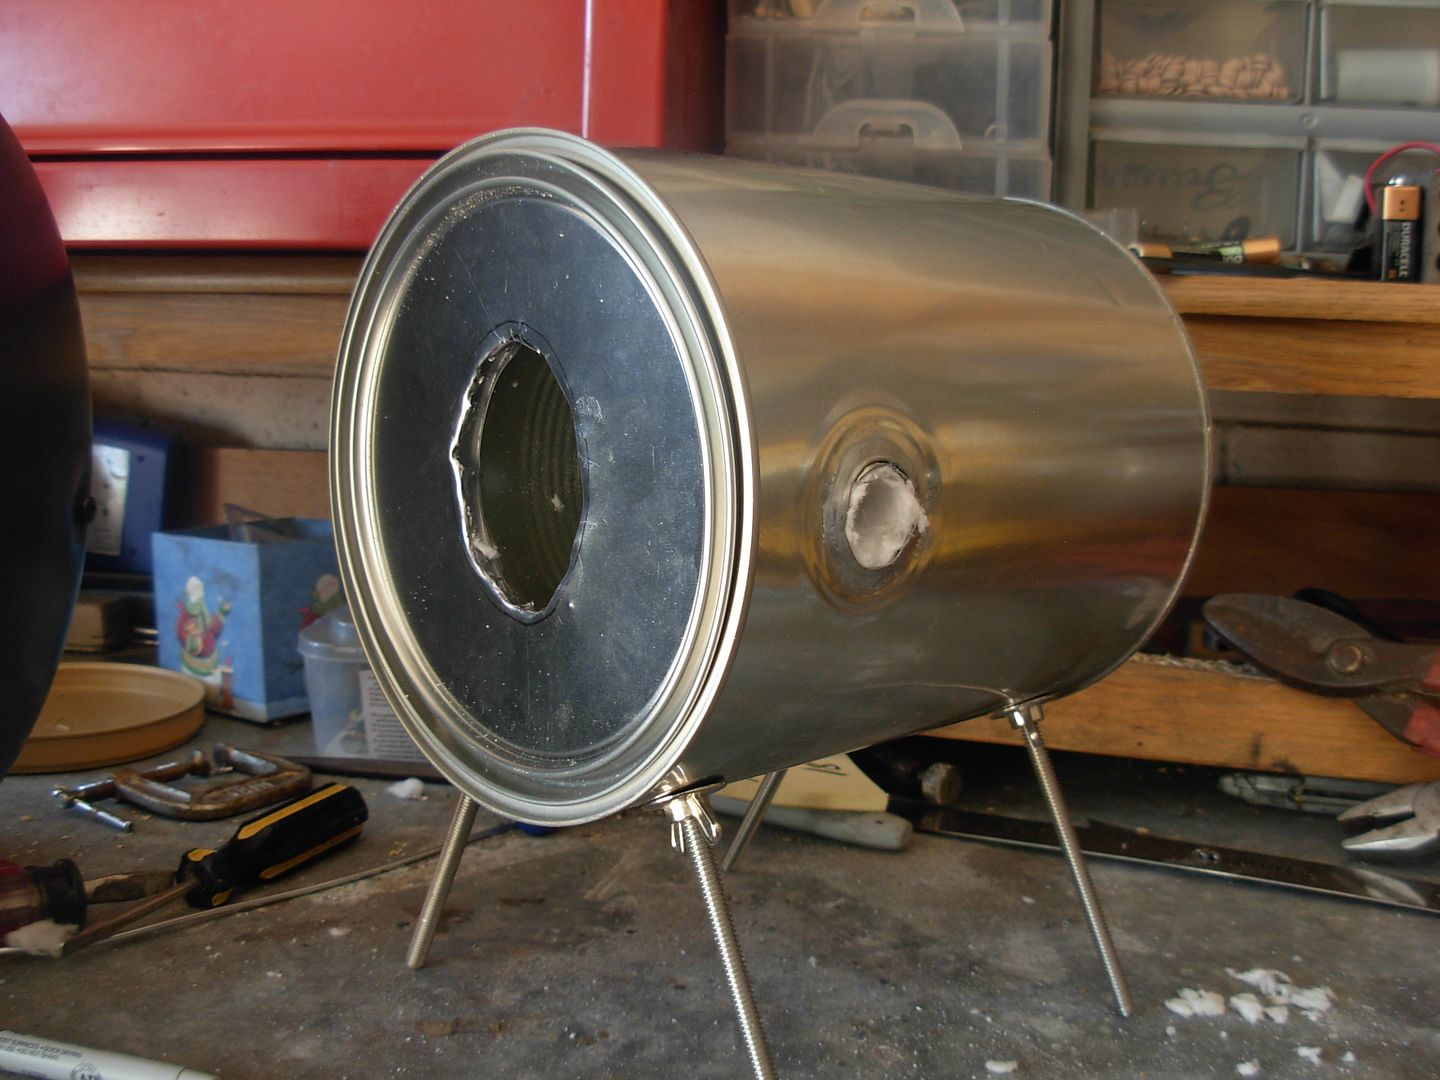
Install the lid on the can and now you've got yourself a low buck micro forge !

paintcanforge035_zpsa04fbe5b.jpg


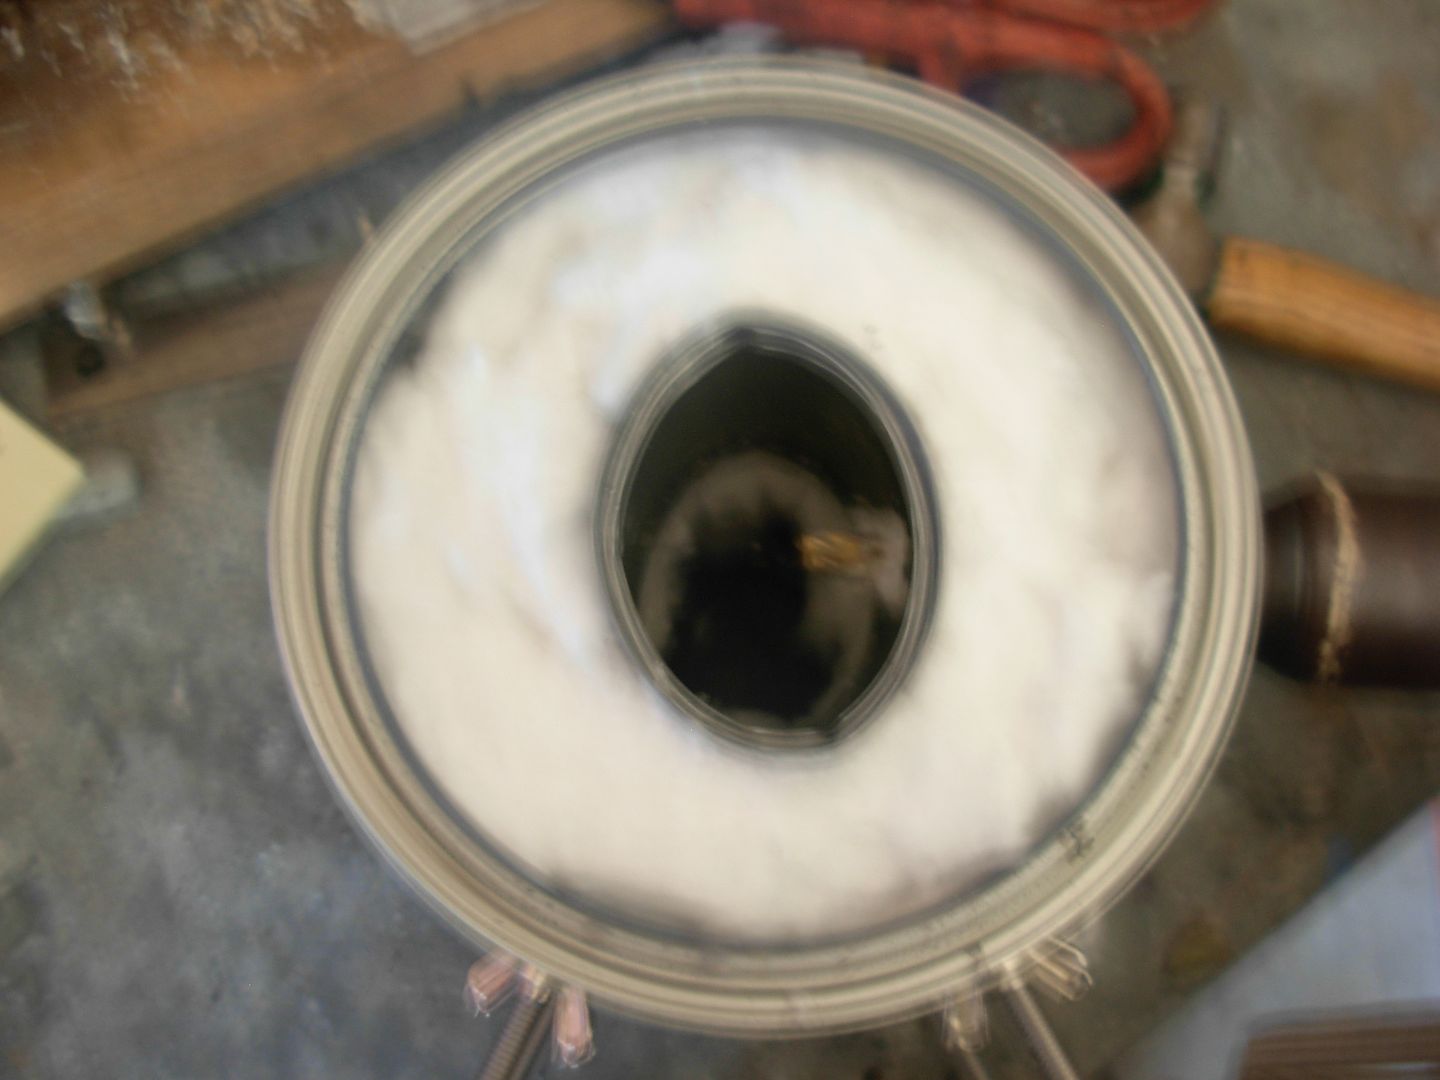
View through the lid side

paintcanforge036_zpsba32d0a3.jpg


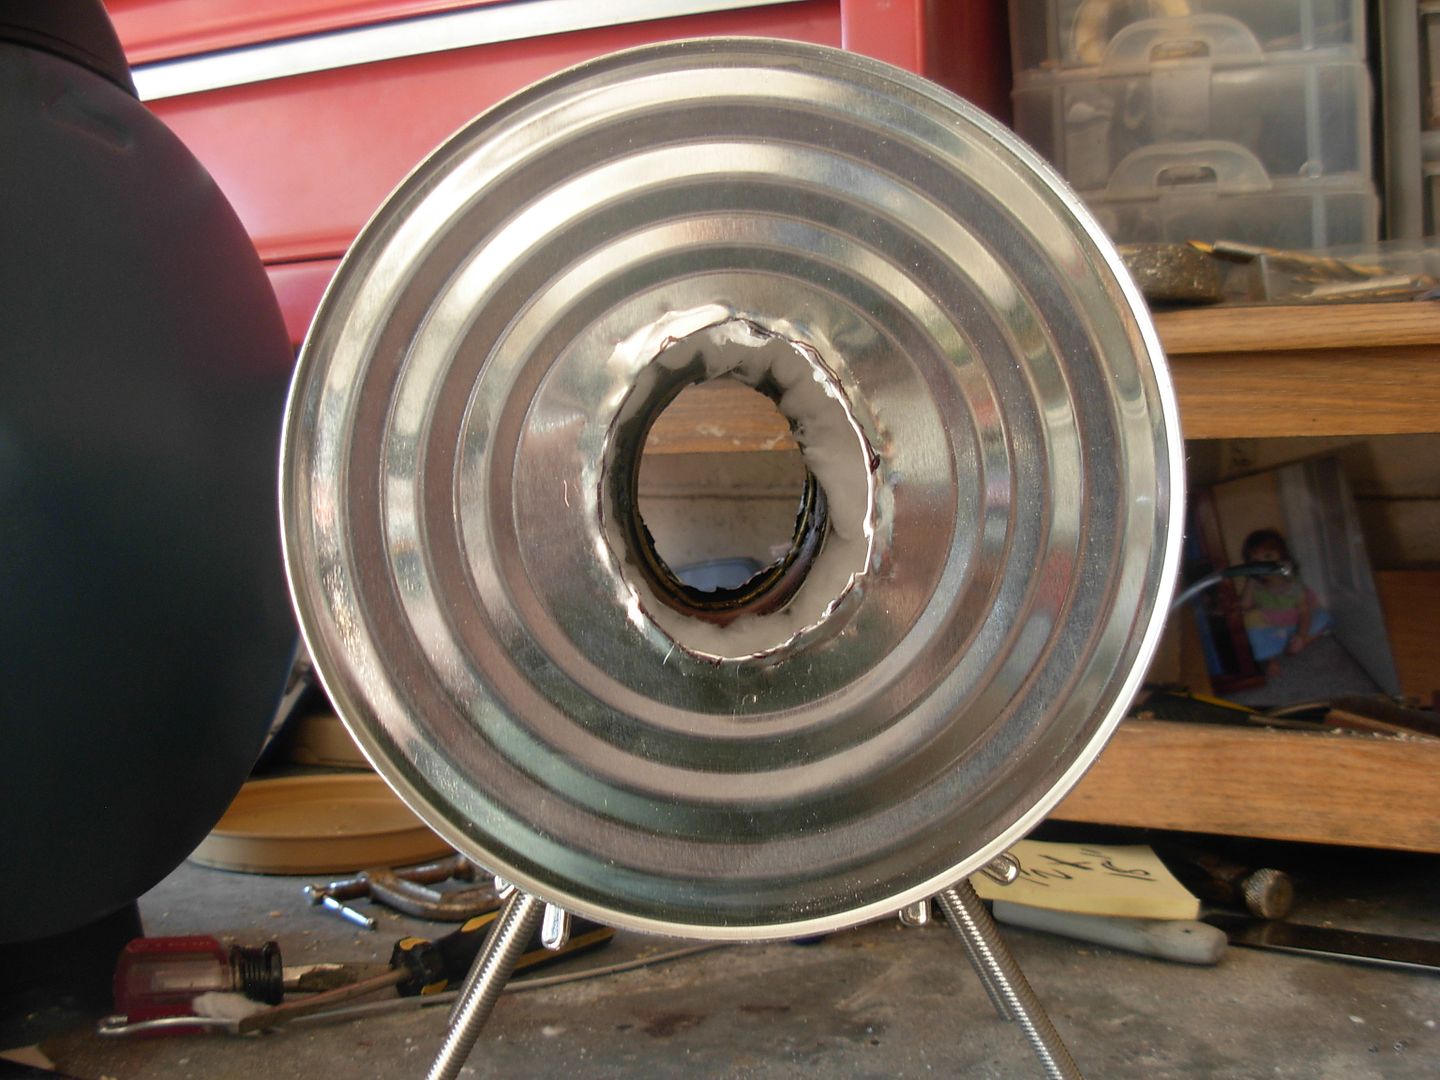
View through the back side

paintcanforge037_zps80ca5052.jpg


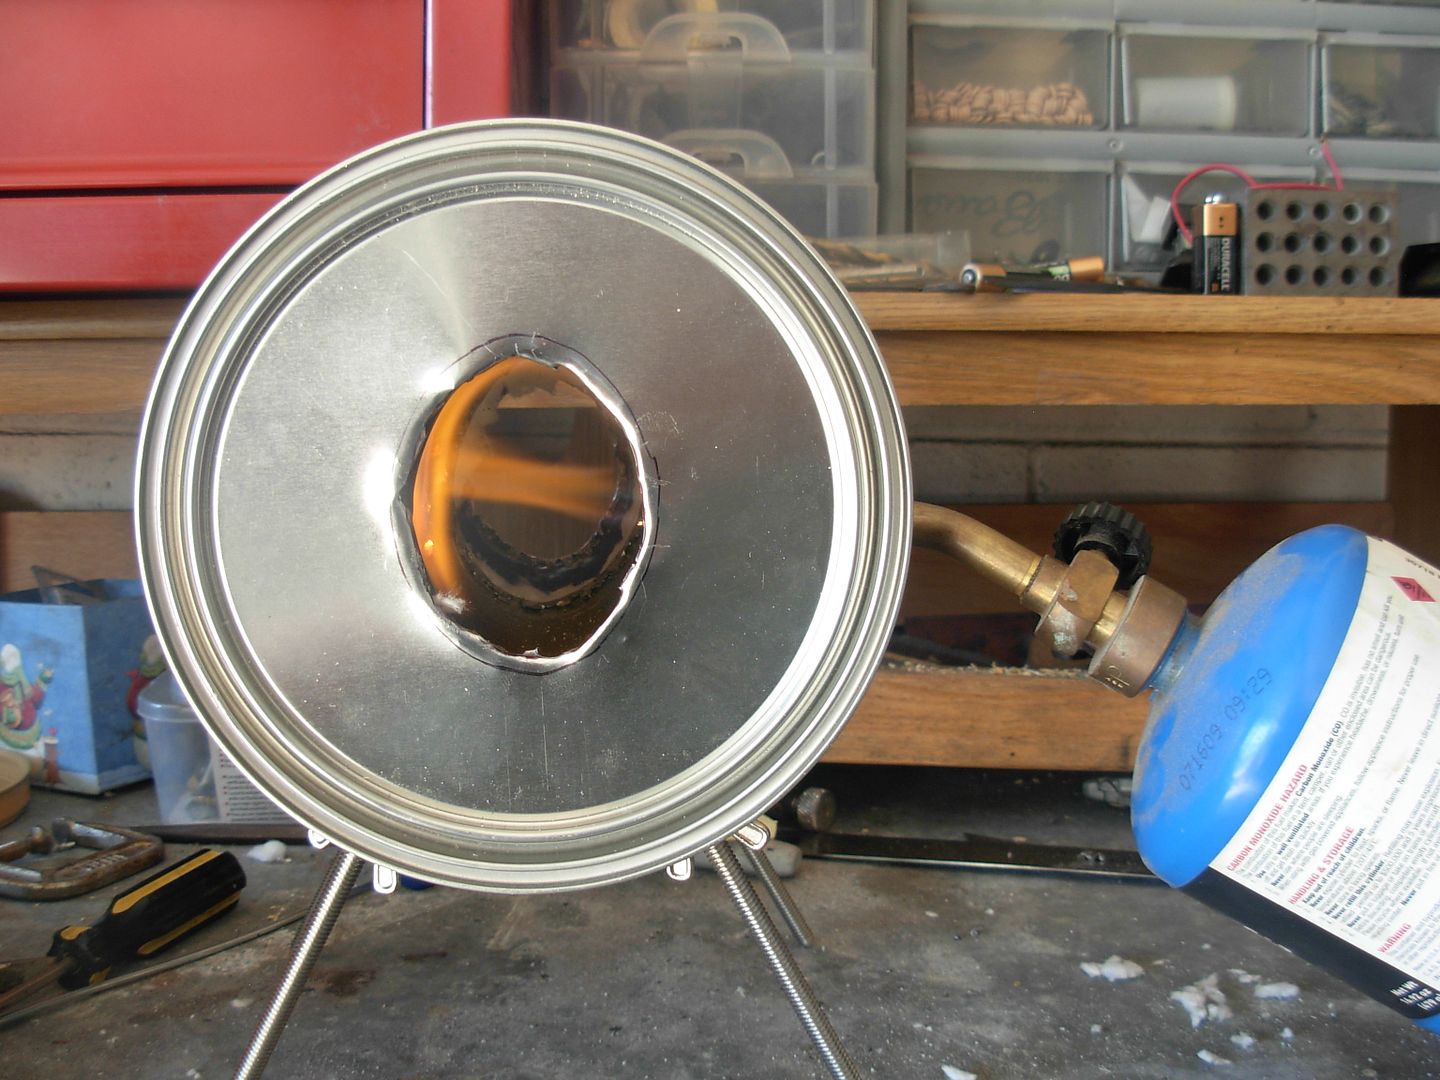
A quick little test run with propane. I did attempt to use this torch for a blade and I did not get enough heat with it. Maybe my tank is low on fuel but I felt it was low on flame volume so I used my other torch with MAP gas which is what I would recommend.

paintcanforge038_zpsfcfc5212.jpg


paintcanforge039_zpsf9b86612.jpg


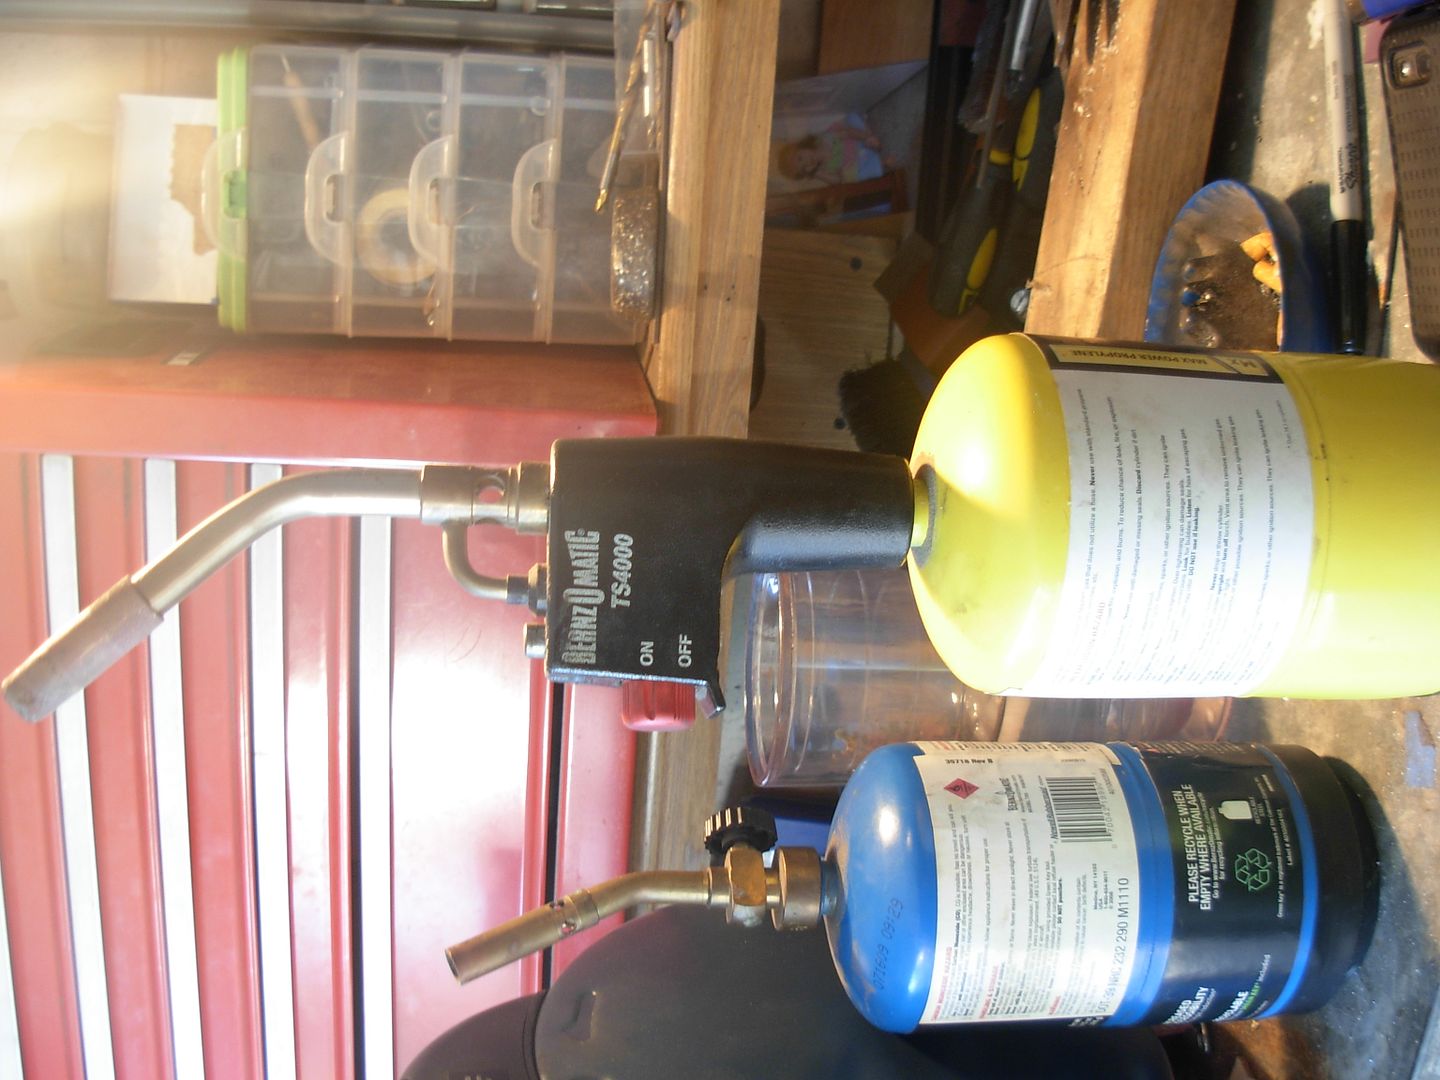
Here's my two torches. They are both Bernzomatic's but I did not get a good result with the cheaper torch head and the blue tank (propane)
I'd highly recommend the yellow bottle (MAP gas) and the TS 4000 torch head. I got this torch at Lowes a few years back. It came in Kit with the torch head, Bottle, Solder, and flux.

paintcanforge043_zps02844736.jpg


-Josh
 
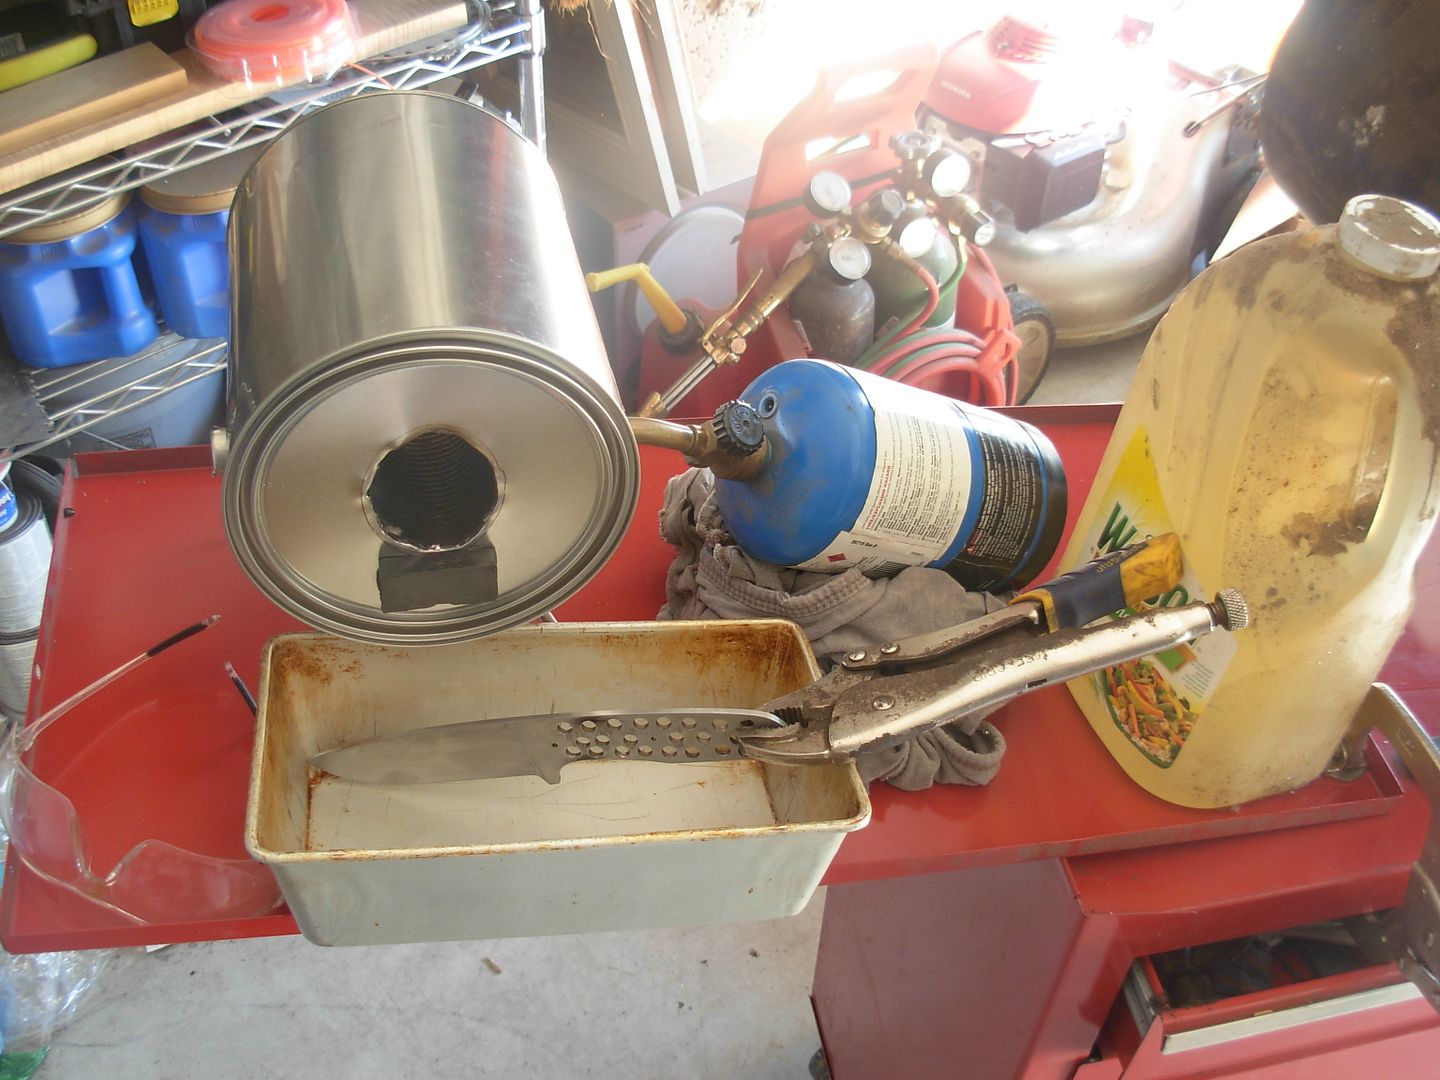
Here's a pic of the set-up I'm using to harden my blade.

Like I said I tried using the propane first so that's what I had set-up in this pic. I'm using a metal bread pan as a container for my quenching oil and filled near to the top. The oil iteslf is Canola oil thats approximatey 4 years old. If your going to make knives you have to also be a packrat :)

I've also got my safety glasses and the black thing on the front of the forge is a rare earth magnet.

This is the only stuff needed to harden our 1084.

paintcanforge040_zps84e5ede9.jpg


-Josh
 
Dude this really is awesome. I swear to your. I wish I had something like this when I wanted to make my first knife. It's a rockin tutorial bro. Love every single step. GREAT JOB !!!!!!!!!!!!
 
I shot a little vid of hardening this blade with the micro forge-

[video=youtube_share;krsBhKMe1Yw]http://youtu.be/krsBhKMe1Yw[/video]


Appreciate all the compliments Fellas :)

-Josh
 
Last edited by a moderator:
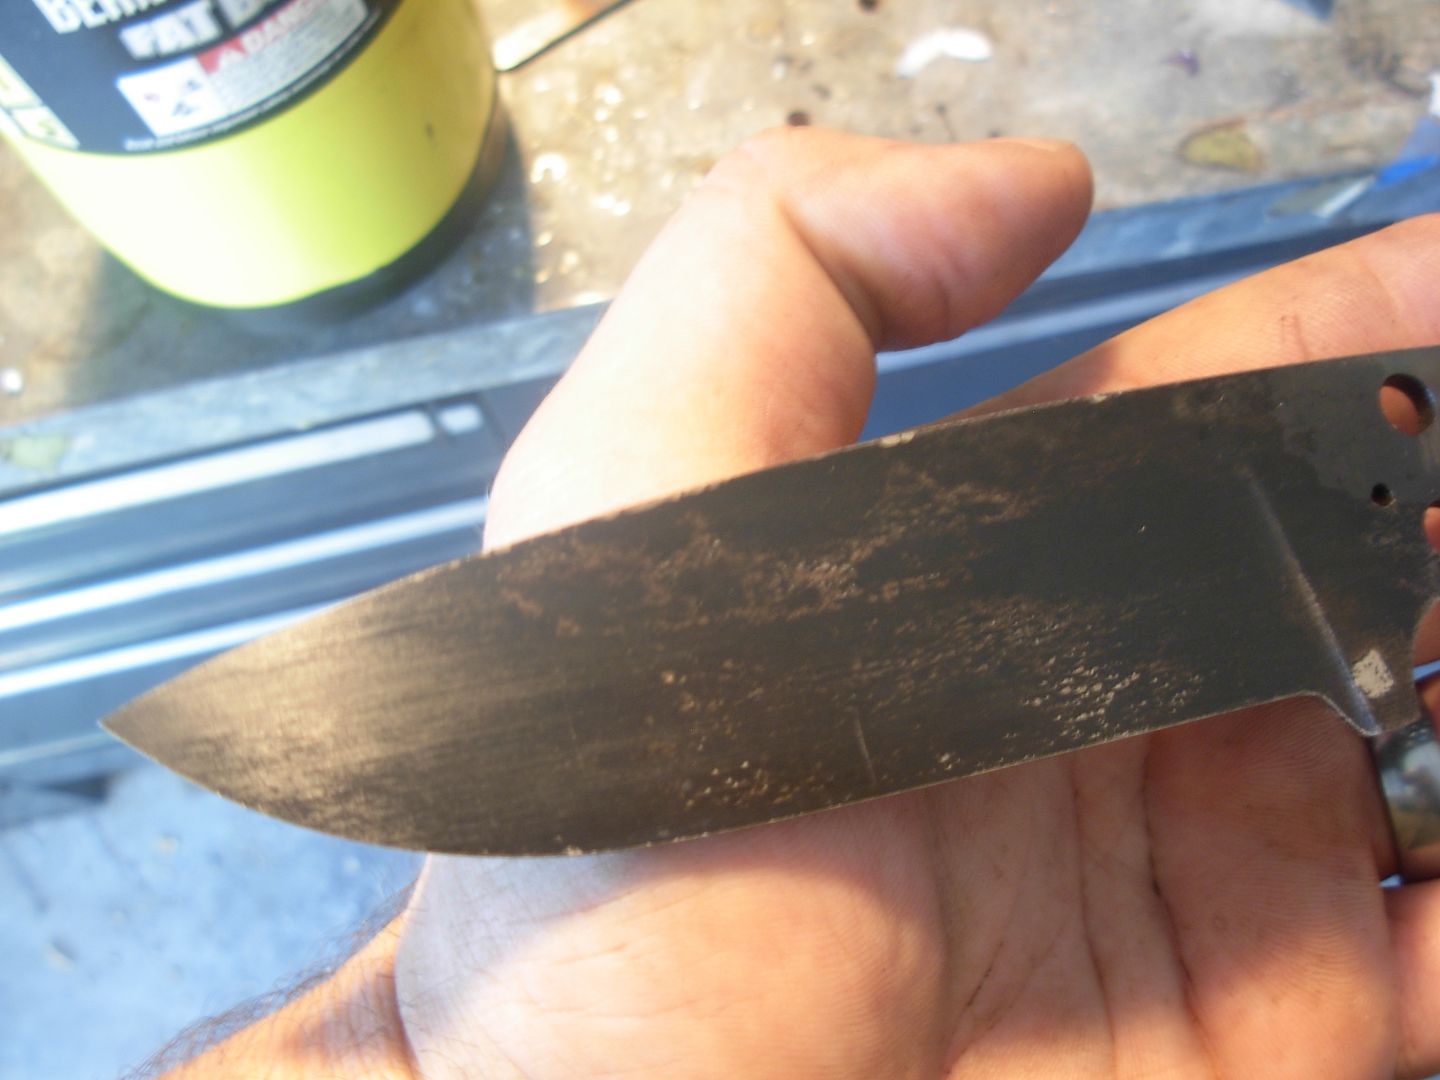
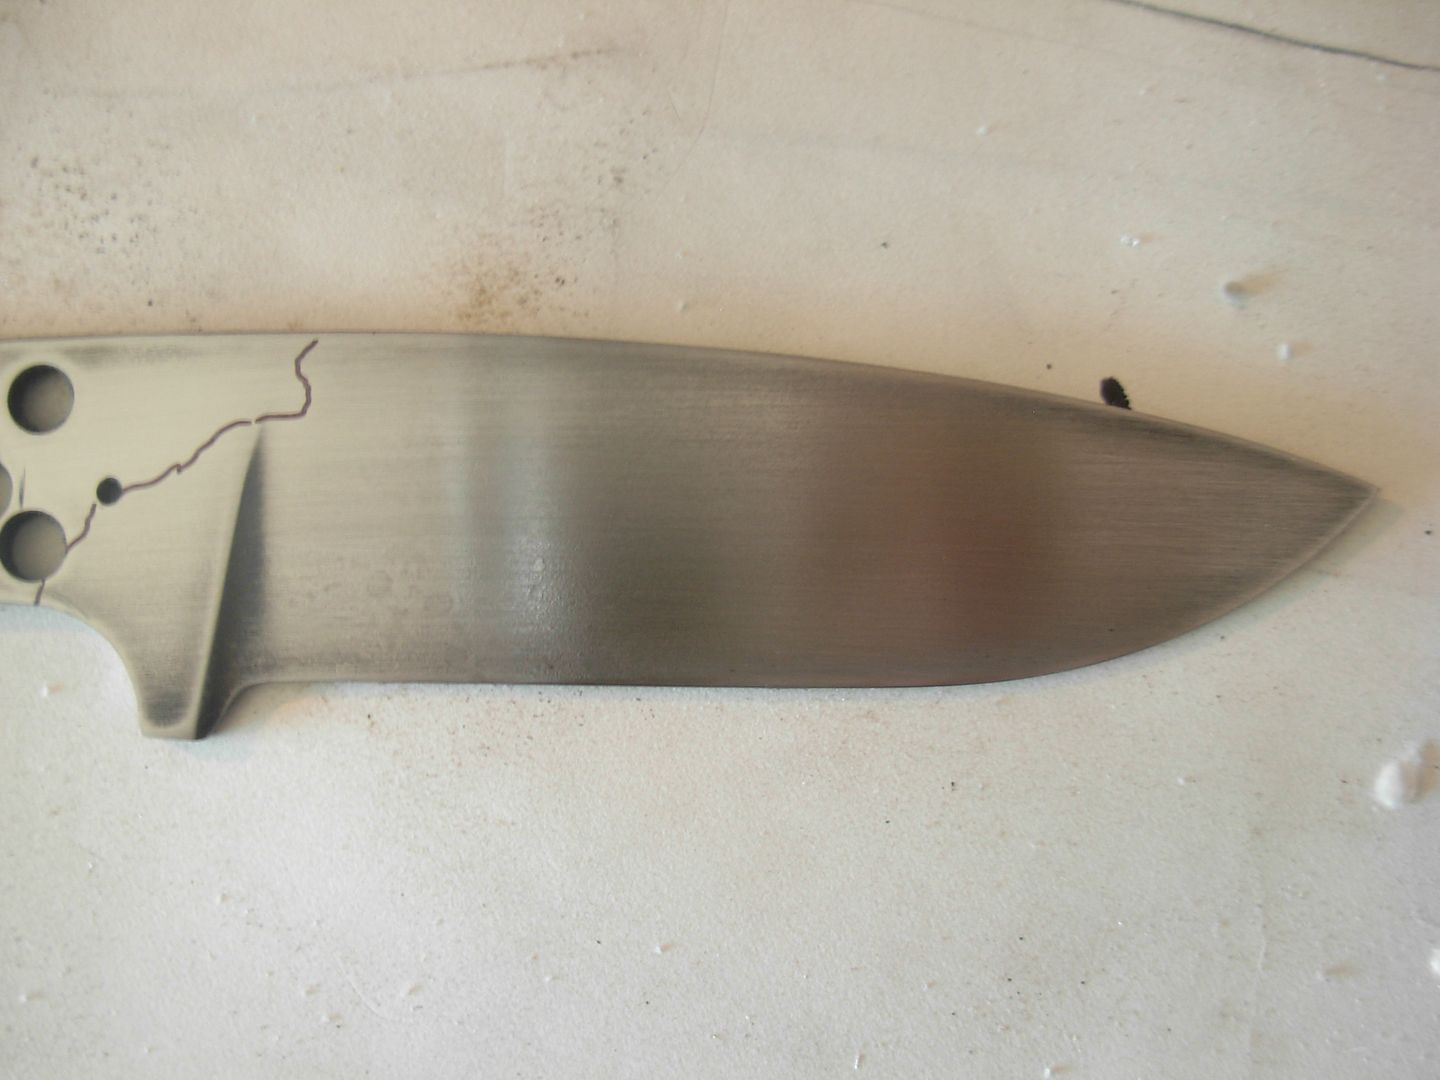
Here's a look at my blade after hardening. Pretty nasty and black looking but thats just the cooked on oil from the quench.

paintcanforge041_zps961604bd.jpg


I always like to clean my blade up after hardening. I'm not trying to re-sand at this point just remove that cooked on crud so Used some 220 grit paper that was already used for flattening. I'm not concerned with perfection just prefer to shine things up befor the temper

paintcanforge042_zps7f8482c5.jpg


-Josh
 
Great job Josh. I especially like the wip on the HT furnace. I could have used this information when I was starting out. I know it will be helpful to guys wanting to learn. Thanks for your time...I know a wip is a lot of extra work, but you are going above and beyond!
 
With our blade hardened and cleaned up we're ready to continue on to the Tempering step of Stage 2 in our process.

We're going to use our kitchen oven for tempering and it'll work just fine if we know a couple things about how to use it for our purpose.

The temperature on our ovens dial (dial or digital) is the SET-POINT. IT IS NOT A READING OF THE ACTUAL TEMPATURE INSIDE THE OVEN.

As the oven's heating element cycles on and off the temperature will fluctuate inside the oven so we want our desired tempering temperature to be the high side of the fluctuation.

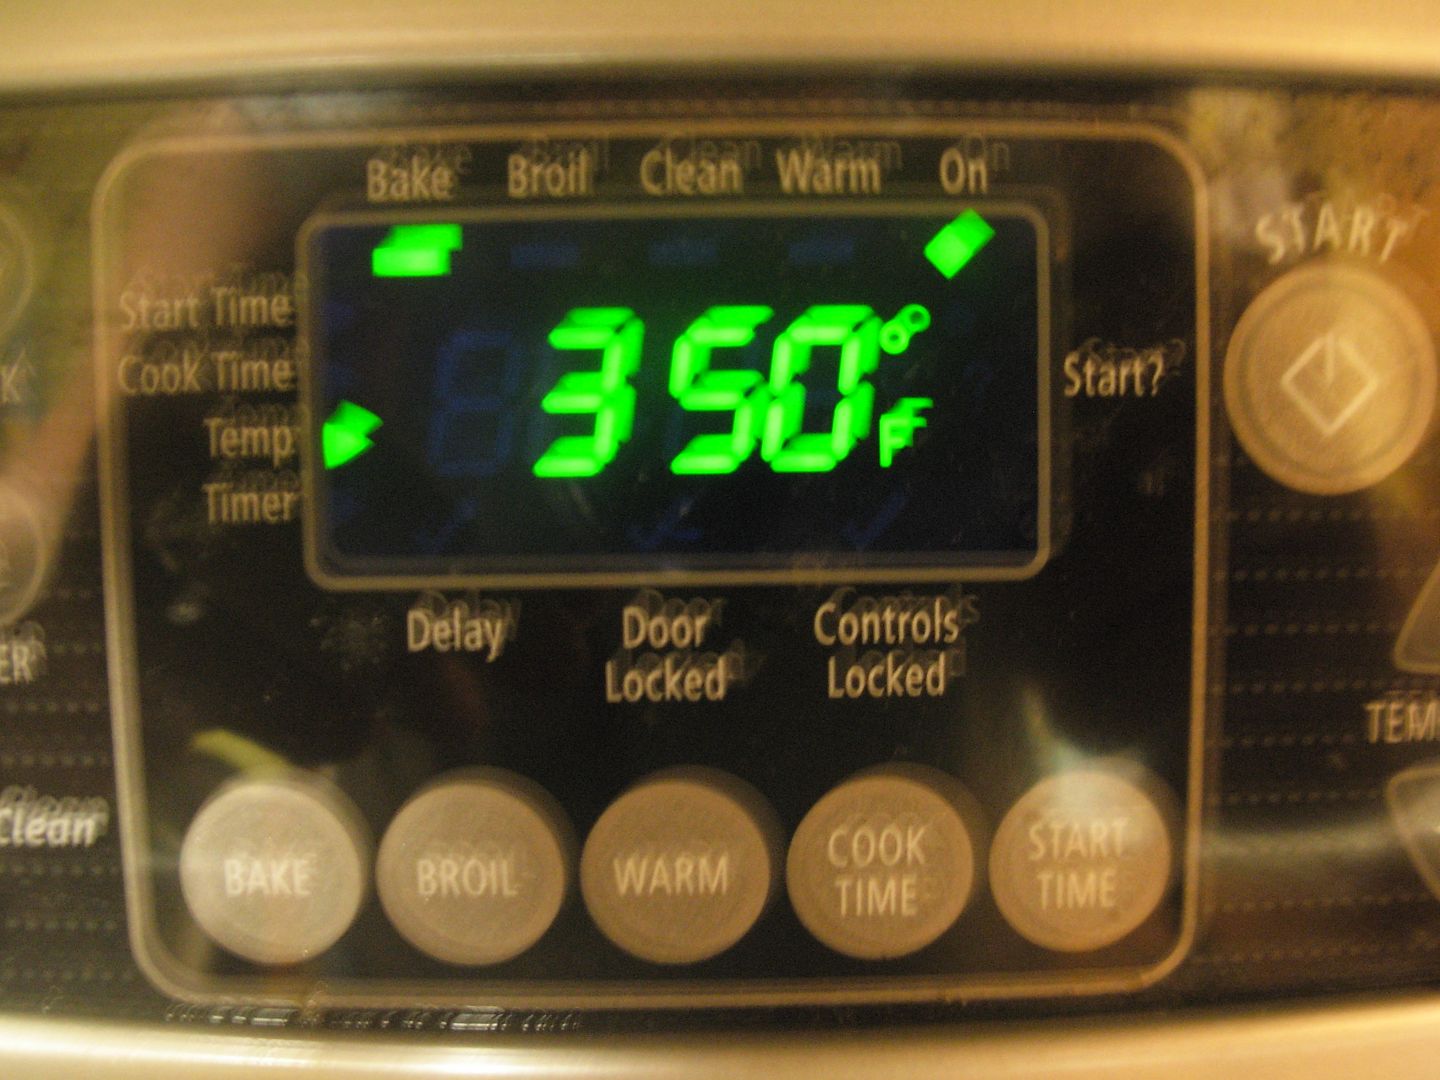
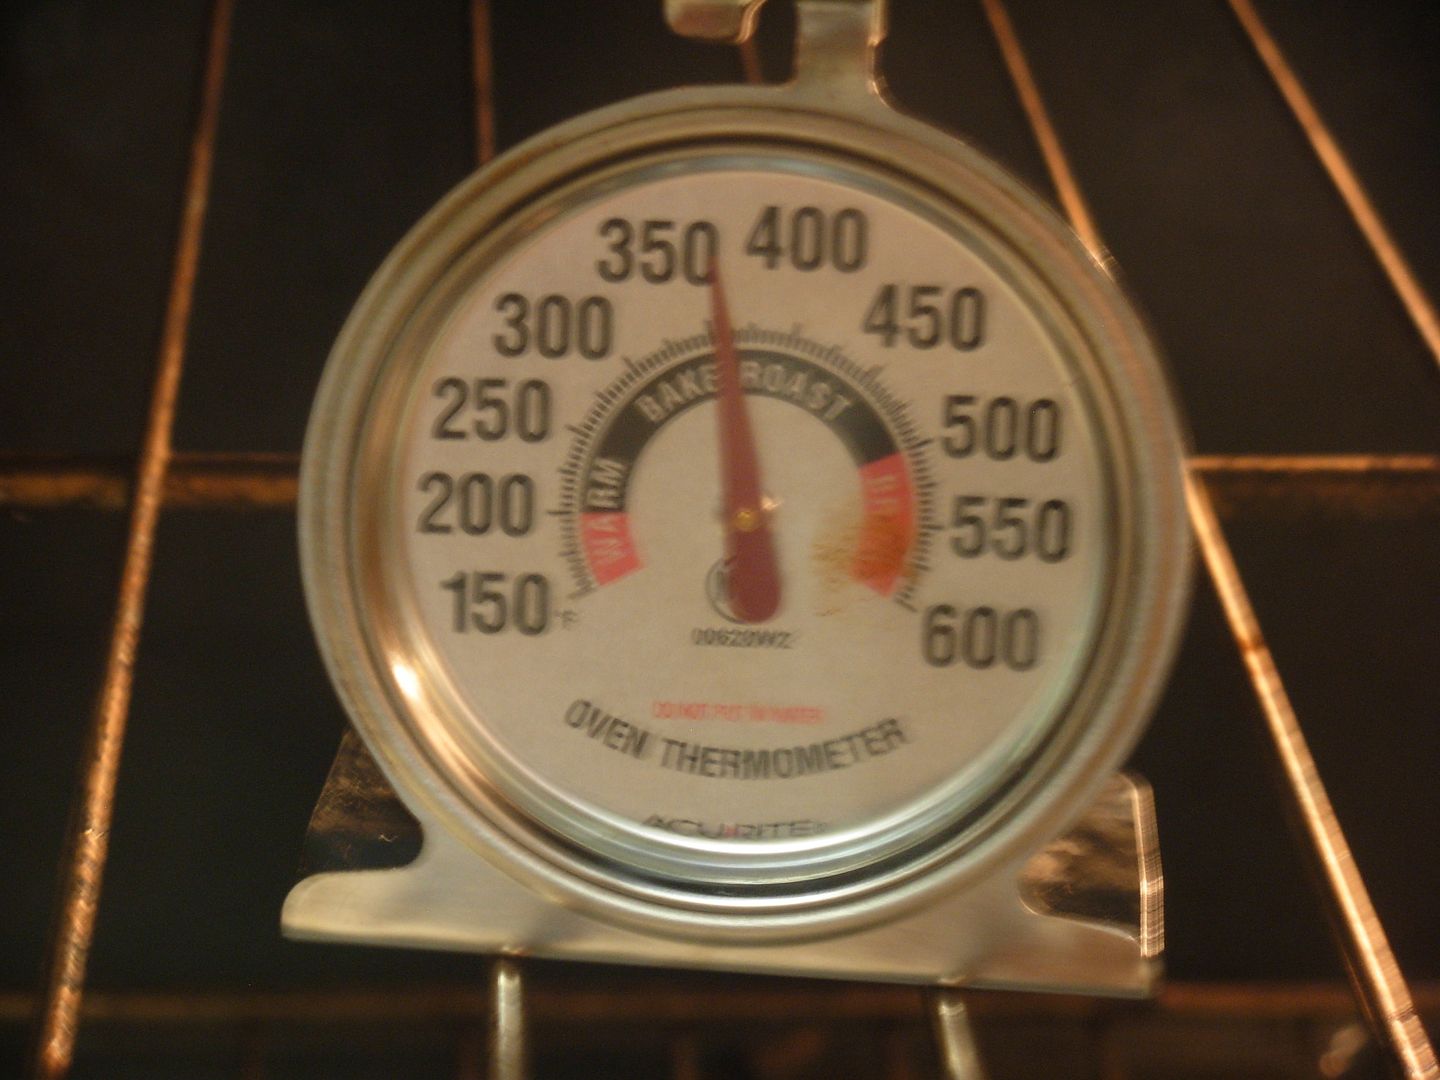
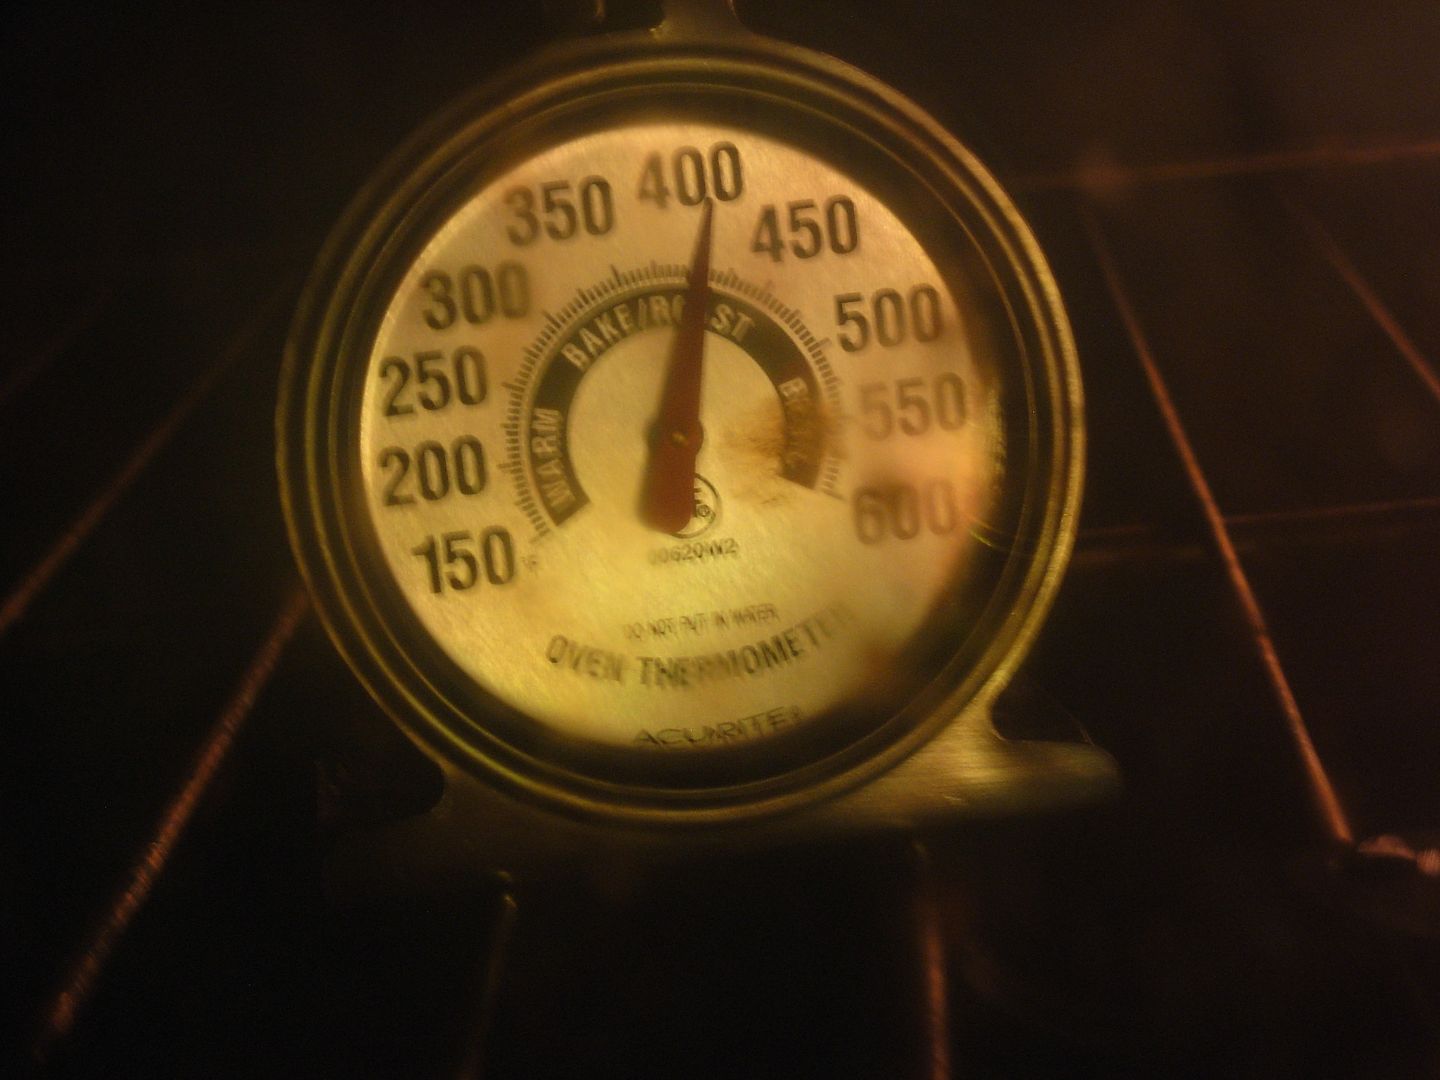
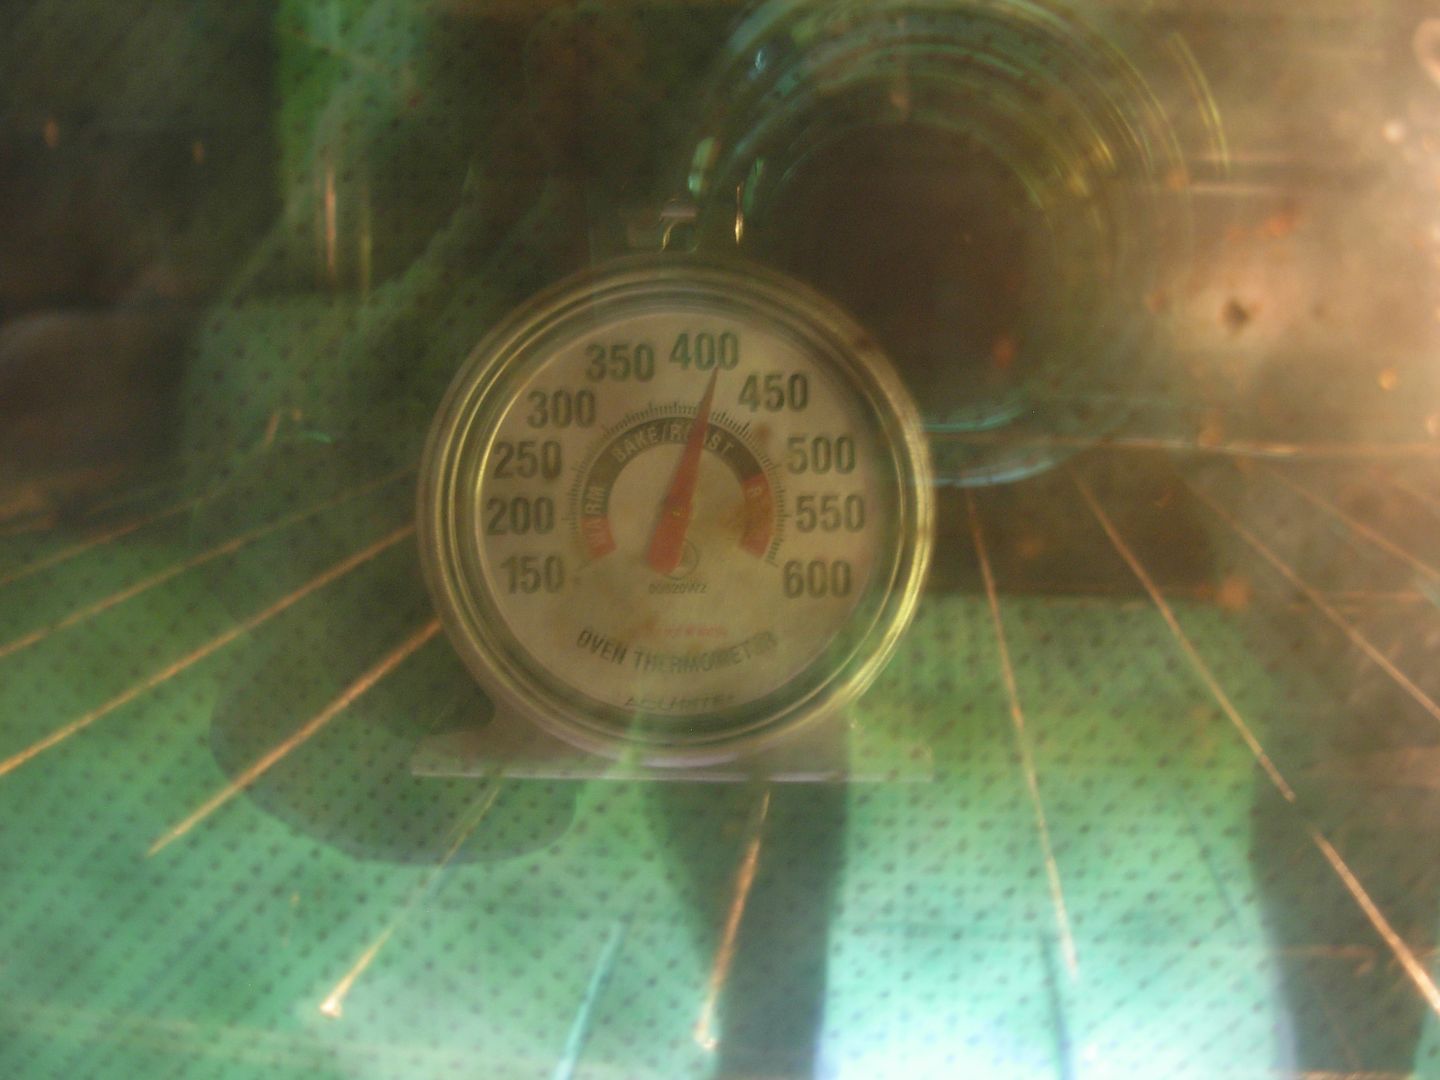
To figure out what oven setting is needed to get the correct temperature we'll use an Oven Thermometer to measure the actual temperature. We'll begin by starting 50 degrees lower than our desired temperature and let the oven come up to temperature.

I'm going to be tempering this blade at 400 degrees so I'll begin by setting the oven to 350 degress

tempering001_zps505d5a2e.jpg


Here we're just a little over our set point so we'll bump our oven up and check again.

tempering002_zps208cfbad.jpg


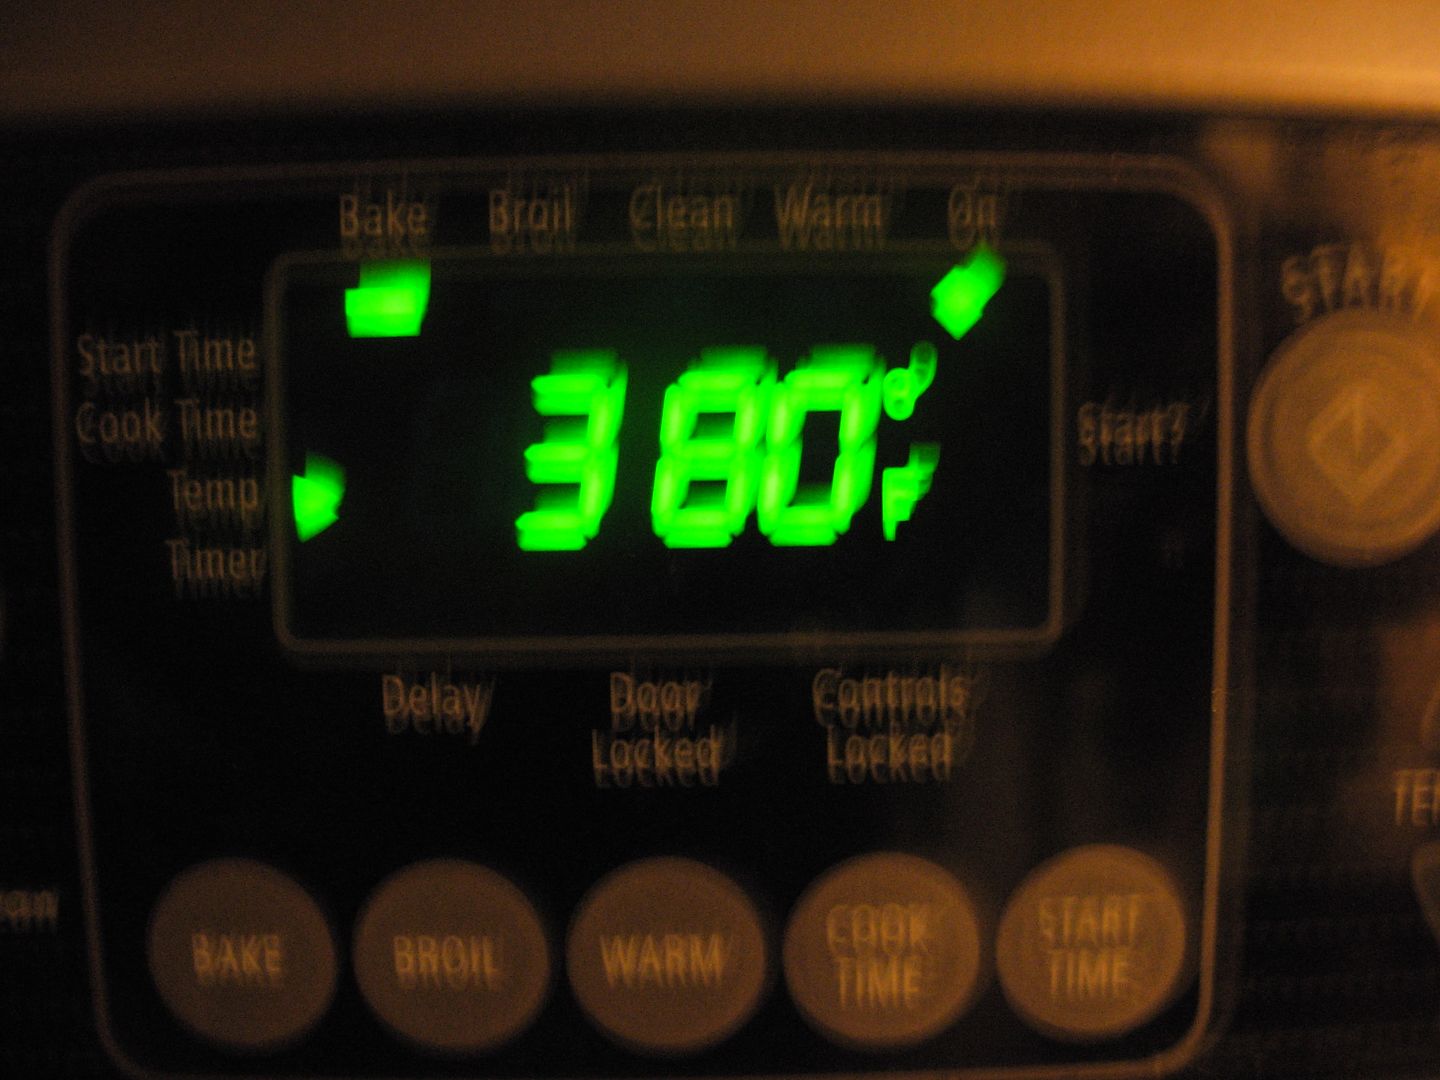
Bumped the set-point to 380

tempering003_zpsf103bb1a.jpg


At the 380 setting I'm actually hitting just a couple degrees past 400

tempering004_zps6c2ae661.jpg


Once you narrow in on your temperature let the oven run a little while to settle down then put your blade in for the first tempering cycle. NEVER put your blade in a cold oven. Get the oven running at the desired temperature FIRST and then put your blade in.

Were doing a standard "2 by 2" tempering cycle. This simply means we'll temper the blade 2 times for 2 hours each cycle.

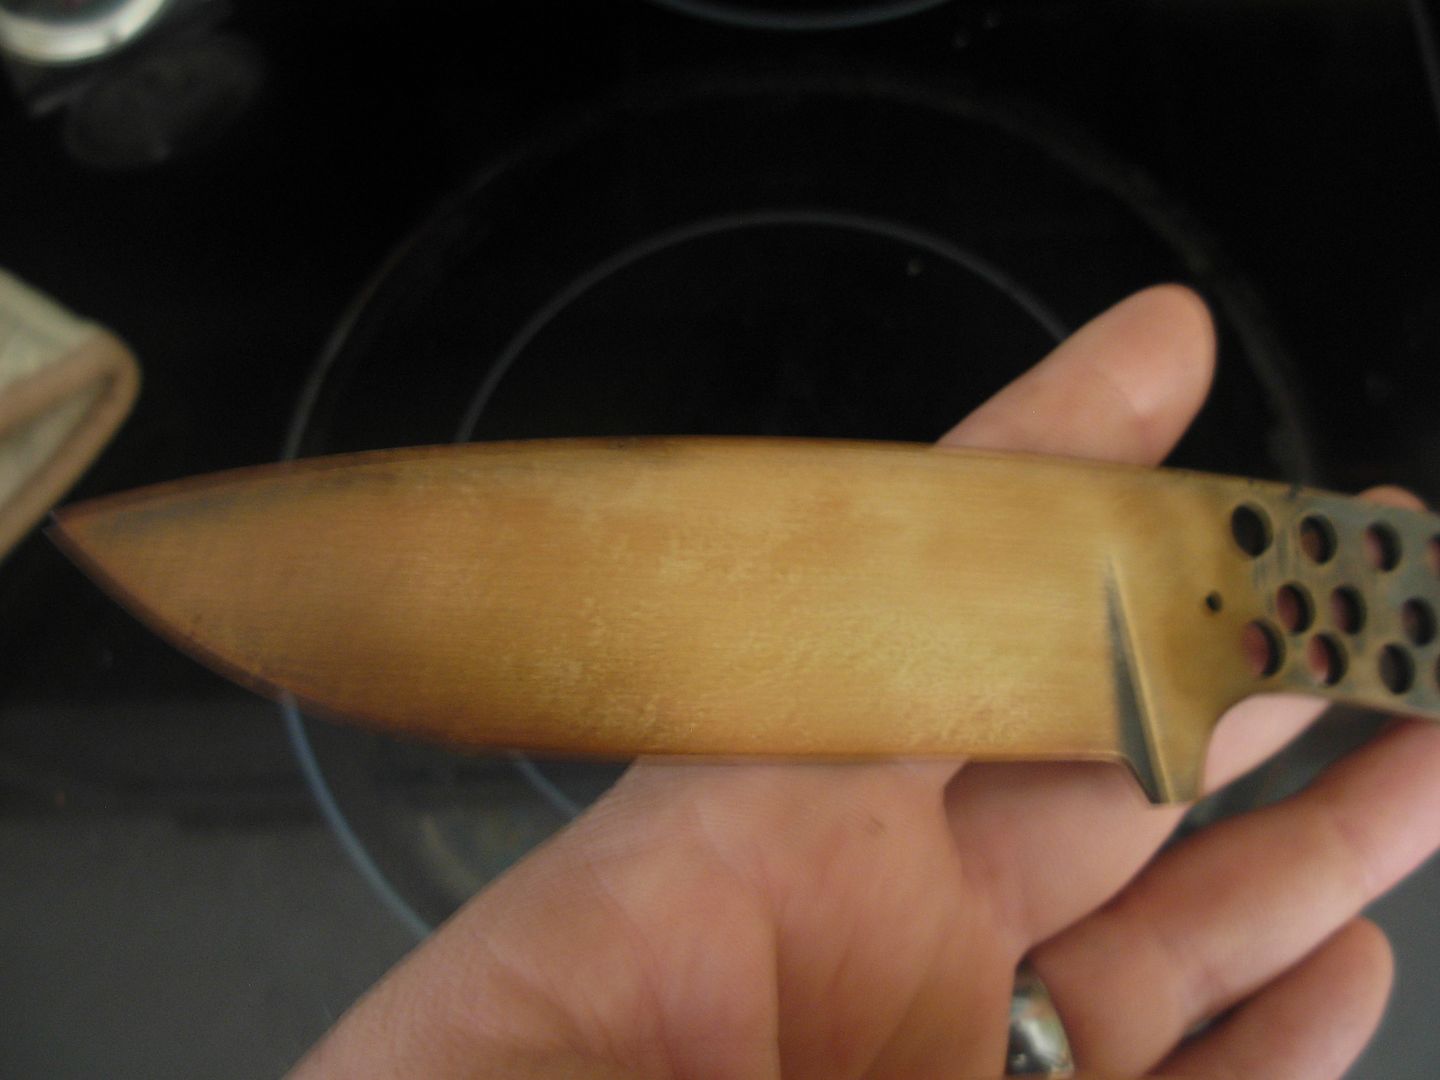
This is what we've got after the first 2 hour cycle at 400 degrees. We've got a deep gold color caused by oxides on our blade. This color in and of itself is NOT an accurate measure of the exact temperature that was reached in the temper so don't be alarmed if you've got some color variation on your blade. However taken overall this gold color does indicate that we got exactly what we would expect with a 400 degree temper. IF the entire blade was a deep purple color this would be an indication that we overshot our temperature and would be cause for concern

tempering005_zps70963ef4.jpg


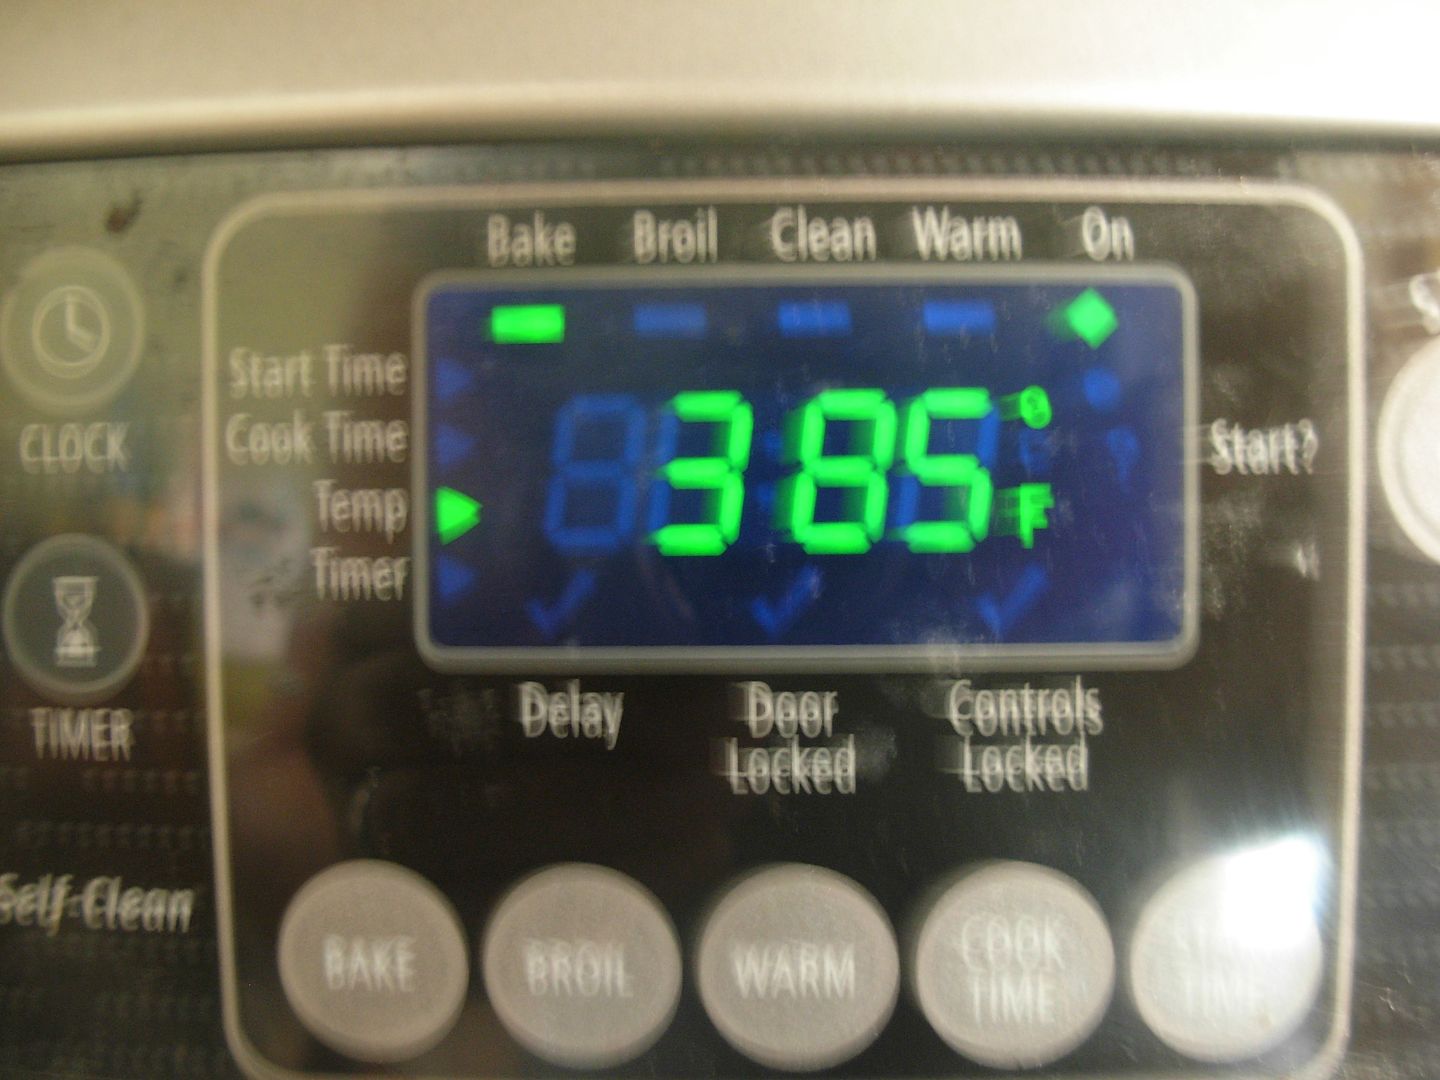
I hardened and ran my first temper last night so I again get my oven running at temperature. Set at 380 I was running a few degrees under 400 so I bumped it up to 385

tempering006_zpsaa490526.jpg


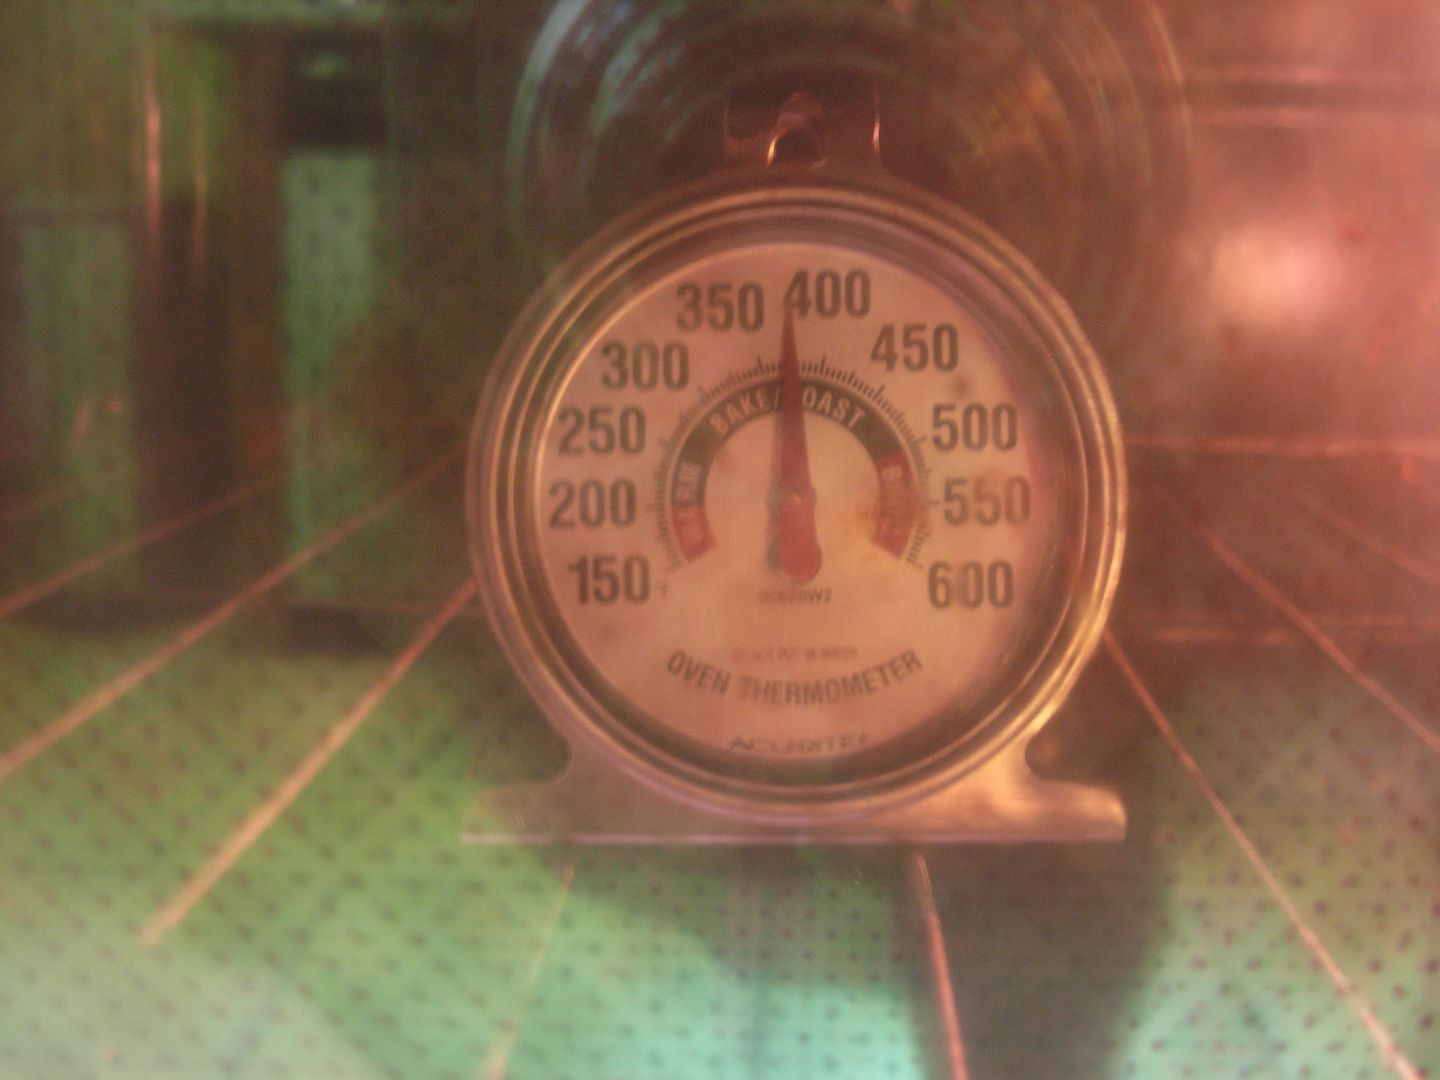
The low swing

tempering007_zps8722671d.jpg


The high swing

tempering008_zps53c6d228.jpg


Now just let it cook for 2 hours.

-Josh
 
This sets a new gold standard in tutorials for new to knifemaking with no money or tools. I think if you got any more primitive, you would chew the metal away instead of drilling it.

If you are noob and want to Build Along, click this to get the kit. This is the same kit Josh is using in his Tutorial.
 
Last edited:
Thanks for embedding that video Boss ! I attempted to embed at least 4 times and finally gave up and added the link, LOL.

Thanks again for the comments Fellas.

The only tool used thus far that isn't completely necessary is the bench grinder. It did save me probably several hours of file work but I could've got the exact same result with nothing but files.

I've still got some tricks up my sleeve so stay tuned.....

A ton of work goes into a tutorial such as this but I'm having alot FUN making this knife and making the tutorial !

-Josh
 
Back
Top