"W"s from Walla Walla

Bruce - you gonna be at the OKCA show this year? This will be my first year attending (and only major show since Blade West is no more) and would love to get to see some of your work in person!

BTW - I absolutely love your WIP threads!

Thanks Amcardon,
Yes, Thats a fun show to do. The top end makers mostly all left that show for greener pastures but with about 400 tables there are knives and swords of every kind for sale or on display. Its a dream show for pocket knife collectors.
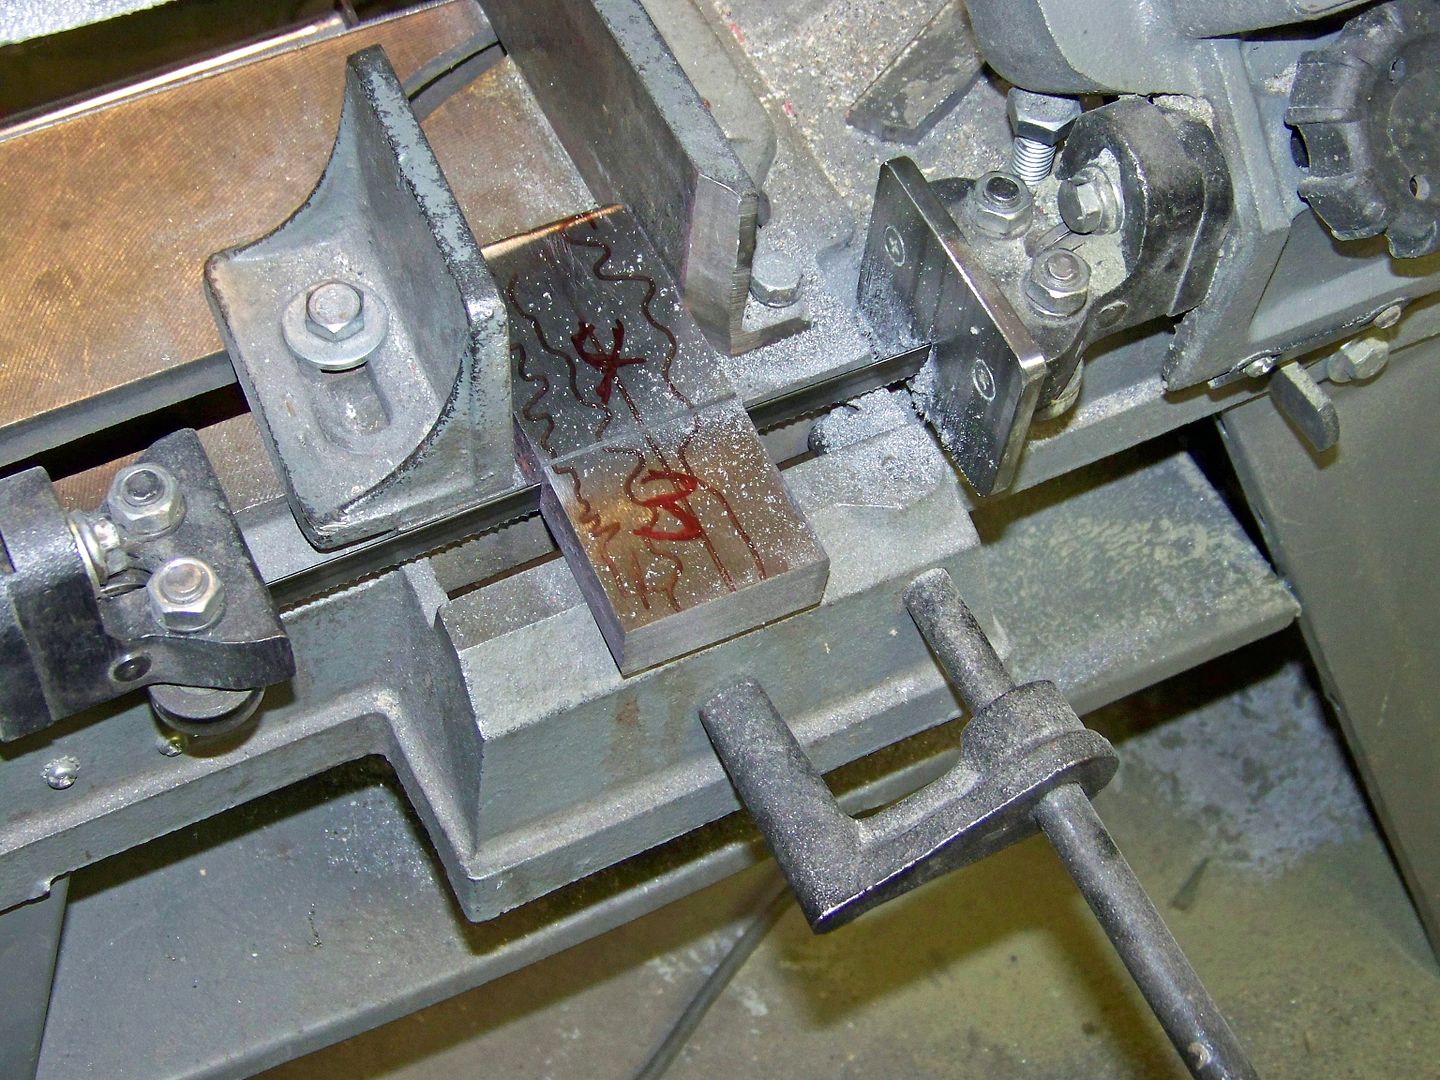
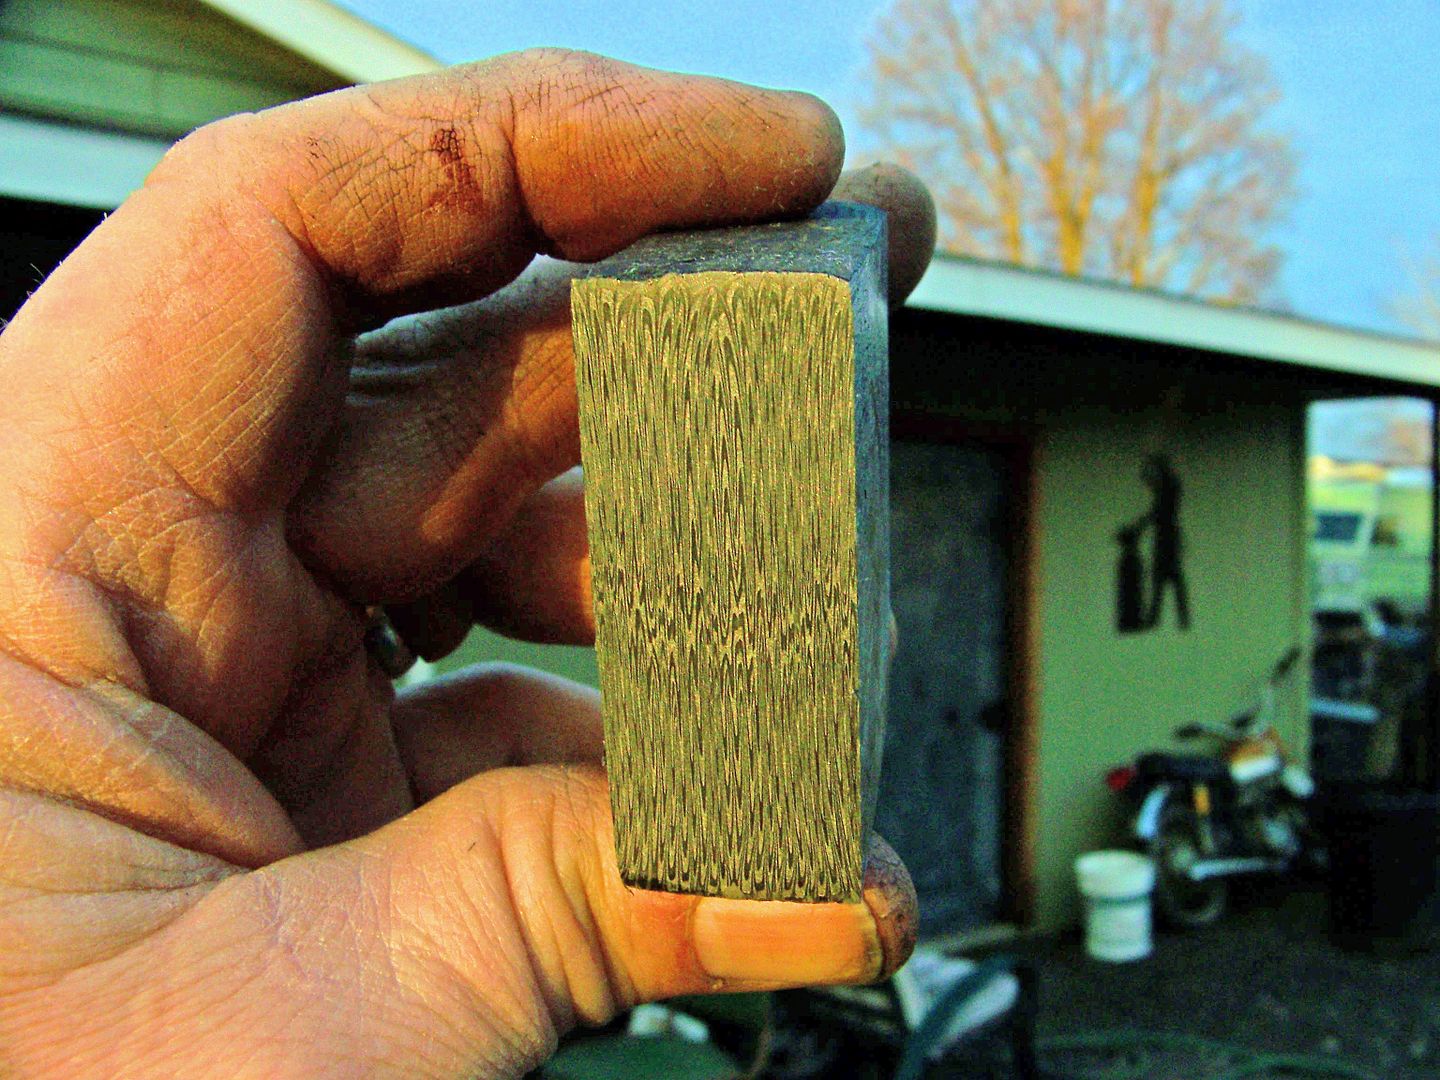
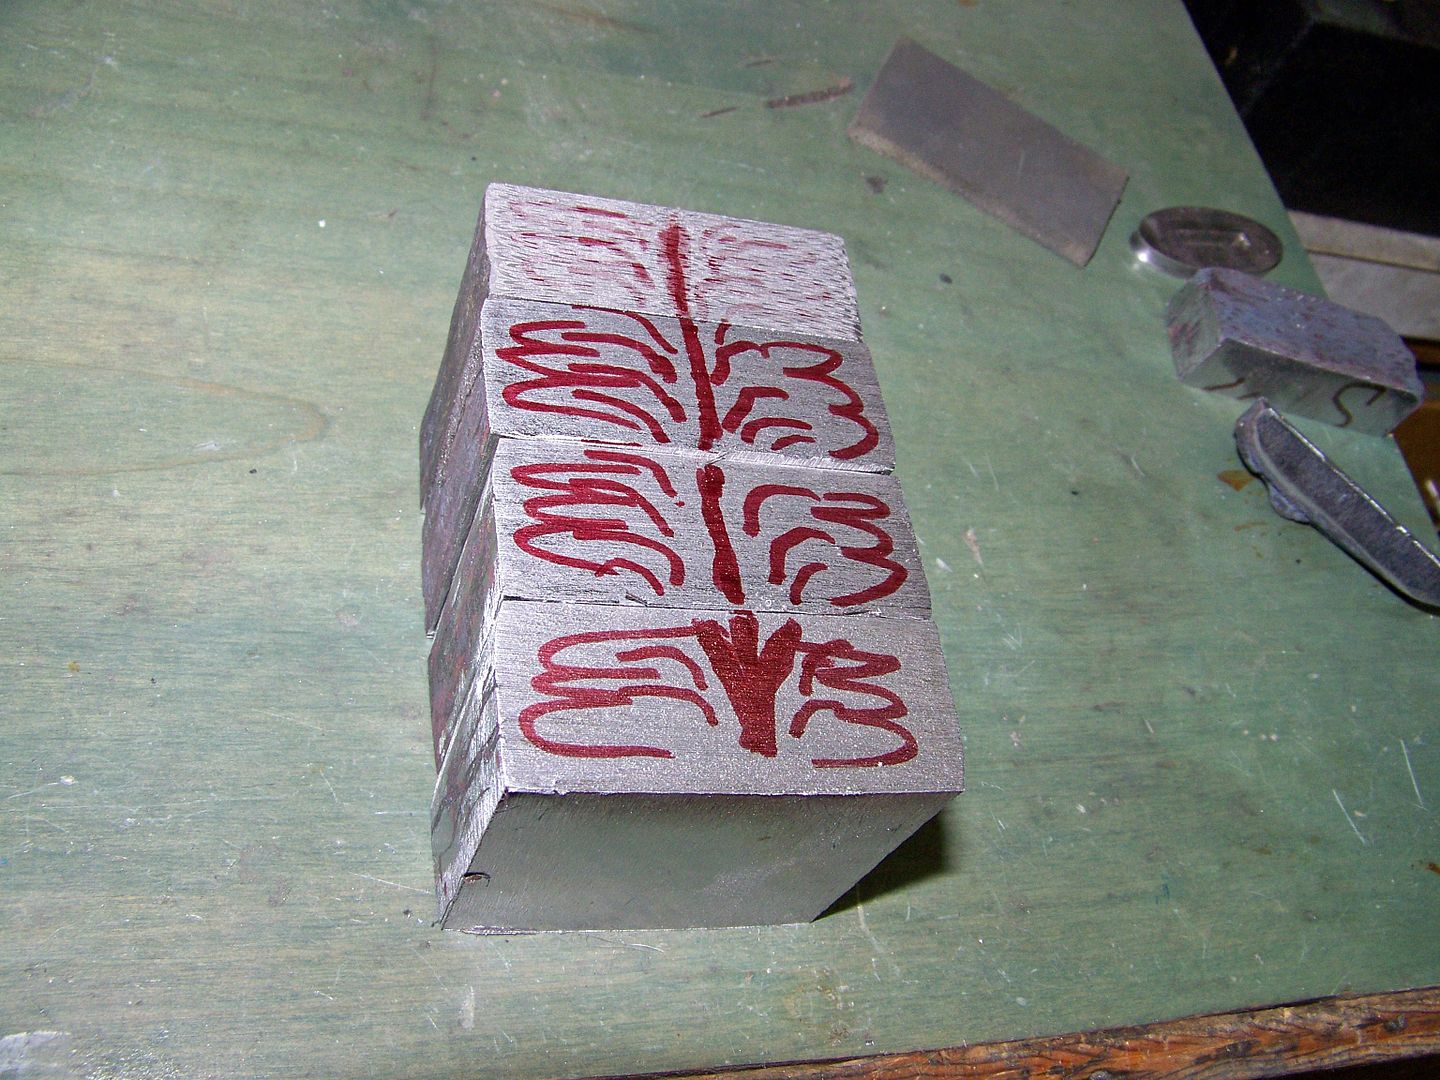
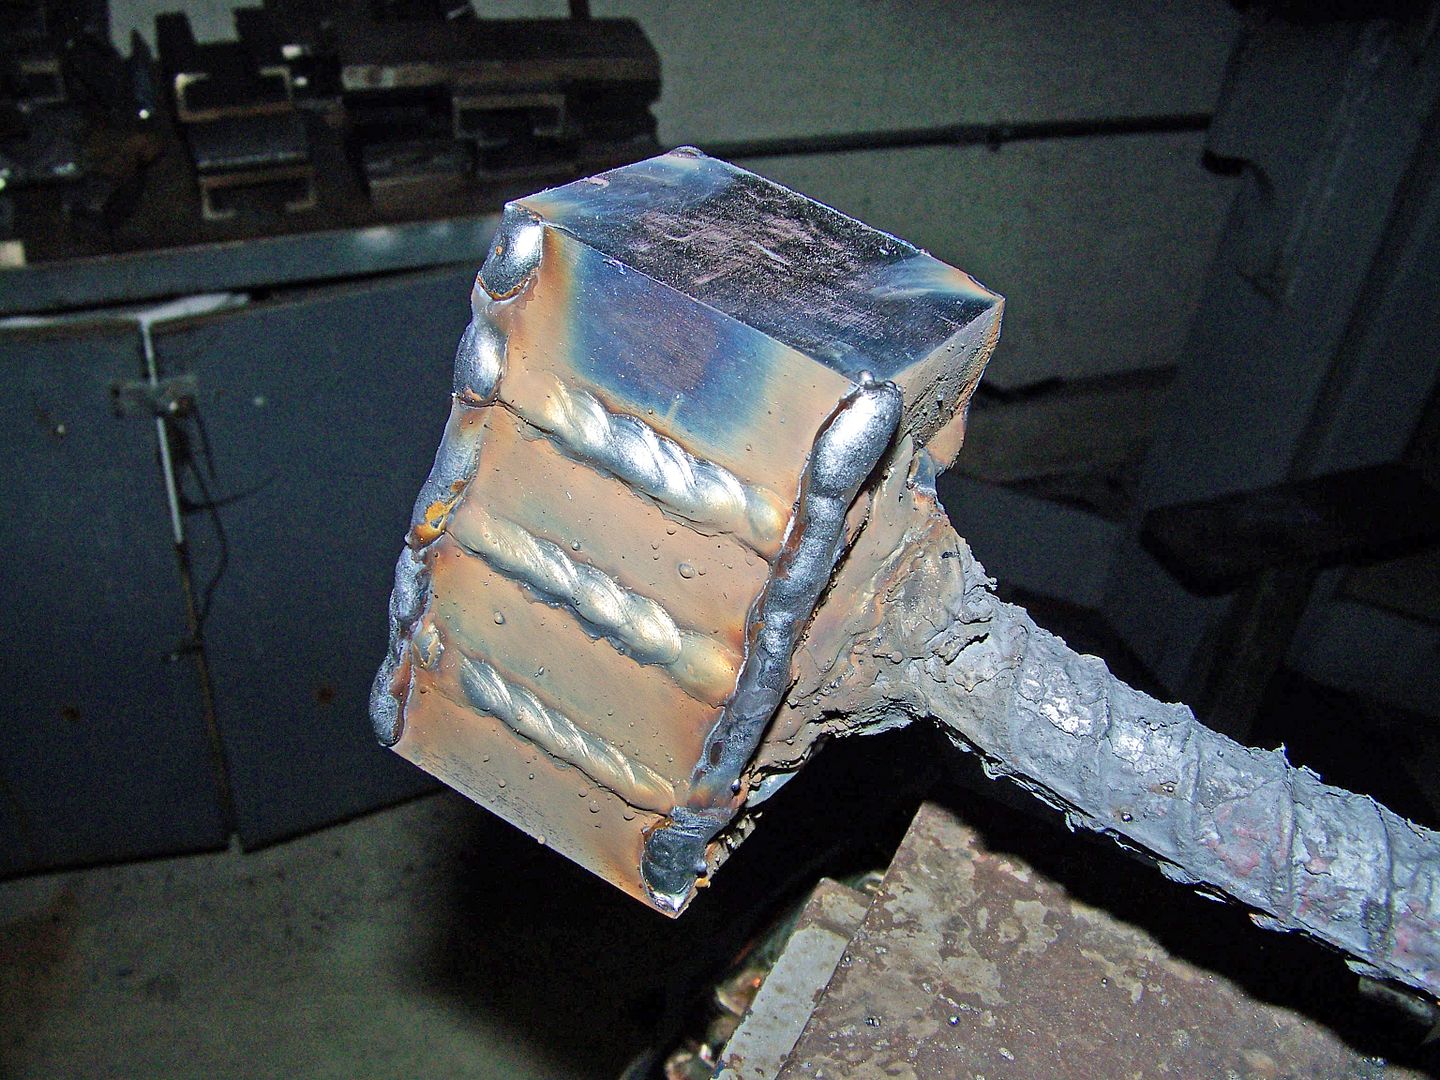
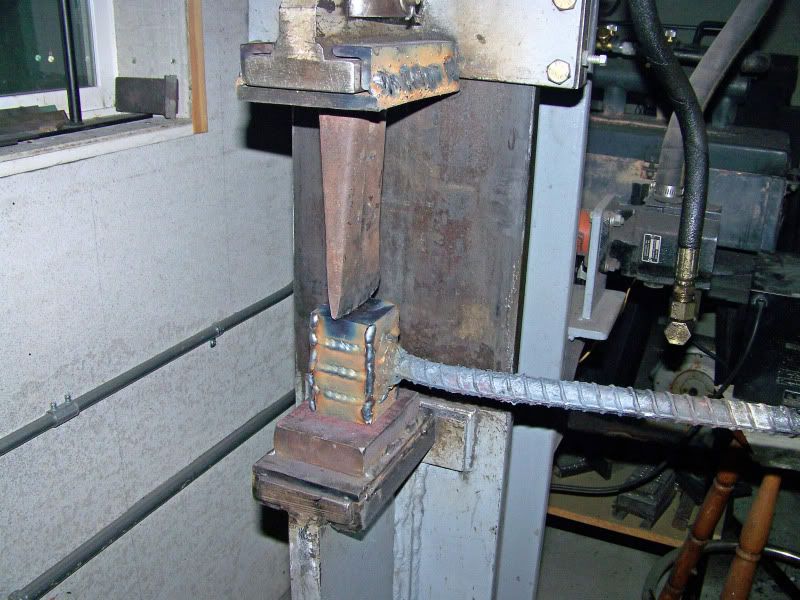
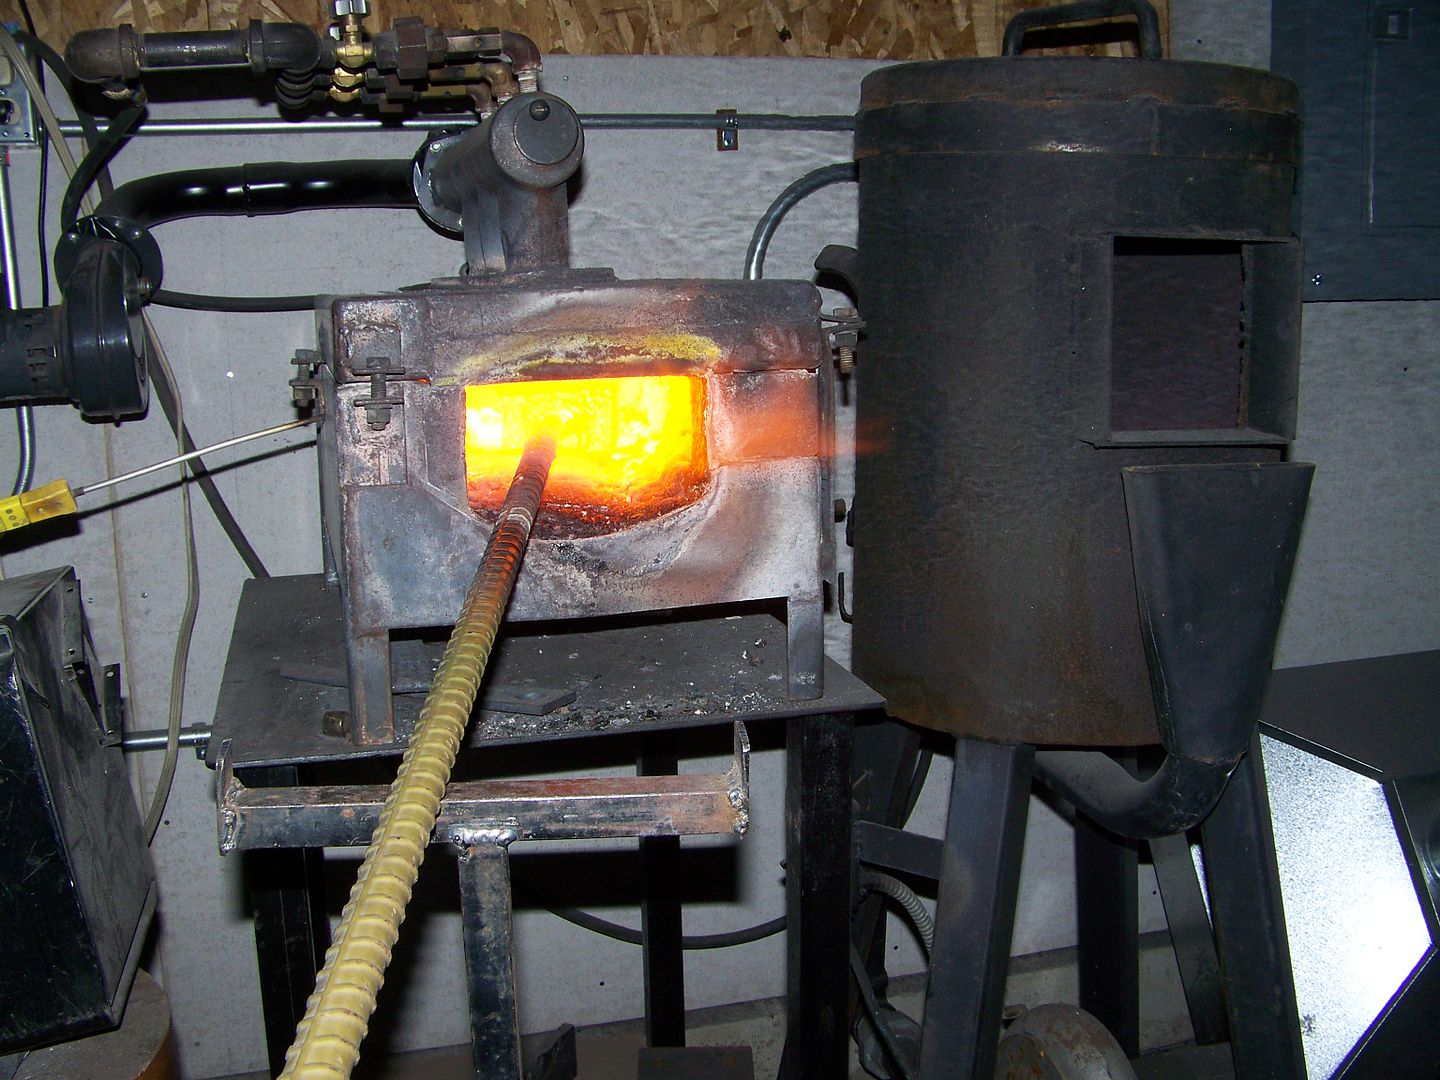
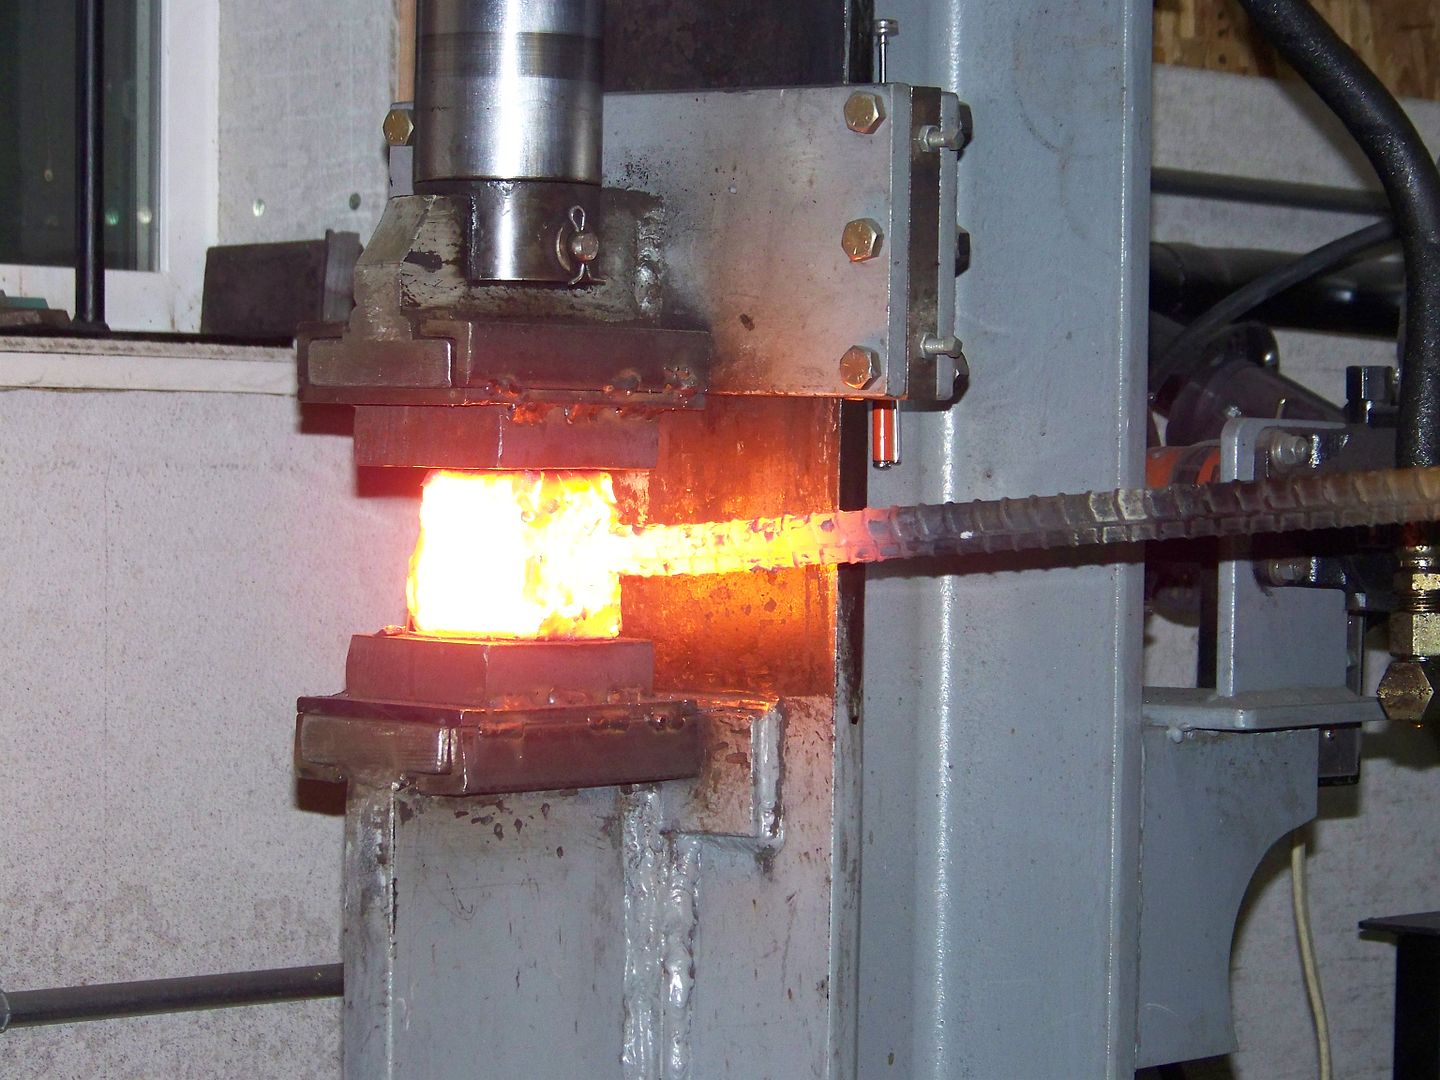
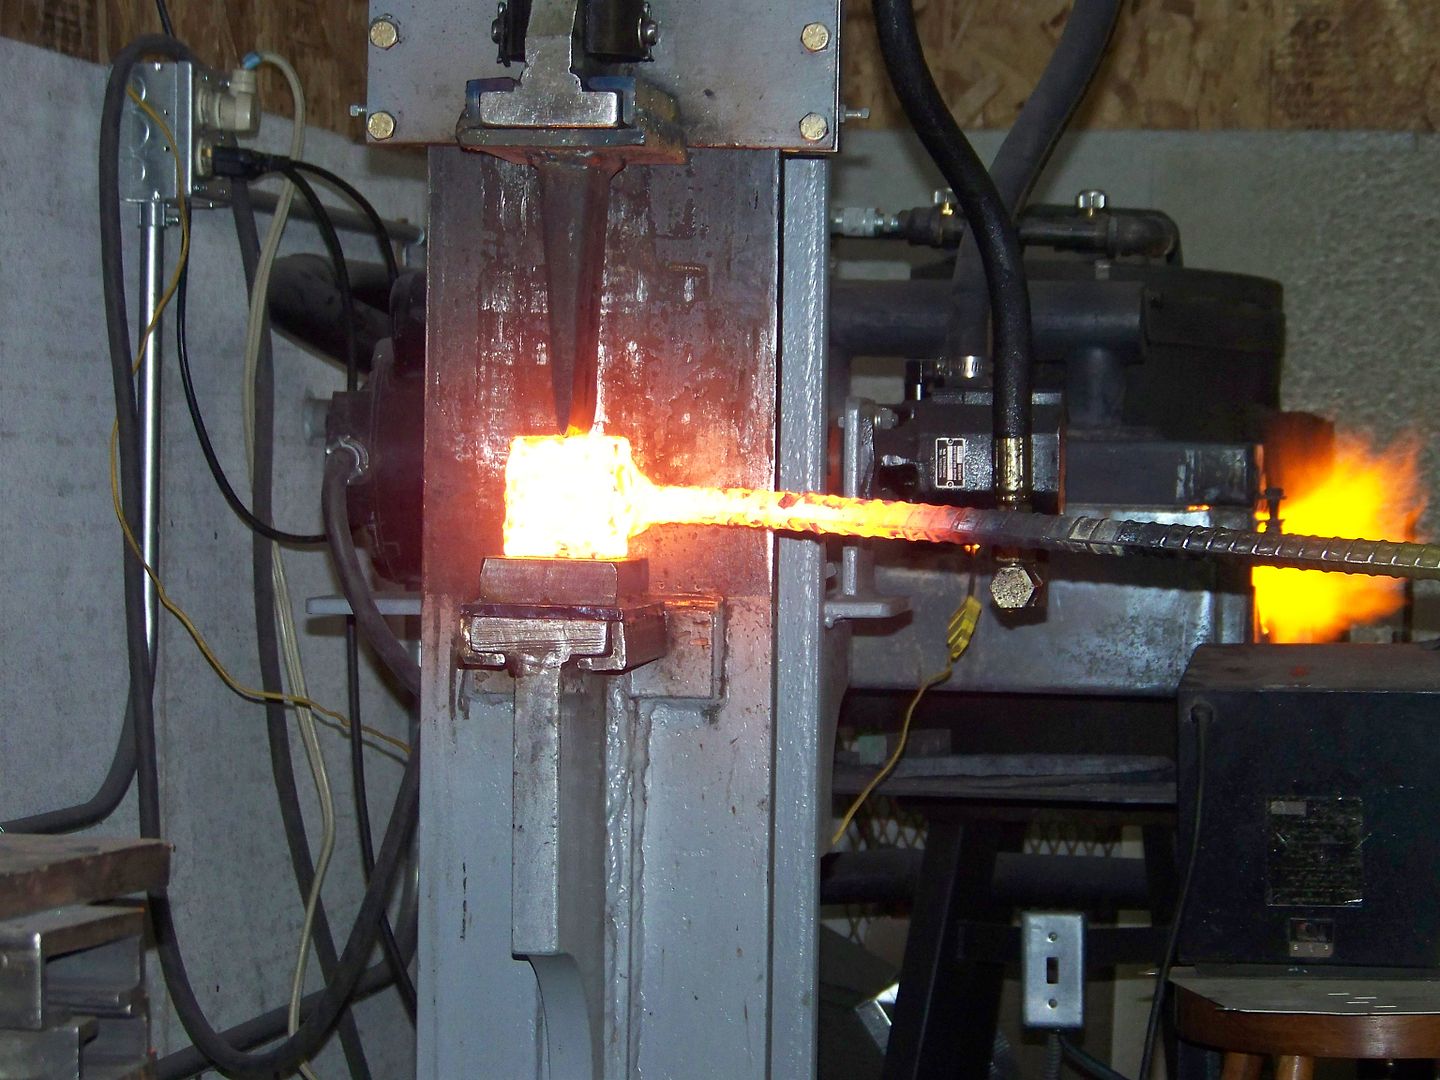
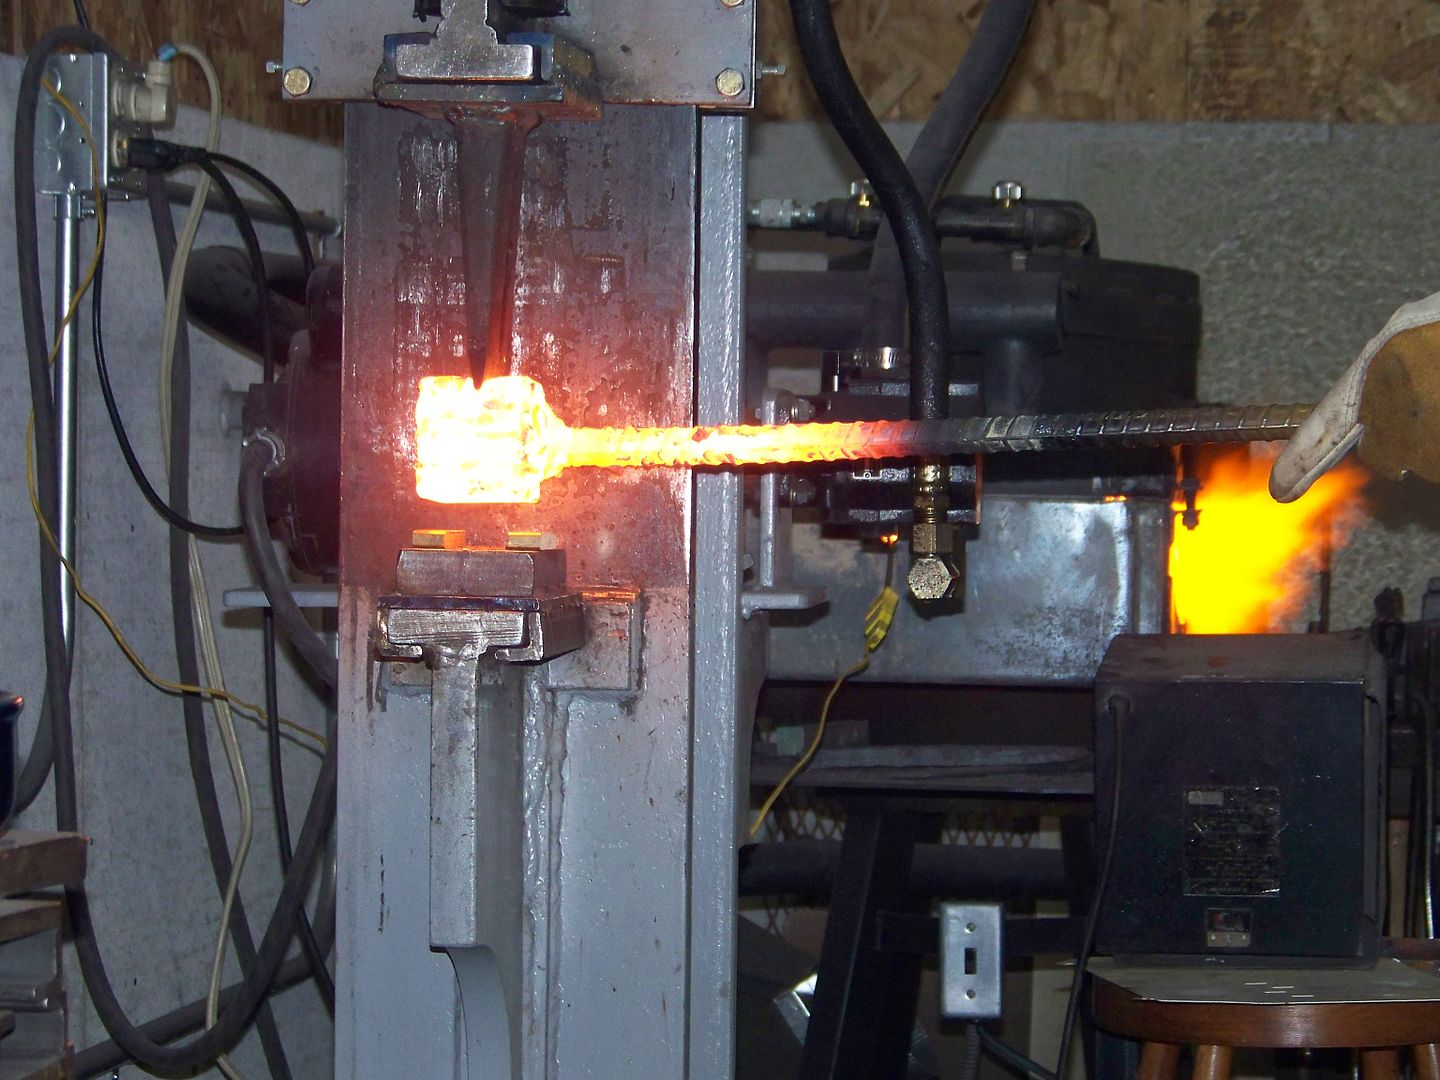
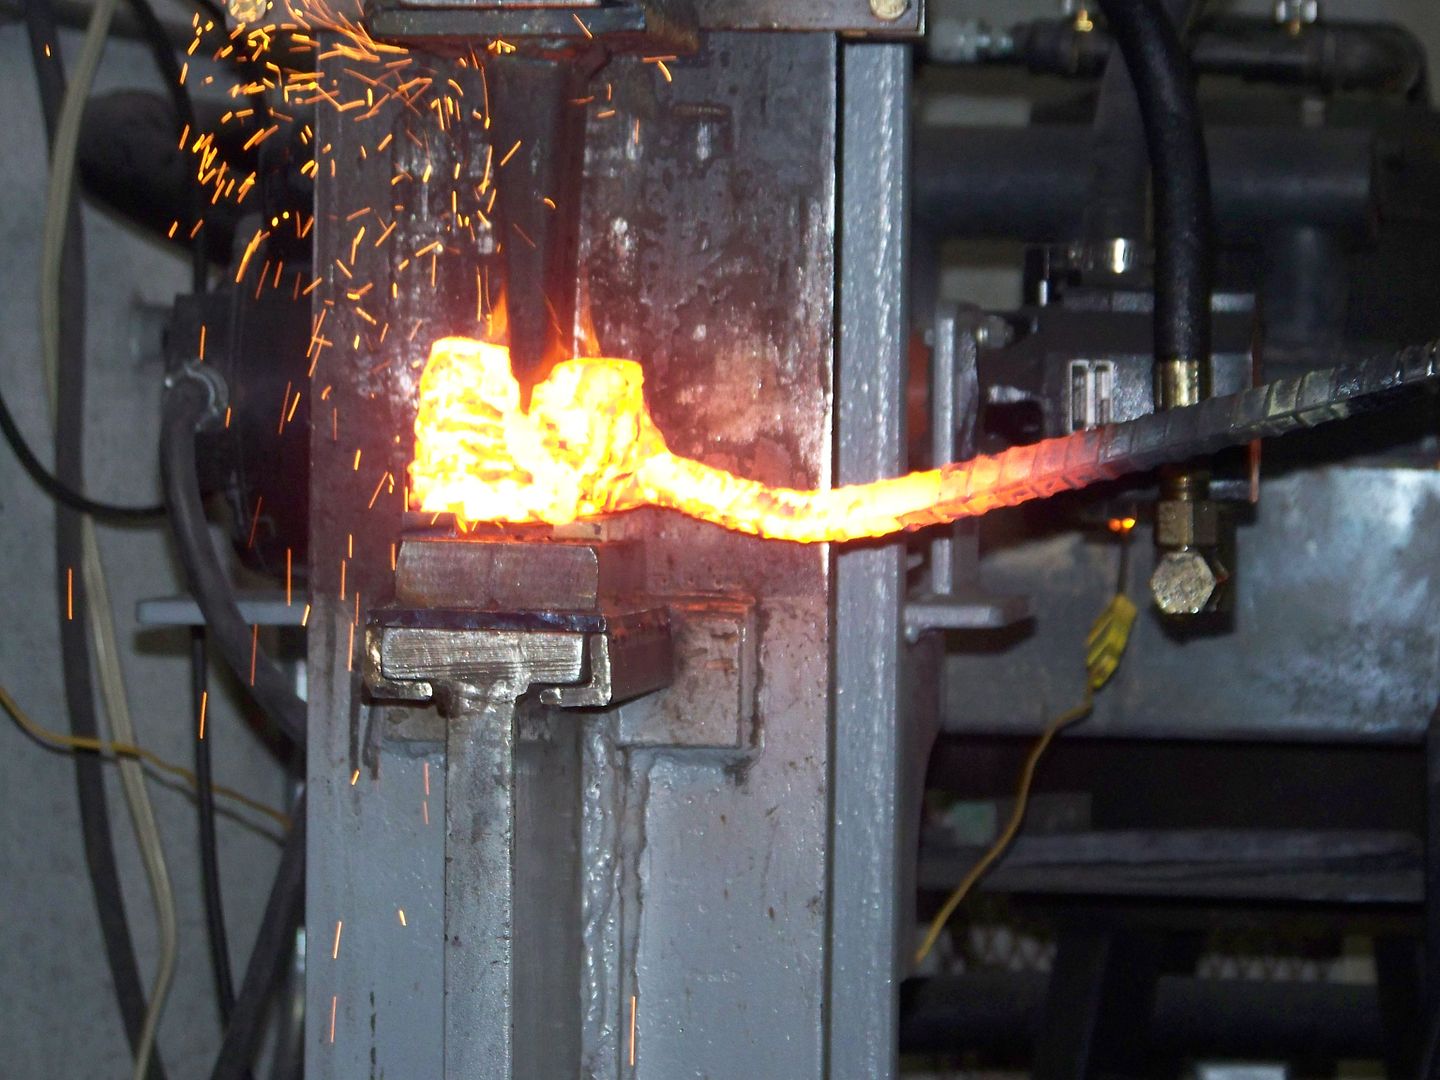
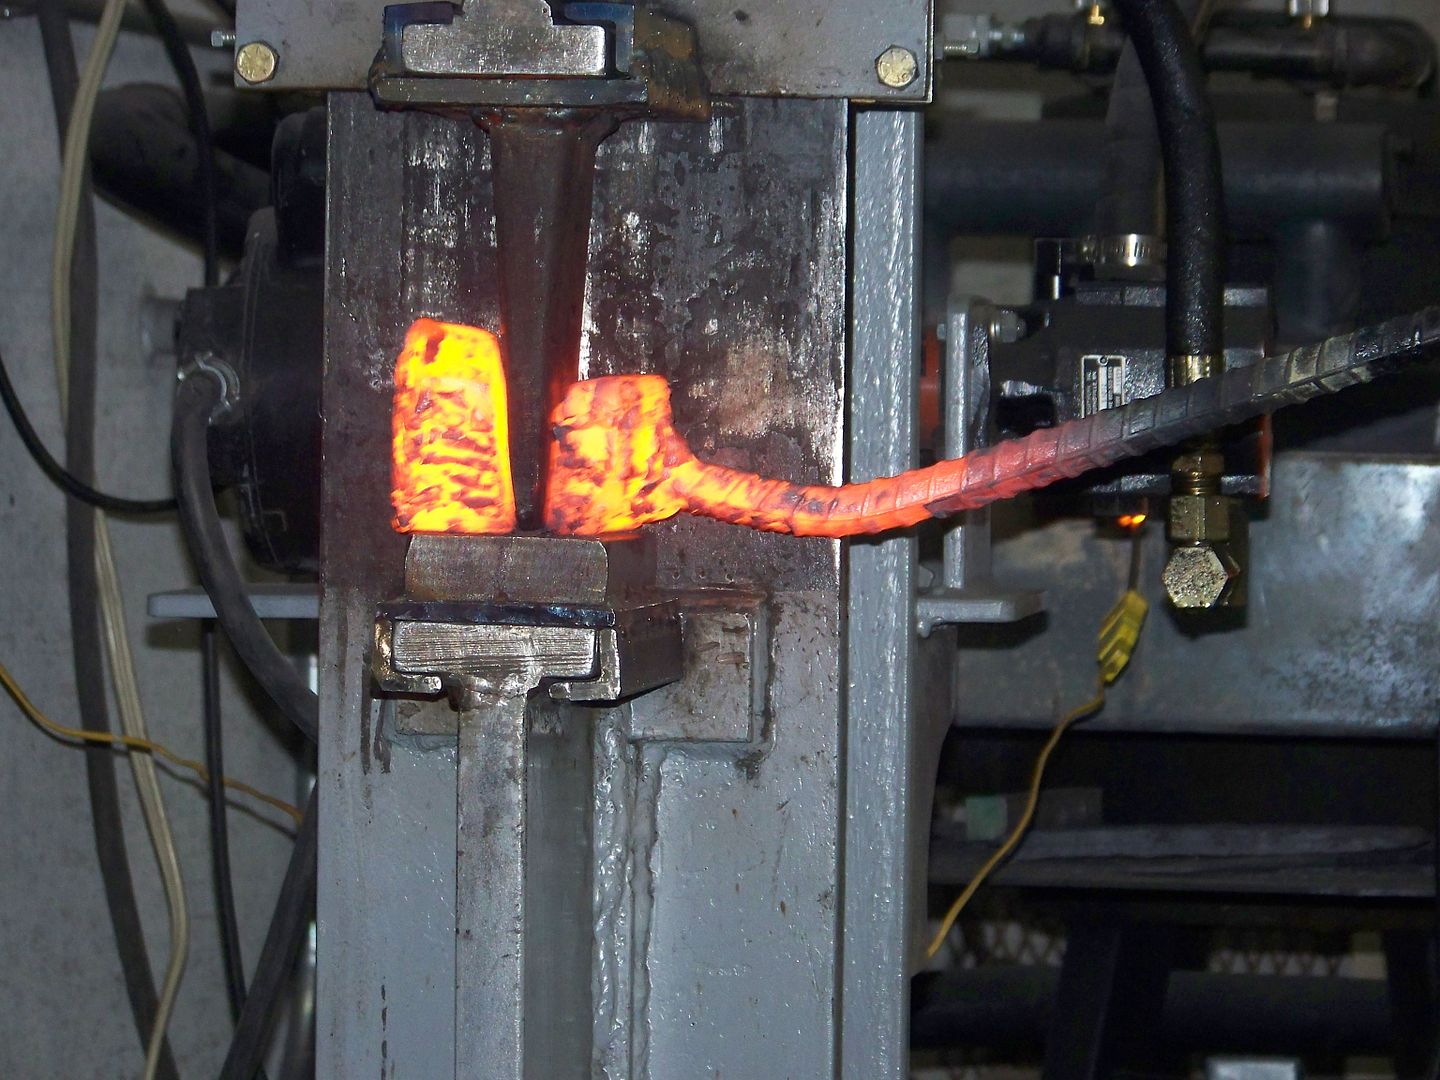
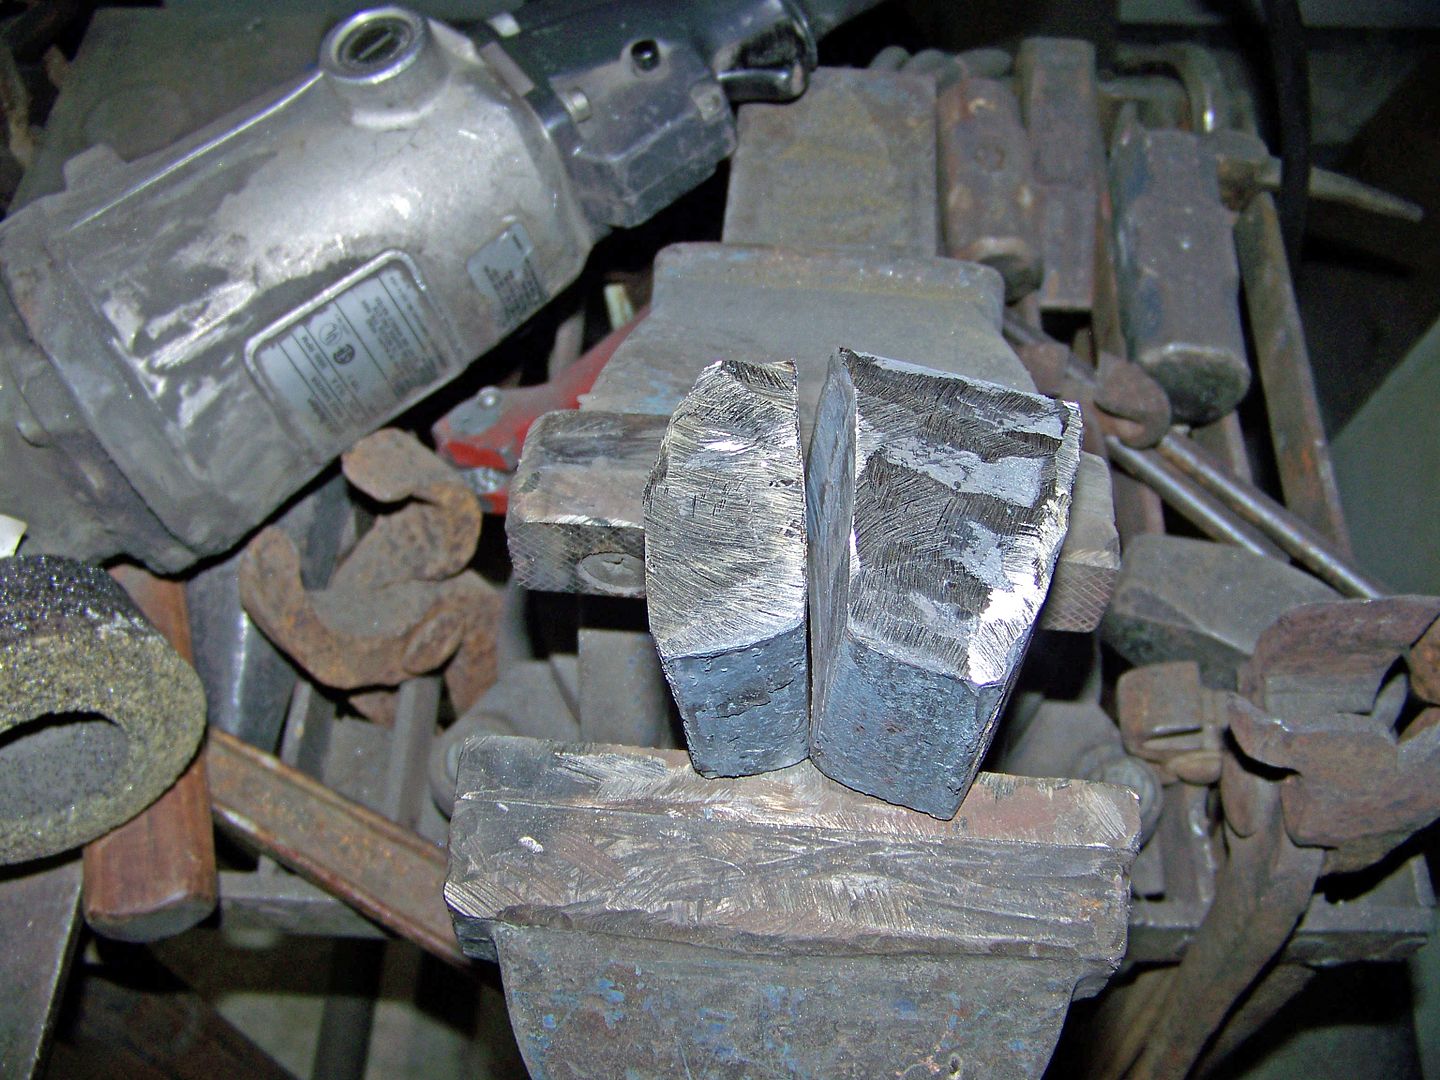
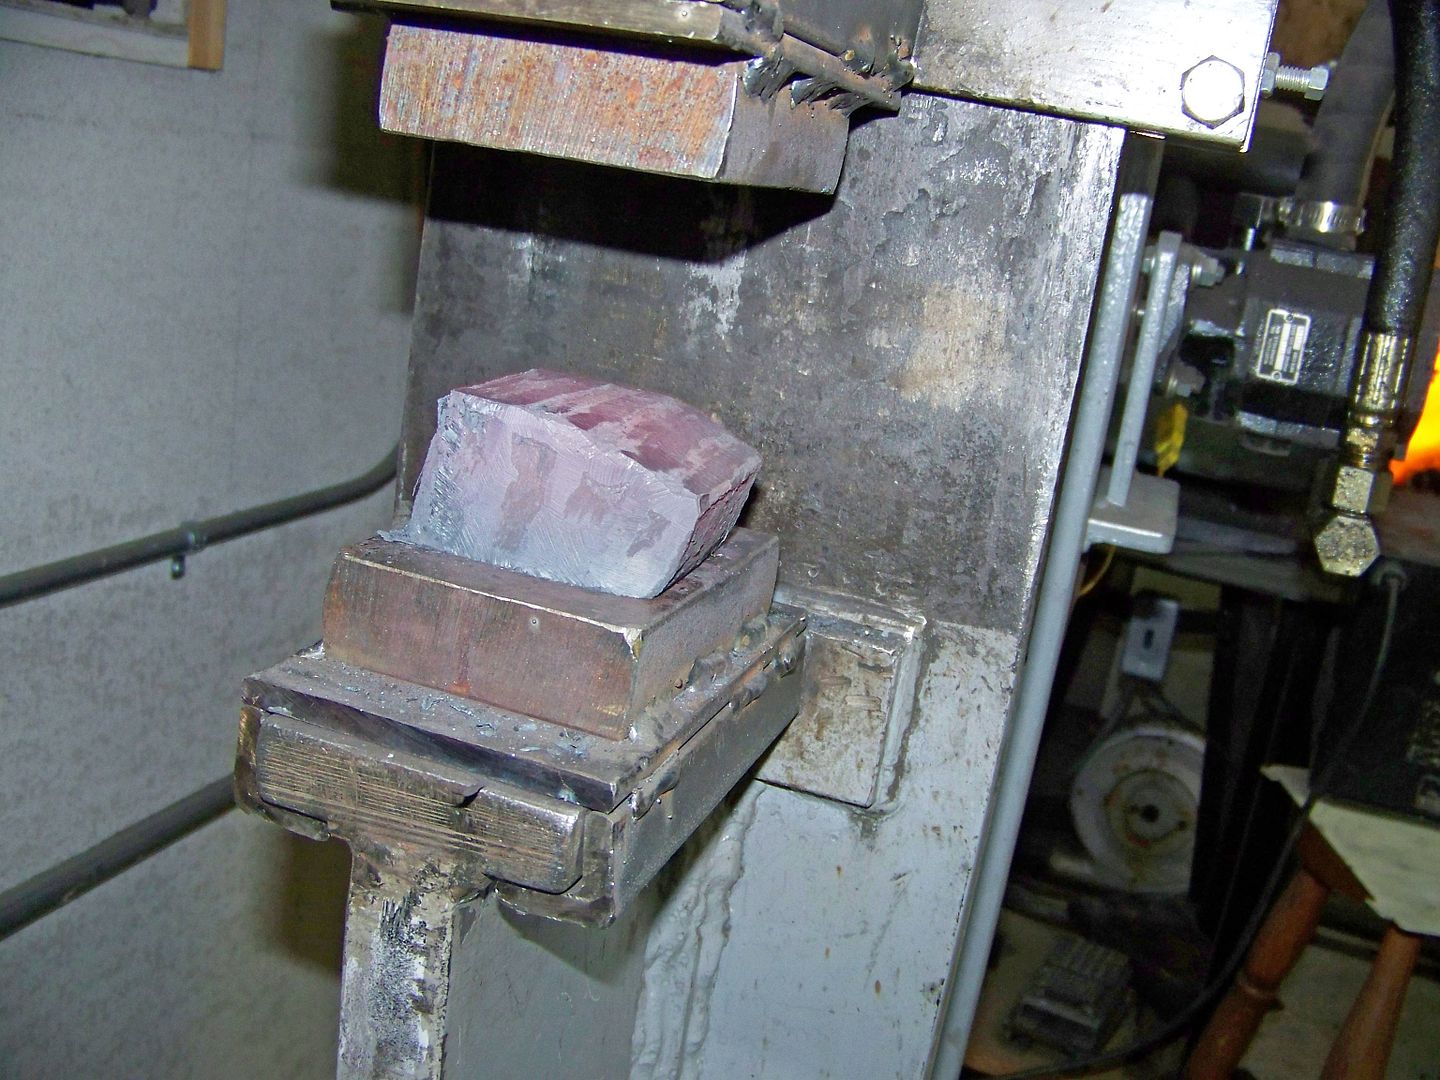
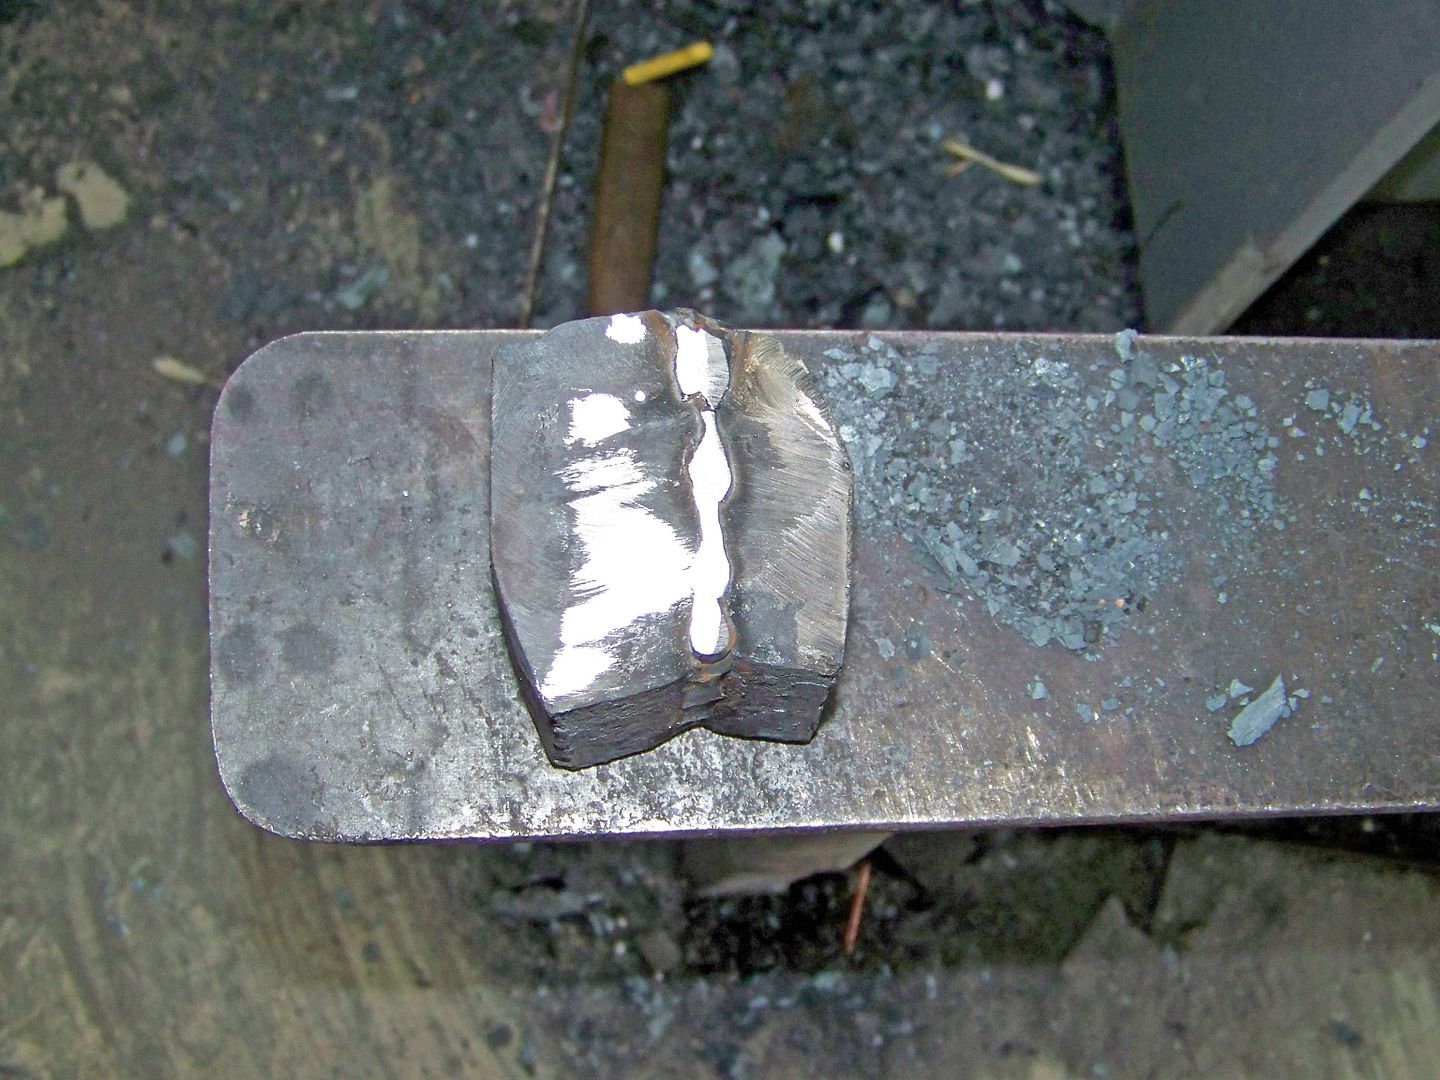
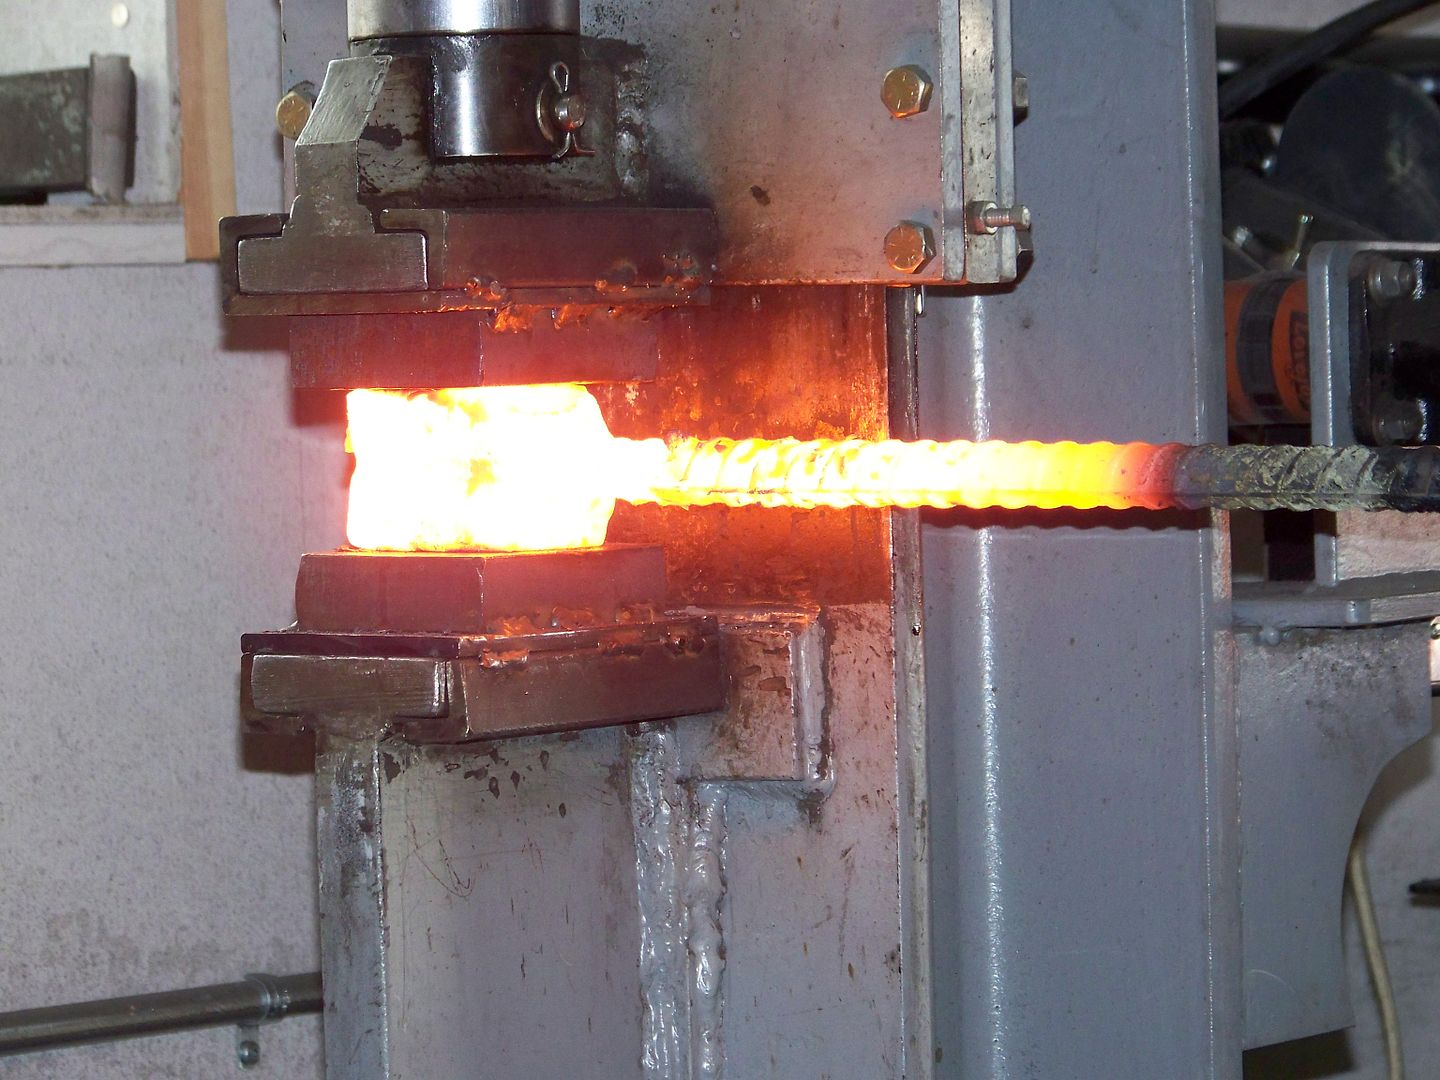
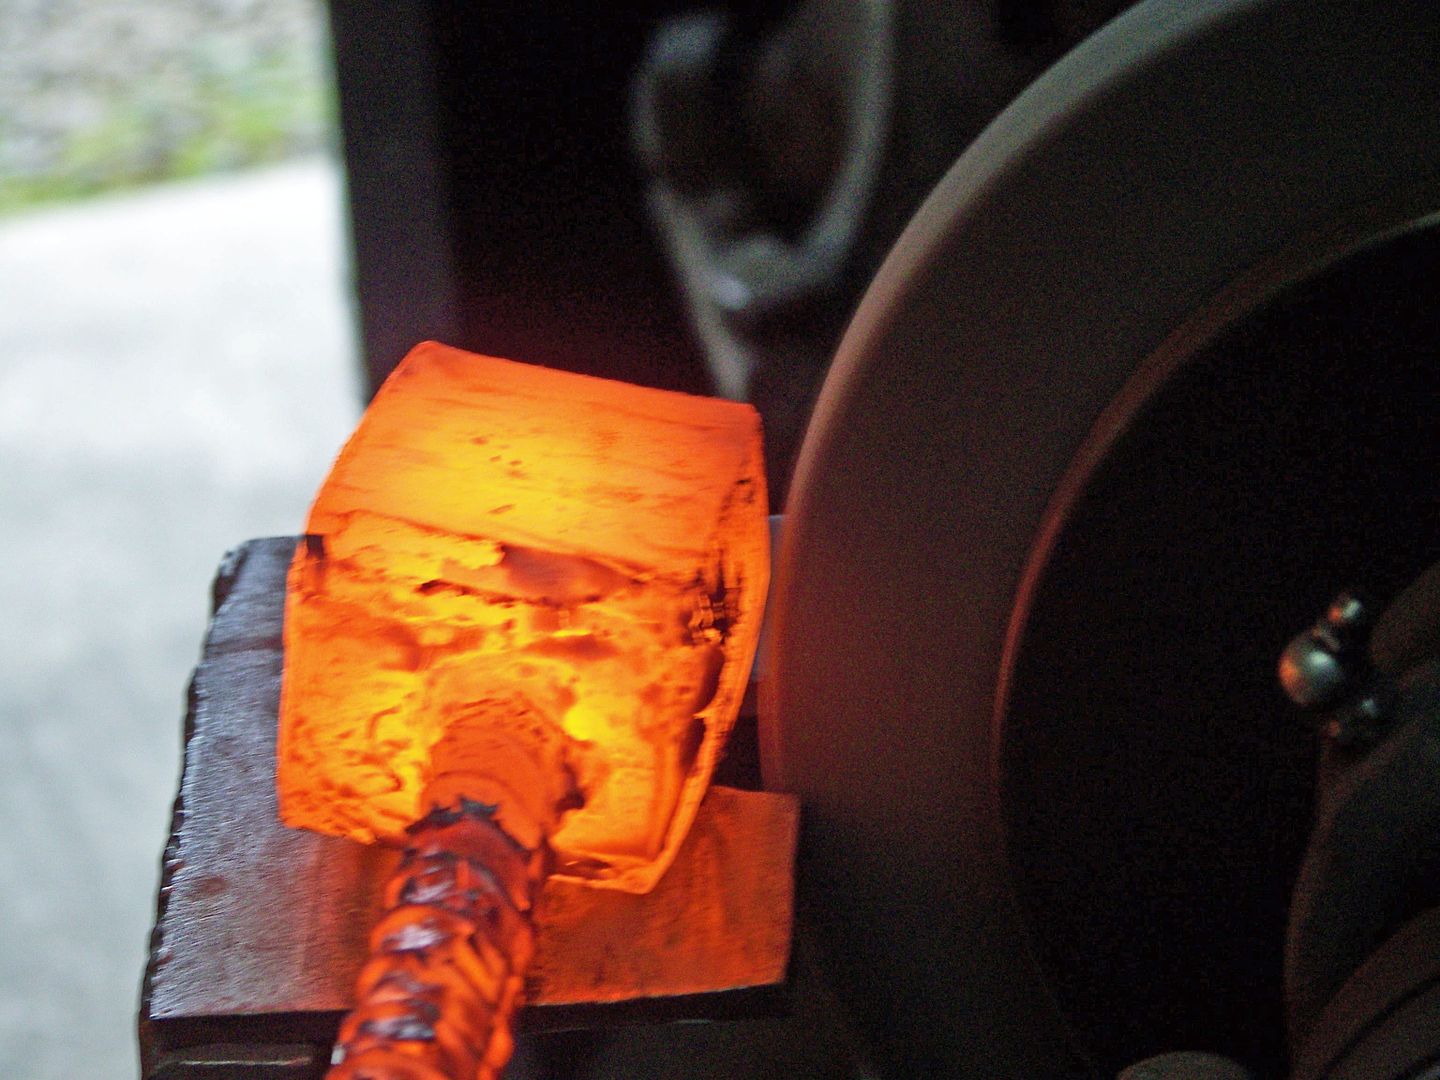
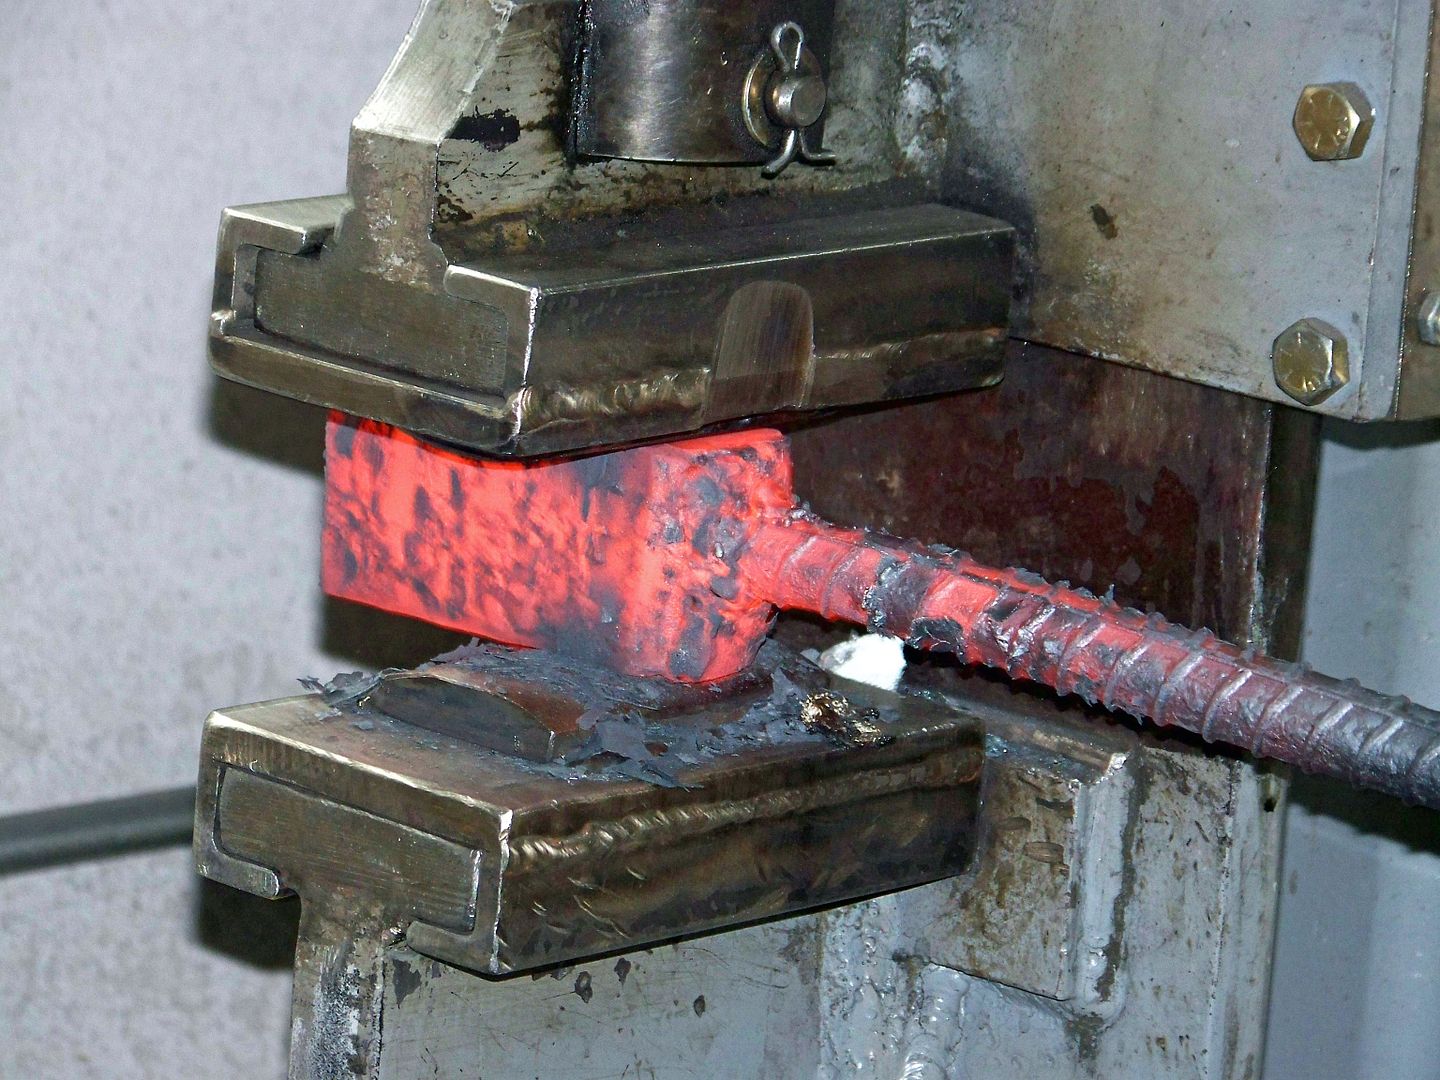
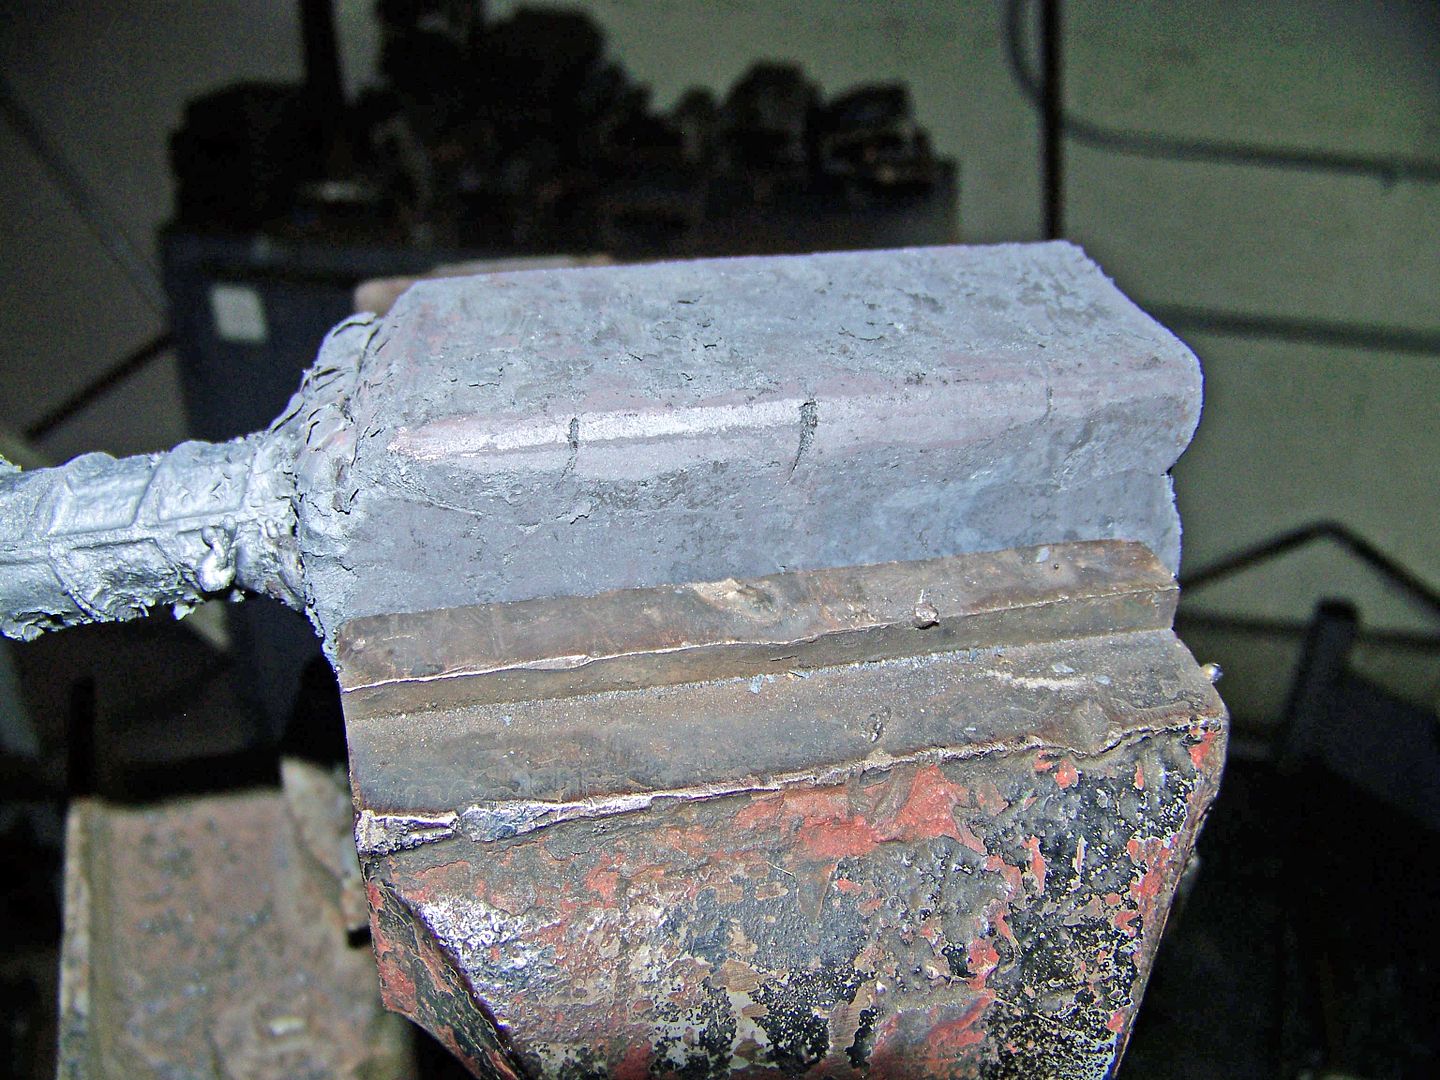
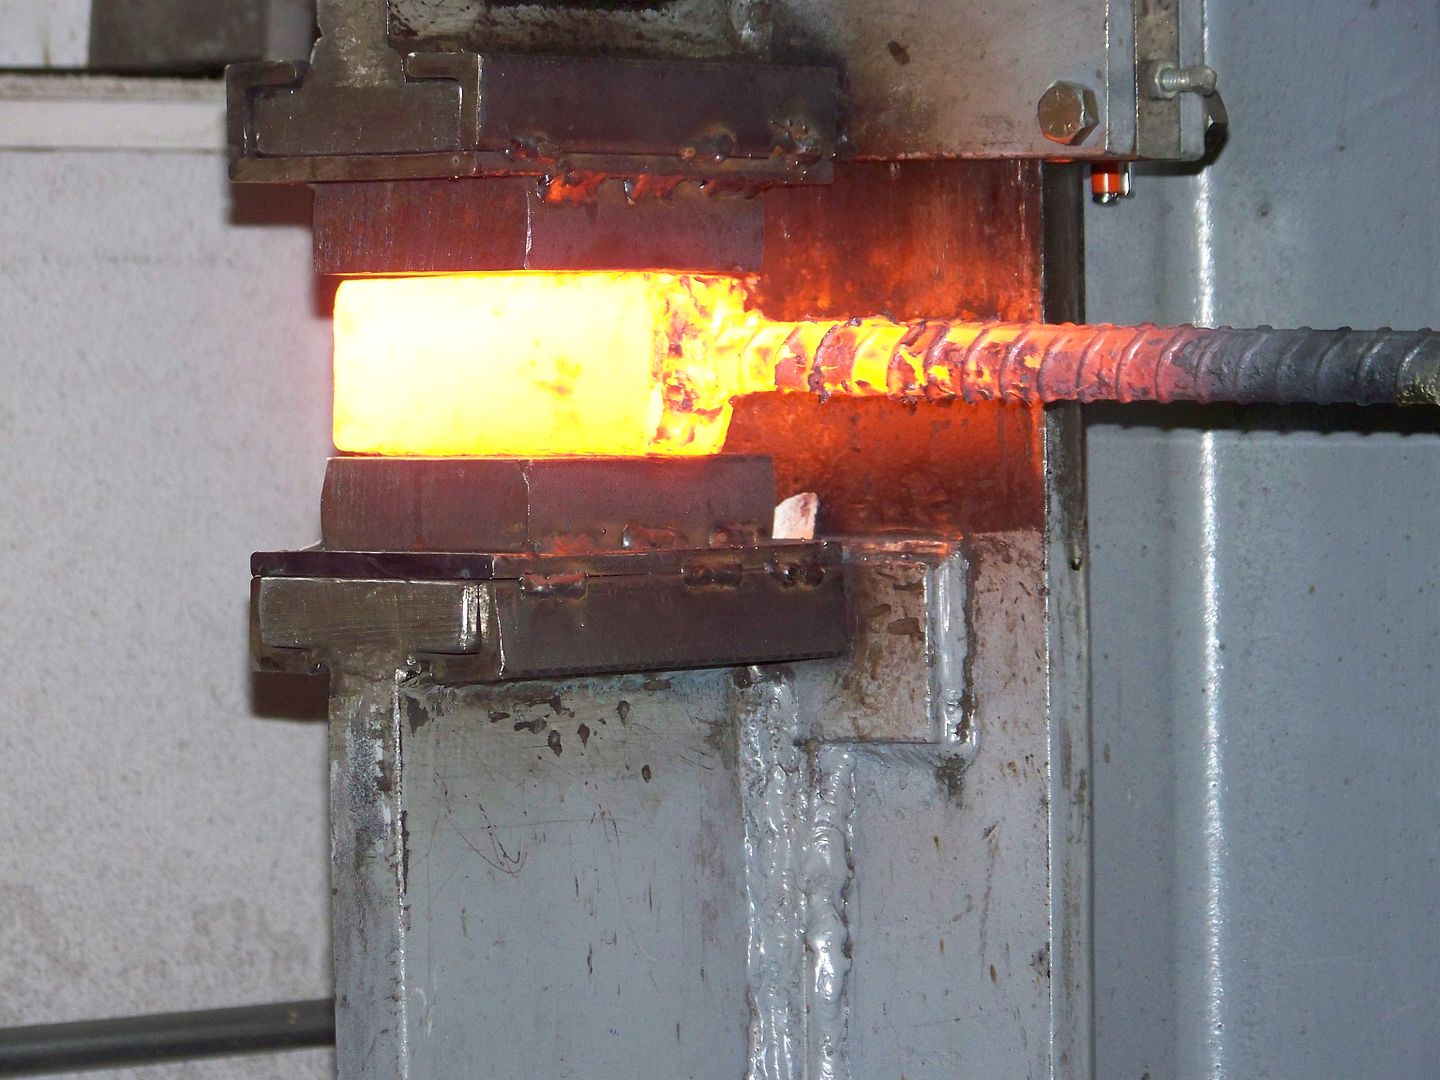
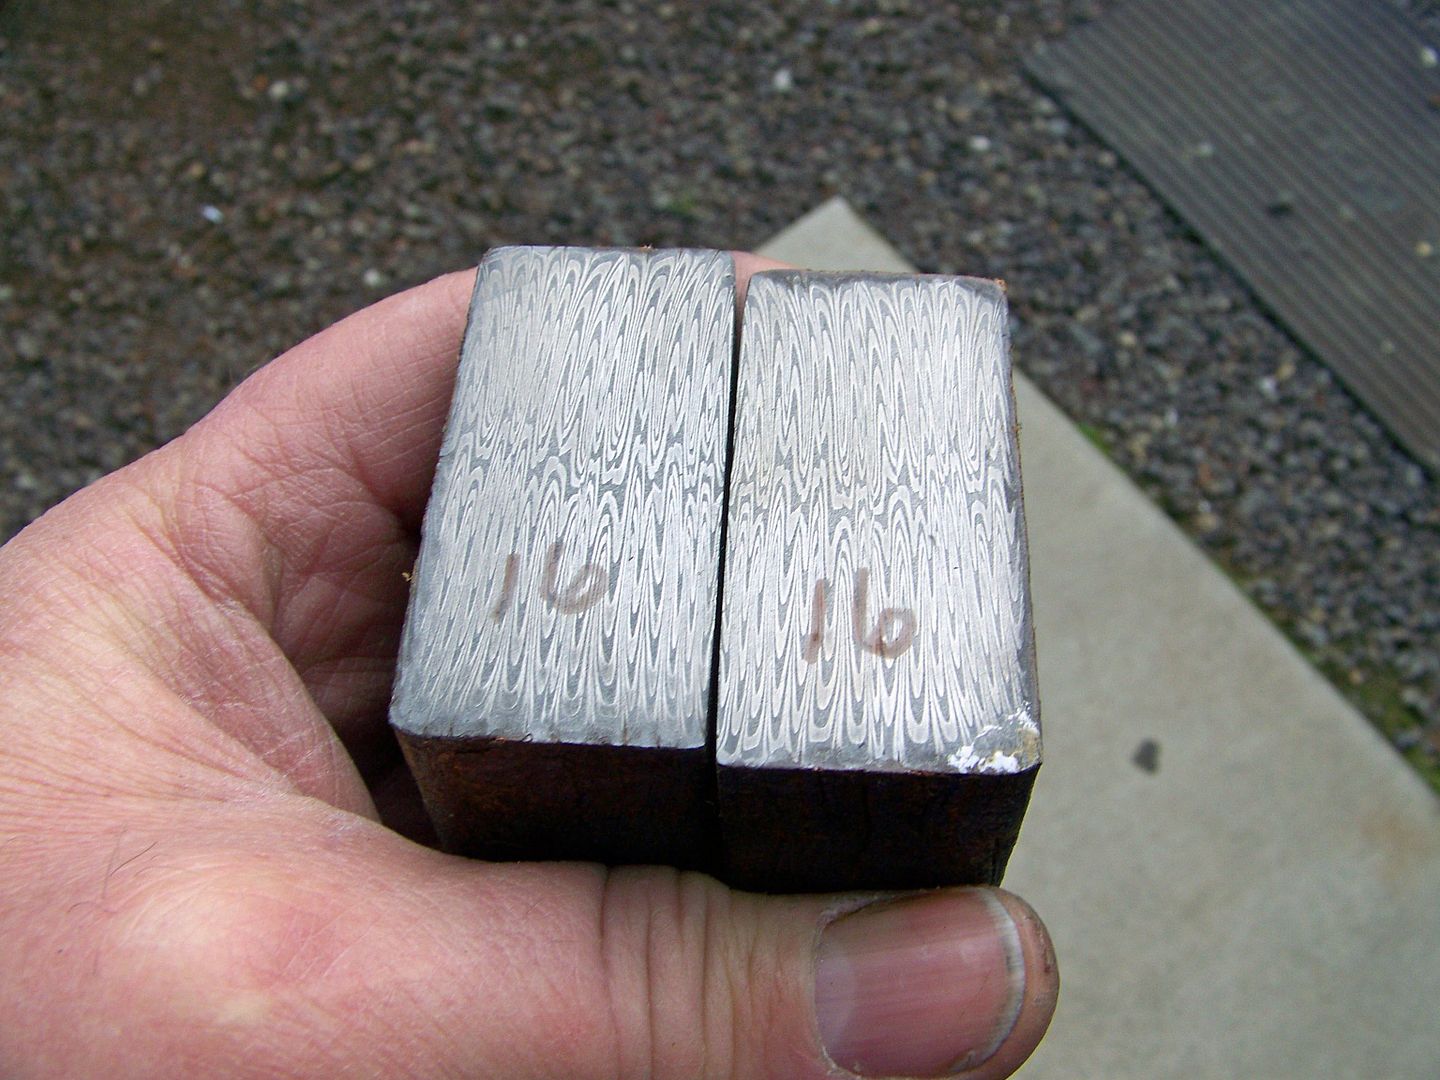
This piece of damascus will be there all finished up into a blade.
 
Hi Bruce,
I havent welded two ovals together. The only problem I see is a gap between the billets that wouldnt be there if I squared the billets. Live and learn, the worst that can happen is some wasted material on the sides but I really like how the layers are even and most all of them are "C" shaped. I'm counting on nice looking long and uniform feathers.

This is a basic start for the "W" pattern. From here you can do a hundred different patterns I bet. I like to build these layers to about 32 cut them into square crackers and stack the crackers, weld and then split them in two. Them simply reweld the two parts therefore giving a feather pattern.

It should like very much like this one.
100_2843_edited.jpg

Bruce, Thanks for showing that bowie. I never got to see it before now. I had heard from a lot of people that it was a beauty. They were telling me the truth.

Bing
MLazyB Custom Knives
 
OK, today I took the two 16 layer halves and forge welded them for a total of 32 layers. I used a 2" stop on the press dies so I can keep the billet at 2" wide and drew it out to just over 8" long so I can cut 4 equal sized 2" by 2" pieces (I call them crackers for lack of a better description) and will stack them up and mig weld them together. At least after I buy propane tomorrow.

101_5512_edited.jpg


101_5516_edited.jpg


Here is the bar after the welding, forging and sizing. This shot shows the 2" stop just to the right of the billet. Not a good shot of it but its nothing more than just a 2" long 1x1" steel bar.
101_5517_edited.jpg
 
Last edited:
I am really enjoying this process Bruce. Thanks for sharing. It looks like the earlier move with the squaring dies and the oval billets is paying off :)

Brian
 
Thanks guys!

Back to it today, I cut it into 4 pieces and stacked them in the order as they were cut. I etched one end so I can tell where the "Ws" are. I mig welded all the seams and reinforced the corners with mig weld also. I've had them rip apart before because of the tremendous force from the dull chisel used when cutting them in half later. I havent tried welding the corners before so lets see if it works.

I welded a handle on the side instead of on the end this time.

Next I'm going to forge weld the stack together and use this dull chisel (actually an old splitting mall) to cut the stack down the middle.

Stay tuned for the next episode.

101_5525_edited.jpg


101_5529_edited.jpg


101_5533_edited.jpg


101_5534_edited.jpg


101_5535_edited.jpg


101_5537_edited.jpg
 
OK, for real this time. I heated to 2300 deg. and let it soak to make sure it was all the way to the center and used the flat dies to weld it. I did this twice and then cut it as close to the center as I could. The two 1/4" thick spacers under it will help shape the two parts for a better pattern (I hope) as I've never done that before either.

Notice the two parts are not cut exactly down the center? I didnt do this on purpose but looking at it I think it will help keep the center lines of the pattern above the center of the blade right where I want it. Right at the top of the blade bevel and with the dropped edge of a bowie it should look good. (almost intentional)

It took more than one heat to cut through. I cooled the chisel between heats and dipped it in charcoal. A Bill Burke trick he taught me. Otherwise the chisel will forge weld itself in the cut. That would be bad.

101_5538.jpg


101_5540.jpg


101_5541.jpg


101_5542.jpg


101_5543.jpg


101_5544.jpg


101_5545.jpg
 
I ground away most of the mig welds and straightened up the two mating surfaces. Tomorrow I should be able to forge weld the two back together and draw it out into a usable billet. It should make 4 or 5 smaller bowies or folders. We will see if it can stretch out without stringing out the pattern. Right now the pattern is compressed but it will open up with some drawing out lengthwise.

101_5546_edited.jpg


101_5547_edited.jpg
 
So... Ignorant as I am about this process (but absolutely fascinated), why split the billet in this fashion instead of cooling it and then sawing it in two? Is this "smashing" of the layers what creates the feathery pattern?
 
Yes this method of using a dull chisel (log splitting maul) cuts the billet and pushes those "Ws" down toward the center and when forge welding the two parts back together the feather pattern is born.
Thanks for the question Roger
 
The only way this could've been better would be to wait until the bowie was built... Bruce my heart is pounding having watched that all happen in just a few minutes. What a rush! You are a freakin magician, man. I can't wait to see what happens next. Maybe I'll drop out again for a month or so and come back to see your moon lander... :D

Beautiful and fascinating work Bruce. Thanks so much for sharing your life and skill with us. I'm lovin every minute of it.
 
Bruce

if after your last weld you didn't split the billet,after the weld you would just flip it back over to the end and draw it out what would the pattern look like?
i hope this makes sence.

Mike
 
Bruce

if after your last weld you didn't split the billet,after the weld you would just flip it back over to the end and draw it out what would the pattern look like?
i hope this makes sence.

Mike

Hi Mike,
I think you are talking about drawing it out from the ends instead of cutting it in two. If so you would get this same pattern again but stretched out more and more the longer you draw it out.
Thats what I like about the "Ws" , you can get many different patterns from them.
 
Ok, today I cleaned up both mating surfaces and mig welded both parts back together. I know it just looks like a lump right now but give it a chance.

I forge welded the two and ground away the mig weld so there is less chance of it getting pressed into my pattern.

I started drawing it out but ran into a problem with some delamination from the welds on the 4 crackers. These drawing dies are really aggressive and move metal fast. I used the flat dies to draw it out from here on. They are slow but reliable. I mig welded the 4 corners to help reinforce the billet while drawing. Feather pattern is so much fun.


101_5549_edited.jpg


101_5550.jpg


101_5551_edited.jpg


101_5552_edited.jpg


101_5554_edited.jpg


101_5555.jpg
 
After more drawing the billet out at welding heat and flat dies I had no more troubles with delams.

I forged it out to about 7" long and squeezed the point down some to allow the pattern to follow the tapering of the point on the blade. I am annealing the billet now and will clean up one side and etch it to have a look at the pattern. If it is still too compressed I can forge it out some more.

101_5557.jpg


101_5559_edited.jpg


101_5562_edited.jpg
 
Thanks for taking the time to share this WIP Bruce. I have done a couple of feather billets and have one in the works right now also. After watching this I have learned a few pointers and am also now looking for a old wood splitting wedge.
 
Thanks for taking the time to share this WIP Bruce. I have done a couple of feather billets and have one in the works right now also. After watching this I have learned a few pointers and am also now looking for a old wood splitting wedge.

Hi Burton,
I checked out your Ironwood/Feather Hunter. Very Nice! They are all very nice.
It seems the more of this pattern I do the more I learn. Its a challenge for sure. The reward is worth the punishment though.
 
Back
Top