WIP -- 1st knife from scratch

seionage

Well-Known Member
well, after I did my first kit knife, I thought I would bite the bullet and try to build a knife completely from scratch. I realized a lot of you guys have been doing it for years. I thought I would post this for the newbies like me, the experts out there can point out better ways of doing things, and everyone can watch along the way.

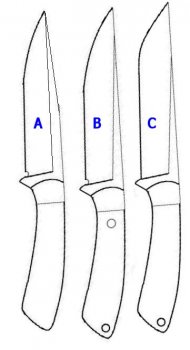
Here are 3 designs I came up with. I drew it up in paintshop. I wanted something I could use deer/elk/hunting/in-the-woods knife.

I'm currently liking design "B". It doesn't have quite so much of a tanto type point.
OAL: 9"
Blade length (tip to bolster) 5"
3/16 O1 steel.

I selected O1 so that I can attempt to heat treat it myself.
3knives_a.JPG

Thoughts? Comments?
 
Last edited:
Pattern Layout

So, I got the steel in. 18" of O1 from Jantz. It had a nice oil film on it. I cleaned it off with some elcheapo laquer thinner. Then, started to put the pattern on it using a sharpie fine point marker.

pattern_layout1.JPG

pattern_layout2.JPG

pattern_layout3.JPG
 
Last edited:
Cut the Pattern

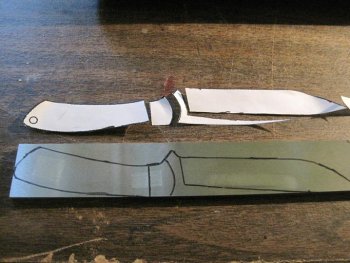
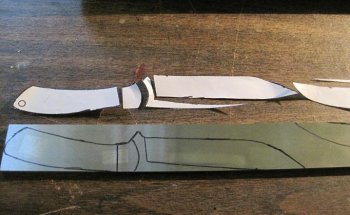
So, I cut the pattern a part, and drew the outline of the knife on the steel.

pattern_layout4.JPG

pattern_layout5.JPG

Next step will be to drill around the outline. Probably 3/8". Then, take a hacksaw and "connect-the-dots" of the drill holes. The problem is that I currently don't have a drill press. A buddy says he's got one, but hasn't used it in years. He said it may be a bit sloppy. I'll see how it goes. I might be able to try this tomorrow. We'll see.
 
btw, when I'm drilling the outline, I'm also planning on drilling the bolster pin holes and 3/16" Mosaic pin hole.

For bolster pins I'm using 5/32" brass stock (I'm going to make Brass Bolsters). What size drill bit should I use?

What size drill bit should I use for the 3/16" mosic pin hole?

Thanks!
 
For each hole use that size bit, if the pins don't fit, sand the pins until they fit snug in the hole.
Chances are, if the press is sloppy the pins will slide right through. If that's the case, be generous with your epoxy when glueing everything up. When drilling the blank make sure it's clamped securely to the table or in a vise, larger bits tend to grab and helicopter the blank right out of your hands and it hurts like heck. B is a nice design, good luck.

Rudy
 
Thanks for the encouragement. It will all be by hand (no grinder). I'm looking forward to learning, and tips from the pros along the way.
 
Drill Press

So, today I went to use my buddy's drill press. The drill press hasn't been used in ages. It doesn't work. Don't know what was wrong with it. Oh well.

I had planned on going over there, taking my time, doing my layout stuff, etc..

didn't work out.

So I left there, and ran into an old friend. He happened to have a drill press. We went out to his garage. This guy is a classic tinker. You don't want to accidently trip on anything. You will be impailed by something laying on the floor (if you can actually see the floor).

I told him what I was doing. I wanted to drill an outline of holes along the tang, then use a hacksaw to connect the dots.

"What? No way. I have a way better idea."

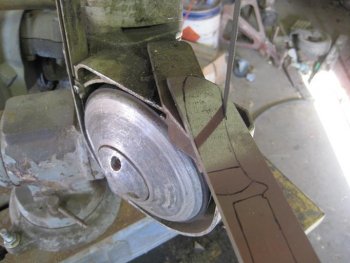
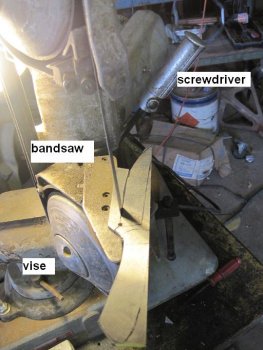
Which he did. He reaches into a pile of corded power tools, and pulls out a portable band saw. He clamps it into a vise and says "cut away".

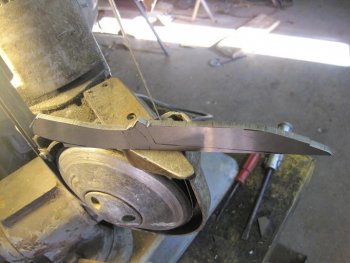
So, here is a picture of cutting out the knife.

IMG_0590.JPG

Then, as I started cutting out the knife, I realized I wanted to cut the hole where the pluge cut will be.

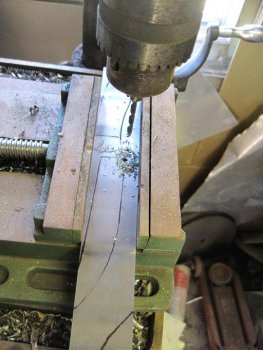
So, using his drill press, I cut a 5/32 hole by the plunge cut.

IMG_0592.JPG

Back to the band saw of death.
Clamped in a vise, with a screwdriver wedged into the trigger, which holds it in place.
IMG_0594.JPG

IMG_0596a.JPG

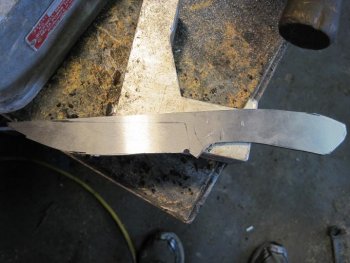
Of course I was a little hesitant with using the saw, and I ended up being a little to agressive with it. I took a notch out that I shouldn't of. It will come back to haunt me during the filing process.

IMG_0596b.JPG

IMG_0597.JPG

On to the drill press.
 
Last edited:
Drill press 2

I was a little rushed. Another mistake I made. Yesterday, I should have taken my time, and laid out all the holes where I wanted to drill, and then punched them.

Instead, I had to just eye ball them, and punch them in the shop here. I don't like how sloppy everything ended up being.

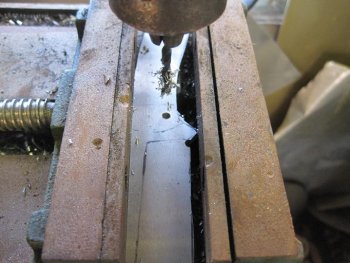
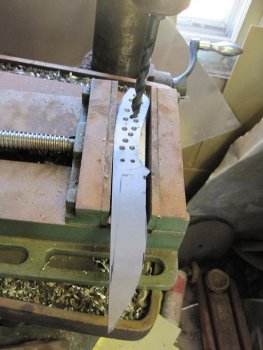
Drilling the bolster hole with a 5/32 bit.
IMG_0598.JPG

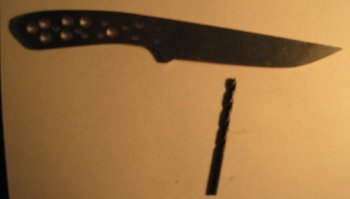
Bolster hole drilled. Drilled a 3/16" hole for the mosic pin. Center punched all the places I will drill to remove tang weight.
IMG_0600.JPG

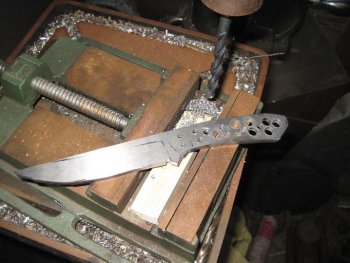
Finished drilling all the holes with 3/16" bit. Now I'm about to drill some of the holes out with a 5/16" bit to remove move metal.
IMG_0603.JPG

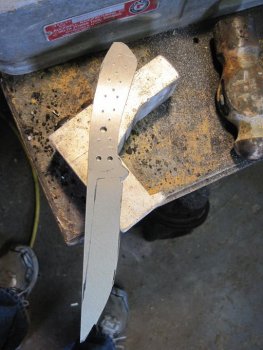
All done drilling.
IMG_0604.JPG

If I do something like this again, I think I might drill out a guide/pattern of holes in some sheet stock. Just a flat piece of steel, maybe 1/16" thick. Have a clean pattern of holes, maybe 1/16" in dia. Then, I could overlay that pattern over the tang, and center punch the holes I want to drill. Then, it won't be so sloppy. Heck, I could even do it out of a small square of spacer material.
 
Filing

Done drilling for now.

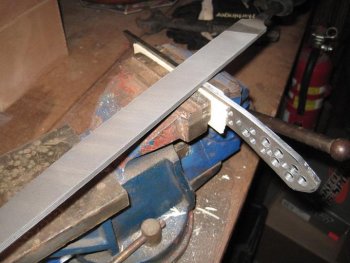
Time to do some filing. I've got the knife clamped in a vise. Using a b4stard file, I start on the spine of the tang. I first start filing using a "straight filing" technique. However, I switched to draw filing. I never did that before. I've just always straight filed whenever I needed too. Draw filing really gave me a clean edge. I would only do about 2 swipes per section on the file, and I would have to clean it.

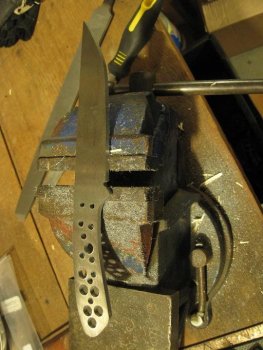
Filing along the back of the tang.
IMG_0605.JPG

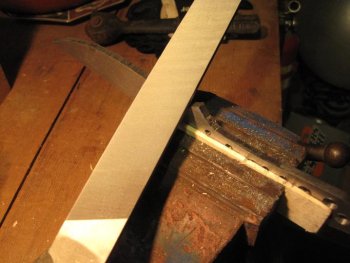
Flip the knife over, and underside of the tang.
IMG_0607.JPG

Time to start working on the blade edge. This required a lot of draw filing, as I had a few waves I needed to take out. I straight filed some of the humps down, and then would draw file.
IMG_0611.JPG

On to the point where I was too worried about the losing my fingers in the bandsaw of death, and ended up taking out too much metal.
IMG_0615.JPG


15min later of draw filing.
IMG_0617.JPG


Another angle.
IMG_0616.JPG

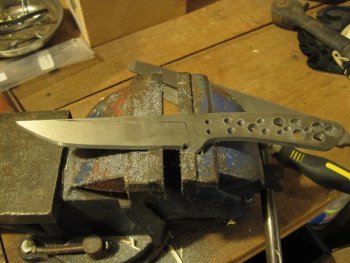
Done filing at this point.
IMG_0619.JPG

The other side.
IMG_0618.JPG

Time to think about the next step. Which will probably be the plunge cut.


I think I'm going to try and get to walmart, and pick up some chalk for filing. I've never used chalk before. I'm assuming I could just get some kid's sidewalk chalk. Fill up the file, and then start removing metal for the edge.
 
Last edited:
Thanks!

I wasn't able to work on it yesterday, but hopefully should be able to get some filing done tonight.
 
edge lines

so, in prepping for filing tonight, I scribed the edge line.

I used a red sharpie (what I had available) to color the edge.

I took an undersized drill bit (by 1/32), and ran it along the knife edge. I then flipped the knife over, and ran it against the edge again. This should give me an edge that is 1/16" thick (if I file correctly).

The lighting wasn't that great, but here are some pics.

Scribing the line
IMG_0623.JPG

A pic of the edge with the lines.
IMG_0625.JPG
 
plunge cut

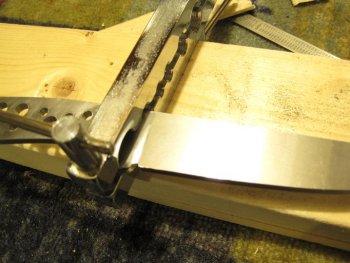
well, started working on the plunge cut.

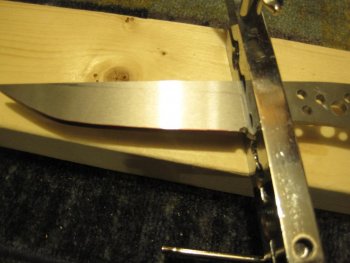
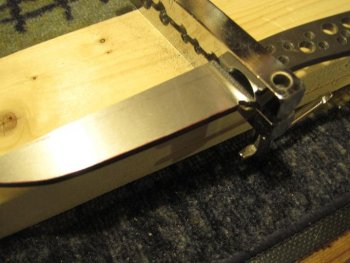
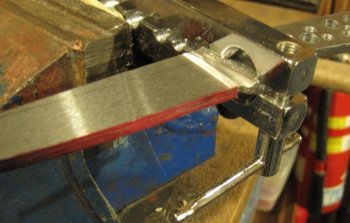
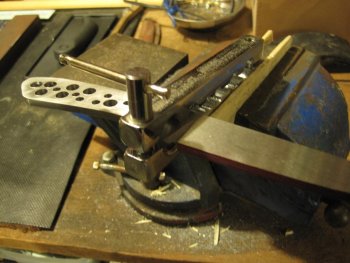
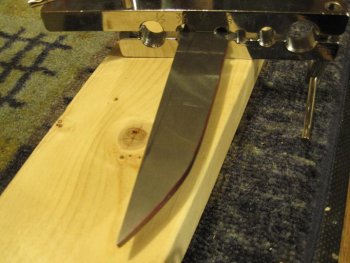
I happened to have a flaring tool that I picked up from a pawn shop. I used that as a guide.

I used a chainsaw file for my plunge cuts. I started on them. I started on the left side of the knife first. I sorta screwed up, as I dropped the chainsaw file a little too much, and scratched the knife above the plunge cut (all the way to the spine). You can see it on some of the photos.

Attaching the guide
IMG_0626.JPG

Starting the plunge cut
IMG_0627.jpg

Son of a !#$@#$ I took the plunge cut too far
IMG_0628.JPG

A closeup
IMG_0631.JPG


Starting the other side
IMG_0632.JPG

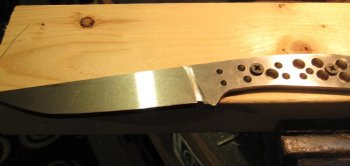
Other side done
IMG_0633.JPG


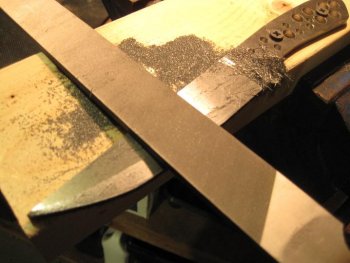
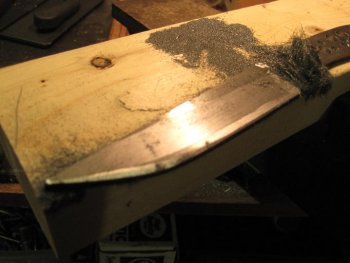
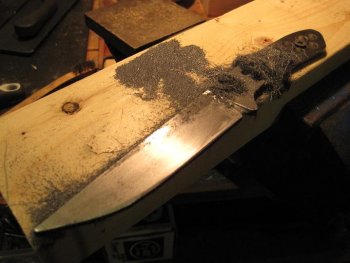
Showcasing my screwup. Knife is attached to a 2x4. Ready to start filing to create the edge.
IMG_0634.JPG
 
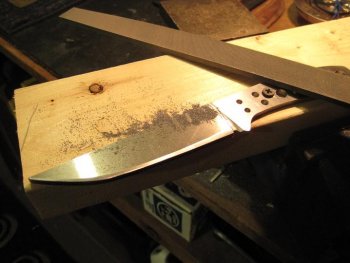
Filing 1st edge

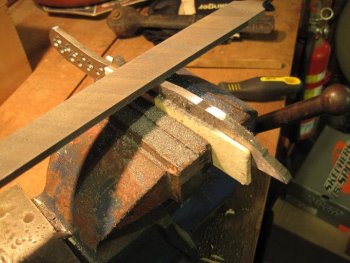
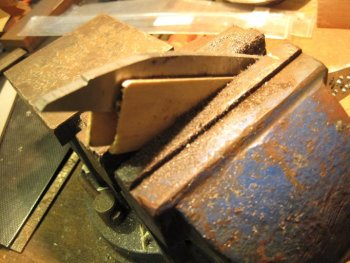
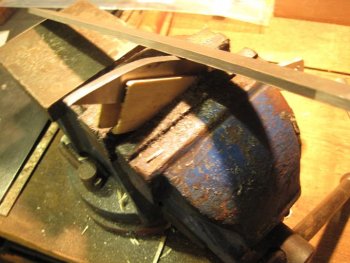
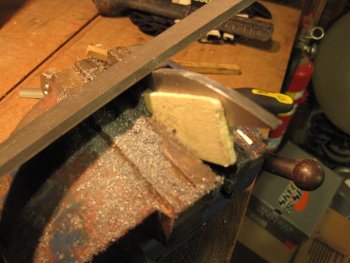
well, started filing.

wow, this is going to take a while. 3/16 is a lot of metal to remove. Here are some pics from filing. Had to quit for the night. Won't be able to work on it again until tomorrow.

Straight Filing the edge. I wanted to break it down to the pre-HT thicknesss.
IMG_0635.JPG

Some more straight filing
IMG_0638.JPG

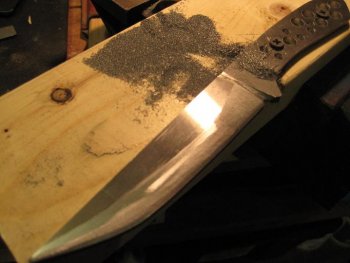
Drawfiling, but pushing from tip to bolster.
IMG_0637.JPG

More Draw Filing
(I wonder how a japanese SEN would work?)
IMG_0642.JPG

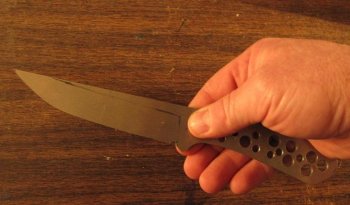
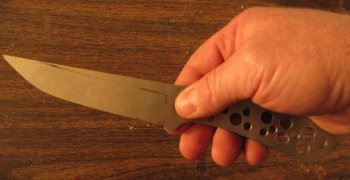
Done for the night.
More filing to do next time.
IMG_0643.JPG
 
Back
Top