You are using an out of date browser. It may not display this or other websites correctly.
You should upgrade or use an alternative browser.
You should upgrade or use an alternative browser.
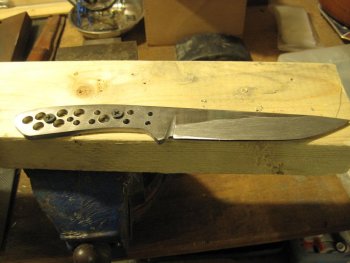
WIP -- 1st knife from scratch
- Thread starter seionage
- Start date
Tang file work
I'm thinking ahead to doing some filework on the tang.
I'm looking for any suggestions on tutorials or other designs I could try.
Also, what do you practice on for filework? Any suggestions? I guess I could try on the other 1/2 of the bar of the O1 I have, but I really didn't want too.
Any suggestions?
Thanks!
Rick O'Shea
Member
Keep Going! Looks good. Yeah, it is difficult to resist the temptation to work fast.
Use a T-Square/ metal ruler to check how flat you're filing.
I like to use markers blue or color in the metal above the file line with a sharpie - it stops me filing too high
I've filed too high on my plunge line just about every time! Welcome to the club!
The other club I belong to is filing too low on the blade and messing up the edge, so keep an eye on that.
The only other advise for draw filing I was given is not to stoop over your work and eyeball it like you're identifying a new inspect species.....stand up tall and straight and make sure the file is level with every stroke. A see-sawing action is going to create more work later when you try to get everything nice and flat.
I look forward to the end result.
more filing
got to do some more filing today. Today was clean up day. Try and get a straight file down.
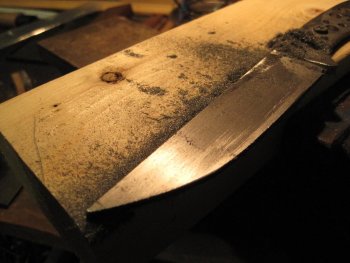
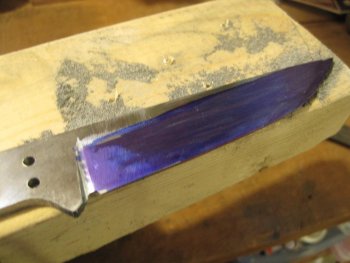
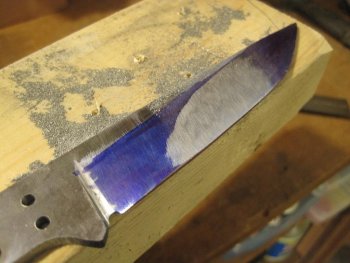
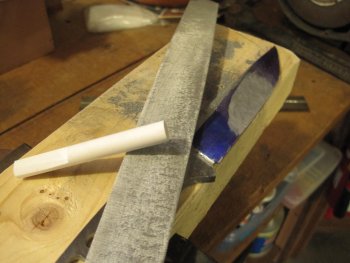
I used a blue sharpie to color the blade. I then use chalk on a b4stard file, and then switched to a smooth file. I used chalk to prevent the teeth from clogging up. Here's how it went.
blade colored blue
Taking down a high spot
File with chalk
got to do some more filing today. Today was clean up day. Try and get a straight file down.
I used a blue sharpie to color the blade. I then use chalk on a b4stard file, and then switched to a smooth file. I used chalk to prevent the teeth from clogging up. Here's how it went.
blade colored blue

Taking down a high spot

File with chalk

Other side
I flipped the knife over (can't remember why, maybe just to look at it).
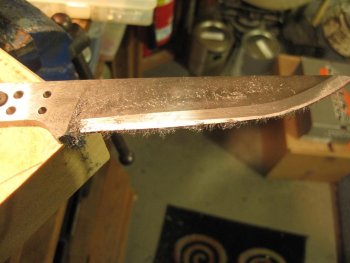
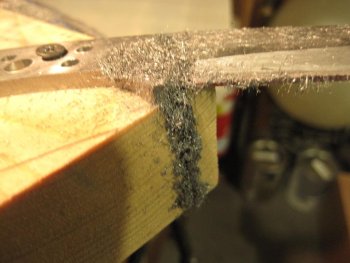
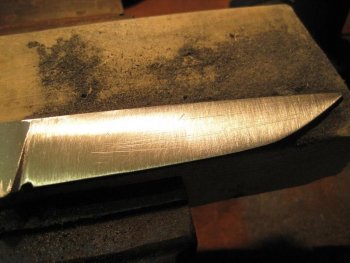
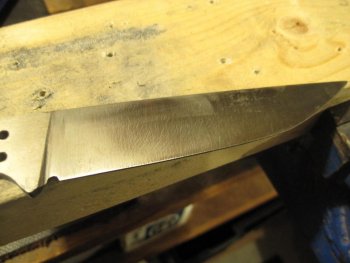
I started sanding on this side. I took it all the way to 600grit
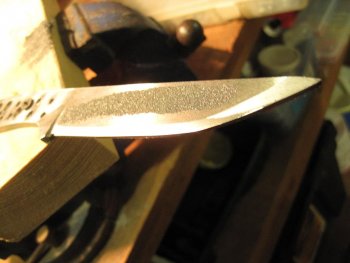
After I draw filed, i switched directions, and sanded with 50grit
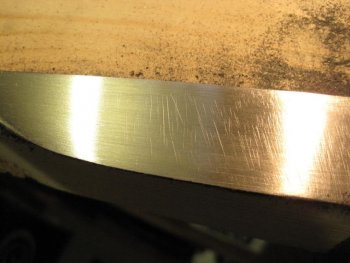
Changing directions, sanding with 150grit
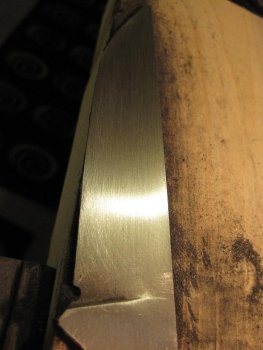
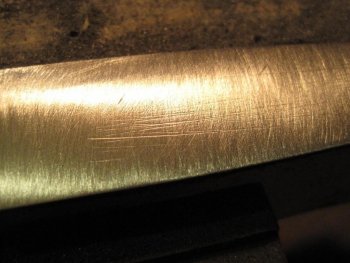
Going to 400 (you can see some of the 150grit scratches)
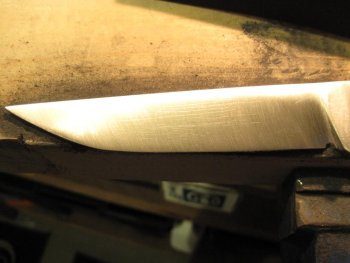
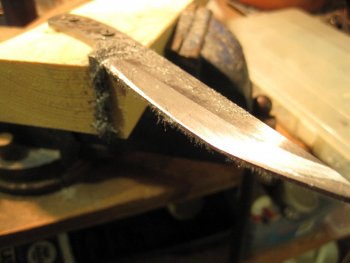
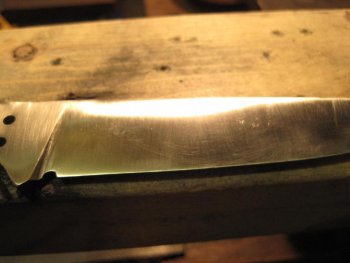
Another view
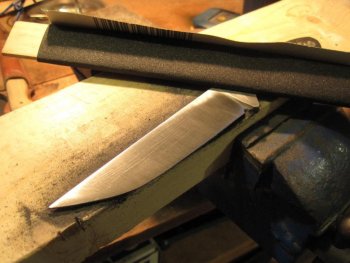
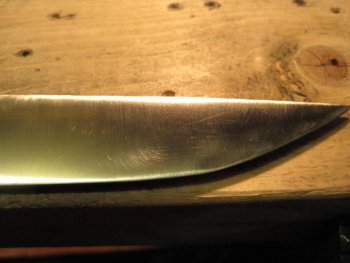
After more sanding
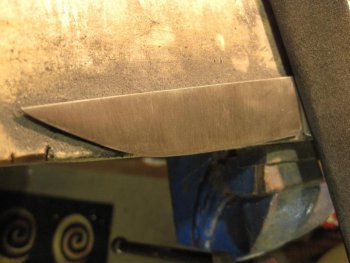
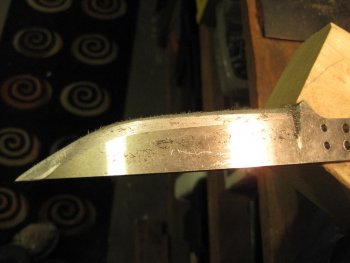
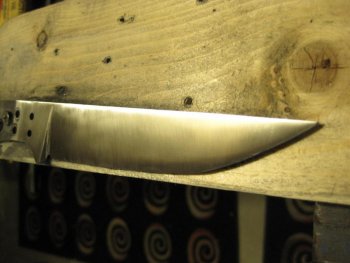
I tried wet sanding with some WD40 and 600 grit
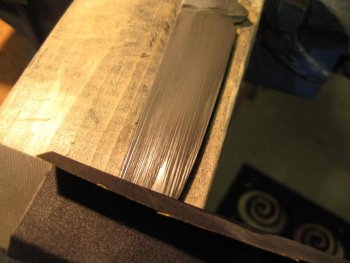
Camera wasn't quite in focus, but I tried to show the reflection.
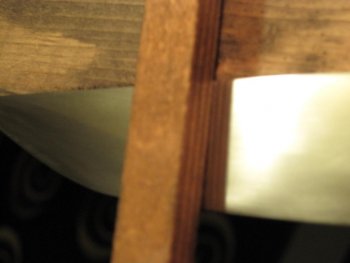
I flipped the knife over (can't remember why, maybe just to look at it).
I started sanding on this side. I took it all the way to 600grit
After I draw filed, i switched directions, and sanded with 50grit

Changing directions, sanding with 150grit

Going to 400 (you can see some of the 150grit scratches)

Another view

After more sanding

I tried wet sanding with some WD40 and 600 grit

Camera wasn't quite in focus, but I tried to show the reflection.

Coyote_killer2013
Well-Known Member
Lookin good, I'm in the same process with a knife I'm making. Can be frustrating at times. But in the end I think its worth it.
more filing...again
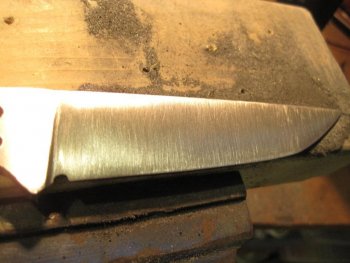
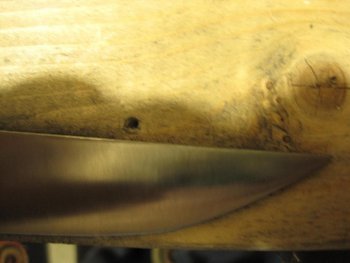
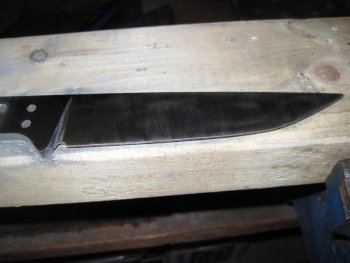
got to work on the knife tonight. Tonight was cleanup. My goal was to extend one of the plunge lines to match the other side. Make them more evenn. This meant using a file, and going to back to deep scratches. Then, I had to go back to 50grit, to 150grit, to 220, to 400 to 600grit. I finished with 600grit.
Here's one side.
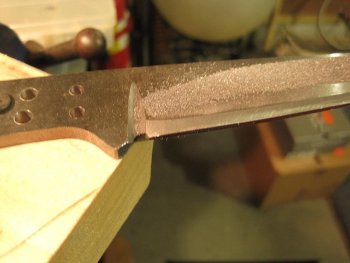
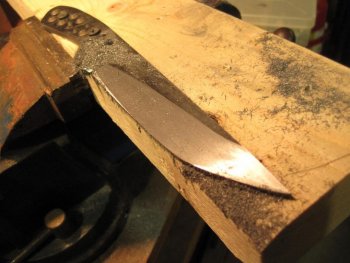
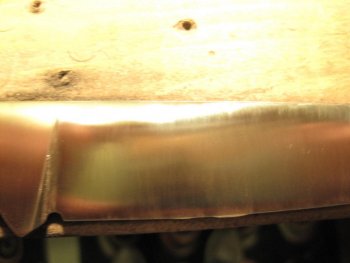
Extended the plunge line, and cleaned it up.
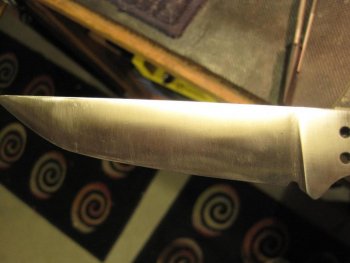
This side after 600grit (wrapped around a file).
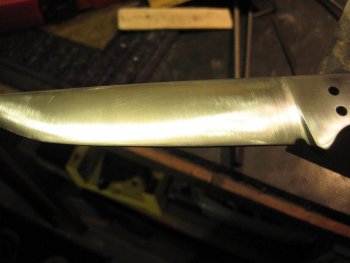
got to work on the knife tonight. Tonight was cleanup. My goal was to extend one of the plunge lines to match the other side. Make them more evenn. This meant using a file, and going to back to deep scratches. Then, I had to go back to 50grit, to 150grit, to 220, to 400 to 600grit. I finished with 600grit.
Here's one side.
Extended the plunge line, and cleaned it up.

This side after 600grit (wrapped around a file).


