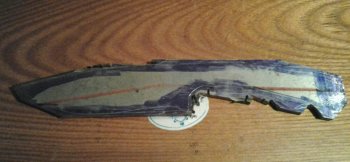
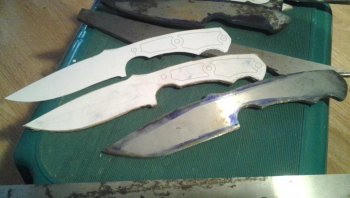
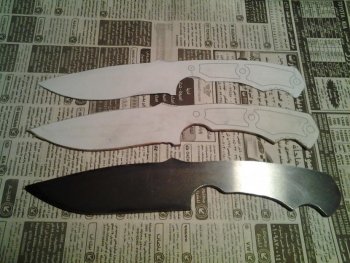
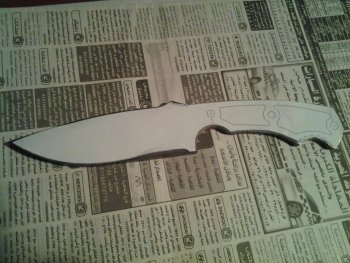
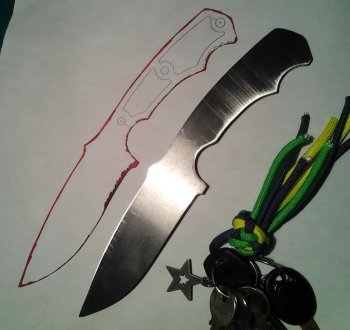
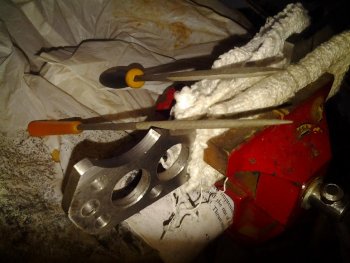
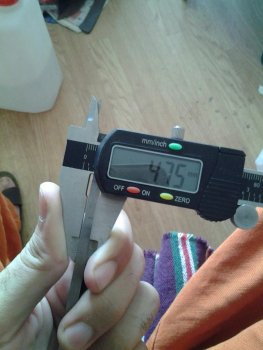
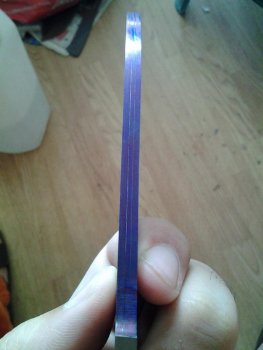
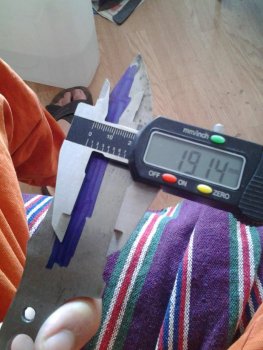
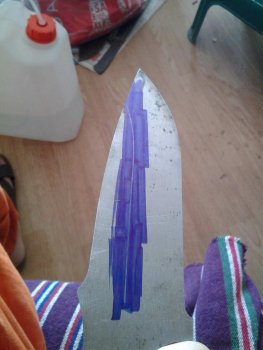
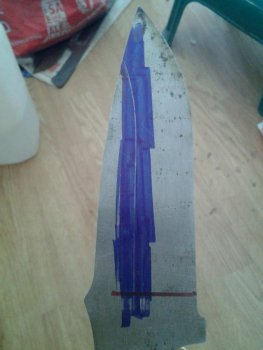
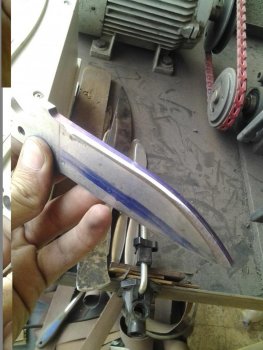
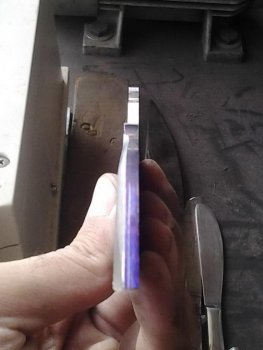
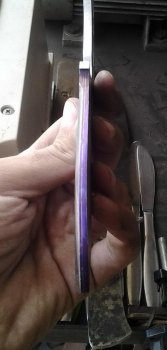
Next i lay the paper again to punch where i want the pin holes and lanyard hole, an automatic center punch would be great this time since i can hold with one hand and punch with the other, but i couldn't find i had to glue once more and use regular punch
i started drilling the holes
i skipped showing the original pin holes because i forgot that i'm doing a WIP

not a big deal anyway
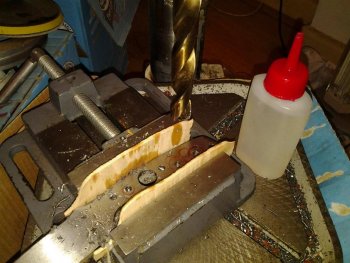
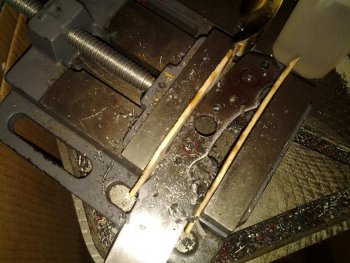
after drilling the pin holes i needed to lighten the handle (as you saw before it's skeletonized in the original design)
i used one of those circle rulers (ruler with different circle sizes on it) to determine how to proceed, on a knife once before i went by 'feel', but you end up making mistakes or at least not placing holes as best as you could.
used a marker to place them
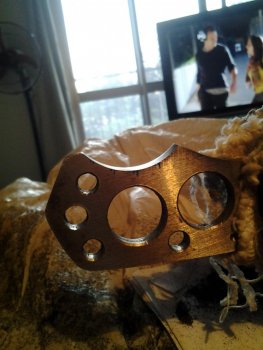
i decided to go with 3 15mm holes and 1 10mm and fill in between if needed
here lies a problem for me, using the 15mm drill bit scares me poopless!! but it was the best thing to remove steel. if you think like me you will wonder if 2 10mm holes would remove more than 1 15mm bit, specially since using them is MUCH easier. they don't, with quick calculations the 15mm hole removes more than 2 10mm holes (is this confusing yet?)
so as i said, i marked three locations for 15mm holes, 1 10mm and will try to fill the rest if needed (which later on i found i did)
SAFETY FIRST!!! this drill bit is seriously scary...
1 drill a hole completely by a smaller bit (i used 5mm)
2 slow the drill press to lowest speed (actually starting from 8-9mm bits i go to lowest speed on my drill press, which is 300rpm) (advice given to me by Bill Harsey)
3 oil. oil again. it helps keep things cool and helps with drilling (i use it with all bits, another advice from Bill)
4 don't even think about holding the piece with your hand. work piece in vise! vise fixed to table.
5 this drill bit is most dangerous near the end when its about to come out from the other side completely, it grabs the work piece. once before, i was holding the work piece in the vise but still holding them down with my hand, the drill bit caught them near the end and pulled them out if my hand. the only thing that saved me was one of them got stuck against the main drill stand. (so might want to keep this in mind whenever drilling, make sure the work piece would never complete a single rotation if a bit gets hold of it and come back to you by placing it near the drill press stand.)
let me tell you thats one of those moments when you find your heart beating hard and body sweating before you realize whats happening.
6 near the end of drilling (you will know by feel or you can keep checking often) ease up on pressure, use oil again and hold that arm as if your life depended on it (because it actually does

)
note: Wayne Coe on a video on his website advises to use foot switch. as he puts it: (paraphrasing) if anything goes wrong, you don't want to let go of the drill arm or the work piece (or you create a nice mincer right there) so you cant reach the switch and turn drill off, but with foot switch you can easily stop the drill (or disc sander)
i know i kept this long, but lets face it we need those limbs and fingers!!
i put the oil bottle in the picture just to show you, keep the table clear of anything that could distract you, could get in teh way, could fly, could get caught in anything, you get the idea. the drill chuck, sometimes its forgotten too, make sure the first thing you do after tightening is removing the chuck. i know its obvious, and i thought so too until one time i actually forgot, and yes it does fly!!
back to wip

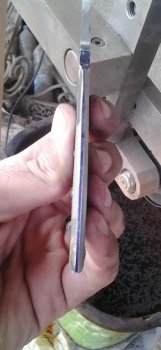
i used those scrap plywood pieces to protect the knife from the vise jaw. this is the first time i use them and i'm really happy with the result. with previous knives i ended up with deep scratches around the edges. i wanted to use leather but didn't have any.
i didnt need to punch where those holes will be as long as i am close to the center of those circles.
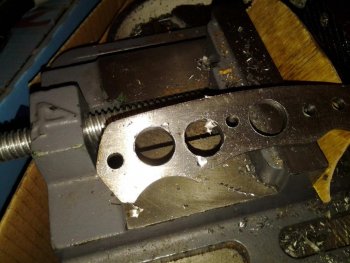
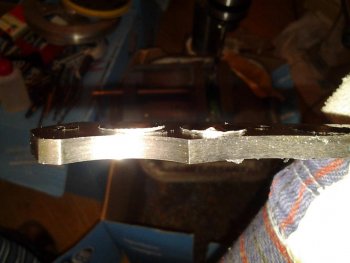
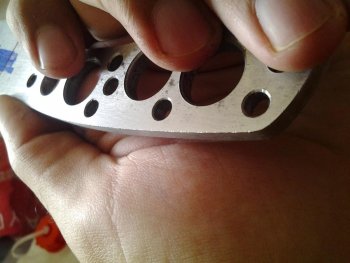
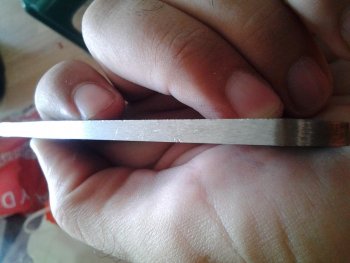
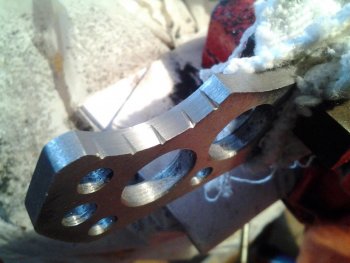
after drilling the large 15mm holes, you can see the burr on the other side. thats clean cut btw, sometimes its worse. thats about 1mm high. i skipped cleaning these in the middle because they are just done to lighten the tang, if that was precision drilling i would have cleaned after each one, just so they wouldnt affect the angle of holes or wobble during
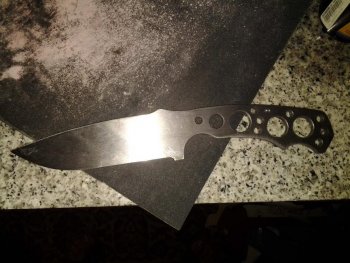
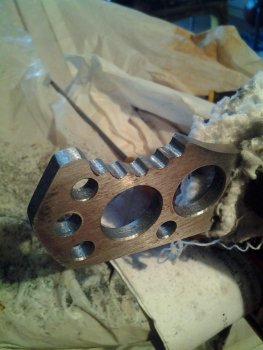
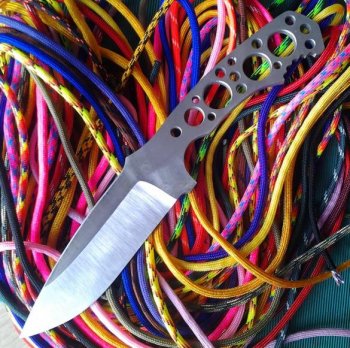
done with drilling, i countersunk the holes except the one for lanyard. but even after countersinking still had some burr. from what i know countersinking works in 3 ways, 1 removes bur and anything that can prevent handle material from lying perfectly flat against tang, 2 the 'sink' can be filled up with adhesive which increases its stength, and 3 it removes the hard edge of the holes which can cause stress during heat treatment.
used 220g sand paper to get rid of the burr.
you can see a spot where i wanted to drill but stopped, was using the 5mm drill bit and it wont fit well, might be too big for that area. (see why determining hole locations beforehand is important?)
the handle still feels heavy. the balance point now i think was at the plunge cut, which means the tang will need to get considerably lighter, so will do more drilling later or hollow the tang.
let me tell ya, as soon as i start making standard designs i'm going for water jet!!!
coming next, the choil (which i really hate, i would avoid it if i can), scribing the edge, marking the bevel and actually making some steel cloud!

